Home>Technology>Home Entertainment Systems>How To Make A Phone Projector Without A Magnifying Glass
Home Entertainment Systems
How To Make A Phone Projector Without A Magnifying Glass
Modified: April 22, 2024
Learn how to create a phone projector at home without using a magnifying glass. Explore DIY home entertainment systems with our step-by-step guide.
(Many of the links in this article redirect to a specific reviewed product. Your purchase of these products through affiliate links helps to generate commission for Storables.com, at no extra cost. Learn more)
Introduction
Welcome to the world of DIY home entertainment! Have you ever wanted to enjoy a movie night with friends or family but didn't have a projector? Fear not, as I'm about to take you on an exciting journey to create your very own phone projector without a magnifying glass. Yes, you read that right! With just a few simple materials and a dash of creativity, you'll be able to transform a humble shoebox into a fantastic projector that will bring your favorite movies and videos to life on the big screen.
In this step-by-step guide, we'll explore the ingenious process of crafting a phone projector using readily available items. Whether you're a tech-savvy enthusiast or a casual DIYer, this project is sure to ignite your creativity and provide hours of entertainment. So, grab your tools, roll up your sleeves, and let's embark on this thrilling adventure of turning a shoebox into a remarkable phone projector!
Key Takeaways:
- Create your own phone projector using a shoebox, magnifying lens, and smartphone. Enjoy movie nights and share engaging presentations with this simple and fun DIY project!
- Transform a humble shoebox into a powerful projector without a magnifying glass. Embrace the joy of DIY creativity and immerse yourself in captivating visuals with your own homemade entertainment system!
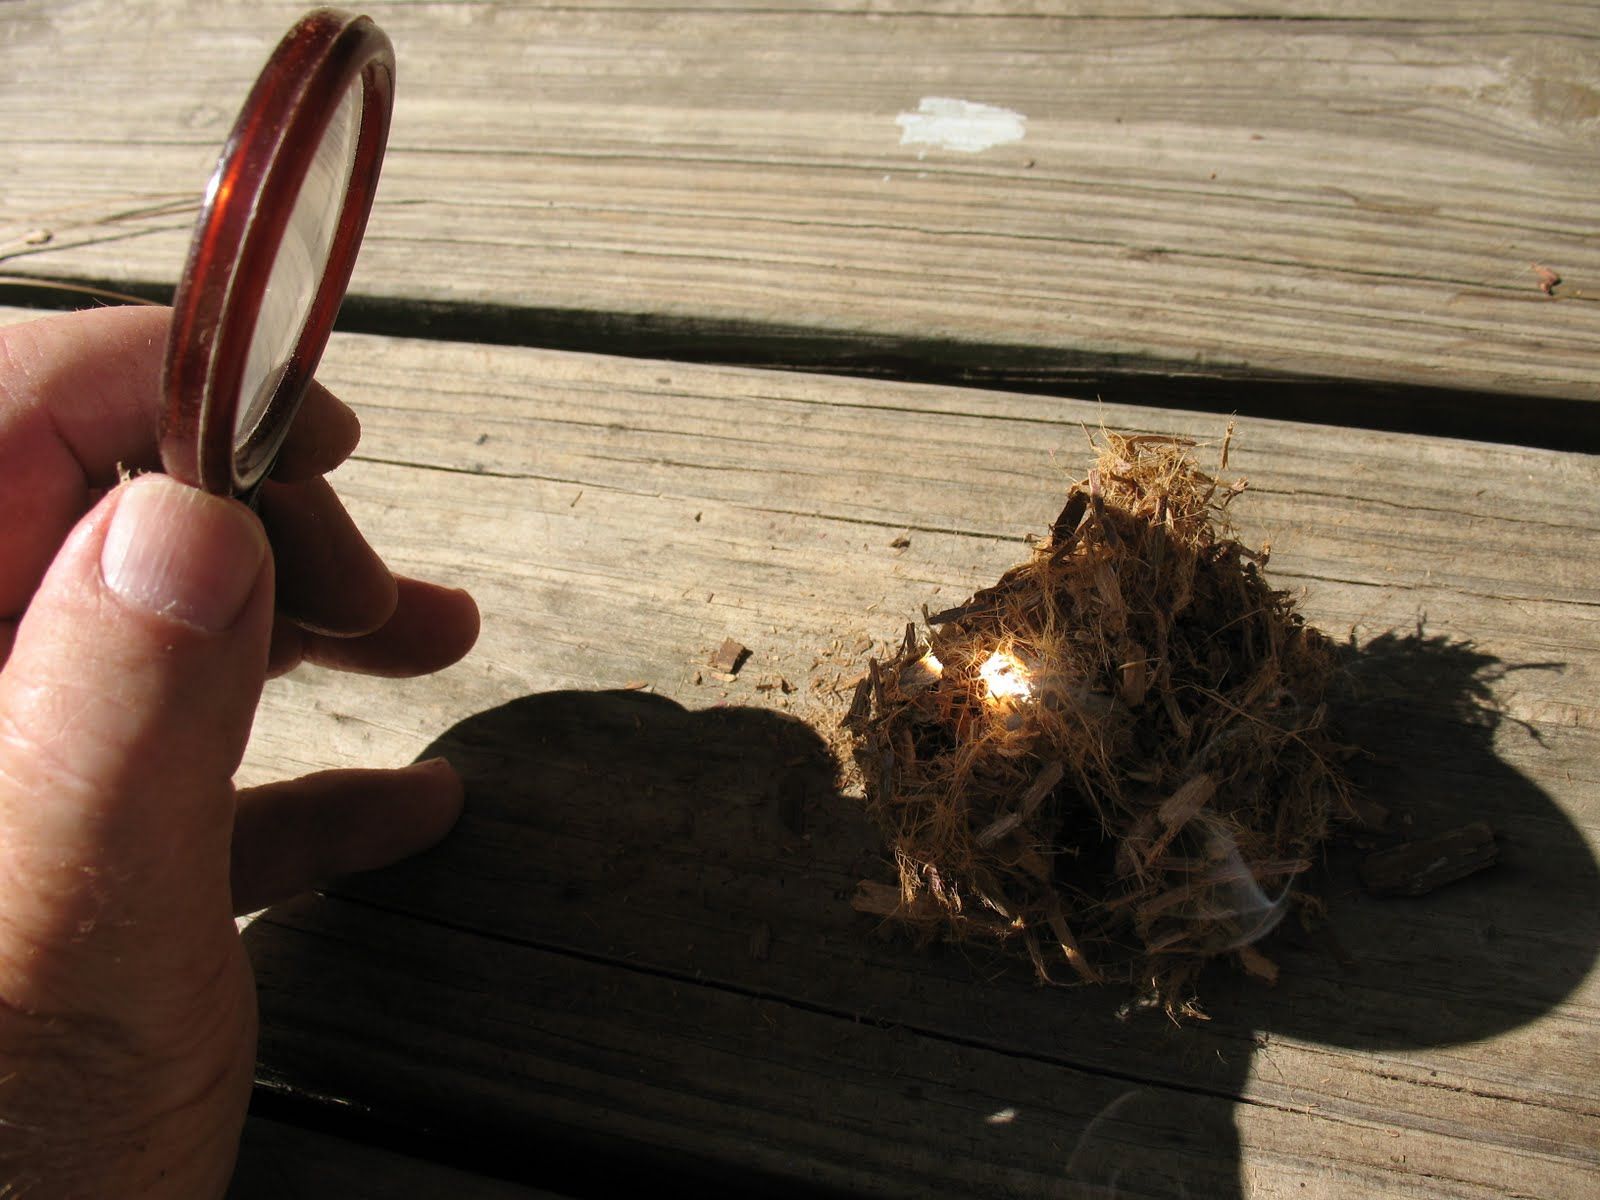
Read more: How To Make A Magnifying Glass
Materials Needed
Before diving into the exciting process of creating your own phone projector, it’s essential to gather the necessary materials. The beauty of this DIY project lies in its simplicity, as the items required are readily available and won’t break the bank. Here’s what you’ll need to get started:
- A sturdy shoebox: The foundation of your projector, providing a dark and enclosed space for optimal image projection.
- A magnifying lens: This essential component will act as the projector’s lens, focusing and enlarging the images from your phone onto the viewing surface.
- A utility knife or scissors: To carefully cut and shape the shoebox to accommodate the phone and magnifying lens.
- A ruler: Essential for precise measurements and ensuring the various components fit snugly within the shoebox.
- Electrical or duct tape: Used to secure the magnifying lens in place and ensure it remains in the correct position for effective projection.
- A smartphone: The star of the show, serving as the source of the images or videos to be projected onto the screen.
- Blu-tack or adhesive putty: Ideal for securing the phone in place within the shoebox and making minor adjustments to achieve the perfect projection angle.
- A dark, smooth surface: This will serve as the screen onto which the images from the phone will be projected. A white wall or a dedicated projector screen are excellent options.
With these simple yet crucial materials at your disposal, you’re well-equipped to embark on this delightful DIY adventure. Now that you have everything you need, it’s time to roll up your sleeves and breathe life into your DIY phone projector!
Step 1: Prepare the Shoebox
The first step in creating your DIY phone projector is to prepare the shoebox, which will serve as the foundation for this ingenious device. Begin by ensuring that the shoebox is clean and free of any debris or obstructions. This will provide a pristine canvas for the construction process.
Next, it’s time to create a dark and enclosed space within the shoebox to optimize the projection quality. To achieve this, consider painting the interior of the shoebox with black acrylic paint or lining it with black construction paper. This will minimize internal reflections and enhance the contrast of the projected images, resulting in a crisper and more vibrant display.
Once the interior is suitably darkened, allow the paint to dry or the adhesive on the construction paper to set. This step is crucial for ensuring optimal image quality and a truly immersive viewing experience.
By taking the time to prepare the shoebox in this manner, you’re laying the groundwork for a remarkable DIY phone projector that will rival commercial devices. With the shoebox now transformed into a purpose-built projection chamber, you’re ready to move on to the next exciting step in this creative endeavor!
Step 2: Cut the Hole for the Phone
With the shoebox primed and ready, it’s time to create a precise opening to accommodate your smartphone. This step is crucial, as it ensures that the phone is positioned correctly within the projector, allowing for seamless image projection onto the viewing surface.
Using a ruler to maintain accuracy, carefully measure and mark the dimensions of your phone on one side of the shoebox. This will serve as the guide for cutting out the opening. Whether you opt for a utility knife or a pair of scissors, exercise caution and precision to create a clean and well-defined aperture that matches the size of your phone.
As you cut the hole, bear in mind that a snug fit is essential for stabilizing the phone within the projector. However, ensure that the opening isn’t too tight, as this could risk damaging the phone or impeding its placement. Take your time with this step, as a carefully crafted phone slot will contribute to the overall functionality and stability of the projector.
Once the opening is cut, test the fit by gently sliding your phone into the designated space. It should sit securely without excessive movement, allowing for easy access to the screen and controls. If adjustments are needed, refine the edges of the opening until the phone sits comfortably within the shoebox.
By completing this step with precision and attention to detail, you’re one step closer to bringing your DIY phone projector to life. With the phone slot expertly crafted, you’re ready to move on to the next phase of this captivating project!
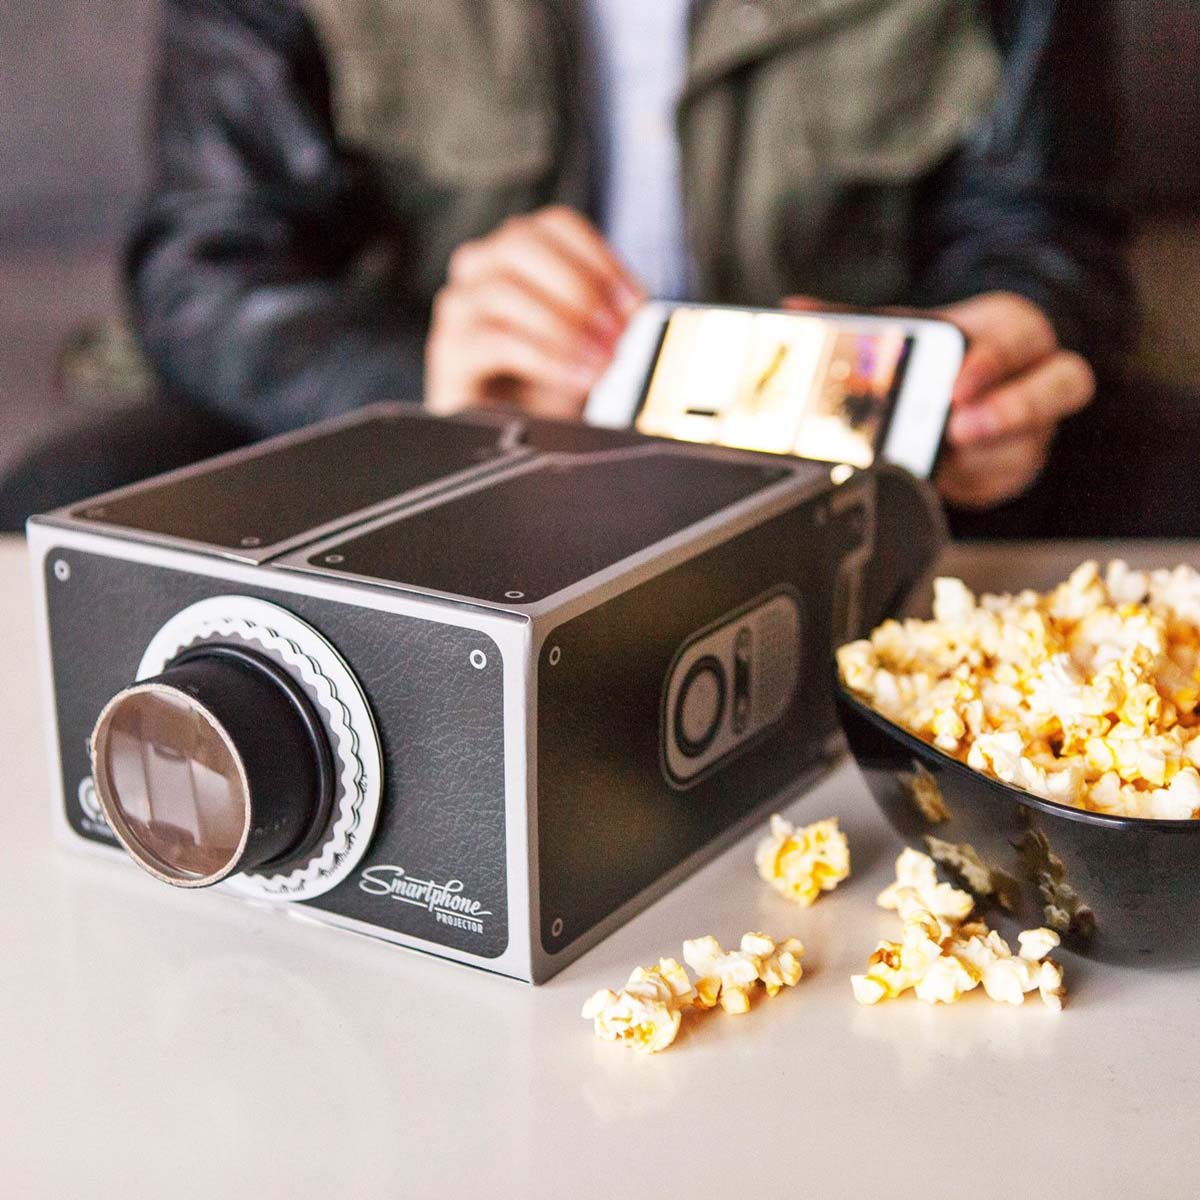
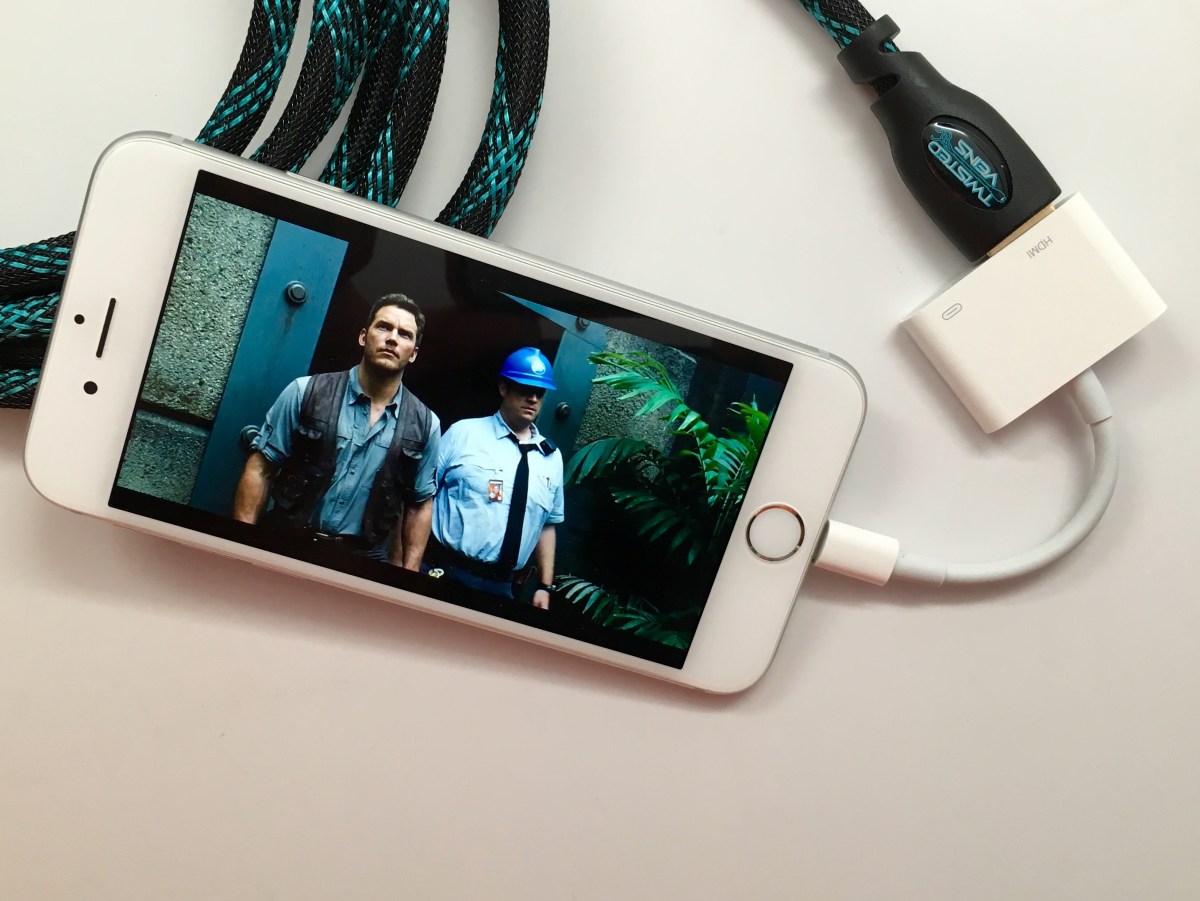
You can make a phone projector without a magnifying glass by using a shoebox, a smartphone, and a sharp knife. Cut a hole in the box for the phone to sit in, and another for the projected image to shine through. Then, place the phone inside the box with the screen facing the cut-out hole, and turn on a video or image to project onto a wall or screen.
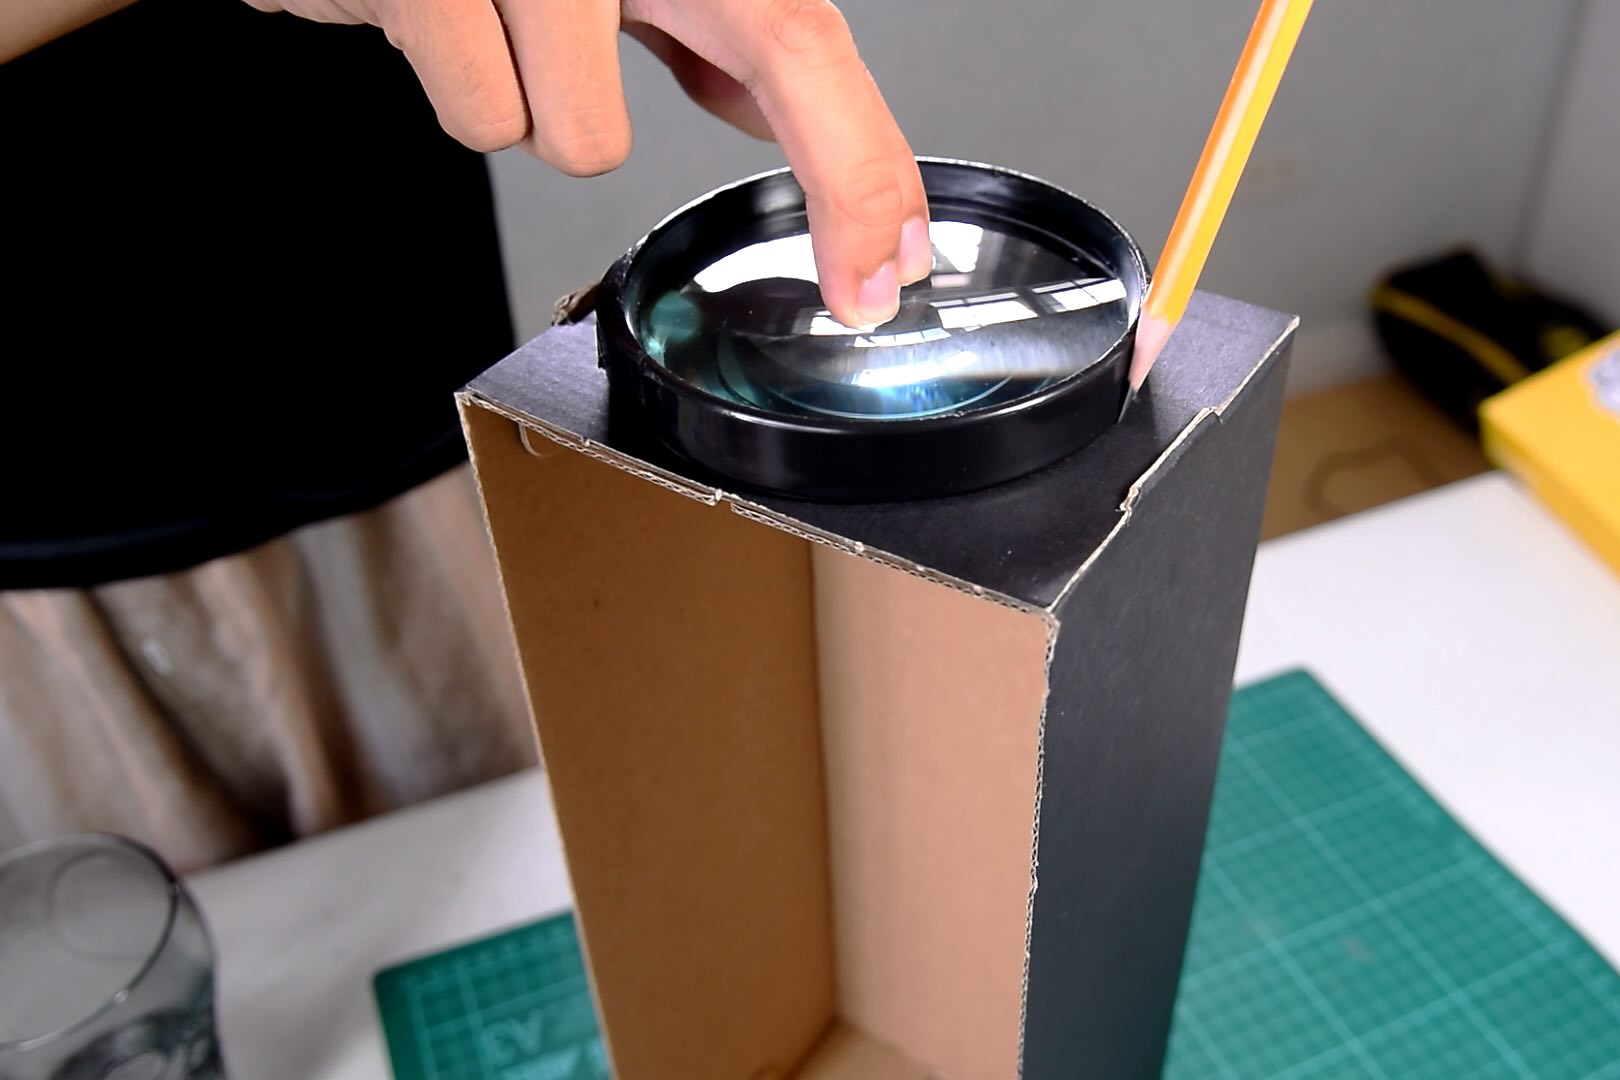
Step 3: Insert the Magnifying Lens
Now that the phone slot is meticulously crafted, it’s time to introduce the star component of your DIY projector: the magnifying lens. This essential element will serve as the projector’s lens, allowing it to focus and enlarge the images from your phone onto the viewing surface with remarkable clarity.
Begin by carefully positioning the magnifying lens on the opposite side of the shoebox from the phone slot. Using a ruler to maintain symmetry, mark the area where the lens will be inserted. Once the location is determined, proceed to create a precise circular cutout to accommodate the lens.
With the opening prepared, gently insert the magnifying lens, ensuring that it fits securely and remains flush with the surface of the shoebox. To secure the lens in place, utilize electrical or duct tape around its edges, creating a snug and stable hold within the shoebox. This step is crucial for maintaining the correct focal length and ensuring that the projected images are sharp and well-defined.
Take a moment to admire the ingenious fusion of simple materials and optical technology as the magnifying lens finds its place within the shoebox. This pivotal component will play a pivotal role in transforming your humble creation into a powerful projector capable of delivering stunning visual experiences.
With the magnifying lens now seamlessly integrated, you’re ready to proceed to the next phase of this enthralling DIY project. The projector’s optical heart is in place, and the stage is set for the final steps that will bring your phone projector to life!
Read more: How To Cast Phone To Projector
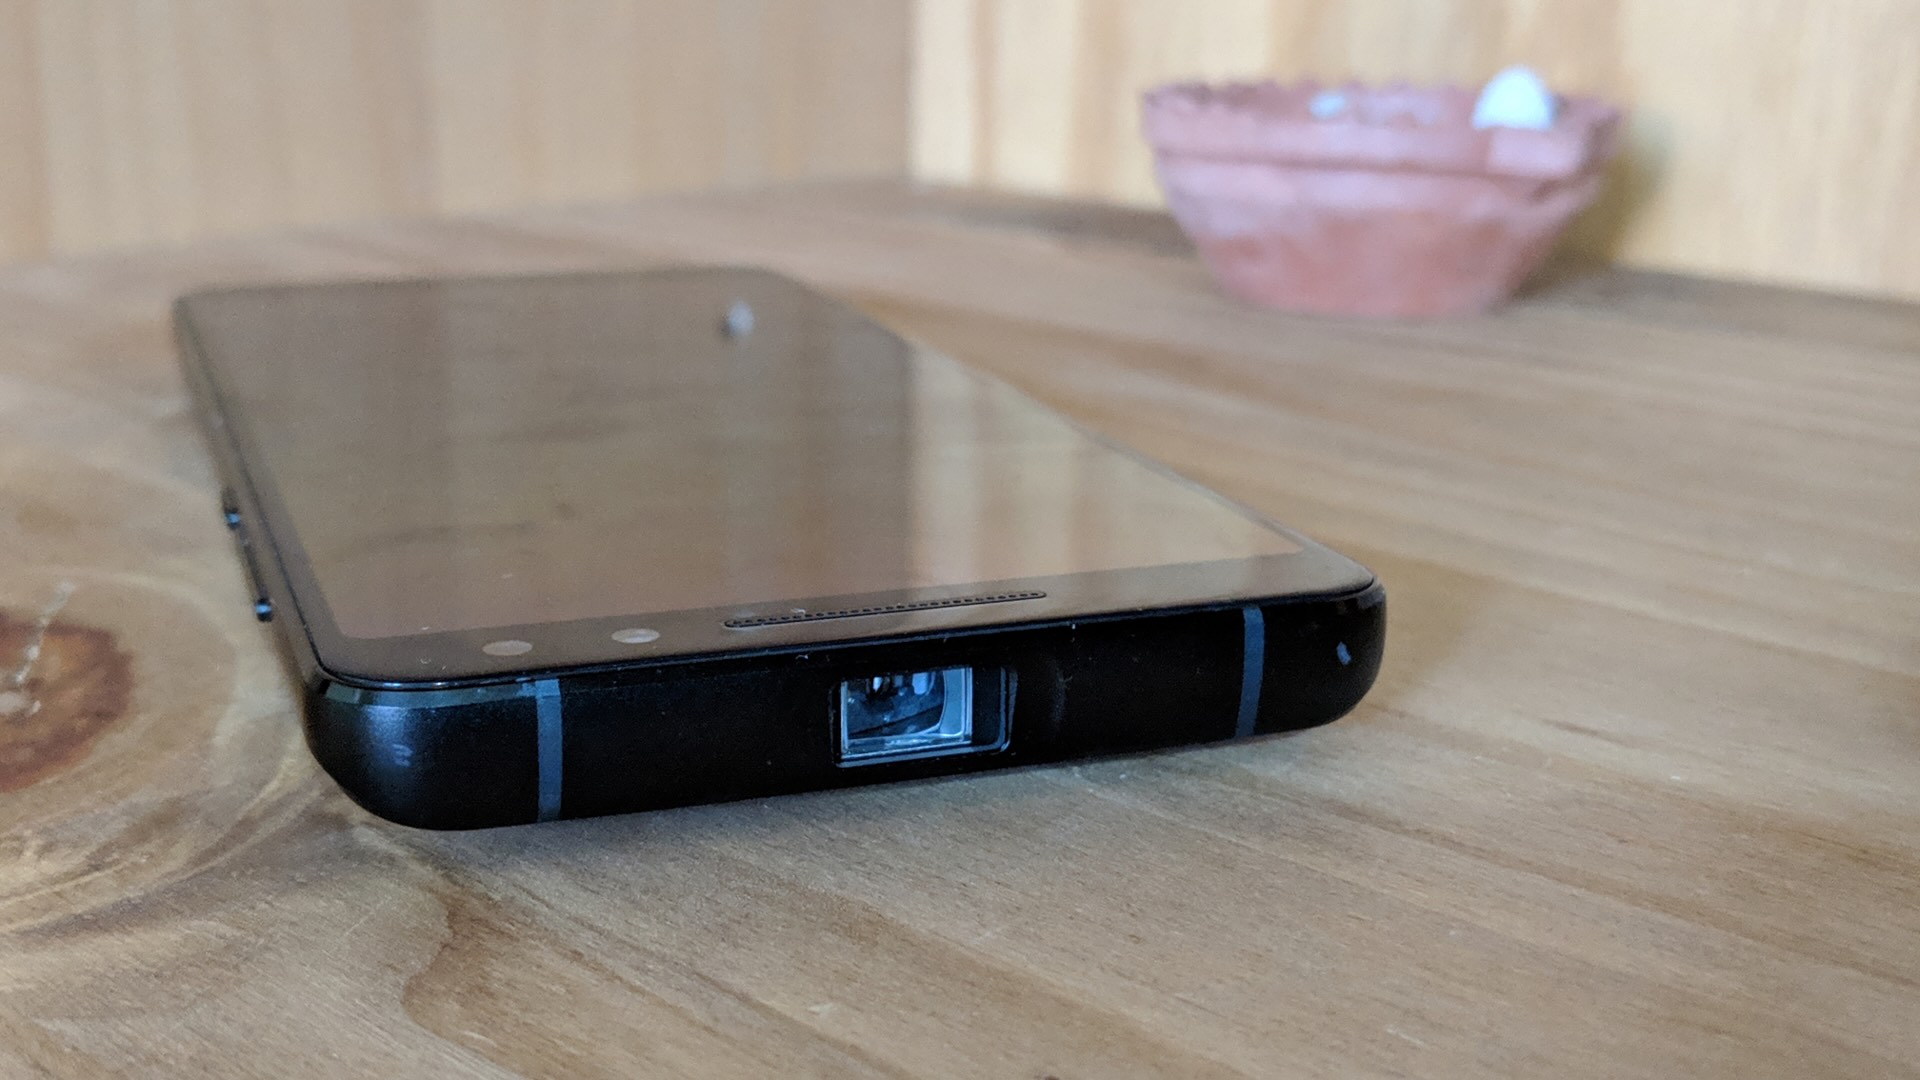
Step 4: Secure the Phone
With the magnifying lens expertly positioned, it’s time to ensure that your smartphone is securely held in place within the DIY projector. This step is crucial for maintaining the correct alignment between the phone and the magnifying lens, ultimately influencing the quality of the projected images.
Begin by placing your smartphone into the designated slot within the shoebox. Once positioned, use Blu-tack or adhesive putty to gently secure the phone in place. This versatile and non-permanent adhesive allows for easy adjustments, ensuring that the phone remains stable while also allowing for minor shifts to achieve the optimal projection angle.
Take a moment to fine-tune the position of the phone, ensuring that the screen aligns perfectly with the magnifying lens. This meticulous adjustment process will contribute to the clarity and focus of the projected images, resulting in a truly immersive viewing experience.
As you secure the phone within the projector, consider the accessibility of the phone’s controls and charging port. Ensure that these essential features remain unobstructed, allowing for convenient operation and the option to keep the phone charged during extended viewing sessions.
By taking the time to secure the phone with precision and care, you’re ensuring that the heart of your DIY projector is poised for optimal performance. With the phone snugly in place and the stage set for the final adjustments, you’re ready to move on to the next phase of this exhilarating DIY journey!
Step 5: Adjust the Focus
As the final pieces of your DIY phone projector come together, it’s time to fine-tune the focus to bring your projected images to life with exceptional clarity and sharpness. This pivotal step allows you to optimize the projection quality, ensuring that your viewing experience is nothing short of extraordinary.
Begin by positioning the shoebox projector at a suitable distance from the viewing surface, whether it’s a white wall or a dedicated projector screen. This initial placement will serve as the foundation for adjusting the focus and achieving the desired image size and sharpness.
With the projector in place, turn on your smartphone and select a visually engaging image or video. As the image is displayed on the screen, gently adjust the position of the magnifying lens within the shoebox. By carefully moving the lens closer to or farther from the phone, you can fine-tune the focus and achieve a crisp, well-defined projection on the viewing surface.
As you make these adjustments, pay close attention to the clarity and sharpness of the projected images. Aim to achieve a balance between size and focus, ensuring that the visuals are captivating and free of distortion. This iterative process allows you to harness the full potential of your DIY projector, resulting in a truly immersive viewing experience.
Take the time to experiment with different content and adjust the focus accordingly. Whether you’re enjoying a thrilling movie, a captivating photo slideshow, or an engaging video, the ability to fine-tune the focus will elevate your viewing experience to new heights.
With the focus expertly adjusted and the projected images coming to life in stunning detail, you’ve reached the culmination of this remarkable DIY journey. Your phone projector is now poised to deliver endless hours of entertainment, and you’re ready to bask in the magic of your own creation!
Conclusion
Congratulations on successfully creating your very own DIY phone projector without a magnifying glass! Through a blend of creativity, resourcefulness, and a touch of ingenuity, you’ve transformed a humble shoebox into a powerful device capable of bringing your favorite movies, videos, and images to life on the big screen.
This captivating DIY project has not only provided you with a remarkable home entertainment solution but has also sparked your creativity and resourcefulness. As you marveled at the seamless fusion of simple materials and optical technology, you’ve gained a deeper appreciation for the magic of DIY ingenuity.
With your DIY phone projector ready to delight and entertain, you’re now equipped to host captivating movie nights, share engaging presentations, or simply immerse yourself in a world of visual wonders. The possibilities are endless, and the joy of experiencing your own creation in action is truly unparalleled.
As you embark on this exciting journey of DIY innovation, remember that the power of creativity knows no bounds. Whether it’s crafting ingenious devices or exploring new realms of possibility, your DIY spirit will continue to inspire and amaze.
So, gather your friends and family, dim the lights, and let the magic of your DIY phone projector transport you to a world of captivating visuals and unforgettable moments. Embrace the joy of creation, and revel in the endless possibilities that await in the realm of DIY home entertainment.
With your DIY phone projector standing as a testament to your creativity and resourcefulness, you’re now poised to embark on new adventures and inspire others to explore the boundless realm of DIY ingenuity. The journey doesn’t end here – it’s just the beginning of a world filled with endless creativity and innovation!
Frequently Asked Questions about How To Make A Phone Projector Without A Magnifying Glass
Was this page helpful?
At Storables.com, we guarantee accurate and reliable information. Our content, validated by Expert Board Contributors, is crafted following stringent Editorial Policies. We're committed to providing you with well-researched, expert-backed insights for all your informational needs.


0 thoughts on “How To Make A Phone Projector Without A Magnifying Glass”