Home>Technology>Home Entertainment Systems>How To Make A Projector With A Flashlight
Home Entertainment Systems
How To Make A Projector With A Flashlight
Modified: August 17, 2024
Learn how to create a DIY home entertainment system by making a projector with a flashlight. Enjoy cinematic experiences at home with this simple and cost-effective solution. Discover step-by-step instructions now!
(Many of the links in this article redirect to a specific reviewed product. Your purchase of these products through affiliate links helps to generate commission for Storables.com, at no extra cost. Learn more)
**
Introduction
**
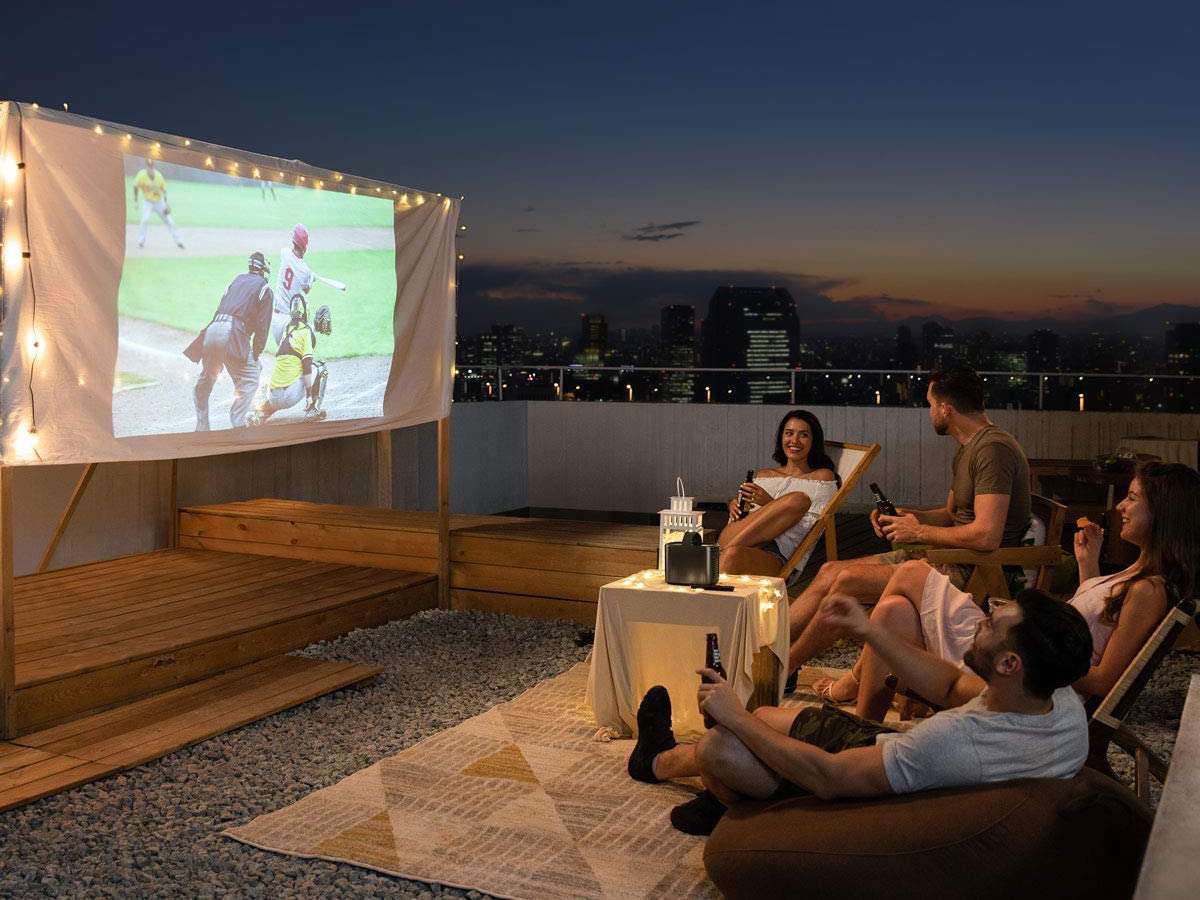
Imagine transforming your ordinary flashlight into a powerful projector, capable of casting images and videos onto any flat surface. This DIY project not only offers an innovative way to entertain friends and family, but it also provides a unique learning experience. By harnessing the principles of light and optics, you can create your very own homemade projector with just a few simple materials and a touch of creativity.
In this guide, we will walk through the step-by-step process of constructing a projector using a flashlight. Whether you're a tech enthusiast, a hands-on learner, or simply looking for a fun weekend project, this endeavor is sure to captivate your imagination. So, gather your materials and let's embark on this illuminating journey together.
Key Takeaways:
- Transform a flashlight into a projector using a few simple materials and creativity. Enjoy educational videos, movie nights, and interactive learning with your homemade creation.
- Experiment with distance, image quality, and surface selection to optimize your viewing experience. Share the joy of DIY innovation with friends and family.
Read more: How To Make Slides For A Projector
Materials Needed
Before delving into the construction process, it’s essential to gather the necessary materials. The beauty of this DIY projector is its simplicity, requiring only a handful of readily available items. Here’s what you’ll need:
- A sturdy cardboard box or a shoebox
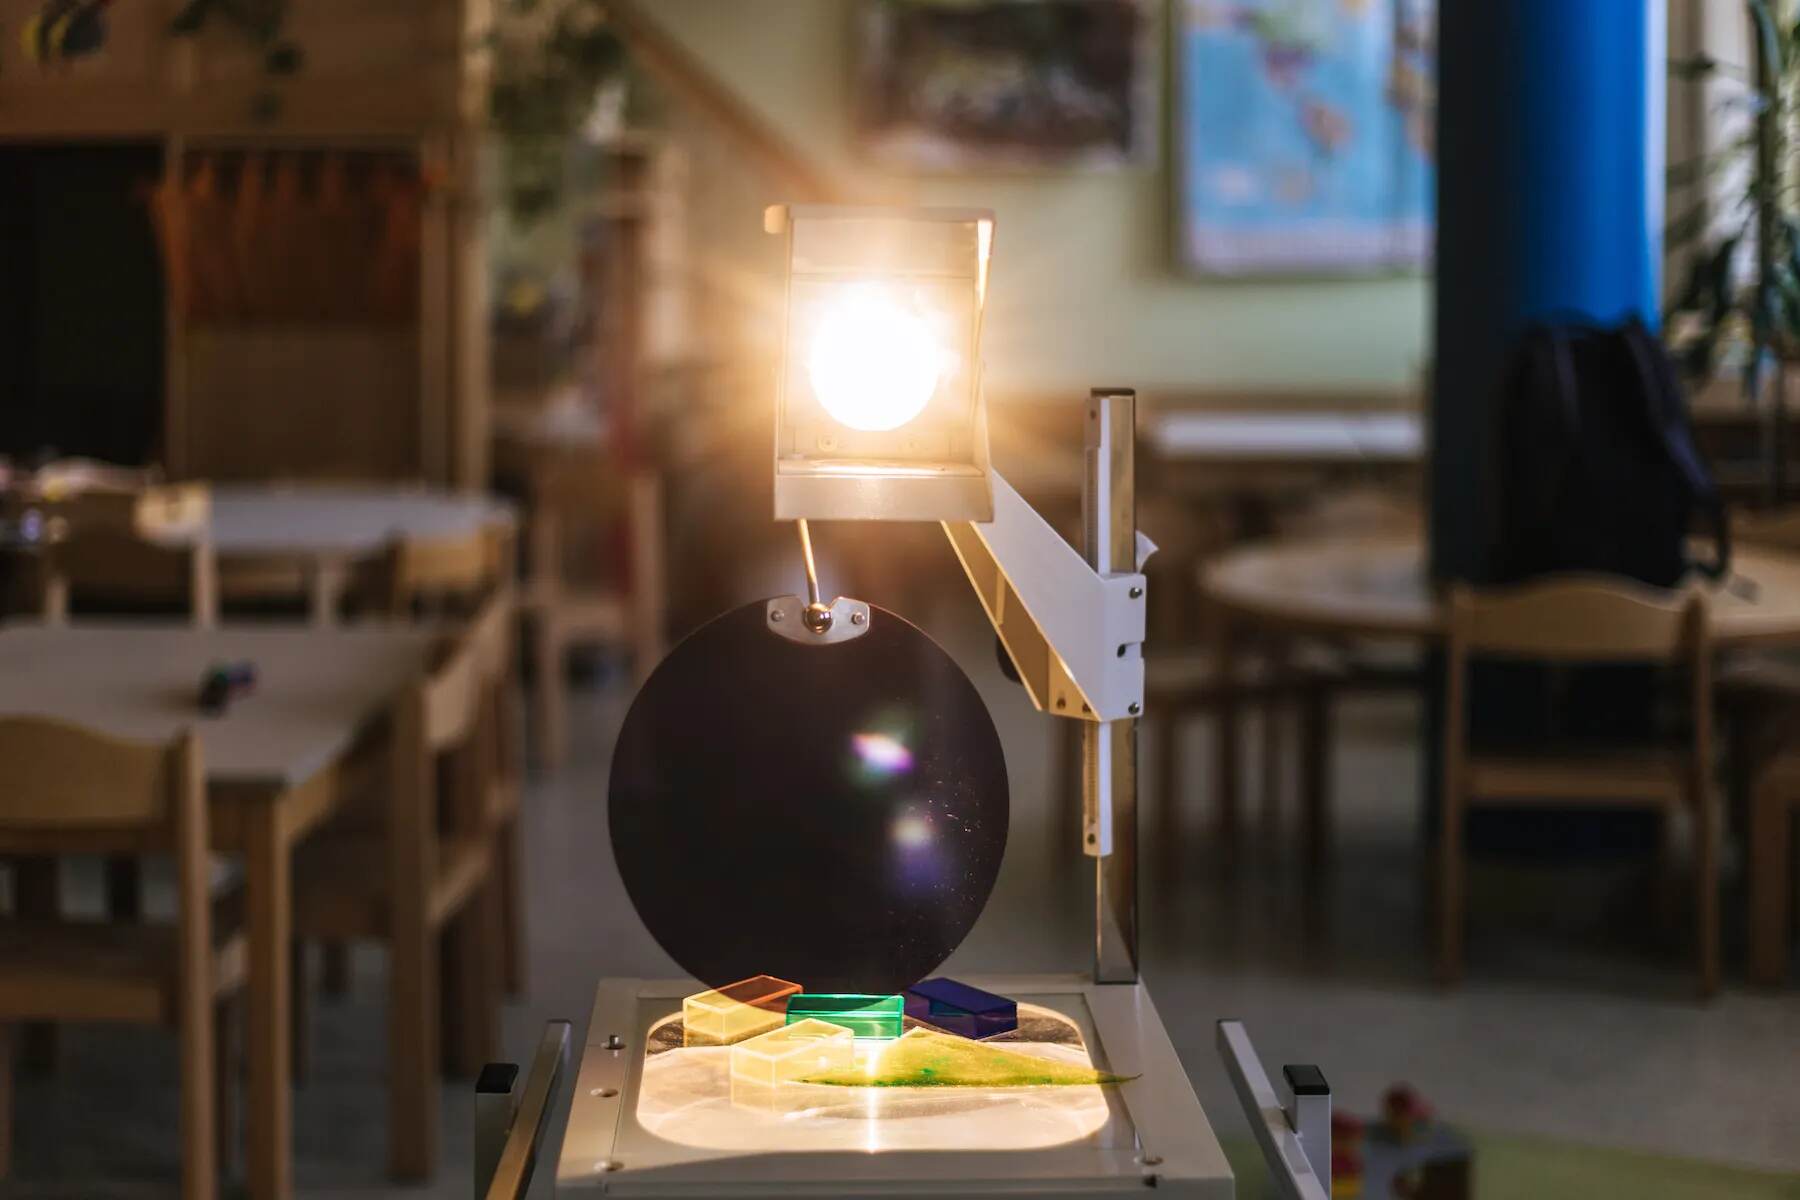
- A magnifying glass or a convex lens
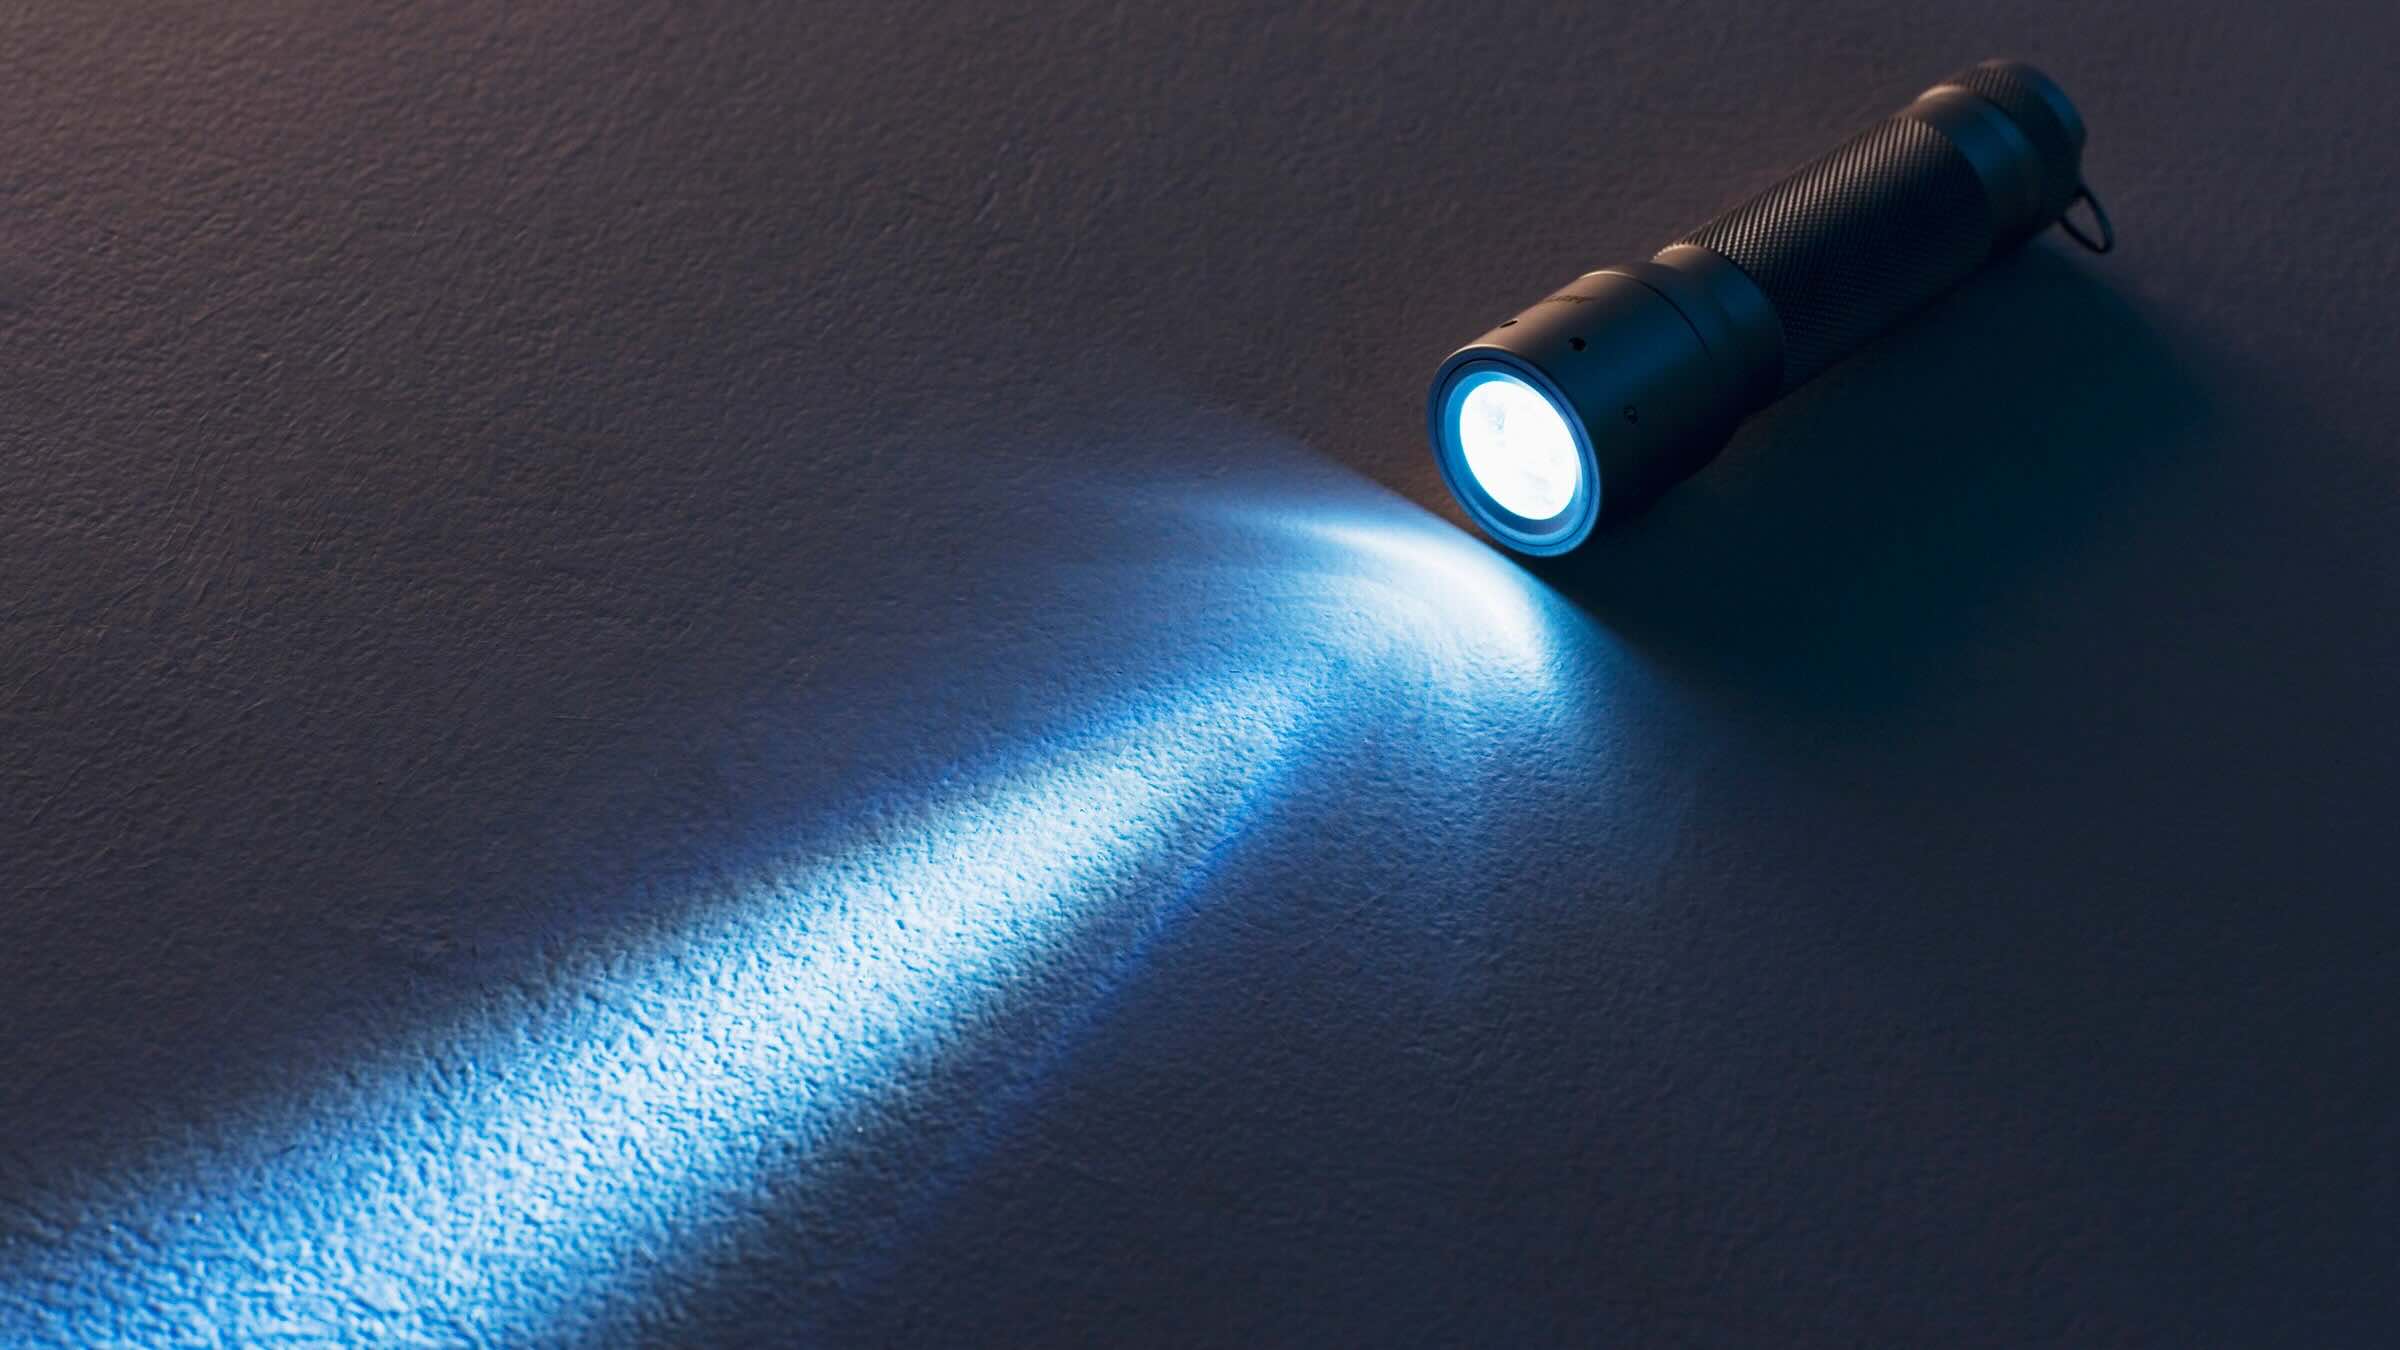
- A small, high-intensity flashlight
- A utility knife or scissors
- A ruler
- A pencil
- A smartphone or any device with digital content for projection
- A dark room with a blank wall or a large, smooth surface
With these basic materials in hand, you’re well-equipped to embark on this engaging and enlightening DIY adventure.
Steps to Make a Projector with a Flashlight
Now that you have assembled all the necessary materials, let’s dive into the exciting process of crafting your very own projector using a flashlight. Follow these step-by-step instructions to bring your DIY projector to life:
- Prepare the Box: Begin by selecting a sturdy cardboard box or a shoebox that is large enough to house the components and accommodate the projection. Ensure that the box is deep enough to allow ample space for the flashlight and the lens.
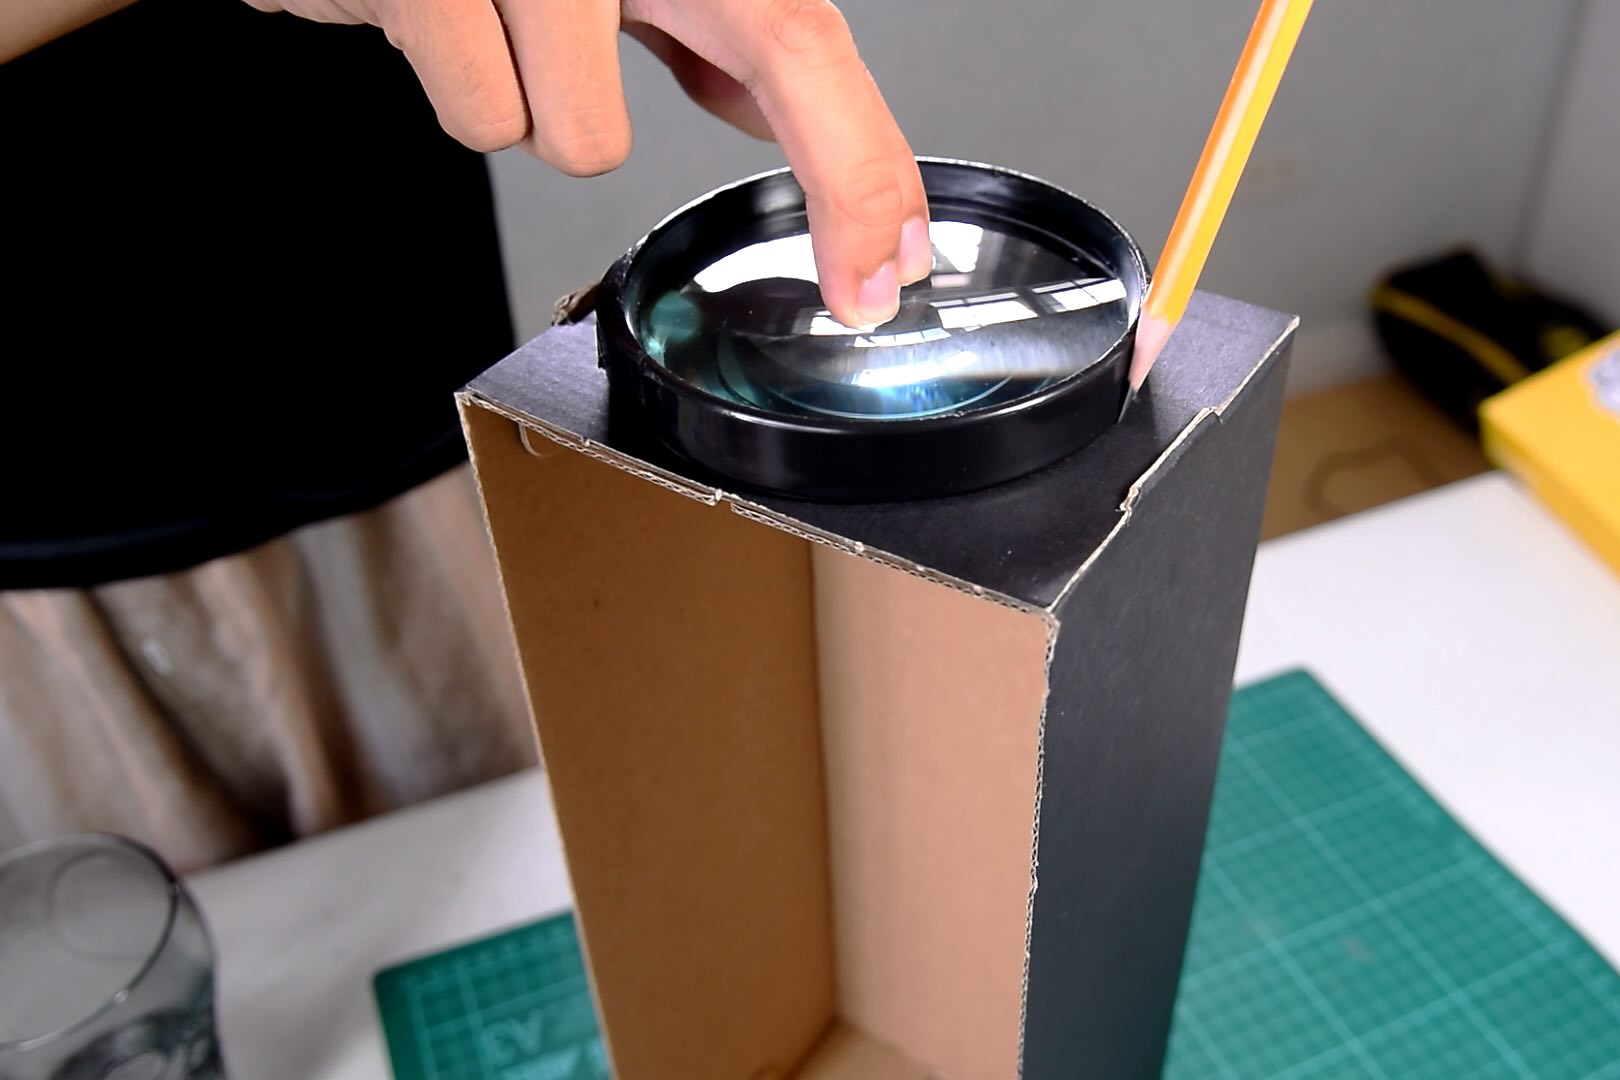
- Create an Opening: Using a utility knife or scissors, carefully cut a square or circular opening in one side of the box. This will serve as the aperture through which the light will pass and the image will be projected. The size of the opening should match the dimensions of the magnifying glass or lens that you will be using.
- Position the Lens: Place the magnifying glass or convex lens over the aperture, ensuring that it fits snugly and remains stable. The lens will act as the projector’s primary optical component, responsible for focusing and projecting the light from the flashlight.
- Secure the Lens: Once the lens is positioned correctly, use tape or hot glue to secure it in place. It’s crucial to affix the lens firmly to prevent any movement or misalignment during the projection process.
- Insert the Flashlight: Inside the box, create a small platform or holder to keep the flashlight in place. Position the flashlight so that its beam aligns with the center of the lens. This alignment is crucial for achieving a clear and well-defined projection.
- Adjust the Focus: With the flashlight turned on, adjust the distance between the lens and the surface onto which the image will be projected. This step may require some trial and error to achieve optimal focus and clarity. Experiment with different distances until the projected image appears sharp and well-defined.
- Connect the Content: Using your smartphone or digital device, select the image or video that you wish to project. Place the device behind the lens, ensuring that the content is aligned with the focal point. This alignment is essential for ensuring that the projected image appears correctly and without distortion.
- Dim the Lights: To enhance the visibility of the projected image, conduct the demonstration in a dimly lit or dark room. This will minimize ambient light interference and allow the projected content to stand out clearly on the surface.
By following these straightforward steps, you can successfully create a functional projector using a flashlight and a few basic materials. Now, it’s time to explore some valuable tips for using your homemade projector to its fullest potential.
You can make a projector with a flashlight by attaching a magnifying glass to the front of the flashlight. This will help focus the light and create a larger, clearer image when shining it onto a surface.
Tips for Using the Homemade Projector
As you embark on the exciting journey of using your homemade projector, consider these valuable tips to optimize your viewing experience and make the most of your innovative creation:
- Optimal Distance: Experiment with the distance between the projector and the surface onto which the image is being cast. Depending on the focal length of your lens and the size of the projected image, adjusting the distance can significantly impact the clarity and sharpness of the projection.
- Image Quality: To achieve the best possible image quality, ensure that the content being projected is of high resolution and clarity. Whether it’s a captivating video or a stunning photograph, the quality of the source material directly influences the visual impact of the projection.
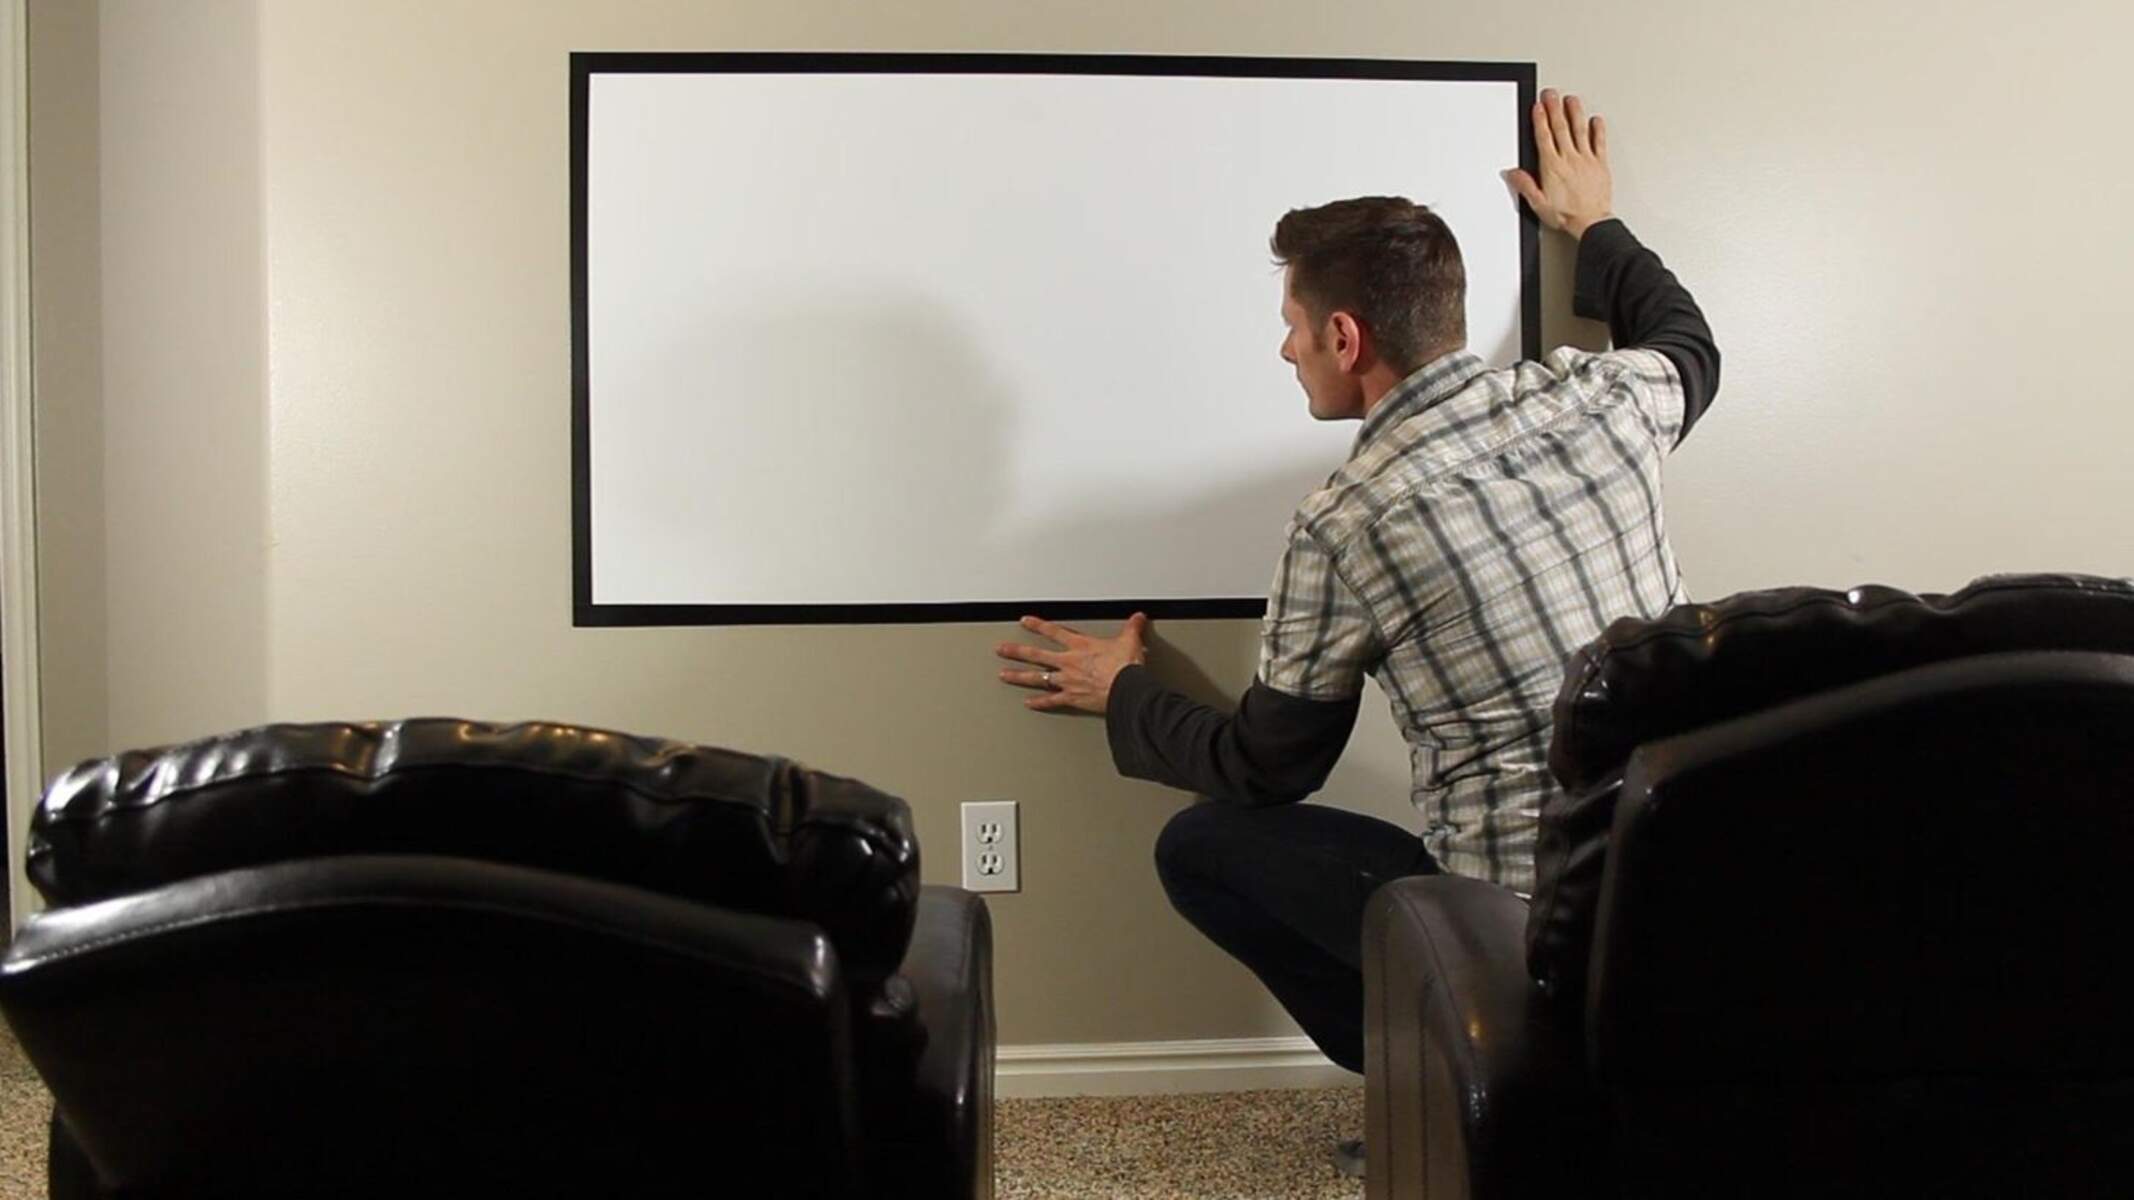
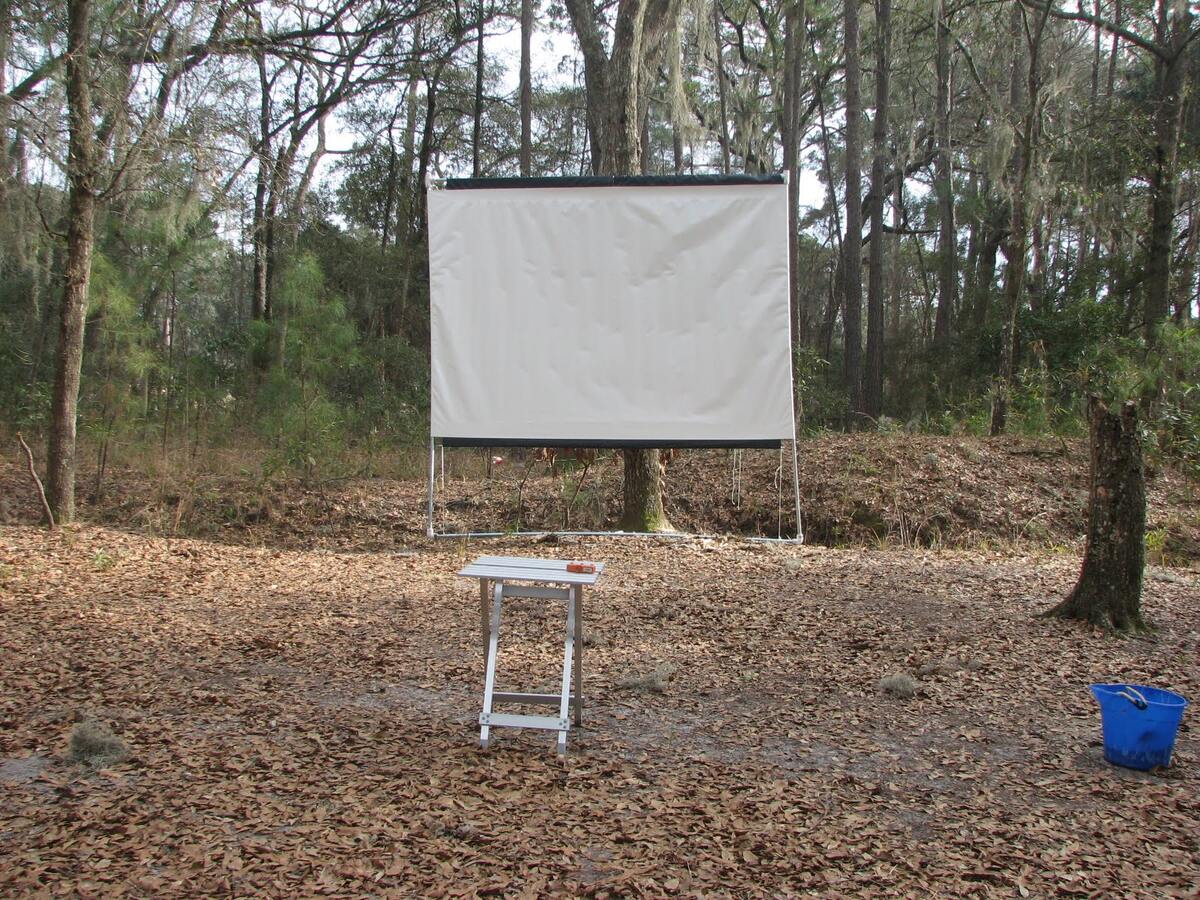
- Surface Selection: Choose a smooth, white, or light-colored surface for projection to enhance the visibility and vibrancy of the images. A blank wall or a projector screen provides an ideal backdrop for showcasing your projected content with maximum clarity.
- Ambient Lighting: While a dark room is conducive to optimal projection, consider incorporating subtle ambient lighting to create a cozy and inviting atmosphere. Experiment with soft, indirect lighting to complement the projected images without detracting from their visual impact.
- Stable Positioning: Once you have achieved the desired focus and clarity, ensure that the projector and the surface are stably positioned. This will prevent unintended movement or displacement, allowing you to enjoy uninterrupted viewing of your projected content.
- Content Variety: Explore a diverse range of content to project, including educational videos, captivating visuals, and immersive animations. The versatility of your homemade projector allows for a wide array of entertainment and educational possibilities.
- Interactive Learning: Leverage the homemade projector as a tool for interactive learning and engaging presentations. Whether it’s showcasing educational videos or delivering captivating visual demonstrations, the projector can enrich learning experiences in a dynamic and memorable manner.
- Share the Experience: Gather friends, family, or fellow enthusiasts to share the excitement of your homemade projector. Host movie nights, educational sessions, or creative showcases to spread the joy of DIY innovation and collaborative entertainment.
By incorporating these tips into your projector usage, you can elevate the viewing experience and unlock the full potential of your homemade creation. Now, armed with these insights, let’s wrap up our illuminating journey.
Conclusion
Congratulations on successfully crafting your very own projector using a flashlight and a few basic materials. This engaging DIY project not only exemplifies the ingenuity of repurposing everyday items but also underscores the captivating intersection of science, creativity, and entertainment.
As you bask in the glow of your homemade projector, take pride in the hands-on learning experience and the sense of accomplishment that accompanies your DIY endeavor. By harnessing the principles of light and optics, you have unlocked a world of possibilities, transforming a simple flashlight into a powerful tool for projection.
Whether you’re using your homemade projector for educational demonstrations, immersive movie nights, or creative showcases, remember that the journey doesn’t end here. Embrace the spirit of experimentation, exploration, and shared experiences as you continue to uncover the potential of your innovative creation.
As you venture forth with your newfound knowledge and hands-on skills, consider the myriad ways in which DIY projects like this one can enrich your understanding of science, technology, and the boundless realm of innovation. Let this project serve as a beacon of inspiration, igniting your curiosity and passion for hands-on learning.
So, as you embark on your next DIY adventure, may the light of creativity and innovation continue to shine brightly, illuminating the path to discovery and delight. With your homemade projector as a testament to your resourcefulness and creativity, the possibilities are as limitless as the light that now dances across your homemade screen.
Now, go forth and let your homemade projector project not just images, but also the spirit of ingenuity and the joy of hands-on creation.
Excited about your newfound skills in crafting a projector with just a flashlight? Why stop there? Dive into our detailed guide on creating a homemade projector from scratch. With practical advice and simple materials, you can easily expand your DIY entertainment arsenal. Whether you're planning a cozy movie night or a fun educational session for kids, mastering the art of building your own projector adds a personal touch to every viewing experience. Ready to enhance your crafting skills further? Check out our next feature!
Frequently Asked Questions about How To Make A Projector With A Flashlight
Was this page helpful?
At Storables.com, we guarantee accurate and reliable information. Our content, validated by Expert Board Contributors, is crafted following stringent Editorial Policies. We're committed to providing you with well-researched, expert-backed insights for all your informational needs.

0 thoughts on “How To Make A Projector With A Flashlight”