Home>Technology>Home Entertainment Systems>How To Cast Phone To Projector
Home Entertainment Systems
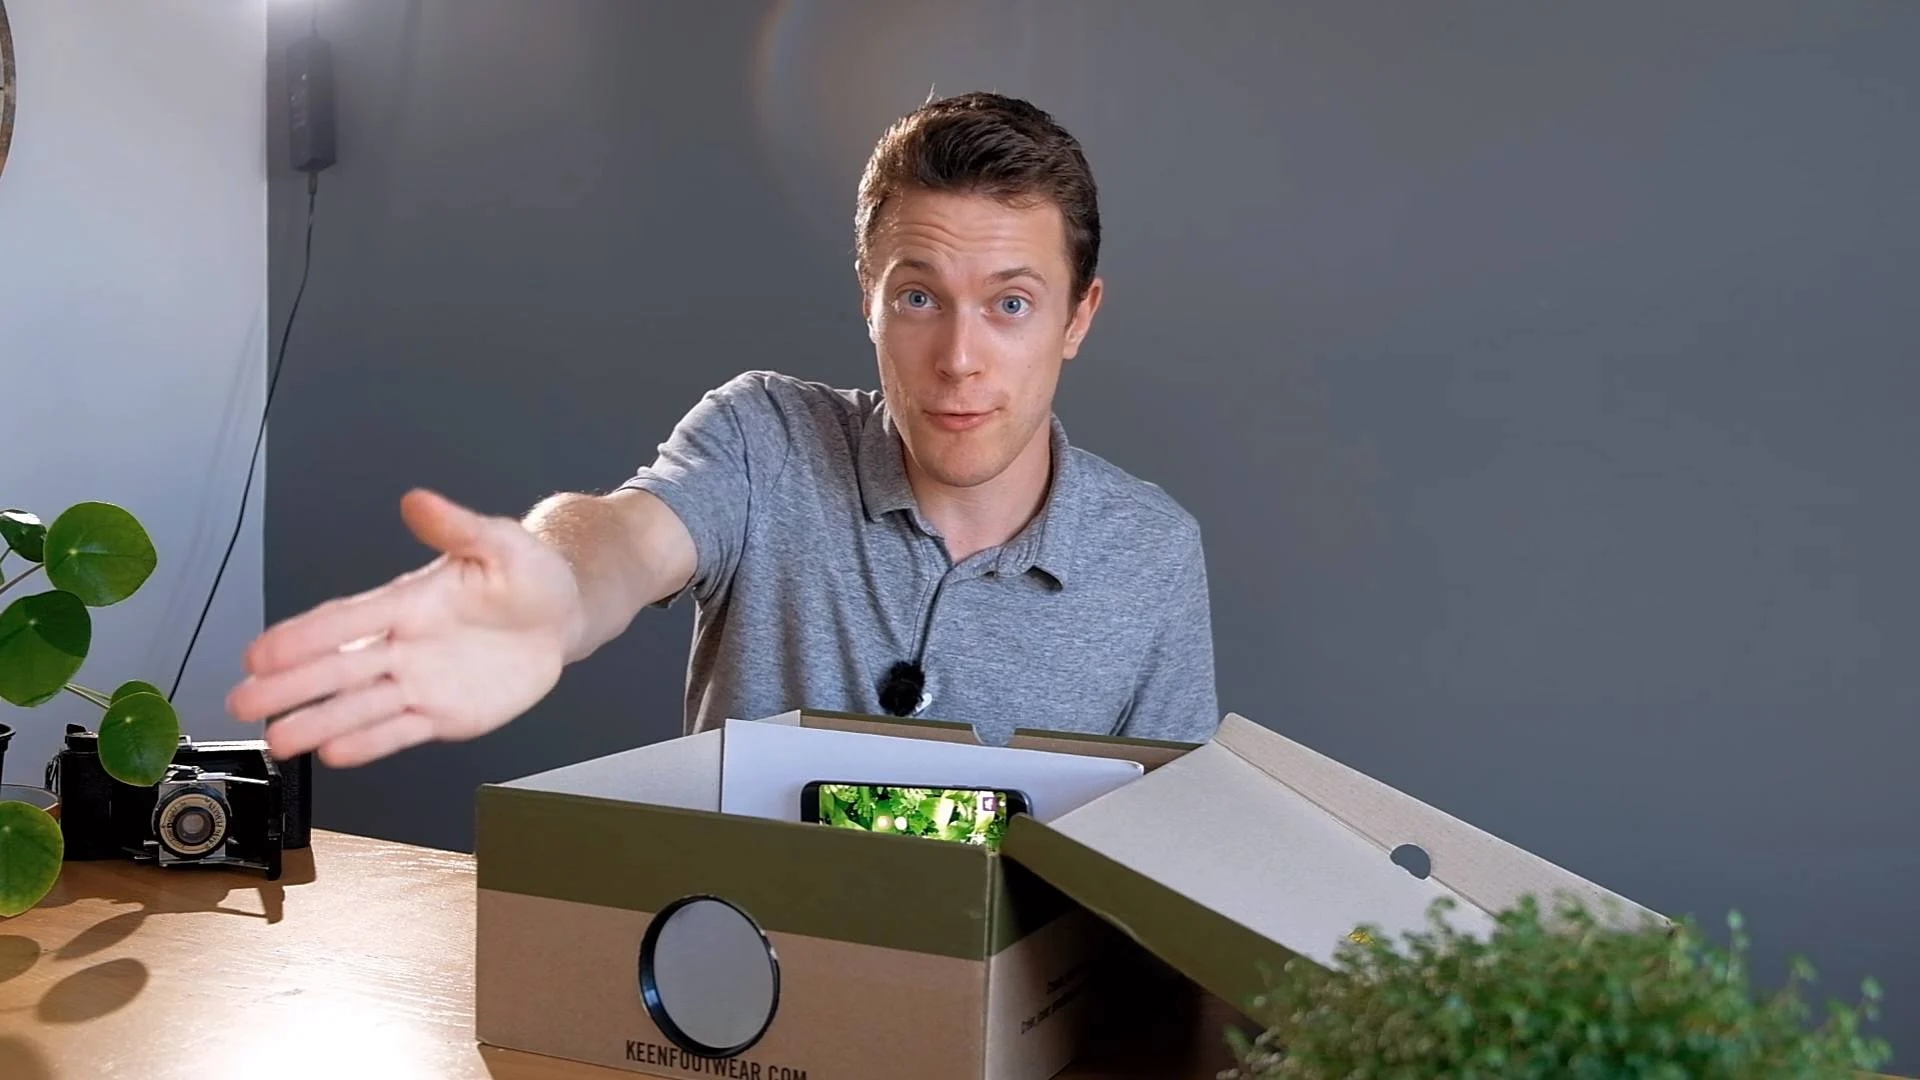
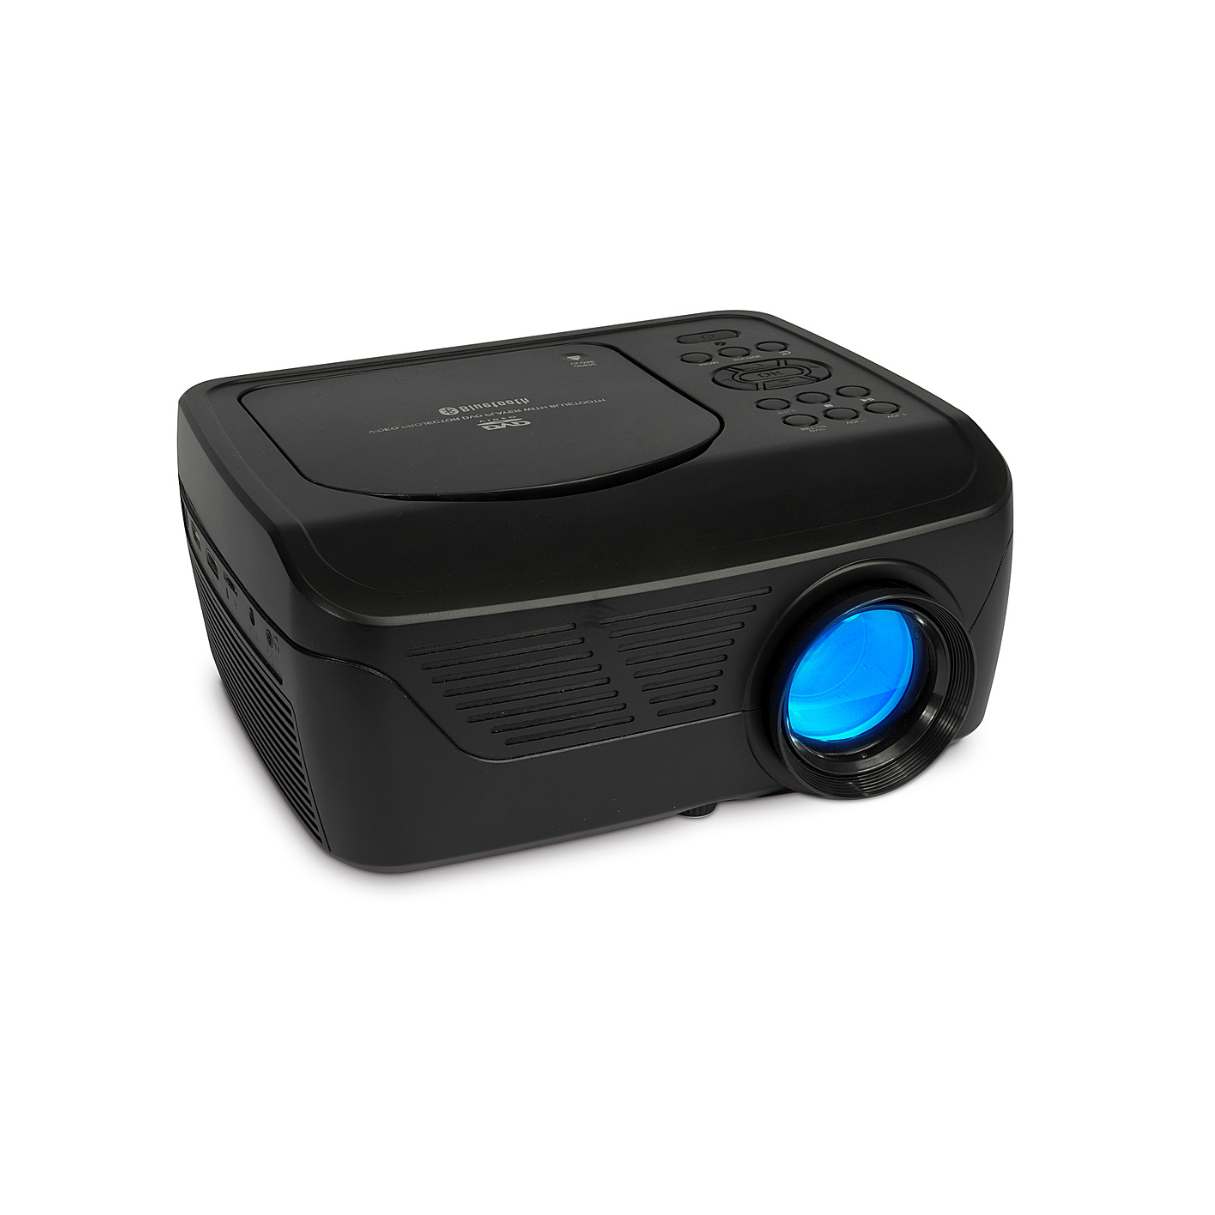
How To Cast Phone To Projector
Published: December 30, 2023
Learn how to cast your phone to a projector and enhance your home entertainment system. Follow these simple steps for seamless casting and enjoy your favorite content on the big screen. Elevate your viewing experience today!
(Many of the links in this article redirect to a specific reviewed product. Your purchase of these products through affiliate links helps to generate commission for Storables.com, at no extra cost. Learn more)
Introduction
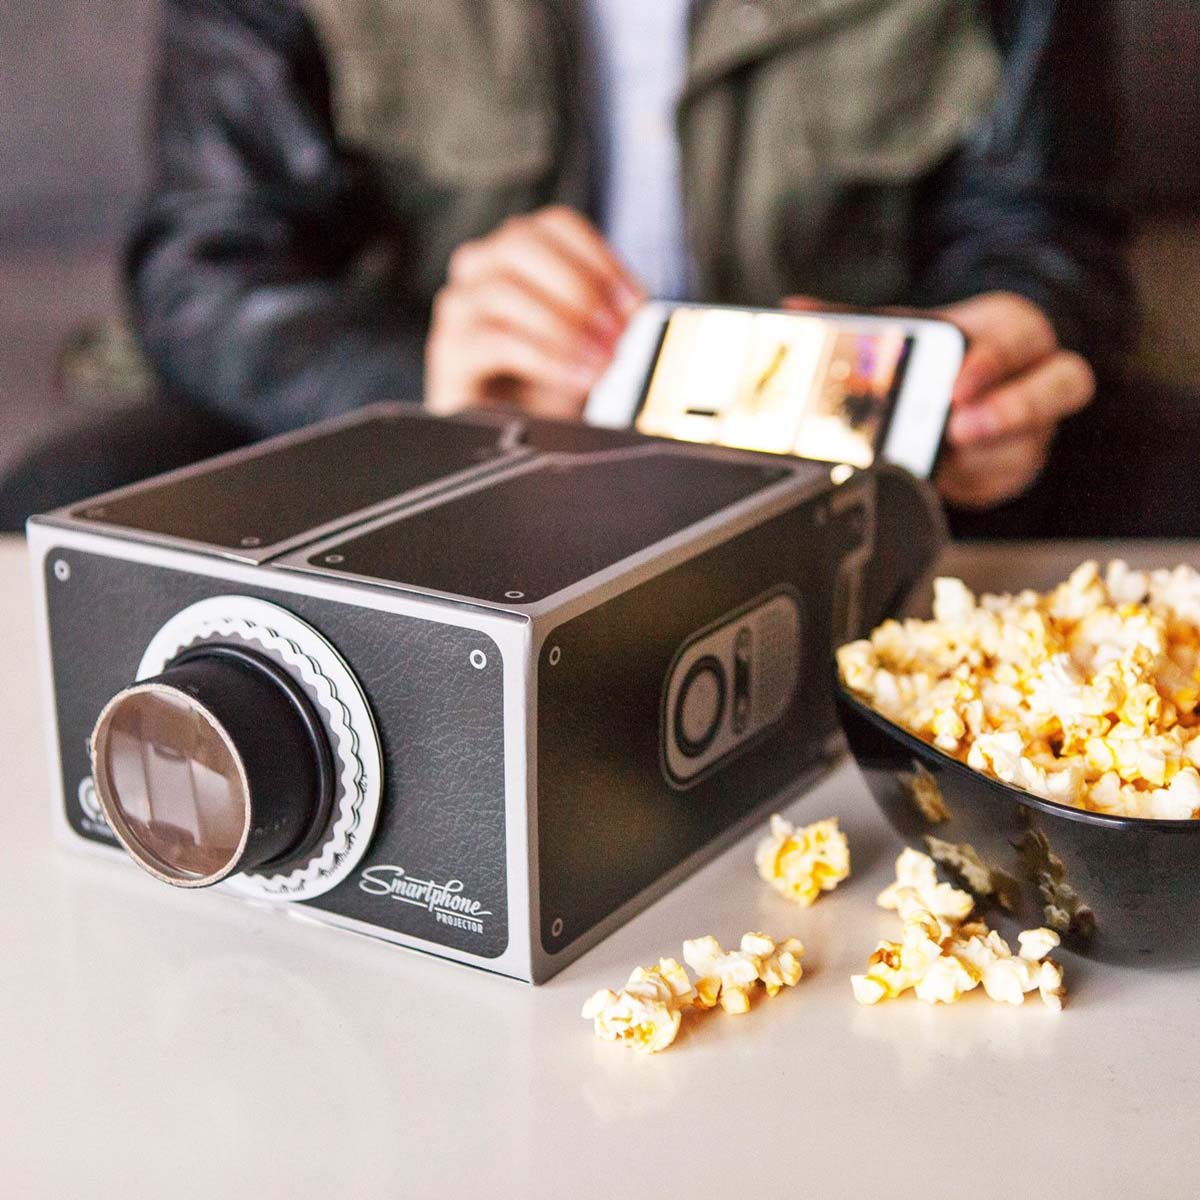
Welcome to the world of home entertainment systems, where the boundaries between cinematic experiences and the comfort of your living room blur into a seamless fusion of technology and relaxation. One of the most exciting features of modern home entertainment setups is the ability to cast your phone to a projector, unleashing a world of possibilities for viewing your favorite content on a larger screen.
In this comprehensive guide, we will delve into the intricacies of casting your phone to a projector, exploring the underlying technology, the step-by-step process of connecting your devices, optimizing display settings for the best visual experience, troubleshooting common issues, and much more.
Whether you're a seasoned tech enthusiast or a newcomer to the realm of home entertainment, this guide is designed to equip you with the knowledge and skills to seamlessly integrate your phone with a projector, transforming your viewing experience into something truly extraordinary.
So, grab your popcorn, settle into your favorite spot, and let's embark on a journey to unlock the full potential of your home entertainment system.
Key Takeaways:
- Transform your home entertainment experience by seamlessly casting your phone to a projector, unlocking a world of captivating movies, photos, and gaming adventures on the big screen.
- Understand the technology, connect your devices, optimize display settings, and troubleshoot common issues to create a seamless and immersive phone-to-projector casting experience.
Read more: What Phone Has A Projector
Understanding the Technology
Before delving into the process of casting your phone to a projector, it’s essential to grasp the underlying technology that makes this seamless integration possible. At the heart of this capability lies the concept of screen mirroring, which enables you to replicate the content displayed on your phone onto a larger screen, such as a projector or a television.
Screen mirroring is made possible through a variety of technologies, including Wi-Fi Direct, Miracast, AirPlay, and Chromecast. These technologies facilitate the wireless transmission of audio and video signals from your phone to the projector, creating a synchronized display that mirrors the content on your phone’s screen.
Wi-Fi Direct allows for direct communication between your phone and the projector without the need for a traditional Wi-Fi network, making it a convenient option for casting content in environments where a stable Wi-Fi connection may be unavailable. Miracast, on the other hand, enables seamless screen mirroring between compatible devices, providing a versatile solution for projecting your phone’s screen onto a larger display.
For Apple users, AirPlay offers a seamless way to stream content from iOS devices to AirPlay-enabled projectors, delivering high-quality audio and video playback with minimal latency. Meanwhile, Chromecast leverages the power of your home Wi-Fi network to cast content from a wide range of supported apps directly to the projector, offering a user-friendly and versatile casting solution.
By understanding the technology that underpins screen mirroring and phone-to-projector casting, you’ll be better equipped to navigate the setup process and troubleshoot any potential issues that may arise. With this foundational knowledge in place, let’s now explore the step-by-step process of connecting your phone to the projector and unleashing the full potential of your home entertainment system.
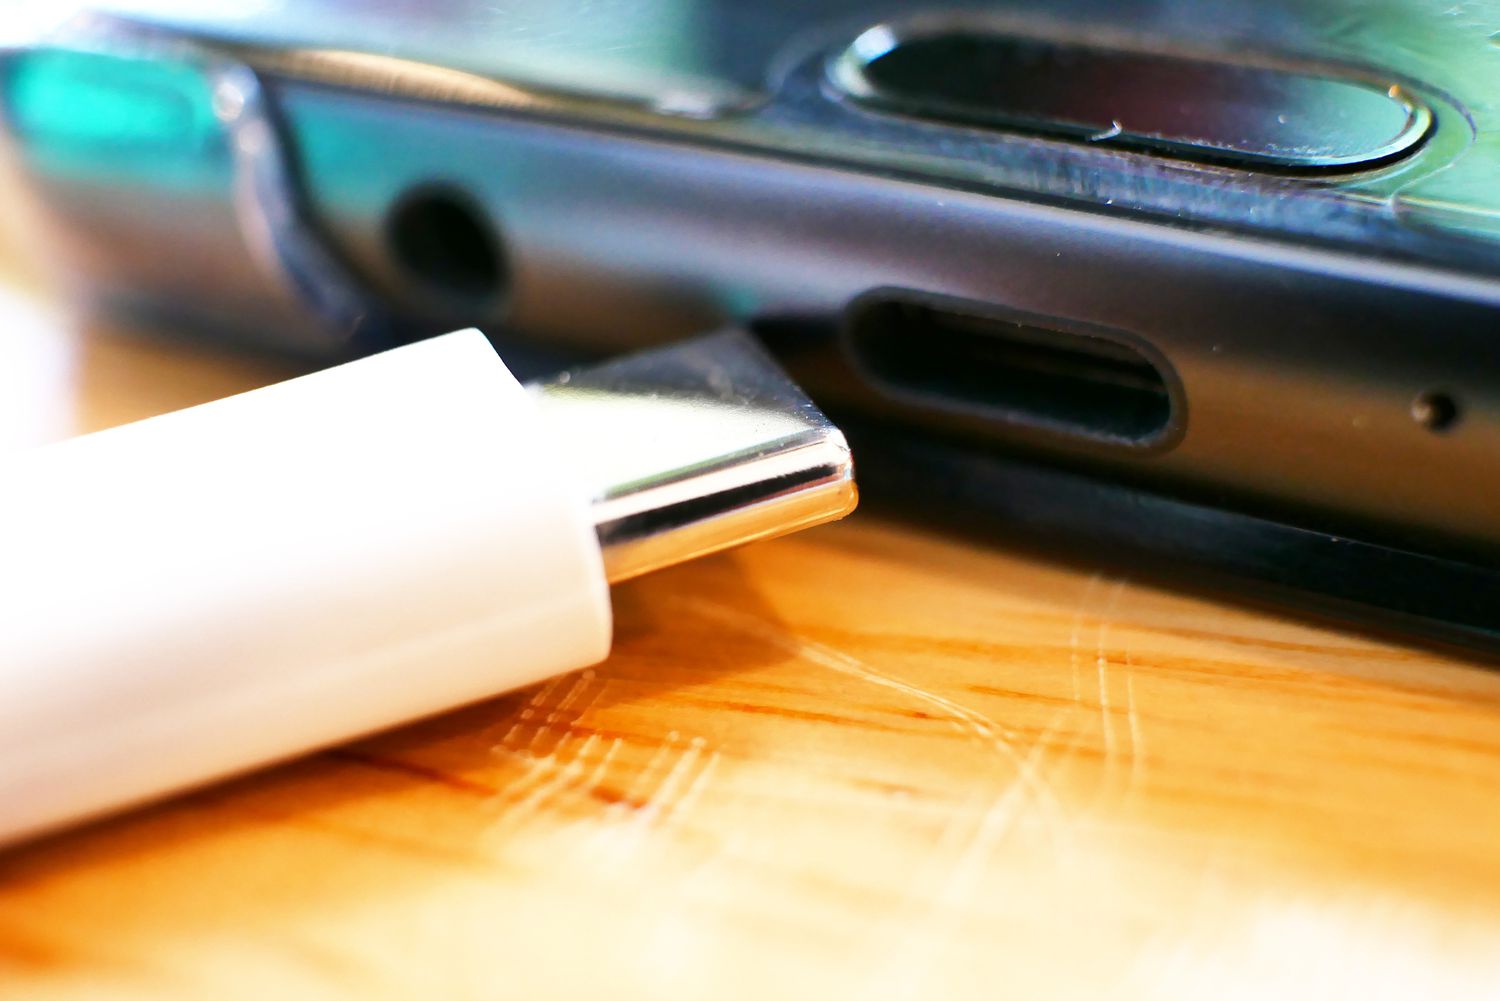
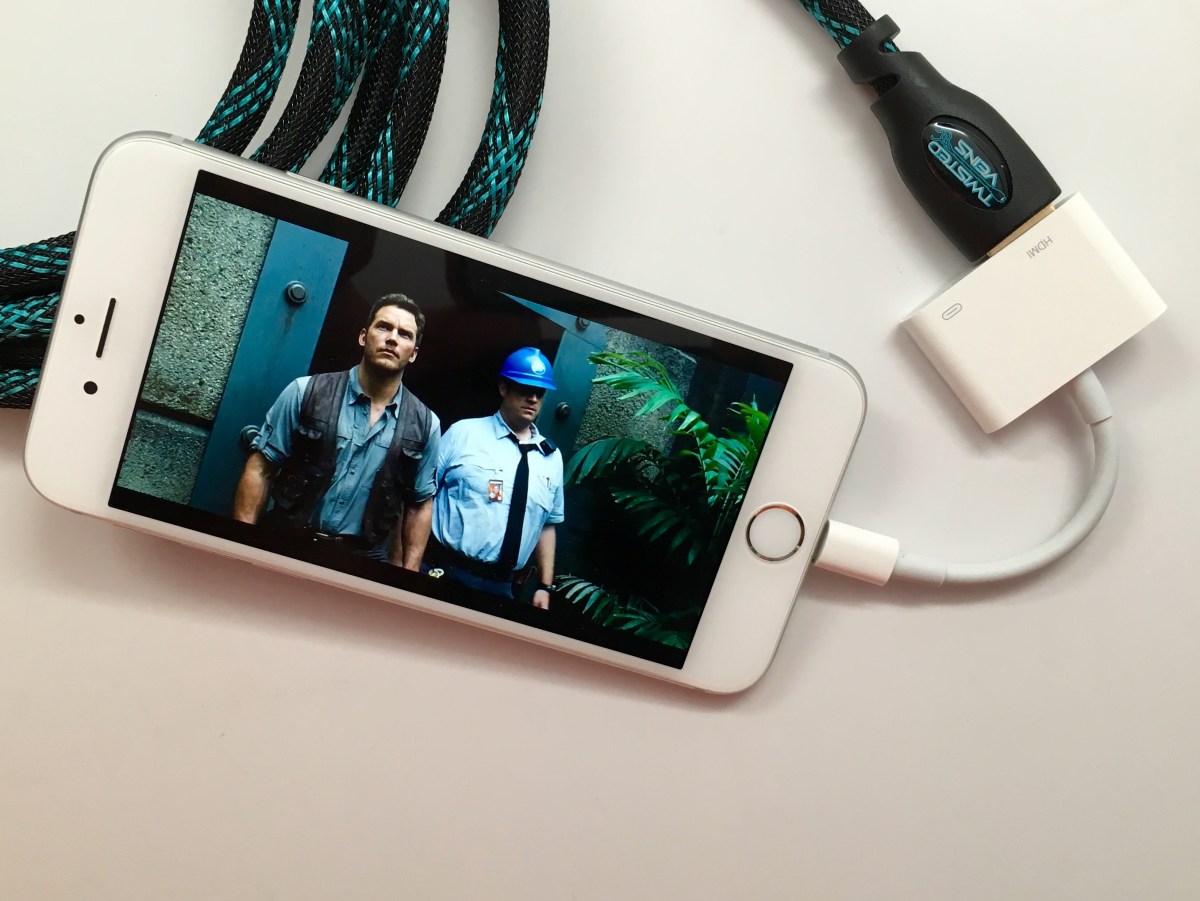
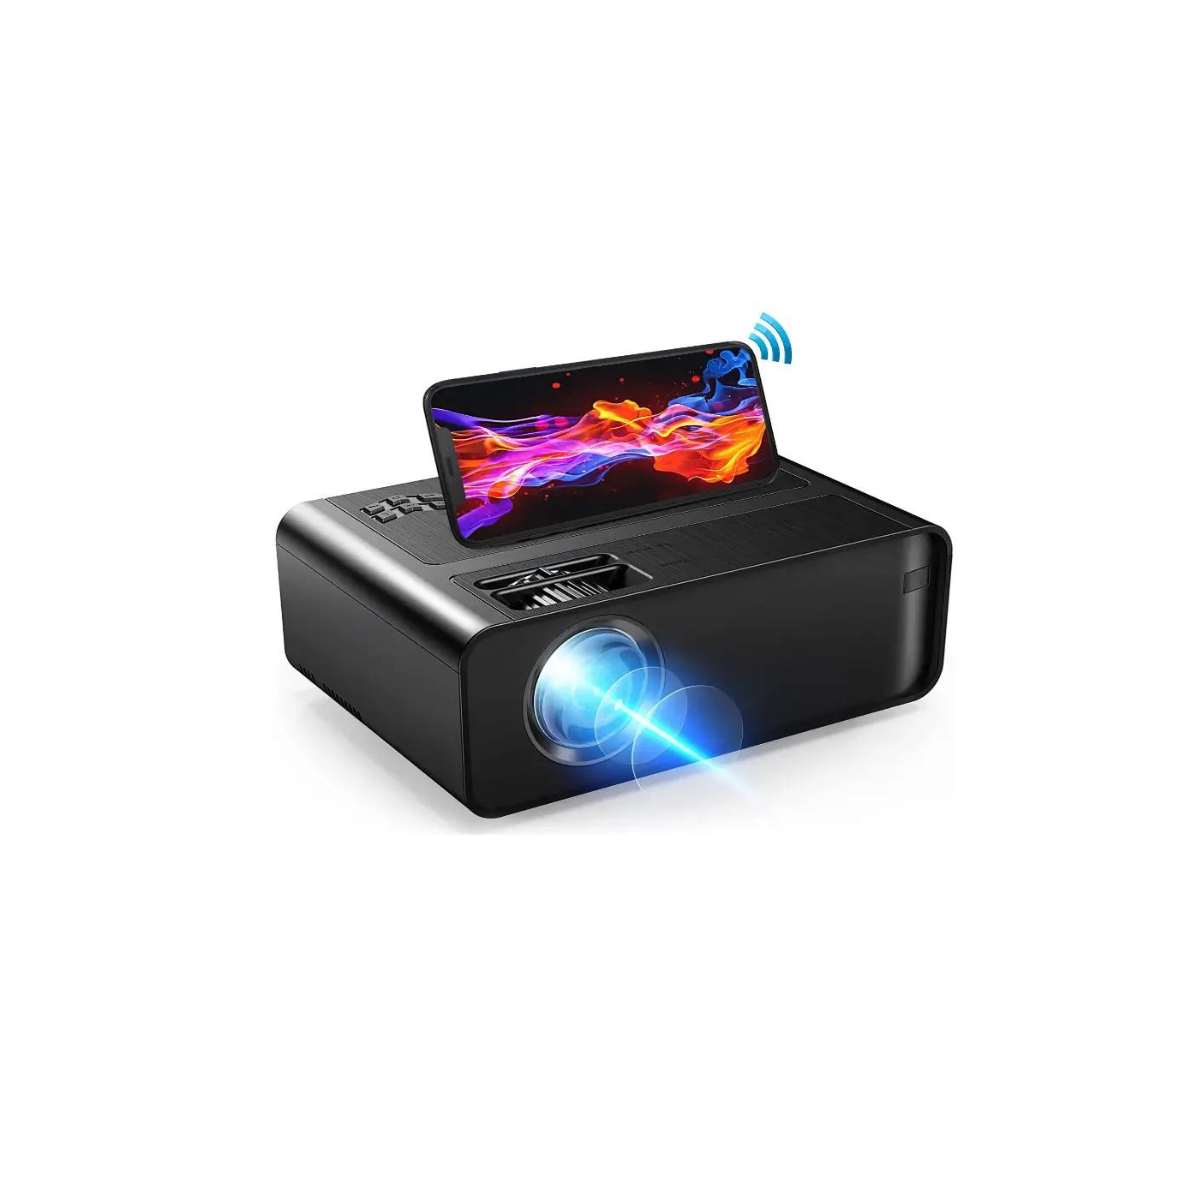
Connecting Your Phone to the Projector
Now that we’ve gained insight into the technology that enables phone-to-projector casting, let’s dive into the step-by-step process of connecting your phone to the projector for an immersive viewing experience.
1. Check Compatibility: Before initiating the connection, ensure that your phone and the projector are compatible for screen mirroring. While many modern smartphones and projectors support screen mirroring technologies such as Miracast, AirPlay, and Chromecast, it’s important to verify the compatibility of your specific devices to ensure a seamless connection.
2. Activate Screen Mirroring: On your phone, navigate to the settings menu and look for the screen mirroring or casting option. Depending on your device’s operating system (iOS, Android, etc.), this setting may be located in different menus. Activate the screen mirroring feature to enable your phone to broadcast its display to the projector.
3. Connect to the Projector: Power on the projector and ensure that it’s set to the appropriate input source for screen mirroring. Once the projector is ready, select it from the list of available devices on your phone’s screen mirroring menu. Establish the connection, and your phone’s display should now be mirrored onto the projector’s screen.
4. Adjust Display Settings: With the connection established, you may need to fine-tune the display settings to optimize the visual experience. This can include adjusting the aspect ratio, resolution, and screen orientation to ensure that the content is displayed correctly and in the best possible quality on the projector.
5. Explore Content: Once the connection is successfully established and the display settings are optimized, it’s time to explore the vast array of content available on your phone. Whether it’s streaming your favorite movies, sharing captivating photos, or enjoying immersive gaming experiences, the ability to cast your phone to the projector opens up a world of entertainment possibilities.
By following these steps, you can seamlessly connect your phone to the projector, unlocking a new dimension of visual content and transforming your home entertainment setup into a captivating cinematic experience.
Make sure your phone and projector are connected to the same Wi-Fi network. Then, use a casting app like Chromecast or Miracast to wirelessly connect your phone to the projector.
Adjusting Settings for Optimal Display
Now that your phone is successfully connected to the projector, it’s time to ensure that the display settings are optimized for an immersive and visually stunning experience. Fine-tuning the settings will allow you to make the most of the larger screen real estate offered by the projector, enhancing the clarity, color accuracy, and overall visual impact of the content being displayed.
1. Aspect Ratio: Start by adjusting the aspect ratio to match the content you’re viewing. Most projectors offer a range of aspect ratio options, including 4:3, 16:9, and more. Selecting the appropriate aspect ratio ensures that the content is displayed in its intended dimensions, preventing distortion and preserving the original visual composition.
2. Resolution: Depending on the capabilities of your projector and the resolution of the content being cast from your phone, it’s important to set the projector’s resolution to achieve the best possible image quality. Opt for the highest resolution supported by both your phone and the projector to enjoy crisp, detailed visuals.
3. Color Calibration: Many projectors provide color calibration settings that allow you to adjust the color temperature, contrast, and saturation to achieve accurate and vibrant colors. Experiment with these settings to find the optimal balance that enhances the richness and depth of the visuals without sacrificing natural color reproduction.
4. Keystone Correction: In instances where the projector is not positioned perpendicular to the projection surface, keystone correction can be used to adjust the projected image and rectify any distortion caused by the angle of projection. This feature ensures that the content is displayed without any unwanted skewing or trapezoidal distortion.
5. Screen Orientation: Depending on the orientation of the projected content and the layout of your viewing area, you may need to adjust the screen orientation settings on the projector to ensure that the content is displayed in the desired orientation, whether it’s landscape or portrait mode.
By meticulously adjusting these settings, you can tailor the projector’s display to suit your preferences and the specific characteristics of the content being cast from your phone. This level of customization empowers you to create a visually optimized viewing experience that brings your favorite movies, photos, and games to life on the expansive canvas of the projector screen.
Troubleshooting Common Issues
While casting your phone to a projector can elevate your home entertainment experience, it’s not uncommon to encounter occasional hiccups along the way. Understanding and addressing common issues that may arise during the casting process can help ensure a seamless and uninterrupted viewing experience.
1. Interference and Signal Dropout: If you experience intermittent signal dropout or poor connectivity during screen mirroring, consider reducing potential sources of interference, such as other wireless devices operating in close proximity. Additionally, ensuring that both your phone and the projector are within optimal range of the Wi-Fi network or compatible wireless technology can help mitigate connectivity issues.
2. Compatibility Challenges: Incompatibility between your phone and the projector can manifest as connectivity issues or erratic behavior during screen mirroring. Verify that both devices support the same screen mirroring technology, such as Miracast, AirPlay, or Chromecast, and that they are running compatible software versions to facilitate seamless communication.
3. Audio-Visual Synchronization: If you notice a discrepancy between the audio and video playback, leading to out-of-sync audio and visuals, adjusting the audio settings on either your phone or the projector can help restore synchronization. Additionally, ensuring that both devices are running the latest software updates can address potential synchronization issues.
4. Resolution and Display Artifacts: When encountering visual artifacts, pixelation, or resolution mismatch, double-check the resolution settings on both your phone and the projector to ensure that they are aligned. Selecting the appropriate resolution and aspect ratio for the content being cast can help mitigate visual anomalies and deliver a clearer, more immersive viewing experience.
5. Power and Connectivity: In cases where the projector fails to detect your phone or establish a stable connection, verifying the power source and connectivity of both devices is crucial. Ensure that the projector is adequately powered and that your phone’s Wi-Fi or wireless connectivity is functioning optimally to facilitate smooth screen mirroring.
By proactively addressing these common issues and leveraging troubleshooting techniques tailored to the specific challenges you encounter, you can maximize the reliability and performance of your phone-to-projector casting setup, ensuring that your home entertainment experience remains consistently captivating and hassle-free.
Read more: How To Connect TMY Projector To Phone
Conclusion
As we conclude our exploration of casting your phone to a projector, it’s evident that the seamless integration of these devices opens up a world of possibilities for transforming your home entertainment experience. By harnessing the power of screen mirroring technologies and leveraging the expansive canvas of a projector screen, you can elevate your viewing sessions to new heights, whether you’re enjoying blockbuster movies, sharing cherished memories through photos, or immersing yourself in captivating gaming experiences.
Throughout this guide, we’ve delved into the underlying technology that enables phone-to-projector casting, providing insights into the intricacies of screen mirroring and the diverse technologies that facilitate this seamless connection. Understanding the technology behind the process equips you with the knowledge to navigate the setup and troubleshooting aspects with confidence, ensuring a smooth and reliable casting experience.
From the step-by-step process of connecting your phone to the projector to the fine-tuning of display settings for optimal visual impact, we’ve explored the essential elements that contribute to a captivating and immersive viewing experience. By adjusting aspect ratios, resolutions, color settings, and more, you can tailor the projector’s display to suit your preferences, enhancing the clarity, vibrancy, and overall visual appeal of the content being cast from your phone.
Furthermore, we’ve addressed common issues that may arise during the casting process, offering troubleshooting strategies to mitigate connectivity challenges, audio-visual synchronization issues, resolution discrepancies, and other potential obstacles. By proactively addressing these issues, you can ensure that your home entertainment setup consistently delivers a seamless and uninterrupted viewing experience.
As you continue to explore the boundless potential of your home entertainment system, the ability to cast your phone to a projector stands as a testament to the convergence of technology and immersive experiences. Whether you’re creating a captivating home theater environment, sharing memorable moments with loved ones, or indulging in the latest gaming adventures, the fusion of your phone and projector unlocks a realm of entertainment possibilities that are limited only by your imagination.
So, as you embark on your next viewing adventure, may the seamless connection between your phone and projector transport you to a world of visual splendor and captivating content, enriching your home entertainment journey with every cast.
Frequently Asked Questions about How To Cast Phone To Projector
Was this page helpful?
At Storables.com, we guarantee accurate and reliable information. Our content, validated by Expert Board Contributors, is crafted following stringent Editorial Policies. We're committed to providing you with well-researched, expert-backed insights for all your informational needs.


0 thoughts on “How To Cast Phone To Projector”