Home>Technology>Home Entertainment Systems>How To Connect TMY Projector To Phone
Home Entertainment Systems
How To Connect TMY Projector To Phone
Modified: January 8, 2024
Learn how to easily connect your TMY projector to your phone for a seamless home entertainment experience. Discover the ultimate convenience of integrating your devices. Ideal for home entertainment systems.
(Many of the links in this article redirect to a specific reviewed product. Your purchase of these products through affiliate links helps to generate commission for Storables.com, at no extra cost. Learn more)
Introduction
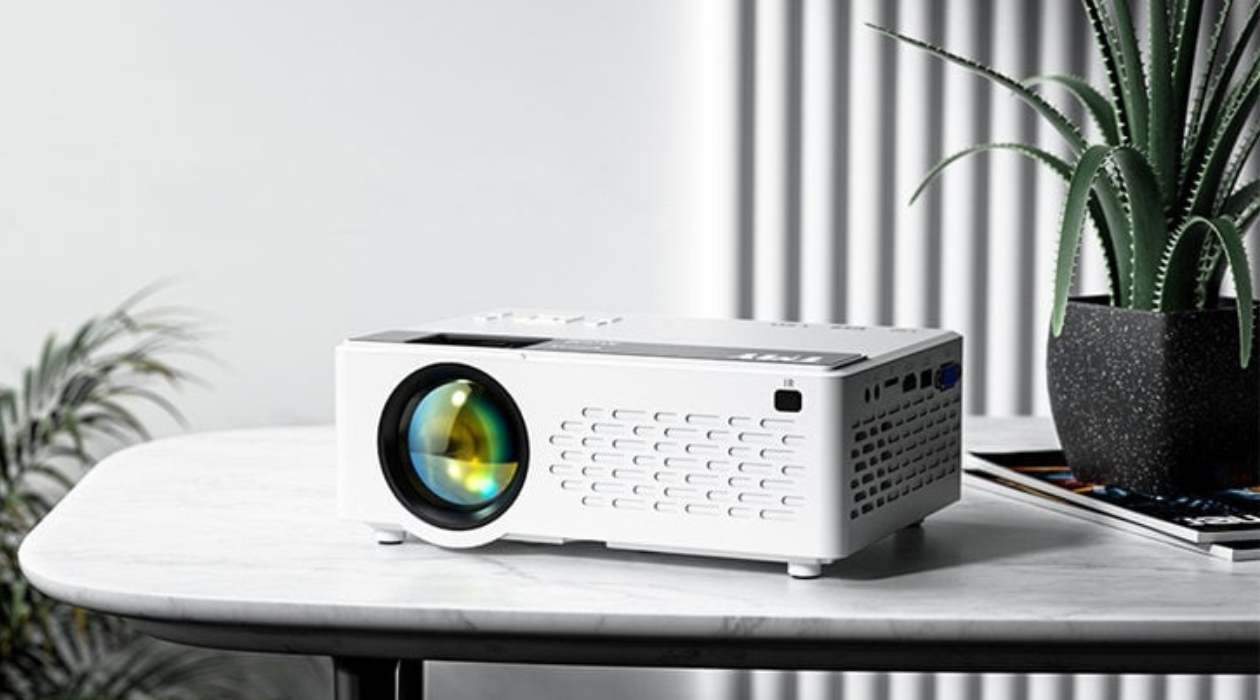
Welcome to the exciting world of home entertainment systems, where the fusion of cutting-edge technology and seamless connectivity opens up a realm of possibilities for immersive viewing experiences. In this guide, we will delve into the seamless integration of your TMY projector with your phone, enabling you to unlock a whole new dimension of entertainment and convenience.
Whether you are a movie enthusiast, a gaming aficionado, or a professional seeking to elevate presentations, the ability to connect your TMY projector to your phone offers unparalleled flexibility and versatility. By harnessing this capability, you can effortlessly stream your favorite content, share captivating presentations, or showcase your creativity on a larger canvas, all from the convenience of your handheld device.
The process of connecting your TMY projector to your phone may seem daunting at first, but fear not, as we will navigate through each step with clarity and precision. From checking compatibility to exploring both wired and wireless connectivity options, we will equip you with the knowledge and confidence to seamlessly integrate your phone with your TMY projector.
So, grab your popcorn, get comfortable, and let's embark on this journey to harness the full potential of your TMY projector by connecting it to your phone. Whether you're aiming to host a captivating movie night, deliver a compelling presentation, or indulge in immersive gaming, the fusion of your TMY projector and phone will undoubtedly elevate your home entertainment experience to new heights. Let's dive in and unlock the seamless connectivity that awaits!
Key Takeaways:
- Seamlessly connect your TMY projector to your phone for immersive entertainment, dynamic presentations, and collaborative experiences. Whether using HDMI or wireless screen mirroring, unlock a realm of captivating possibilities with ease.
- Fine-tune settings on your phone and projector to optimize the viewing experience. Tailor display resolutions, audio output, and projection settings for precision and clarity, elevating your immersive encounters with multimedia content.
Step 1: Check Compatibility
Before embarking on the process of connecting your TMY projector to your phone, it’s essential to ensure that both devices are compatible and equipped with the necessary features for seamless integration. Here’s how to check the compatibility:
- Phone Compatibility: Begin by verifying that your phone supports screen mirroring or HDMI output. Most modern smartphones, including Android and iOS devices, offer screen mirroring functionality. You can typically find this feature within the settings or display options on your phone. Additionally, some Android devices may support MHL (Mobile High-Definition Link) or SlimPort technology, allowing for direct HDMI connectivity.
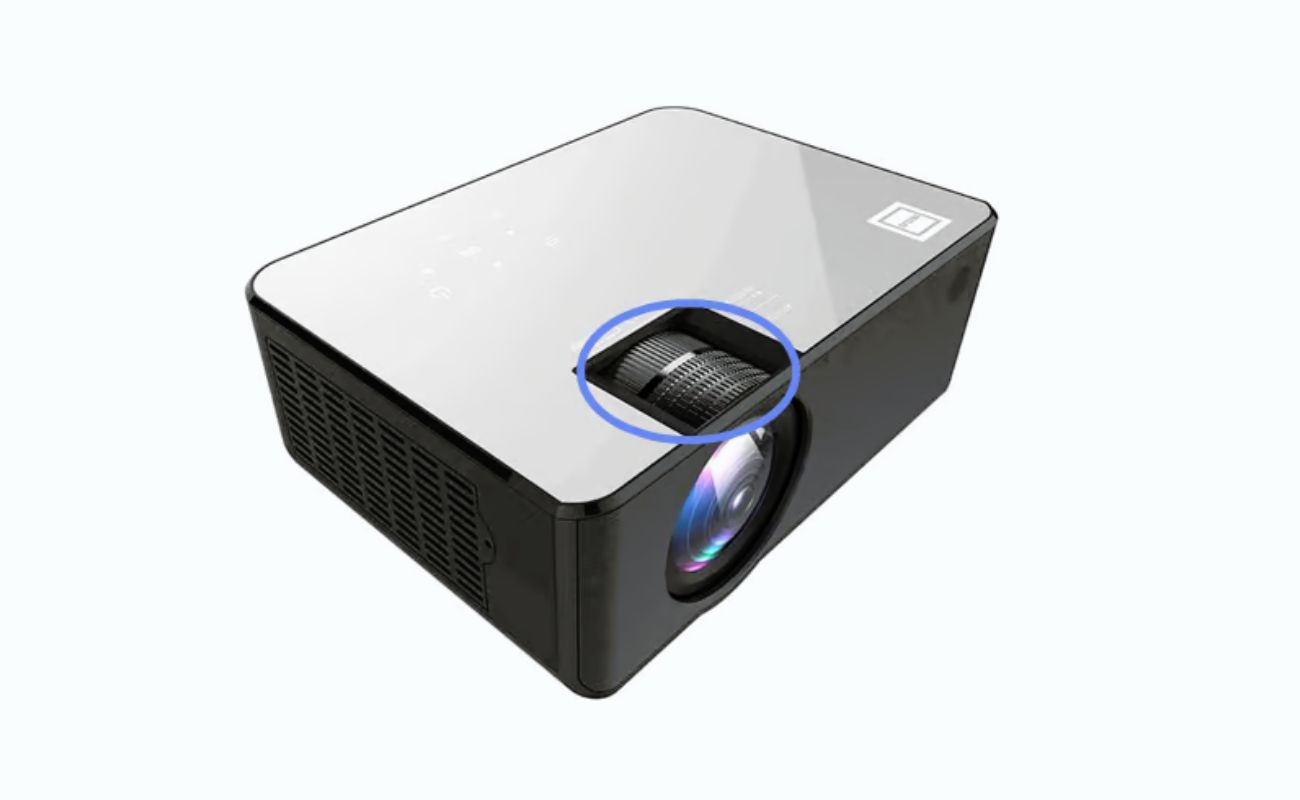
- Projector Compatibility: Check if your TMY projector is equipped with HDMI input ports or supports wireless screen mirroring technologies such as Miracast, AirPlay, or Chromecast. This information can usually be found in the user manual or specifications of the projector. If your projector offers Wi-Fi connectivity, it may support wireless screen mirroring, simplifying the connection process.
- Operating System Compatibility: Ensure that your phone’s operating system is compatible with the screen mirroring or HDMI output requirements. For example, iOS devices may require specific adapters or wireless protocols for HDMI connectivity, while Android devices may offer native support for screen mirroring.
By confirming the compatibility of your phone and TMY projector, you can proceed with confidence, knowing that the necessary features and connectivity options are available. In the next steps, we will explore the process of connecting your devices via HDMI cable and wireless screen mirroring, allowing you to seamlessly bridge the digital gap between your phone and TMY projector.
Step 2: Connect via HDMI Cable
Connecting your TMY projector to your phone via an HDMI cable offers a reliable and straightforward method for transmitting high-quality audio and video signals. Follow these steps to establish a seamless wired connection:
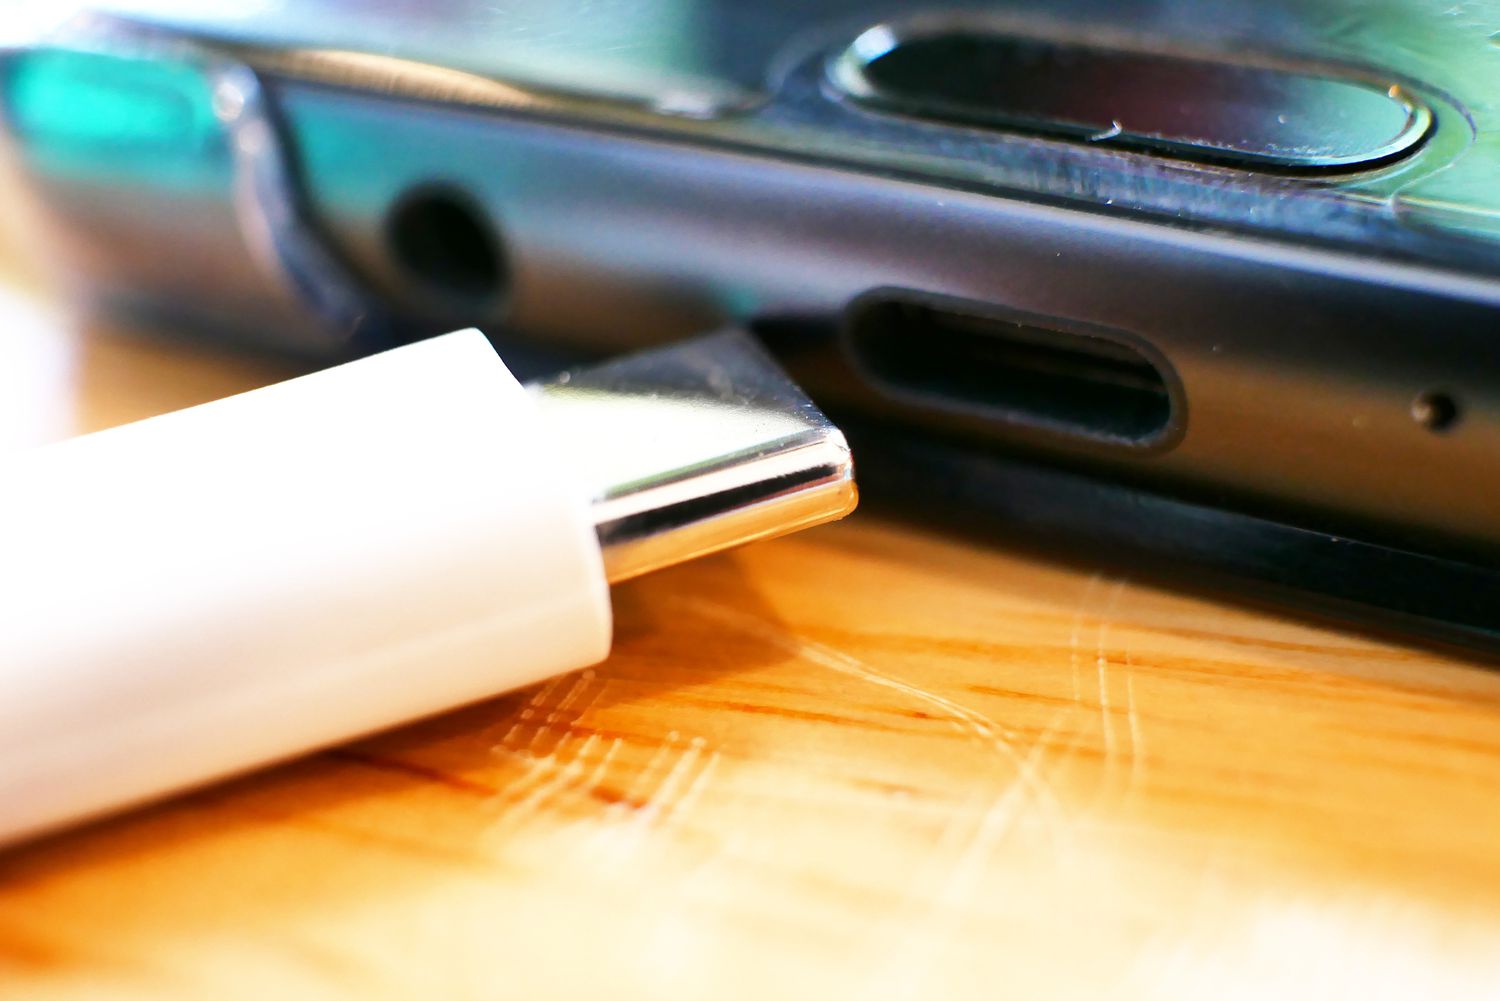
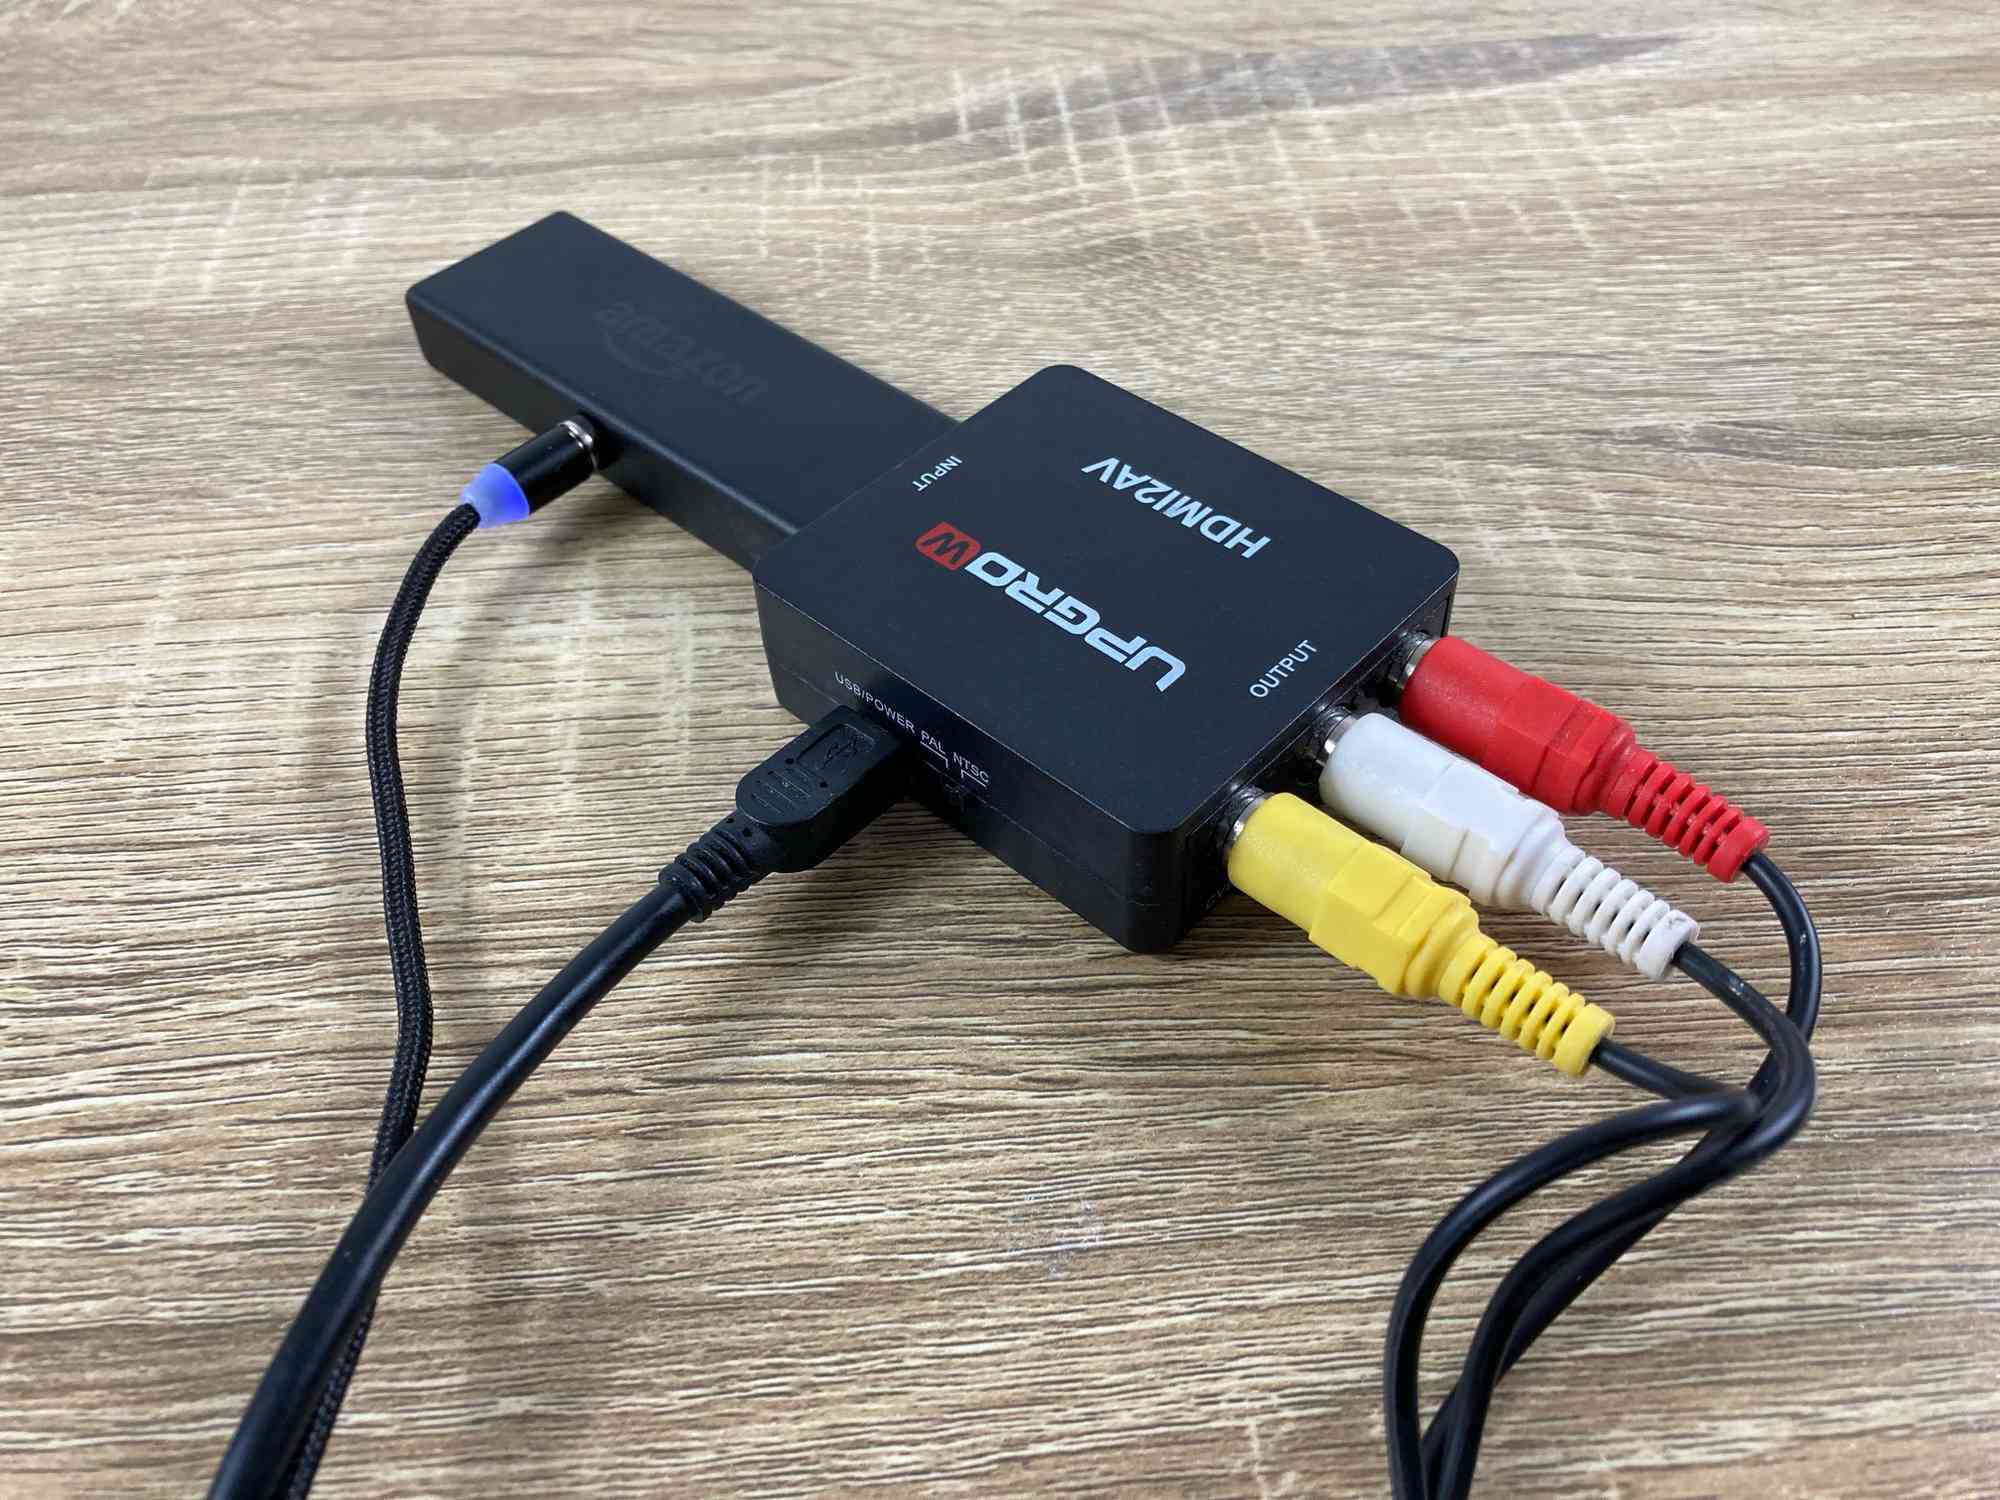
- Acquire the Necessary Equipment: Ensure that you have an HDMI cable compatible with your phone and TMY projector. Depending on your phone’s connectivity options, you may require additional adapters or converters to facilitate the HDMI connection. For instance, some Android devices utilize USB-C or micro-USB ports, necessitating the use of corresponding HDMI adapters.
- Prepare Your Phone and Projector: Power off both your phone and TMY projector before proceeding. This precautionary step helps prevent potential electrical surges or disruptions during the connection process.
- Connect the HDMI Cable: Locate the HDMI output port on your phone and the HDMI input port on your TMY projector. Carefully insert one end of the HDMI cable into the phone’s HDMI output port and the other end into the projector’s HDMI input port. Ensure a secure connection to prevent signal loss or disconnection during operation.
- Select the HDMI Input Source: Power on your TMY projector and navigate to the input source selection menu. Choose the HDMI input option corresponding to the port used for connecting your phone. This action instructs the projector to display the content transmitted through the HDMI cable from your phone.
- Adjust Phone Settings (if necessary): Depending on your phone model and operating system, you may need to enable HDMI output or screen mirroring in the settings menu. Access the display or connectivity settings on your phone to activate the HDMI output functionality, allowing your phone’s screen to be mirrored or extended onto the projector’s display.
- Enjoy Seamless Connectivity: Once the HDMI connection is established and the necessary settings are adjusted, you can begin streaming videos, sharing presentations, or indulging in mobile gaming experiences directly from your phone to the expansive canvas of your TMY projector.
By following these steps, you can harness the power of a direct wired connection between your phone and TMY projector, delivering stunning visuals and immersive audio with minimal latency. If you encounter any challenges during the connection process, consult the user manuals for your phone and TMY projector or seek assistance from the respective manufacturers’ support channels.
You can connect your TMY projector to your phone using a HDMI cable or wireless connection like Miracast or AirPlay. Check your projector’s manual for specific instructions.
Step 3: Connect via Wireless Screen Mirroring
Wireless screen mirroring presents a convenient and versatile method for connecting your phone to your TMY projector, eliminating the need for physical cables and enabling seamless transmission of audiovisual content. Follow these steps to initiate wireless screen mirroring between your phone and TMY projector:
- Verify Wireless Connectivity Support: Ensure that your TMY projector supports wireless screen mirroring technologies such as Miracast, AirPlay, or Chromecast. Additionally, check if your phone is compatible with these wireless protocols, as certain devices may offer native support for specific screen mirroring standards.
- Activate Wireless Screen Mirroring on the Projector: Power on your TMY projector and access the wireless connectivity or screen mirroring settings. Enable the corresponding feature that aligns with the wireless protocol supported by your phone. This action prepares the projector to receive and display content wirelessly from your phone.
- Enable Screen Mirroring on Your Phone: Access the screen mirroring or wireless display settings on your phone. Depending on the device, this feature may be labeled as “Smart View,” “Screen Cast,” or “AirPlay.” Activate the screen mirroring functionality and allow your phone to search for available wireless display devices, including your TMY projector.
- Connect to the TMY Projector: Once your phone detects the TMY projector as an available wireless display device, select it from the list of options to initiate the connection. Follow any on-screen prompts to establish the wireless link between your phone and the projector. Upon successful connection, your phone’s screen will be mirrored or extended onto the projector’s display.
- Adjust Display Settings (if necessary): Depending on your phone’s screen mirroring capabilities, you may have the option to adjust display settings such as resolution, orientation, and aspect ratio. Explore the display settings menu on your phone to optimize the visual output for the TMY projector’s display, ensuring an optimal viewing experience.
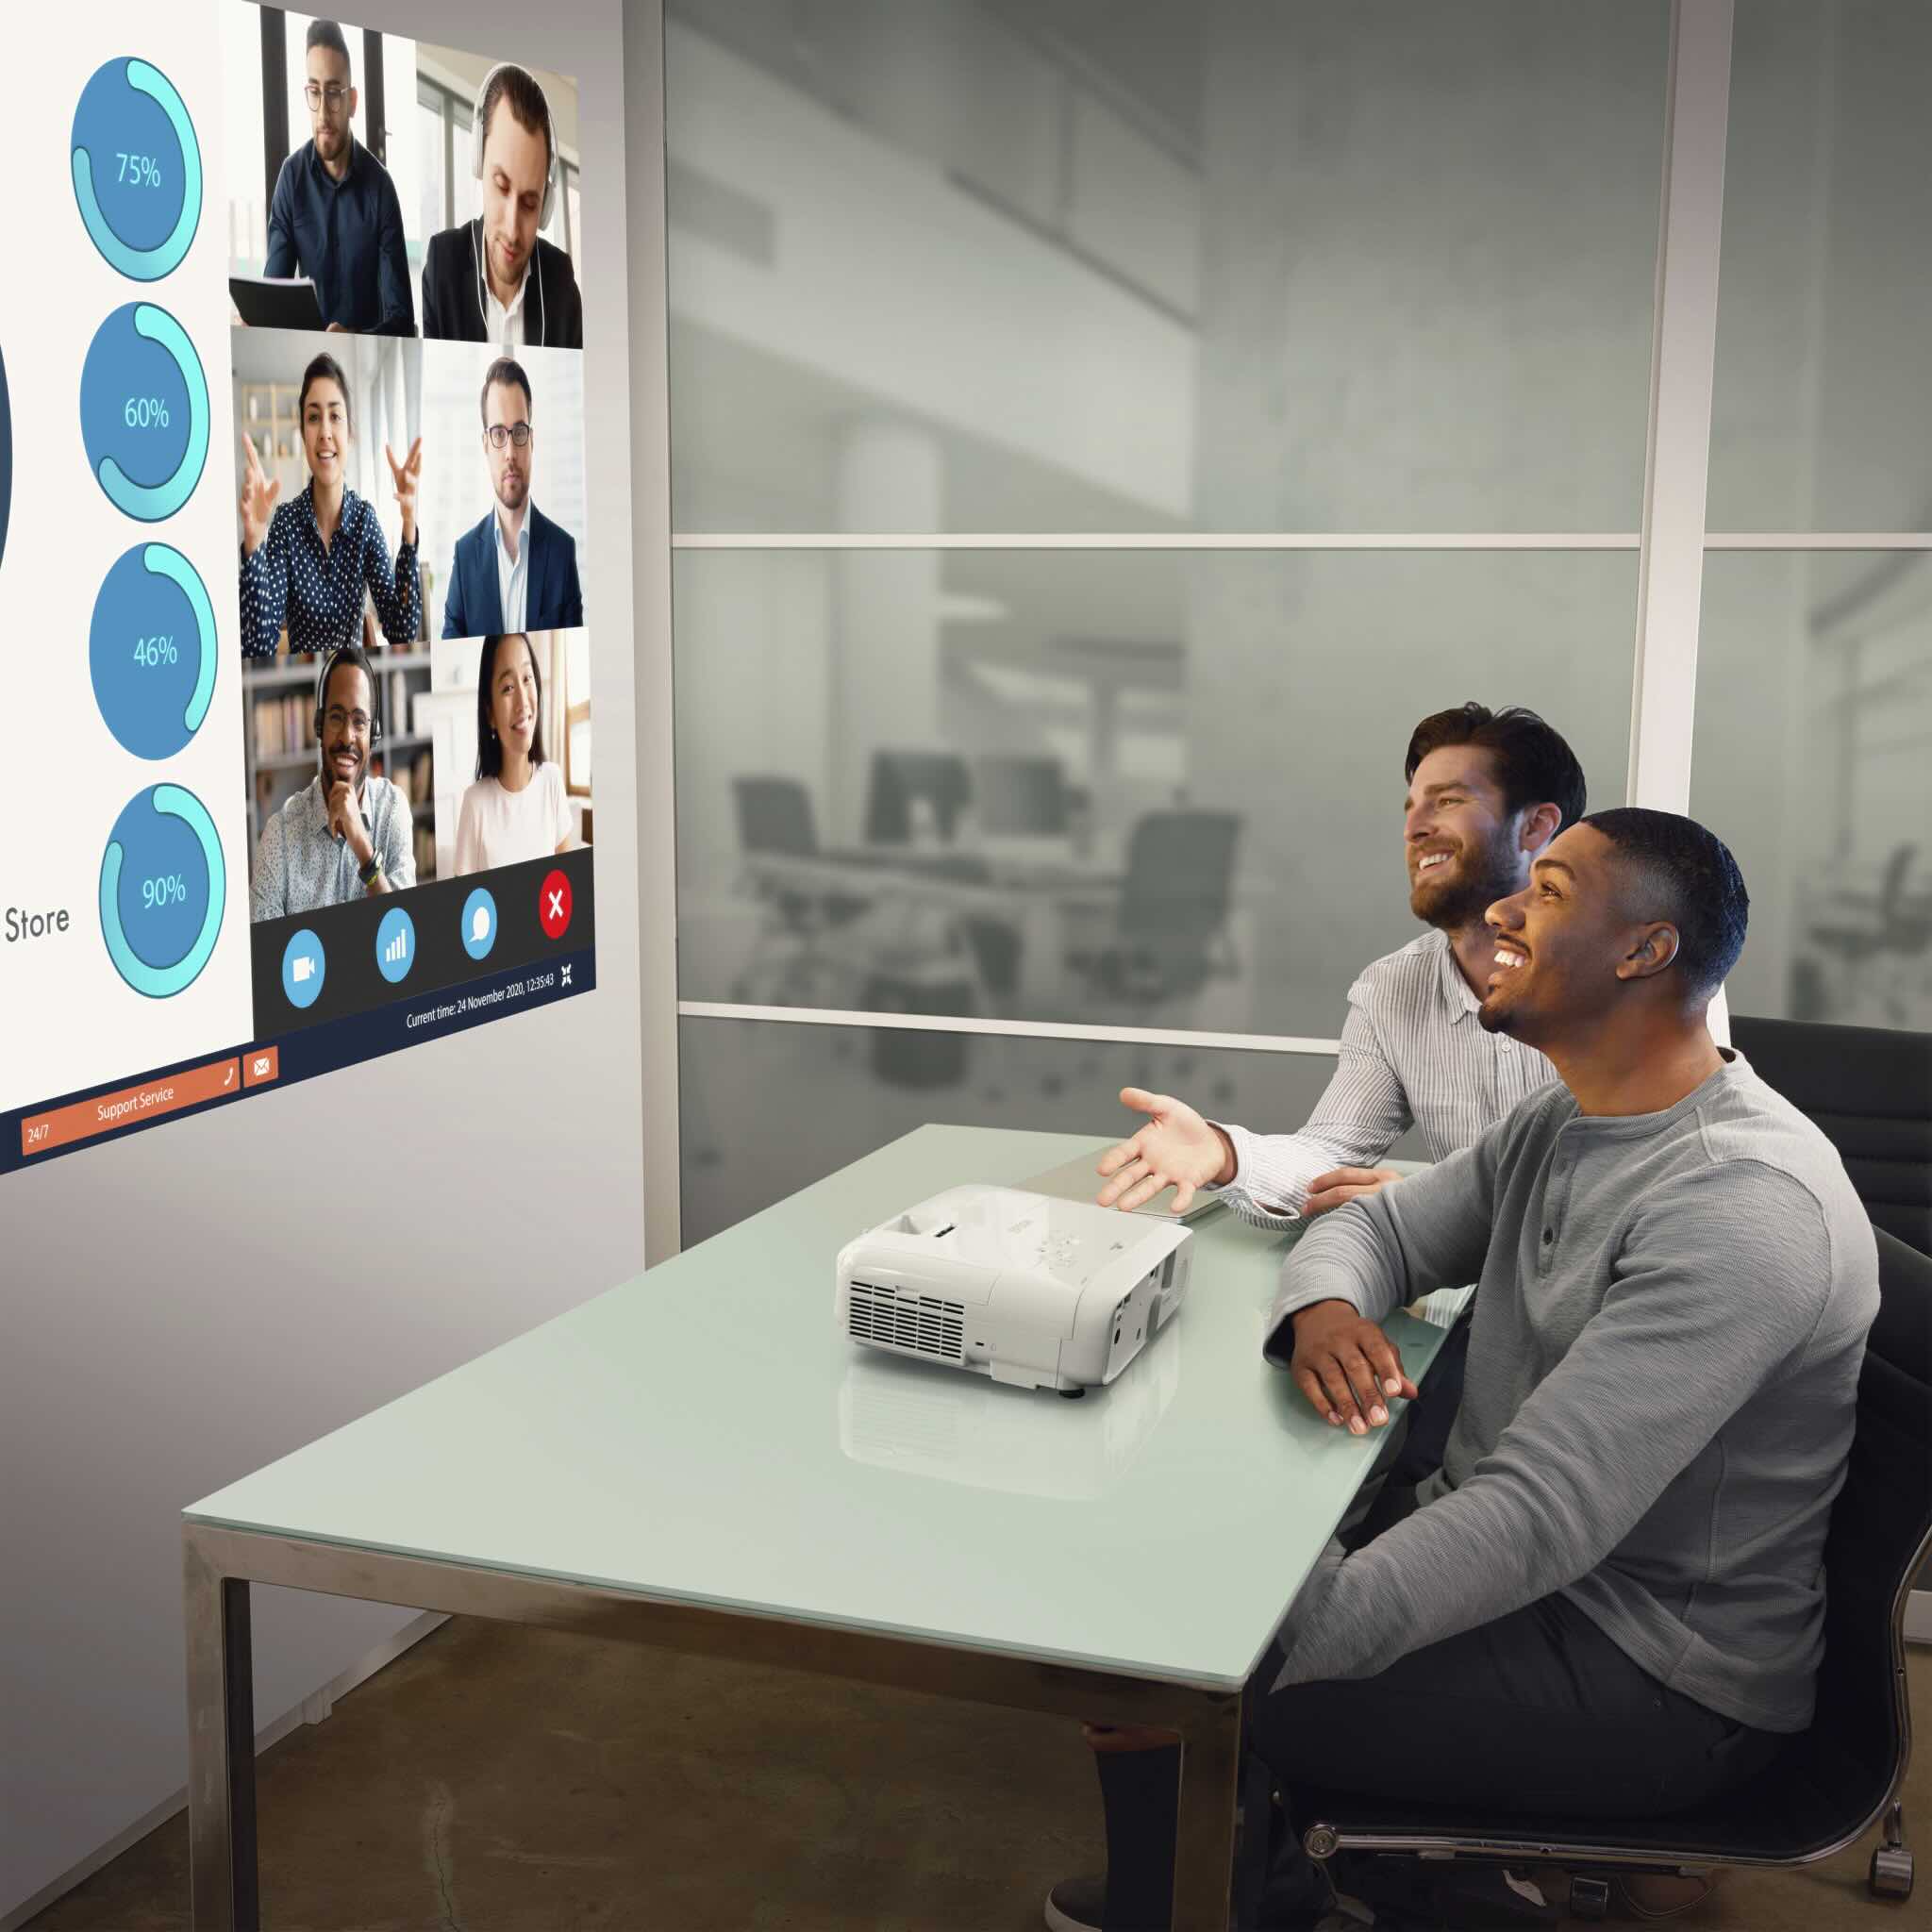
- Experience Wireless Freedom: With the wireless screen mirroring connection established, you can seamlessly stream multimedia content, share presentations, or engage in collaborative activities directly from your phone to the expansive canvas of your TMY projector. Embrace the freedom of wireless connectivity and explore the myriad possibilities it offers.
By following these steps, you can effortlessly harness the power of wireless screen mirroring to bridge your phone and TMY projector, unlocking a world of wireless connectivity and immersive visual experiences. If you encounter any challenges during the wireless connection process, refer to the user manuals for your phone and TMY projector or seek guidance from the respective manufacturers’ support resources.
Step 4: Adjust Settings on Your Phone and Projector
After establishing the connection between your phone and TMY projector, it’s essential to fine-tune the settings on both devices to optimize the viewing experience and ensure seamless functionality. By adjusting specific settings, you can enhance visual clarity, audio output, and overall performance. Follow these steps to adjust settings on your phone and projector:
- Optimize Display Resolution: Access the display settings on your phone and adjust the resolution to align with the optimal capabilities of your TMY projector. Selecting the appropriate resolution ensures that content is displayed with clarity and precision, enhancing the overall visual experience.
- Configure Audio Output: Explore the audio settings on your phone to select the desired output source. Depending on your preferences, you can route audio output through the TMY projector’s built-in speakers or an external sound system for immersive audio immersion.
- Adjust Projection Settings: Navigate through the projector’s settings menu to customize projection preferences such as aspect ratio, keystone correction, and image enhancement features. Fine-tuning these settings optimizes the projected image to suit your specific viewing environment and content type.
- Explore Multimedia Playback Options: Familiarize yourself with the multimedia playback capabilities of your phone and projector. Experiment with different file formats, streaming services, and content sources to leverage the full potential of your connected devices.
- Enable Screen Orientation Lock: If your phone supports screen orientation lock, consider activating this feature to ensure that the projected content maintains a consistent orientation, especially during activities such as presentations or video playback.
- Utilize Advanced Features (if available): If your TMY projector or phone offers advanced features such as color calibration, image presets, or gesture controls, take the opportunity to explore and utilize these functionalities to further enhance the viewing experience.
By adjusting these settings on your phone and TMY projector, you can tailor the viewing experience to your preferences and optimize the performance of both devices in unison. Whether you’re immersing yourself in cinematic visuals, delivering impactful presentations, or sharing memorable moments with loved ones, the seamless integration of your phone and TMY projector becomes a gateway to boundless entertainment and productivity.
Conclusion
Congratulations on successfully navigating the process of connecting your TMY projector to your phone, unlocking a realm of possibilities for immersive entertainment, dynamic presentations, and collaborative experiences. By seamlessly integrating these devices, you’ve transcended traditional viewing limitations and embraced a new era of connectivity and convenience.
As you embark on your journey of harnessing the fusion of your phone and TMY projector, remember that the possibilities are limitless. Whether you’re transforming your living room into a private cinema, delivering compelling business presentations, or engaging in interactive gaming experiences, the seamless connectivity between your phone and TMY projector empowers you to redefine your home entertainment landscape.
Embrace the flexibility offered by both wired and wireless connectivity options, allowing you to adapt to diverse scenarios and preferences. Whether you opt for the reliability of an HDMI cable connection or the freedom of wireless screen mirroring, the ability to effortlessly bridge your phone and TMY projector opens the door to a myriad of captivating experiences.
Furthermore, as you fine-tune the settings on your phone and projector, remember that customization is key to optimizing the viewing experience. Tailoring display resolutions, audio output preferences, and projection settings ensures that every visual moment is delivered with precision and clarity, elevating your immersive encounters with multimedia content.
Ultimately, the seamless integration of your TMY projector with your phone transcends mere connectivity; it embodies the convergence of innovation, entertainment, and productivity. Embrace this fusion as a catalyst for creativity, collaboration, and shared moments of awe-inspiring visuals and captivating soundscapes.
So, with your TMY projector and phone harmoniously connected, venture forth and immerse yourself in the boundless possibilities that await. Whether you’re embarking on a cinematic odyssey, delivering impactful presentations, or creating lasting memories with loved ones, the fusion of your phone and TMY projector is your gateway to a world of captivating experiences. Embrace it, explore it, and let your imagination unfold amidst the seamless connectivity that transcends the boundaries of traditional entertainment.
Frequently Asked Questions about How To Connect TMY Projector To Phone
Was this page helpful?
At Storables.com, we guarantee accurate and reliable information. Our content, validated by Expert Board Contributors, is crafted following stringent Editorial Policies. We're committed to providing you with well-researched, expert-backed insights for all your informational needs.

0 thoughts on “How To Connect TMY Projector To Phone”