Home>Technology>Home Entertainment Systems>How To Set Up A Bose Home Theater System
Home Entertainment Systems
How To Set Up A Bose Home Theater System
Published: February 15, 2024
Learn how to set up a Bose home theater system for the ultimate home entertainment experience. Discover tips and tricks for optimizing your home entertainment system.
(Many of the links in this article redirect to a specific reviewed product. Your purchase of these products through affiliate links helps to generate commission for Storables.com, at no extra cost. Learn more)
Introduction
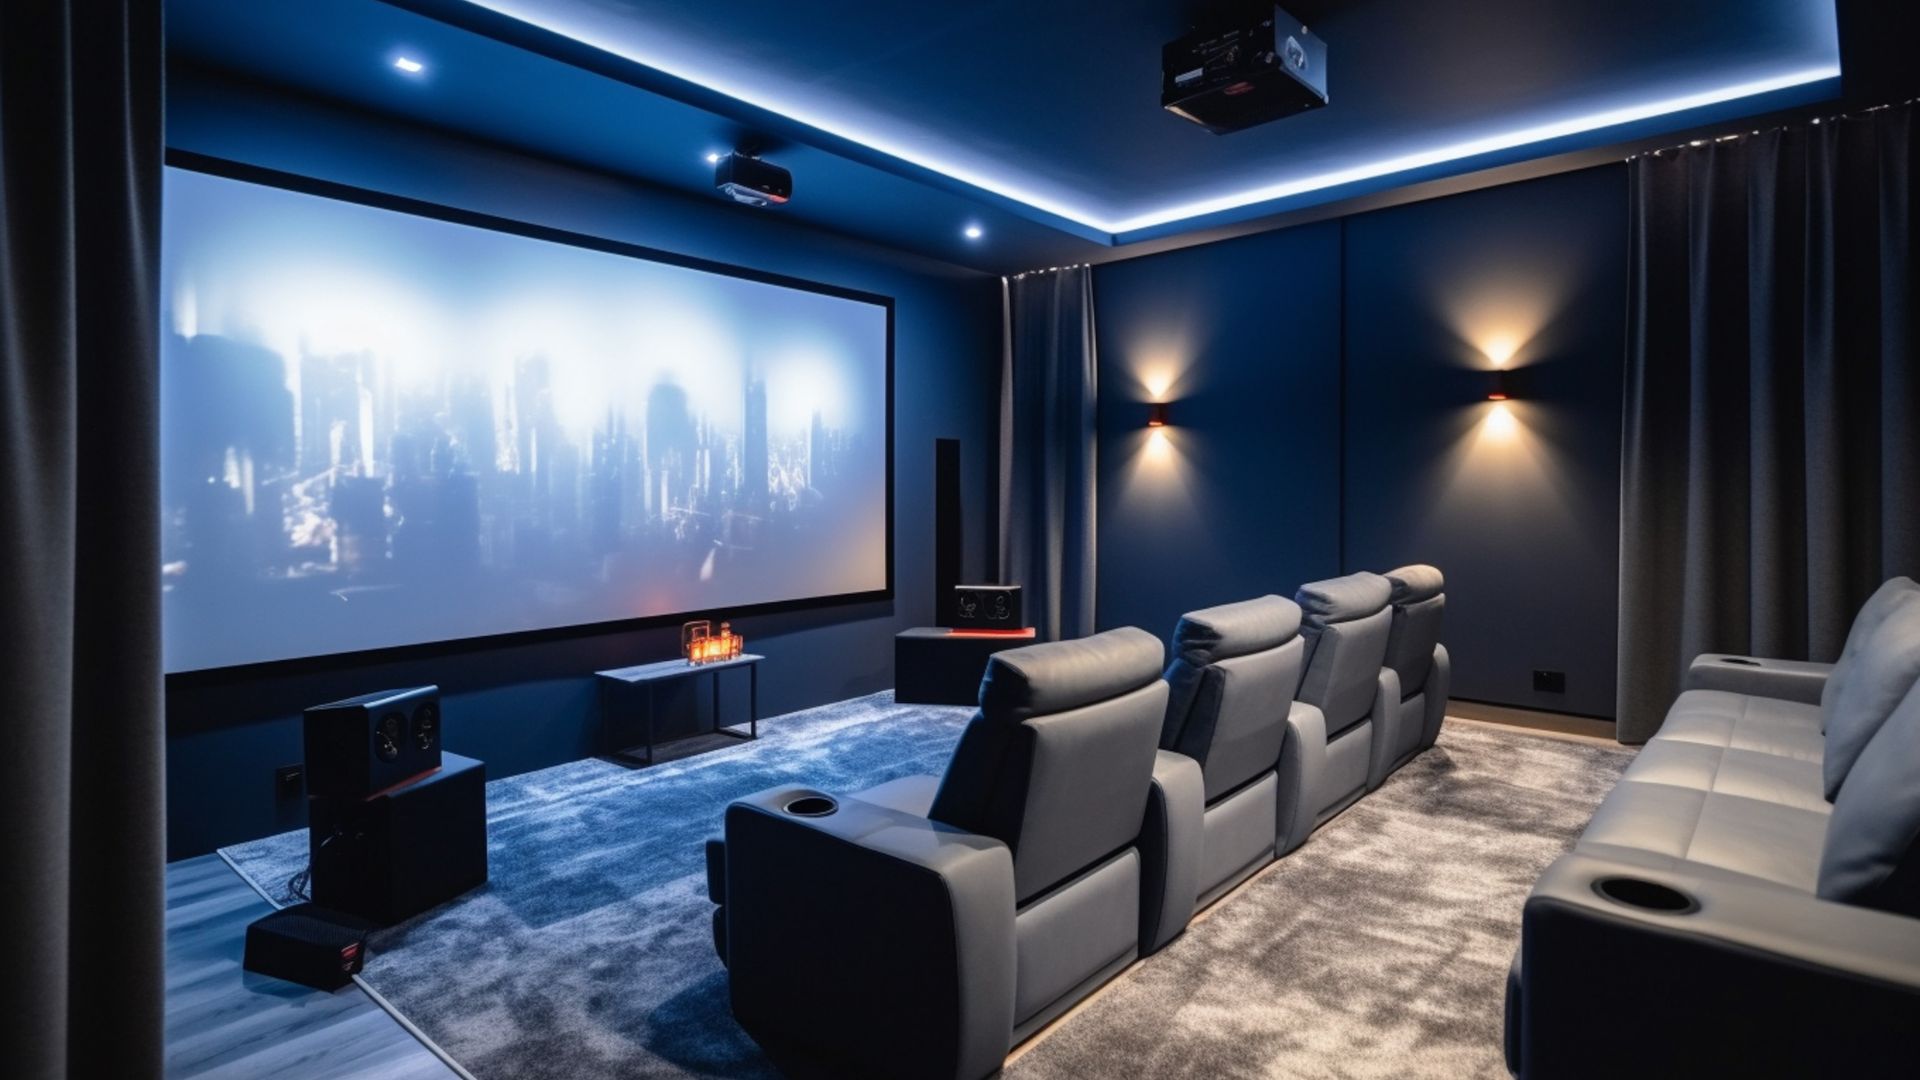
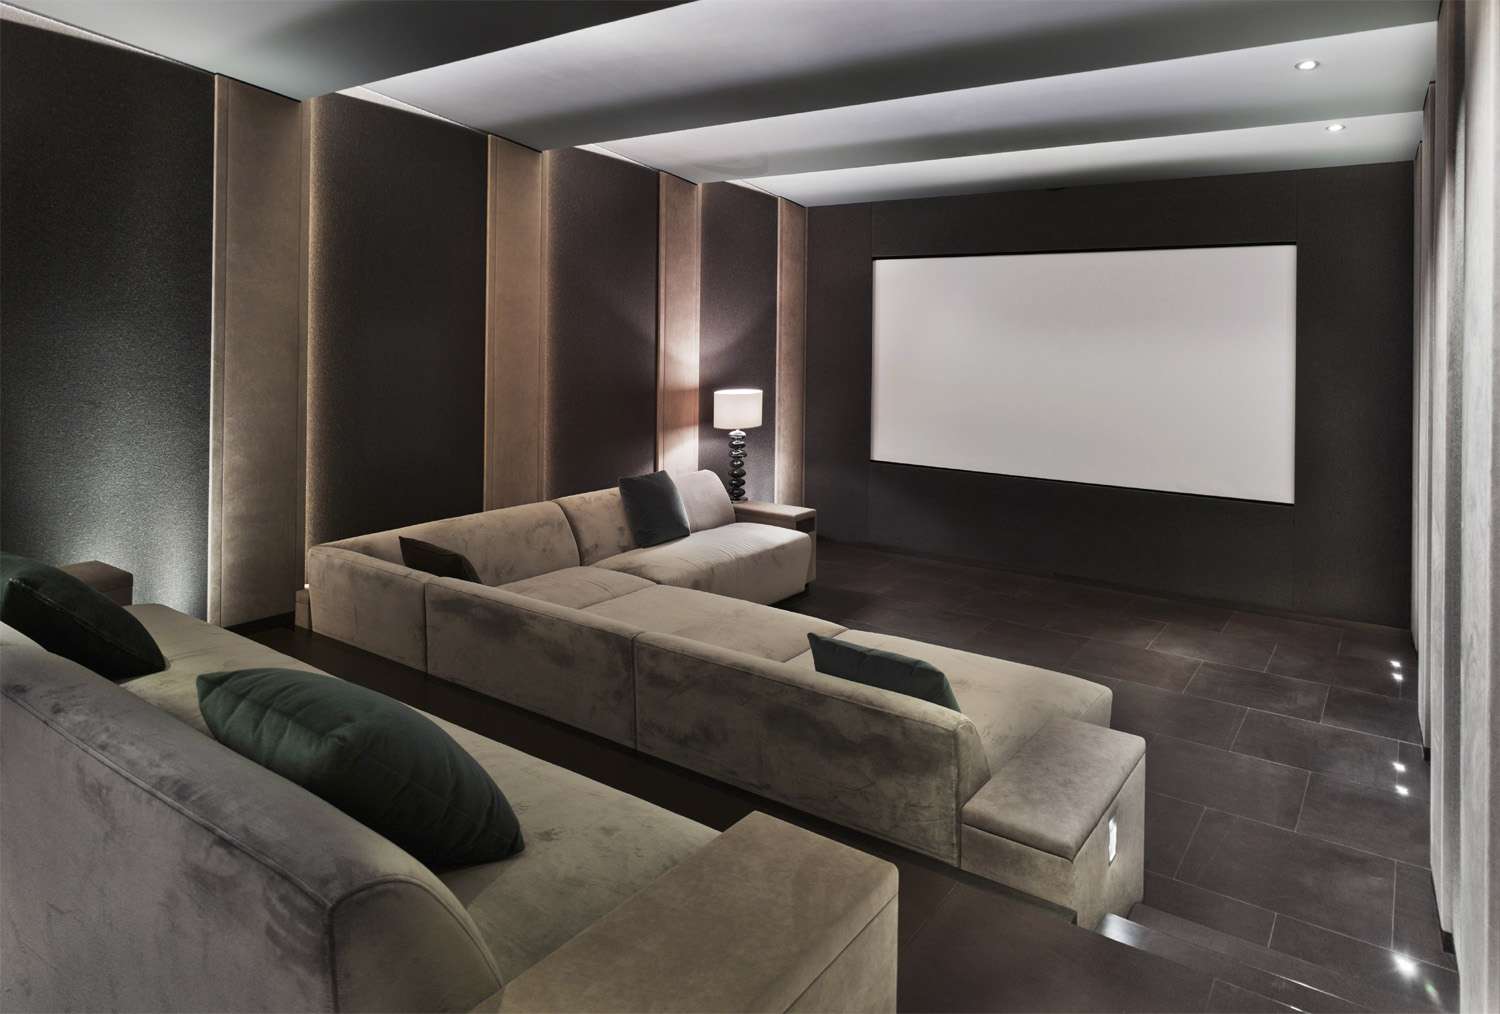
Setting up a Bose home theater system can transform your living space into a captivating entertainment hub, where you can immerse yourself in the world of cinema and music. Whether you're a movie enthusiast, a gaming aficionado, or a music lover, a well-configured home theater system can elevate your audio-visual experience to new heights. With Bose's reputation for delivering exceptional sound quality and innovative technology, their home theater systems are designed to deliver immersive, theater-like audio experiences within the comfort of your own home.
In this comprehensive guide, we will walk you through the step-by-step process of setting up your Bose home theater system. From unboxing the components to configuring the audio settings, we will provide detailed instructions to ensure that you can unleash the full potential of your home entertainment system. By following these steps, you can create a captivating audio-visual environment that will enhance your enjoyment of movies, music, and gaming experiences.
So, whether you're a tech-savvy individual looking to optimize your home entertainment setup or a newcomer to the world of home theater systems, this guide will equip you with the knowledge and confidence to set up your Bose home theater system with ease. Let's embark on this exciting journey to unlock the full potential of your home entertainment experience.
Key Takeaways:
- Transform your living space into an immersive entertainment hub by setting up a Bose home theater system. Follow the step-by-step guide to position, connect, and fine-tune the system for captivating audio-visual experiences at home.
- Unbox, connect, and test your Bose home theater system to unlock its full potential. From speaker positioning to audio settings, embark on an exciting journey to elevate your home entertainment with exceptional sound and seamless integration.
Read more: What Is The Best Bose Home Theater System
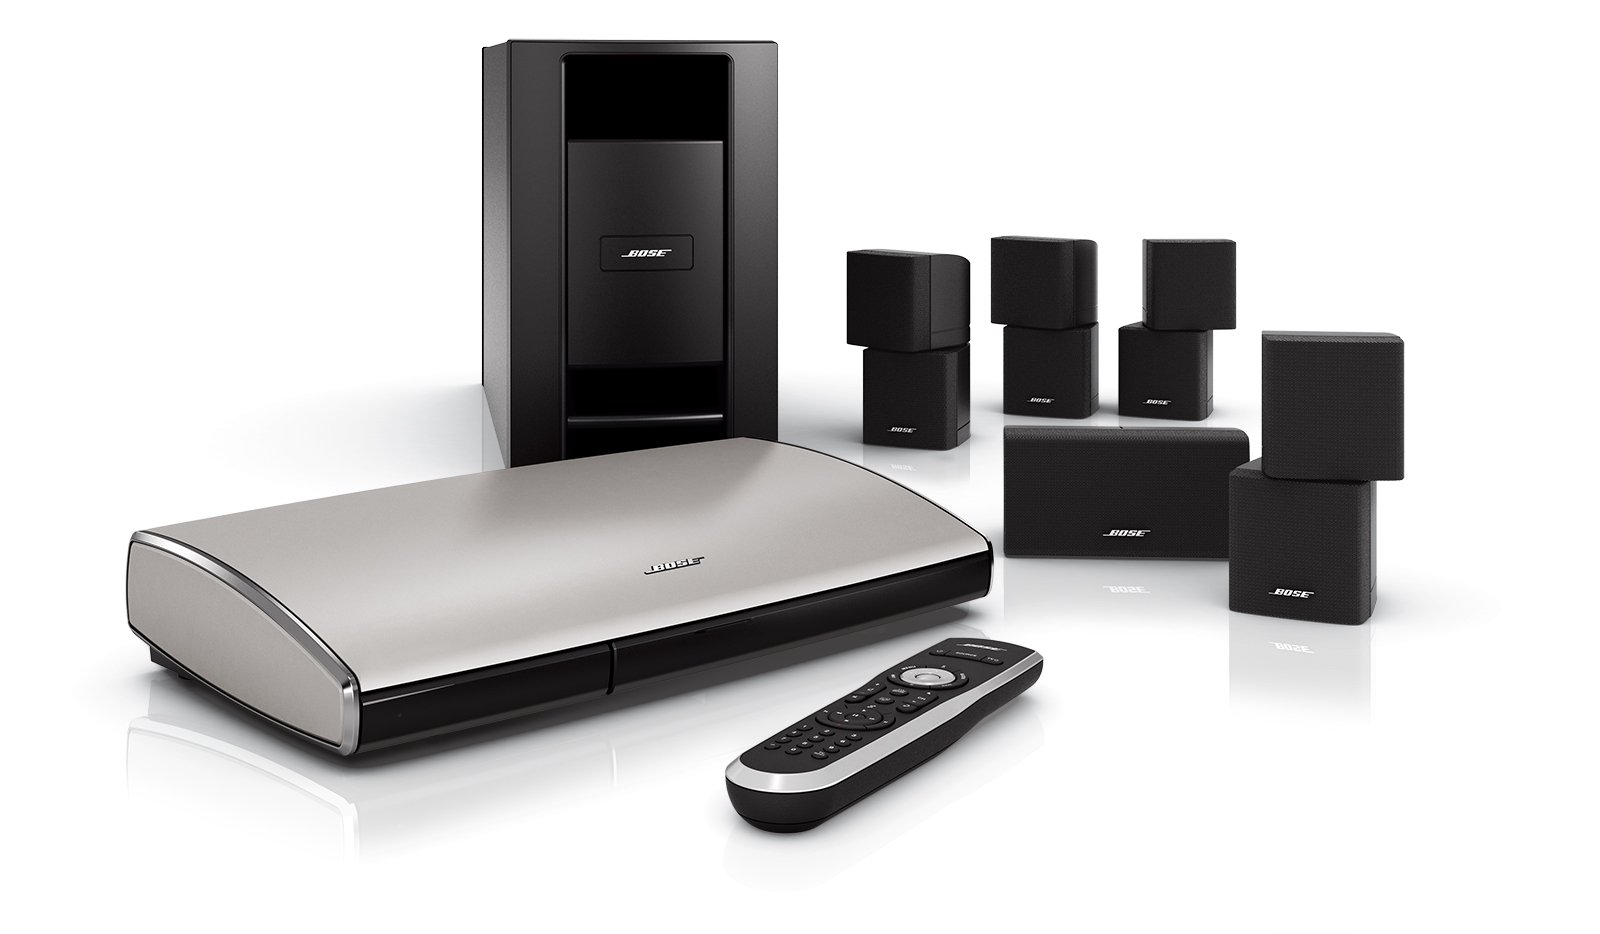
Step 1: Unboxing and Setting Up the Bose Home Theater System
Upon receiving your eagerly awaited Bose home theater system, the first step is to carefully unbox the components and set them up in your desired entertainment area. The unboxing process is an exciting prelude to the immersive audio-visual experience that awaits you. Here's a detailed guide to help you through this initial stage:
Unboxing the Components
- Careful Unpacking: Gently unpack the components from the box, ensuring that you handle them with care to avoid any damage.
- Verify the Contents: Take inventory of the items to ensure that all the essential components, including the speakers, receiver, cables, and remote control, are present.
Setting Up the Speakers
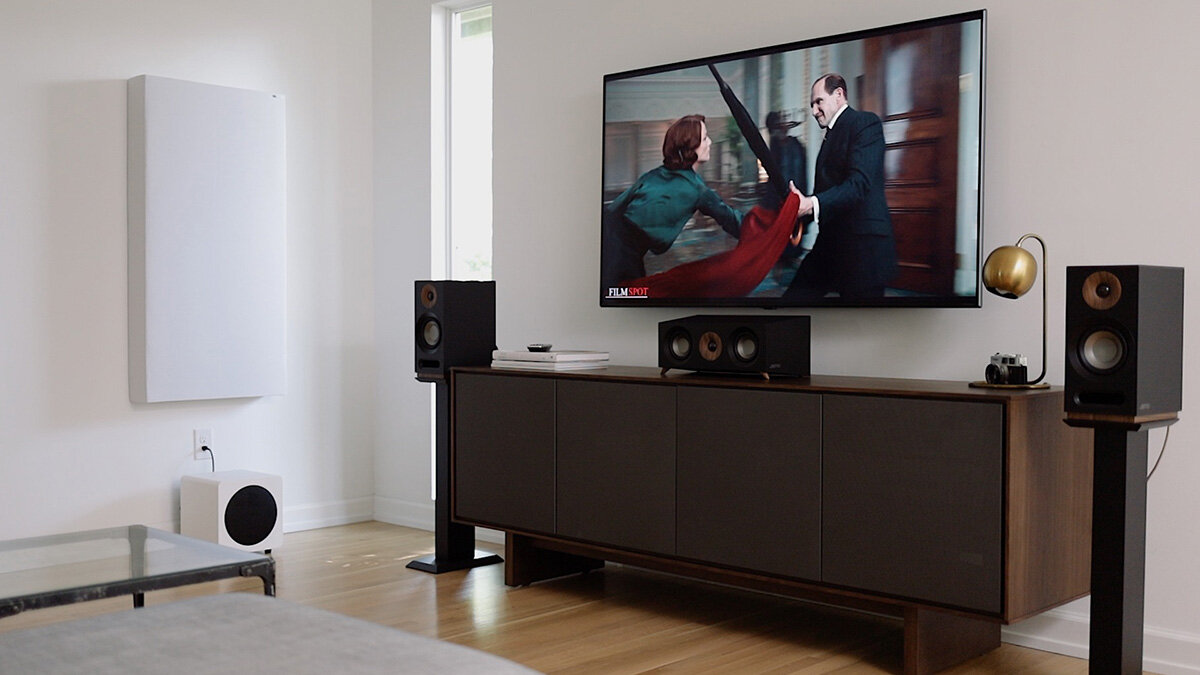
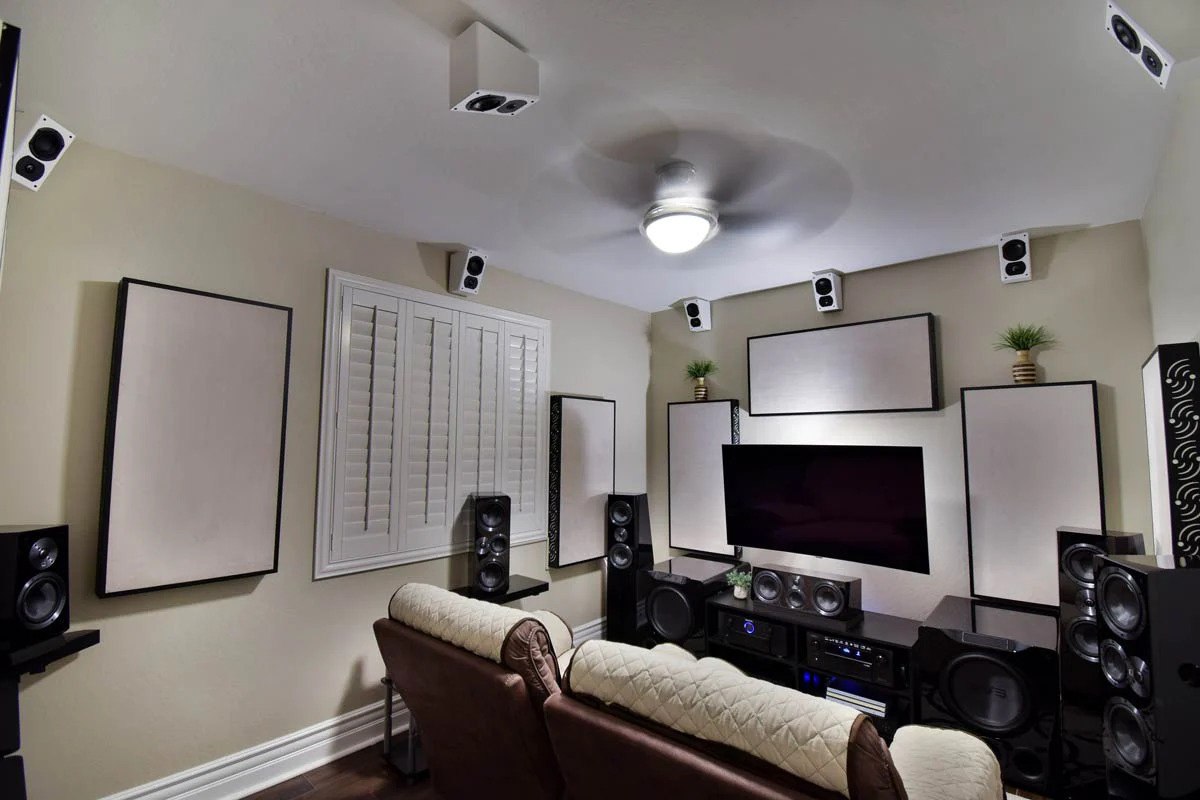
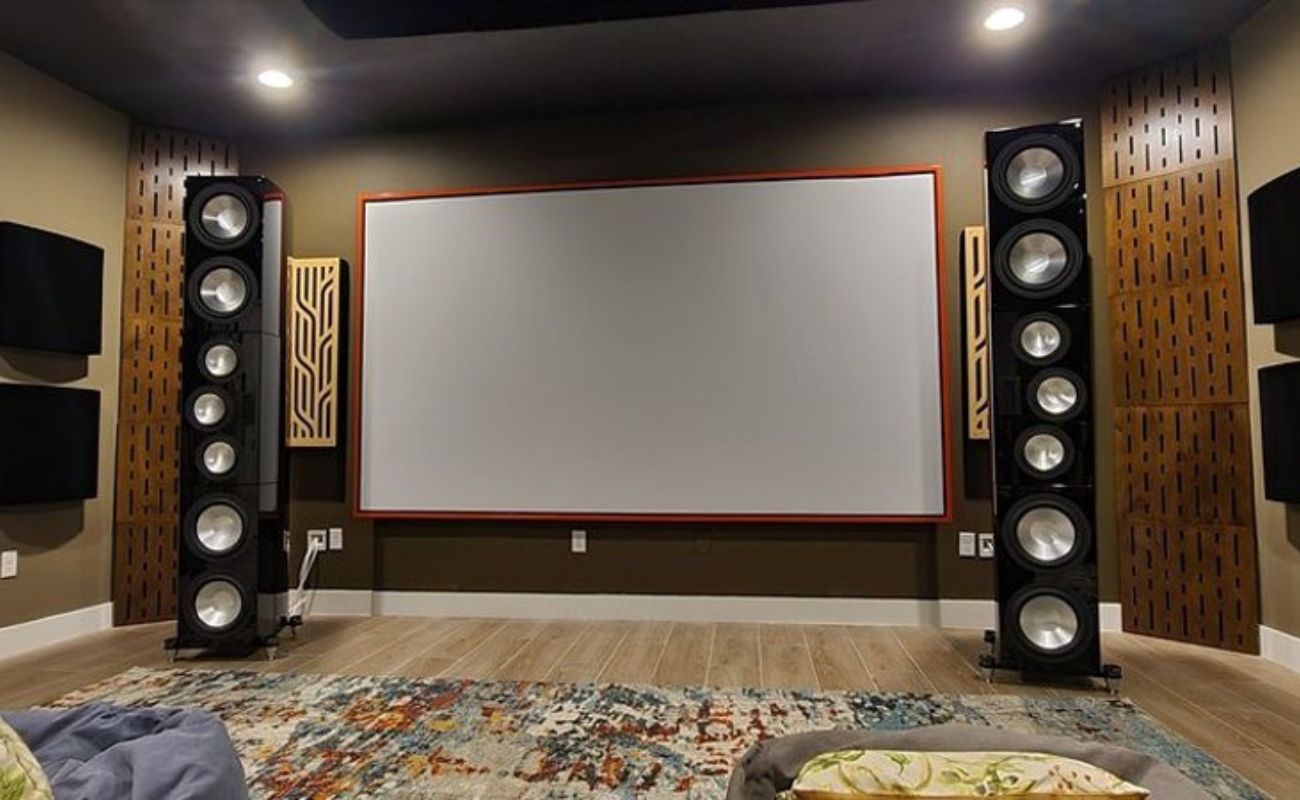
- Placement Considerations: Decide on the optimal placement of the speakers within your entertainment space. Bose speakers are designed to deliver exceptional sound quality, and strategic placement can further enhance the audio experience.
- Speaker Positioning: Position the front speakers on either side of the TV, ensuring that they are at ear level when seated. Place the center speaker either above or below the TV, and position the surround speakers to the sides or slightly behind the viewing area.
- Subwoofer Placement: The subwoofer can be placed anywhere in the room, as its low-frequency sound is omnidirectional. Experiment with different locations to find the spot that delivers the best bass response.
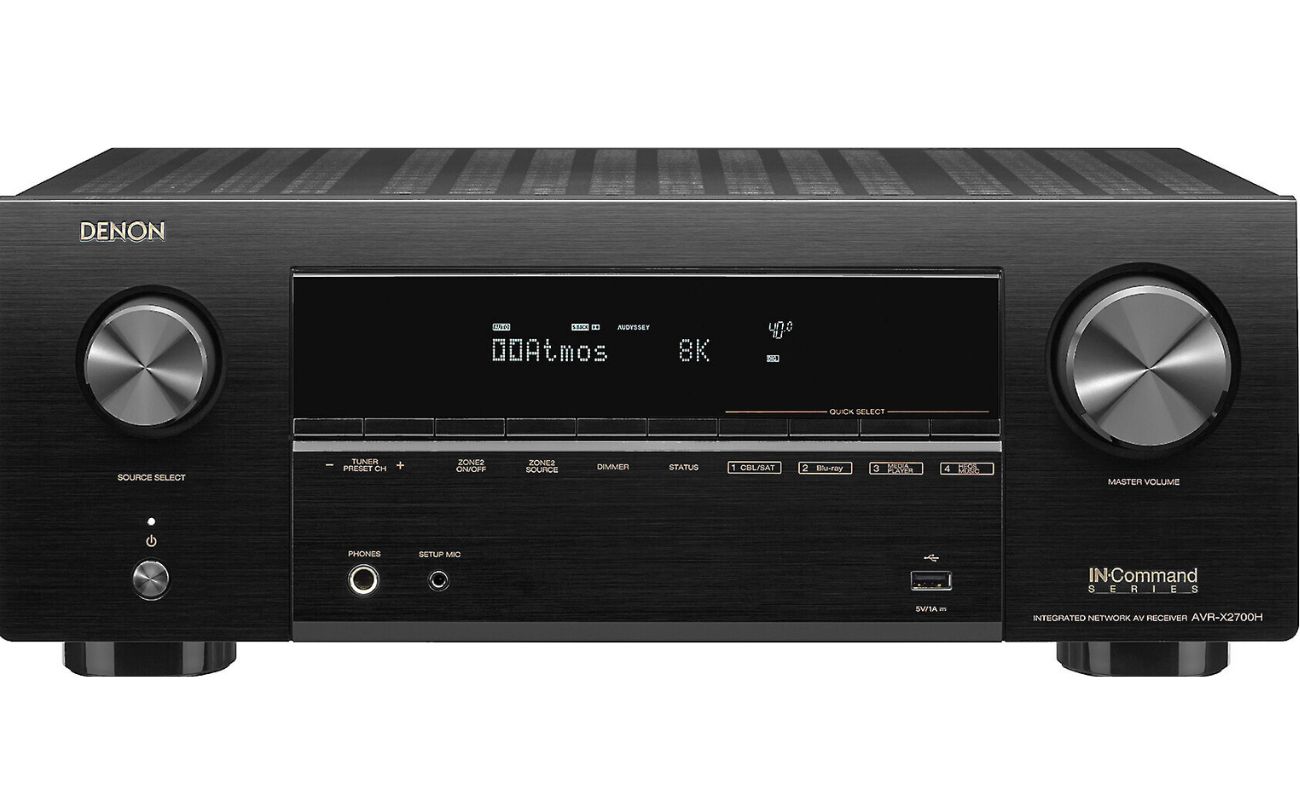
Connecting the Power Supply
- Powering the Receiver: Connect the receiver to a power outlet using the provided power cable. Ensure that the voltage requirements are compatible with your region's electrical standards.
- Subwoofer Power: Connect the power cable of the subwoofer to a power outlet. The subwoofer's indicator light will confirm that it's receiving power.
Read more: How To Set Up A Home Theater
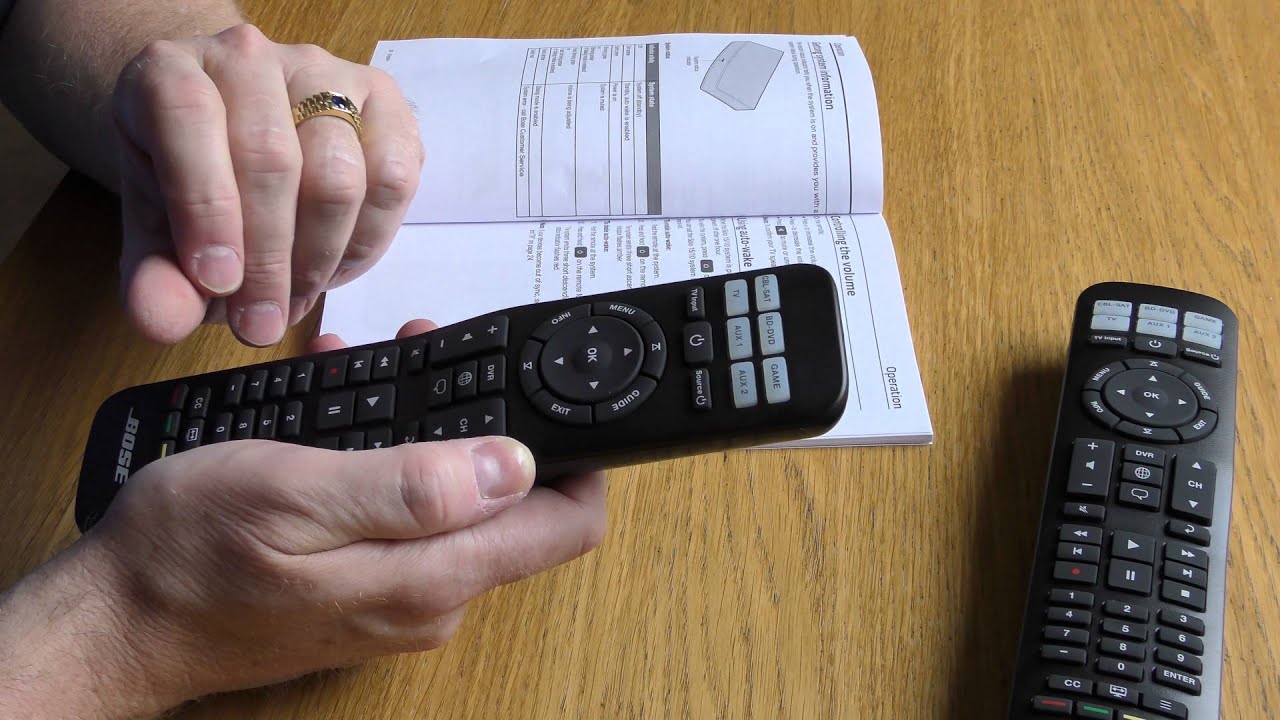
Remote Control and Accessories
- Remote Batteries: Install the batteries in the remote control, ensuring that they are inserted in the correct orientation.
- Accessory Setup: If your system includes any additional accessories, such as wall mounts or stands, refer to the provided instructions for their setup.
By meticulously following these steps, you can successfully unbox and set up your Bose home theater system, laying the foundation for the next stages of connecting the speakers, configuring the audio settings, and testing the system. This initial setup process sets the stage for an immersive and captivating home entertainment experience, where every component works in harmony to deliver exceptional audio-visual performance.
Step 2: Connecting the Speakers to the Receiver
Once you have successfully unboxed and positioned the components of your Bose home theater system, the next crucial step is to connect the speakers to the receiver. This pivotal stage ensures that the audio signals are seamlessly transmitted from the receiver to the speakers, allowing you to experience the full spectrum of immersive sound that Bose systems are renowned for.
Speaker Connections
-
Identifying the Speaker Wires: Begin by identifying the speaker wires that are included with your Bose home theater system. These wires are typically color-coded to facilitate easy identification of the positive and negative terminals.
-
Matching Polarities: It is essential to match the polarities of the speaker wires with the corresponding terminals on both the speakers and the receiver. The positive (+) and negative (-) terminals on the speakers and the receiver should align to ensure proper signal transmission.
-
Connecting the Front Speakers: Start by connecting the front speakers to the corresponding terminals on the receiver. Ensure that the positive terminal of the speaker wire is connected to the positive terminal on the receiver, and likewise for the negative terminals.
-
Center and Surround Speakers: Proceed to connect the center speaker and the surround speakers to their respective terminals on the receiver. The center speaker plays a crucial role in anchoring dialogue and vocals, while the surround speakers contribute to the immersive, 360-degree audio experience.
Subwoofer Connection
-
LFE Cable Connection: The subwoofer, responsible for delivering deep bass frequencies, typically requires a dedicated connection to the receiver. Use an LFE (Low-Frequency Effects) cable to connect the subwoofer to the LFE output on the receiver.
-
Powering the Subwoofer: In addition to the LFE connection, ensure that the subwoofer is powered on and ready to complement the overall audio output with rich, low-end frequencies.
Read more: How To Set Up Sonos Home Theater
Wireless Speaker Setup (If Applicable)
If your Bose home theater system includes wireless speakers, refer to the provided instructions for the specific setup process. Wireless speaker systems offer flexibility in placement and can contribute to a clutter-free entertainment space.
By meticulously following these steps to connect the speakers to the receiver, you are laying the groundwork for a cohesive and harmonious audio setup. The successful connection of the speakers ensures that the audio signals are accurately transmitted from the receiver to each speaker, culminating in a captivating and immersive audio experience that will elevate your home entertainment endeavors.
Step 3: Connecting the Receiver to the TV
Connecting the receiver to the TV is a pivotal step in the setup of your Bose home theater system, as it establishes the crucial link between the audio-visual source and the audio output. By seamlessly integrating the receiver with your TV, you can unlock the full potential of your home entertainment system and immerse yourself in a captivating audio-visual experience.
HDMI Connection
-
Identifying HDMI Ports: Begin by identifying the HDMI ports on both the receiver and the TV. Most modern TVs and receivers are equipped with multiple HDMI ports, allowing for seamless connectivity.
-
Selecting the HDMI Cable: Choose a high-quality HDMI cable that is compatible with the HDMI specifications of your TV and receiver. The HDMI cable serves as the conduit for transmitting both audio and video signals between the devices.
-
Connecting the HDMI Cable: Connect one end of the HDMI cable to the HDMI output port on the receiver, ensuring a secure and snug fit. Subsequently, connect the other end of the HDMI cable to an available HDMI input port on your TV.
-
Selecting the Input Source: On your TV, navigate to the input/source selection menu and choose the corresponding HDMI input to which the receiver is connected. This allows the TV to receive the audio and video signals from the connected receiver.
Optical or Coaxial Digital Connection
-
Identifying Optical/Coaxial Ports: If your TV and receiver support optical or coaxial digital connections, identify the respective ports on both devices. These ports facilitate the transmission of digital audio signals.
-
Selecting the Optical/Coaxial Cable: Choose an optical or coaxial digital cable based on the available ports on your TV and receiver. Optical cables transmit audio signals using light, while coaxial cables utilize electrical signals.
-
Connecting the Optical/Coaxial Cable: Connect one end of the optical or coaxial cable to the corresponding output port on the receiver, ensuring a secure connection. Subsequently, connect the other end of the cable to the optical or coaxial input port on your TV.
-
Configuring Audio Settings: Once the optical or coaxial connection is established, access the audio settings on your TV to ensure that the audio output is directed to the connected receiver. This step may involve selecting the appropriate audio output source in the TV's settings menu.
By meticulously following these steps to connect the receiver to your TV, you are establishing a seamless audio-visual link that forms the backbone of your home entertainment system. Whether you opt for HDMI, optical, or coaxial connections, the successful integration of the receiver with your TV sets the stage for a captivating audio-visual experience that will elevate your enjoyment of movies, music, and gaming.
Read more: How To Set Up A Home Theater Projector
Step 4: Configuring the Audio Settings
Configuring the audio settings of your Bose home theater system is a pivotal stage that allows you to fine-tune the audio output to suit your preferences and the acoustics of your entertainment space. By delving into the audio settings, you can unleash the full potential of your system, ensuring that every sound is reproduced with precision and clarity, enriching your overall audio-visual experience.
Receiver Setup Menu
Access the setup menu on your receiver, typically navigable through the remote control or the receiver's front panel display. The setup menu grants you access to a myriad of audio configuration options, allowing you to tailor the sound output to your liking.
Speaker Configuration
Within the setup menu, locate the speaker configuration settings. Here, you can specify the size and placement of each speaker in your system. By accurately defining the speaker dimensions and their positioning in relation to the listening area, the receiver can optimize the audio distribution, ensuring that each speaker contributes to a cohesive and immersive soundstage.
Channel Levels and Calibration
Many modern Bose home theater systems offer automated calibration features that analyze the acoustic characteristics of your room and adjust the channel levels accordingly. Utilize this feature to achieve balanced audio output across all speakers, compensating for any acoustic anomalies within your entertainment space.
Read more: How To Set Up Alexa With Home Theater
Equalization and Sound Modes
Explore the equalization settings to fine-tune the frequency response of your system. Adjusting the bass, treble, and midrange levels can tailor the audio output to your sonic preferences, whether you prefer a more pronounced bass presence or a balanced, neutral sound signature. Additionally, experiment with the available sound modes, such as cinema, music, or gaming presets, to optimize the audio output for different types of content.
Subwoofer Settings
Delve into the subwoofer settings to adjust the low-frequency output to your liking. Fine-tune the subwoofer level and crossover frequency to seamlessly integrate the deep bass frequencies with the rest of the audio spectrum, ensuring a cohesive and impactful low-end presence without overpowering the overall sound.
By meticulously configuring the audio settings of your Bose home theater system, you are customizing the audio output to align with your preferences and the unique acoustics of your entertainment space. This personalized approach to audio configuration ensures that every sound is faithfully reproduced, enveloping you in a captivating and immersive sonic environment that enhances your overall home entertainment experience.
Step 5: Testing the System
With the physical setup and audio configuration of your Bose home theater system complete, it's time to embark on the exhilarating stage of testing the system. This pivotal step allows you to validate the seamless integration of the components, assess the audio-visual performance, and fine-tune any remaining settings to ensure an optimal home entertainment experience.
Initial Power-Up
Begin by powering on the Bose home theater system, starting with the receiver and subsequently activating the TV. As the system comes to life, take note of any indicator lights on the components, ensuring that they illuminate as expected. The gentle hum of the system awakening sets the stage for the immersive audio-visual journey that awaits.
Read more: How To Set Up A Home Theater Subwoofer
Audio Calibration
If your Bose home theater system features automated audio calibration, initiate the calibration process to analyze the acoustic characteristics of your room. This automated assessment optimizes the channel levels and speaker configurations to deliver balanced and precise audio output tailored to your specific entertainment space.
Source Selection
Navigate through the input/source options on the receiver to select the desired audio-visual source, whether it's a Blu-ray player, gaming console, streaming device, or cable/satellite box. Confirm that the selected source is seamlessly integrated with the system, ensuring that both audio and video signals are transmitted with clarity and precision.
Sound Check
Play a variety of audio-visual content, such as movies, music, and games, to gauge the performance of the Bose home theater system across different media types. Pay close attention to the spatial distribution of sound, dialogue clarity, bass impact, and overall sonic immersion. This comprehensive sound check allows you to assess the system's ability to deliver a captivating audio-visual experience across diverse content genres.
Fine-Tuning
As you immerse yourself in the audio-visual content, take note of any areas that may require fine-tuning. This could involve adjusting the channel levels, equalization settings, or sound modes to better suit the specific characteristics of the content being enjoyed. Fine-tuning the system ensures that it adapts seamlessly to different audio-visual experiences, enhancing your overall enjoyment.
Read more: How To Hook Up A Sony Home Theater System
Validation of Surround Sound
During the testing phase, pay particular attention to the surround sound performance of the system. Engage in content that features immersive soundscapes and directional audio cues to validate the enveloping nature of the surround sound. The seamless integration of the surround speakers should transport you into the heart of the audio-visual narrative, enhancing the overall realism of the experience.
By meticulously testing the Bose home theater system, you are validating its ability to deliver a captivating and immersive audio-visual experience. This thorough evaluation allows you to fine-tune the system to perfection, ensuring that every moment of entertainment is enriched by the exceptional audio performance and seamless integration of the components.
Conclusion
In conclusion, the process of setting up a Bose home theater system is a transformative journey that culminates in the creation of an immersive and captivating home entertainment environment. From the initial unboxing and positioning of the components to the meticulous configuration of audio settings and the exhilarating testing phase, every step contributes to the realization of a home theater system that elevates the audio-visual experience to new heights.
By meticulously following the step-by-step guide, you have successfully unboxed and set up the components of your Bose home theater system, ensuring that each speaker and the receiver are positioned and connected with precision. The seamless integration of the receiver with your TV establishes a crucial link that facilitates the transmission of audio and video signals, setting the stage for a cohesive audio-visual experience.
Delving into the audio settings of the system allowed you to tailor the sound output to your preferences and the unique acoustics of your entertainment space. By configuring speaker dimensions, channel levels, equalization settings, and subwoofer parameters, you have personalized the audio performance to deliver a captivating sonic environment that enriches your overall home entertainment endeavors.
The testing phase served as the validation of the system's seamless integration, audio-visual performance, and surround sound capabilities. Through a comprehensive sound check and fine-tuning process, you have ensured that the Bose home theater system delivers a captivating and immersive audio-visual experience across diverse content genres, from movies and music to gaming experiences.
As you embark on this exciting journey with your Bose home theater system, remember that the pursuit of audio-visual excellence is an ongoing endeavor. Regularly revisiting the audio settings, experimenting with different content types, and exploring the system's capabilities will allow you to continually optimize and enhance your home entertainment experience.
Ultimately, the successful setup and optimization of your Bose home theater system have unlocked the full potential of your home entertainment space, allowing you to immerse yourself in the captivating world of cinema, music, and gaming within the comfort of your own home. Embrace the power of exceptional audio performance and seamless integration, and let your Bose home theater system transport you to new realms of audio-visual delight.
Frequently Asked Questions about How To Set Up A Bose Home Theater System
Was this page helpful?
At Storables.com, we guarantee accurate and reliable information. Our content, validated by Expert Board Contributors, is crafted following stringent Editorial Policies. We're committed to providing you with well-researched, expert-backed insights for all your informational needs.


0 thoughts on “How To Set Up A Bose Home Theater System”