Home>Technology>Home Entertainment Systems>How To Set Up A Home Theater System With A Projector
Home Entertainment Systems
How To Set Up A Home Theater System With A Projector
Modified: April 22, 2024
Learn how to set up a home theater system with a projector for the ultimate home entertainment experience. Discover tips and tricks for creating your dream home entertainment system.
(Many of the links in this article redirect to a specific reviewed product. Your purchase of these products through affiliate links helps to generate commission for Storables.com, at no extra cost. Learn more)
Introduction
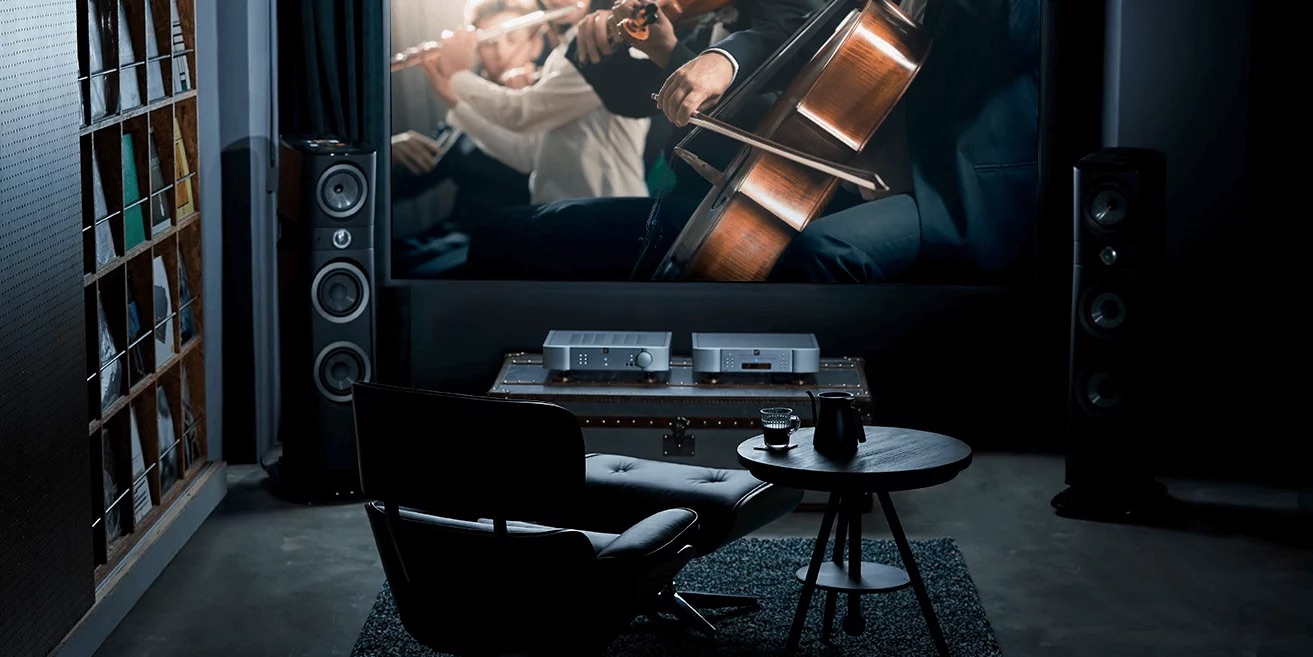
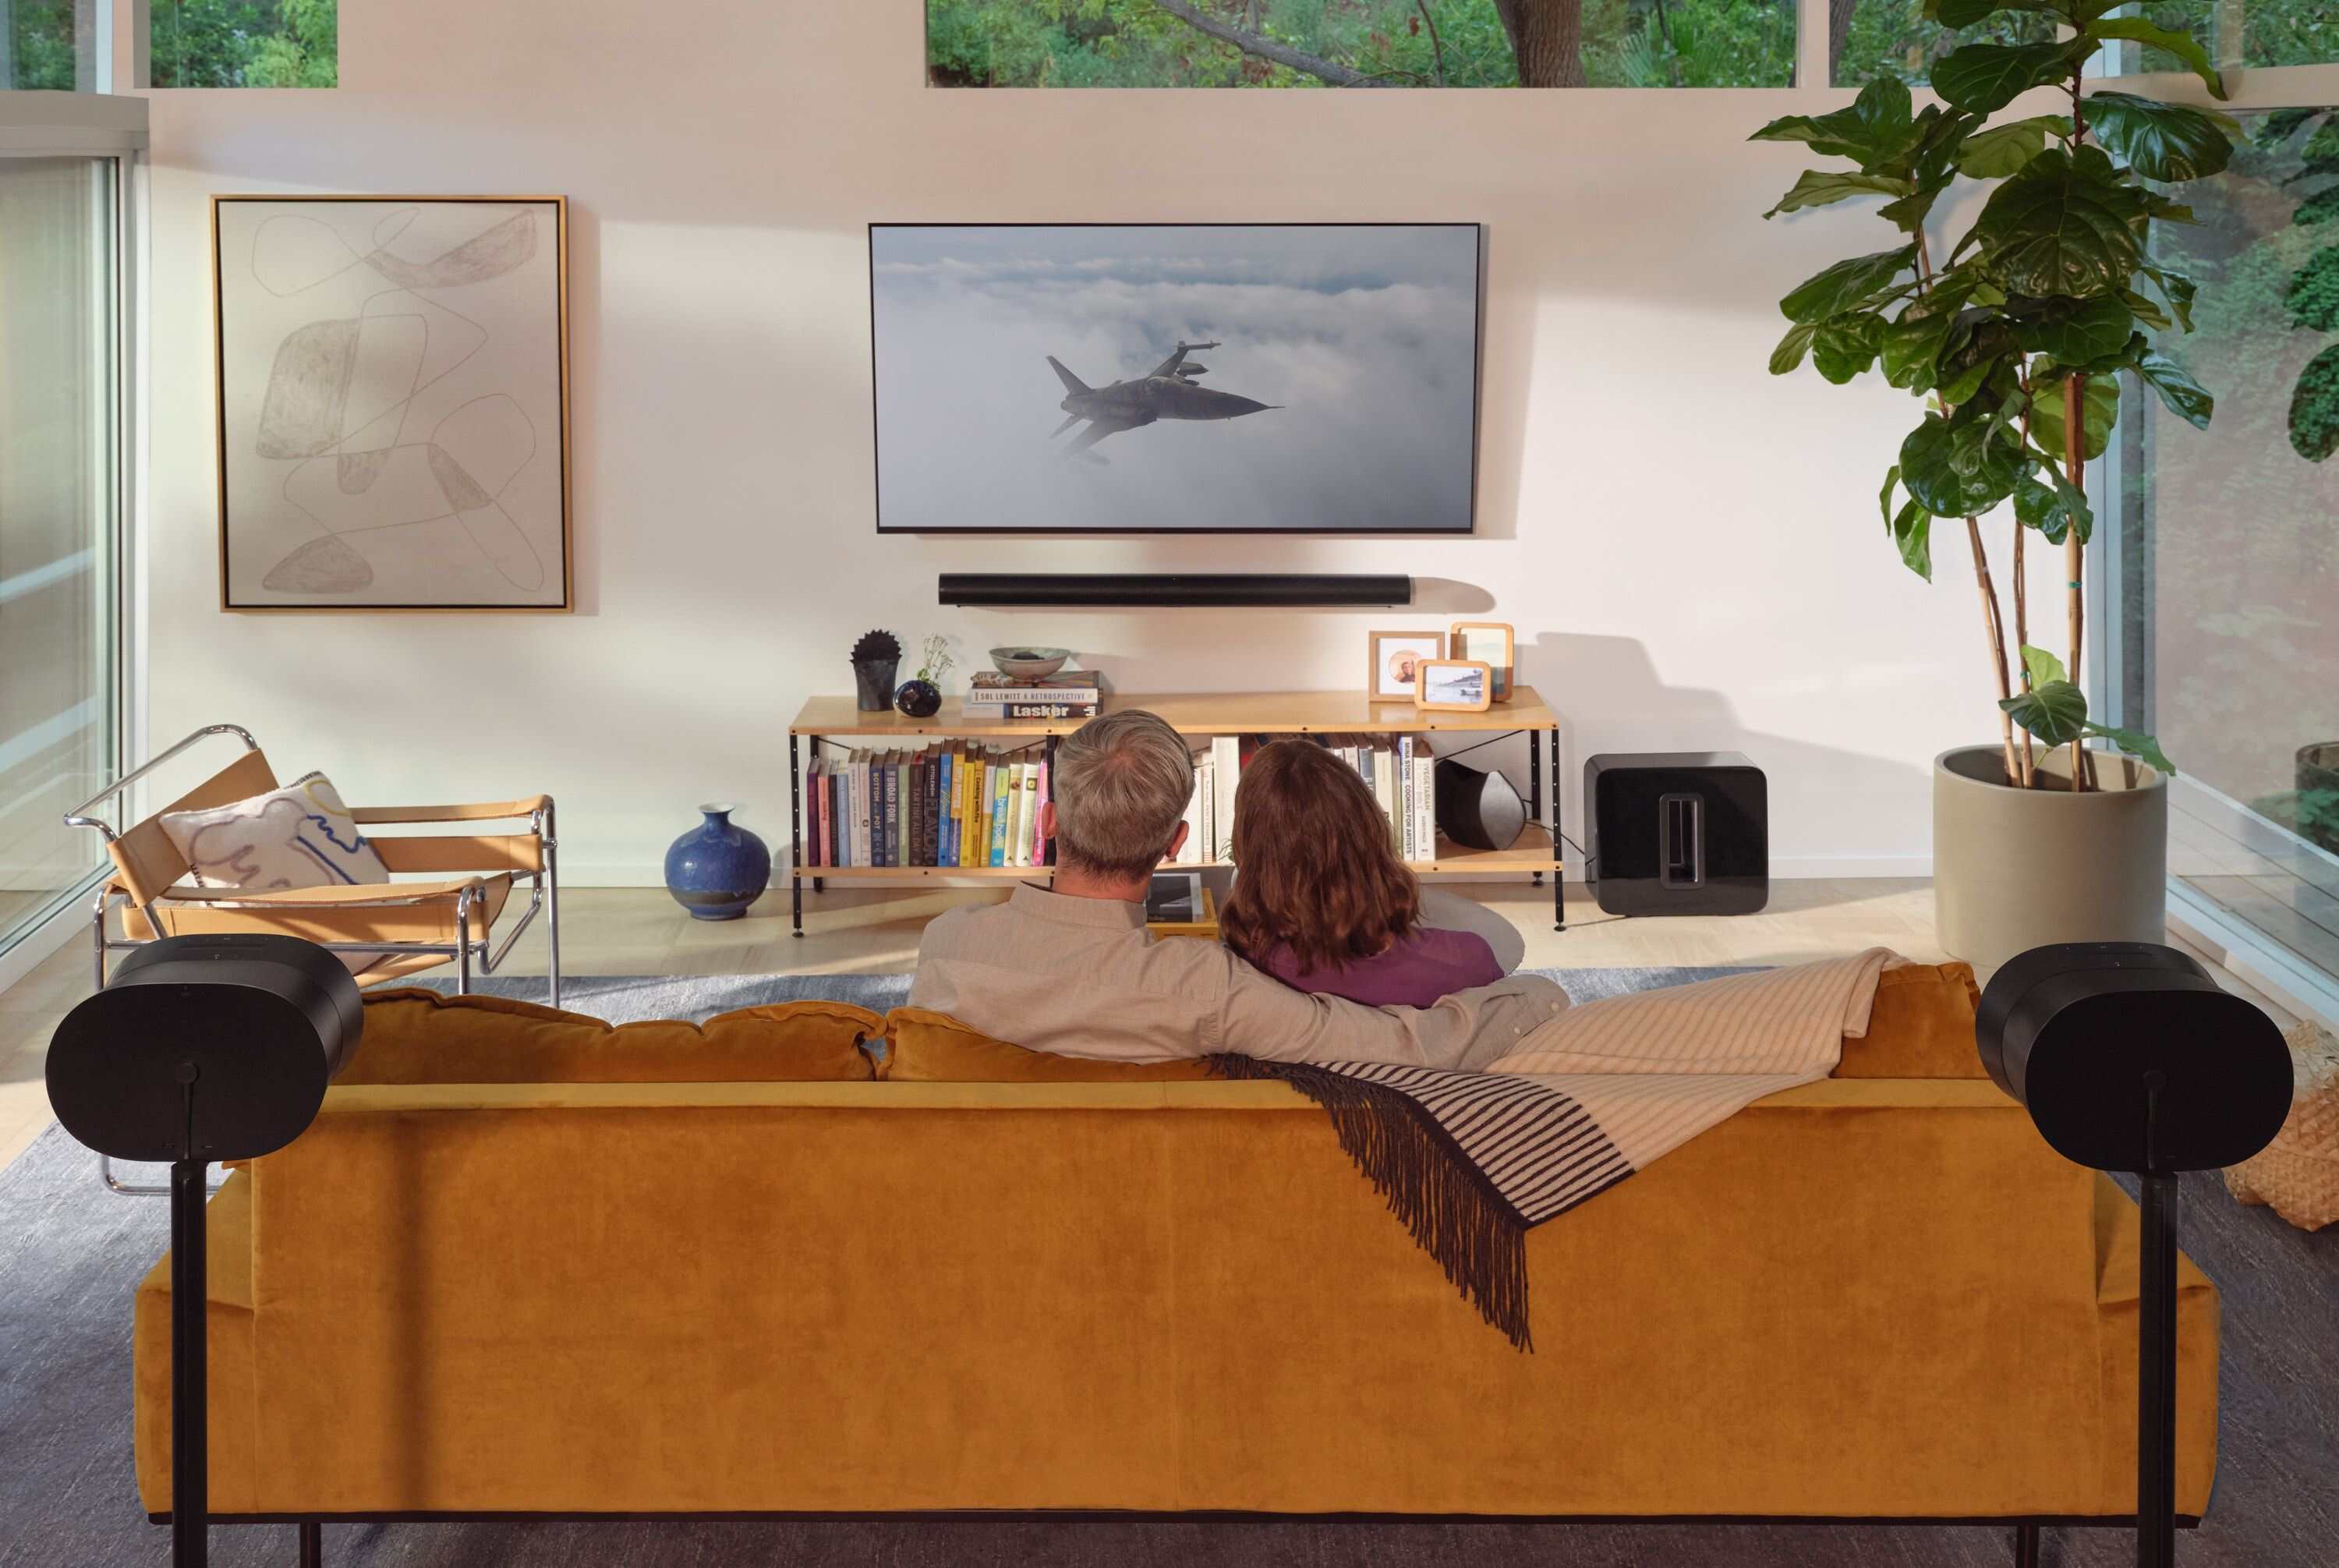
Welcome to the world of home entertainment systems, where the magic of cinema can be brought right into your living room. Imagine the thrill of experiencing blockbuster movies, immersive gaming, and captivating sports events on a larger-than-life screen with theater-quality sound – all within the comfort of your own home. This is the promise of a home theater system with a projector, a setup that can transform your viewing experience into something truly extraordinary.
Gone are the days when projectors were reserved for boardroom presentations and movie theaters. Today, advancements in technology have made high-quality projectors more accessible and affordable for home use. With the right equipment and setup, you can create a cinematic escape within your personal space, elevating your entertainment options to new heights.
In this guide, we will take you through the process of setting up a home theater system with a projector, from choosing the right projector and screen to connecting audio and video sources and calibrating the system for optimal performance. Whether you are a movie enthusiast, a gaming aficionado, or a sports fanatic, this comprehensive guide will equip you with the knowledge and skills to create a captivating home theater experience that rivals the best commercial cinemas.
So, buckle up and get ready to embark on a journey that will redefine your home entertainment experience. Let's dive into the world of home theater systems with projectors and discover how you can bring the magic of the big screen into your own home.
Key Takeaways:
- Transform your living room into a cinematic escape with a home theater system and projector, bringing the magic of the big screen right into your home for an extraordinary viewing experience.
- Choosing the right projector, screen, and audio-visual setup is crucial for creating a captivating home theater sanctuary that elevates entertainment to new heights.
Read more: How To Set Up A Home Theater Projector
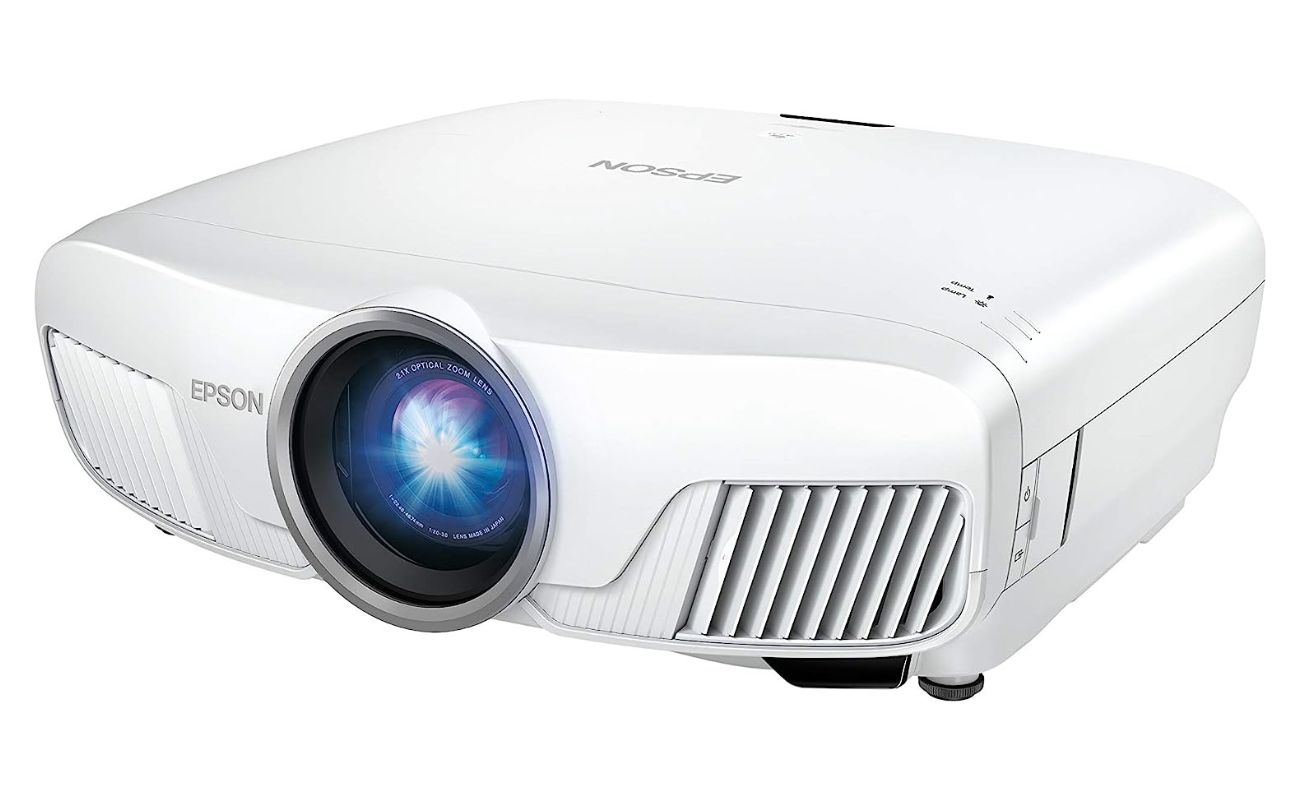
Choosing the Right Projector
When it comes to setting up a home theater system with a projector, selecting the right projector is a critical first step. With a myriad of options available in the market, choosing the perfect projector can seem like a daunting task, but fear not – we are here to guide you through the process.
Before diving into the technical specifications, it’s essential to consider the primary purpose of your home theater. Are you primarily interested in watching movies, gaming, or both? Understanding your specific needs will help narrow down the options and ensure that you select a projector that aligns with your entertainment preferences.
Key factors to consider when choosing a projector include:
- Resolution: The resolution of a projector determines the clarity and sharpness of the image. For a truly immersive experience, consider a projector with at least 1080p resolution, or opt for 4K resolution for unparalleled visual detail.
- Brightness: The brightness of a projector is measured in lumens and is crucial for achieving a vibrant and well-defined image, especially in rooms with ambient light. For dedicated home theaters with controlled lighting, a high-brightness projector may not be necessary, but for multipurpose spaces, a brighter projector is recommended.
- Throw Distance and Screen Size: Understanding the throw distance – the distance between the projector and the screen – is essential for determining the optimal screen size for your space. Different projectors have varying throw ratios, so be sure to calculate the throw distance required for your desired screen size.
- Connectivity: Consider the input options available on the projector to ensure compatibility with your audio-visual sources, such as Blu-ray players, gaming consoles, and streaming devices.
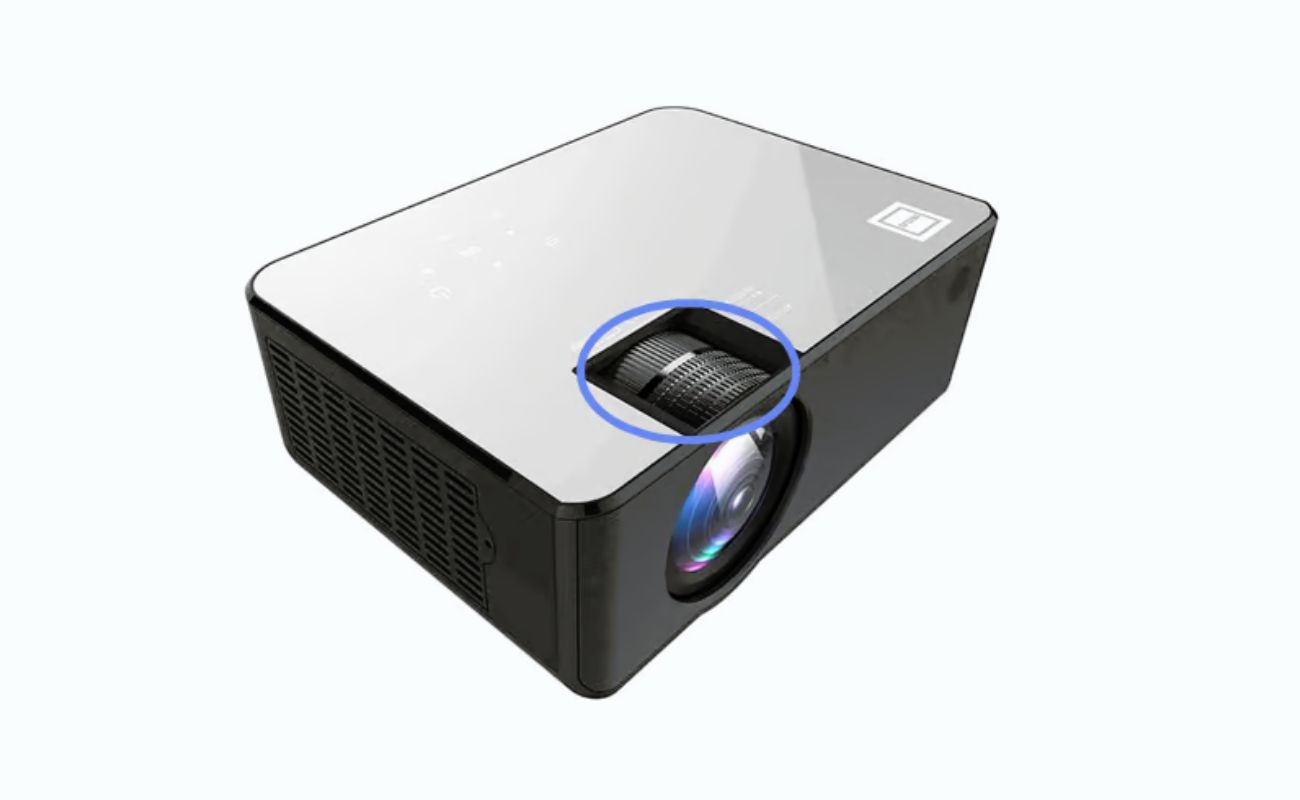
- Additional Features: Look for features such as lens shift, zoom capability, and keystone correction, which can enhance the flexibility and ease of installation.
Once you have identified your specific requirements and preferences, researching and comparing different projector models based on these criteria will help you narrow down the options. Reading user reviews and seeking professional advice can also provide valuable insights into the performance and reliability of different projectors.
Remember, the right projector can significantly impact the overall viewing experience, so take the time to evaluate your options and choose a projector that aligns with your vision for the ultimate home theater setup.
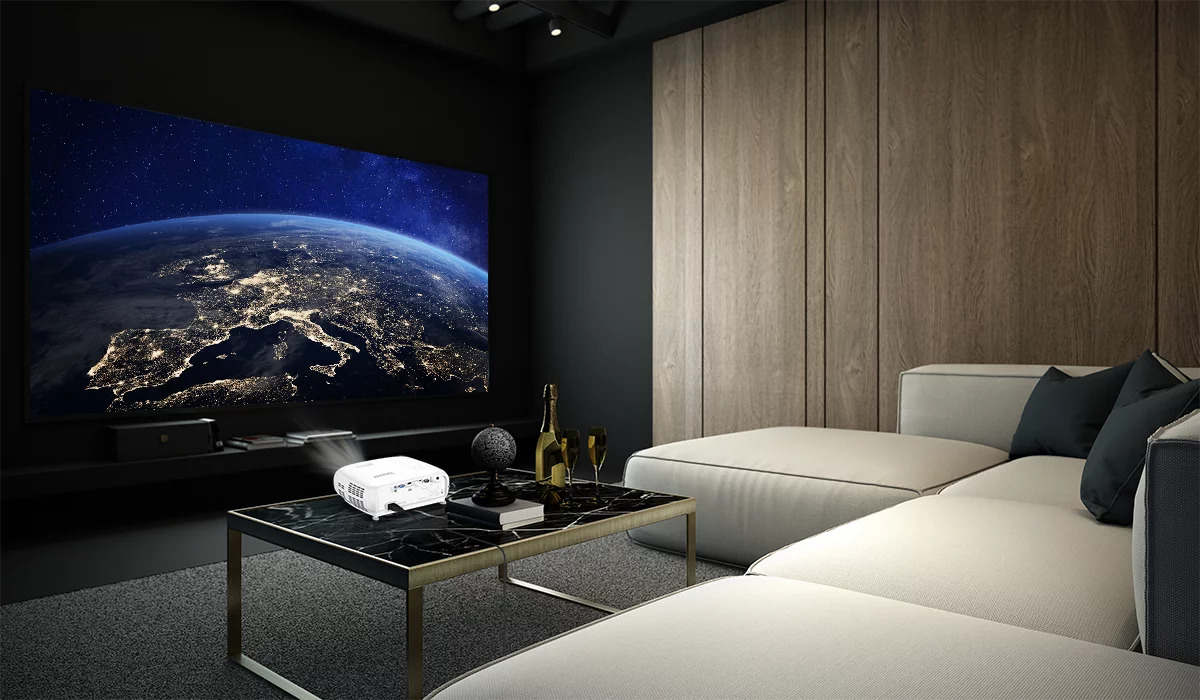
Selecting a Screen
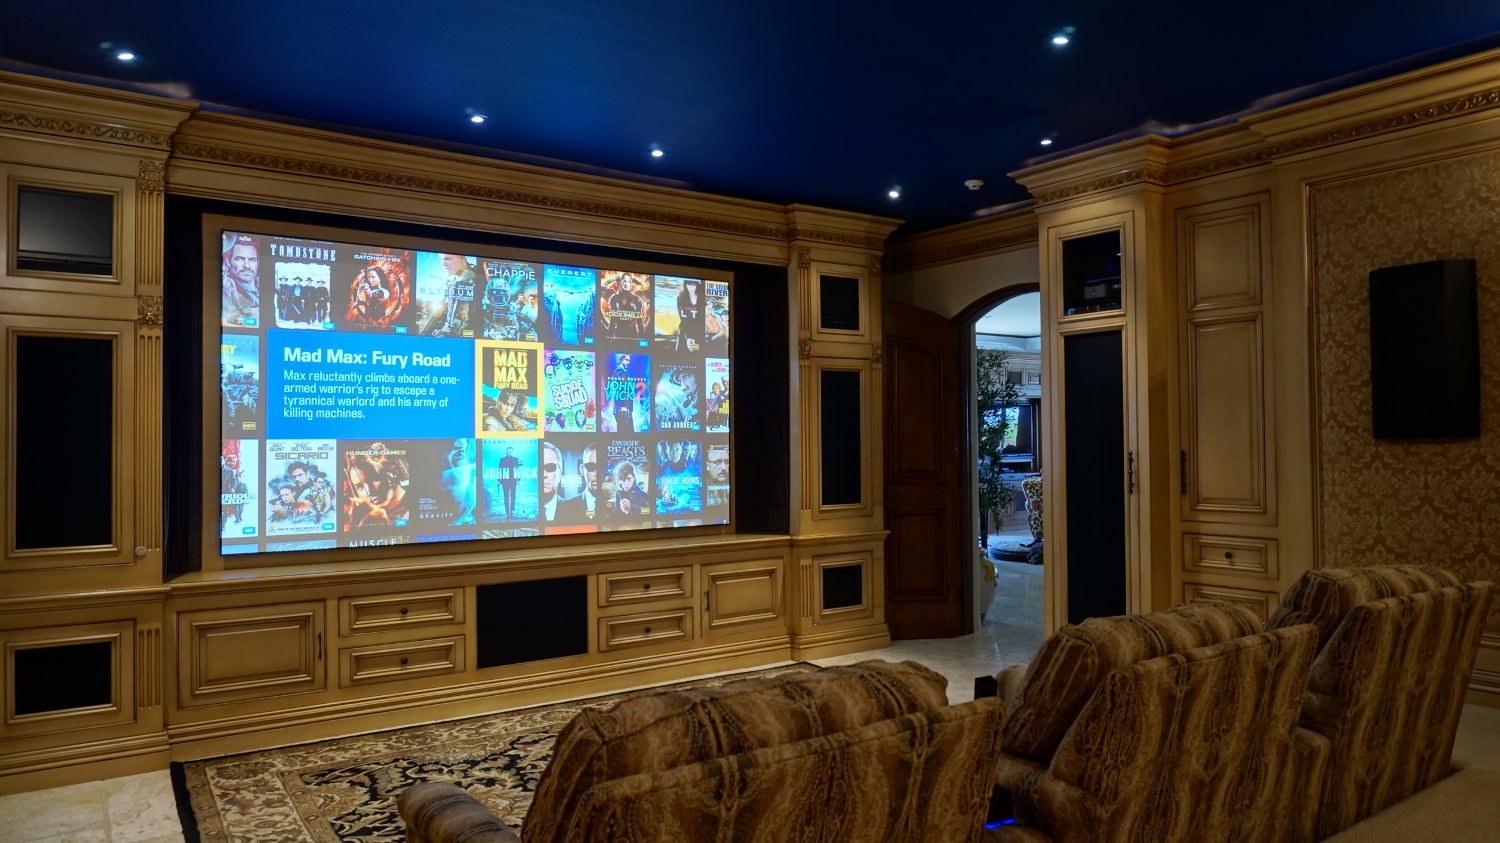
Now that you have chosen the perfect projector for your home theater system, the next crucial component to consider is the projection screen. While it may be tempting to project onto a blank wall, investing in a dedicated projection screen can elevate the visual quality and overall cinematic experience of your home theater.
When selecting a screen for your projector, several factors come into play:
- Screen Material: Projection screens are available in various materials, each with its unique characteristics. Options include matte white screens, grey screens, and high-contrast screens. Consider the ambient light conditions in your viewing area and the projector’s brightness to determine the most suitable screen material for optimal image quality.
- Screen Size and Aspect Ratio: The screen size and aspect ratio should complement the capabilities of your projector and the layout of your viewing space. Whether you prefer a standard 16:9 aspect ratio for widescreen content or a cinematic 2.35:1 aspect ratio for an immersive movie theater experience, selecting the right screen size and aspect ratio is essential for maximizing visual impact.
- Fixed Frame vs. Retractable Screens: Fixed frame screens provide a permanent, tensioned surface for optimal image quality, while retractable screens offer the flexibility of concealing the screen when not in use. Consider the aesthetics and functionality of your space when choosing between these options.
- Acoustic Transparency: For home theater setups incorporating a dedicated sound system, acoustic transparent screens allow speakers to be placed behind the screen, creating a seamless audio-visual experience without compromising sound quality.
- Screen Gain: Screen gain refers to the reflectivity of the screen surface. High-gain screens can enhance brightness but may have a narrower viewing angle, while lower-gain screens offer wider viewing angles with less hotspotting. Consider the trade-offs based on your specific viewing environment and seating arrangement.
When selecting a screen, it’s essential to consider the overall aesthetics of your viewing space and how the screen will integrate into the room’s design. Additionally, evaluating the viewing angles and seating layout will help determine the optimal screen size and placement for an immersive viewing experience for all viewers.
Investing in a high-quality projection screen tailored to your specific requirements will ensure that your projector delivers stunning visuals with clarity, color accuracy, and immersive impact, bringing the cinematic experience to life within your home theater.
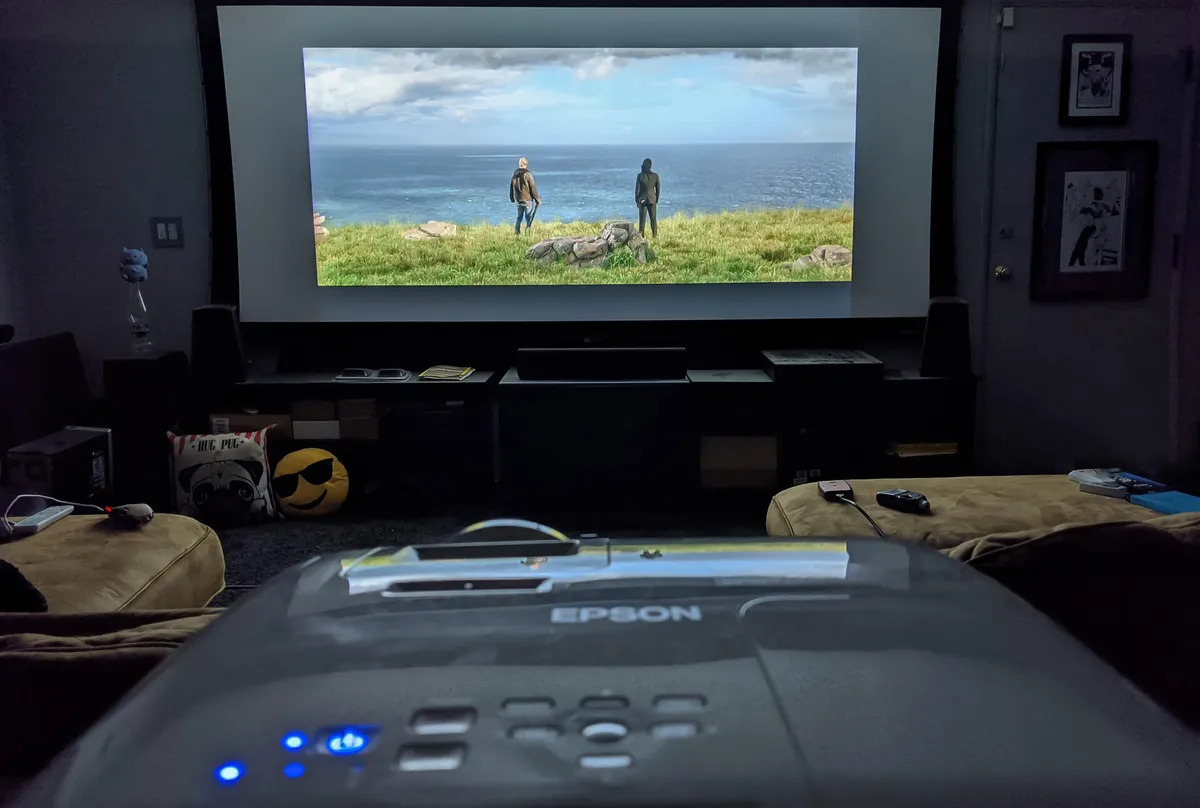
Setting Up the Projector
With the projector and screen selected, it’s time to embark on the exciting phase of setting up your home theater projector. Proper installation and positioning of the projector are crucial for achieving optimal image quality and maximizing the immersive viewing experience.
Here are the key steps to consider when setting up your projector:
- Positioning the Projector: Determine the ideal location for mounting or placing the projector. Consider factors such as throw distance, screen size, and ceiling or wall mounting options. Ensure that the projector is positioned perpendicular to the screen to prevent distortion and keystone effects.
- Adjusting Keystone and Lens Shift: Many projectors offer keystone correction and lens shift capabilities to fine-tune the image geometry and alignment. Use these adjustments to ensure a perfectly rectangular and distortion-free image on the screen.
- Connecting Power and Inputs: Connect the projector to a power source and ensure that all necessary audio and video inputs are connected. This may include HDMI cables, audio cables, and any additional connectivity required for your specific setup.
- Calibrating Image Settings: Access the projector’s menu to adjust image settings such as brightness, contrast, color temperature, and aspect ratio. Use test patterns or calibration discs to fine-tune the image for optimal color accuracy and clarity.
- Testing and Alignment: Power on the projector and adjust the focus and zoom to achieve a sharp and well-defined image on the screen. Verify that the projected image fits within the boundaries of the screen and make any necessary adjustments to the projector’s position or zoom settings.
- Securing Cables and Concealing Wires: Organize and secure the cables to minimize clutter and ensure a clean and tidy setup. Consider concealing cables within cable management systems or using in-wall cable routing for a sleek and professional installation.
As you set up your projector, pay attention to the details to create a seamless and visually stunning home theater environment. Taking the time to position the projector accurately, calibrate the image settings, and organize the cables will contribute to a polished and immersive viewing experience that rivals the charm of commercial cinemas.
With the projector now expertly set up, the stage is set for the next phase of integrating audio and video sources to complete your home theater system with a projector.
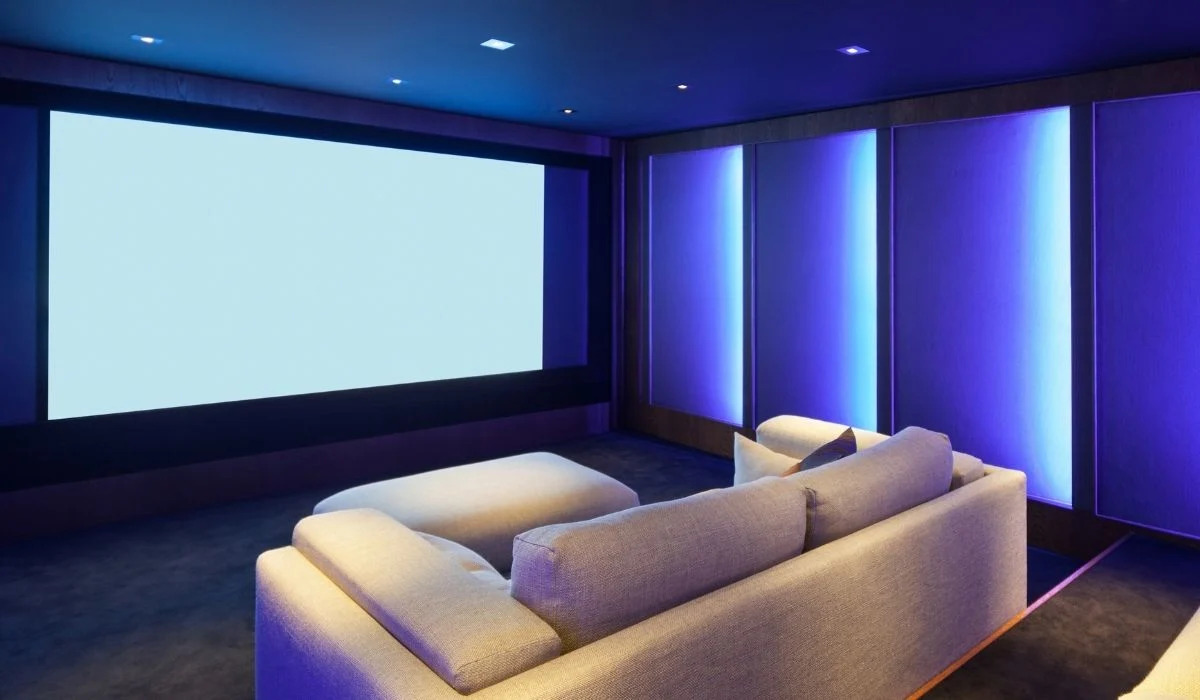
When setting up a home theater system with a projector, make sure to choose a room with minimal natural light to enhance the image quality. Additionally, invest in a good quality screen to further improve the viewing experience.
Connecting Audio and Video Sources
With the projector in place, it’s time to integrate the audio and video sources that will bring your home theater system to life. Whether you’re connecting a Blu-ray player, gaming console, streaming device, or a combination of audio-visual sources, seamless connectivity is essential for a truly immersive entertainment experience.
Here’s how to connect your audio and video sources to your home theater system:
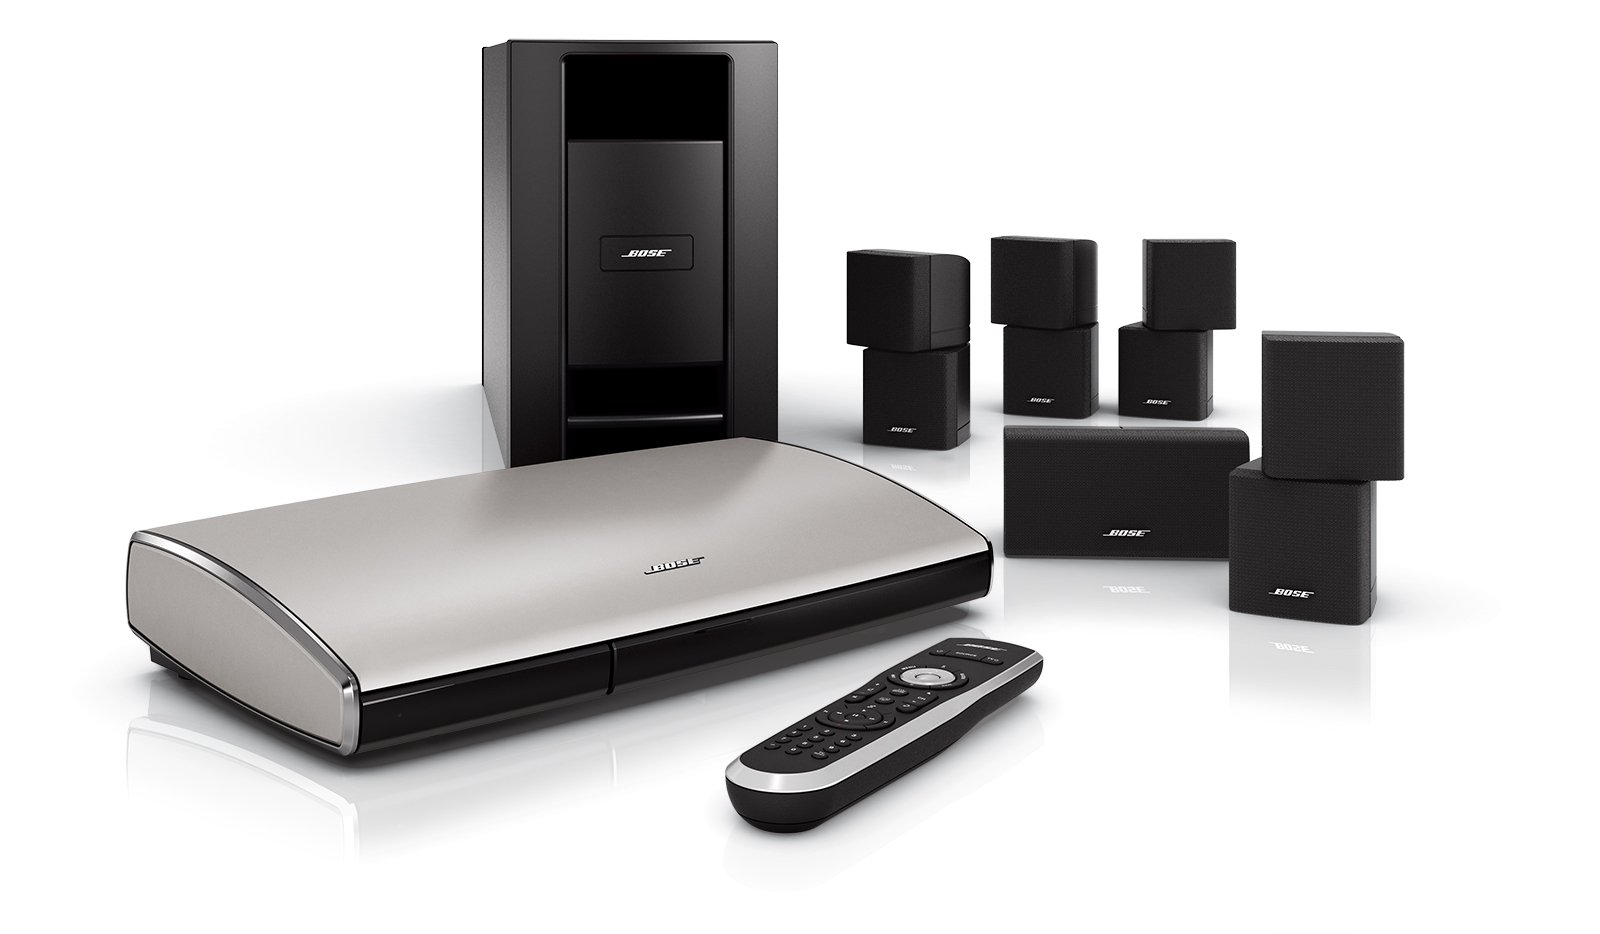
- Audio Connections: Determine the audio output options for your sources, which may include HDMI, optical, RCA, or 3.5mm audio connections. For high-fidelity audio, consider connecting your sources to a dedicated AV receiver or soundbar to harness the full potential of surround sound or immersive audio formats such as Dolby Atmos or DTS:X.
- Video Connections: Utilize HDMI connections for video sources whenever possible to ensure high-definition video transmission. If your projector has multiple HDMI inputs, connect your video sources directly to the projector for simplified signal routing.
- AV Receiver or Soundbar Setup: If you’re incorporating an AV receiver into your home theater system, connect the audio and video sources to the receiver, then use a single HDMI connection to transmit the audio and video signals to the projector. For soundbars with HDMI ARC (Audio Return Channel) support, use the HDMI ARC connection to streamline audio playback from the connected sources.
- Streaming Devices and Smart Features: If you’re using streaming devices or smart features built into your projector, ensure that they are connected to your home network and configured to access streaming services, apps, and online content seamlessly.
- Universal Remote or Smart Control Integration: Consider integrating a universal remote or smart control system to manage the various audio-visual sources, projector, and other components of your home theater system. This simplifies the user experience and allows for centralized control of the entire setup.
As you connect your audio and video sources, consider the cable management and organization to maintain a tidy and visually appealing setup. Concealing cables within cable management systems, using wall-mounted cable conduits, or opting for wireless connectivity where possible can contribute to a clutter-free and polished home theater environment.
By seamlessly integrating your audio and video sources with the projector, you’ll be one step closer to experiencing the full potential of your home theater system. The next phase involves calibrating the system to ensure that both the audio and visual elements harmonize to deliver an unparalleled entertainment experience.
Read more: How Many Lumens For A Home Theater Projector
Calibrating the System
Now that your home theater projector and audio-visual sources are seamlessly connected, it’s time to fine-tune the system to deliver exceptional audio and visual performance. Calibration plays a crucial role in optimizing the image quality, color accuracy, and sound reproduction, ensuring that your home theater system delivers a truly immersive and cinematic experience.
Here’s how to calibrate your home theater system for optimal performance:
- Video Calibration: Access the picture settings on your projector to adjust parameters such as brightness, contrast, color saturation, and sharpness. Use calibration discs or test patterns to achieve accurate color reproduction and image clarity. Consider utilizing advanced features such as color temperature adjustments and gamma settings to fine-tune the visual output to your preferences.
- Audio Calibration: If you have an AV receiver or soundbar as part of your home theater setup, utilize the built-in room calibration systems, such as Audyssey or MultiEQ, to optimize the audio performance based on your room’s acoustics. These systems analyze the room’s characteristics and adjust the audio output to ensure balanced sound and accurate spatial imaging.
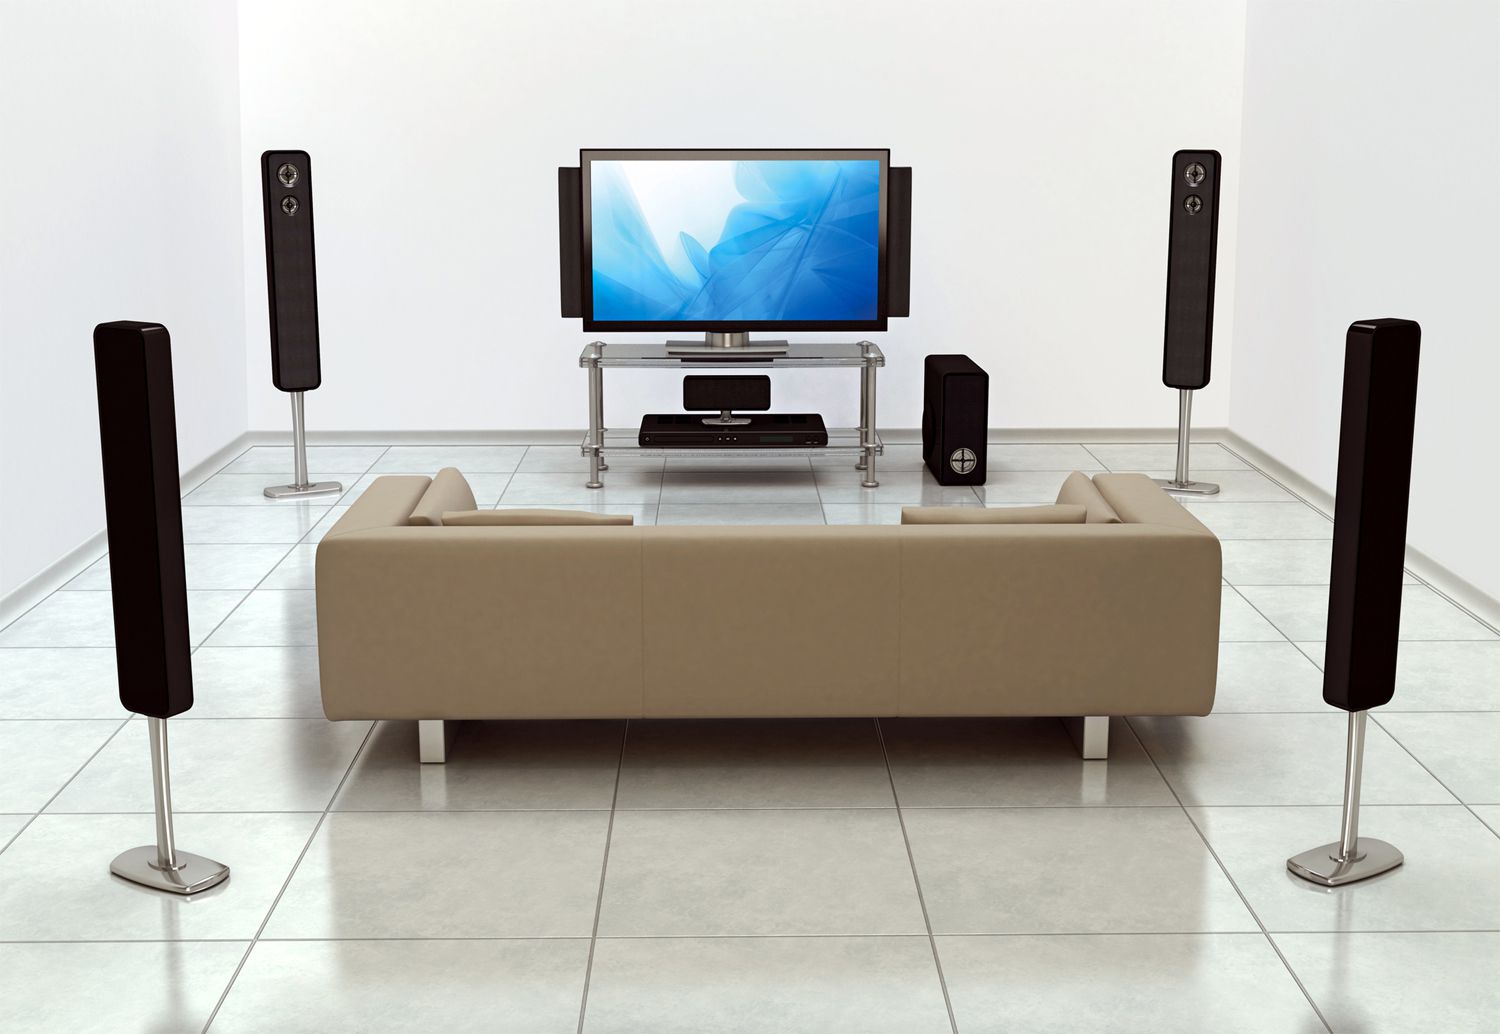
- Speaker Placement and Configuration: Ensure that your speakers are positioned optimally for a surround sound or immersive audio experience. Follow industry-standard guidelines for speaker placement, including front, center, surround, and overhead speakers, to create a cohesive and enveloping soundstage.
- Room Acoustics and Sound Treatment: Consider implementing acoustic treatments such as sound-absorbing panels, bass traps, and diffusers to enhance the acoustics of your viewing space. These treatments can minimize sound reflections and standing waves, contributing to a more accurate and immersive audio experience.
- Screen Uniformity and Geometry: Verify that the projected image maintains uniform brightness and color consistency across the entire screen. Adjust the projector’s focus, zoom, and lens shift to ensure that the image is well-defined and accurately proportioned on the screen.
Calibrating your home theater system is a meticulous process that requires attention to detail and a discerning eye for audio-visual quality. Taking the time to fine-tune the system will yield remarkable results, transforming your home theater into a captivating space where every movie, game, or music performance comes to life with stunning clarity and immersive sound.
With the system expertly calibrated, you are now ready to immerse yourself in the captivating world of home entertainment, where the boundaries between your home and the cinema blur into a seamless and exhilarating viewing experience.
Conclusion
Congratulations on embarking on the journey to set up a home theater system with a projector. By delving into the world of home entertainment, you have unlocked the potential to create a captivating cinematic experience within the comfort of your own home. As you conclude this comprehensive guide, it’s essential to reflect on the transformative process of bringing the magic of the big screen into your personal space.
Setting up a home theater system with a projector is not merely about assembling audio-visual components; it’s about curating an immersive environment where every frame and sound resonates with intensity and emotion. It’s about transcending the ordinary and stepping into a realm where entertainment becomes an unforgettable journey, enveloping you in its spellbinding allure.
From choosing the right projector and screen to meticulously setting up and calibrating the system, you have embarked on a quest to craft a space where movies come to life, games unfold with unparalleled intensity, and music reverberates with soul-stirring clarity. Your dedication to creating a home theater system reflects a commitment to elevating the art of entertainment and embracing the power of technology to transform everyday moments into extraordinary experiences.
As you immerse yourself in the captivating visuals and enveloping soundscapes of your home theater, remember that this space is not just a collection of devices and wires; it’s a portal to boundless imagination, a sanctuary where stories unfold, and emotions resonate with depth and resonance. It’s a testament to your passion for immersive experiences and your desire to carve out a haven where the ordinary transcends into the extraordinary.
So, as you dim the lights, settle into your favorite spot, and press play, savor every moment within your home theater sanctuary. Let the visuals transport you, the sound envelop you, and the magic of cinema unfold within the intimate embrace of your personal cinematic retreat. Whether it’s a thrilling blockbuster, an exhilarating game, or a timeless classic, may every experience within your home theater system be a symphony of sights and sounds that captivate your senses and stir your soul.
With your home theater system expertly set up, calibrated, and ready to enchant, the stage is set for a journey filled with unforgettable moments and timeless memories. Embrace the magic, immerse yourself in the wonder, and let your home theater become the canvas where dreams and realities converge in a spectacle of pure cinematic bliss.
Frequently Asked Questions about How To Set Up A Home Theater System With A Projector
Was this page helpful?
At Storables.com, we guarantee accurate and reliable information. Our content, validated by Expert Board Contributors, is crafted following stringent Editorial Policies. We're committed to providing you with well-researched, expert-backed insights for all your informational needs.


0 thoughts on “How To Set Up A Home Theater System With A Projector”