Home>Technology>Home Entertainment Systems>How To Set Up A Home Theater Subwoofer
Home Entertainment Systems
How To Set Up A Home Theater Subwoofer
Published: February 15, 2024
Learn how to properly set up a subwoofer for your home entertainment system with our step-by-step guide. Enhance your audio experience today!
(Many of the links in this article redirect to a specific reviewed product. Your purchase of these products through affiliate links helps to generate commission for Storables.com, at no extra cost. Learn more)
Introduction
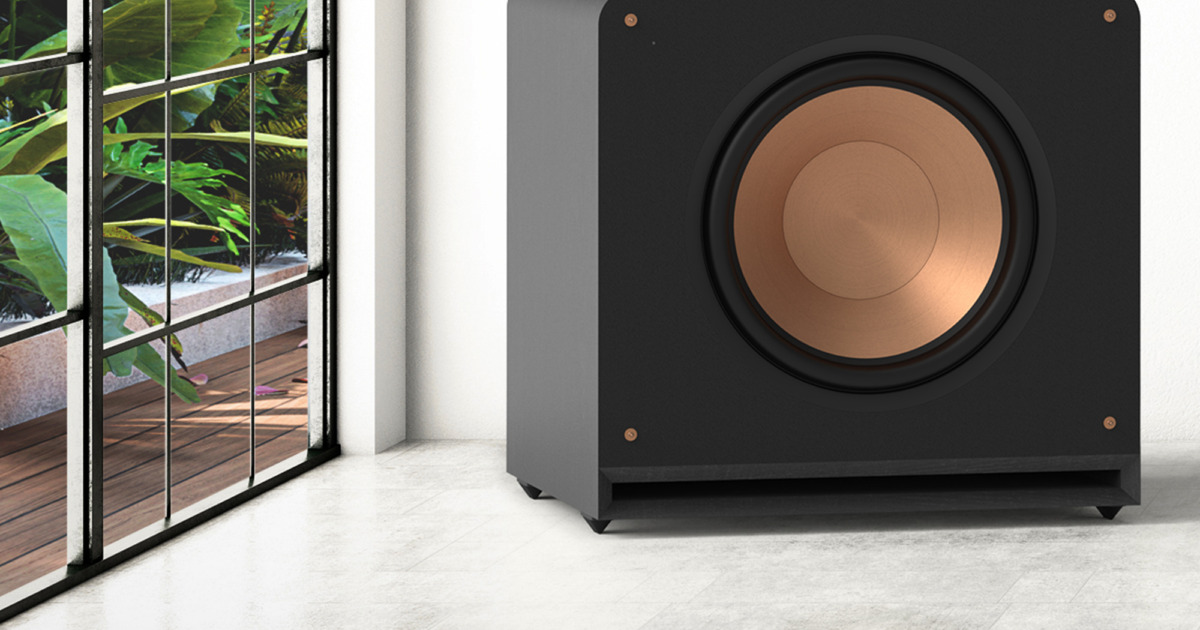
Setting up a home theater subwoofer is a crucial step in creating an immersive audio experience that brings movies, music, and games to life. The subwoofer is responsible for delivering deep, rumbling bass that adds depth and realism to soundtracks, making explosions more impactful and music more dynamic. Whether you're a cinephile, a music enthusiast, or a gamer, a well-configured subwoofer can elevate your entertainment experience to new heights.
In this comprehensive guide, we will walk you through the process of setting up your home theater subwoofer, from choosing the optimal location to fine-tuning its settings for optimal performance. By following these steps, you can ensure that your subwoofer seamlessly integrates with your existing audio system, delivering powerful and balanced bass that complements the overall audio output.
A properly set up subwoofer can transform your living room into a captivating cinematic space, where every sound effect and musical note is felt as much as it is heard. Whether you're watching an action-packed blockbuster, listening to your favorite album, or immersing yourself in the virtual world of gaming, the deep, resonant bass produced by a well-calibrated subwoofer adds a visceral dimension to your entertainment.
Now, let's delve into the step-by-step process of setting up your home theater subwoofer, ensuring that you get the most out of this essential component of your audio system. By the end of this guide, you'll be equipped with the knowledge and skills to optimize your subwoofer's performance, allowing you to enjoy a truly immersive audio experience in the comfort of your own home.
Key Takeaways:
- Position your subwoofer near the front of the room, away from walls and corners, to achieve balanced and impactful bass. Experiment with placement and use isolation pads for cleaner bass reproduction.
- Connect your subwoofer to the receiver using a dedicated subwoofer cable, then fine-tune settings like crossover frequency and phase alignment for optimal bass performance. Test and adjust until you achieve a captivating audio experience.
Read more: Where To Place Subwoofer In Home Theater
Step 1: Choosing the Right Location
The first and arguably most crucial step in setting up a home theater subwoofer is selecting the optimal location for placement. The placement of the subwoofer significantly impacts its performance, as it directly affects the way low-frequency sound waves propagate throughout the room. By strategically positioning the subwoofer, you can ensure that it delivers balanced and impactful bass, enhancing the overall audio experience.
When choosing the right location for your subwoofer, consider the following factors:
Room Acoustics
Take into account the acoustics of the room where the subwoofer will be placed. Rooms with hard surfaces, such as hardwood floors and bare walls, tend to reflect sound waves, potentially causing unwanted reverberations and uneven bass response. Conversely, rooms with soft furnishings and carpeting can absorb sound, resulting in a more controlled bass output. It's essential to strike a balance by considering the room's acoustics when deciding on the subwoofer's placement.
Subwoofer Positioning
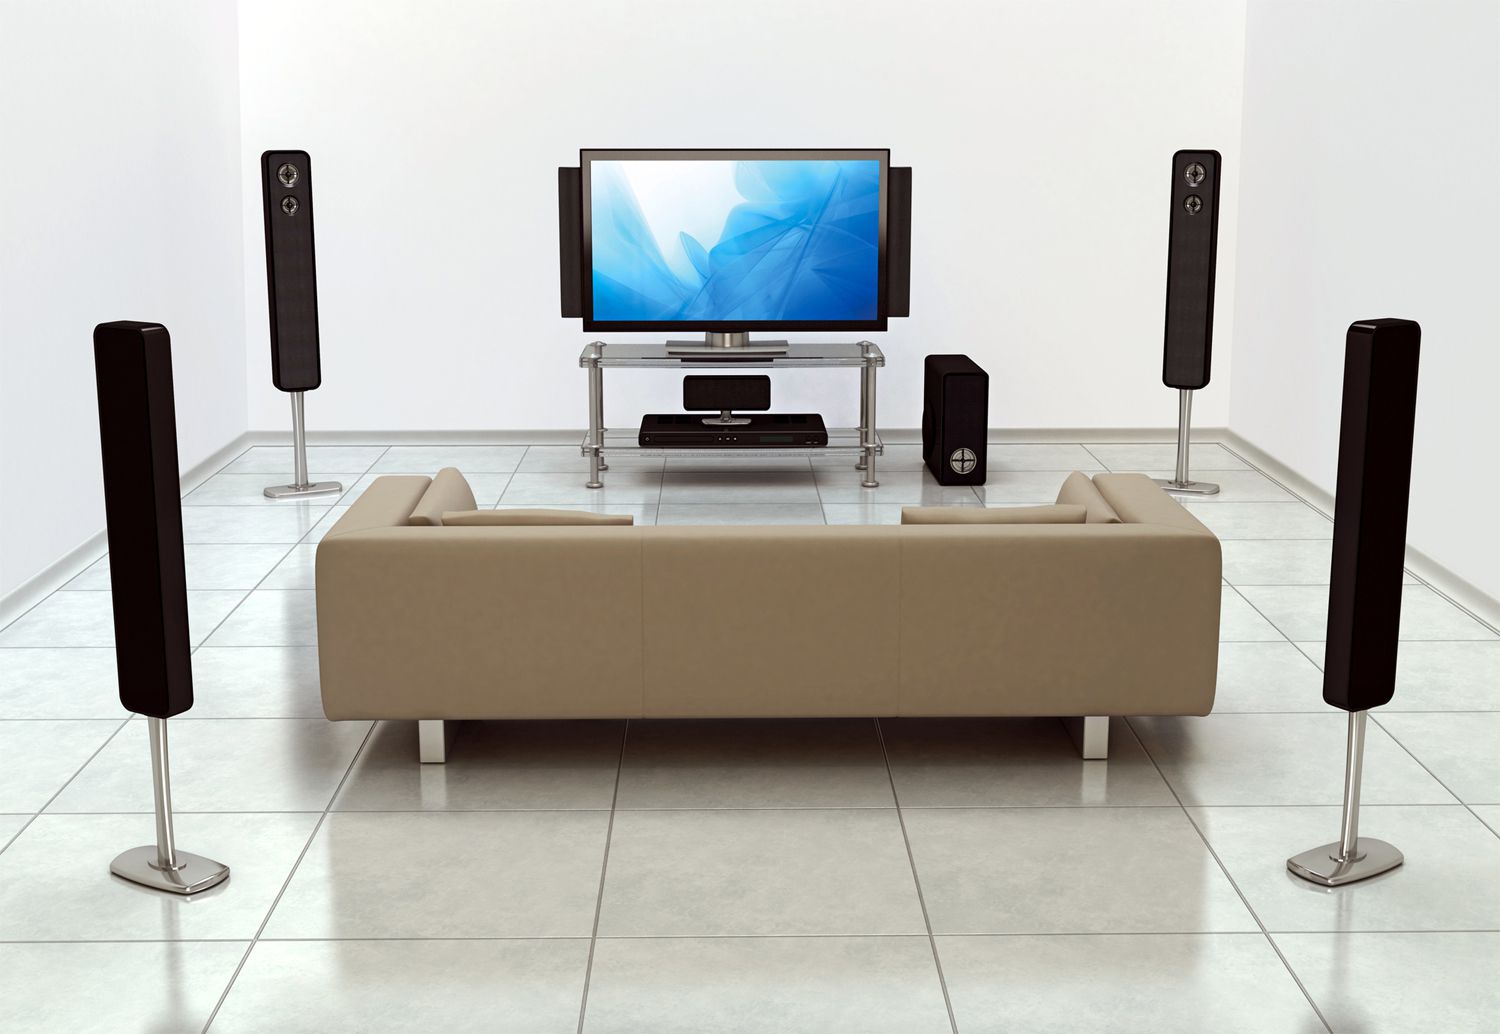
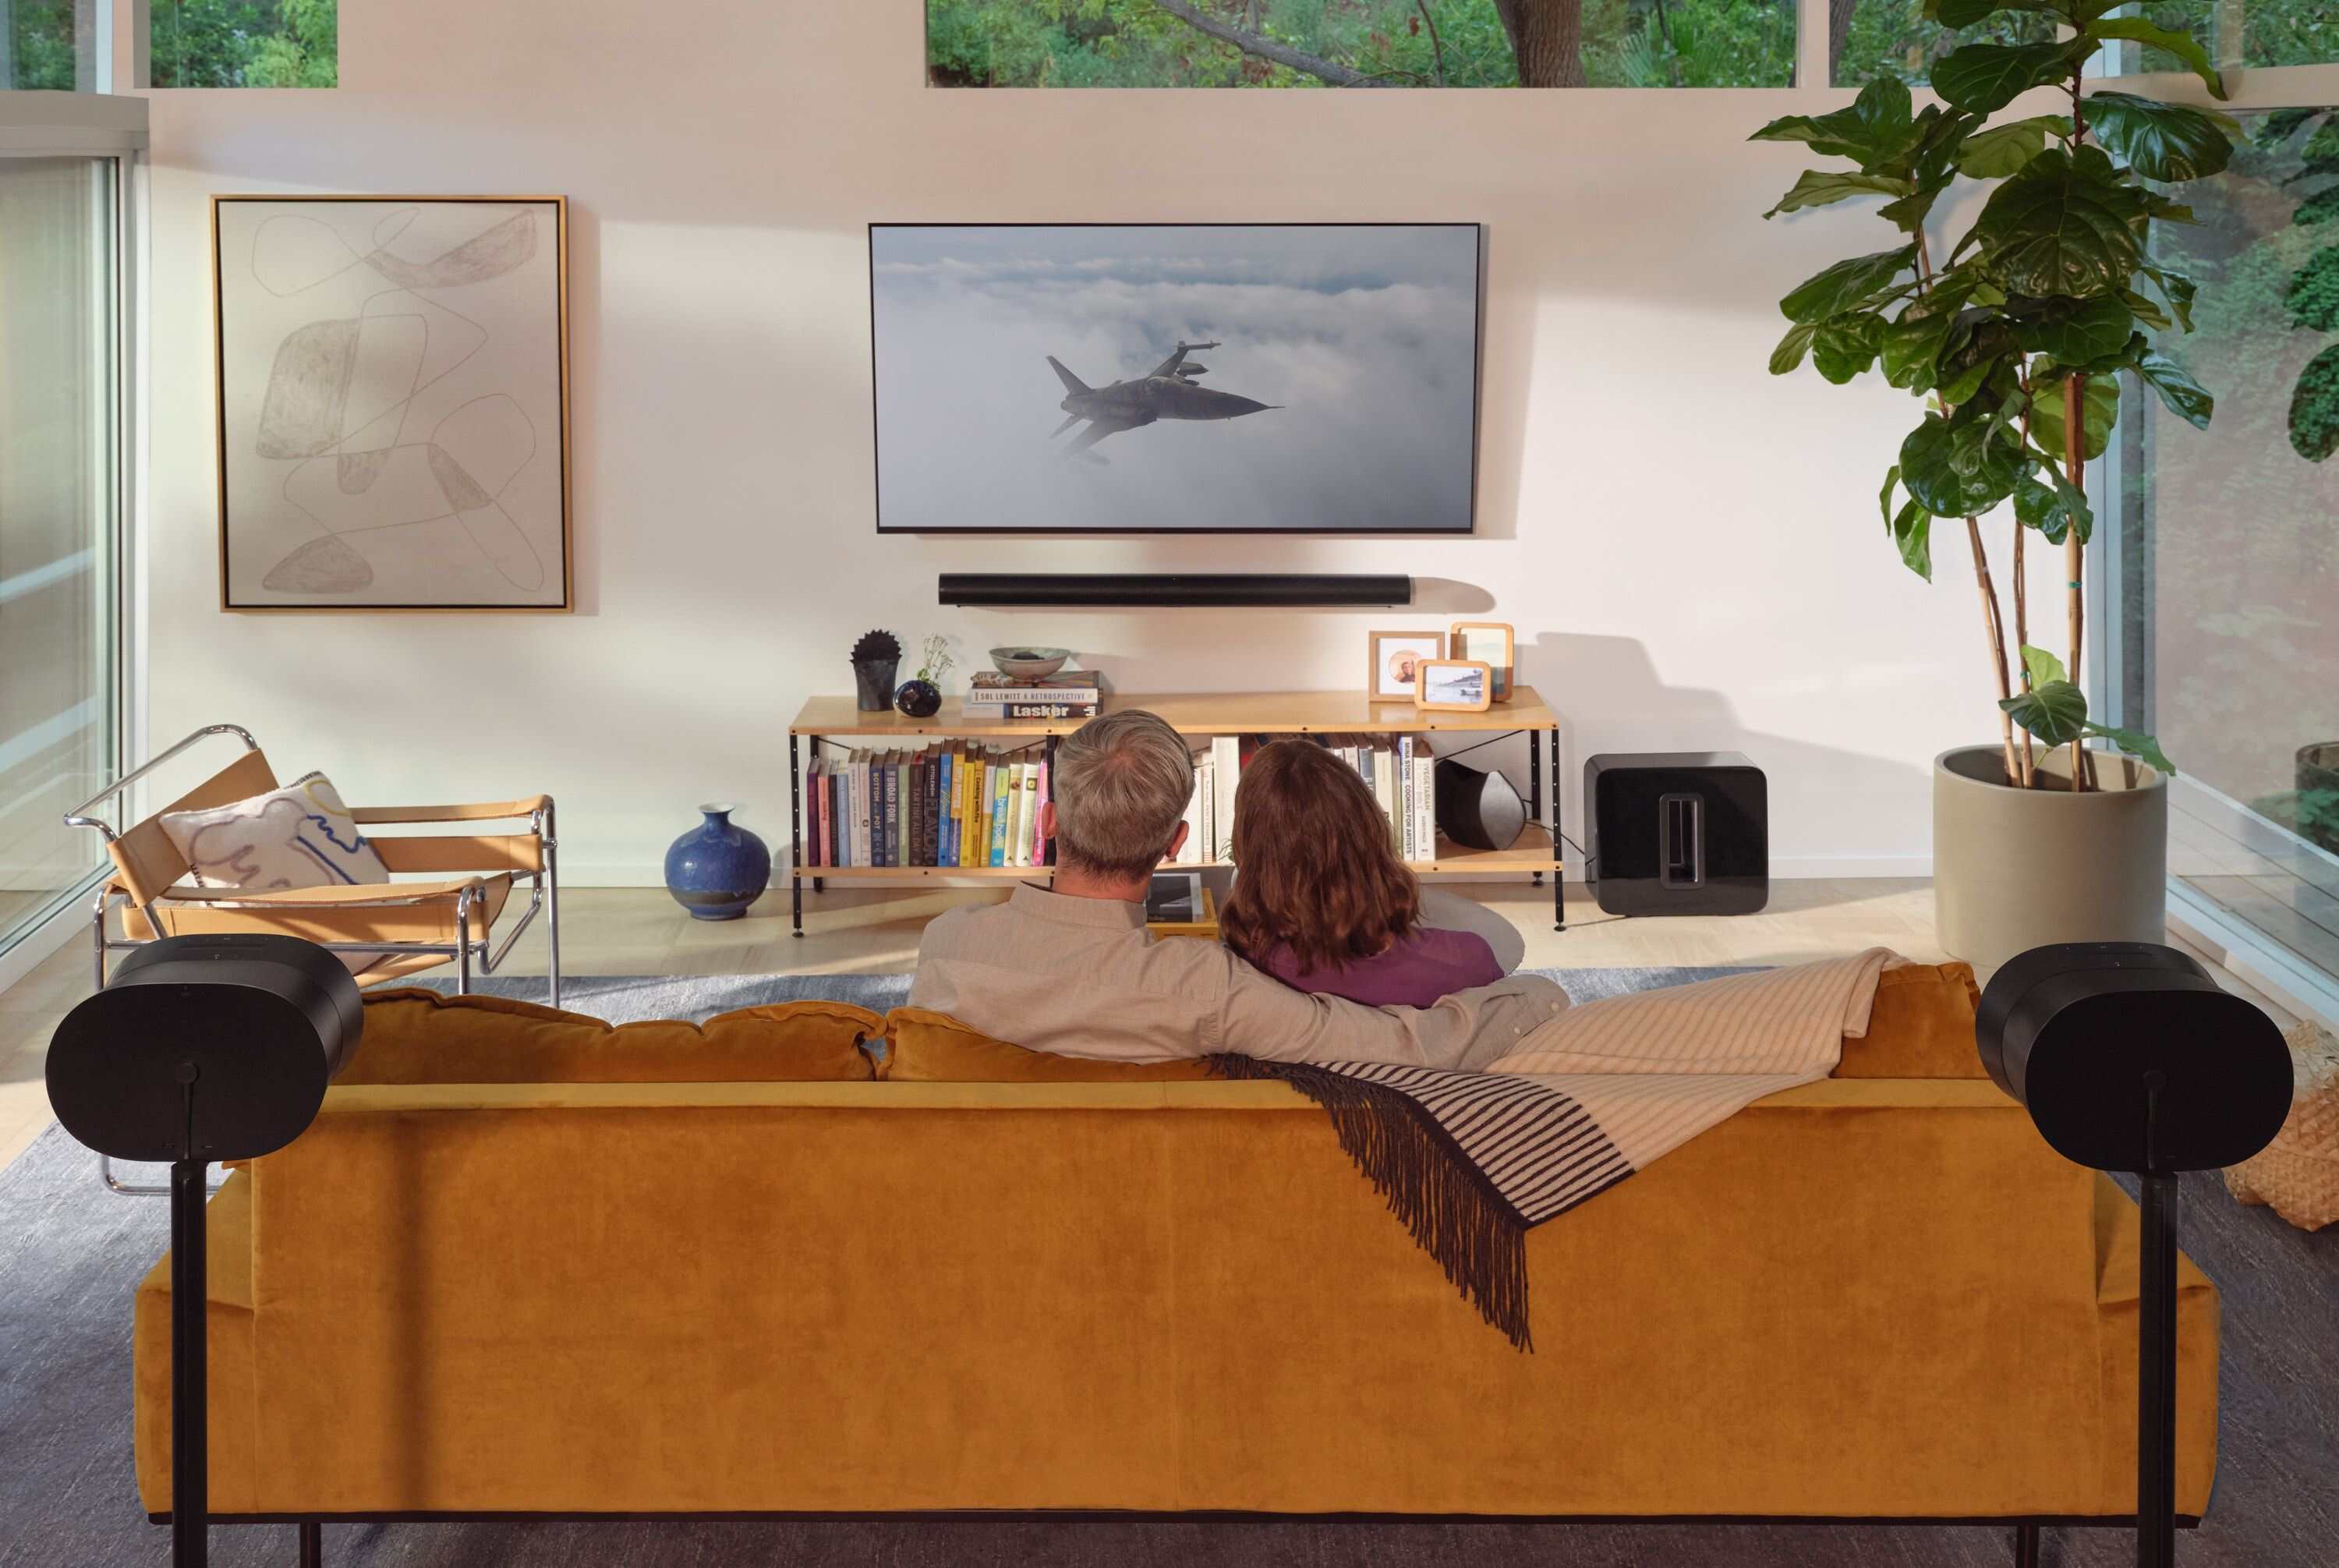
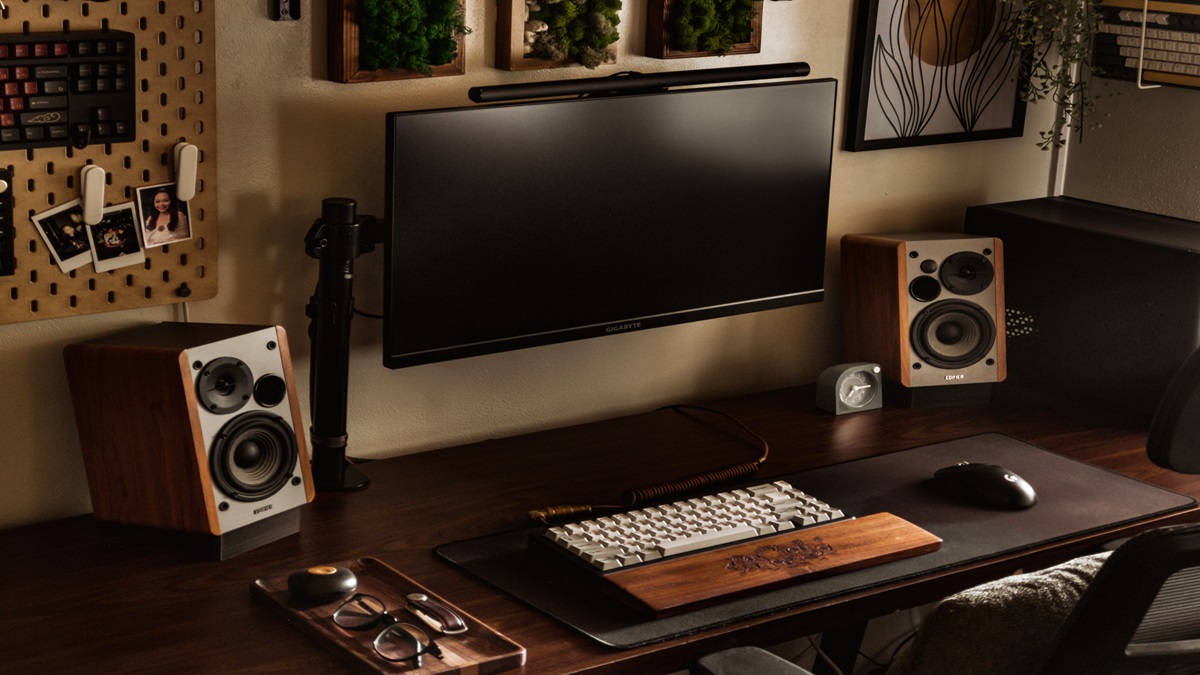
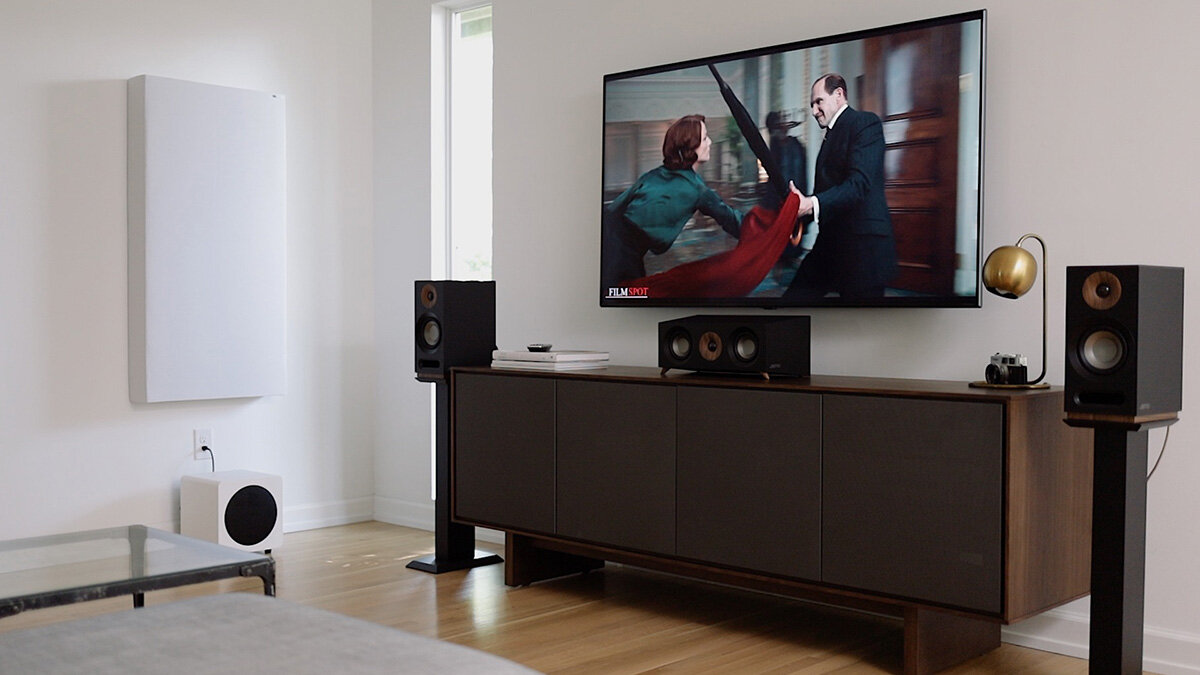
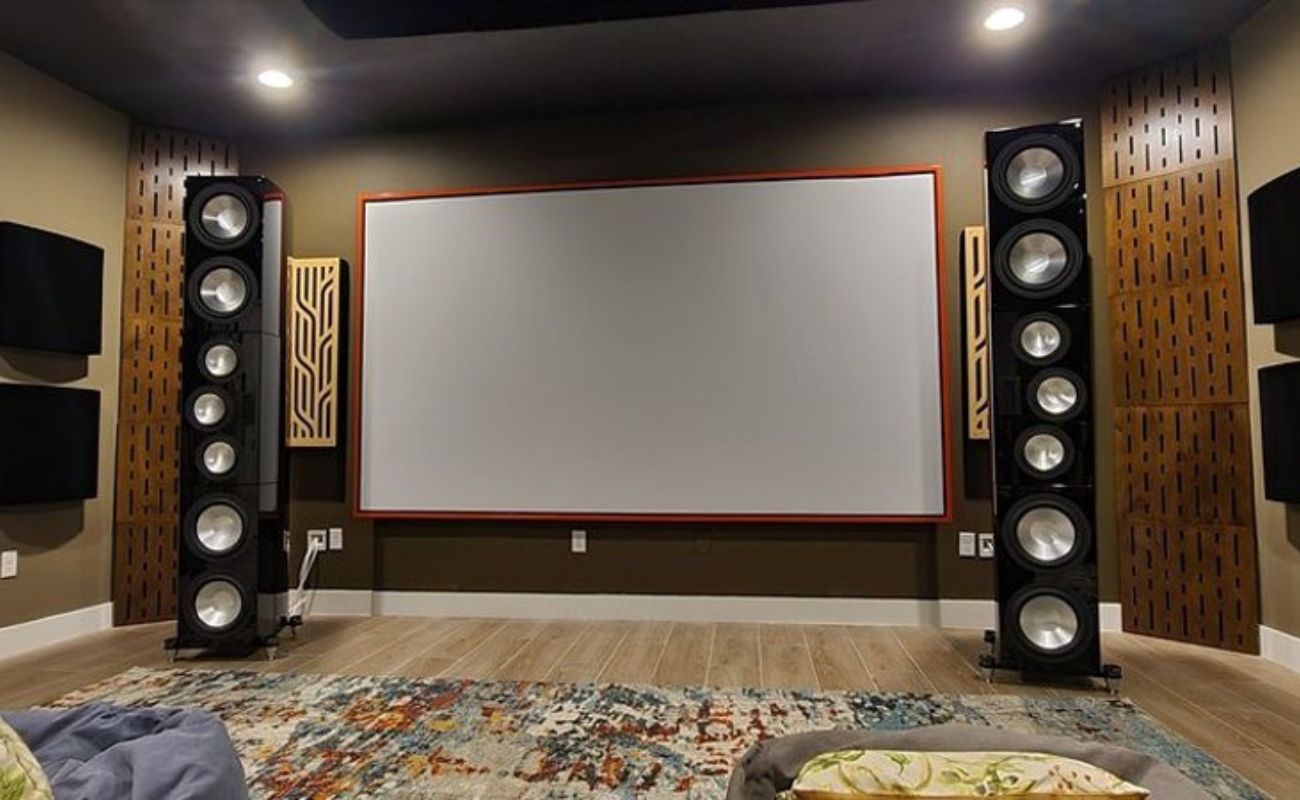
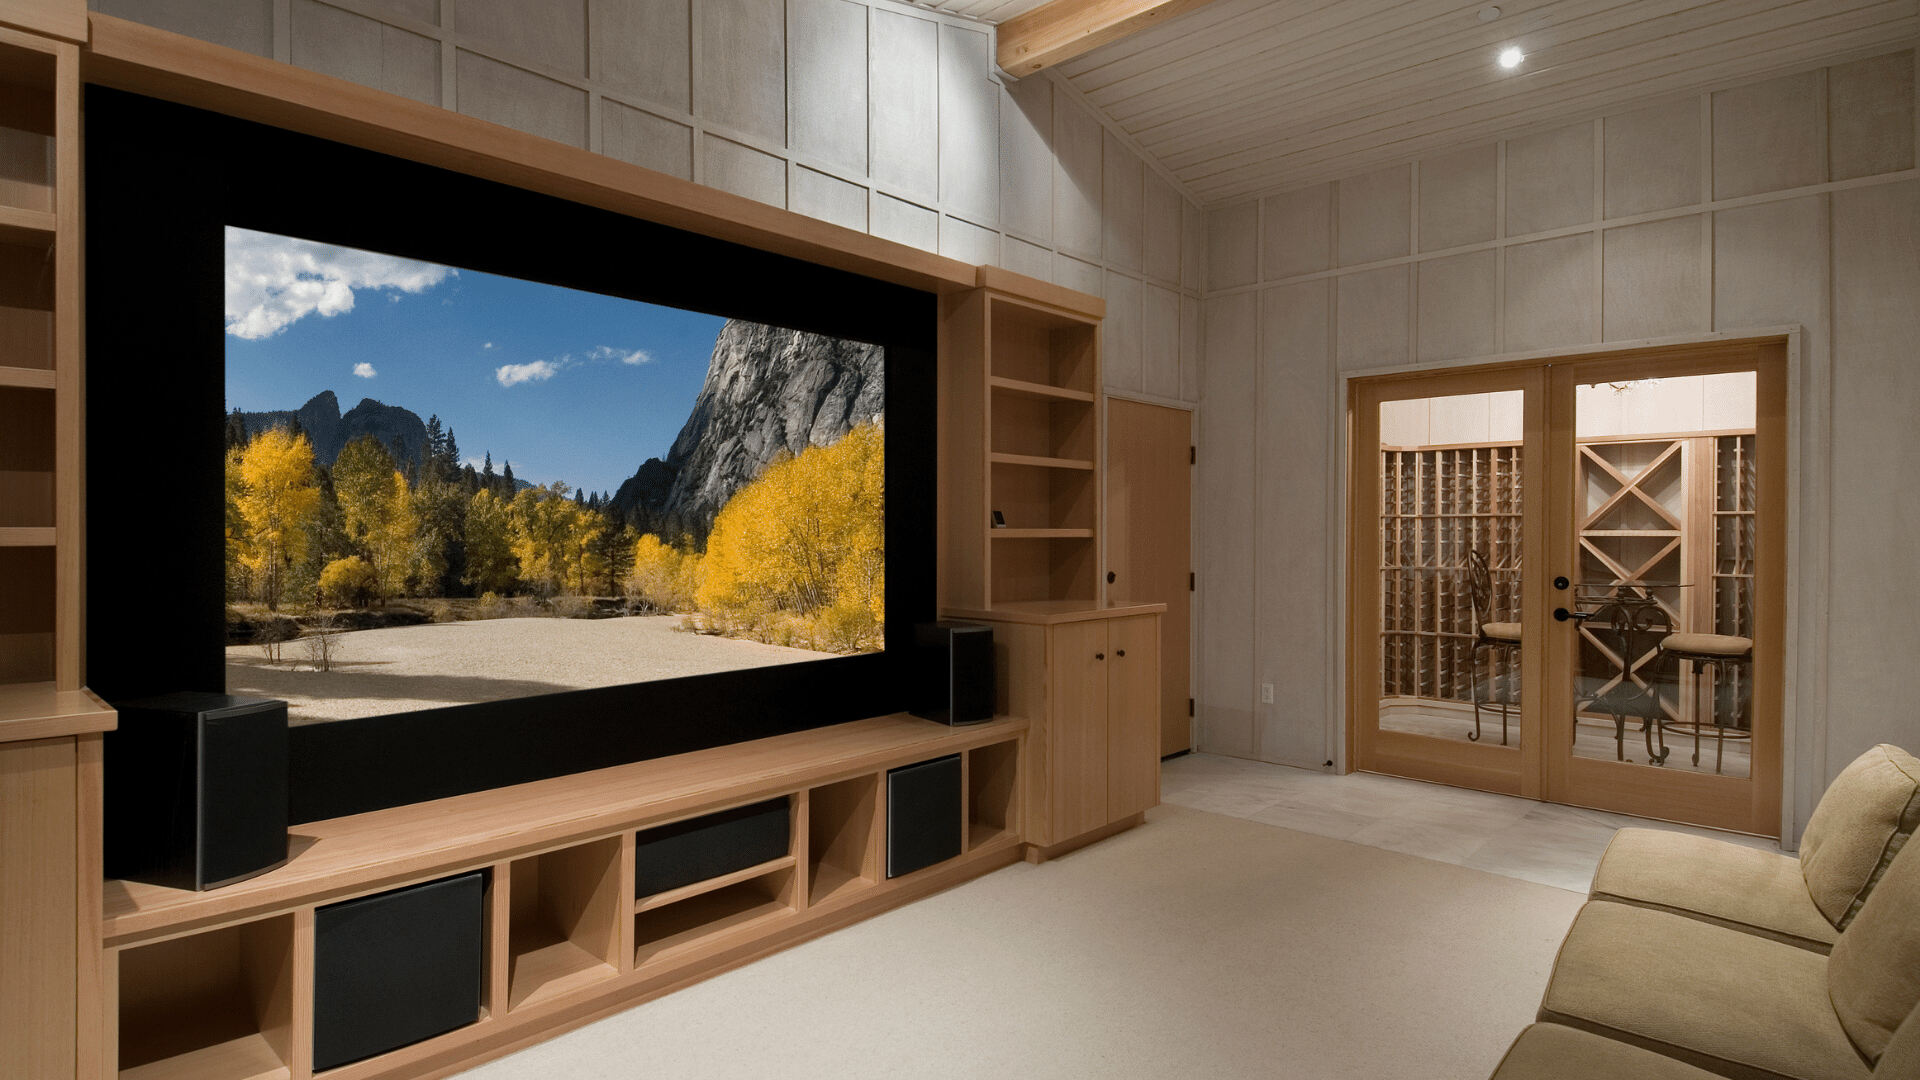
Ideally, the subwoofer should be placed near the front of the room, as this allows for more seamless integration with the main speakers. Placing the subwoofer in a corner can enhance bass output, as the walls act as natural boundaries that contain and amplify low-frequency sound waves. However, it's important to avoid placing the subwoofer too close to walls or corners, as this can lead to excessive bass buildup and potential distortion. Experiment with different positions to find the sweet spot where the bass is well-balanced and resonant.
Listening Area
Consider the primary listening area within the room, such as the seating arrangement for watching movies or listening to music. The subwoofer should ideally be positioned in a way that evenly distributes bass throughout the listening area, ensuring that everyone experiences consistent and impactful low-frequency effects. Take into account the line of sight from the subwoofer to the main listening area, as this can influence the overall sound dispersion and immersion.
Subwoofer Isolation
To prevent unwanted vibrations and resonance, consider using isolation pads or feet to decouple the subwoofer from the floor or any nearby surfaces. Isolation helps minimize the transfer of vibrations, resulting in cleaner and more defined bass reproduction. Additionally, isolating the subwoofer can prevent it from rattling or causing disturbances to nearby objects, contributing to a more refined audio output.
By carefully considering these factors and experimenting with different placement options, you can determine the optimal location for your home theater subwoofer. Once you have identified the ideal placement, you can proceed to the next step of connecting the subwoofer to the receiver, setting the stage for a truly immersive audio experience.
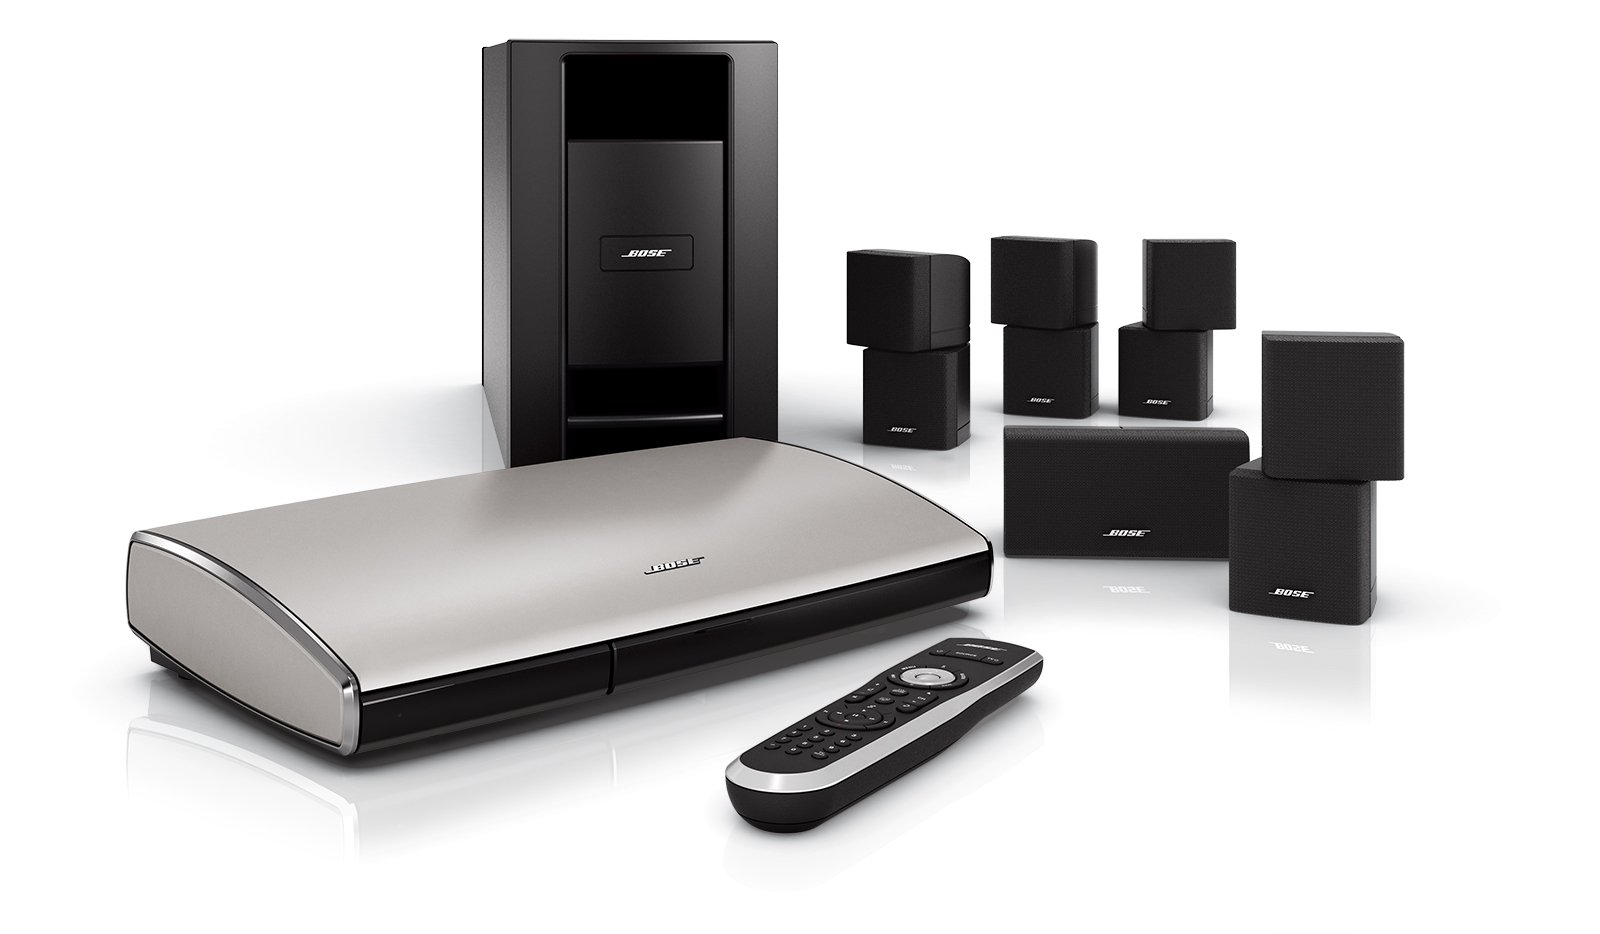
Step 2: Connecting the Subwoofer to the Receiver
Once you have identified the optimal placement for your home theater subwoofer, the next crucial step is to connect it to the audio receiver. Properly establishing the connection between the subwoofer and the receiver is essential for integrating the subwoofer into your audio system and ensuring that it operates in harmony with the other speakers.
Here's a detailed guide on how to connect the subwoofer to the receiver:
1. Locate the Subwoofer Output on the Receiver
Begin by identifying the subwoofer output on the back of your audio receiver. This is typically labeled as "Sub Out" or "LFE Out" (Low-Frequency Effects). The subwoofer output is a dedicated connection point designed to send low-frequency audio signals to the subwoofer, allowing it to reproduce deep bass frequencies.
2. Use a Subwoofer Cable
Obtain a high-quality subwoofer cable with RCA connectors on both ends. These cables are specifically designed for transmitting low-frequency audio signals and are essential for establishing a reliable connection between the receiver and the subwoofer.
3. Connect the Subwoofer Cable
Connect one end of the subwoofer cable to the subwoofer output on the receiver. Ensure a secure and snug connection to prevent signal loss or interference. Next, connect the other end of the cable to the corresponding input on the subwoofer. This input is often labeled as "LFE In" or "Line In," depending on the subwoofer model.
4. Power On the Subwoofer
After connecting the subwoofer cable, power on the subwoofer and ensure that it is ready to receive audio signals. Most subwoofers have a power indicator light that illuminates when the unit is powered on and ready to operate.
5. Configure Receiver Settings
Access the audio settings on your receiver and navigate to the speaker configuration or setup menu. Locate the subwoofer settings and ensure that the subwoofer output is enabled. Depending on the receiver model, you may have the option to adjust crossover frequencies and subwoofer levels to fine-tune the bass response.
By following these steps, you can effectively connect your home theater subwoofer to the receiver, establishing a seamless integration that enhances the overall audio performance. With the subwoofer properly connected, you are now ready to proceed to the next step of adjusting the subwoofer settings to optimize its performance and achieve a balanced audio output.
Step 3: Adjusting the Subwoofer Settings
After connecting the subwoofer to the receiver, the next crucial step is to fine-tune its settings to achieve optimal performance and seamlessly integrate it with the existing audio system. Proper adjustment of the subwoofer settings allows you to tailor the bass response to suit your room's acoustics and personal preferences, ensuring that it complements the overall audio output without overpowering or underwhelming the soundstage.
Here's a detailed guide on how to adjust the subwoofer settings for optimal performance:
1. Crossover Frequency Adjustment
The crossover frequency determines the point at which low-frequency sounds are redirected from the main speakers to the subwoofer. Access the receiver's speaker configuration menu and locate the crossover settings. Adjust the crossover frequency to ensure a smooth transition between the main speakers and the subwoofer, preventing any frequency gaps or overlaps. A typical starting point for the crossover frequency is around 80Hz, but you may need to experiment with different settings to find the optimal crossover point that delivers cohesive bass reproduction.
2. Subwoofer Phase Alignment
Phase alignment ensures that the subwoofer's bass frequencies are in sync with the main speakers, preventing any phase cancellation that can compromise the overall sound quality. Most subwoofers feature a phase switch that allows you to adjust the phase alignment. Experiment with the phase switch to determine the setting that results in the most coherent and impactful bass response, especially in the crossover region where the subwoofer and main speakers overlap.
3. Subwoofer Level Calibration
Calibrating the subwoofer level involves adjusting the volume or gain control on the subwoofer itself to achieve a balanced blend of bass with the rest of the audio system. Use a sound level meter or the built-in calibration tool in your receiver, if available, to ensure that the subwoofer's output matches the volume of the main speakers. This step is crucial for achieving a seamless integration of the subwoofer's bass output without overpowering or overshadowing the midrange and treble frequencies.
4. Room Acoustic Corrections
Some advanced receivers offer room correction features that analyze the room's acoustics and automatically adjust the subwoofer settings to compensate for any acoustic anomalies. If your receiver includes room correction capabilities, follow the on-screen prompts to run the calibration process, allowing the system to optimize the subwoofer's performance based on the specific acoustic characteristics of your listening environment.
By meticulously adjusting the subwoofer settings, you can ensure that it seamlessly integrates with your audio system, delivering powerful and balanced bass that enhances the overall audio experience. With the subwoofer settings optimized, you are now ready to proceed to the final step of testing and fine-tuning the subwoofer to validate its performance and make any necessary adjustments for an immersive audio experience.
Read more: How To Set Up A Home Theater Projector
Step 4: Testing and Fine-Tuning the Subwoofer
With the subwoofer properly connected and its settings adjusted, the final step involves testing and fine-tuning its performance to ensure that it seamlessly integrates with the overall audio system and delivers impactful bass that enhances the immersive experience.
Listening Evaluation
Begin by playing audio content that encompasses a wide range of frequencies, including music tracks with deep bass, movie scenes with impactful low-frequency effects, and audio clips that highlight subtle nuances in the lower frequency spectrum. Sit in the primary listening area and carefully evaluate the subwoofer's performance, paying attention to the following aspects:
-
Bass Clarity: Assess the clarity and definition of the bass output. The bass should be deep and resonant without sounding muddy or boomy, adding depth to the audio without overpowering other frequencies.
-
Impactful Low-Frequency Effects: Listen for the impact of low-frequency effects, such as explosions and deep rumbling sounds. The subwoofer should reproduce these effects with authority, creating a visceral and immersive audio experience.
-
Seamless Integration: Ensure that the subwoofer seamlessly integrates with the main speakers, creating a cohesive soundstage where the bass complements the midrange and treble frequencies without overshadowing them.
Fine-Tuning Adjustments
Based on the listening evaluation, make fine-tuning adjustments to the subwoofer settings as needed. This may involve revisiting the crossover frequency, phase alignment, and subwoofer level to achieve the desired bass response. Experiment with different settings and carefully listen to the changes, making incremental adjustments until the bass output aligns with your preferences and the acoustic characteristics of the room.
Room Acoustic Optimization
If your audio receiver features room correction capabilities, consider running the room calibration process to further optimize the subwoofer's performance based on the specific acoustic characteristics of your listening environment. Follow the on-screen prompts to allow the system to analyze the room's acoustics and make real-time adjustments to the subwoofer settings, ensuring that it compensates for any acoustic anomalies and delivers a balanced bass response.
Read more: How To Set Up Alexa With Home Theater
Validation and Enjoyment
After making fine-tuning adjustments and optimizing the subwoofer's performance, validate its impact by revisiting audio content and experiencing the immersive audio environment it creates. Pay attention to the seamless integration of the subwoofer with the overall audio system, the impactful bass reproduction, and the overall enhancement of the entertainment experience. Once satisfied with the subwoofer's performance, sit back, relax, and enjoy the captivating audio experience that a well-tuned subwoofer brings to your home theater.
By meticulously testing and fine-tuning the subwoofer, you can ensure that it operates at its full potential, delivering powerful and balanced bass that enriches your entertainment experience. With the subwoofer seamlessly integrated into your audio system and optimized for your listening environment, you can immerse yourself in a captivating audio journey that brings movies, music, and games to life in a truly immersive and impactful manner.
Conclusion
In conclusion, setting up a home theater subwoofer is a pivotal step in creating an immersive audio experience that elevates your entertainment to new heights. By carefully choosing the optimal location, connecting the subwoofer to the receiver, adjusting its settings, and fine-tuning its performance, you can achieve a truly captivating audio environment that brings movies, music, and games to life with impactful and balanced bass.
The process of setting up a home theater subwoofer goes beyond mere technical configuration; it involves creating an audio landscape that resonates with the emotions and excitement of the content you enjoy. A well-configured subwoofer adds a visceral dimension to your entertainment, allowing you to feel the rumbling impact of explosions, the depth of musical bass lines, and the immersive low-frequency effects that enhance your overall audio experience.
By carefully considering the room's acoustics, experimenting with subwoofer placement, and fine-tuning its settings, you can tailor the bass response to suit your preferences and the unique characteristics of your listening environment. The seamless integration of the subwoofer with the main speakers creates a cohesive soundstage where every sound effect and musical note is felt as much as it is heard, delivering a captivating and enveloping audio experience.
As you embark on the journey of setting up your home theater subwoofer, remember that the ultimate goal is to create an audio environment that captivates and engages your senses, allowing you to immerse yourself in the content you love. Whether you're watching a thrilling action movie, listening to your favorite music album, or diving into the immersive world of gaming, a well-configured subwoofer enriches every moment with its impactful and resonant bass reproduction.
With the subwoofer seamlessly integrated into your audio system and optimized for your listening environment, you can embark on a captivating audio journey that brings movies, music, and games to life in a truly immersive and impactful manner. The deep, rumbling bass produced by a well-tuned subwoofer adds depth and realism to soundtracks, creating an audio experience that resonates with the emotions and excitement of the content you enjoy.
In essence, the process of setting up a home theater subwoofer is a journey of creating an audio environment that transcends mere sound reproduction, allowing you to immerse yourself in a captivating and enveloping audio experience that enriches your entertainment in profound ways. By following the steps outlined in this guide and infusing your personal touch, you can embark on a transformative audio journey that brings the magic of cinema, the power of music, and the thrill of gaming to life in your own home.
Frequently Asked Questions about How To Set Up A Home Theater Subwoofer
Was this page helpful?
At Storables.com, we guarantee accurate and reliable information. Our content, validated by Expert Board Contributors, is crafted following stringent Editorial Policies. We're committed to providing you with well-researched, expert-backed insights for all your informational needs.


0 thoughts on “How To Set Up A Home Theater Subwoofer”