Home>Technology>Home Entertainment Systems>How To Use Projector During Day

Home Entertainment Systems
How To Use Projector During Day
Modified: October 20, 2024
Learn how to optimize your home entertainment system with a projector for daytime use. Find tips and tricks for maximizing visibility and image quality. Elevate your viewing experience today!
(Many of the links in this article redirect to a specific reviewed product. Your purchase of these products through affiliate links helps to generate commission for Storables.com, at no extra cost. Learn more)
Introduction
Welcome to the world of home entertainment systems, where the magic of cinema comes alive in the comfort of your own space. If you're a movie enthusiast, gaming aficionado, or simply love the immersive experience of larger-than-life visuals, a projector is an indispensable component of your setup. While using a projector during the day may seem challenging due to ambient light, with the right techniques and equipment, you can enjoy stunning visuals even in well-lit environments.
In this comprehensive guide, we'll delve into the art of optimizing your projector for daytime use. Whether you're hosting a daytime movie marathon, engaging in a gaming showdown, or delivering a captivating presentation, we'll explore the steps to ensure that your projector performs at its best in any lighting conditions.
Join us as we navigate through the intricacies of selecting the right projector, setting it up for optimal performance, adjusting brightness and contrast, utilizing screens or surfaces, positioning the projector for maximum impact, and managing ambient light effectively. By the end of this journey, you'll be equipped with the knowledge and expertise to elevate your daytime viewing experience to new heights.
So, grab your popcorn, dim the lights (or not!), and let's embark on this illuminating adventure into the world of using projectors during the day.
Key Takeaways:
- Choose a projector with high brightness, resolution, and contrast for daytime use. Consider portability, connectivity, and noise level for versatile and immersive viewing experiences.
- Optimize projector setup, brightness, and contrast. Utilize high-gain screens, strategic positioning, and ambient light management for stunning visuals in any lighting conditions.
Read more: How To Use 7 Day Candles
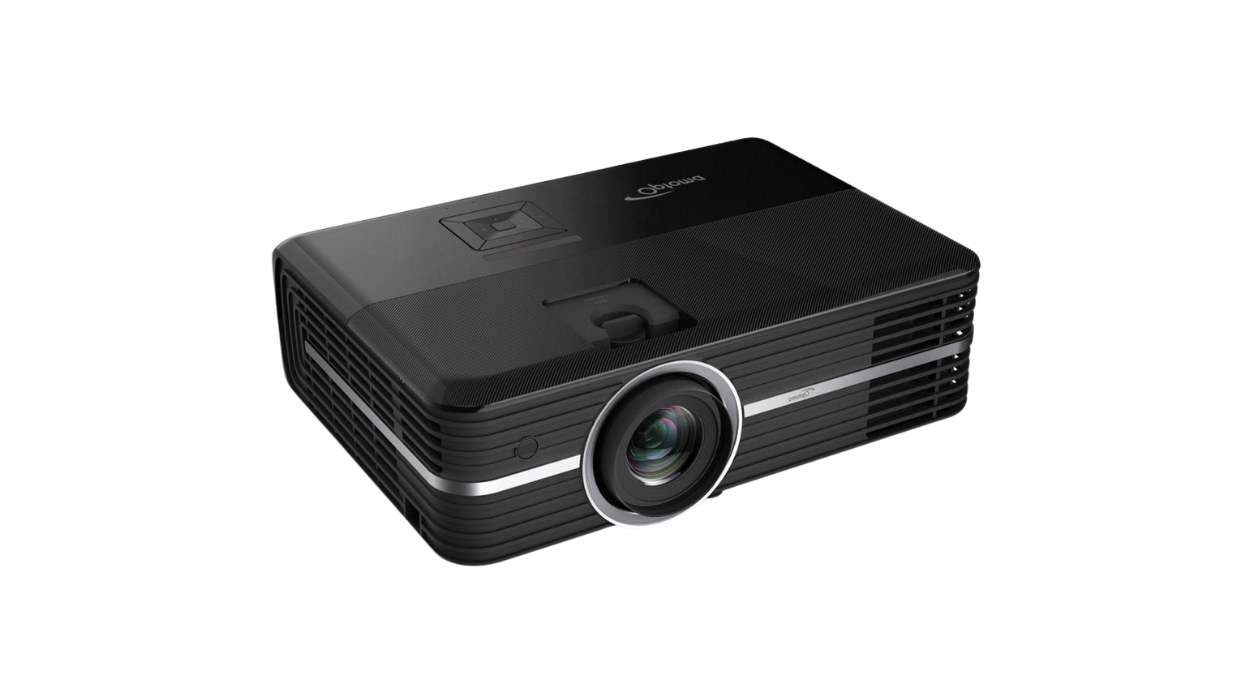
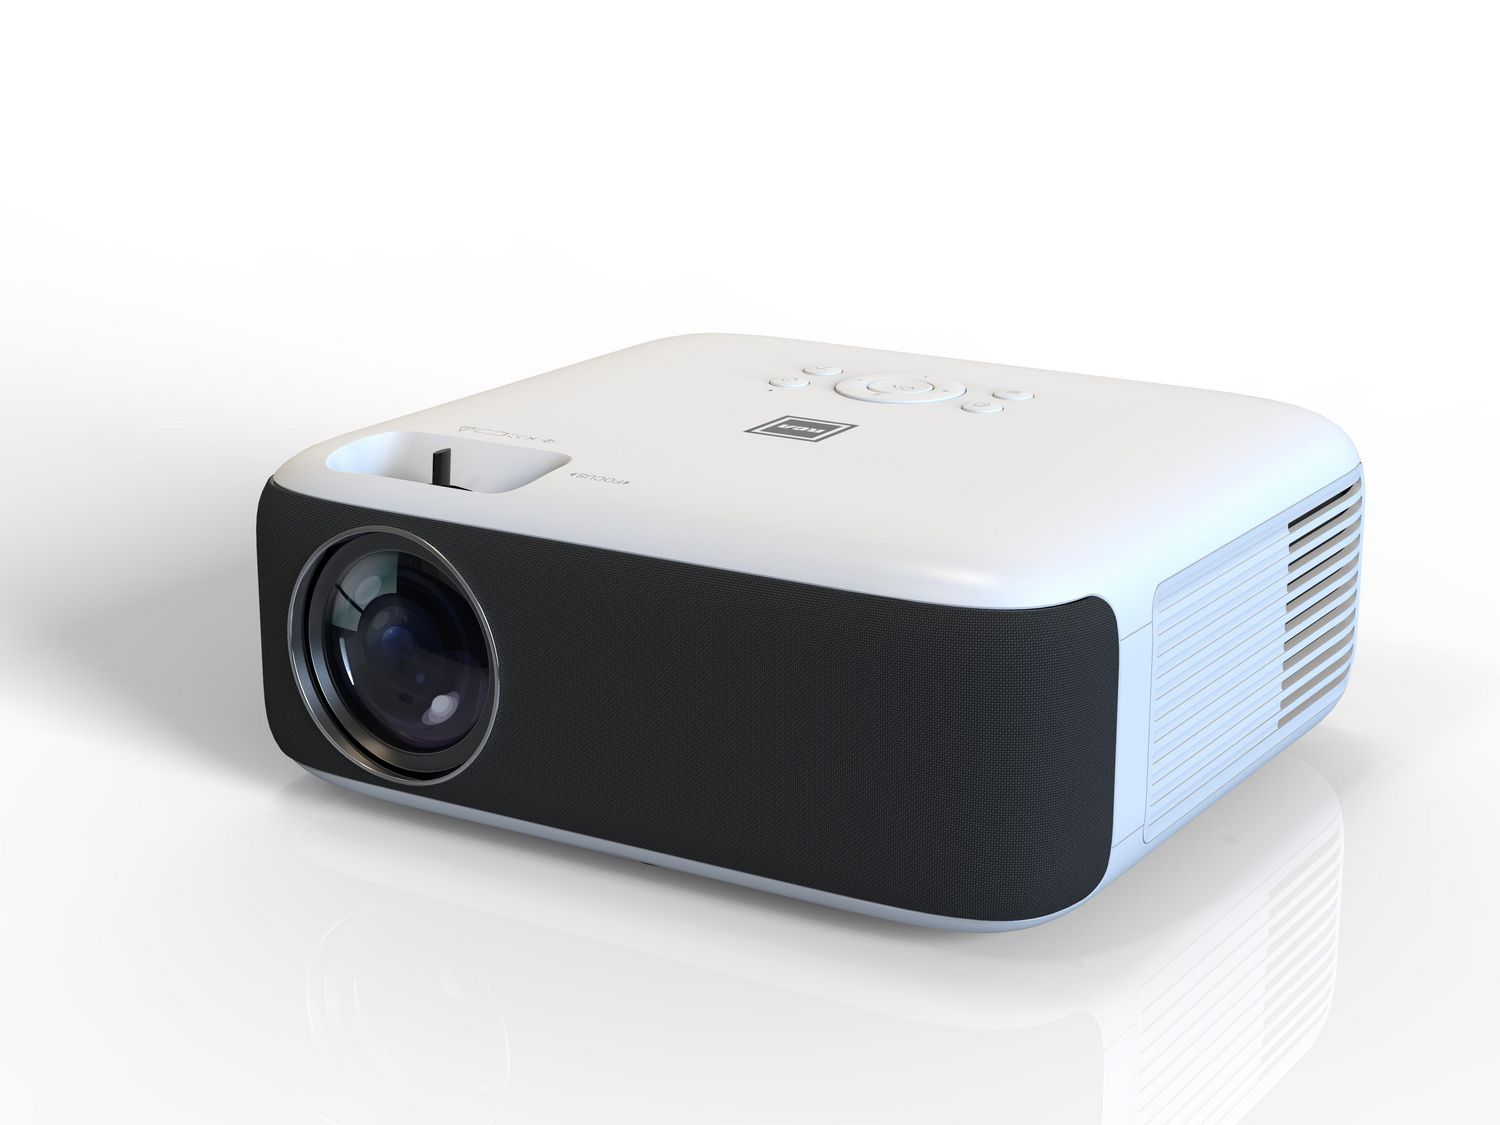
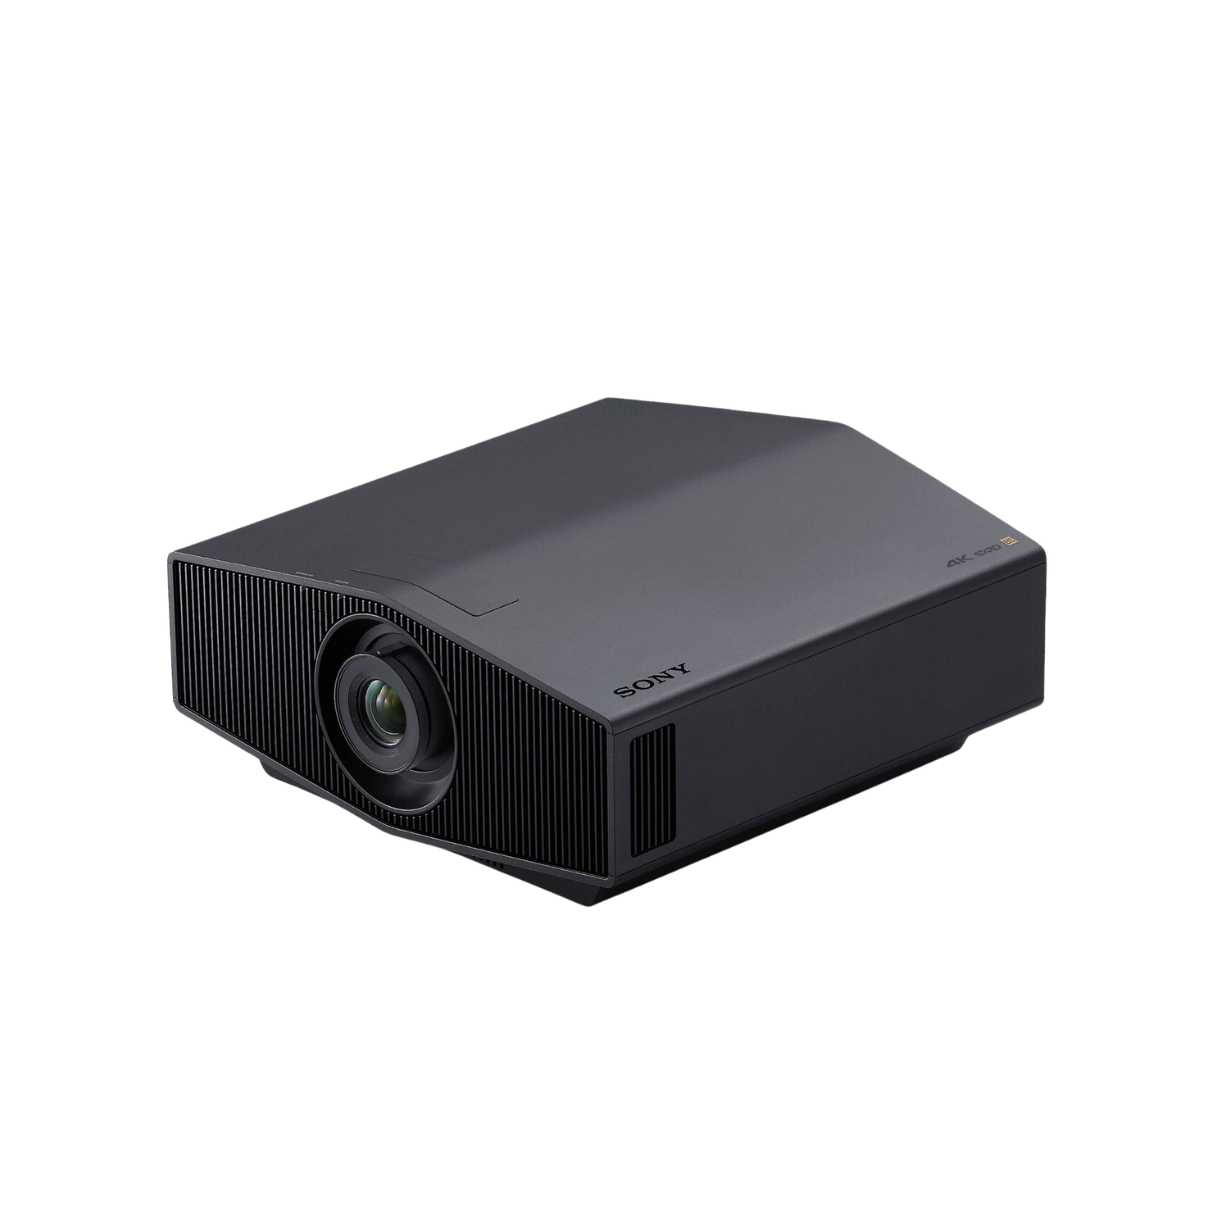
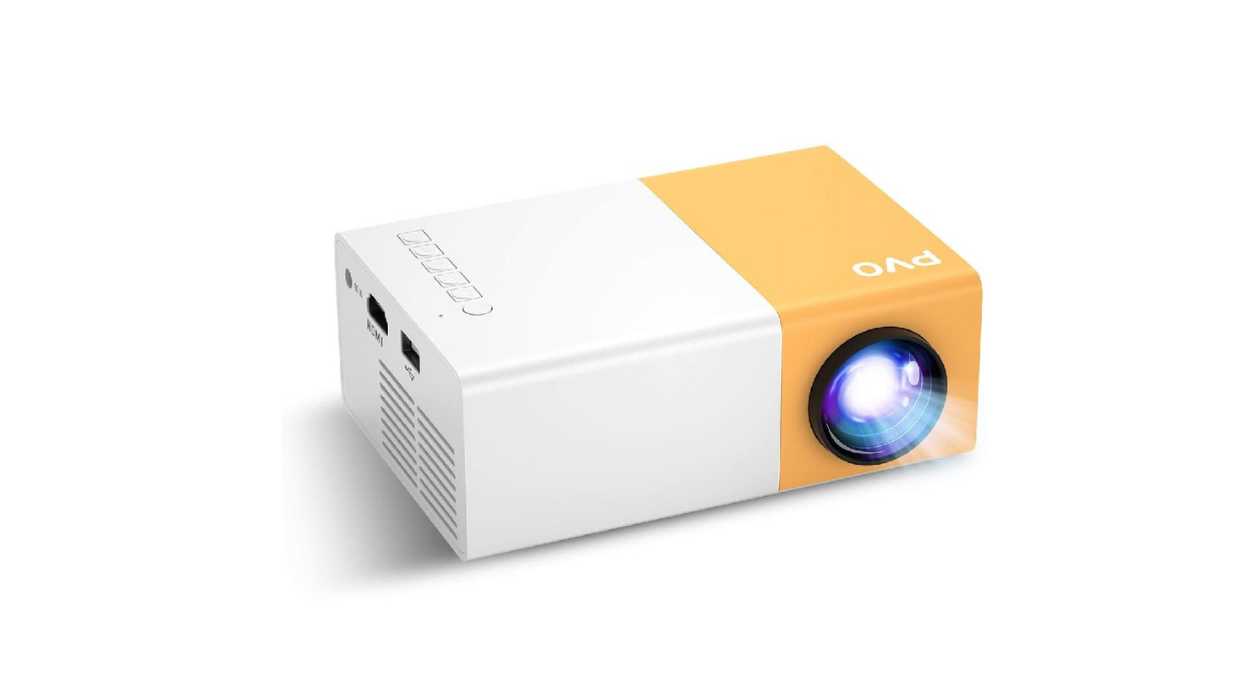
Choosing the Right Projector
When it comes to using a projector during the day, selecting the right device is the first crucial step. Here are some key factors to consider:
- Brightness: Opt for a projector with high brightness levels, measured in lumens. For daytime use, a minimum of 2500 to 3000 lumens is recommended to combat ambient light and maintain vivid image quality.
- Resolution: Higher resolution projectors, such as Full HD (1920 x 1080) or 4K Ultra HD, deliver sharper and more detailed images, enhancing the viewing experience even in well-lit environments.
- Contrast Ratio: A higher contrast ratio ensures that the projector can display deep blacks and bright whites, contributing to a more dynamic and immersive visual experience.
- Light Source: Consider the type of light source used in the projector. While traditional lamps are common, laser or LED light sources offer longer lifespans, consistent brightness, and quick startup/shutdown times.
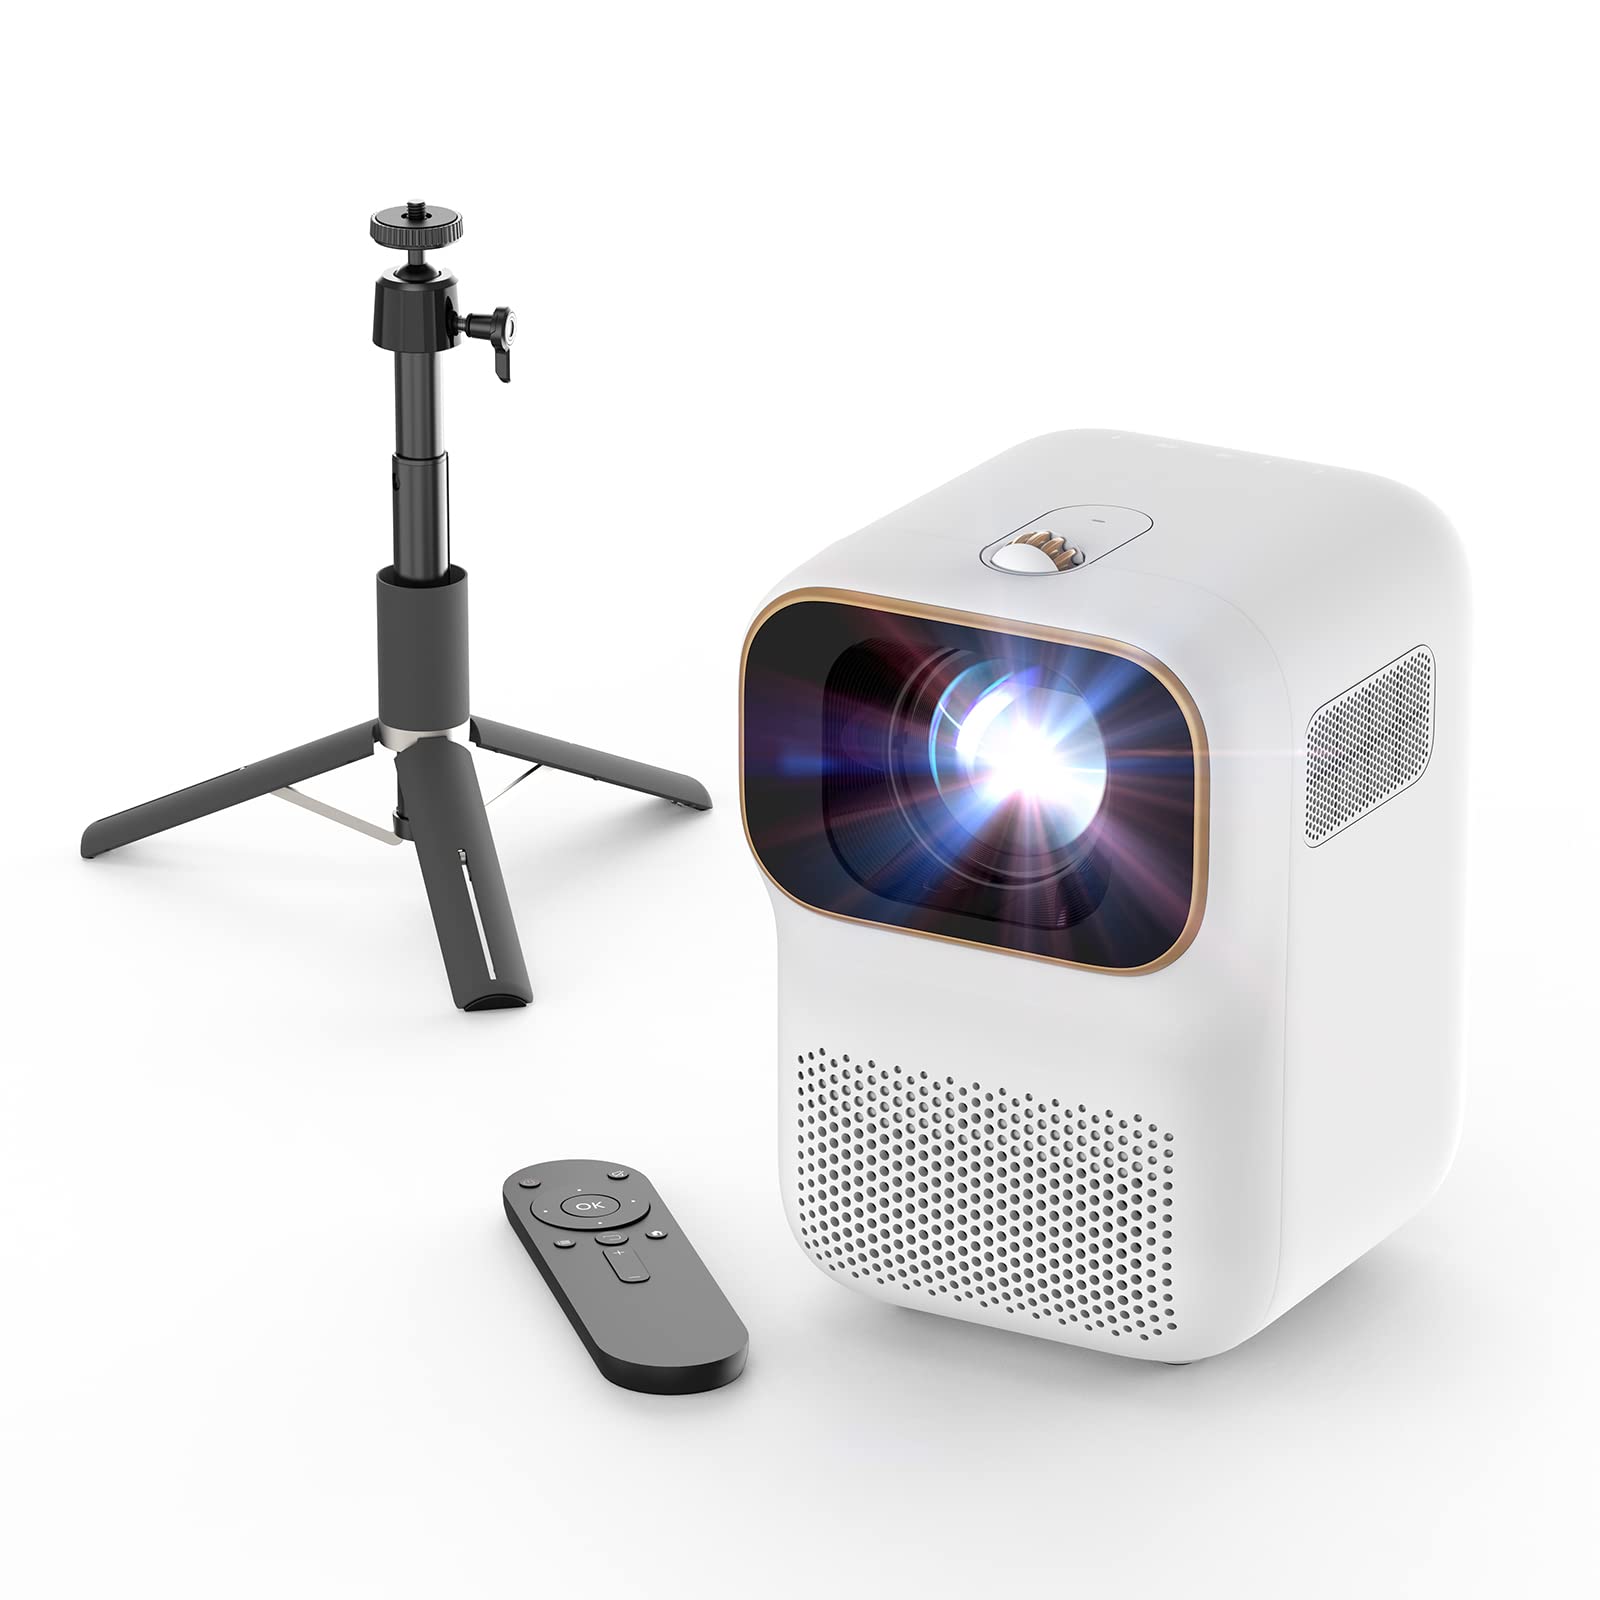
- Portability: If you plan to use the projector in various locations, consider a portable or lightweight model for convenience and flexibility.
- Connectivity: Ensure that the projector has the necessary input ports to connect to your devices, such as HDMI, VGA, USB, and wireless connectivity options for seamless integration with your home entertainment setup.
- Noise Level: Pay attention to the projector’s noise level, especially if you’re sensitive to fan noise. Look for models with quiet operation to minimize distractions during your viewing sessions.
By carefully assessing these factors and understanding your specific requirements, you can narrow down the options and choose a projector that is well-suited for daytime use, providing exceptional brightness, clarity, and versatility to enhance your viewing experience.
Setting Up the Projector
Once you’ve chosen the right projector, the next step is to set it up for optimal performance. Here’s a detailed guide to help you through the process:
1. Location: Select a suitable location for the projector, considering factors such as distance from the screen or surface, accessibility to power outlets, and minimal obstructions that may affect the projection.
2. Mounting or Placement: Depending on your preference and the projector model, you can opt for ceiling mounting, tabletop placement, or a portable stand. Ensure that the projector is positioned securely and aligned with the center of the screen or viewing area.
3. Connectivity: Connect the projector to your media sources, such as Blu-ray players, gaming consoles, streaming devices, or laptops, using the appropriate cables or wireless connections. Verify that the input sources are recognized and configured correctly on the projector.
4. Power On and Setup: Power on the projector and navigate through the on-screen menus to configure essential settings, including aspect ratio, keystone correction, image presets, and any additional features specific to your projector model.
5. Image Adjustment: Use the projector’s manual or automatic keystone correction to ensure a rectangular and distortion-free image, especially if the projector is not positioned at the ideal angle to the screen.
6. Focus and Zoom: Adjust the focus and zoom settings to achieve a sharp and properly sized image on the screen. Fine-tune the focus until the details are crisp and clear, enhancing the overall visual quality.
7. Test Projection: Display a test image or content to evaluate the projection quality, color accuracy, and overall brightness. Make any necessary adjustments to the settings to achieve the desired visual output.
By following these steps, you can ensure that your projector is correctly set up and ready to deliver stunning visuals, setting the stage for an immersive daytime viewing experience that rivals traditional TV setups.
Adjusting Brightness and Contrast
Optimizing the brightness and contrast settings of your projector is crucial for achieving vibrant and well-defined visuals, especially in daylight conditions. Here’s how to fine-tune these settings effectively:
Brightness: Begin by adjusting the projector’s brightness setting to accommodate the ambient light in the room. While higher brightness levels are beneficial in well-lit environments, excessively high settings can lead to washed-out colors and reduced image quality. Find a balance that ensures vivid colors and details without causing discomfort to the eyes.
Contrast: The contrast setting determines the distinction between light and dark areas of the image. A higher contrast ratio enhances the depth and realism of the visuals, contributing to a more immersive viewing experience. Experiment with the contrast settings to achieve a balance that accentuates details without sacrificing overall brightness.
Color Temperature: Many projectors offer color temperature adjustments, allowing you to fine-tune the warmth or coolness of the image. In daylight scenarios, slightly cooler color temperatures may help counteract the natural warmth of sunlight, resulting in more natural and balanced visuals.
Dynamic Range: Some projectors feature dynamic range adjustments, which can enhance the visibility of details in both bright and dark scenes. Explore these settings to optimize the projector’s performance in varying lighting conditions, ensuring consistent image quality throughout your viewing experience.
Calibration Tools: Utilize calibration tools, such as test patterns and calibration discs, to fine-tune the brightness, contrast, and color settings with precision. These tools can provide objective reference points for achieving optimal image quality tailored to your specific viewing environment.
By carefully adjusting the brightness and contrast settings, along with other relevant image parameters, you can unleash the full potential of your projector, delivering captivating visuals that defy the limitations of ambient light and elevate your daytime viewing sessions to new heights of visual splendor.
To use a projector during the day, close the blinds or curtains to minimize natural light, increase the projector’s brightness and contrast settings, and use a high-gain screen for better visibility.
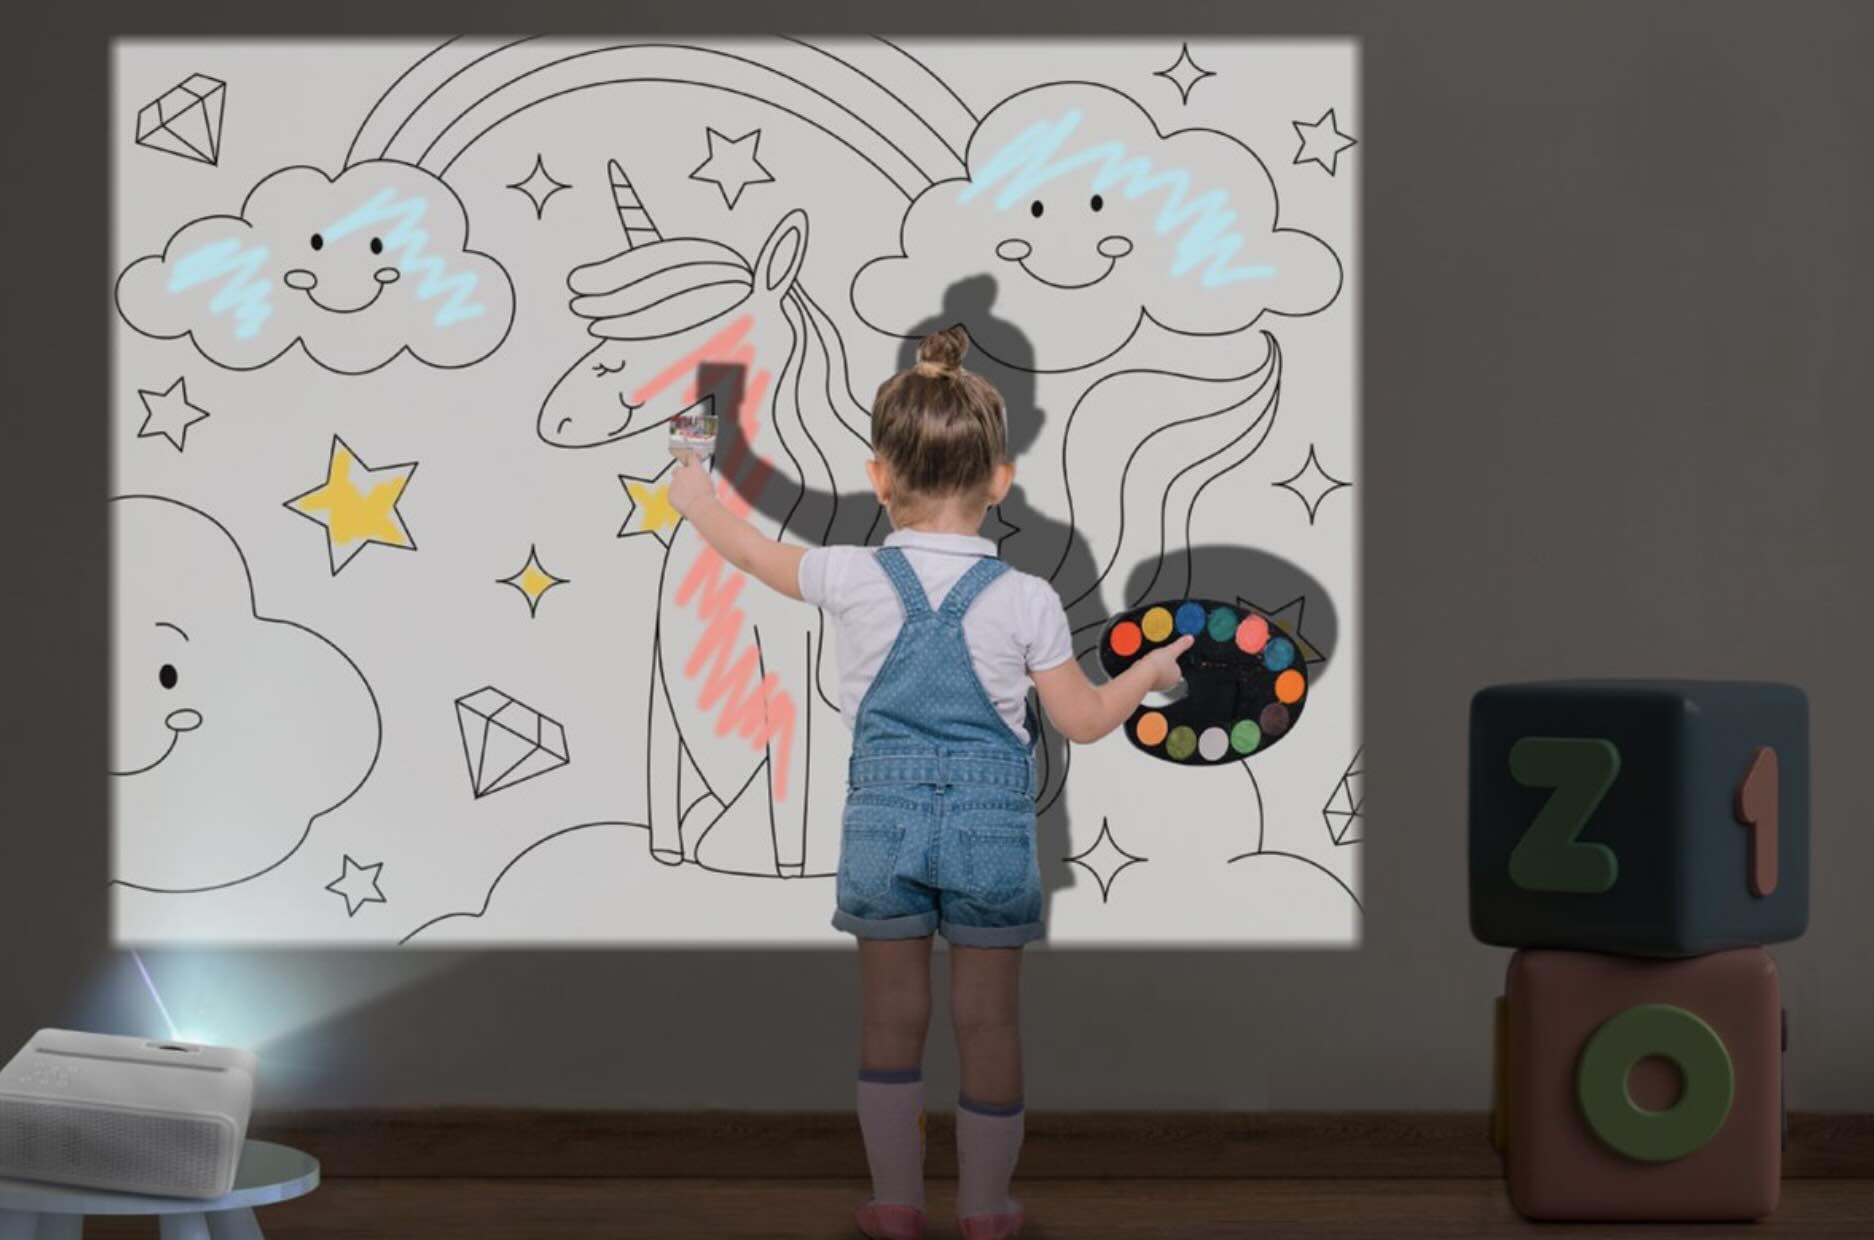
Using a Screen or Surface
Choosing the right surface for projection significantly impacts the quality of the visuals, especially when using a projector during the day. Here’s a comprehensive guide to help you make an informed decision:
Projection Screens: Investing in a quality projection screen designed for high ambient light performance can dramatically enhance the clarity, color accuracy, and brightness of the projected image. High-gain screens, particularly those with ambient light rejection (ALR) properties, are engineered to mitigate the impact of ambient light, resulting in sharper and more vibrant visuals even in well-lit spaces.
Screen Gain: Consider the screen gain, which refers to the reflectivity of the screen surface. Higher gain screens reflect more light in the viewer’s direction, effectively countering the effects of ambient light. However, be mindful of the viewing angle and potential hot-spotting associated with high-gain screens, ensuring that the visuals remain uniform across the viewing area.
Painted Surfaces: Alternatively, if a dedicated projection screen is not feasible, certain specialized projector paint products are available, allowing you to transform a wall or surface into a suitable projection area. These paints are formulated to enhance image reflectivity and contrast, providing a cost-effective solution for achieving impressive visuals in daylight conditions.
Surface Color and Texture: When using a wall or other surfaces for projection, consider the color and texture of the material. Light-colored, smooth surfaces tend to reflect light more effectively, while darker or textured surfaces may absorb or scatter light, potentially impacting the clarity and brightness of the projected image.
Ambient Light Mitigation: Implementing ambient light mitigation strategies, such as controlling window coverings, utilizing curtains or blinds, and strategic placement of lighting fixtures, can complement the effectiveness of the projection surface, further enhancing the contrast and visibility of the projected content.
By carefully evaluating these factors and selecting the most suitable projection surface or screen, you can maximize the visual impact of your projector, ensuring that your daytime viewing experiences are characterized by stunning, immersive visuals that rival traditional TV setups, regardless of the ambient light conditions.
Read more: How To Use A Swimming Pool During Periods
Positioning the Projector
Optimal positioning of the projector is essential for maximizing its performance, especially when using it during the day. Here’s a comprehensive guide to help you achieve the ideal setup:
Distance and Throw Ratio: Consult the projector’s user manual or specifications to determine the recommended throw distance and throw ratio for your desired screen size. This information will guide you in selecting the appropriate placement for the projector to achieve the desired image dimensions and clarity.
Projection Angle: Ensure that the projector is positioned at an appropriate angle to the screen, minimizing keystone distortion and ensuring a geometrically accurate image. Use the projector’s keystone correction feature to rectify any trapezoidal distortion caused by the angle of projection.
Ceiling Mounting: If you opt for ceiling mounting, ensure that the projector is securely installed and aligned with the center of the screen. Verify that the ceiling mount provides adequate support and allows for precise adjustments to achieve the desired projection angle and image size.
Tabletop Placement: When placing the projector on a tabletop or stand, ensure that it is positioned at the appropriate height and distance from the screen to achieve the desired image size and clarity. Use adjustable stands or mounts to fine-tune the projector’s positioning as needed.
Off-Axis Projection: Some projectors offer off-axis projection capabilities, allowing for flexibility in placement and projection angles. Explore this feature if you require non-standard positioning of the projector to accommodate your viewing space.
Ventilation and Clearance: Regardless of the mounting or placement method, ensure that the projector has sufficient ventilation and clearance to prevent overheating and maintain optimal performance. Avoid obstructing ventilation ports or placing the projector in confined spaces that impede airflow.
By carefully considering these factors and adhering to the recommended guidelines for projector positioning, you can ensure that the projector delivers stunning visuals with optimal clarity and geometry, transforming your daytime viewing experiences into captivating and immersive cinematic journeys.
Managing Ambient Light
Effectively managing ambient light is crucial for optimizing the performance of your projector in daytime settings. Here’s a comprehensive approach to managing ambient light and enhancing the visual impact of your projector:
Window Coverings: Utilize light-blocking curtains, blinds, or shades to minimize the entry of natural light into the viewing space. Opt for opaque or blackout window treatments that effectively block out sunlight, creating a conducive environment for daytime projection.
Strategic Lighting: If possible, adjust the room’s lighting to minimize direct light falling on the projection surface. Dimmable lighting fixtures or adjustable lamps can be strategically positioned to provide ambient illumination without causing glare or washout on the projected image.
Light Control Accessories: Consider the use of light control accessories, such as ambient light rejecting (ALR) screens, window films, or anti-glare coatings, to mitigate the impact of ambient light and enhance the contrast and clarity of the projected visuals.
Room Color and Décor: Opt for neutral or darker wall colors and décor elements to minimize light reflection and maintain a conducive environment for projection. Avoid highly reflective surfaces or excessively bright color schemes that may detract from the visual impact of the projected content.
Time of Day: If feasible, schedule your viewing sessions during times when natural light levels are lower, such as early morning or late afternoon. This can reduce the impact of ambient light on the projected image, enhancing the overall viewing experience.
Shading Solutions: Explore the use of exterior shading solutions, such as awnings, overhangs, or outdoor blinds, to control the entry of direct sunlight into the viewing space. These external shading options can complement interior light management efforts, further optimizing the viewing environment.
By implementing these strategies and leveraging ambient light management techniques, you can create an ideal environment for daytime projection, ensuring that your projector delivers stunning visuals with exceptional clarity, contrast, and vibrancy, regardless of the prevailing light conditions.
Conclusion
Congratulations on embarking on this illuminating journey into the realm of using projectors during the day. By delving into the intricacies of projector selection, setup, and optimization, you’ve gained valuable insights into transforming your daytime viewing experiences into captivating and immersive adventures.
From carefully choosing a projector with the right balance of brightness, resolution, and contrast, to setting it up for optimal performance and fine-tuning image parameters, you’ve equipped yourself with the knowledge to elevate your viewing experiences to new heights. Embracing the use of high-quality projection screens or surfaces, strategic projector positioning, and effective ambient light management has further enriched your understanding of creating the ideal environment for daytime projection.
As you continue to explore the possibilities of using projectors during the day, remember that each viewing space is unique, presenting its own set of challenges and opportunities. Whether you’re indulging in daytime movie marathons, engaging in thrilling gaming sessions, or delivering impactful presentations, the techniques and strategies you’ve acquired will serve as your guiding light in achieving exceptional visual experiences.
Embrace creativity, adaptability, and a keen eye for detail as you navigate the dynamic landscape of daytime projection. Experiment with different settings, surfaces, and ambient light management solutions to tailor the viewing environment to your specific preferences and requirements.
Ultimately, the art of using projectors during the day is a captivating blend of technical precision and creative expression, allowing you to immerse yourself in a world of vibrant visuals and boundless possibilities. With the knowledge and expertise you’ve acquired, you’re well-prepared to harness the full potential of your projector, transcending the constraints of ambient light and unlocking the magic of daytime projection.
So, as you embark on your next daytime viewing adventure, may your projector illuminate your world with breathtaking visuals, igniting your imagination and stirring your senses with every flicker of light and shadow.
Frequently Asked Questions about How To Use Projector During Day
Was this page helpful?
At Storables.com, we guarantee accurate and reliable information. Our content, validated by Expert Board Contributors, is crafted following stringent Editorial Policies. We're committed to providing you with well-researched, expert-backed insights for all your informational needs.


0 thoughts on “How To Use Projector During Day”