Home>Technology>Home Entertainment Systems>How To Pair Roku Remote To RCA Projector
Home Entertainment Systems
How To Pair Roku Remote To RCA Projector
Published: December 30, 2023
Learn how to pair your Roku remote with an RCA projector for seamless control of your home entertainment system. Follow our step-by-step guide for easy setup.
(Many of the links in this article redirect to a specific reviewed product. Your purchase of these products through affiliate links helps to generate commission for Storables.com, at no extra cost. Learn more)
Introduction
Welcome to the exciting world of home entertainment systems, where the convergence of technology and entertainment brings the cinematic experience right into the comfort of your living room. As you embark on this journey, you may find yourself seeking to pair your Roku remote with an RCA projector, a process that can elevate your viewing experience to new heights. Whether you're a seasoned technophile or a newcomer to the world of home entertainment, this guide will walk you through the seamless process of pairing your Roku remote to your RCA projector.
The Roku remote serves as a versatile tool, allowing you to navigate through a myriad of streaming options and control the playback of your favorite movies, TV shows, and music. Meanwhile, the RCA projector is a gateway to immersive visual experiences, transforming any space into a captivating home theater. By successfully pairing these two devices, you can unlock a world of entertainment possibilities at your fingertips.
In the following steps, you will learn how to check the compatibility of your Roku remote with the RCA projector, insert the batteries into the remote, power it on, connect it to the projector, and finally, pair it to ensure seamless functionality. Whether you're planning a movie night with friends, a family gathering, or simply seeking to unwind with your favorite content, this guide will empower you to effortlessly integrate your Roku remote with your RCA projector, enhancing your home entertainment setup.
So, let's dive into the process of pairing your Roku remote to your RCA projector and embark on a journey of unparalleled entertainment, all within the comfort of your own home.
Key Takeaways:
- Elevate your home entertainment experience by seamlessly pairing your Roku remote with an RCA projector, unlocking a world of immersive visual experiences and versatile control options.
- Seamlessly integrate your Roku remote with an RCA projector to effortlessly navigate through streaming options, control playback, and create unforgettable moments with friends and family.
Read more: How To Use An RCA Projector
Step 1: Check Compatibility
Before delving into the pairing process, it’s crucial to ensure that your Roku remote is compatible with the RCA projector. Start by consulting the user manuals of both devices to verify their compatibility. The Roku remote should be compatible with most RCA projectors, but it’s always wise to confirm this information before proceeding.
Additionally, check the specifications of the Roku remote and the RCA projector to ensure they meet the necessary requirements for seamless pairing. Look for any specific compatibility guidelines provided by the manufacturers, as they may offer valuable insights into the pairing process.
If you’re unsure about the compatibility or unable to find the necessary information in the user manuals, consider reaching out to the customer support teams of Roku and RCA for further assistance. They can provide expert guidance and clarify any compatibility concerns, ensuring a smooth and successful pairing process.
By confirming the compatibility of your Roku remote and RCA projector, you can proceed with confidence, knowing that the devices are primed for seamless integration. With this essential first step completed, you’re ready to move on to the next phase of the pairing process.
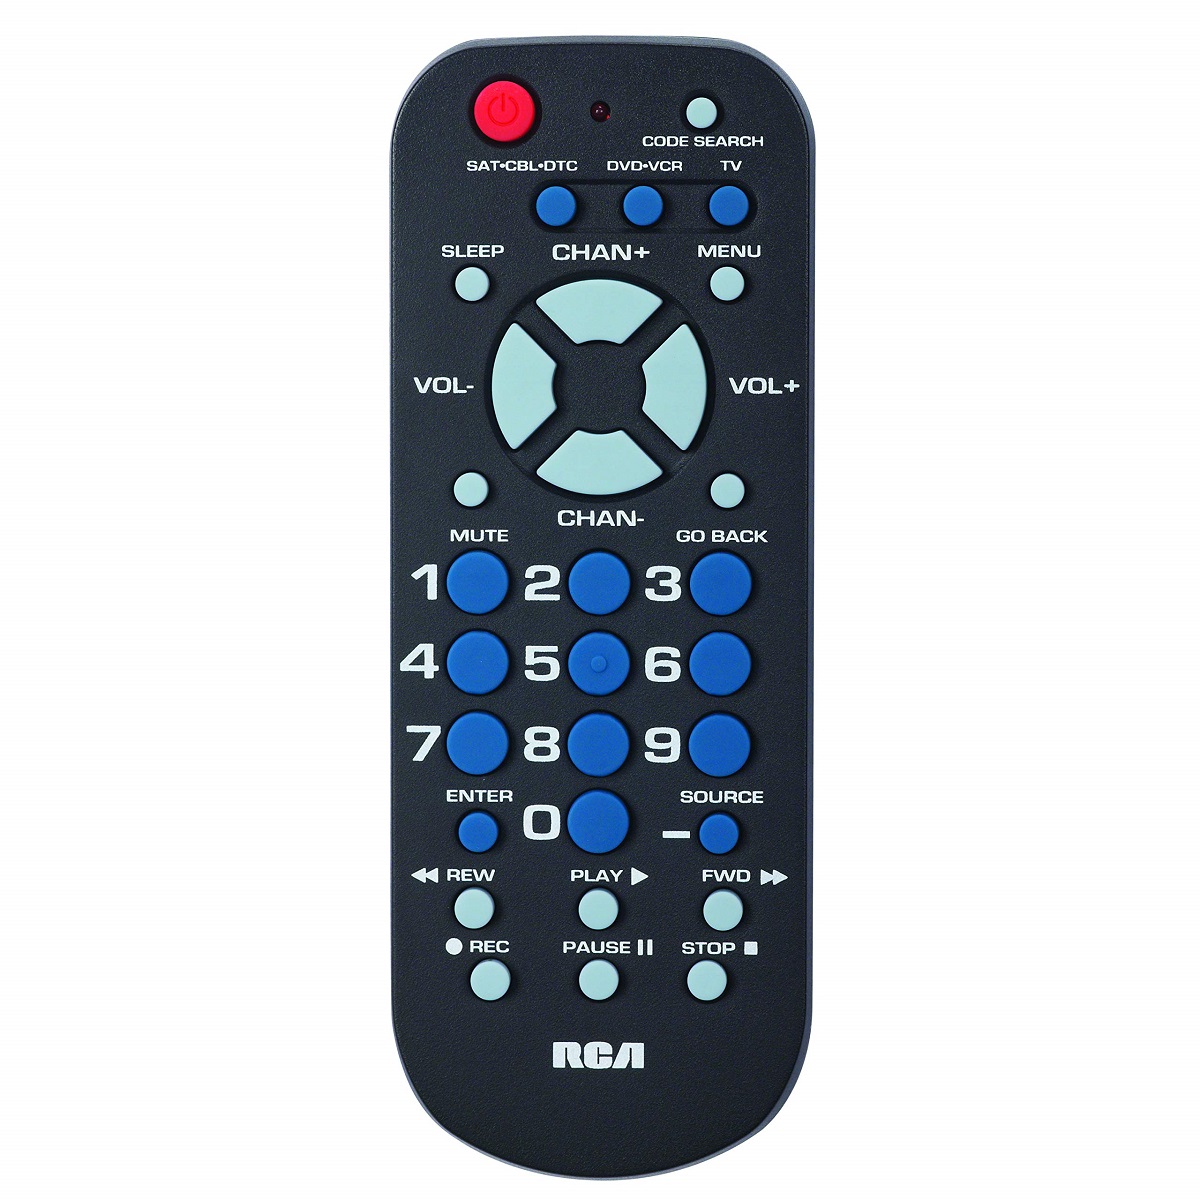
Step 2: Insert Batteries
With the compatibility confirmed, it’s time to prepare your Roku remote for the pairing process. The first step is to insert the batteries into the remote, ensuring that it is powered and ready to connect to your RCA projector.
Locate the battery compartment on the back of your Roku remote and carefully open it. Depending on the model of your remote, you may need two AA or AAA batteries. Check the user manual for the specific battery requirements and ensure you have the correct type and quantity on hand.
Once you have the batteries ready, insert them into the battery compartment, following the polarity markings to ensure they are placed correctly. Take care to align the positive and negative ends of the batteries with the corresponding markings inside the compartment. Once the batteries are securely in place, close the battery compartment cover.
Powering up your Roku remote with fresh batteries is a crucial preparatory step for the pairing process. It ensures that the remote is operational and capable of establishing a connection with your RCA projector. With the batteries in place, your Roku remote is now poised to move to the next stage of the pairing process.
By completing this step, you’ve set the stage for a successful pairing experience, laying the foundation for seamless integration between your Roku remote and RCA projector. With the batteries inserted, your remote is ready to power on and initiate the pairing process, bringing you one step closer to an enhanced home entertainment setup.
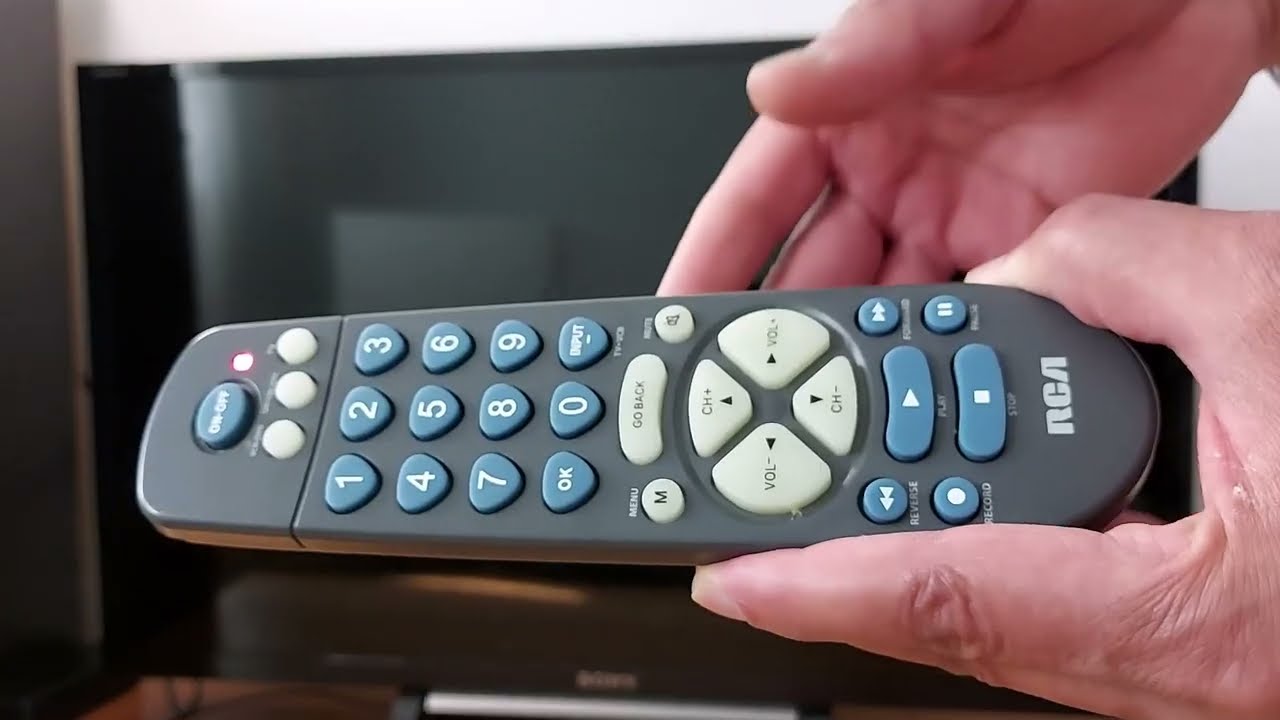
Step 3: Power on the Roku Remote
With the batteries securely in place, it’s time to power on your Roku remote in preparation for the pairing process. This step is essential to ensure that the remote is active and ready to establish a connection with your RCA projector.
To power on the Roku remote, locate the power button, typically found on the top or side of the remote. Press and hold the power button for a few seconds until you see a light indicator or a response on the remote’s display, indicating that it is powered on and ready for use.
Once the remote is powered on, you may see a light blinking or a visual cue on the display, signaling that it is active and in standby mode. This indicates that the remote is operational and prepared to initiate the pairing process with your RCA projector.
By ensuring that your Roku remote is powered on, you’re taking a crucial step toward seamless integration with your RCA projector. With the remote active and ready for action, you’re now poised to move on to the next phase of the pairing process, bringing you closer to unlocking a world of entertainment possibilities in your home.
With the Roku remote powered on, you’re ready to proceed to the next step, where you’ll connect it to your RCA projector and initiate the pairing process, setting the stage for an immersive home entertainment experience.
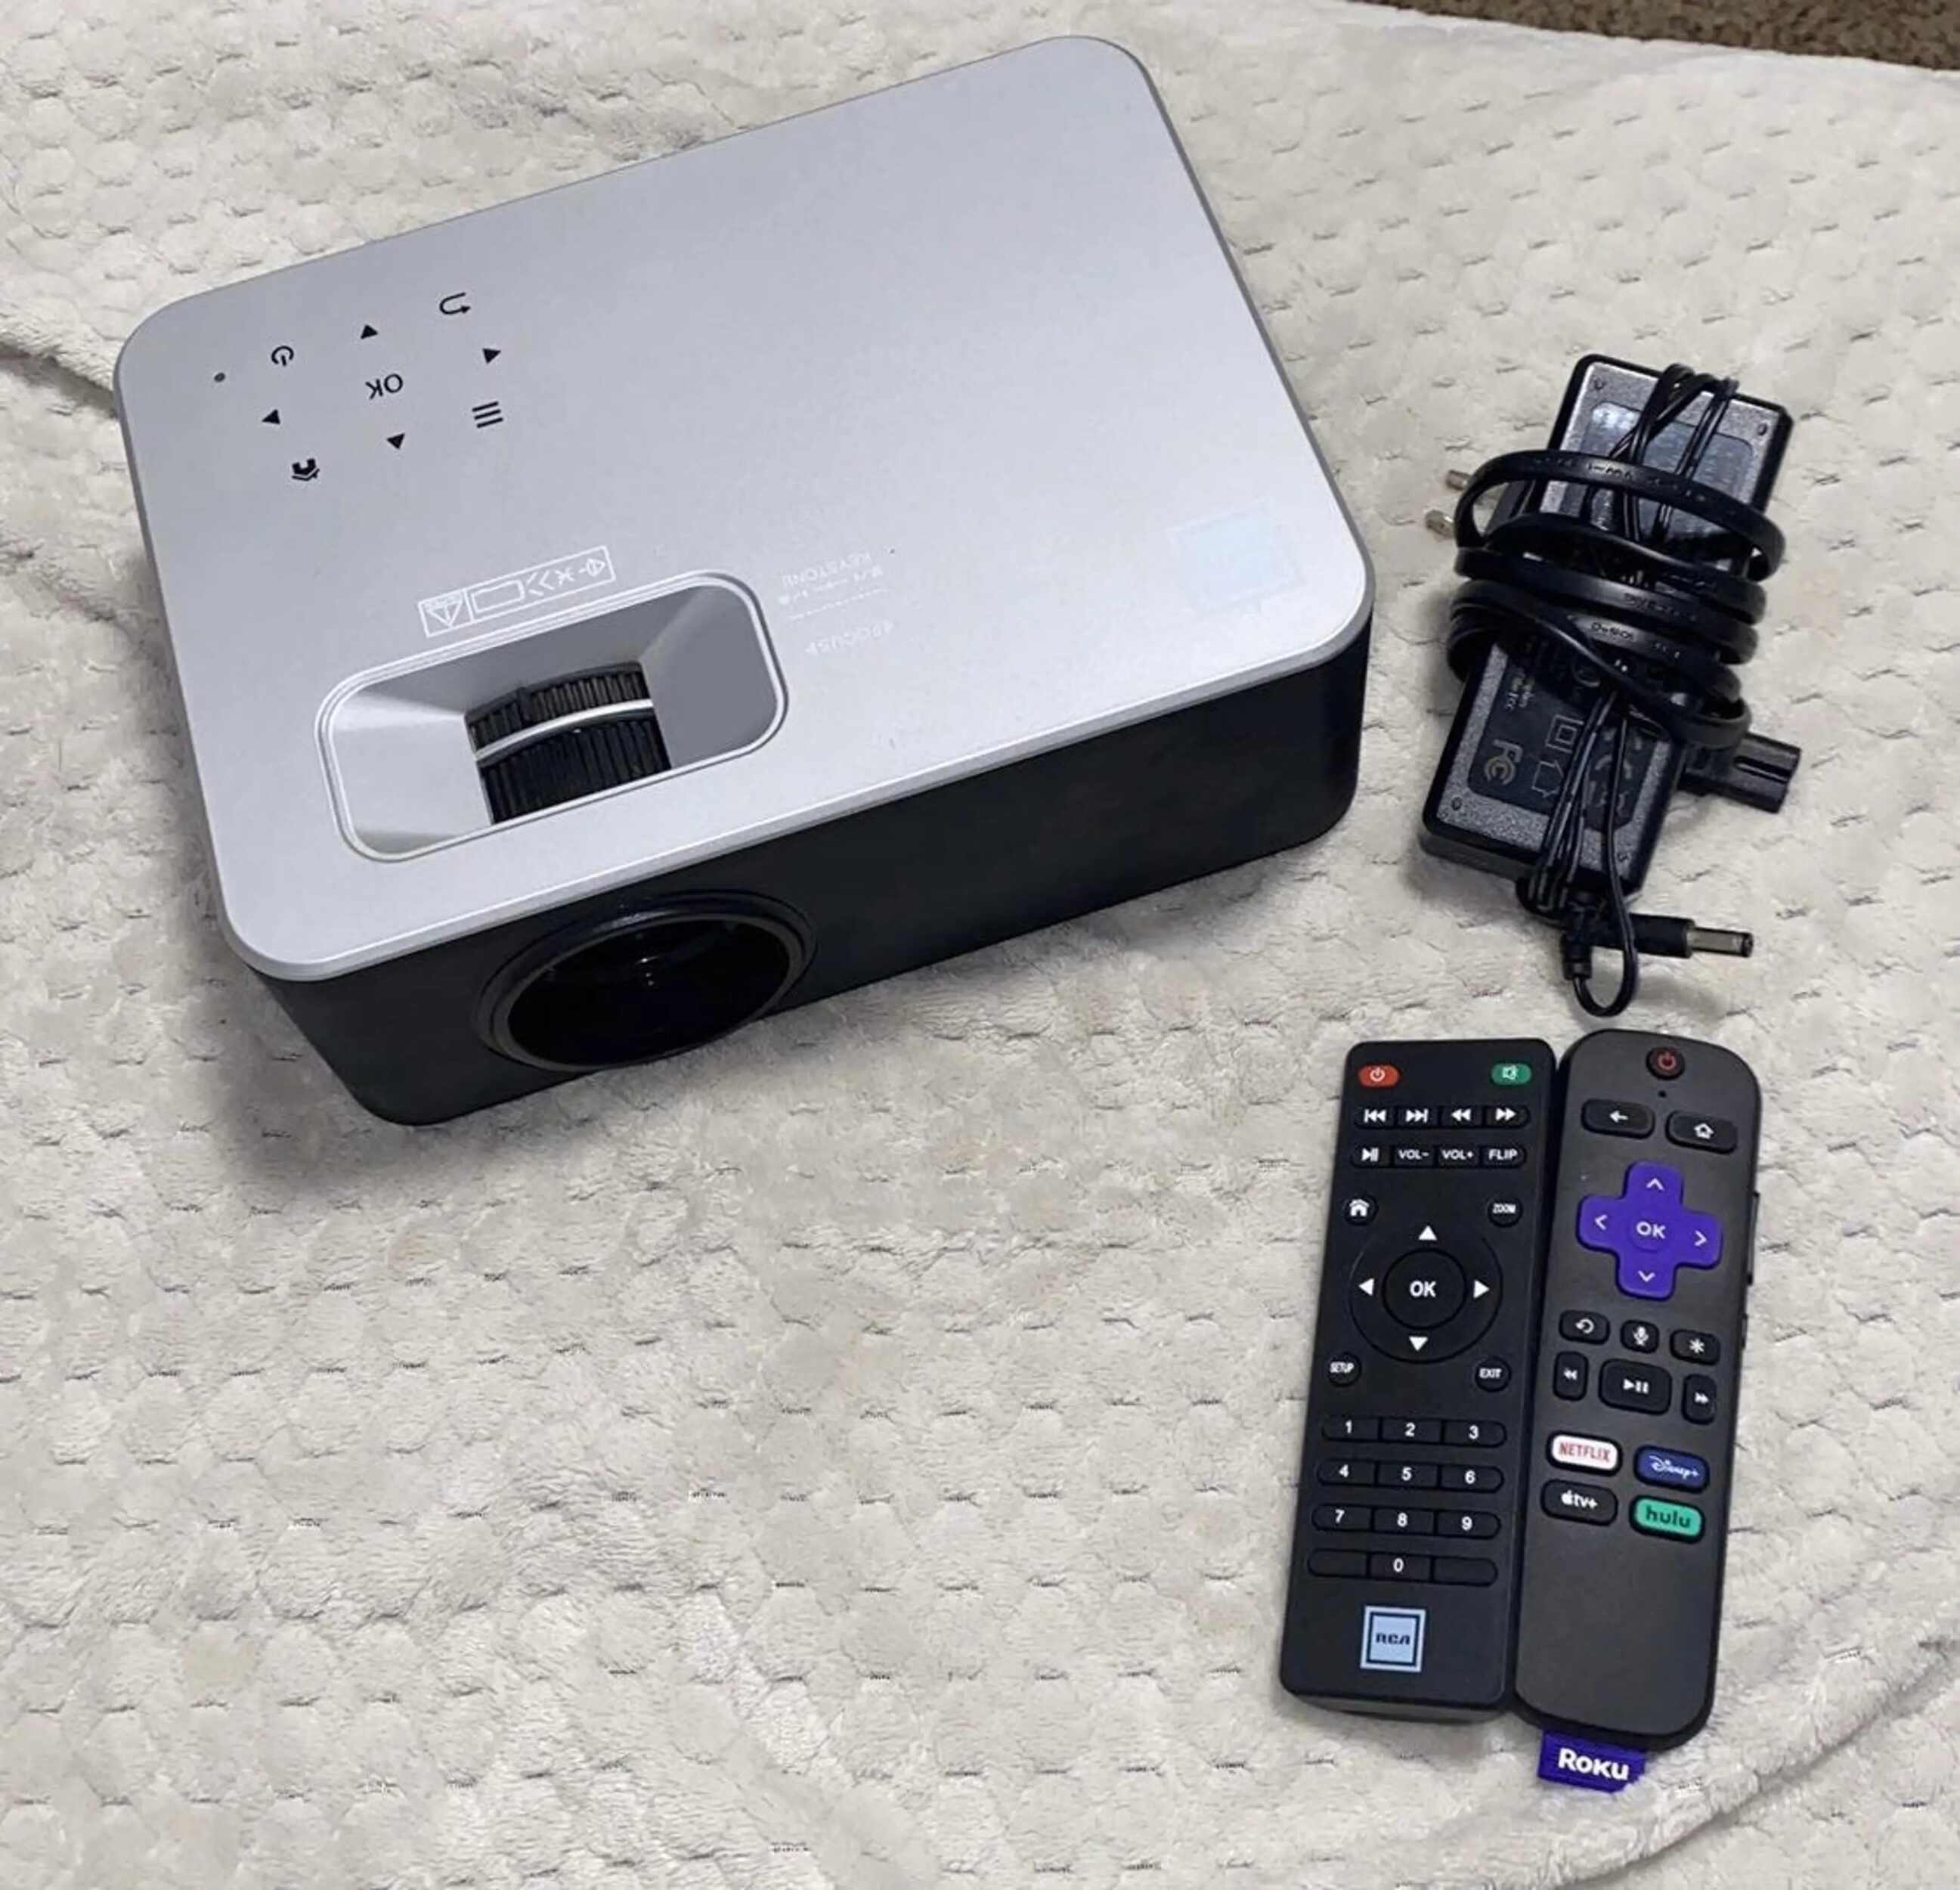
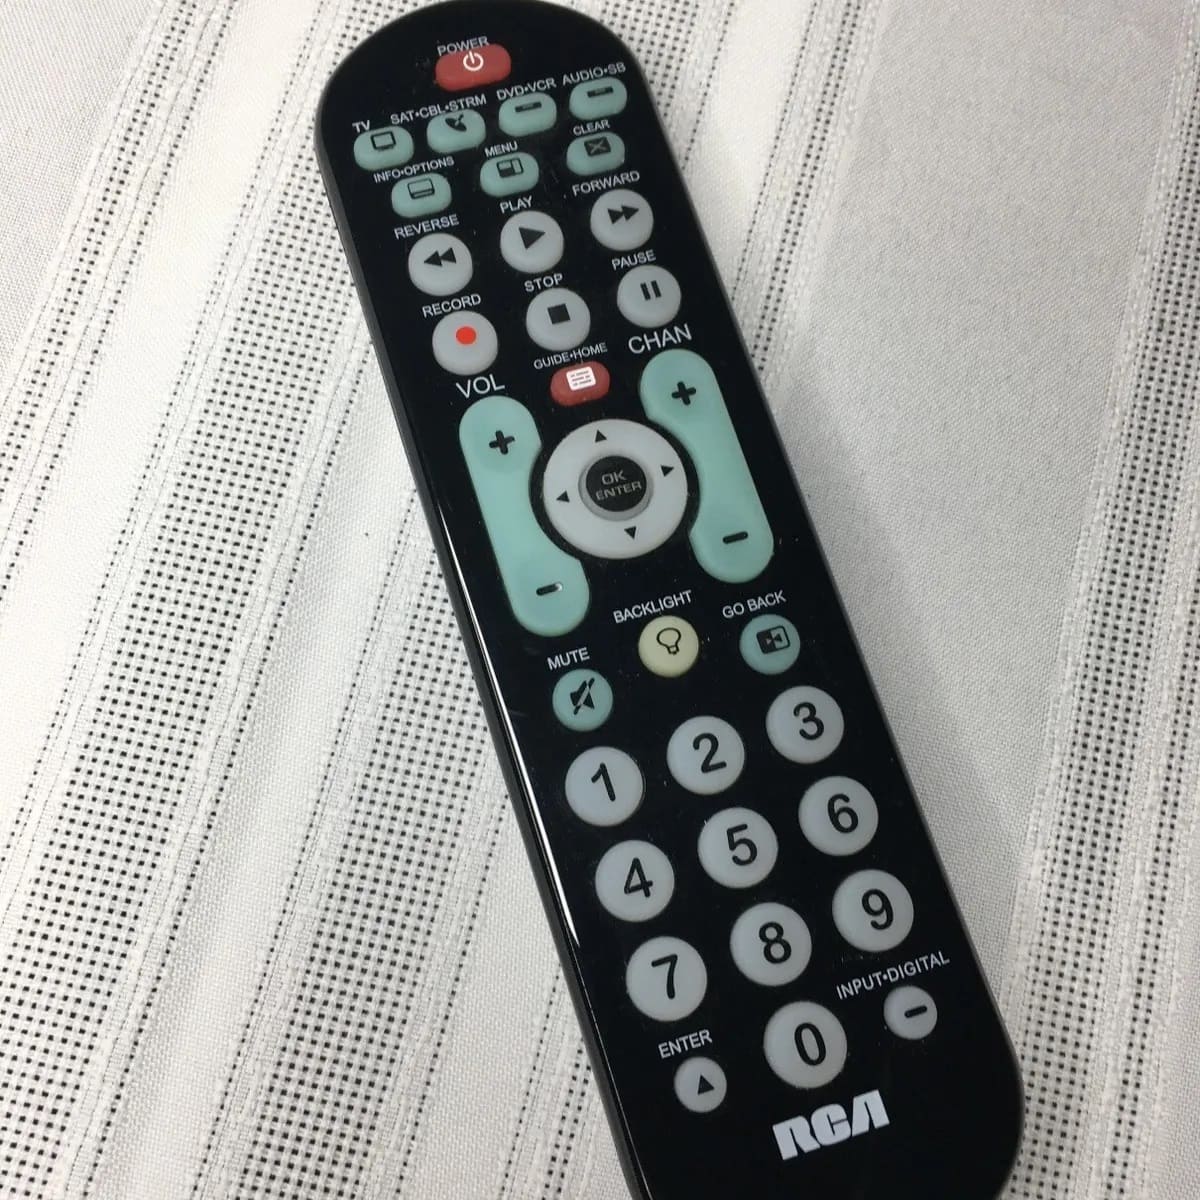
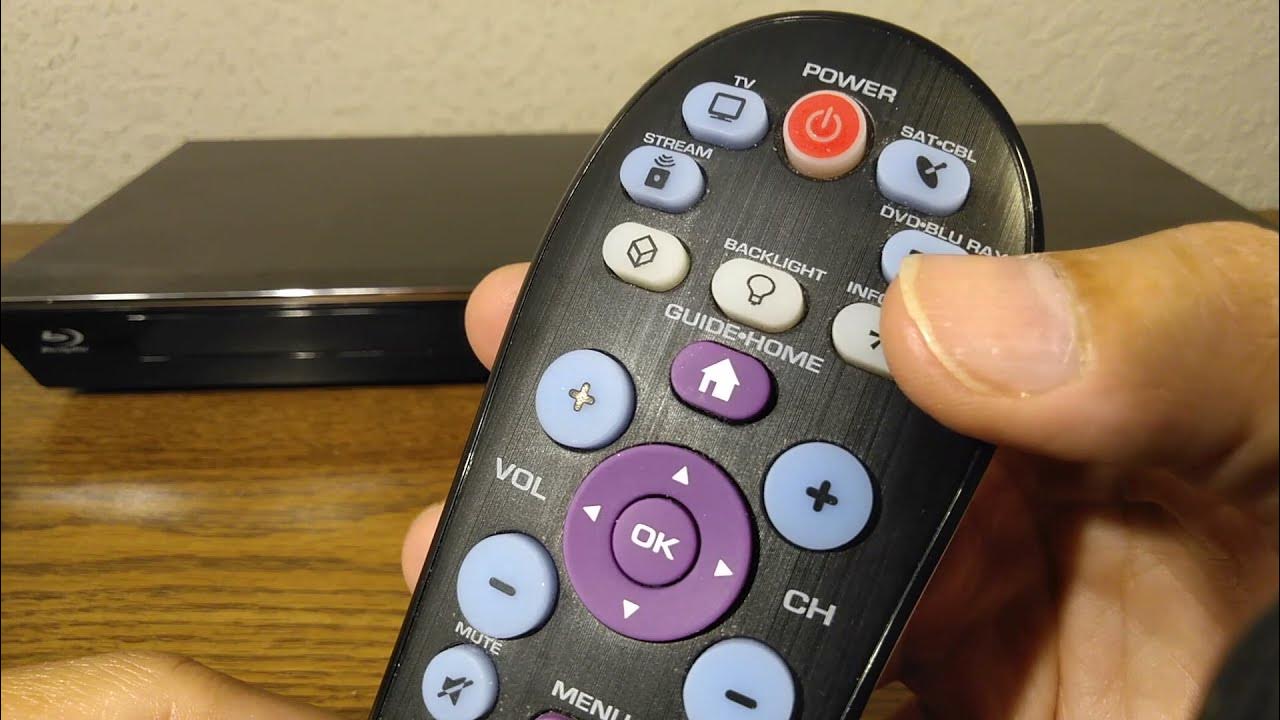
To pair your Roku remote to an RCA projector, make sure the projector is on and in pairing mode. Then, press and hold the pairing button on the remote until the light flashes. The remote should automatically pair with the projector.
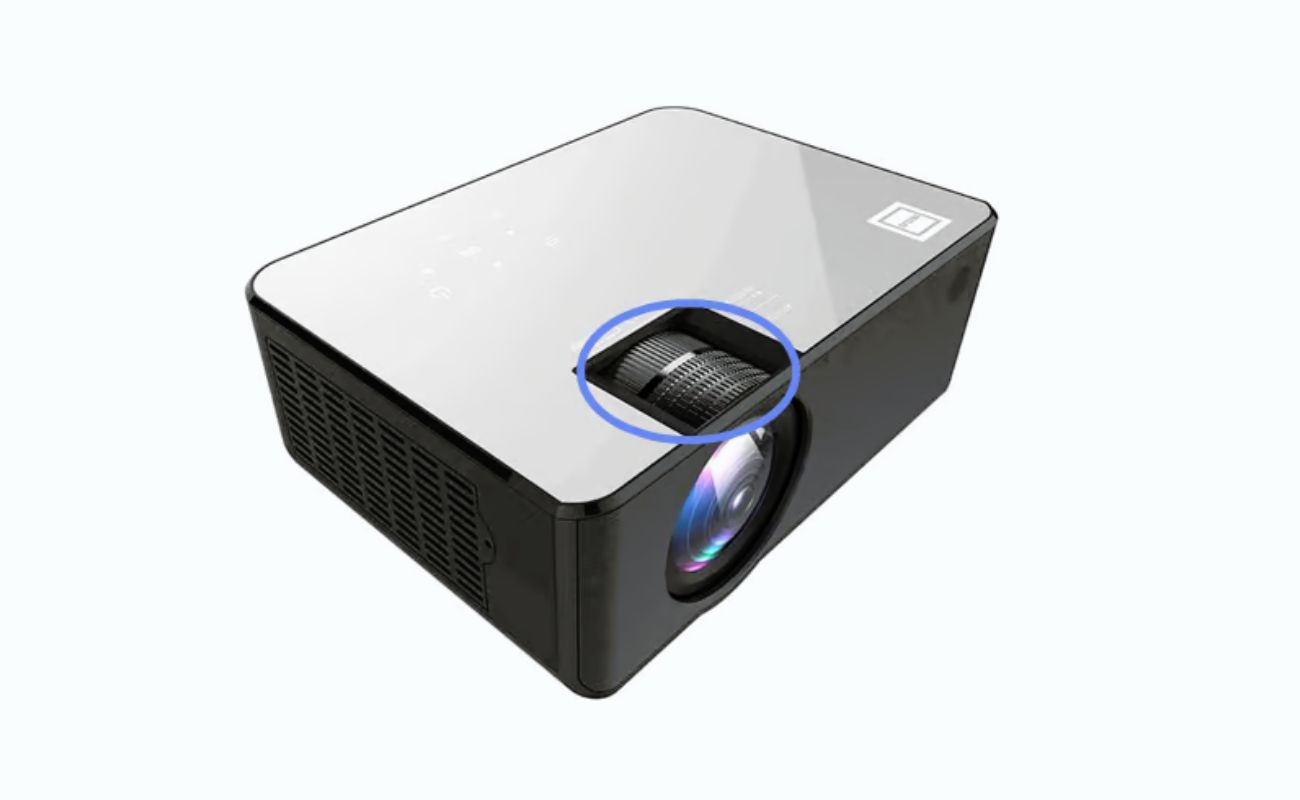
Step 4: Connect to the RCA Projector
Now that your Roku remote is powered on, it’s time to establish the connection between the remote and your RCA projector. This step is pivotal in ensuring that the devices communicate effectively, laying the groundwork for a seamless pairing process.
Begin by positioning the RCA projector within the range of the Roku remote’s signal. Ensure that there are no obstructions hindering the line of sight between the remote and the projector, as this can affect the pairing process.
Next, power on your RCA projector using its dedicated power button or remote control. Once the projector is powered on, you’ll see the display come to life, ready to project captivating visuals onto the screen or surface of your choice.
With the projector powered on, it’s time to prepare the Roku remote for pairing. Navigate to the settings or menu on the Roku remote, and locate the option for pairing or connecting to a new device. Follow the on-screen prompts to initiate the pairing process, ensuring that the remote is actively searching for compatible devices, including the RCA projector.
As the Roku remote scans for available devices, it should detect the RCA projector within its proximity. Once the projector is identified, select it from the list of available devices on the remote’s display, confirming the pairing request and initiating the connection process.
With the Roku remote and RCA projector successfully connected, you’ve laid the groundwork for a harmonious integration, setting the stage for a seamless pairing process. The successful connection between the remote and projector brings you one step closer to unlocking a world of entertainment possibilities, all within the comfort of your home.
With the Roku remote and RCA projector now connected, you’re ready to proceed to the final step of the pairing process, where you’ll ensure that the devices are seamlessly paired, enabling intuitive control and navigation through your favorite content.
Read more: How To Connect RCA Projector To Bluetooth
Step 5: Pair the Roku Remote to the RCA Projector
With the Roku remote and RCA projector successfully connected, it’s time to finalize the pairing process, ensuring that the devices are seamlessly integrated for intuitive control and navigation. This step is pivotal in establishing a cohesive connection that allows you to effortlessly navigate through your favorite content with the Roku remote.
Begin by confirming that the Roku remote and RCA projector are within close proximity, allowing for effective communication during the pairing process. Ensure that there are no obstructions blocking the signal between the devices, facilitating a smooth and seamless pairing experience.
On the Roku remote, navigate to the settings or menu and locate the option for pairing or connecting to a new device. Select the RCA projector from the list of available devices, initiating the pairing process and prompting the remote to establish a secure connection with the projector.
As the pairing process commences, you may see a visual indicator on the Roku remote, confirming that it is actively pairing with the RCA projector. Similarly, the projector may display a notification or indicator, signifying that it is ready to accept the pairing request from the remote.
Once the pairing is successfully established, you’ll receive a confirmation message on the Roku remote, indicating that it is now paired with the RCA projector. This signifies that the devices are now seamlessly integrated, allowing you to control the projector’s functions and navigate through content using the Roku remote.
With the Roku remote successfully paired to the RCA projector, you’ve achieved a harmonious integration that unlocks a world of entertainment possibilities at your fingertips. Whether you’re streaming your favorite movies, exploring captivating TV shows, or immersing yourself in music and multimedia content, the seamless pairing between the remote and projector enhances your home entertainment experience.
By completing the pairing process, you’ve empowered yourself to effortlessly control and navigate through the features and functionalities of the RCA projector using the intuitive interface of the Roku remote. This seamless integration brings you one step closer to enjoying a captivating and immersive home theater experience, all within the comfort of your own home.
Conclusion
Congratulations! By following the comprehensive steps outlined in this guide, you’ve successfully paired your Roku remote with your RCA projector, unlocking a world of entertainment possibilities within your home. This seamless integration empowers you to control and navigate through the immersive features of the RCA projector using the intuitive interface of the Roku remote, enhancing your home entertainment experience.
As you embark on this journey of seamless pairing, you’ve not only connected two powerful devices but also established a gateway to captivating visual experiences and immersive entertainment. Whether you’re planning a movie night with friends, a family gathering, or simply seeking to unwind with your favorite content, the harmonious integration of the Roku remote and RCA projector elevates your home entertainment setup to new heights.
With the successful pairing of your Roku remote and RCA projector, you now have the power to effortlessly navigate through a myriad of streaming options, control the playback of your favorite movies and TV shows, and immerse yourself in captivating multimedia content. This seamless integration brings convenience and versatility to your home entertainment system, allowing you to tailor your viewing experience to your preferences and create unforgettable moments with friends and family.
As technology continues to evolve, the seamless pairing of devices exemplifies the convergence of innovation and entertainment, offering a glimpse into the boundless possibilities of home entertainment systems. By embracing the pairing process, you’ve harnessed the potential of your Roku remote and RCA projector, creating a dynamic synergy that enhances your home theater experience.
Whether you’re exploring the latest blockbuster releases, indulging in classic films, or immersing yourself in visually stunning content, the seamless pairing of your Roku remote and RCA projector opens the door to a world of entertainment at your fingertips. Embrace the power of seamless integration and elevate your home entertainment experience to new heights, creating lasting memories and immersive moments that captivate and inspire.
With the successful pairing of your Roku remote to your RCA projector, you’ve embarked on a journey of unparalleled entertainment, all within the comfort of your own home. Enjoy the seamless integration, and immerse yourself in the captivating world of home entertainment, where technology and entertainment converge to create unforgettable experiences.
Frequently Asked Questions about How To Pair Roku Remote To RCA Projector
Was this page helpful?
At Storables.com, we guarantee accurate and reliable information. Our content, validated by Expert Board Contributors, is crafted following stringent Editorial Policies. We're committed to providing you with well-researched, expert-backed insights for all your informational needs.


0 thoughts on “How To Pair Roku Remote To RCA Projector”