Home>Technology>Home Entertainment Systems>How To Use An RCA Projector
Home Entertainment Systems
How To Use An RCA Projector
Modified: January 5, 2024
Learn how to enhance your home entertainment system with step-by-step instructions on using an RCA projector for an immersive viewing experience. Discover tips and tricks for optimizing your setup.
(Many of the links in this article redirect to a specific reviewed product. Your purchase of these products through affiliate links helps to generate commission for Storables.com, at no extra cost. Learn more)
Introduction
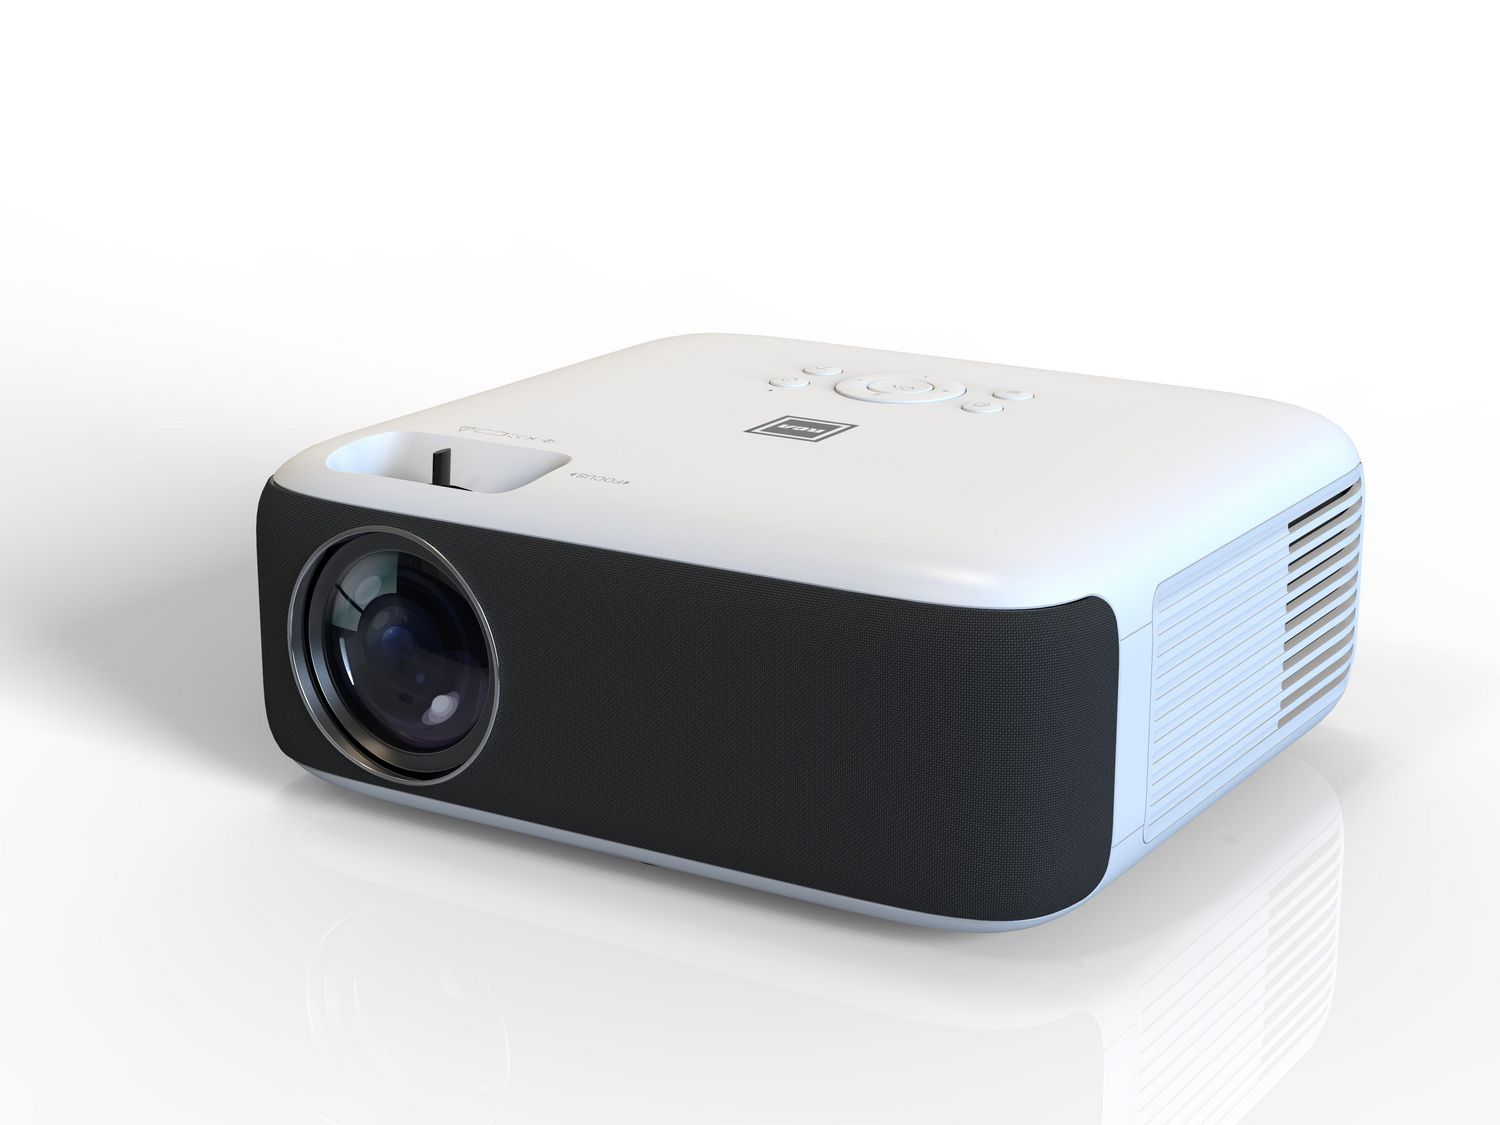
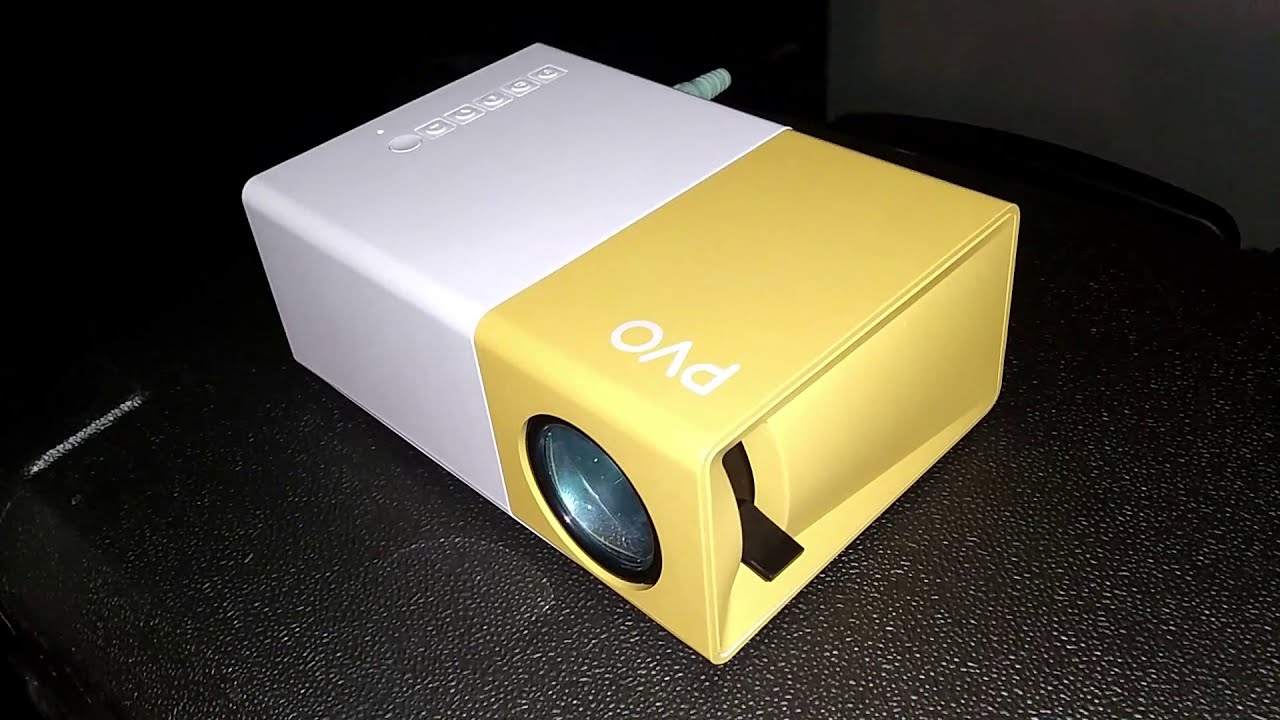
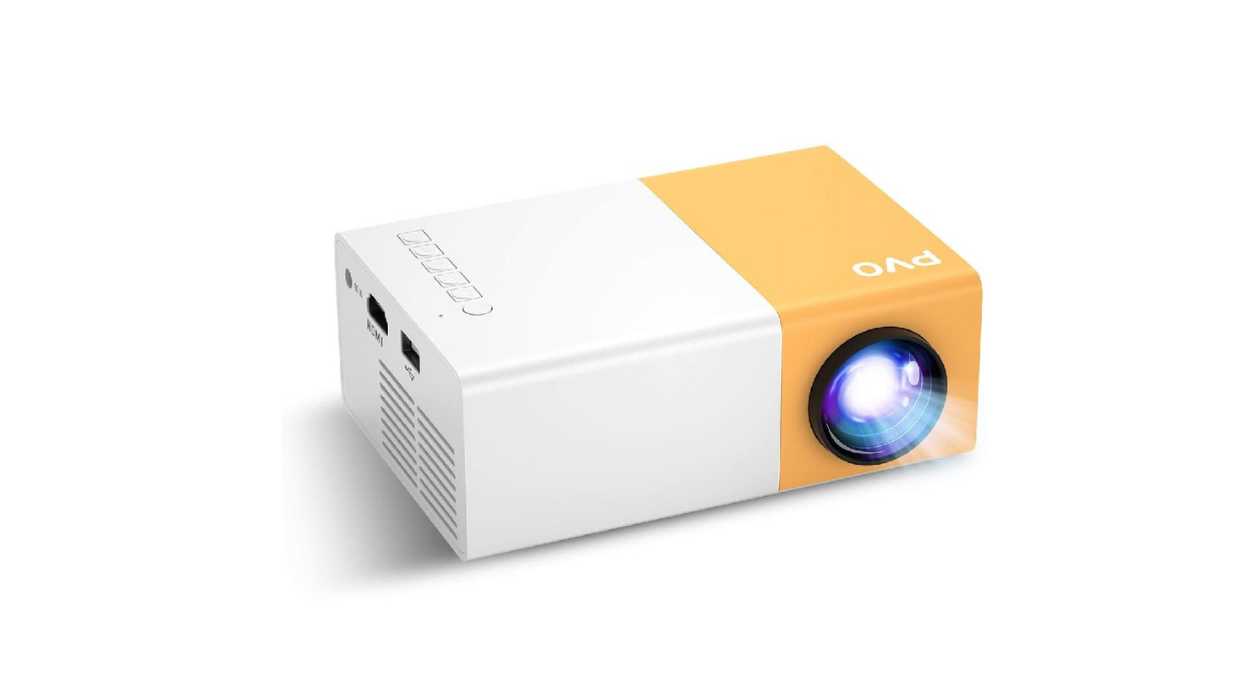
So, you've got your hands on an RCA projector and you're ready to take your home entertainment to the next level. Whether you're planning a movie night with friends, a gaming marathon, or a captivating presentation, an RCA projector can turn any space into a dynamic multimedia hub. With its versatility and user-friendly features, the RCA projector is designed to deliver stunning visuals and immersive experiences.
In this comprehensive guide, we'll walk you through everything you need to know about using an RCA projector to unleash its full potential. From setting it up to troubleshooting common issues, we've got you covered. By the end of this journey, you'll be equipped with the knowledge and confidence to make the most of your RCA projector and create unforgettable moments in the comfort of your own home.
Let's dive in and discover the magic of the RCA projector together!
Key Takeaways:
- Transform any space into a captivating multimedia hub with an RCA projector. From movie nights to gaming extravaganzas, unleash immersive entertainment experiences in the comfort of your home.
- Connect, adjust, and troubleshoot your RCA projector with confidence. Elevate your home entertainment with stunning visuals and dynamic audio, creating unforgettable moments with friends and family.
Read more: How To Connect RCA Projector To Bluetooth
Setting up the RCA Projector
Before you embark on your cinematic or gaming adventure, it’s essential to set up your RCA projector correctly to ensure optimal performance. Here’s a step-by-step guide to get you started:
- Choose the Right Location: Select a suitable location for your RCA projector, considering factors such as screen visibility, access to power outlets, and minimal ambient light interference. Ideally, a dark or dimly lit room is perfect for creating an immersive viewing experience.
- Position the Projector: Place the RCA projector on a stable surface, ensuring that it is level and secure. If you’re using a ceiling mount, follow the manufacturer’s instructions for safe and proper installation.
- Connect the Power Cord: Plug the power cord into the RCA projector and a power outlet. Ensure that the power source is stable and reliable to prevent interruptions during usage.
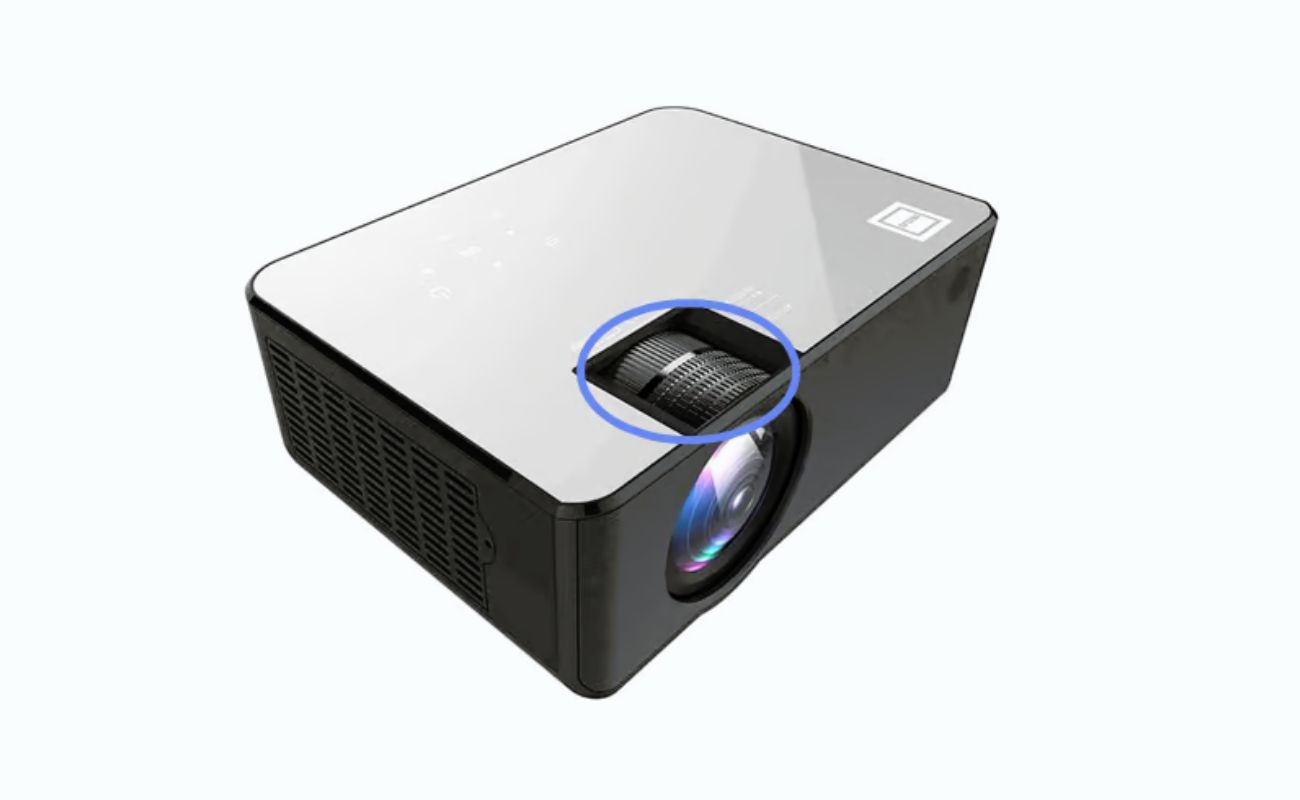
- Adjust the Focus and Keystone: Use the focus and keystone adjustment features on the projector to fine-tune the image clarity and correct any distortion caused by the projection angle.
- Prepare the Screen: If you’re using a projector screen, set it up at an appropriate distance from the projector to achieve the desired screen size and aspect ratio. Alternatively, you can project onto a blank, smooth wall for a makeshift screen.
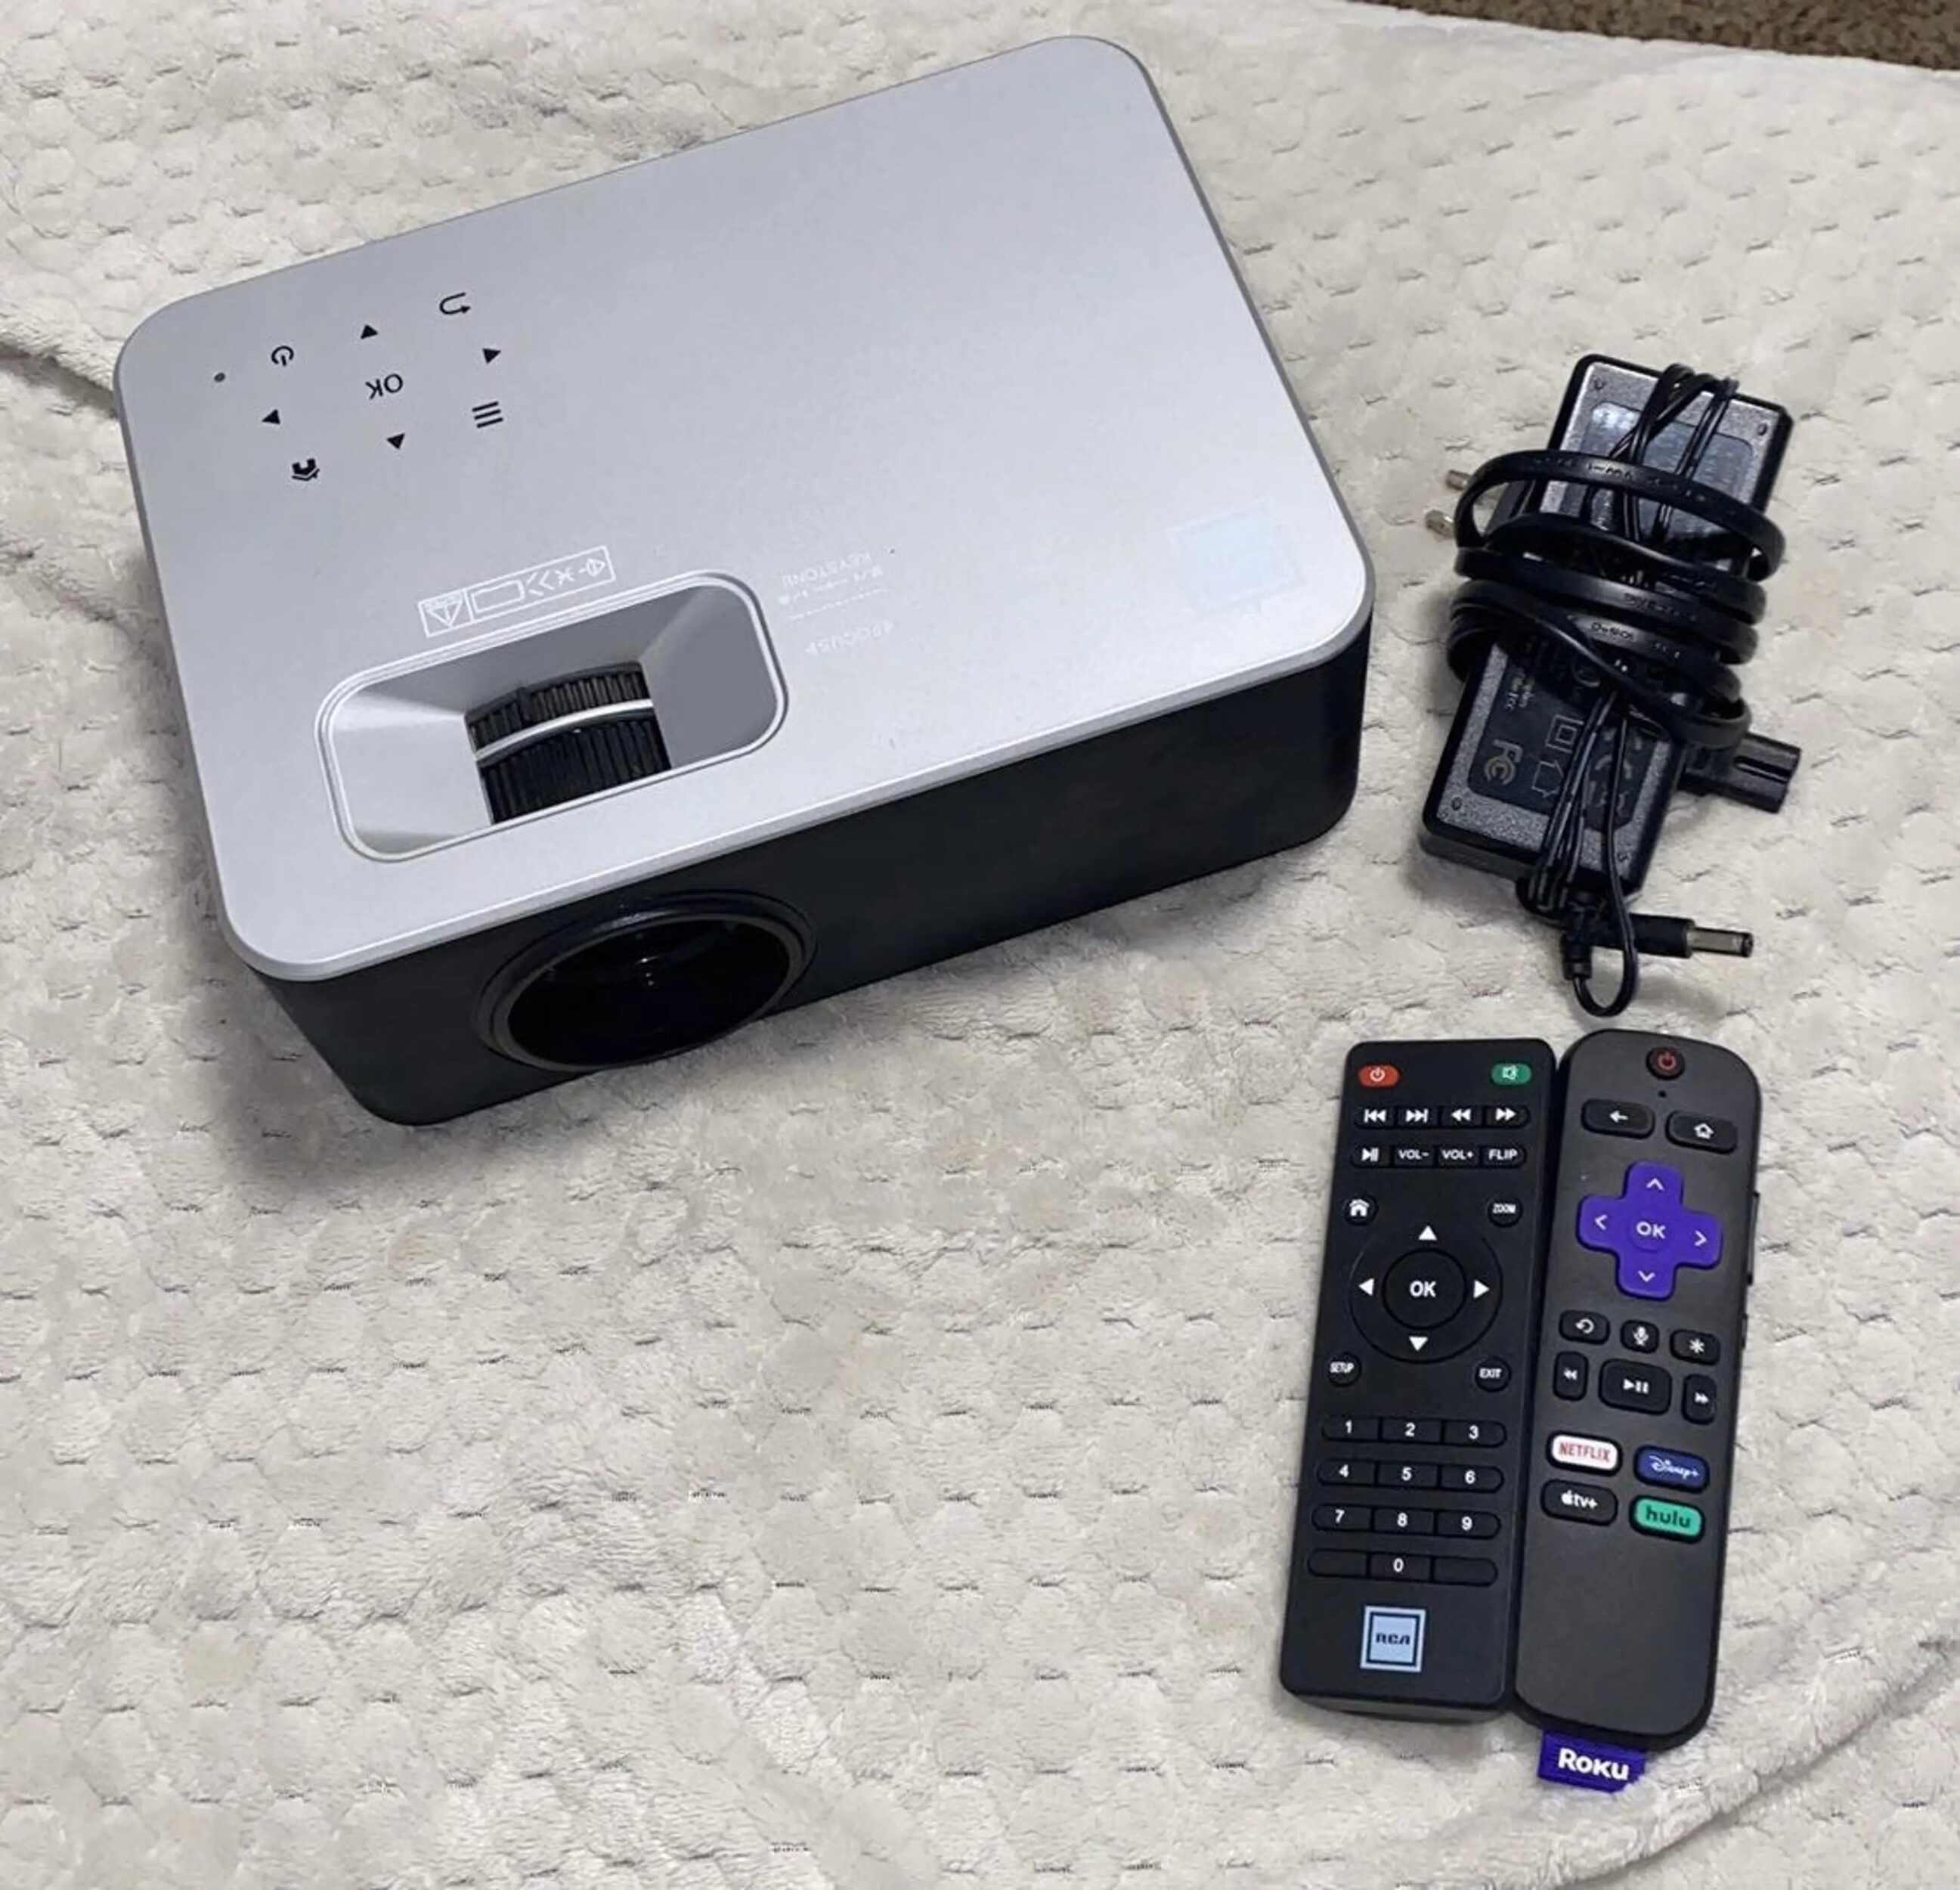
- Power On the Projector: Turn on the RCA projector and allow it to initialize. Familiarize yourself with the projector’s control panel and remote to navigate the settings effectively.
With these fundamental steps completed, your RCA projector is now primed and ready to bring your entertainment visions to life. The next crucial phase involves connecting the projector to your preferred multimedia devices for a seamless and captivating experience.
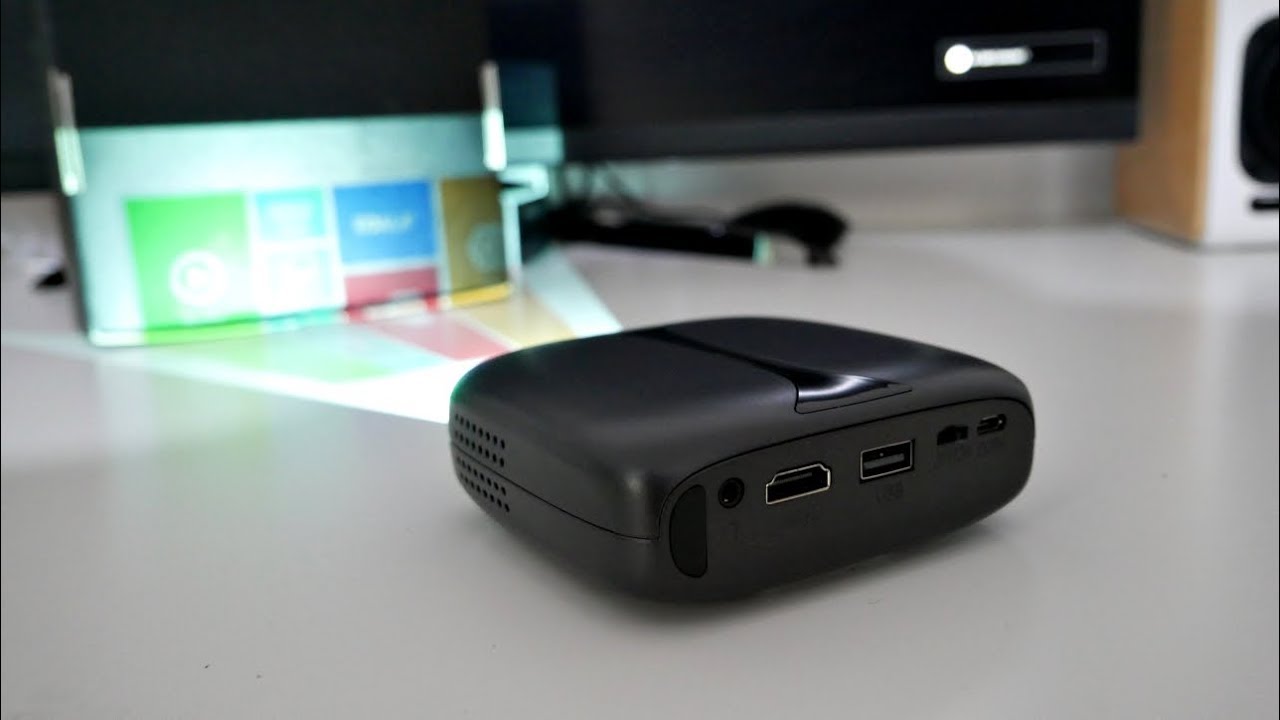
Connecting the RCA Projector to a Device
Now that your RCA projector is set up and powered on, it’s time to establish the vital connections with your preferred multimedia devices. Whether you’re aiming to project movies, games, or presentations, the versatility of the RCA projector allows you to link it with various gadgets. Here’s how to make the connections:
- HDMI Connection: If your source device, such as a laptop, gaming console, or Blu-ray player, features an HDMI output, use an HDMI cable to connect it to the HDMI input on the RCA projector. This digital connection ensures high-definition video and audio transmission, delivering an immersive viewing or gaming experience.
- VGA Connection: For devices equipped with a VGA output, such as older laptops or desktop computers, utilize a VGA cable to establish the connection with the RCA projector’s VGA input. While VGA may not support audio transmission, it remains a reliable option for video projection.
- Audio Connection: If your source device requires a separate audio output, connect the audio cable from the device to the RCA projector’s audio input or an external sound system. This step ensures synchronized audio with the projected visuals, enhancing the overall impact of your entertainment content.
- USB and SD Card: The RCA projector may feature USB and SD card slots, allowing you to directly play media files from compatible storage devices. Simply insert the USB drive or SD card containing your multimedia content into the corresponding slot on the projector, and navigate the on-screen menu to access and play your files.
- Wireless Connection: Some RCA projectors support wireless connectivity, enabling you to mirror the screen of compatible devices or stream content wirelessly. Consult the projector’s user manual to explore the wireless connection options and follow the setup instructions for a seamless wireless projection experience.
By establishing these connections, you can harness the full potential of your RCA projector, transforming it into a versatile hub for projecting content from a diverse range of multimedia sources. With the connections in place, it’s time to delve into the projector’s settings to fine-tune the visual and audio aspects for an exceptional viewing or gaming experience.
Adjusting the RCA Projector Settings
With your RCA projector connected to your preferred devices, it’s crucial to optimize the settings to achieve the best possible visual and audio performance. The projector’s settings allow you to tailor the viewing experience to suit your specific preferences and the nature of the content being projected. Here’s a comprehensive guide to adjusting the RCA projector settings:
- Display Mode and Aspect Ratio: Navigate the projector’s settings menu to select the appropriate display mode, such as standard, vivid, or cinema, based on your viewing environment and content type. Additionally, adjust the aspect ratio to match the source material, ensuring that the projected image retains its correct proportions.
- Brightness and Contrast: Fine-tune the brightness and contrast settings to achieve a balanced and vibrant image. Consider the ambient light conditions in the viewing area and make adjustments to optimize the visual clarity and detail in both dark and bright scenes.
- Keystone Correction: If the projected image appears distorted due to the projection angle, utilize the keystone correction feature to rectify the distortion and ensure a perfectly proportioned image. This adjustment is particularly useful when the projector is not positioned perpendicular to the screen.
- Audio Settings: Explore the projector’s audio settings to customize the sound output according to your preferences. Adjust the volume, equalizer settings, and audio output modes to deliver an immersive and well-balanced audio experience that complements the visual content.
- Projection Distance and Zoom: If your projector offers adjustable zoom and lens shift capabilities, optimize the projection distance and image size to suit your viewing area. Experiment with the zoom and focus controls to achieve the desired screen size and image sharpness.
- Color Calibration: Delve into the color calibration settings to fine-tune the color temperature, saturation, and hue to achieve accurate and vibrant color reproduction. This step is essential for enhancing the visual impact of your projected content, especially when displaying photos or videos.
By meticulously adjusting these settings, you can unlock the full potential of your RCA projector, ensuring that it delivers a captivating and immersive visual and audio experience tailored to your preferences. With the settings optimized, it’s time to explore the seamless functionality of the RCA projector and immerse yourself in a world of entertainment possibilities.
When setting up an RCA projector, make sure to connect all necessary cables, power on the projector and source device, and adjust the focus and keystone correction for a clear image.
Using the RCA Projector
Now that your RCA projector is set up, connected to your devices, and its settings optimized, it’s time to embark on an immersive journey into the world of multimedia entertainment. Whether you’re hosting a movie night, indulging in gaming adventures, or delivering a captivating presentation, the RCA projector offers a versatile platform for unleashing your creativity and enjoying a larger-than-life visual experience.
Here are some key insights into using the RCA projector to its full potential:
- Movie Nights and TV Shows: Transform your living room or dedicated home theater space into a cinematic haven by projecting your favorite movies and TV shows onto a large screen. With the RCA projector’s high-definition capabilities and customizable settings, you can create a theater-like ambiance and enjoy a truly immersive viewing experience.
- Gaming Extravaganzas: Dive into the heart-pounding action of video games by connecting your gaming console or PC to the RCA projector. Immerse yourself in larger-than-life gaming worlds and experience heightened excitement as the game visuals come to life on the big screen, complete with dynamic sound effects for an adrenaline-pumping gaming session.
- Presentations and Workshops: Whether you’re a student, educator, or professional, the RCA projector is a valuable tool for delivering impactful presentations and workshops. Showcase your slides, videos, and interactive content with clarity and precision, capturing your audience’s attention and making a lasting impression with vivid and engaging visuals.
- Outdoor Movie Events: Take the entertainment beyond the confines of your home by organizing outdoor movie nights or events. With a portable screen and the RCA projector’s versatility, you can create unforgettable experiences under the open sky, bringing people together for communal entertainment and shared moments of joy.
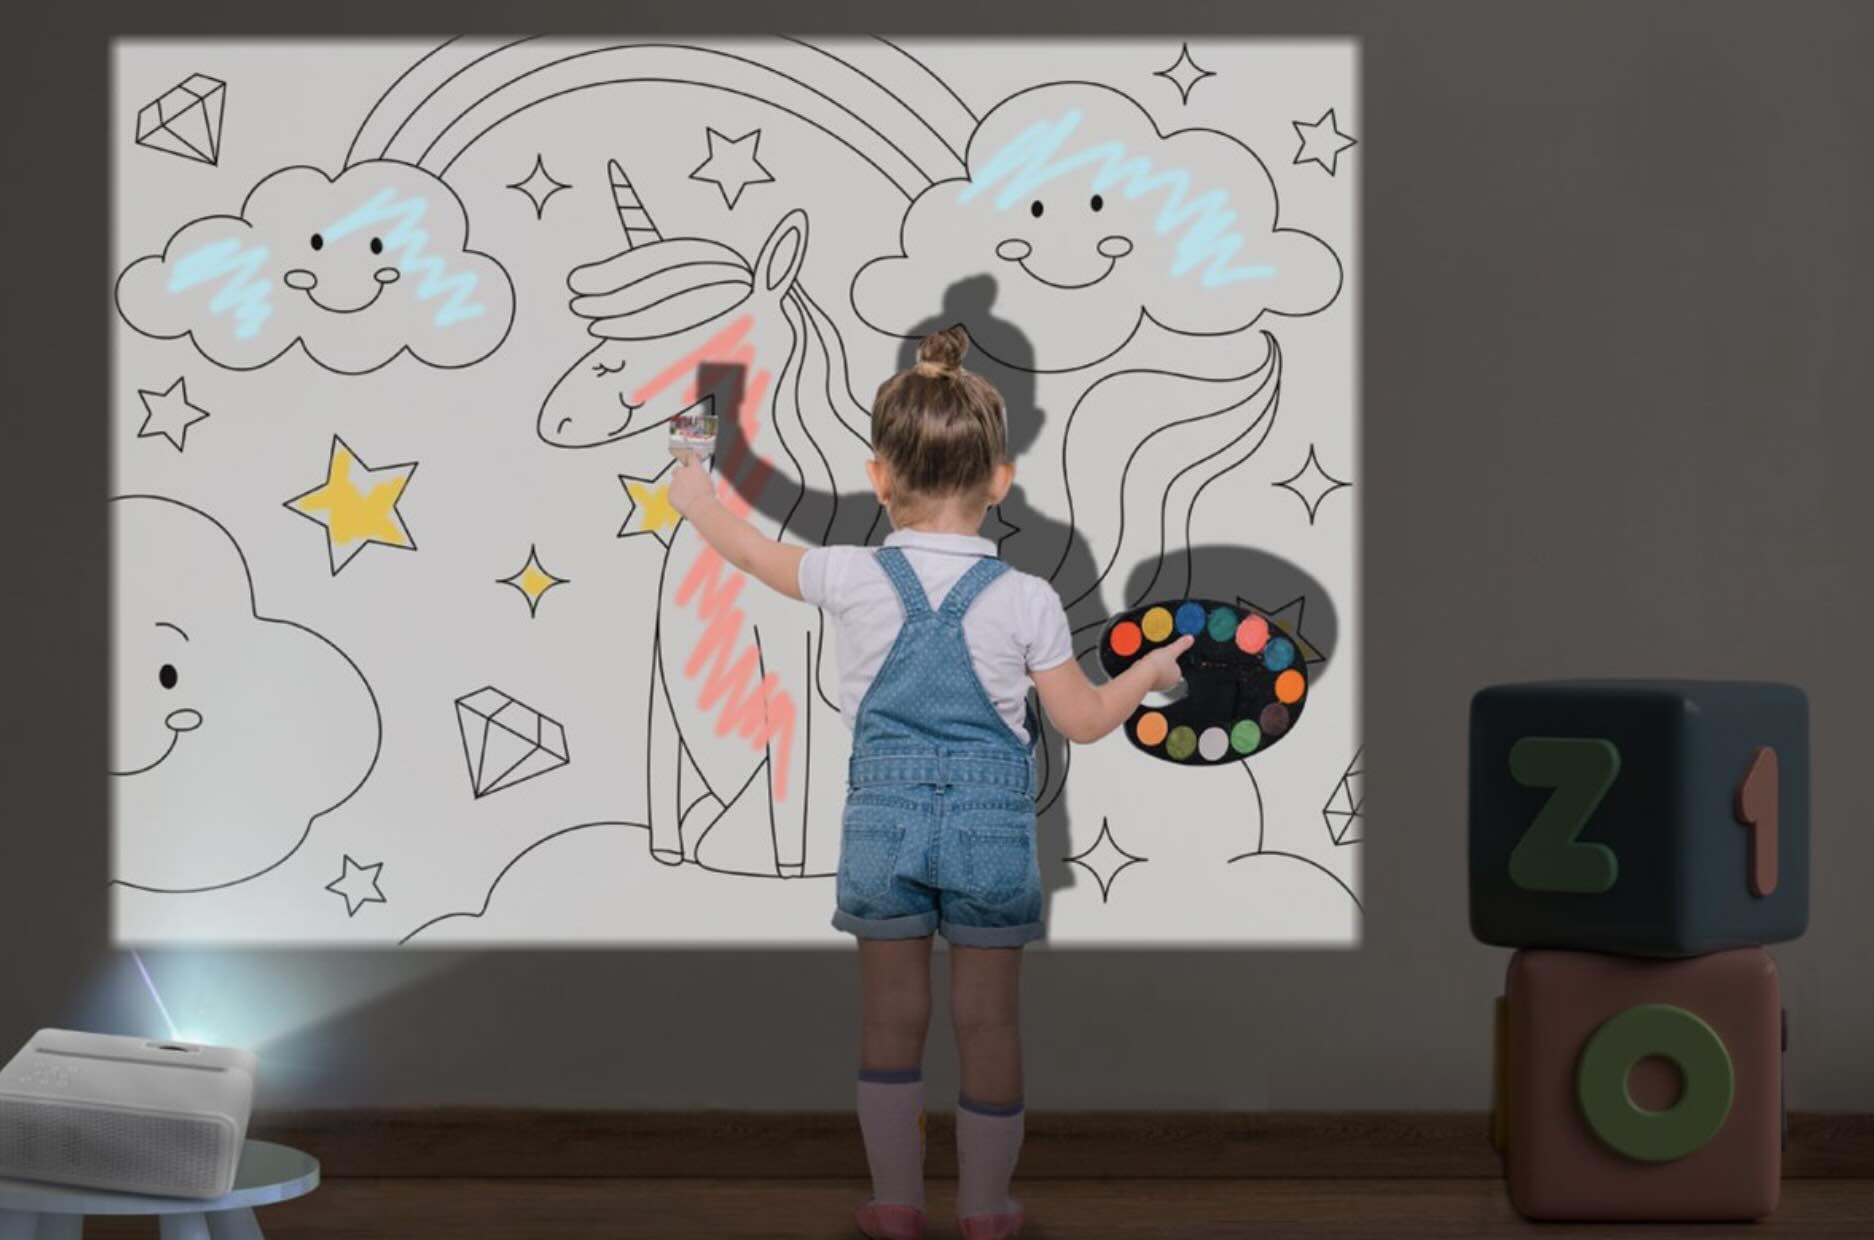
- Creative Multimedia Exploration: Unleash your creativity by exploring the myriad possibilities of multimedia content with the RCA projector. From immersive art installations to interactive storytelling experiences, the projector serves as a canvas for innovative and boundary-pushing multimedia projects.
With the RCA projector, the boundaries of traditional entertainment are expanded, allowing you to craft unique and memorable experiences that resonate with your personal and creative aspirations. Embrace the versatility and power of the RCA projector, and let your imagination soar as you delve into a world of captivating visuals and immersive audio.
Read more: How To Connect RCA Projector To IPhone
Troubleshooting Common Issues
While the RCA projector is designed to deliver seamless and immersive multimedia experiences, occasional technical hiccups may arise. Understanding how to troubleshoot common issues empowers you to swiftly address any challenges that may detract from your enjoyment. Here’s a guide to troubleshooting common RCA projector issues:
- No Power or Startup Failure: If the projector fails to power on, ensure that the power cord is securely connected to both the projector and a functional power outlet. Check for any blown fuses or tripped circuit breakers that may be interrupting the power supply.
- Image Distortion or Blurriness: If the projected image appears distorted or blurry, verify that the projector is positioned perpendicular to the screen and that the focus and keystone adjustments are correctly configured. Additionally, clean the projector’s lens and ensure that the projection surface is smooth and free from imperfections.
- Audio Issues: If you encounter audio problems, inspect the audio connections to ensure they are secure and properly configured. Adjust the projector’s audio settings and verify that the source device is outputting audio signals correctly. If using external speakers, check their connections and settings as well.
- Overheating and Ventilation: Projectors may overheat if airflow is restricted or if they are operated in excessively hot environments. Ensure that the projector’s ventilation ports are unobstructed and that the surrounding area allows for adequate airflow. Consider using a dedicated cooling pad or fan to mitigate overheating issues.
- Remote Control Malfunction: If the projector’s remote control is unresponsive, replace the batteries and ensure that there are no obstructions between the remote and the projector’s sensor. If the issue persists, check for any infrared signal interference from other devices in the vicinity.
- Software and Firmware Updates: Stay informed about available software and firmware updates for your RCA projector. Periodically check for updates on the manufacturer’s website and follow the instructions to ensure that your projector’s software is up to date, potentially resolving software-related issues.
By familiarizing yourself with these troubleshooting techniques, you can swiftly address common issues that may arise during the use of your RCA projector, ensuring that you can swiftly restore seamless functionality and continue enjoying captivating multimedia experiences.
Conclusion
Congratulations on embarking on a journey to unlock the full potential of your RCA projector. Throughout this comprehensive guide, we’ve delved into the essential aspects of using an RCA projector to elevate your home entertainment and multimedia experiences. From the initial setup and device connections to optimizing the projector’s settings and troubleshooting common issues, you’ve gained valuable insights into harnessing the power of this versatile multimedia tool.
With the ability to transform any space into a captivating multimedia hub, the RCA projector opens the door to a myriad of entertainment possibilities. Whether you’re indulging in movie nights, gaming extravaganzas, or delivering impactful presentations, the immersive visuals and dynamic audio capabilities of the RCA projector empower you to create unforgettable moments in the comfort of your own home.
As you continue to explore the endless potential of your RCA projector, remember to embrace creativity, experimentation, and innovation. Utilize its versatility to craft unique multimedia experiences that resonate with your personal preferences and aspirations. Whether it’s a cozy movie night with loved ones or a dynamic gaming marathon with friends, the RCA projector stands ready to bring your entertainment visions to life in stunning detail and immersive grandeur.
By staying informed about the latest advancements in projection technology and multimedia content, you can continue to enhance your RCA projector experience and stay at the forefront of home entertainment innovation. Embrace the magic of visual storytelling, the thrill of immersive gaming, and the impact of compelling presentations, all made possible through the versatile capabilities of the RCA projector.
As you venture forth into the realm of captivating visuals and dynamic multimedia experiences, may your RCA projector serve as a steadfast companion, igniting your imagination and enriching your home entertainment endeavors.
Here’s to countless hours of immersive entertainment, shared moments of joy, and the endless possibilities that await as you embark on your RCA projector journey. Let the magic of projection unfold, and may your experiences be nothing short of extraordinary.
Frequently Asked Questions about How To Use An RCA Projector
Was this page helpful?
At Storables.com, we guarantee accurate and reliable information. Our content, validated by Expert Board Contributors, is crafted following stringent Editorial Policies. We're committed to providing you with well-researched, expert-backed insights for all your informational needs.


0 thoughts on “How To Use An RCA Projector”