Home>Technology>Home Entertainment Systems>How To Use Projector For Sewing Patterns
Home Entertainment Systems
How To Use Projector For Sewing Patterns
Modified: January 19, 2024
Learn how to use a projector for sewing patterns and upgrade your home entertainment system with this comprehensive guide. Discover the best tips and tricks for maximizing your projector setup.
(Many of the links in this article redirect to a specific reviewed product. Your purchase of these products through affiliate links helps to generate commission for Storables.com, at no extra cost. Learn more)
Introduction
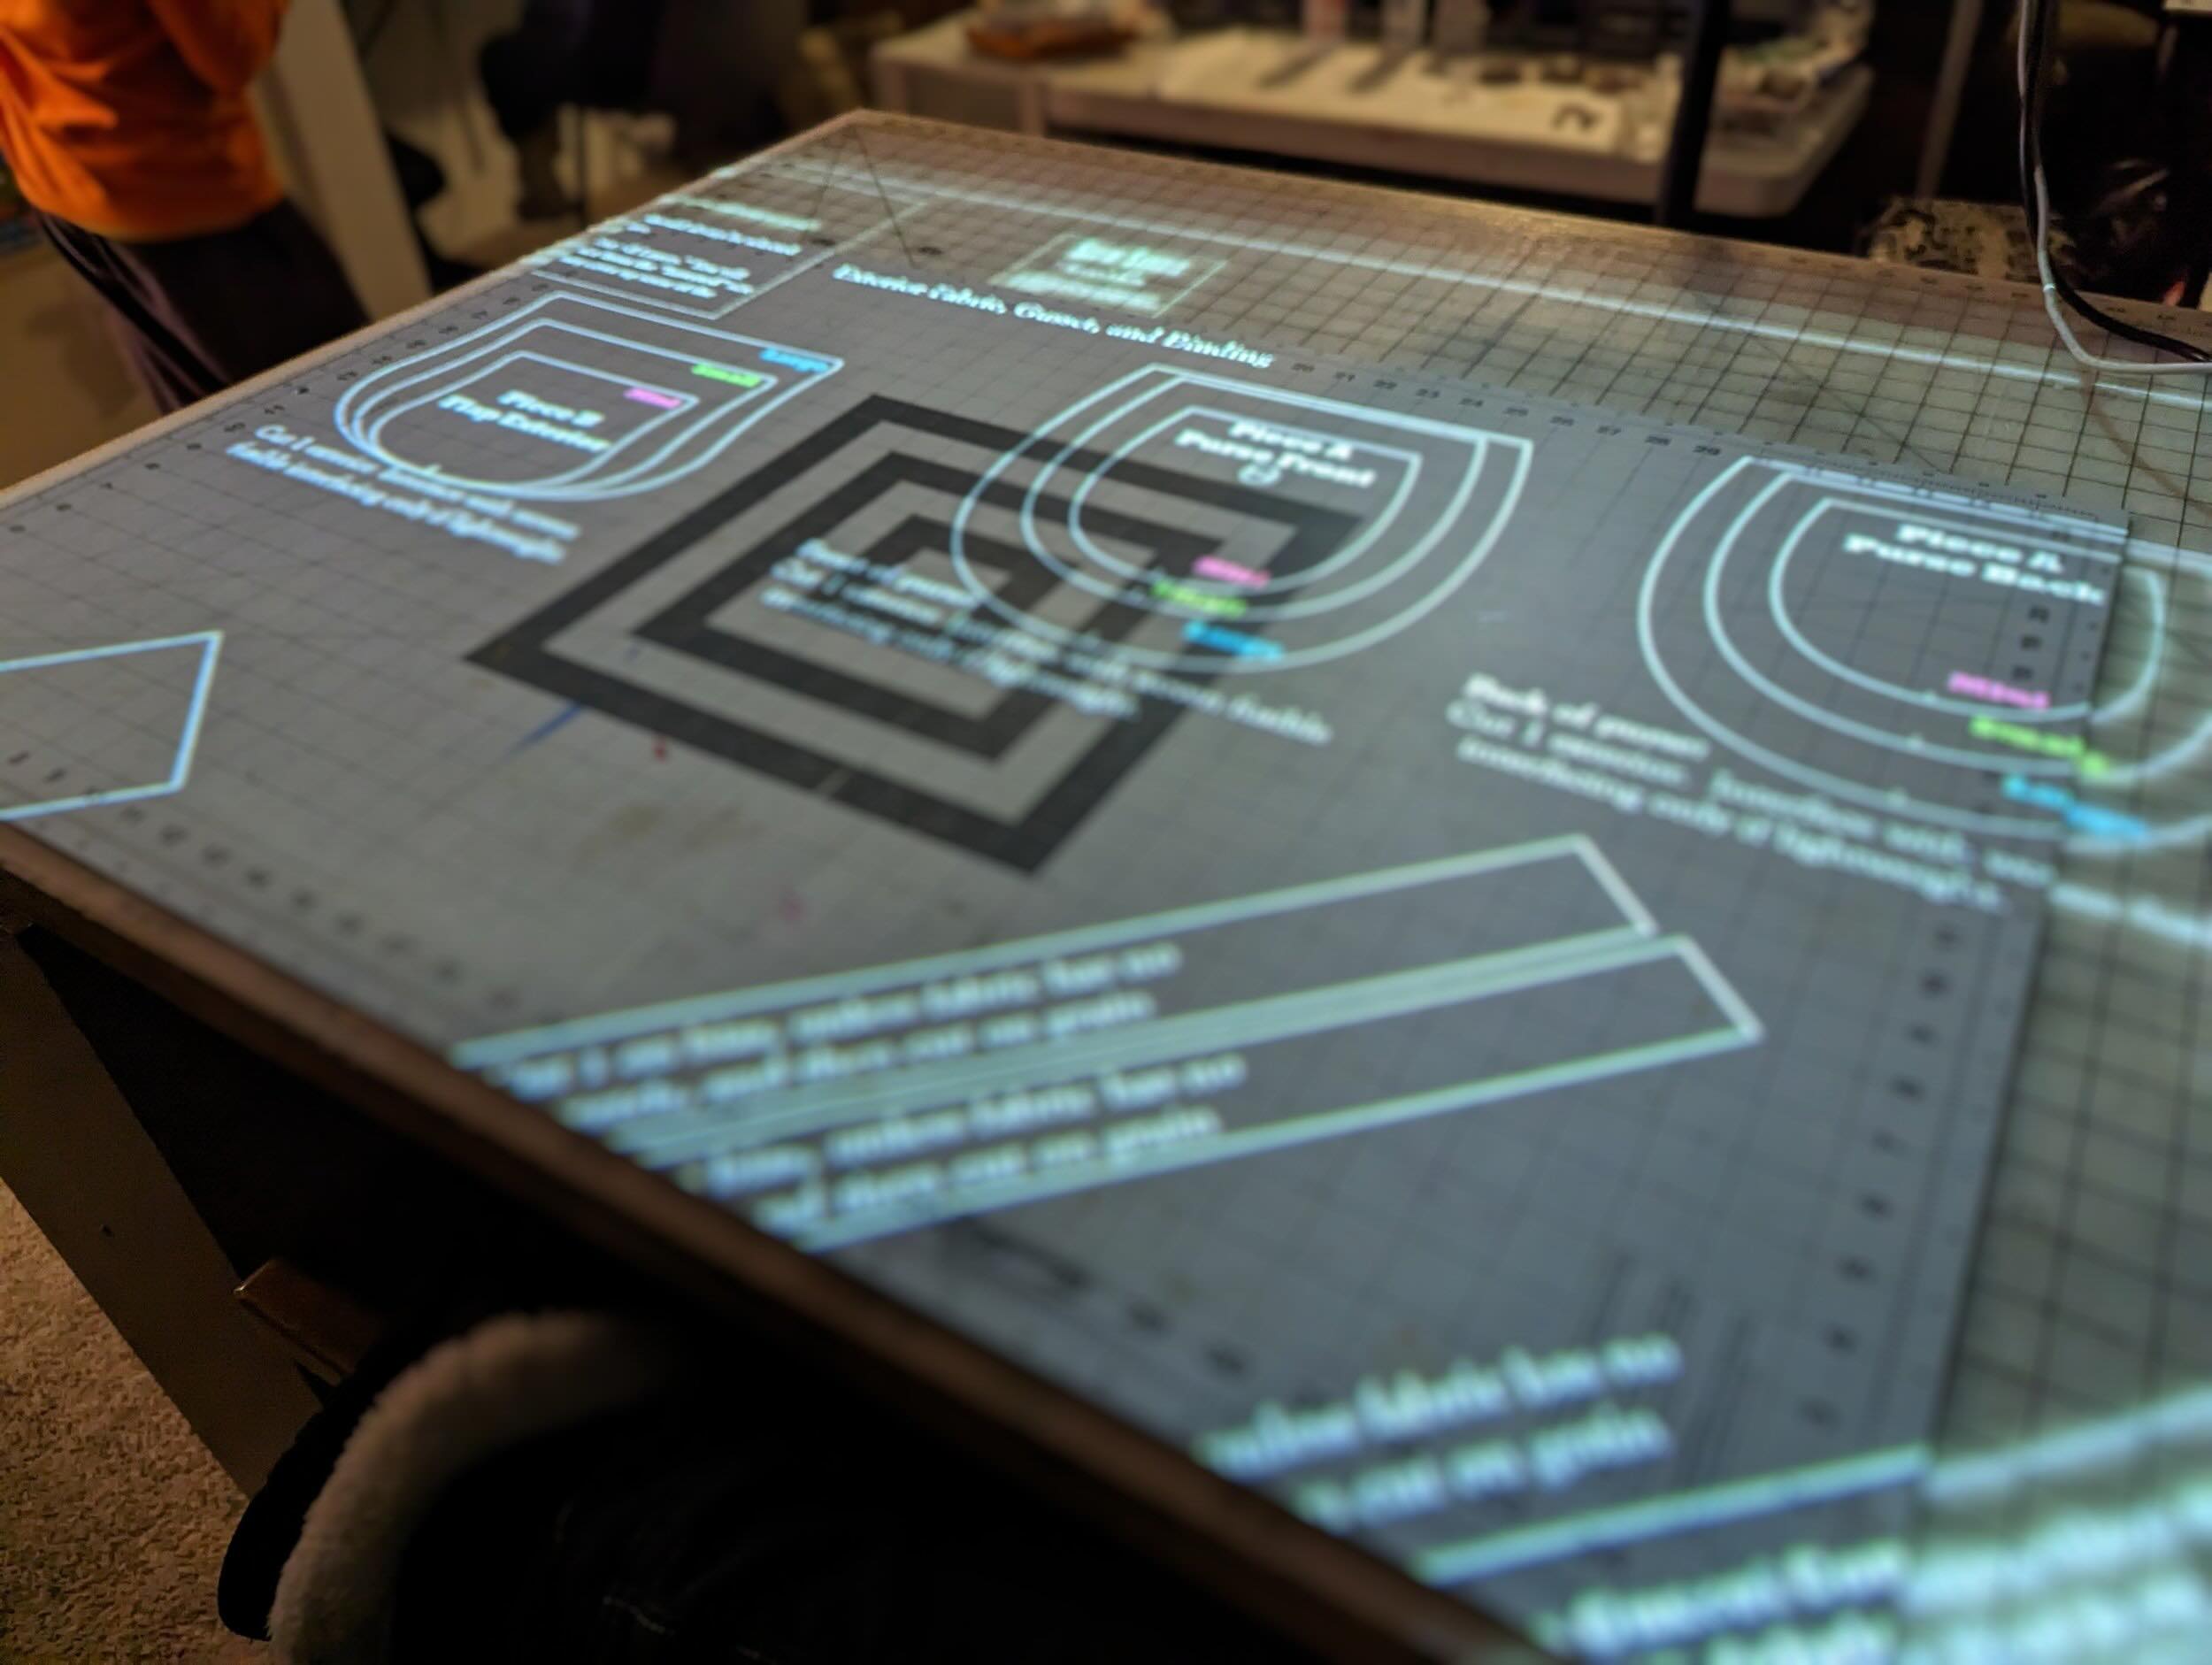
Welcome to the world of sewing and crafting, where creativity knows no bounds! In today's digital age, technology has revolutionized traditional practices, offering innovative solutions to simplify and enhance various activities, including sewing. One such remarkable tool that has gained popularity among sewing enthusiasts is the projector. By utilizing a projector, you can effortlessly transfer and enlarge sewing patterns onto fabric, eliminating the need for tedious manual tracing and cutting.
In this comprehensive guide, we will explore the fascinating realm of using a projector for sewing patterns. Whether you are a seasoned seamstress or a novice crafter, this article will equip you with valuable insights and practical tips to seamlessly integrate a projector into your sewing endeavors. From selecting the right projector to mastering the art of pattern projection, you will embark on a journey that combines the artistry of sewing with the convenience of modern technology.
Get ready to unlock a world of possibilities as we delve into the intricacies of utilizing a projector to elevate your sewing experience. Let's embark on this illuminating expedition together, where creativity, precision, and innovation converge to redefine the way you approach sewing patterns.
Key Takeaways:
- Elevate your sewing experience by using a projector to effortlessly transfer and enlarge patterns onto fabric, revolutionizing traditional methods with modern technology.
- Seamlessly integrate a carefully selected projector into your sewing repertoire to unlock a world of possibilities, transcending limitations and embracing precision, creativity, and convenience.
Read more: How To Store Sewing Patterns
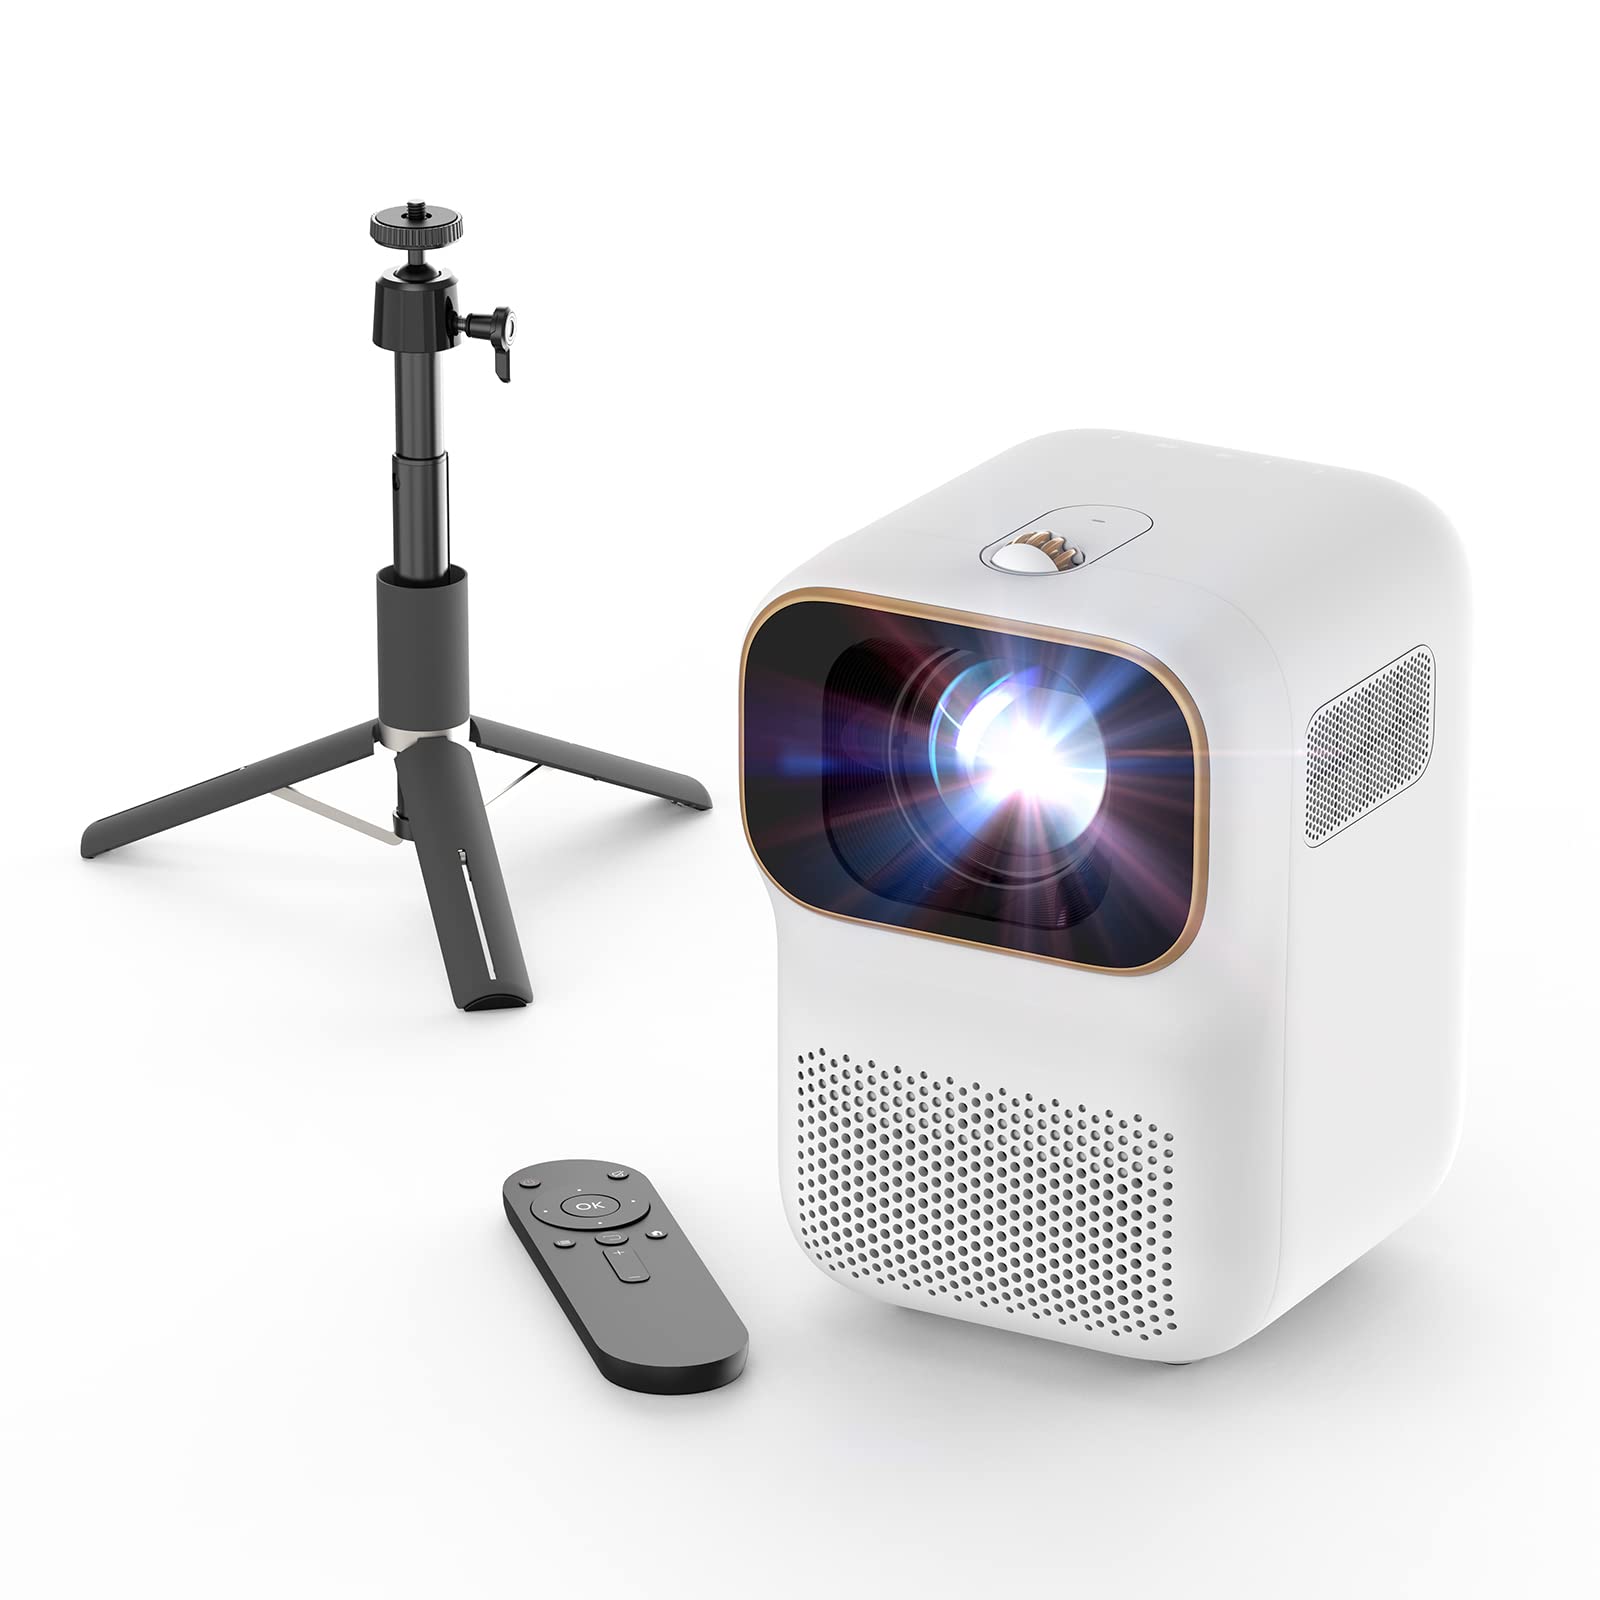
Choosing the Right Projector
When venturing into the realm of using a projector for sewing patterns, selecting the appropriate projector is paramount to ensuring optimal results and a seamless workflow. With a myriad of projectors available in the market, it is essential to consider specific factors that align with the unique requirements of projecting sewing patterns.
First and foremost, consider the brightness and resolution of the projector. Opt for a projector with high brightness, measured in lumens, to ensure clear and vivid projection, especially when working in well-lit sewing spaces. A higher resolution contributes to sharper and more detailed pattern projection, allowing for precise pattern alignment and cutting.
Furthermore, the throw distance and projection size are crucial considerations. The throw distance refers to the distance between the projector and the projection surface. For sewing applications, a short throw projector is advantageous as it can project large images from a close distance, ideal for compact sewing areas. Additionally, assess the maximum projection size to ensure it accommodates the dimensions of your sewing patterns without compromising clarity.
Another vital aspect to contemplate is the connectivity options of the projector. Look for projectors equipped with versatile connectivity features, such as HDMI, USB, and wireless capabilities. This facilitates seamless integration with various devices, including computers, tablets, and smartphones, enabling convenient access to digital sewing patterns and design files.
Consider the portability and versatility of the projector, especially if you intend to use it for sewing classes, workshops, or demonstrations. A lightweight and compact design, coupled with easy setup and adjustment features, enhances the projector’s usability and facilitates on-the-go pattern projection.
Lastly, factor in the overall durability and longevity of the projector. Opt for reputable brands known for producing reliable and long-lasting projectors, ensuring that your investment yields enduring benefits for your sewing projects.
By carefully evaluating these considerations and aligning them with your specific sewing needs, you can confidently select a projector that harmonizes with your creative vision, empowering you to seamlessly project and bring your sewing patterns to life with precision and clarity.
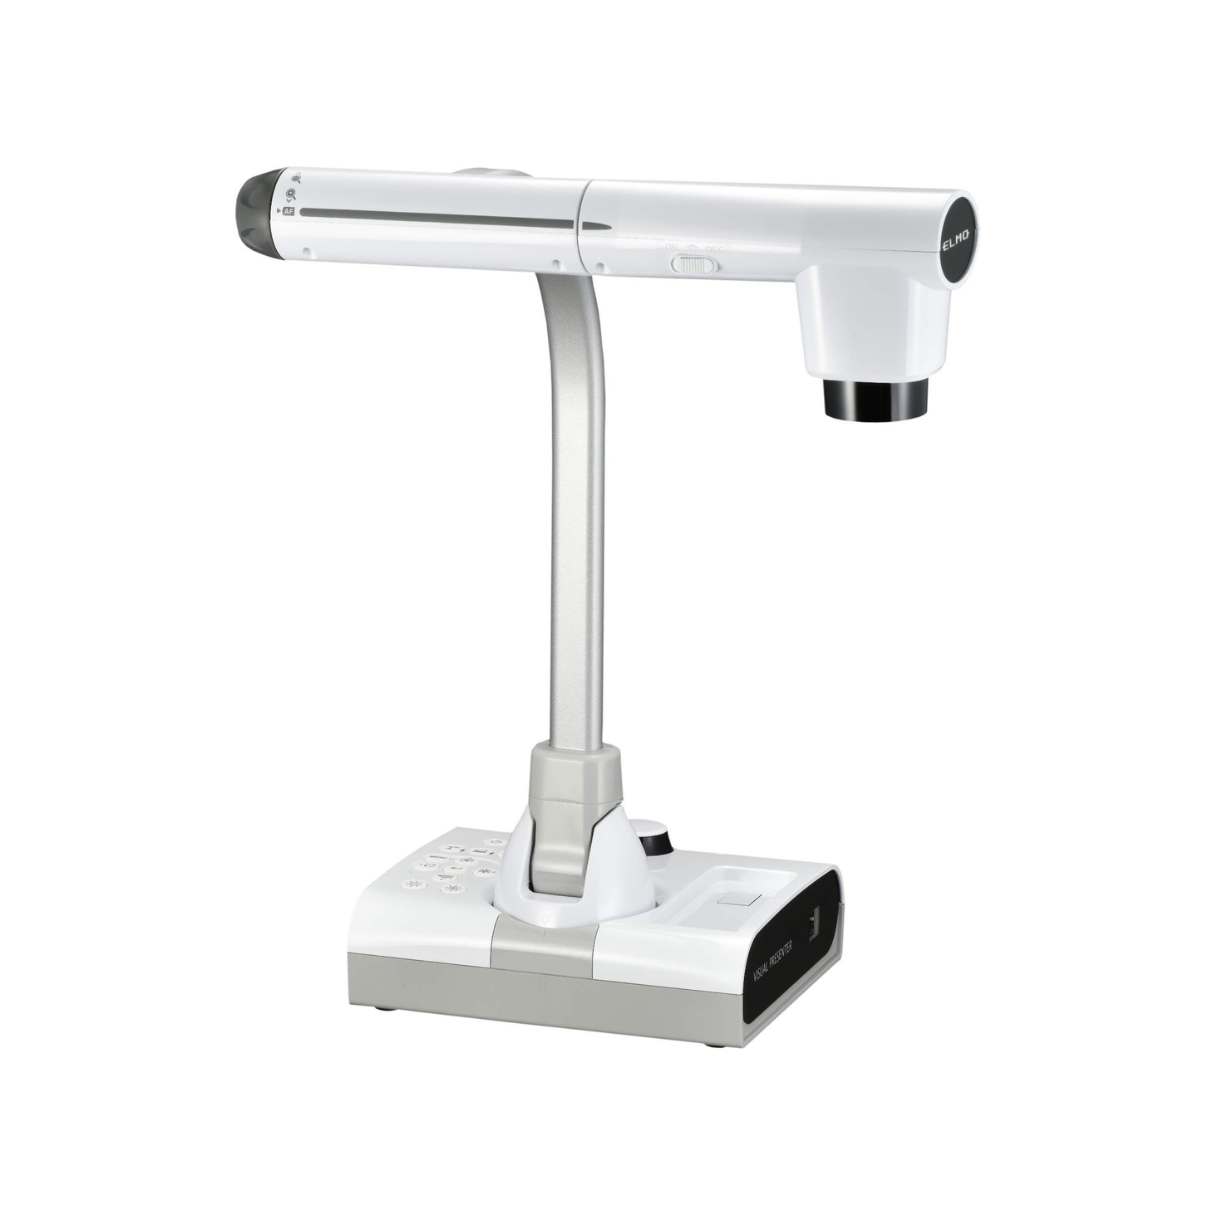
Setting Up the Projector
As you embark on your journey of integrating a projector into your sewing repertoire, mastering the art of setting up the projector is fundamental to harnessing its full potential. Whether you are working on intricate garment patterns or elaborate quilting designs, a well-executed setup ensures seamless pattern projection, laying the foundation for precision and creativity in your sewing projects.
Begin by identifying an optimal location for the projector within your sewing space. Choose a stable surface or mount that provides a clear line of sight to the projection area, minimizing obstructions and ensuring a consistent and undistorted projection. Additionally, consider the ambient lighting in the room and position the projector to maximize image clarity and visibility, especially if natural or artificial light sources are present.
Next, connect the projector to a compatible device, such as a laptop or tablet, using the appropriate cables or wireless connectivity options. Ensure that the connection is secure and that the device’s display settings are configured to extend or duplicate the screen, allowing the projector to mirror the content accurately.
Adjust the projector’s settings, including brightness, contrast, and keystone correction, to optimize the projected image for pattern clarity and sharpness. Fine-tune the focus to achieve crisp and well-defined pattern outlines, enhancing the accuracy of pattern tracing and cutting.
Consider utilizing a projection surface that complements your sewing patterns, such as a dedicated fabric or a neutral-colored backdrop. This facilitates clear visibility of the projected patterns and minimizes distortion, enabling precise pattern alignment and manipulation.
If you are utilizing digital sewing patterns, familiarize yourself with the navigation and zoom features on the connected device to seamlessly adjust the pattern size and orientation for projection. This flexibility allows you to adapt the projected patterns to various fabric sizes and shapes, empowering you to explore diverse sewing projects with ease.
Prior to commencing your sewing endeavors, conduct a thorough test projection to ensure that the projected patterns align accurately with the intended fabric or work surface. Make any necessary adjustments to the projector’s position, focus, and settings to achieve optimal projection alignment and clarity.
By meticulously setting up the projector in accordance with your specific sewing requirements, you lay the groundwork for a seamless and immersive pattern projection experience, where creativity and precision converge to elevate your sewing craft to new heights.
When using a projector for sewing patterns, make sure to adjust the focus and size of the pattern to fit your fabric. Use a clear, flat surface and mark any important points before removing the pattern.
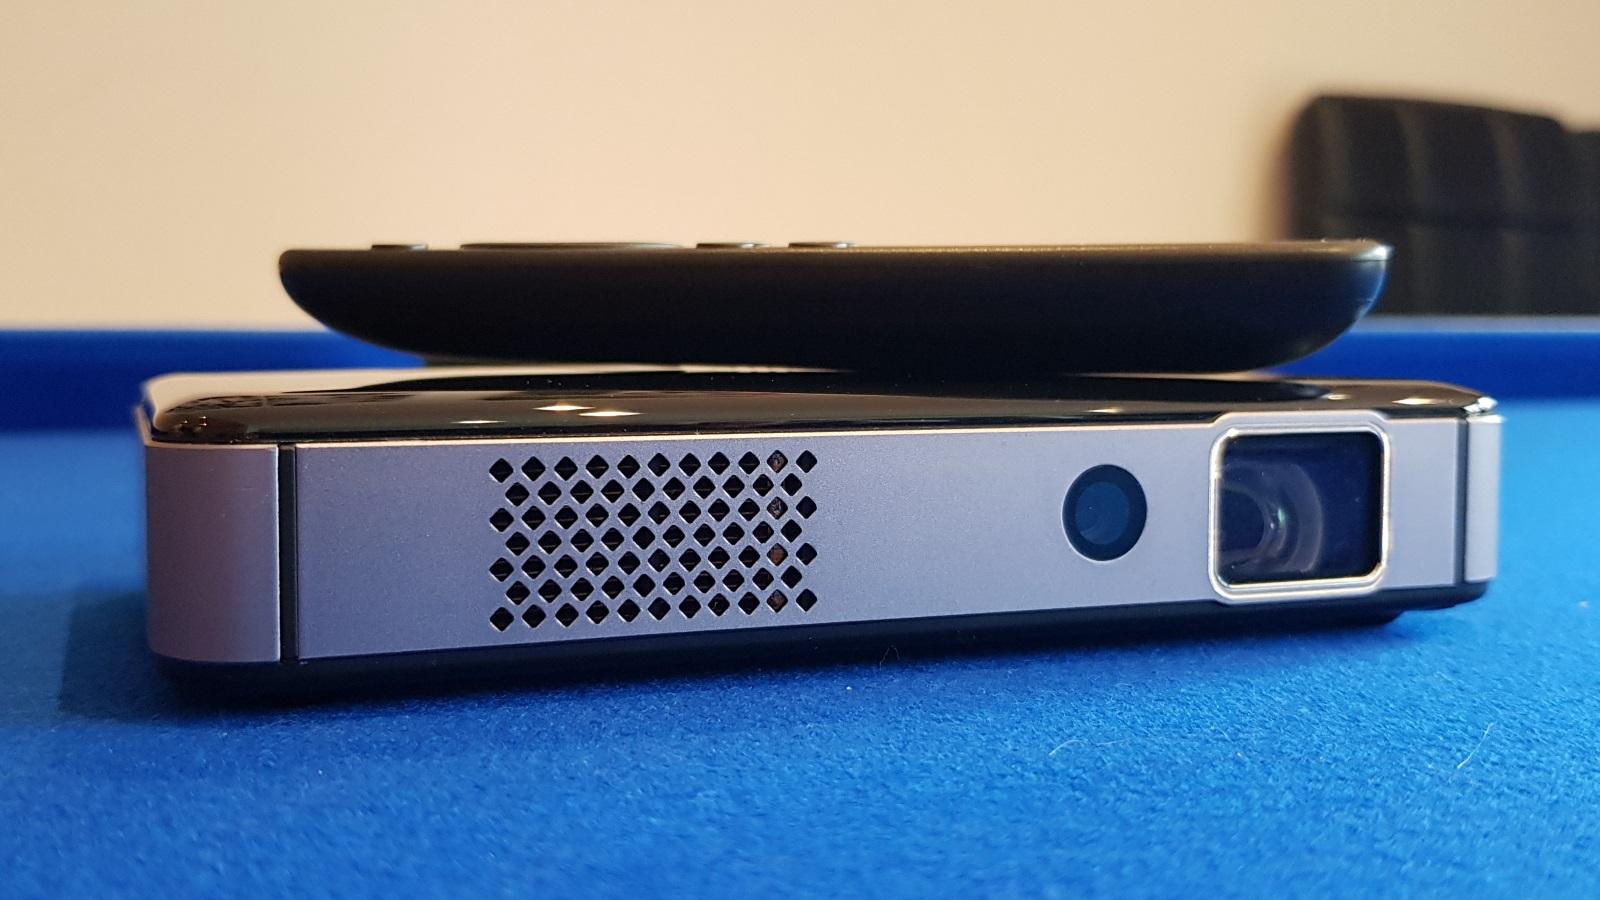
Adjusting the Image
Once the projector is set up and ready for use, the next crucial step in utilizing it for sewing patterns is mastering the art of adjusting the projected image. Fine-tuning the image ensures that the sewing patterns are accurately and precisely projected onto the fabric, setting the stage for seamless pattern tracing and cutting.
Begin by assessing the size and orientation of the projected image in relation to the fabric or work surface. Utilize the projector’s zoom and keystone correction features to manipulate the image size and shape, aligning it with the dimensions of the fabric. This adjustment is pivotal in ensuring that the patterns are projected at the desired scale, maintaining the integrity of the original designs.
Consider the clarity and sharpness of the projected patterns. Adjust the focus and resolution settings on the projector to achieve crisp and well-defined pattern outlines, enhancing visibility and facilitating precise pattern tracing. A clear and sharp projection minimizes ambiguity and empowers you to capture intricate pattern details with accuracy.
Take into account the ambient lighting conditions and their impact on the projected image. If working in varying lighting environments, adjust the projector’s brightness and contrast settings to optimize pattern visibility and contrast, ensuring that the projected patterns remain vivid and discernible regardless of lighting fluctuations.
When projecting multi-piece patterns or complex designs, utilize the projector’s screen mirroring or split-screen functionality to display multiple pattern components simultaneously. This enables comprehensive visualization of interconnected pattern elements, streamlining the tracing and assembly process and fostering a cohesive and efficient sewing workflow.
For digital sewing patterns, leverage the flexibility of digital manipulation to rotate, flip, or mirror the projected image, accommodating specific fabric orientations and design variations. This adaptability empowers you to seamlessly customize and position the projected patterns to suit diverse sewing projects and creative preferences.
Throughout the adjustment process, periodically reassess the projected image’s alignment and clarity by tracing key pattern elements onto a test fabric or surface. This hands-on approach allows you to validate the accuracy of the projection and make real-time adjustments to perfect the image alignment and quality.
By mastering the intricacies of adjusting the projected image, you pave the way for a seamless and immersive pattern projection experience, where precision and creativity intertwine to elevate your sewing projects with unparalleled accuracy and artistry.
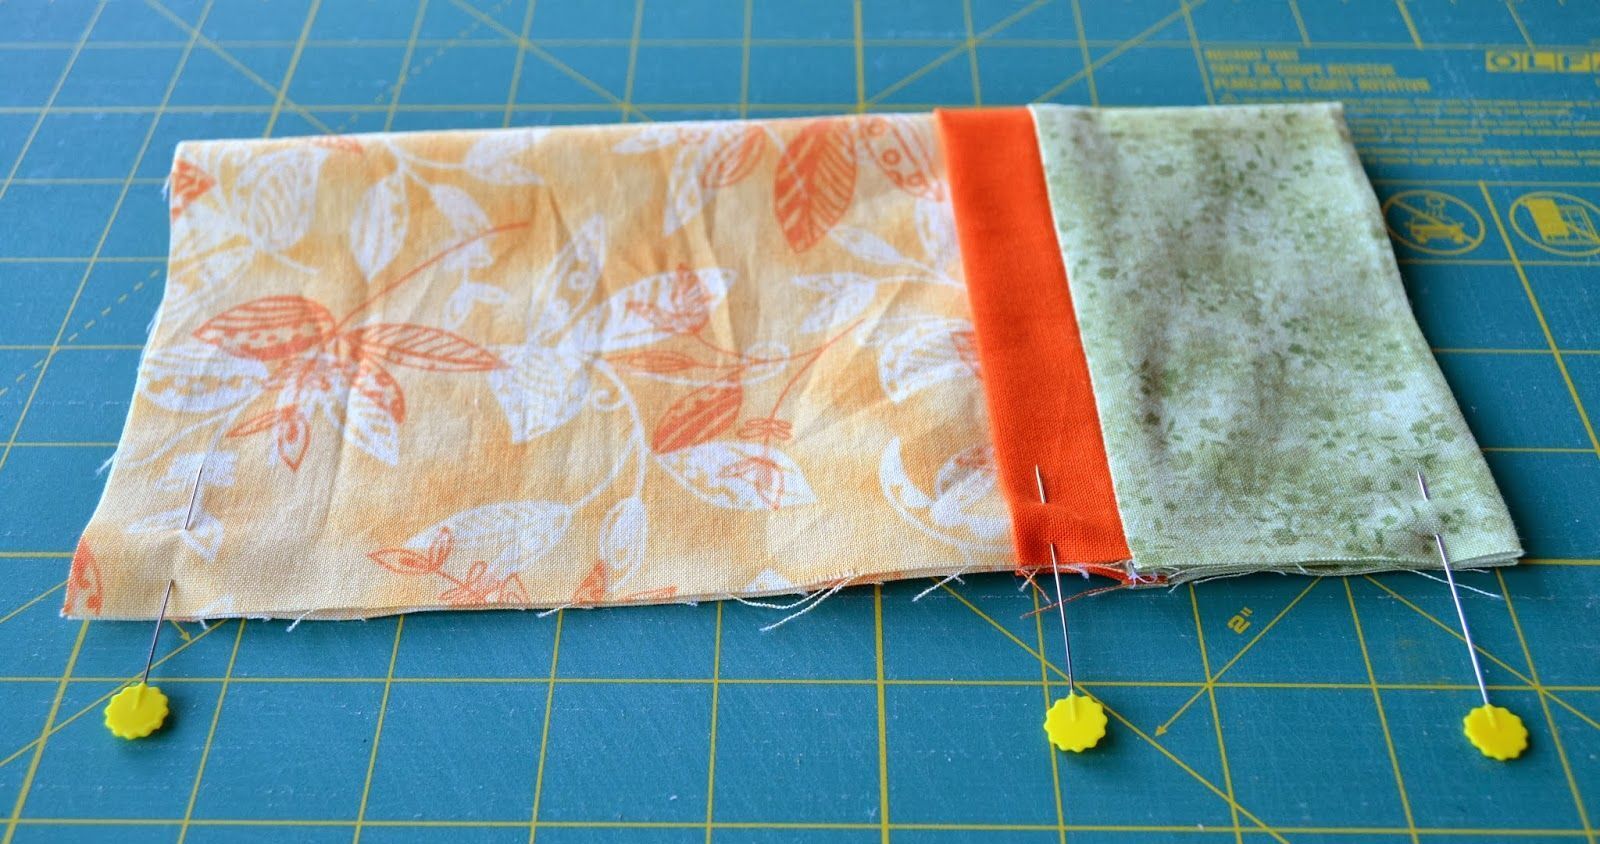
Tracing and Cutting the Pattern
With the projector poised to project your meticulously adjusted sewing patterns, it’s time to delve into the transformative process of tracing and cutting the patterns with precision and finesse. This pivotal phase seamlessly integrates the artistry of sewing with the technological convenience of pattern projection, empowering you to bring your creative visions to life with unparalleled accuracy.
Position your fabric or work surface within the projected image, ensuring that the patterns align seamlessly with the fabric grain and layout. Secure the fabric in place to prevent shifting or distortion during the tracing and cutting process, maintaining pattern integrity and precision.
Utilize fabric-friendly marking tools, such as tailor’s chalk or washable fabric markers, to meticulously trace the projected patterns onto the fabric. Follow the crisp outlines and intricate details with a steady hand, capturing the essence of the projected designs with unwavering accuracy.
As you trace each pattern component, maintain a keen eye for intricate notches, seam allowances, and grainline indicators projected onto the fabric. These vital elements serve as guideposts for assembly and construction, ensuring that your sewing endeavors align with the original design specifications and structural integrity.
Once the patterns are meticulously traced onto the fabric, embark on the transformative process of cutting the fabric along the traced lines with precision and care. Employ sharp fabric scissors or rotary cutters to execute clean and accurate cuts, preserving the integrity of the traced patterns and setting the stage for seamless pattern assembly.
For multi-piece patterns or intricate design elements, label and organize the cut fabric pieces meticulously to correspond with the pattern components, streamlining the subsequent sewing and assembly stages. This meticulous approach fosters a systematic and organized workflow, enhancing efficiency and precision in your sewing projects.
Upon completing the tracing and cutting process, take a moment to admire the harmonious fusion of technology and craftsmanship as the meticulously traced and cut fabric pieces embody the essence of the projected patterns. Embrace the transformative power of pattern projection as it transcends traditional sewing practices, elevating your creative endeavors with unparalleled precision and artistry.
With the patterns seamlessly transferred onto the fabric, you are poised to embark on the next phase of your sewing journey, where the meticulously traced and cut fabric pieces converge to manifest your creative vision with unparalleled accuracy and finesse.
Read more: How To Quilt Using A Sewing Machine
Conclusion
Congratulations on embarking on a captivating journey that intertwines the artistry of sewing with the ingenuity of modern technology. As we conclude this illuminating exploration of using a projector for sewing patterns, it is evident that the seamless integration of projection technology has redefined the landscape of sewing, offering a harmonious blend of precision, creativity, and convenience.
By harnessing the power of a carefully selected projector, you have unlocked a world of possibilities, transcending the limitations of traditional pattern transfer methods and embracing a transformative approach to pattern projection. The meticulous process of setting up the projector, adjusting the projected image, and tracing and cutting the patterns has culminated in a harmonious convergence of artistry and innovation, empowering you to elevate your sewing projects with unparalleled accuracy and finesse.
As you continue to explore the boundless potential of pattern projection in your sewing endeavors, remember that the fusion of technology and craftsmanship is a testament to your unwavering dedication to precision and creativity. Embrace the versatility and adaptability of pattern projection as a catalyst for expanding your creative horizons, enabling you to embark on diverse sewing projects with confidence and artistry.
Furthermore, share your newfound expertise and insights with fellow sewing enthusiasts, fostering a community of innovation and knowledge exchange. Inspire and empower others to embrace pattern projection as a transformative tool in their sewing repertoire, amplifying the collective creativity and artistry within the sewing community.
As you bid adieu to this enriching journey, carry forth the spirit of innovation and creativity that pattern projection has instilled in your sewing practice. Embrace each sewing project as an opportunity to seamlessly merge traditional craftsmanship with modern technology, ushering in a new era of precision, creativity, and limitless possibilities in the art of sewing.
May your future sewing endeavors be imbued with the transformative essence of pattern projection, where each meticulously traced and cut fabric piece embodies the seamless convergence of artistry and innovation, transcending traditional boundaries and inspiring a new wave of creativity and precision in the captivating world of sewing.
Frequently Asked Questions about How To Use Projector For Sewing Patterns
Was this page helpful?
At Storables.com, we guarantee accurate and reliable information. Our content, validated by Expert Board Contributors, is crafted following stringent Editorial Policies. We're committed to providing you with well-researched, expert-backed insights for all your informational needs.


0 thoughts on “How To Use Projector For Sewing Patterns”