Home>Technology>Security & Surveillance>How To Change Battery In Smart Lock
Security & Surveillance
How To Change Battery In Smart Lock
Modified: January 4, 2024
Learn how to change the battery in your smart lock for improved security and surveillance. Follow our step-by-step guide for a quick and easy process. Keep your home safe and secure with these simple tips!
(Many of the links in this article redirect to a specific reviewed product. Your purchase of these products through affiliate links helps to generate commission for Storables.com, at no extra cost. Learn more)
Introduction
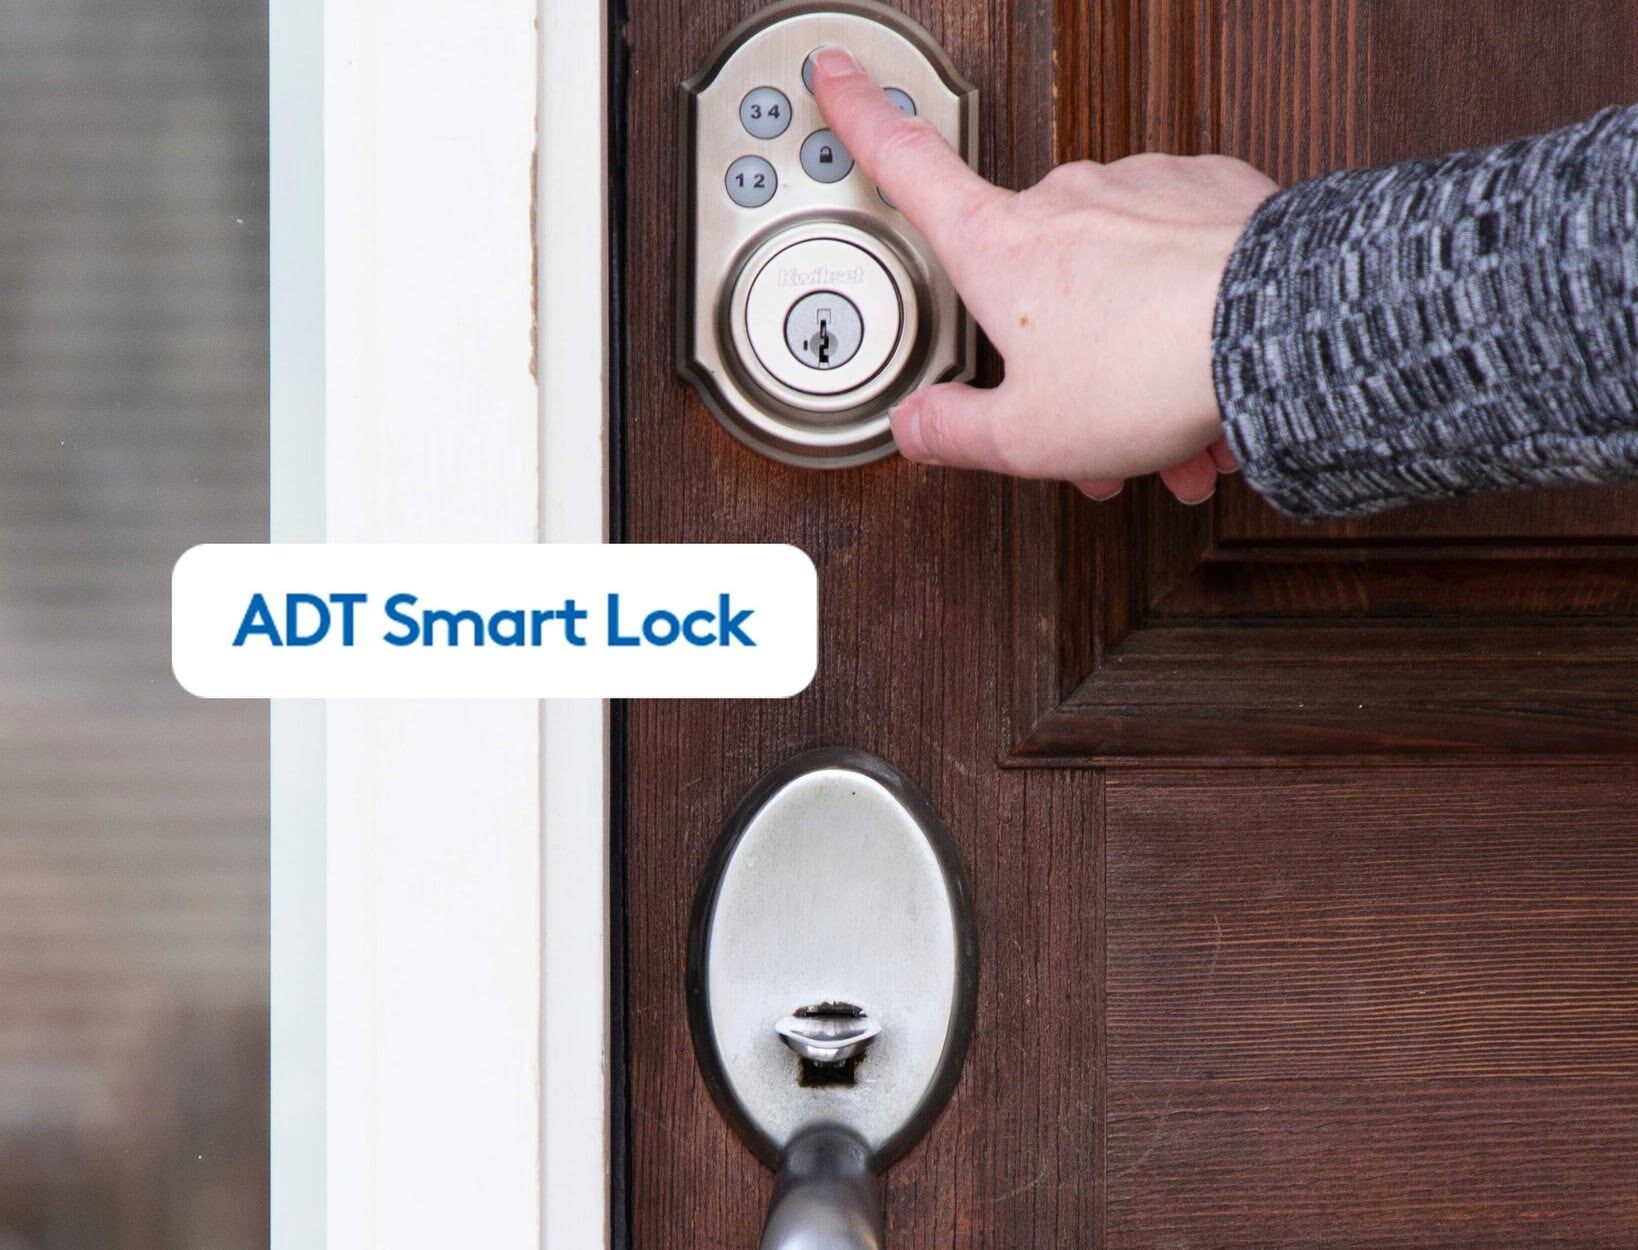
Welcome to the world of smart home security! As technology continues to evolve, so do our homes. Smart locks have become increasingly popular due to their convenience and advanced security features. These innovative devices offer a seamless way to secure your home while providing easy access for authorized individuals.
In this guide, we will walk you through the process of changing the battery in your smart lock. Whether you're a seasoned smart home enthusiast or new to the world of home automation, understanding how to maintain and replace the battery in your smart lock is essential for ensuring uninterrupted functionality.
As with any electronic device, the battery in your smart lock will require periodic replacement to ensure optimal performance. By following the simple steps outlined in this guide, you'll be able to effortlessly replace the battery in your smart lock and continue enjoying the peace of mind that comes with a secure and efficient home security system.
So, let's dive in and learn how to change the battery in your smart lock, ensuring that your home remains safe and accessible at all times.
Key Takeaways:
- Don’t get locked out! Changing the battery in your smart lock is easy. Just follow the steps and keep your home secure and accessible.
- Test, test, test! After replacing the battery, make sure your smart lock works. Lock, unlock, and check the indicators to ensure everything’s in order.
Read more: How To Change Battery On Kwikset Smart Lock
Step 1: Gather Necessary Tools
Before beginning the process of changing the battery in your smart lock, it’s essential to gather the necessary tools to ensure a smooth and efficient battery replacement. Here are the tools you’ll need:
- Replacement Battery: Check the user manual or manufacturer’s instructions to determine the specific type of battery required for your smart lock. This information is crucial for purchasing the correct replacement battery.
- Screwdriver: Depending on the design of your smart lock, you may need a screwdriver to access the battery compartment. Ensure that the screwdriver matches the type of screws used in your smart lock.
- Cleaning Cloth: A soft, lint-free cleaning cloth can be handy for wiping down the battery compartment and removing any dust or debris that may have accumulated.
- Optional: Latex Gloves: While not essential, wearing latex gloves can help prevent fingerprints and smudges on the smart lock components during the battery replacement process.
By having these tools readily available, you’ll be well-prepared to proceed with the battery replacement, minimizing any potential delays or interruptions during the process.
Now that you’ve gathered the necessary tools, you’re ready to move on to the next step and begin the battery replacement process for your smart lock.
Step 2: Locate the Battery Compartment
Before replacing the battery in your smart lock, it’s crucial to locate the battery compartment. The location of the battery compartment may vary depending on the model and design of your smart lock. Here’s how to find the battery compartment:
- Refer to the User Manual: If you’re unsure about the location of the battery compartment, refer to the user manual or installation guide that came with your smart lock. These documents often contain detailed diagrams and instructions for accessing the battery compartment.
- Inspect the Smart Lock: Carefully examine the exterior of the smart lock for any removable covers or panels that may conceal the battery compartment. Some smart locks have a discreetly integrated battery compartment, while others may feature a more prominent and easily accessible compartment.
- Check for Screws or Latches: In some cases, accessing the battery compartment may require removing screws or releasing latches to open a cover. Use the appropriate tools, such as a screwdriver, to safely remove any screws securing the battery compartment cover.
- Ensure Proper Lighting: Adequate lighting can make it easier to locate and access the battery compartment. If needed, use a flashlight or ensure that the area around the smart lock is well-lit to facilitate the process.
Once you’ve successfully located the battery compartment, you’re ready to proceed with the next steps of removing the old battery and inserting the new one. Properly identifying the battery compartment is a crucial initial step in the battery replacement process, setting the stage for a seamless transition to the next phase.
With the battery compartment located, you’re now prepared to move on to the subsequent steps and continue the battery replacement process for your smart lock.
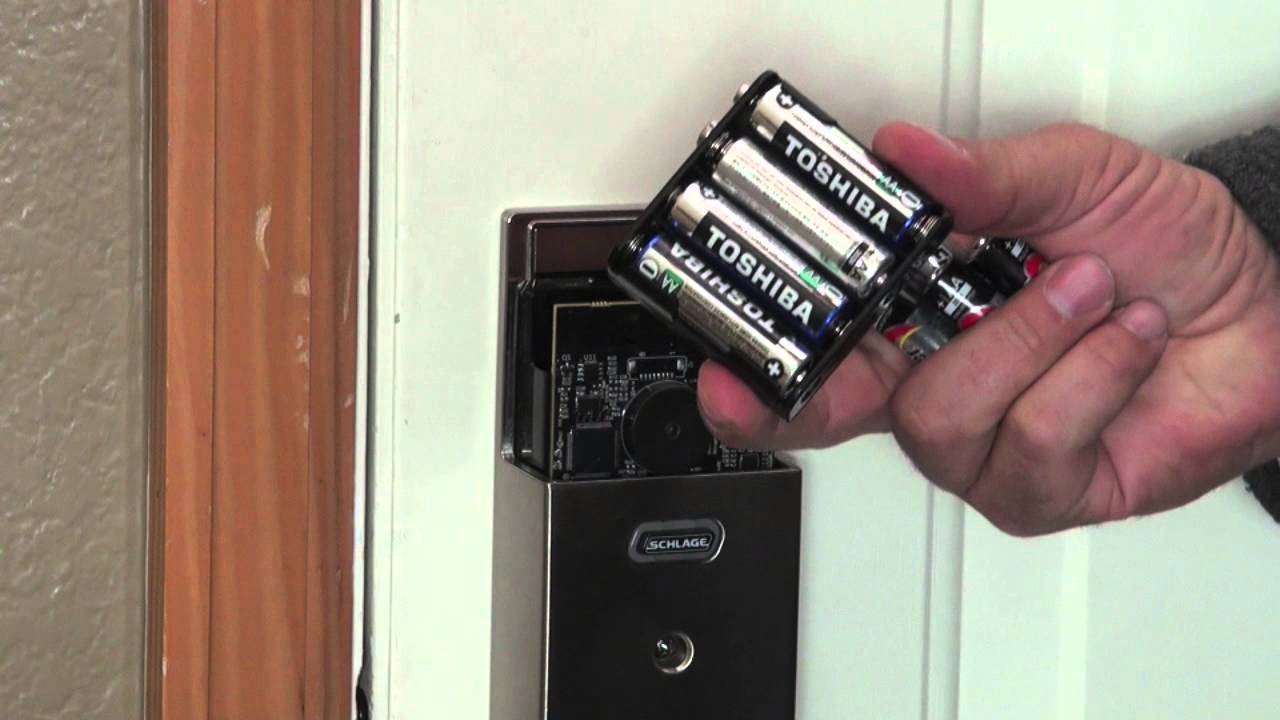
Step 3: Remove Old Battery
Now that you’ve located the battery compartment, the next step is to remove the old battery from your smart lock. Follow these simple guidelines to safely and effectively remove the old battery:
- Power Off the Smart Lock: Before handling the battery, it’s important to ensure that the smart lock is powered off. If your smart lock has a dedicated power button or a way to deactivate it through the associated app, use the appropriate method to power it off.
- Open the Battery Compartment: Using the necessary tools, such as a screwdriver or any required latches, carefully open the battery compartment. Take care to avoid applying excessive force or causing damage to the smart lock during this process.
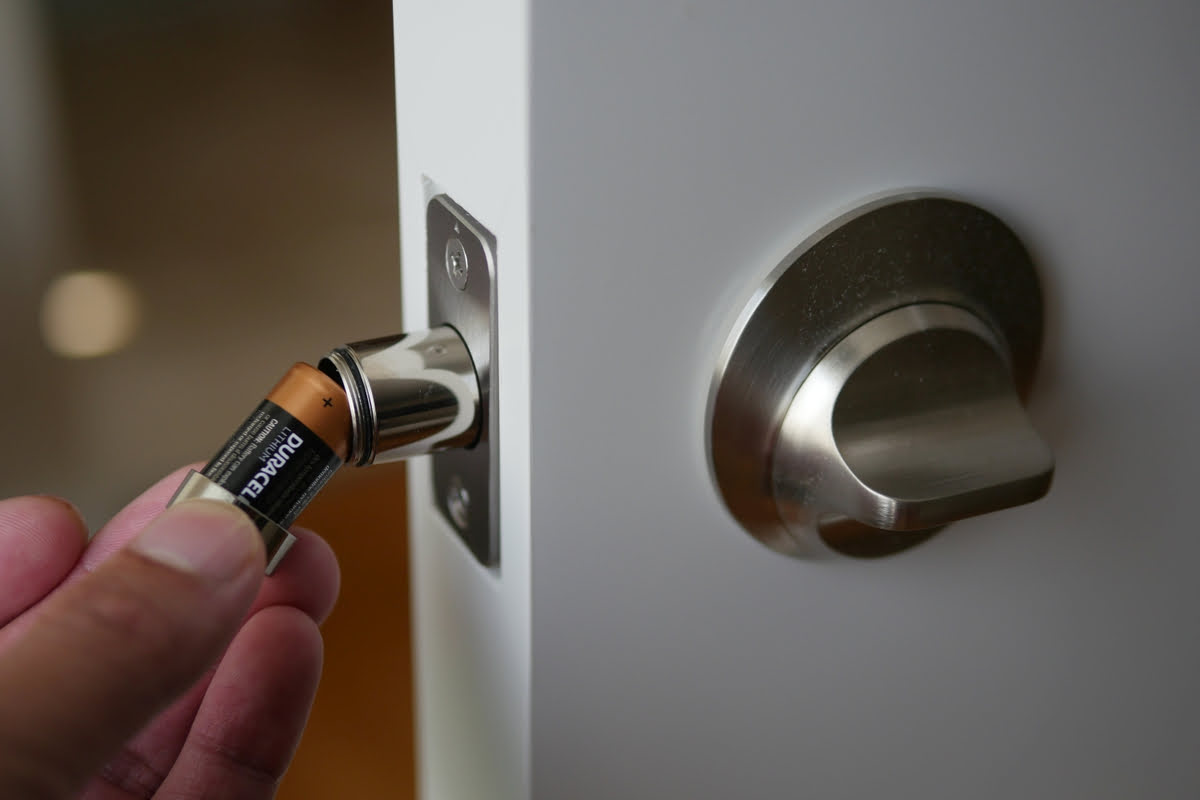
- Identify Battery Orientation: Once the battery compartment is open, take note of the orientation of the old battery. Pay attention to the positive (+) and negative (-) indicators or any specific markings that indicate the correct positioning of the battery.
- Remove the Old Battery: Gently remove the old battery from the compartment, ensuring that you maintain awareness of its orientation. If the battery is secured in place with a holder or connector, carefully detach it according to the manufacturer’s instructions.
- Handle the Battery with Care: When handling the old battery, be mindful of any signs of corrosion, leakage, or damage. If the battery shows any of these signs, use caution and follow appropriate disposal procedures to ensure safety.
- Clean the Battery Compartment: Take a moment to inspect the battery compartment for any debris, dust, or residue. Use a soft, dry cloth to gently clean the compartment, ensuring that it is free from any contaminants that may affect the performance of the new battery.
By following these steps, you’ll be able to safely remove the old battery from your smart lock, setting the stage for the subsequent installation of the new battery. With the old battery removed and the compartment prepared, you’re ready to proceed to the next step of inserting the new battery into your smart lock.
When changing the battery in a smart lock, make sure to use the correct type of battery recommended by the manufacturer. Follow the instructions in the user manual to safely replace the old battery with a new one, and test the lock to ensure it is functioning properly.
Step 4: Insert New Battery
With the old battery successfully removed, it’s time to proceed with inserting the new battery into your smart lock. Follow these steps to ensure a smooth and effective installation of the new battery:
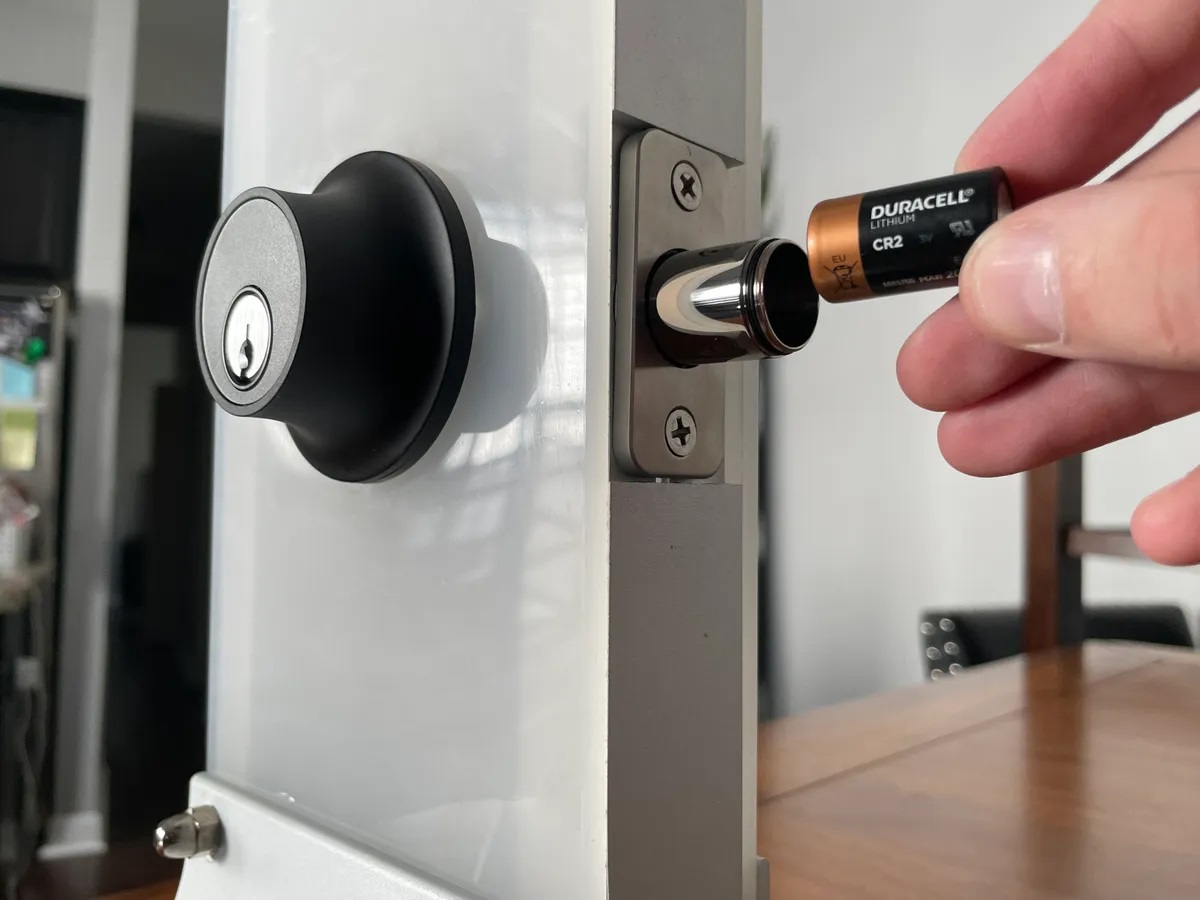
- Verify Battery Compatibility: Before inserting the new battery, double-check that it is the correct type and model recommended by the smart lock’s manufacturer. Ensure that the new battery matches the required specifications to guarantee optimal performance.
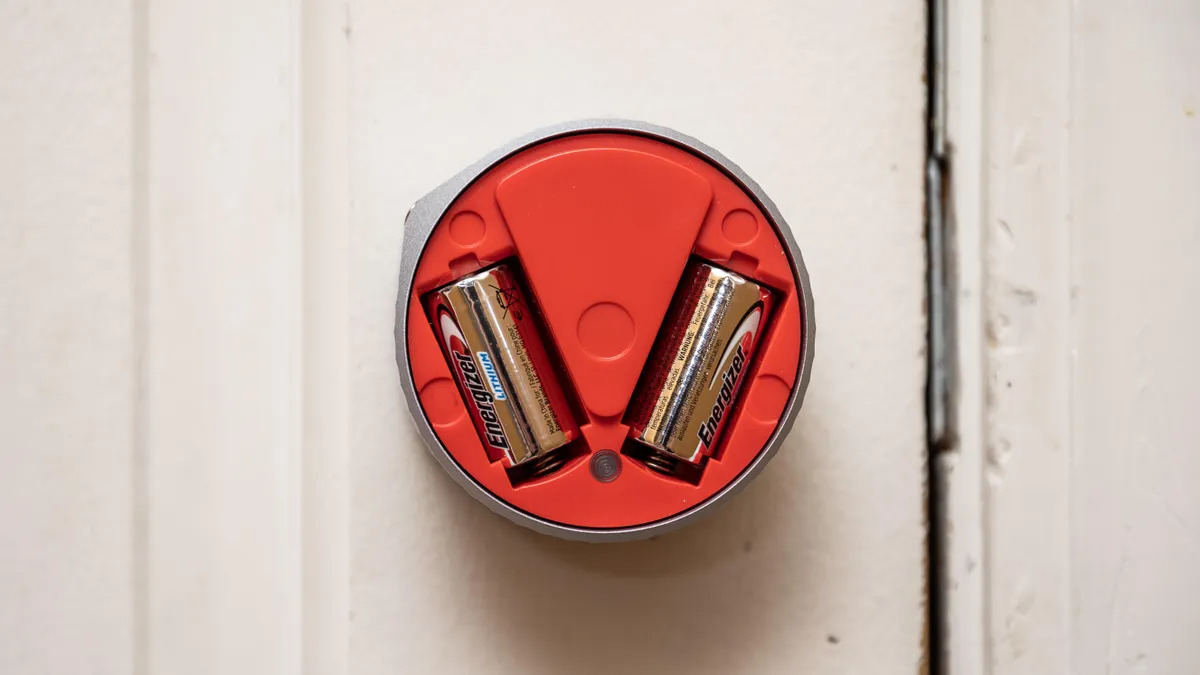
- Position the New Battery: Orient the new battery correctly based on the markings or indicators within the battery compartment. Align the positive (+) and negative (-) terminals of the battery with the corresponding contacts or connectors in the compartment.
- Secure the Battery: If the new battery features a holder or securing mechanism, carefully place it in position according to the manufacturer’s instructions. Ensure that the battery is securely held in place to prevent dislodgment or connectivity issues.
- Close the Battery Compartment: Once the new battery is securely inserted, carefully close the battery compartment cover. Ensure that the cover is properly aligned and securely fastened to maintain the integrity of the battery compartment.
- Power On the Smart Lock: If your smart lock was powered off during the battery replacement process, follow the appropriate steps to power it back on. This may involve pressing a power button, entering a code, or using the associated app to reactivate the smart lock.
- Test Smart Lock Functionality: After inserting the new battery and powering on the smart lock, test its functionality to ensure that the battery replacement was successful. Verify that the smart lock responds to commands, such as locking and unlocking, and that any associated indicators or notifications reflect the renewed power source.
By following these steps, you’ll be able to effectively insert the new battery into your smart lock, restoring its power source and ensuring continued reliable performance. With the new battery in place and the smart lock functioning as intended, you’ve successfully completed the battery replacement process.
Read more: How To Change Batteries In Yale Smart Lock
Step 5: Test the Smart Lock
After replacing the battery in your smart lock, it’s crucial to thoroughly test its functionality to confirm that the battery replacement was successful. Follow these steps to ensure that your smart lock is operating as intended:
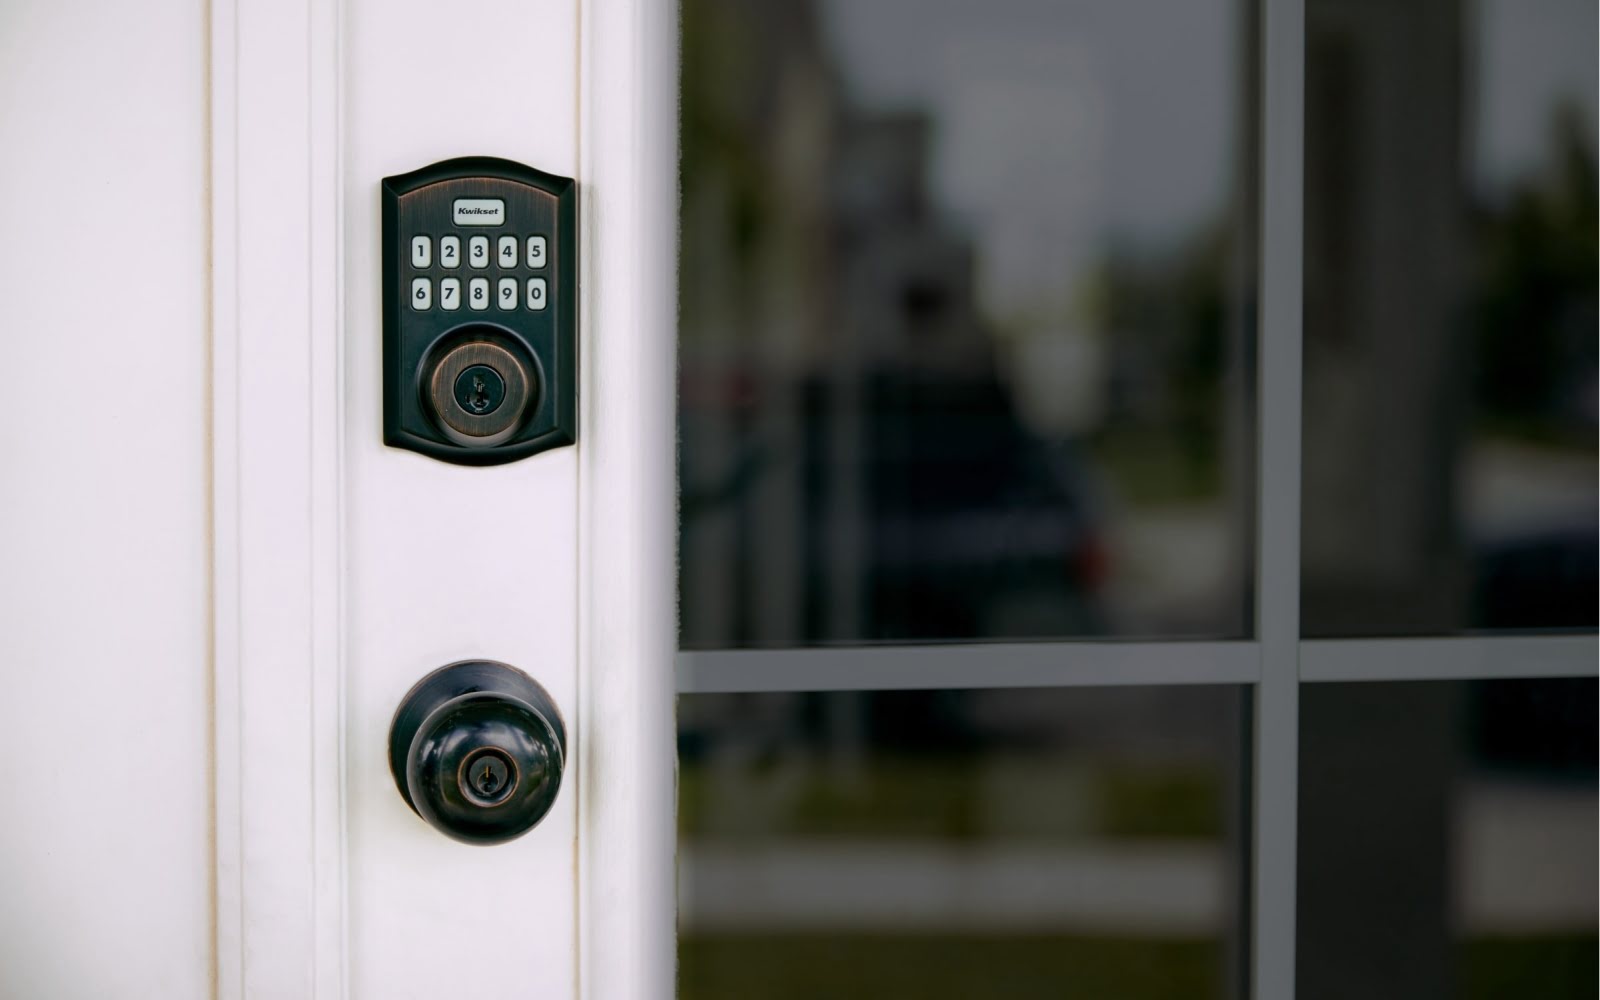
- Verify Locking and Unlocking: Test the smart lock by locking and unlocking it using the designated methods, such as a keypad, key fob, or associated mobile app. Verify that the lock responds promptly and accurately to your commands.
- Check Indicator Lights or Display: If your smart lock features indicator lights or a digital display, observe any relevant notifications or status indicators to confirm that the battery replacement has restored proper functionality. Ensure that the display is clear and that any status lights accurately reflect the lock’s operational status.
- Test Additional Features: If your smart lock offers additional features, such as remote access, voice control, or integration with a smart home system, test these functionalities to ensure that they are functioning correctly after the battery replacement.
- Monitor Battery Status: If your smart lock provides a battery status indicator or reports battery levels through a mobile app, take note of the updated battery status to confirm that the new battery is recognized and being accurately monitored by the smart lock’s system.
- Perform Multiple Test Cycles: To ensure the reliability of the new battery, perform multiple test cycles of locking and unlocking the smart lock over a brief period. This comprehensive testing approach helps validate the consistent performance of the smart lock with the new battery in place.
- Address Any Issues: If you encounter any unexpected issues or irregularities during the testing process, refer to the user manual or contact the smart lock’s manufacturer for guidance on troubleshooting and resolving potential concerns.
By diligently testing the smart lock after the battery replacement, you can confirm that the new battery is functioning optimally and that the smart lock is ready to continue providing reliable security and access control for your home. With the successful completion of the testing process, you can rest assured that your smart lock is in proper working order.
Conclusion
Congratulations! You’ve successfully navigated the process of changing the battery in your smart lock, ensuring that your home security system remains robust and dependable. By following the steps outlined in this guide, you’ve taken proactive measures to maintain the functionality of your smart lock and uphold the security of your living space.
Understanding the importance of regular battery maintenance and replacement is key to sustaining the effectiveness of your smart lock. By staying proactive and attentive to the battery needs of your smart lock, you can mitigate the risk of unexpected power failures and ensure seamless access control for your home.
Remember, the reliability of your smart lock directly correlates with the condition of its power source. By promptly replacing the battery when needed and conducting routine testing, you can uphold the performance and security features of your smart lock, providing peace of mind for you and your household.
As you continue to explore the realm of smart home technology, maintaining and replacing the battery in your smart lock serves as a foundational practice in preserving the efficiency and security of your home automation ecosystem.
Thank you for joining us on this battery replacement journey for your smart lock. We hope this guide has empowered you with the knowledge and confidence to effectively manage the maintenance of your smart lock’s power source, ensuring uninterrupted protection and accessibility for your home.
Frequently Asked Questions about How To Change Battery In Smart Lock
Was this page helpful?
At Storables.com, we guarantee accurate and reliable information. Our content, validated by Expert Board Contributors, is crafted following stringent Editorial Policies. We're committed to providing you with well-researched, expert-backed insights for all your informational needs.


0 thoughts on “How To Change Battery In Smart Lock”