Home>Technology>Security & Surveillance>How To Change Batteries In Yale Smart Lock
Security & Surveillance
How To Change Batteries In Yale Smart Lock
Modified: January 4, 2024
Learn how to easily change the batteries in your Yale smart lock for enhanced security and surveillance. Follow our step-by-step guide to keep your home safe and secure.
(Many of the links in this article redirect to a specific reviewed product. Your purchase of these products through affiliate links helps to generate commission for Storables.com, at no extra cost. Learn more)
Introduction
Welcome to the world of smart home security! If you're the proud owner of a Yale smart lock, you've already taken a significant step toward enhancing the safety and convenience of your home. However, like all electronic devices, your Yale smart lock will eventually need new batteries to continue operating at its best. Fear not, for I'm here to guide you through the simple and essential process of changing the batteries in your Yale smart lock.
In this comprehensive guide, I'll walk you through the step-by-step process, ensuring that you have the confidence and knowledge to keep your smart lock in optimal working condition. With just a few minutes of your time and minimal tools, you'll be able to replace the batteries and restore your Yale smart lock to peak performance. Let's dive in and ensure that your home remains secure and accessible with a seamlessly functioning smart lock system.
Key Takeaways:
- Keep your Yale smart lock in top condition by replacing batteries with the right tools and new batteries. Test the lock to ensure smooth operation and maintain home security.
- Regular maintenance, like battery replacement, ensures your Yale smart lock remains reliable, providing peace of mind and safeguarding your home.
Read more: How To Change Code On Yale Smart Lock
Step 1: Gather the Necessary Tools
Before embarking on the battery replacement process, it's essential to gather the tools and materials required for the task. By ensuring that you have everything at your disposal, you can streamline the process and avoid unnecessary interruptions. Here are the essential tools and materials you'll need:
- New Batteries: Depending on the specific model of your Yale smart lock, you may need either AA or AAA batteries. Refer to your lock's user manual or the existing batteries for the correct type.
- Small Phillips-Head Screwdriver: Most Yale smart locks feature a battery compartment secured by small screws. A Phillips-head screwdriver is typically the appropriate tool for removing these screws and accessing the battery compartment.
- Clean Cloth: It's always a good idea to have a clean, dry cloth on hand to wipe down the battery compartment and surrounding areas. This can help ensure a clean and secure fit for the new batteries.
By having these tools and materials ready, you'll be well-prepared to seamlessly transition to the next steps of the battery replacement process. With everything in place, you can proceed confidently and efficiently, knowing that you have all the necessary components to complete the task successfully.
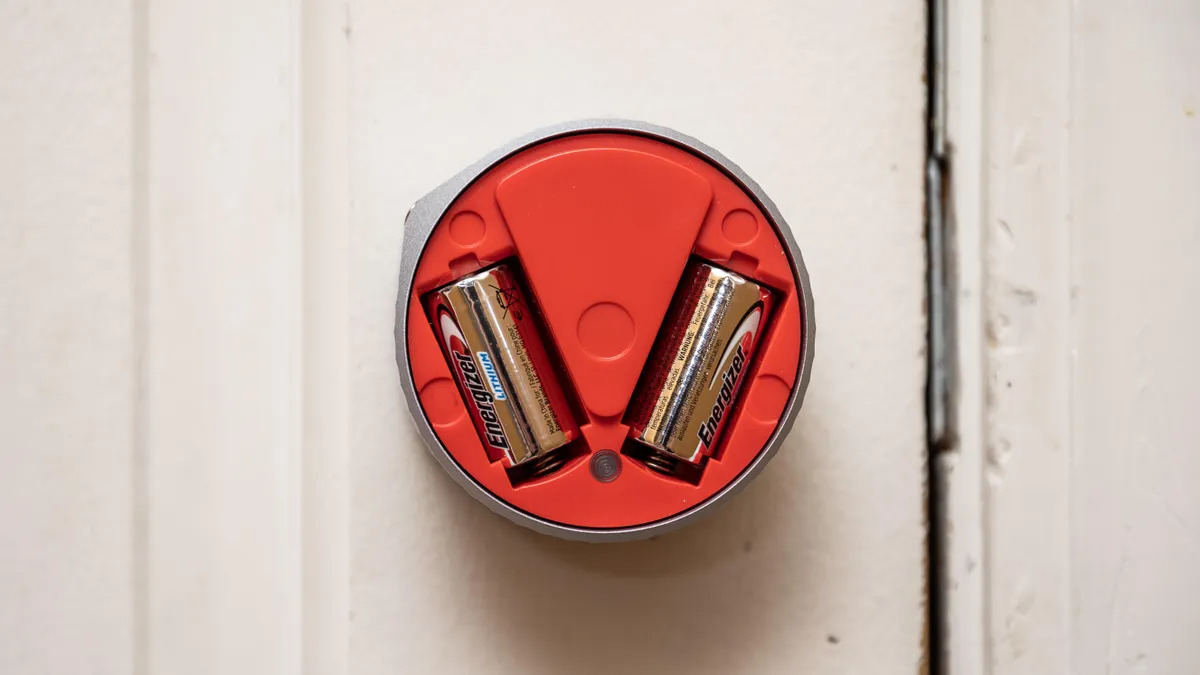
Step 2: Remove the Battery Cover
With the necessary tools at your disposal, it’s time to access the battery compartment of your Yale smart lock. The battery cover is designed to secure the batteries in place while providing easy access for replacement. Follow these simple steps to remove the battery cover:
- Locate the Battery Compartment: Depending on the model of your Yale smart lock, the battery compartment may be positioned on the interior or exterior side of the door. Refer to your lock’s user manual for specific guidance on locating the battery compartment.
- Use the Phillips-Head Screwdriver: If the battery compartment is secured with screws, use the small Phillips-head screwdriver to carefully loosen and remove the screws. Place the screws in a secure location to prevent misplacement.
- Remove the Battery Cover: Once the screws are removed, gently slide or lift the battery cover to reveal the existing batteries. Take care not to force the cover, as it should come off easily once the securing screws are removed.
- Set Aside the Battery Cover: Place the battery cover in a safe location, ensuring that it is clear of any potential obstructions or hazards. This will prevent accidental damage to the cover and allow for easy reassembly after replacing the batteries.
By following these steps, you’ll successfully remove the battery cover and gain access to the existing batteries. This sets the stage for the next crucial phase: replacing the batteries with fresh ones to ensure the continued operation of your Yale smart lock.
To change the batteries in a Yale Smart Lock, locate the battery cover on the lock’s interior. Use a screwdriver to remove the cover, then replace the old batteries with new ones, making sure to align them correctly. Finally, reattach the battery cover securely.
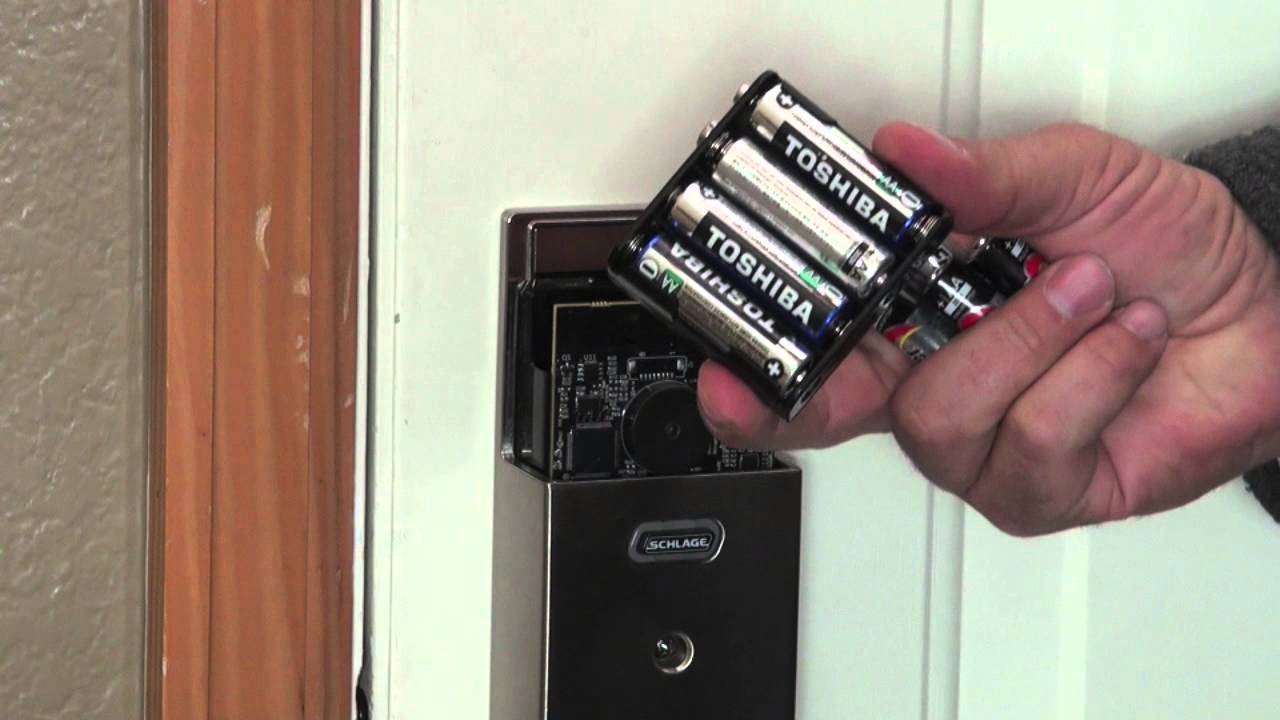
Step 3: Replace the Batteries
With the battery cover removed and the existing batteries exposed, it’s time to proceed with the replacement process. Follow these straightforward steps to seamlessly replace the batteries in your Yale smart lock:
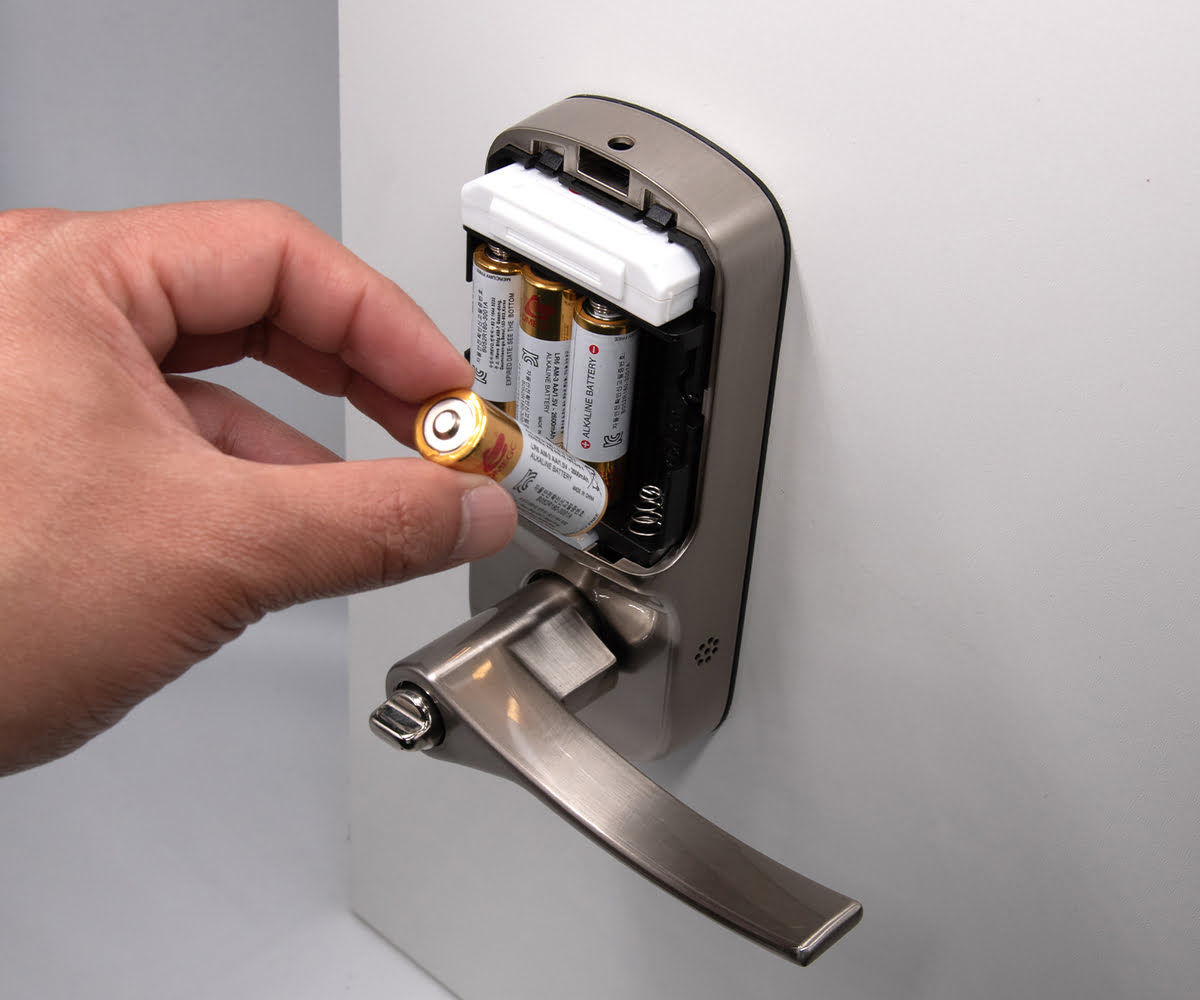
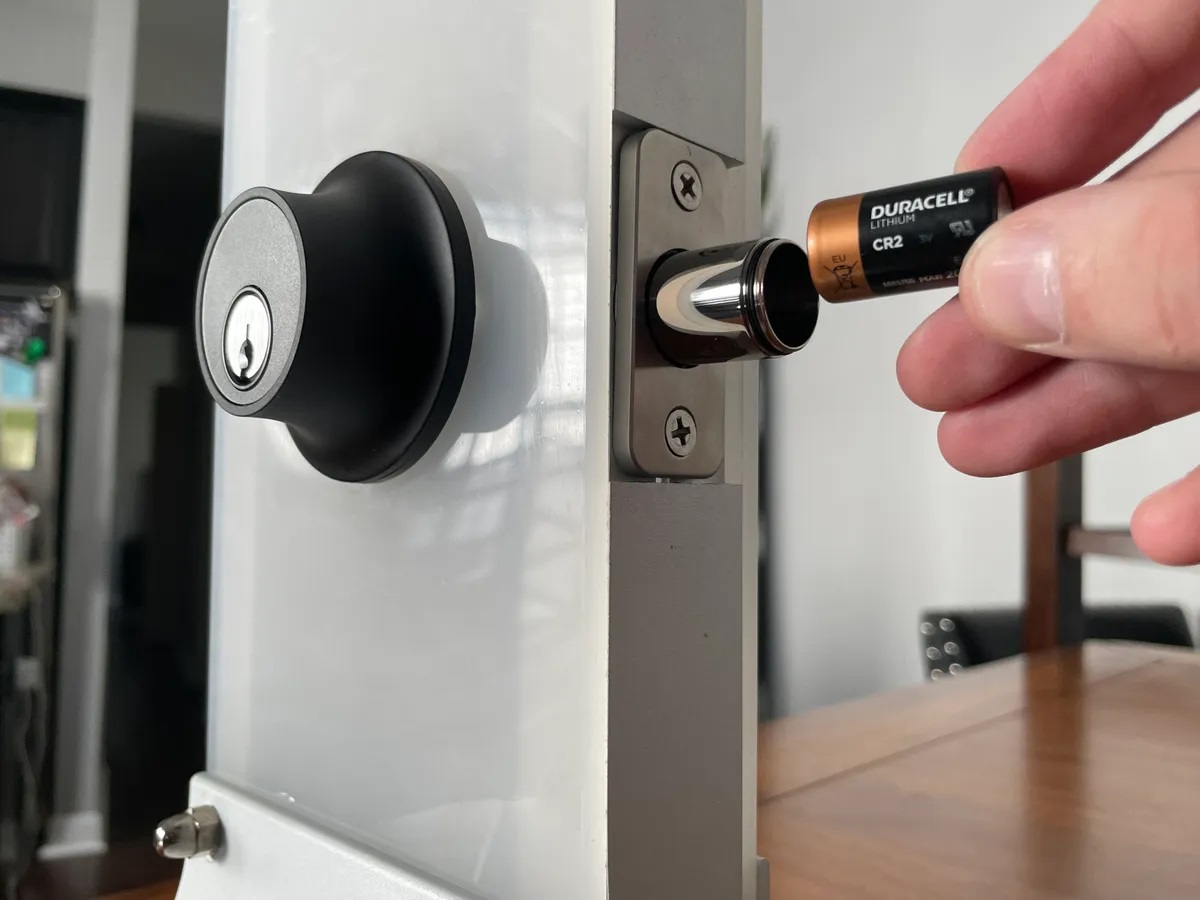
- Remove the Old Batteries: Carefully extract the existing batteries from the compartment, taking note of their orientation. It’s essential to handle the old batteries properly, ensuring that they are disposed of or recycled in accordance with local regulations for battery disposal.
- Clean the Battery Compartment: Before inserting the new batteries, take a moment to inspect the battery compartment for any debris or corrosion. Use a clean, dry cloth to gently wipe the compartment, removing any dust or residue that may have accumulated.
- Insert the New Batteries: Align the new batteries according to the correct polarity, typically indicated by markings within the battery compartment. Ensure that the positive and negative ends of the batteries correspond to the markings or indicators, facilitating a secure and proper connection.
- Replace the Battery Cover: Once the new batteries are in place, carefully position the battery cover back onto the compartment. Ensure that it aligns correctly and smoothly slides or snaps into position, ready for re-securing with the screws.
By diligently following these steps, you’ll successfully replace the old batteries with fresh ones, setting the stage for the final phase: testing the lock to verify its renewed functionality. With the new batteries installed, your Yale smart lock will be poised to continue safeguarding your home with reliable and uninterrupted performance.
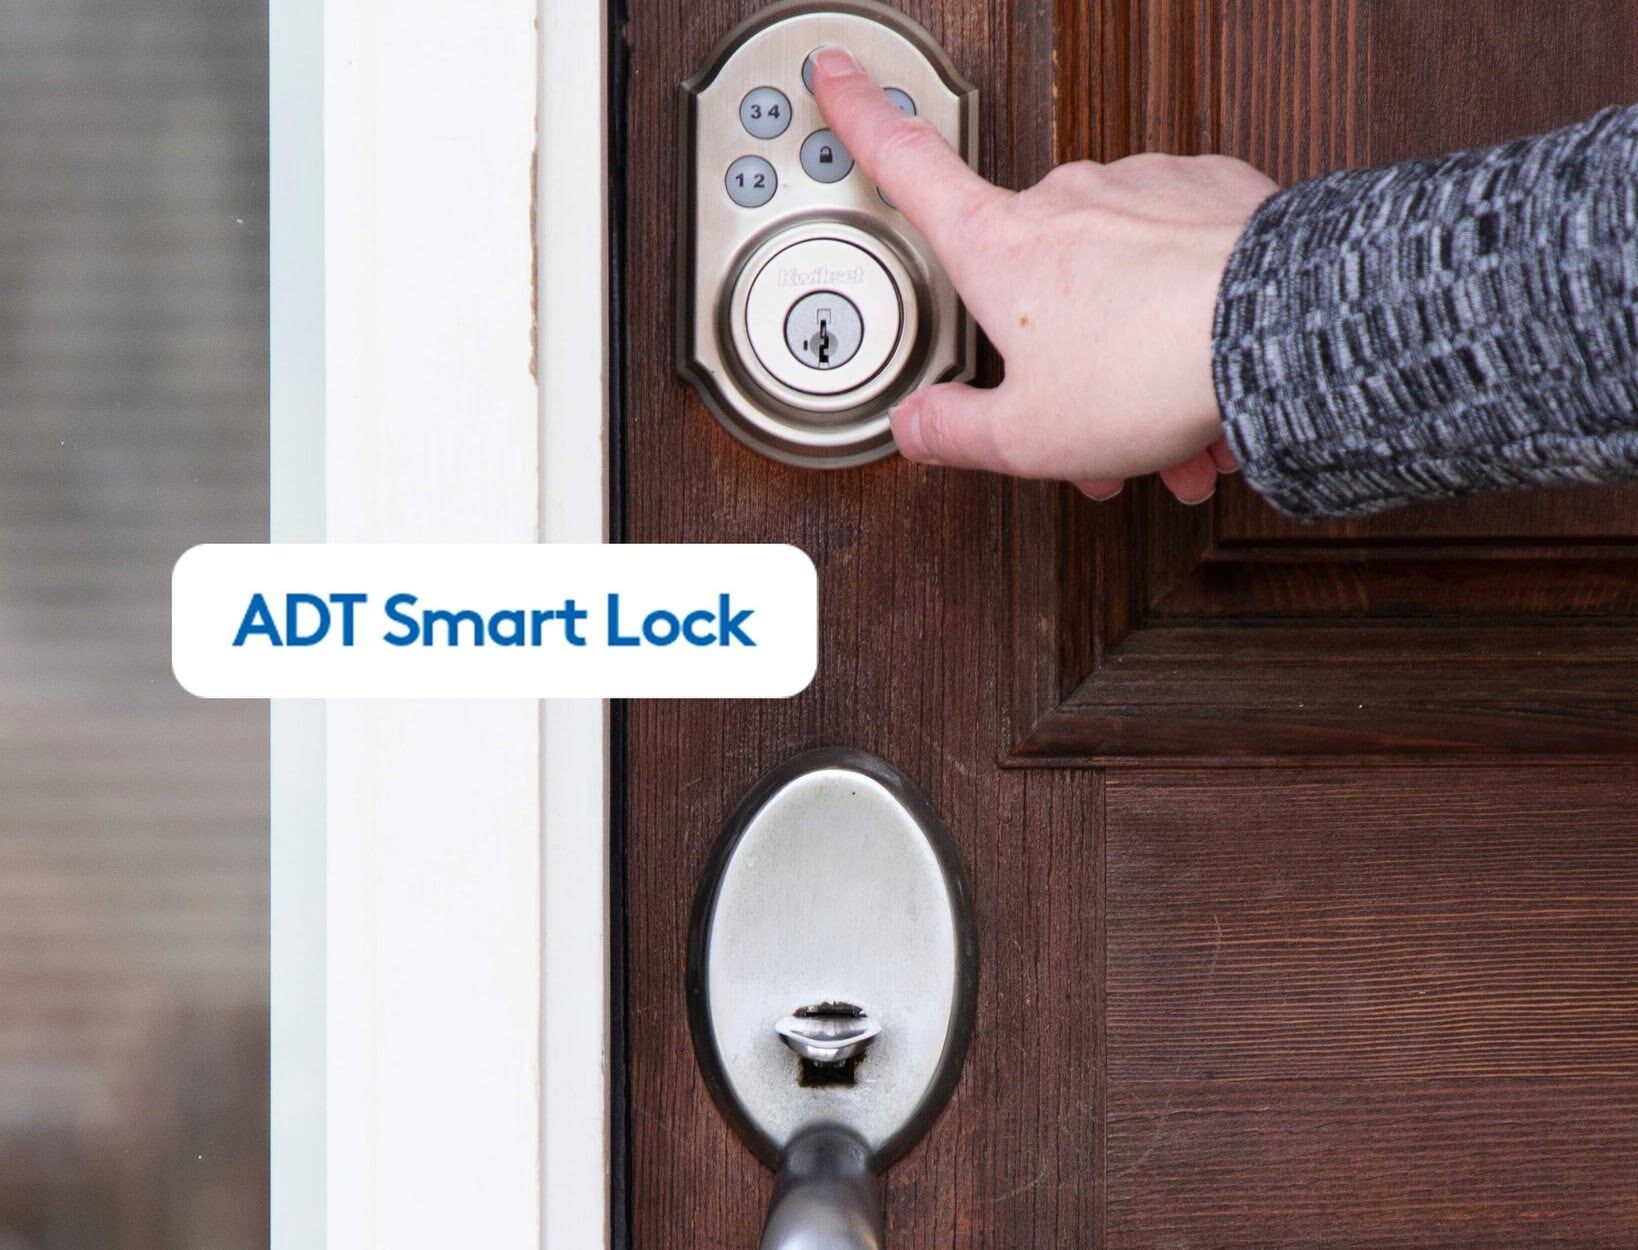
Step 4: Test the Lock
After replacing the batteries in your Yale smart lock, it’s crucial to perform a quick test to ensure that the lock operates smoothly and efficiently. Follow these simple steps to verify the functionality of your smart lock:
- Close the Door: Ensure that the door secured by the Yale smart lock is closed and latched properly. This will replicate real-world conditions and allow for an accurate assessment of the lock’s performance.
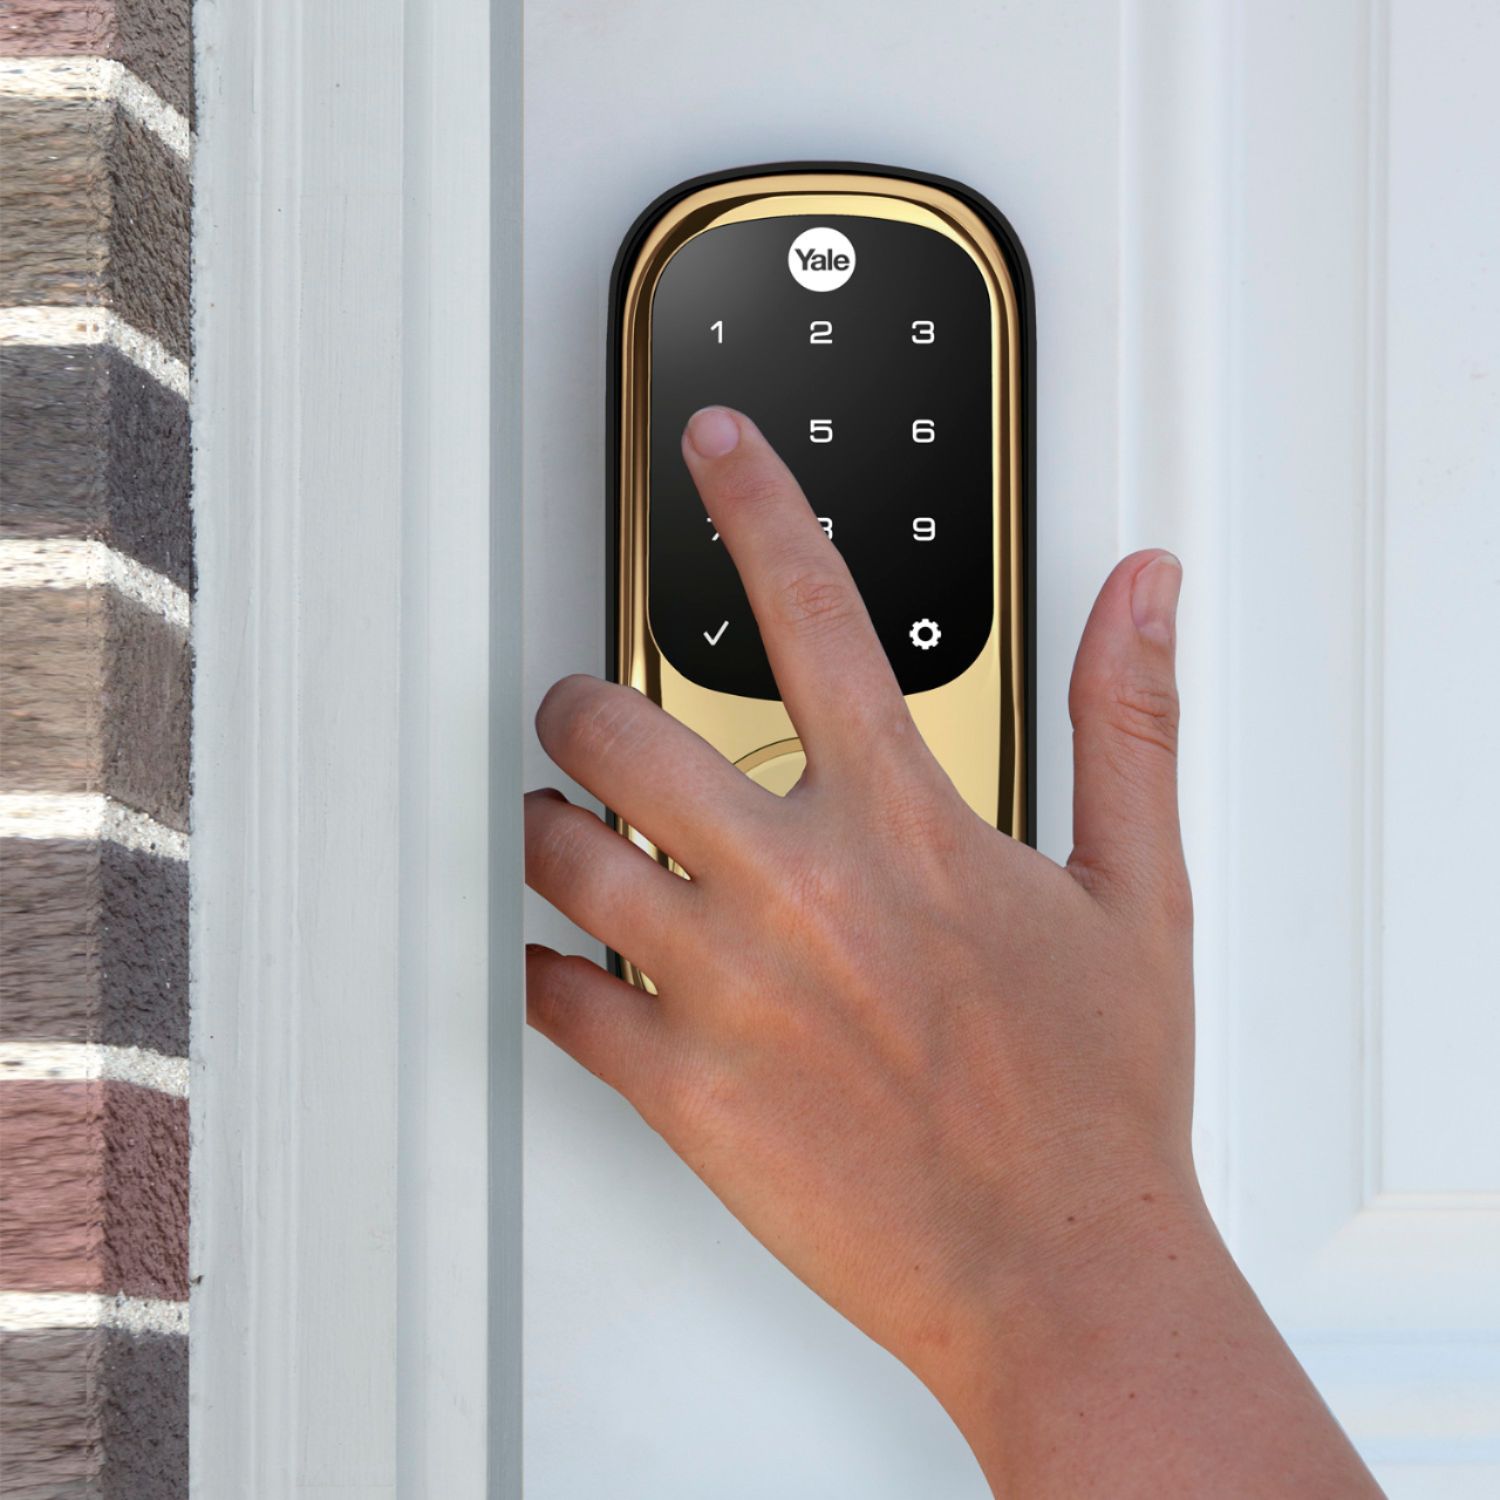
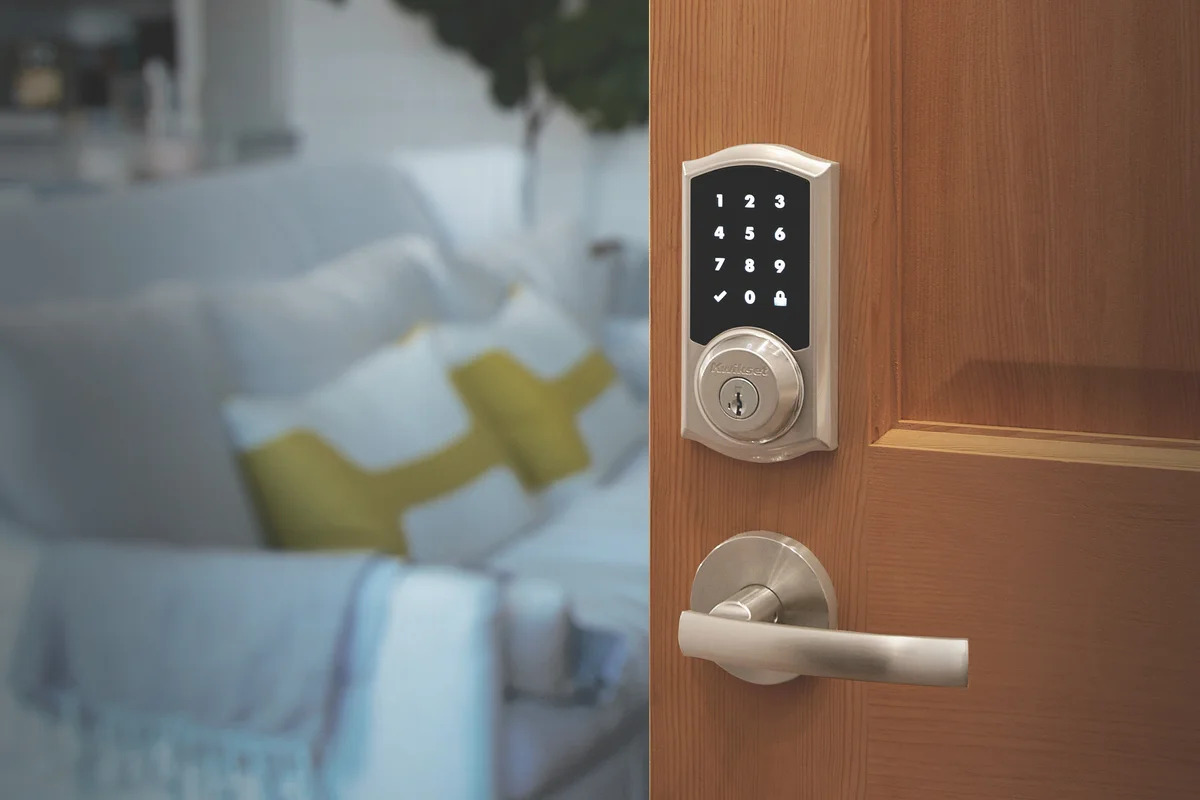
- Engage the Lock: Activate the locking mechanism using the lock’s standard operation, whether it’s a keypad entry, key override, or another method specific to your Yale smart lock model. Verify that the lock responds promptly and effectively to the input.
- Test Remote Functions (if applicable): If your Yale smart lock features remote access or integration with a smart home system, test these functions to ensure that they remain operational following the battery replacement. This may involve using a smartphone app or other remote control methods.
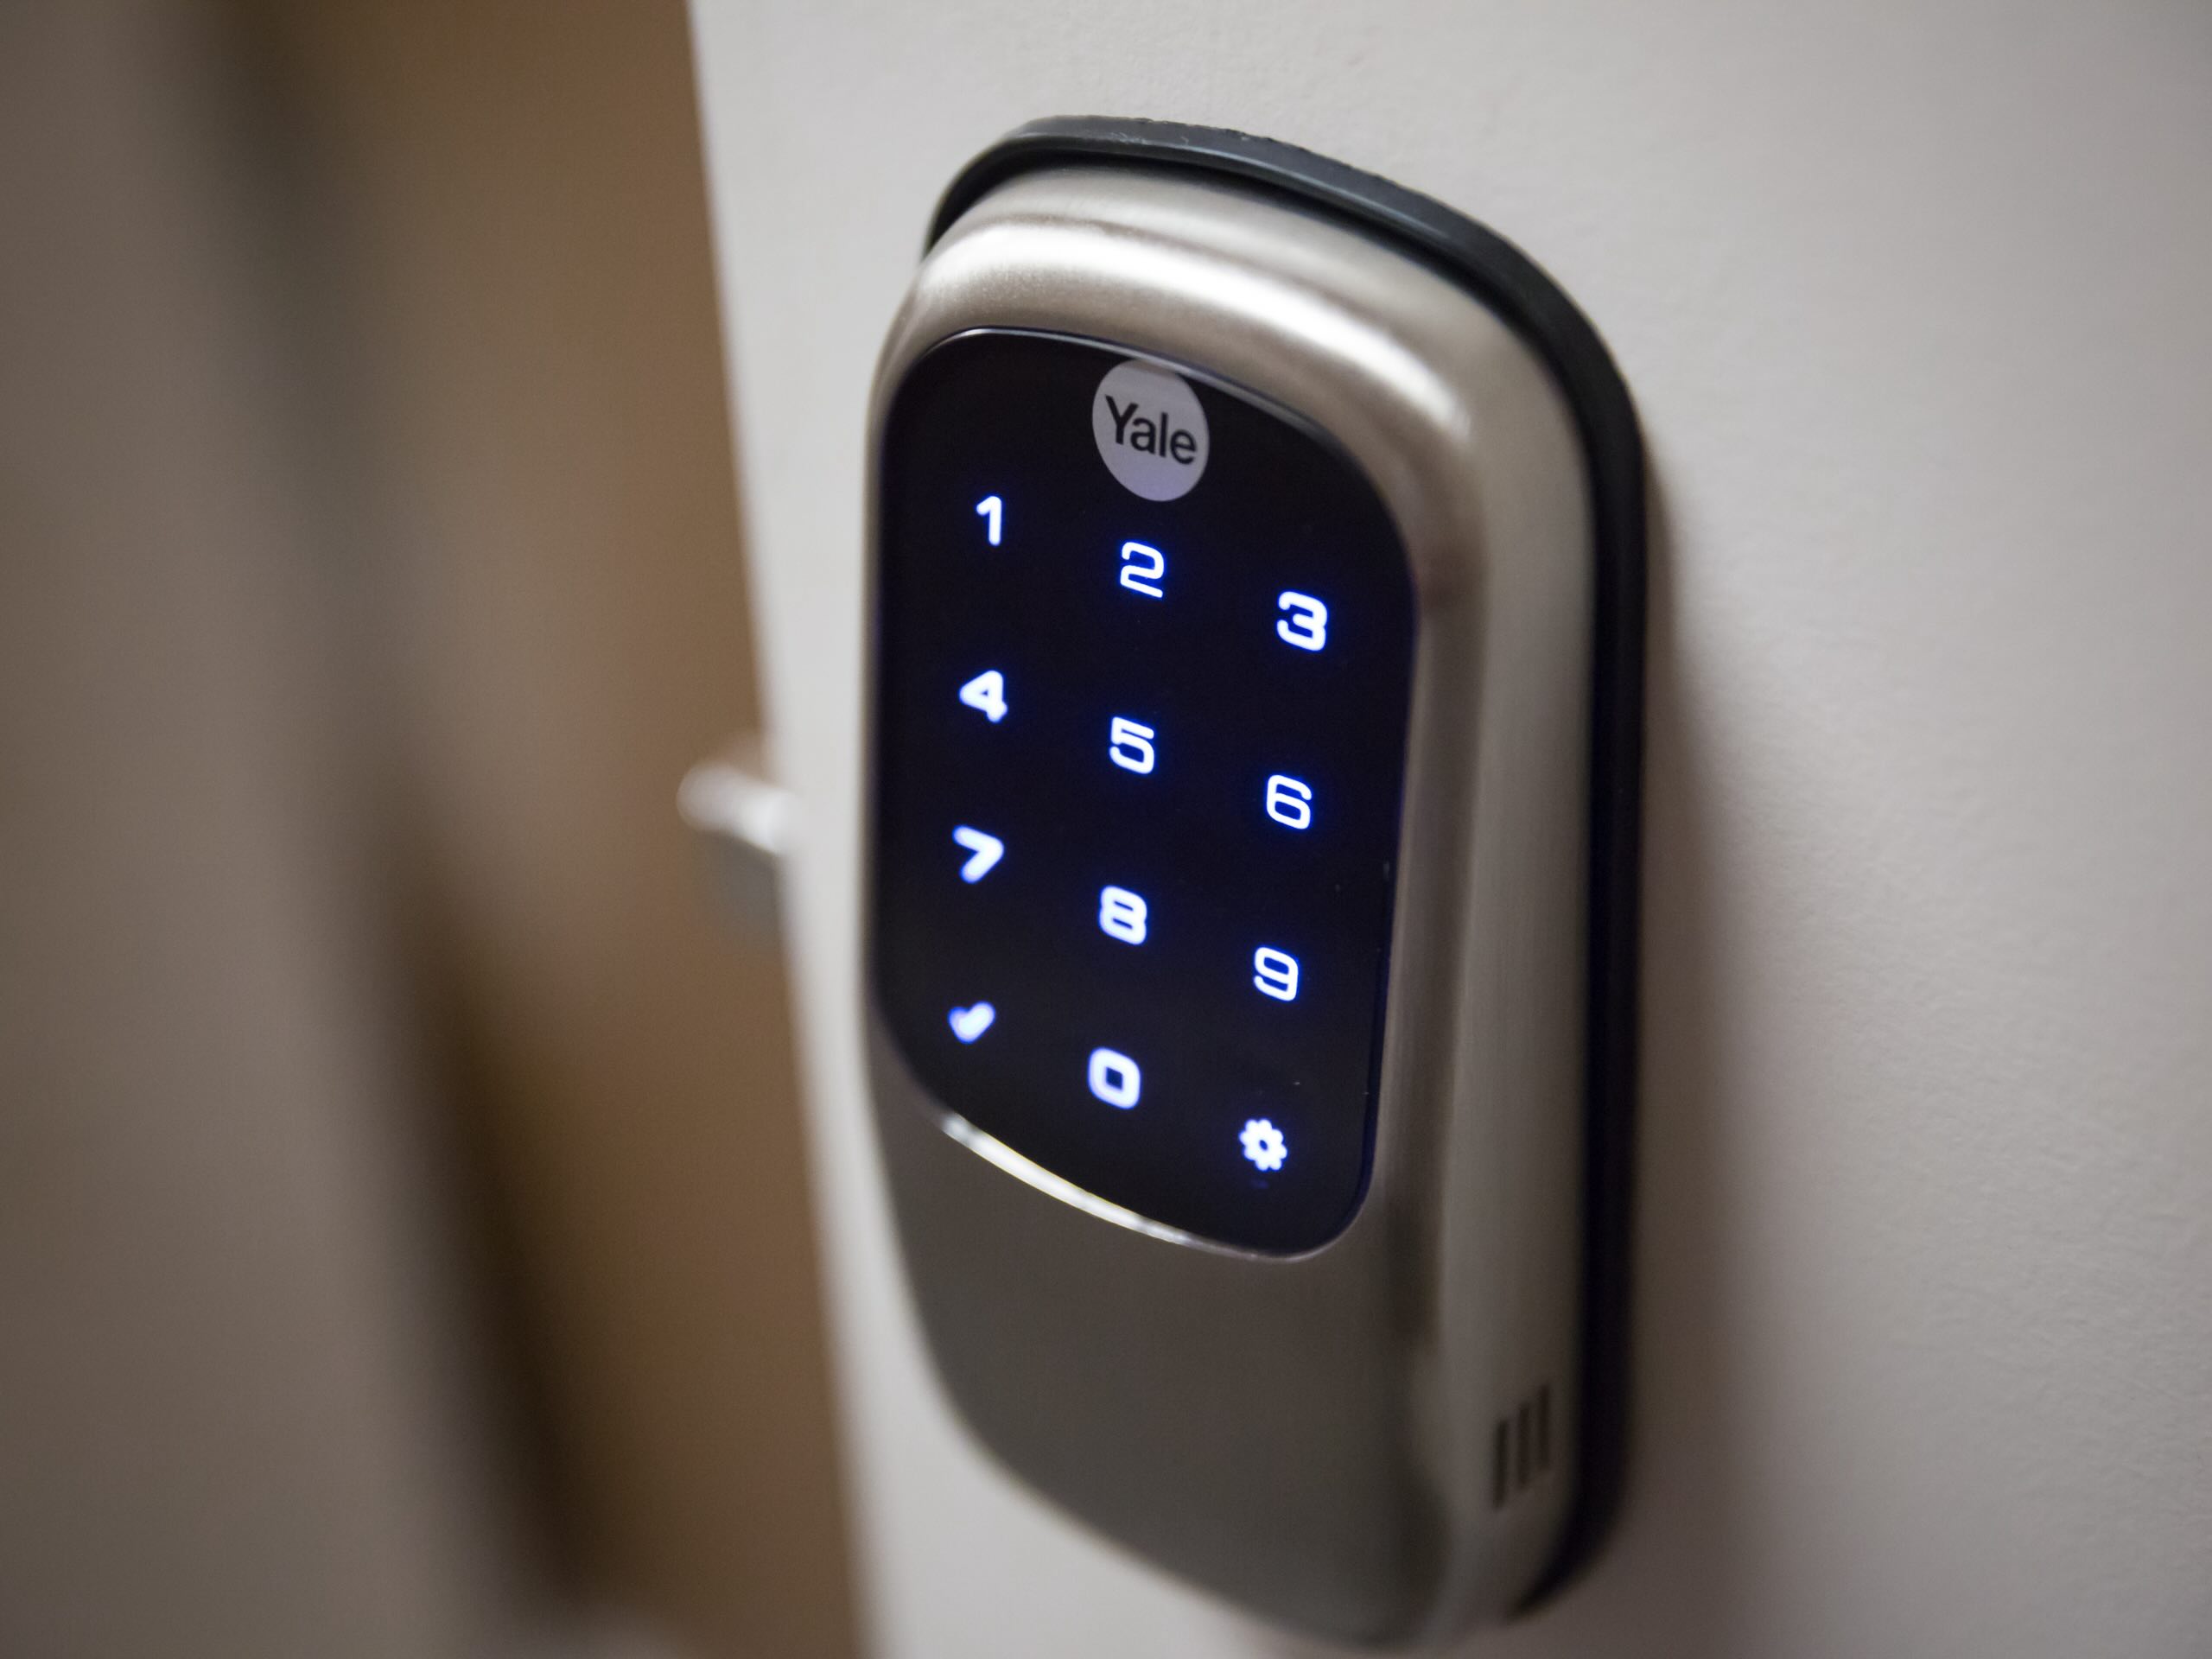
- Check Indicator Lights (if applicable): Some Yale smart locks feature indicator lights or audible signals to convey their status. Take note of any visual or auditory cues provided by the lock, confirming that it is functioning as expected with the new batteries.
- Verify Smooth Operation: Test the physical operation of the lock, including the smooth engagement and disengagement of the locking mechanism. Listen for any unusual sounds or observe any irregularities that may indicate a need for further inspection.
By diligently testing the lock after replacing the batteries, you can rest assured that your Yale smart lock is fully operational and ready to continue its essential role in safeguarding your home. This final step provides peace of mind and confirms that your smart lock remains a reliable and integral component of your home security system.
Read more: How To Change Battery In Smart Lock
Conclusion
Congratulations! You’ve successfully navigated the process of changing the batteries in your Yale smart lock, ensuring that it remains a dependable guardian of your home’s security. By following the simple yet essential steps outlined in this guide, you’ve demonstrated your commitment to maintaining the optimal functionality of your smart lock system.
With a small investment of time and minimal tools, you’ve empowered yourself to proactively address the battery needs of your Yale smart lock, thereby avoiding potential disruptions to its operation. By staying ahead of the battery replacement schedule, you’ve upheld the integrity of your home security system, providing peace of mind for you and your loved ones.
Remember, regular maintenance and attention to detail are key components of a robust home security strategy. By incorporating simple tasks such as battery replacement into your routine, you contribute to the overall reliability and effectiveness of your smart lock and, by extension, your home’s security measures.
As you move forward, continue to stay attuned to the needs of your Yale smart lock, remaining vigilant for any indicators of battery depletion or diminished performance. By doing so, you’ll ensure that your smart lock consistently delivers the security and convenience that you rely on every day.
Thank you for entrusting me to guide you through this essential process. Your commitment to maintaining and optimizing your home security system reflects a dedication to safeguarding what matters most. With your Yale smart lock operating at its best, you can embrace each day with confidence, knowing that your home is protected by a reliable and resilient security solution.
Frequently Asked Questions about How To Change Batteries In Yale Smart Lock
Was this page helpful?
At Storables.com, we guarantee accurate and reliable information. Our content, validated by Expert Board Contributors, is crafted following stringent Editorial Policies. We're committed to providing you with well-researched, expert-backed insights for all your informational needs.


0 thoughts on “How To Change Batteries In Yale Smart Lock”