Home>Technology>Security & Surveillance>How To Change The Battery On A Vivint Door Lock
Security & Surveillance
How To Change The Battery On A Vivint Door Lock
Modified: August 28, 2024
Learn how to change the battery on your Vivint door lock for improved security and surveillance. Follow our step-by-step guide to ensure your home stays protected.
(Many of the links in this article redirect to a specific reviewed product. Your purchase of these products through affiliate links helps to generate commission for Storables.com, at no extra cost. Learn more)
Introduction
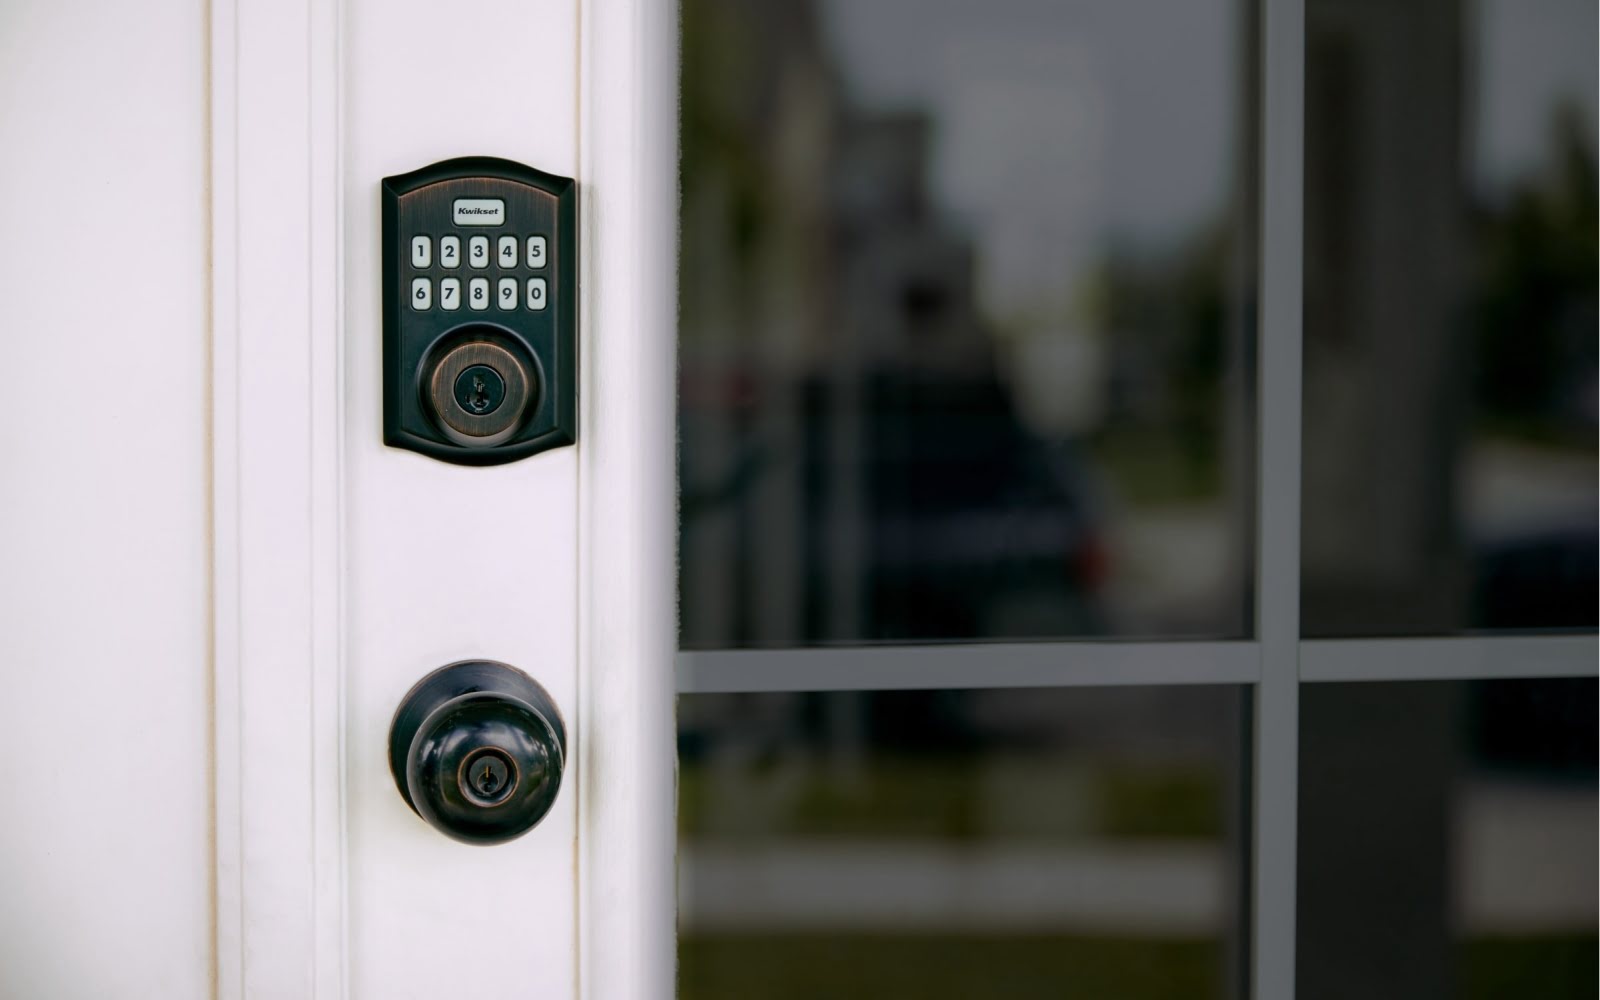
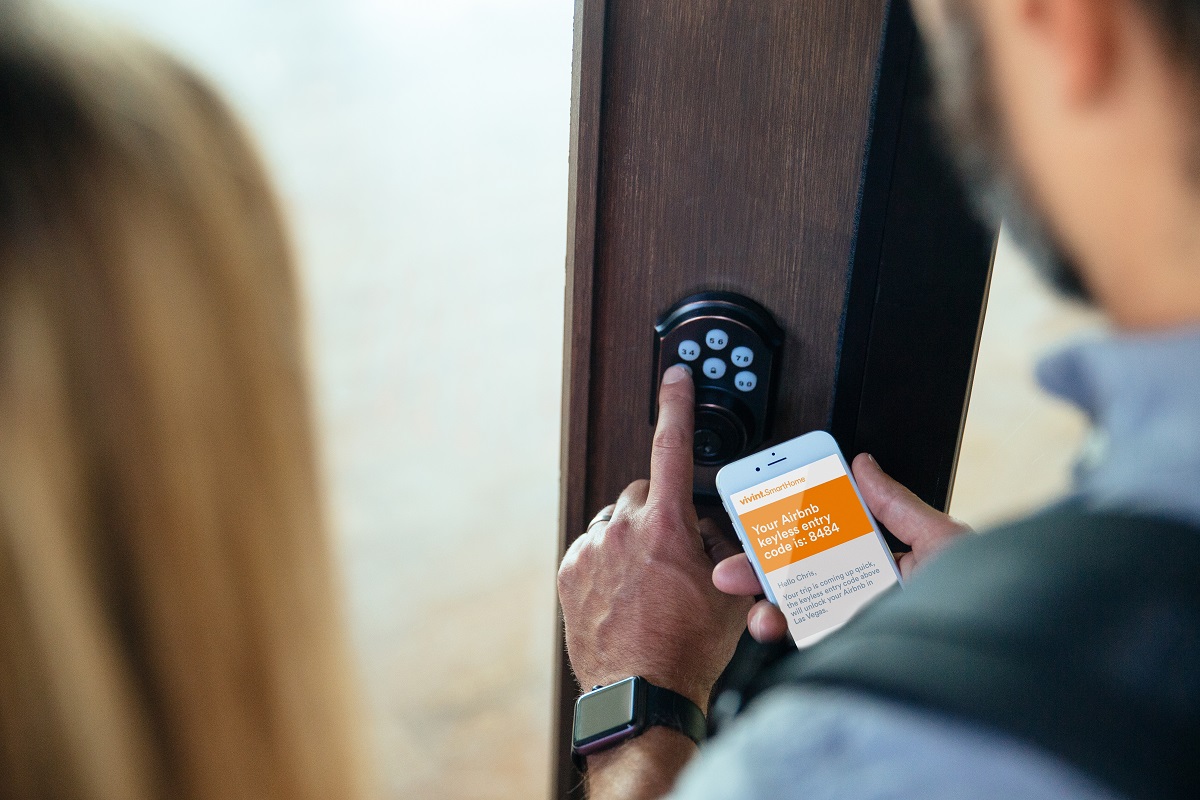
Welcome to the world of smart home security! Vivint door locks offer convenience, security, and peace of mind. These innovative locks are designed to provide seamless access to your home while ensuring top-notch protection. However, like all electronic devices, Vivint door locks rely on batteries to operate effectively. Understanding how to change the battery on a Vivint door lock is crucial for maintaining the functionality of this essential security feature.
In this comprehensive guide, we will walk you through the step-by-step process of changing the battery on your Vivint door lock. Whether you are a new Vivint system owner or simply need a refresher on this essential maintenance task, this article is here to help. With a few simple tools and a clear understanding of the process, you can keep your Vivint door lock performing at its best.
So, grab your toolkit and let's dive into the world of Vivint door lock maintenance. By the end of this guide, you will feel confident in your ability to keep your smart home security system running smoothly. Let's get started!
Key Takeaways:
- Keep your Vivint door lock running smoothly by changing the batteries with the right tools and following the step-by-step process outlined in this guide.
- Testing the new batteries after replacement ensures your Vivint door lock operates at its full capacity, enhancing the overall security and reliability of your smart home.
Read more: How To Change Batteries On Door Lock
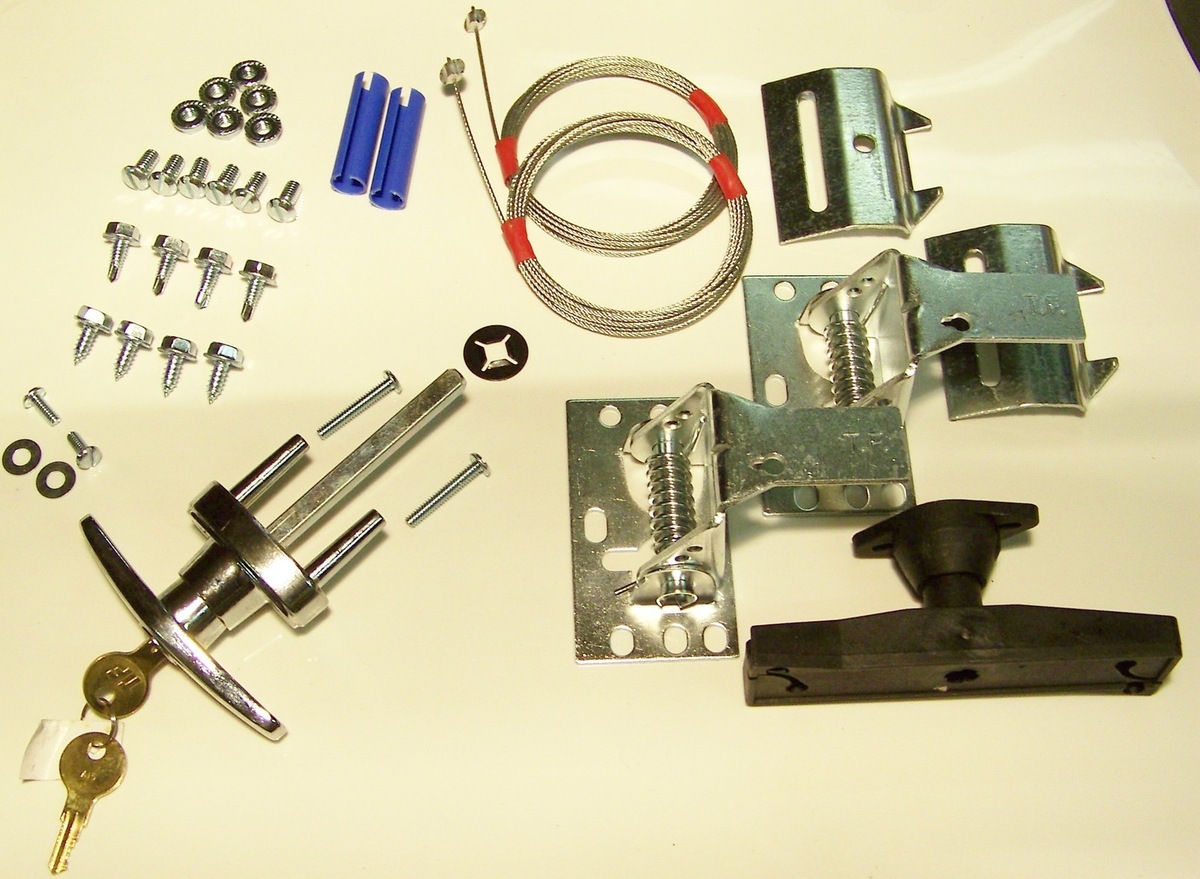
Tools and Materials Needed
Before embarking on the battery replacement process for your Vivint door lock, it’s essential to gather the necessary tools and materials. Here’s what you’ll need:
- New Batteries: Ensure that you have the correct type of batteries required for your Vivint door lock. Refer to the user manual or contact Vivint support if you are unsure about the specific battery type.
- Screwdriver: Depending on the model of your Vivint door lock, you may need a screwdriver to access the battery compartment. Verify the type of screwdriver (Phillips or flathead) required for your lock.
- Clean Cloth: Having a clean cloth or microfiber towel on hand can help you remove any dust or debris from the battery compartment area.
By ensuring that you have these tools and materials readily available, you can proceed with the battery replacement process smoothly and efficiently. Now that you have everything you need, let’s move on to the step-by-step instructions for changing the battery on your Vivint door lock.
Steps to Change the Battery on a Vivint Door Lock
Now that you have gathered the necessary tools and materials, it’s time to dive into the process of changing the battery on your Vivint door lock. Follow these clear and concise steps to ensure a seamless battery replacement:
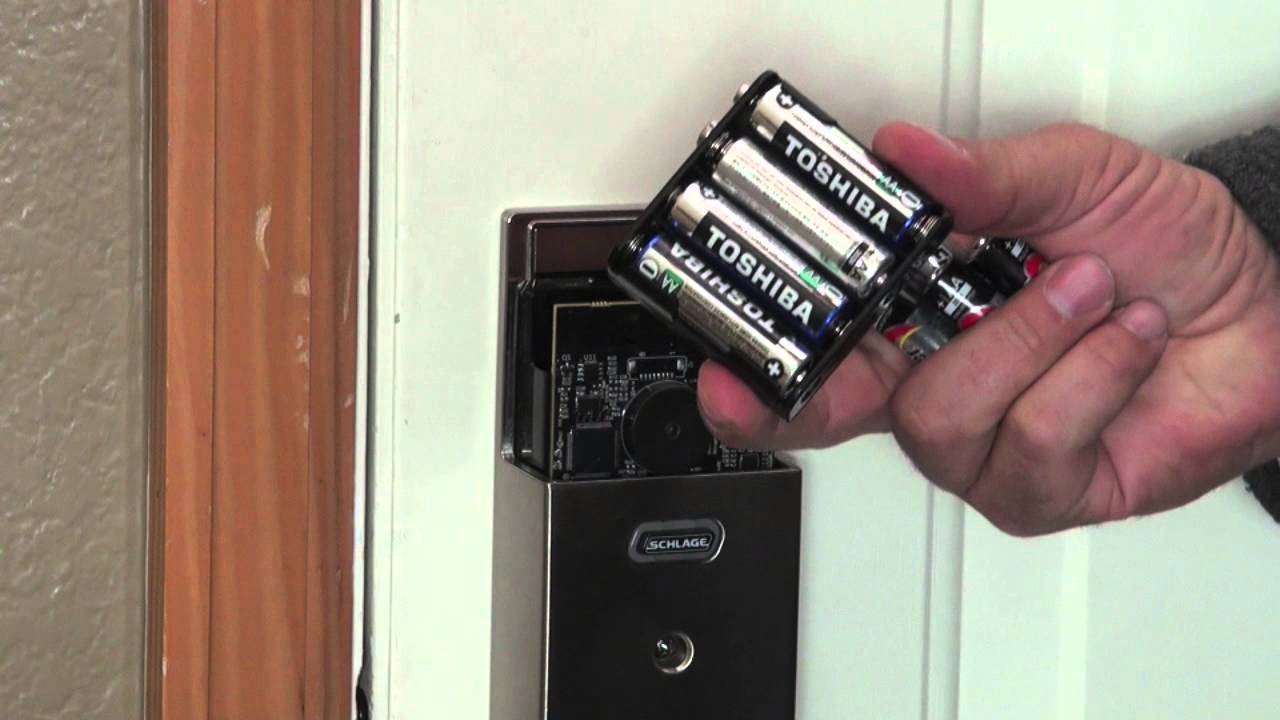
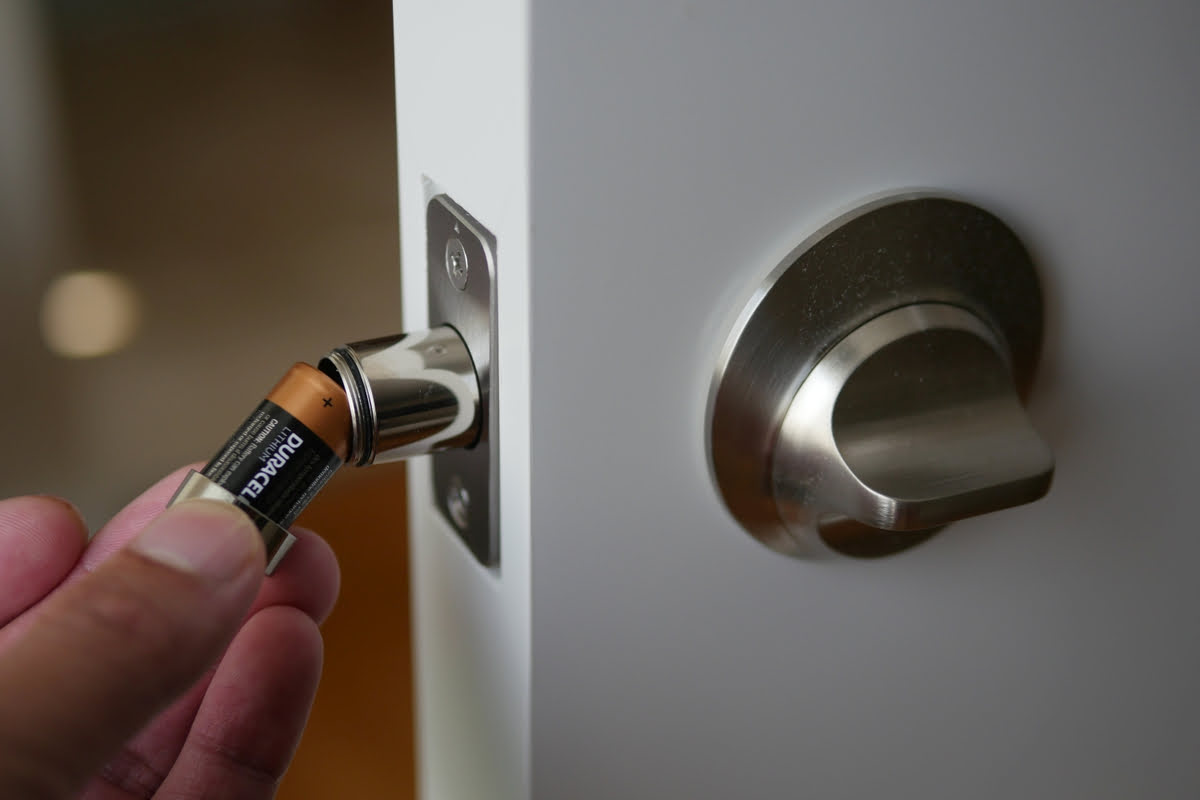
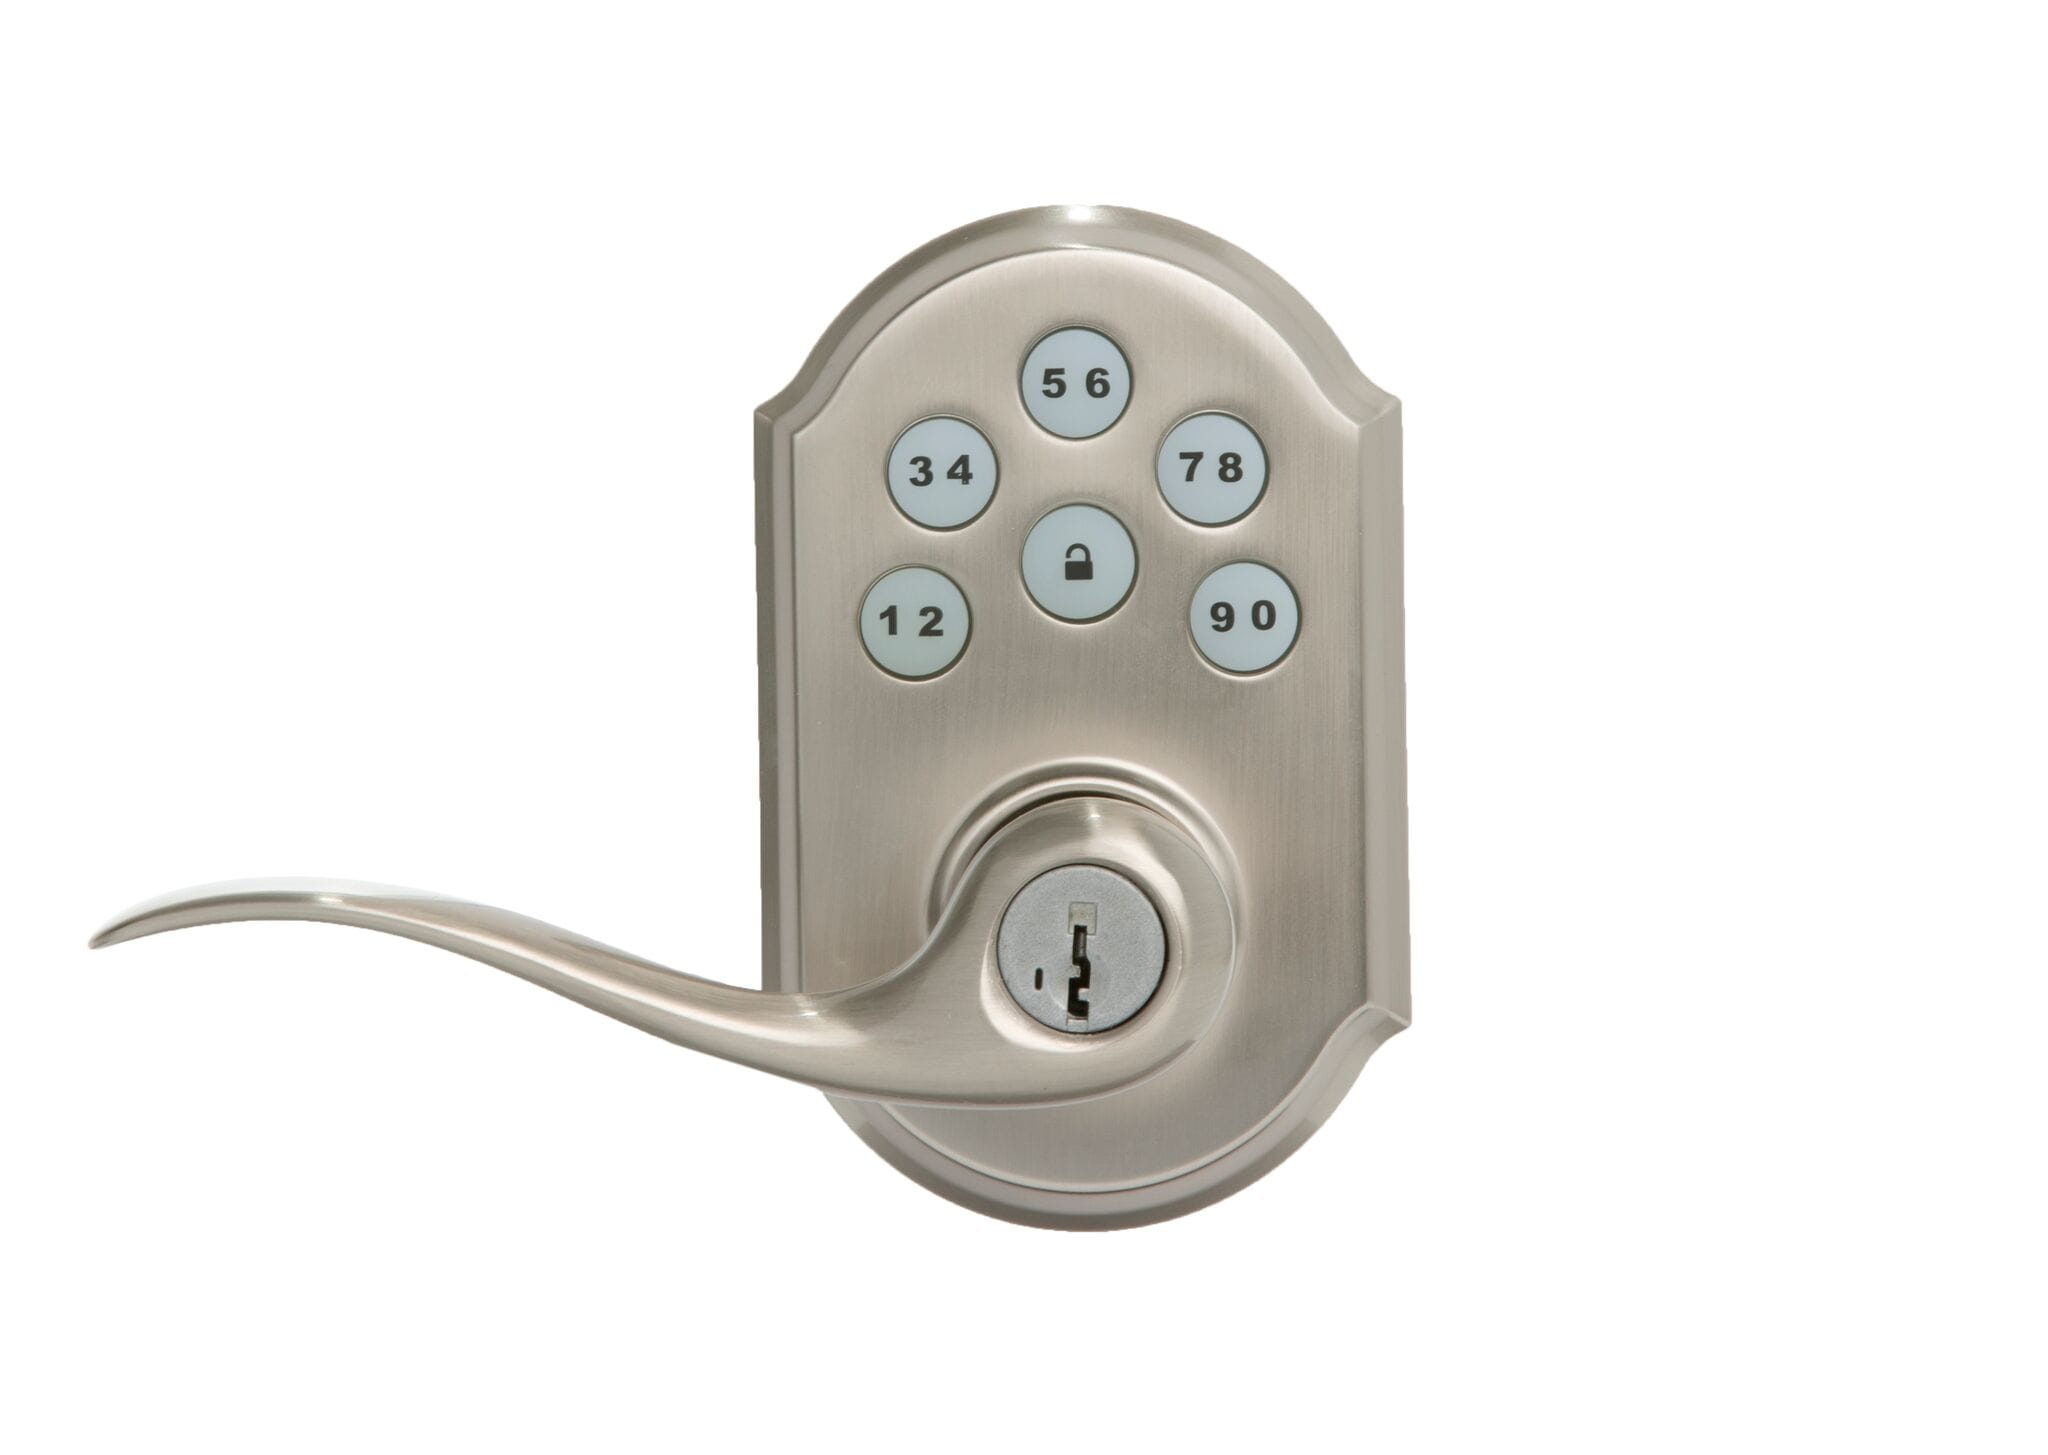
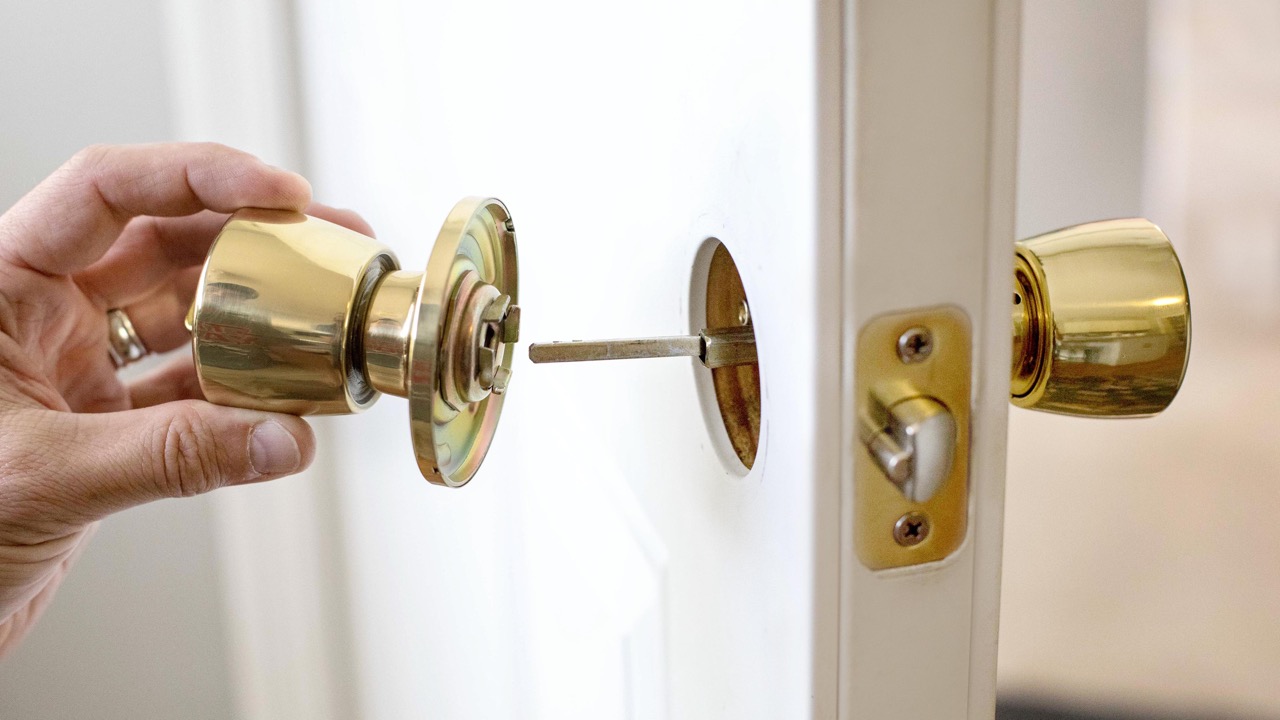
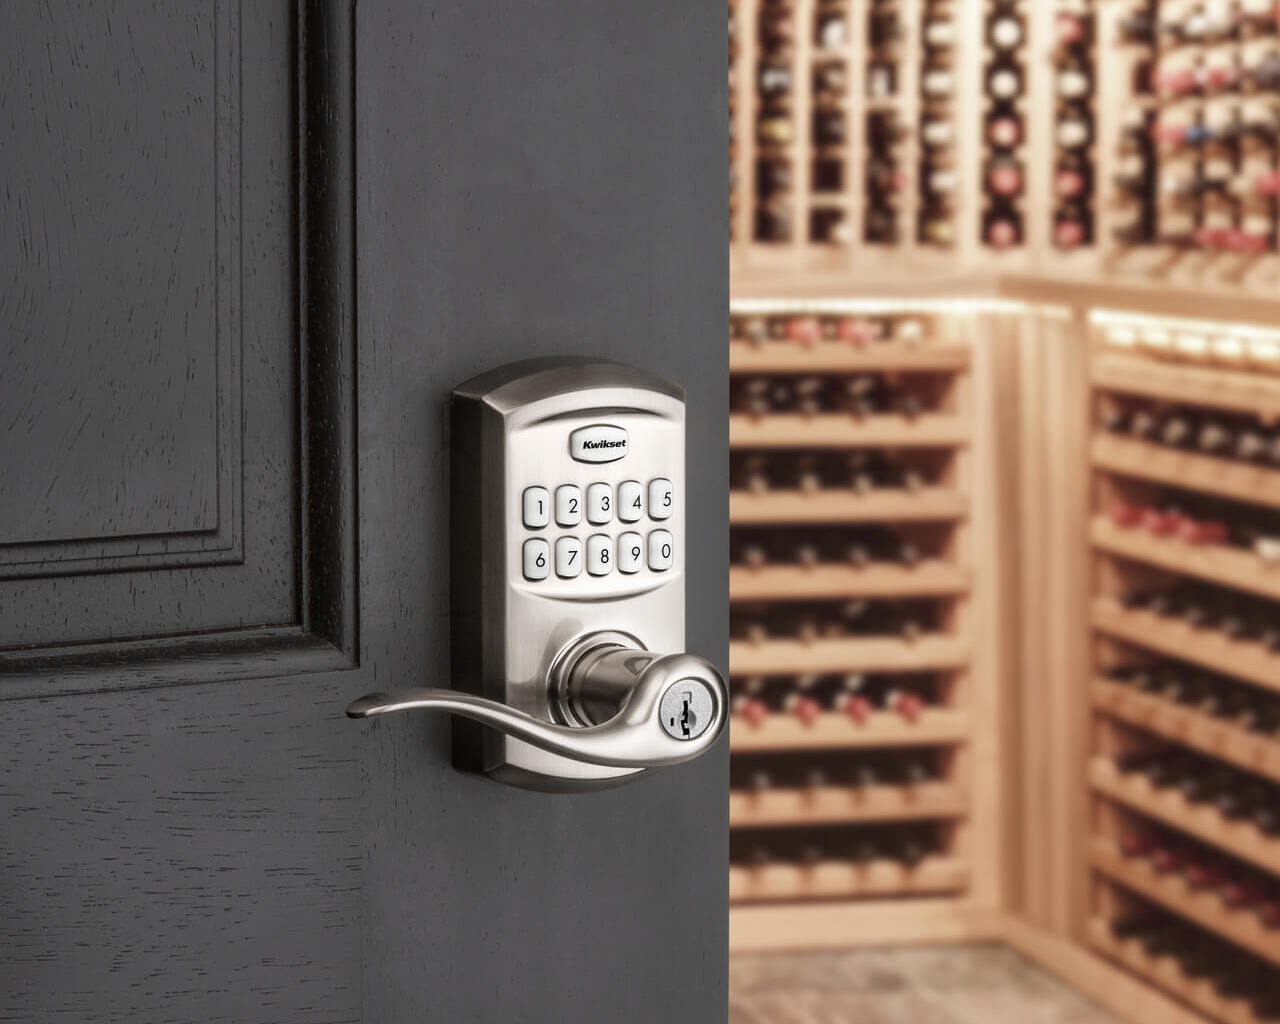
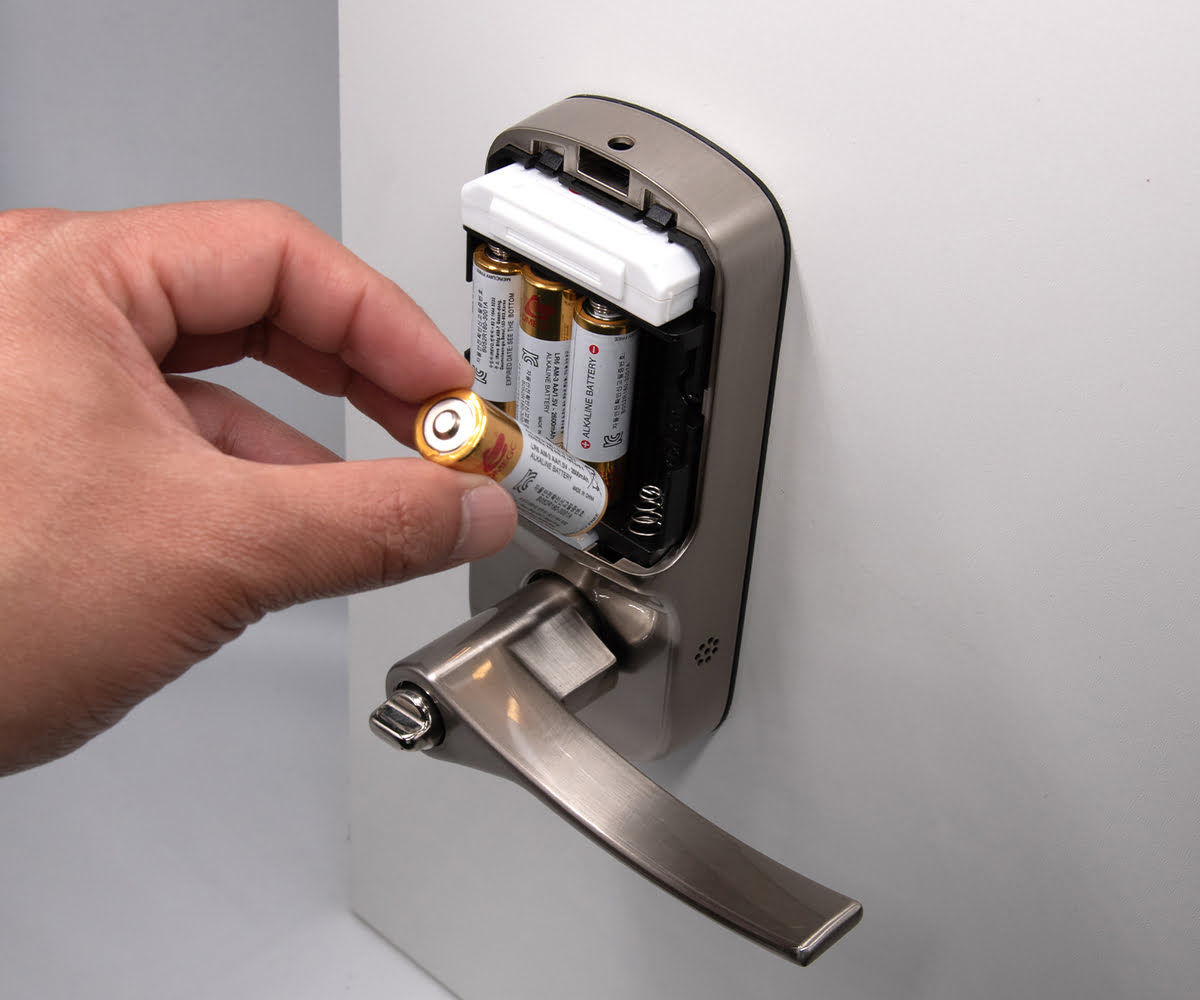
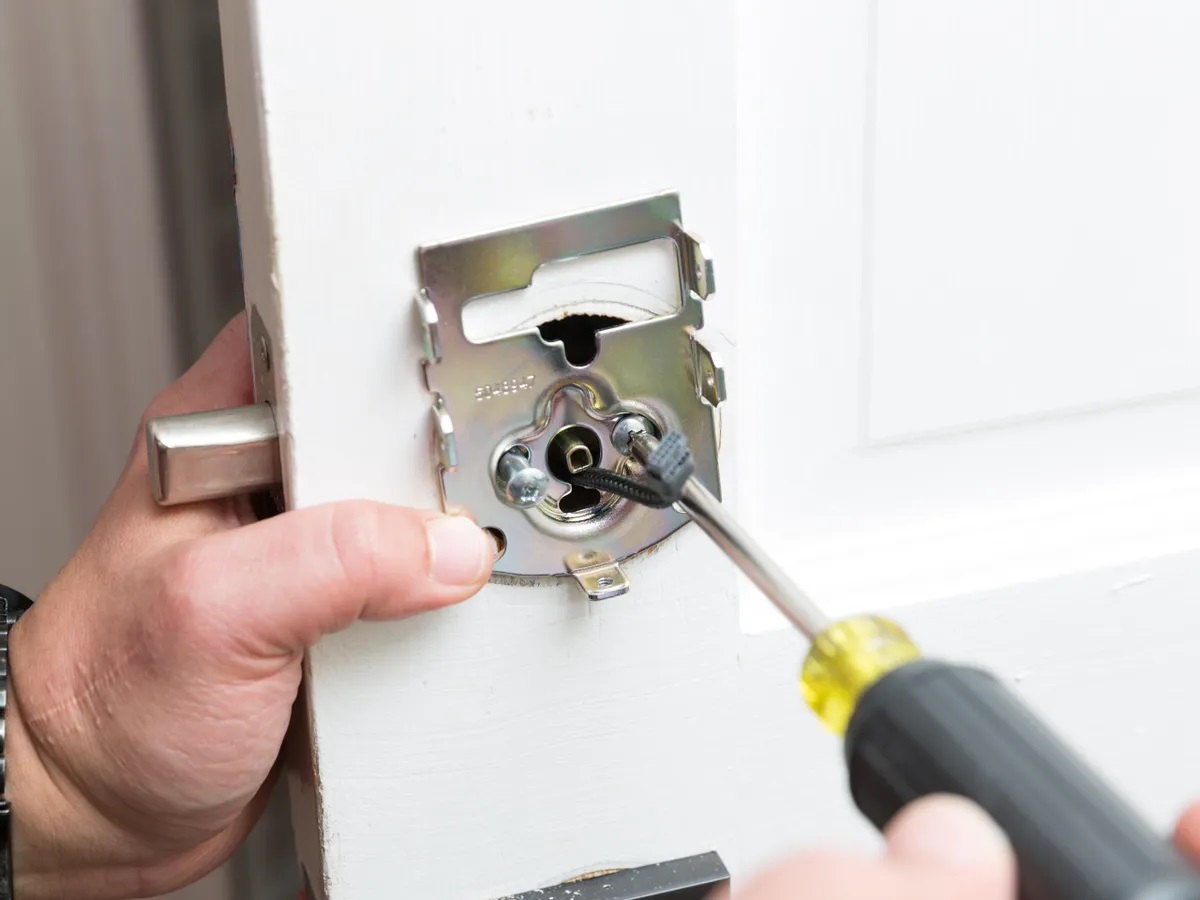
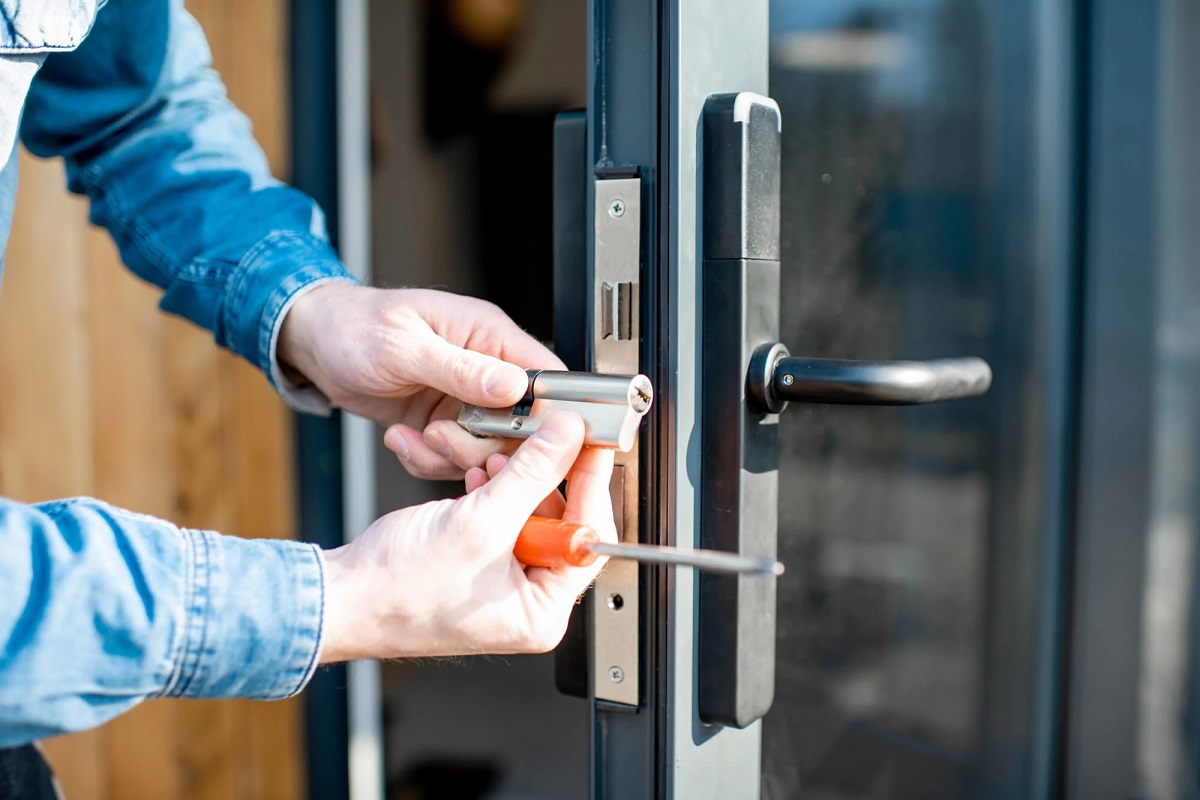
- Locate the Battery Compartment: Depending on the model of your Vivint door lock, the battery compartment may be located on the interior or exterior side of the door. Refer to the user manual for specific instructions on accessing the battery compartment.
- Remove the Battery Cover: If applicable, use a screwdriver to carefully remove the screws securing the battery cover. Place the screws in a safe location to prevent misplacement.
- Replace the Old Batteries: Once the battery compartment is accessible, carefully remove the old batteries from their slots. Take note of the orientation of the batteries to ensure proper installation of the new ones.
- Insert the New Batteries: Take the new batteries and insert them into the designated slots within the battery compartment. Ensure that the polarity (+ and -) aligns correctly with the markings inside the compartment.
- Secure the Battery Cover: If you removed a battery cover, reattach it securely using the appropriate screws. Ensure that the cover is firmly in place to protect the batteries.
- Test the Door Lock: After replacing the batteries, test the functionality of your Vivint door lock to ensure that it operates smoothly. This step verifies that the new batteries have been installed correctly.
By following these steps with precision, you can successfully change the battery on your Vivint door lock without any hassle. Properly functioning batteries are essential for the optimal performance of your smart door lock, and with these instructions, you can maintain the security and convenience it provides.
When changing the battery on a Vivint door lock, make sure to use the correct battery type recommended by the manufacturer. Follow the instructions in the user manual to safely replace the battery and avoid damaging the lock.
Testing the New Battery
After replacing the batteries in your Vivint door lock, it’s essential to conduct a thorough test to ensure that the new batteries are functioning correctly. Here’s a simple yet effective process for testing the new battery:
- Operate the Door Lock: Test the functionality of your Vivint door lock by engaging the locking and unlocking mechanism. Ensure that the lock responds promptly and smoothly to your commands.
- Check for Indicator Lights: If your Vivint door lock is equipped with indicator lights or a display panel, observe these components to confirm that they are functioning as expected. Any irregularities in the display may indicate a battery or connectivity issue.
- Monitor Remote Access: If you control your Vivint door lock remotely through a mobile app or online portal, verify that you can access and manage the lock without encountering any connectivity issues. Remote access should be seamless and responsive.
- Observe Battery Life Indicator: If your Vivint door lock includes a battery life indicator, take note of its status after the battery replacement. The indicator should reflect the installation of new batteries and display an optimal battery level.
By conducting these tests, you can ensure that the new batteries have been installed correctly and that your Vivint door lock is operating at its full capacity. This proactive approach to testing the new battery enhances the overall security and reliability of your smart door lock system.
Conclusion
Congratulations! You have successfully learned how to change the battery on your Vivint door lock, empowering you to maintain the seamless operation of this essential smart home security feature. By following the step-by-step process outlined in this guide, you have taken a proactive approach to ensuring that your Vivint door lock remains reliable and secure.
Regular maintenance, including battery replacement, is key to preserving the functionality and performance of your Vivint door lock. With the right tools and a clear understanding of the process, you can effortlessly manage this aspect of your smart home security system.
Remember, staying proactive about battery maintenance not only ensures the continuous operation of your Vivint door lock but also contributes to the overall security and convenience of your smart home. By testing the new batteries and monitoring the lock’s functionality, you can enjoy peace of mind knowing that your home is well-protected.
As you continue to explore the world of smart home security, consider incorporating routine checks for your Vivint door lock into your overall maintenance plan. This proactive approach will help you stay ahead of potential issues and maintain a secure and efficient smart home environment.
Thank you for taking the time to familiarize yourself with the process of changing the battery on your Vivint door lock. With this knowledge, you are well-equipped to keep your smart home security system running smoothly, providing you and your loved ones with the protection and peace of mind you deserve.
Frequently Asked Questions about How To Change The Battery On A Vivint Door Lock
Was this page helpful?
At Storables.com, we guarantee accurate and reliable information. Our content, validated by Expert Board Contributors, is crafted following stringent Editorial Policies. We're committed to providing you with well-researched, expert-backed insights for all your informational needs.

0 thoughts on “How To Change The Battery On A Vivint Door Lock”