Home>Technology>Security & Surveillance>How To Change The Battery On ADT Door Lock
Security & Surveillance
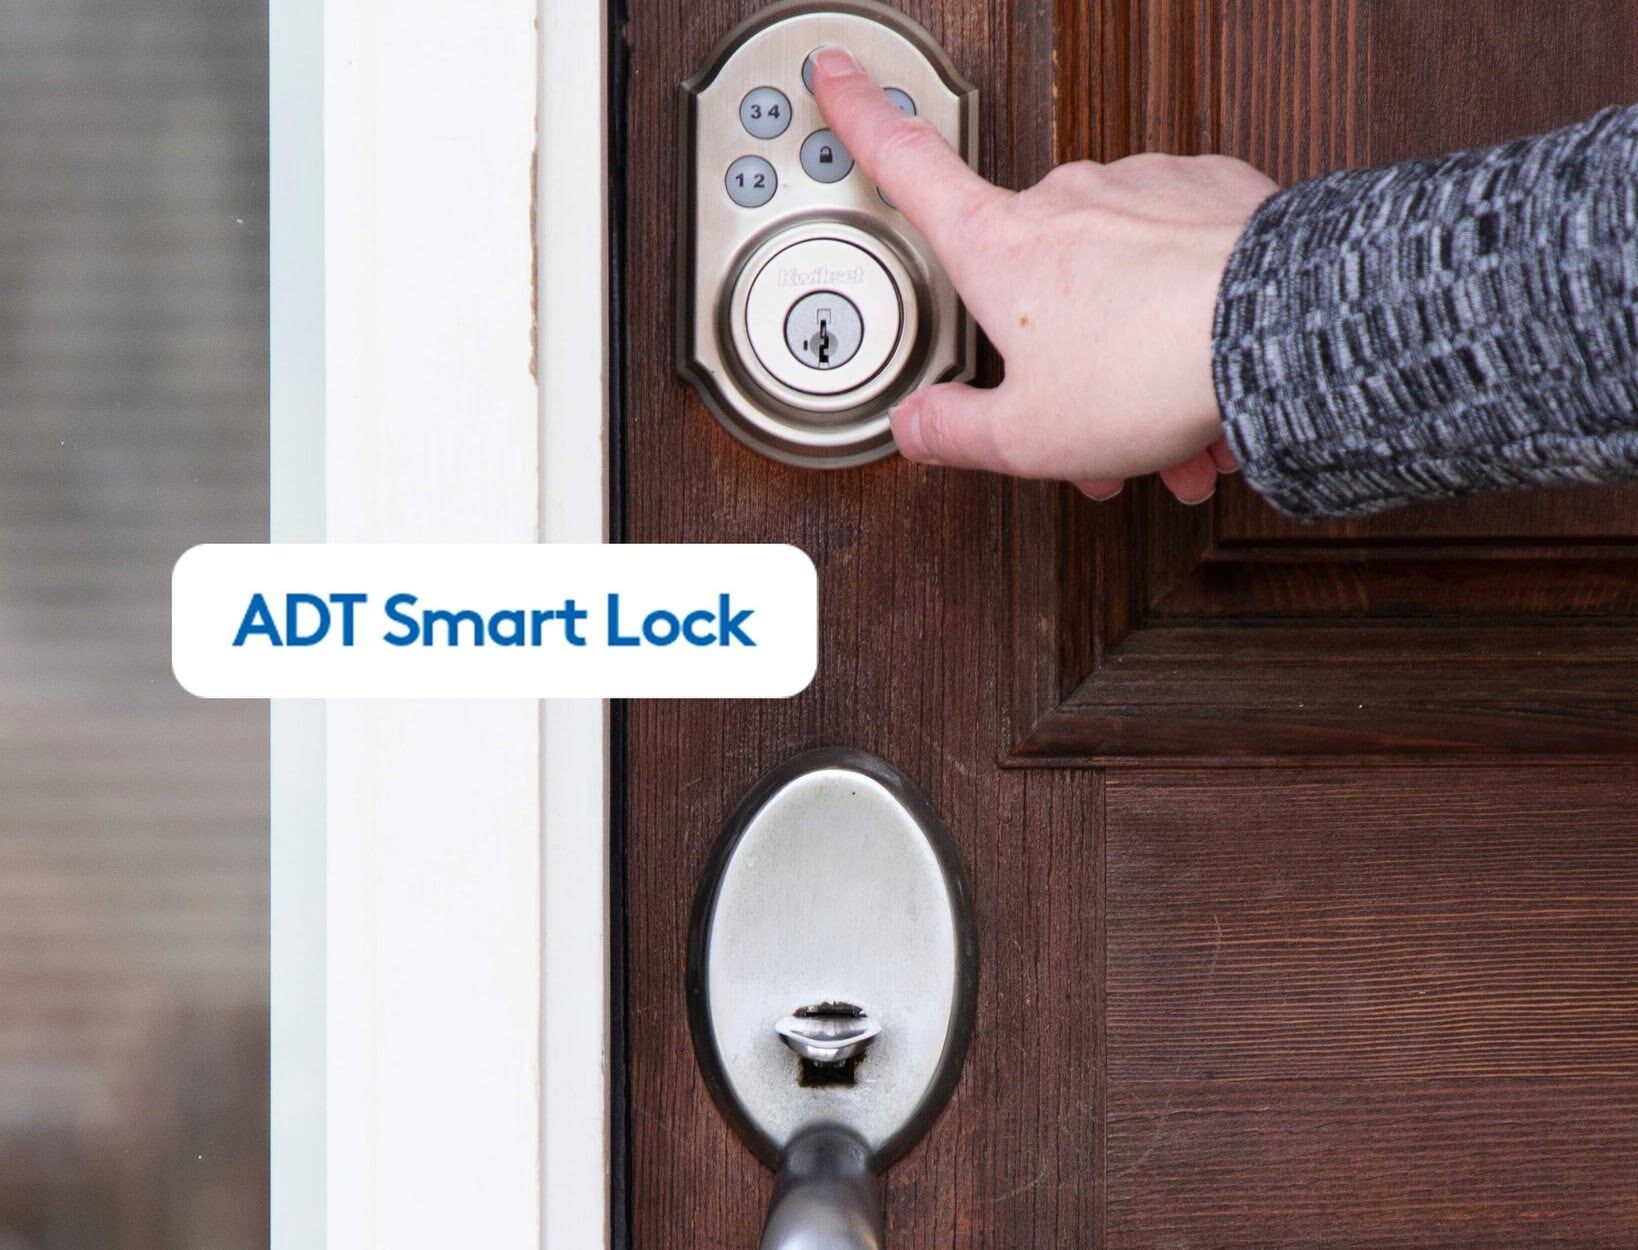
How To Change The Battery On ADT Door Lock
Published: December 27, 2023
Learn how to change the battery on your ADT door lock for enhanced security and surveillance. Follow our step-by-step guide for a quick and easy battery replacement.
(Many of the links in this article redirect to a specific reviewed product. Your purchase of these products through affiliate links helps to generate commission for Storables.com, at no extra cost. Learn more)
Introduction
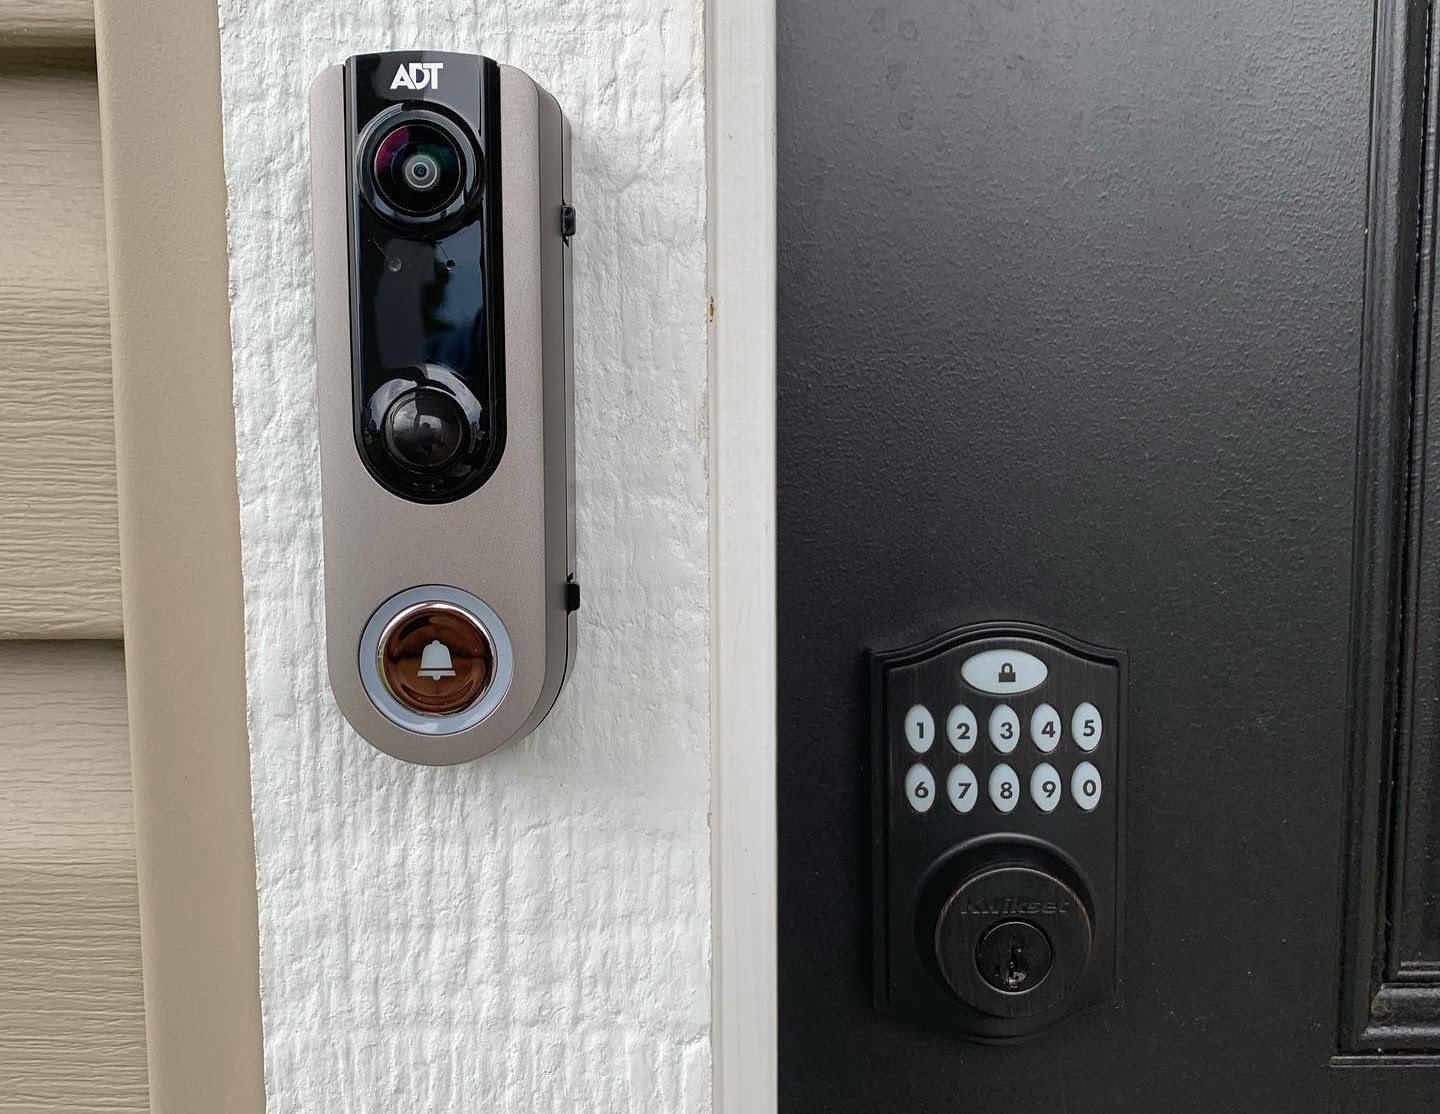
Welcome to the world of advanced security technology! ADT door locks are designed to provide you with peace of mind and convenience, allowing you to control access to your home with ease. However, even the most reliable devices require maintenance, and in the case of an ADT door lock, one of the essential maintenance tasks is replacing the battery.
In this comprehensive guide, we will walk you through the process of changing the battery on your ADT door lock. Whether you are a seasoned DIY enthusiast or a novice homeowner, you will find the steps easy to follow and the information invaluable.
By the end of this guide, you will have the confidence and know-how to seamlessly replace the battery in your ADT door lock, ensuring that your home remains secure and your peace of mind undisturbed. So, let's gather the necessary tools and supplies, and embark on this empowering journey to maintain and enhance the security of your home!
Key Takeaways:
- Regular maintenance, like replacing the battery in your ADT door lock, ensures your home security system remains effective in keeping your loved ones and property safe.
- By proactively addressing the battery replacement, you are taking an active role in preserving your home’s security, empowering yourself with the knowledge and confidence to handle future maintenance needs.
Read more: How To Change Batteries On Door Lock
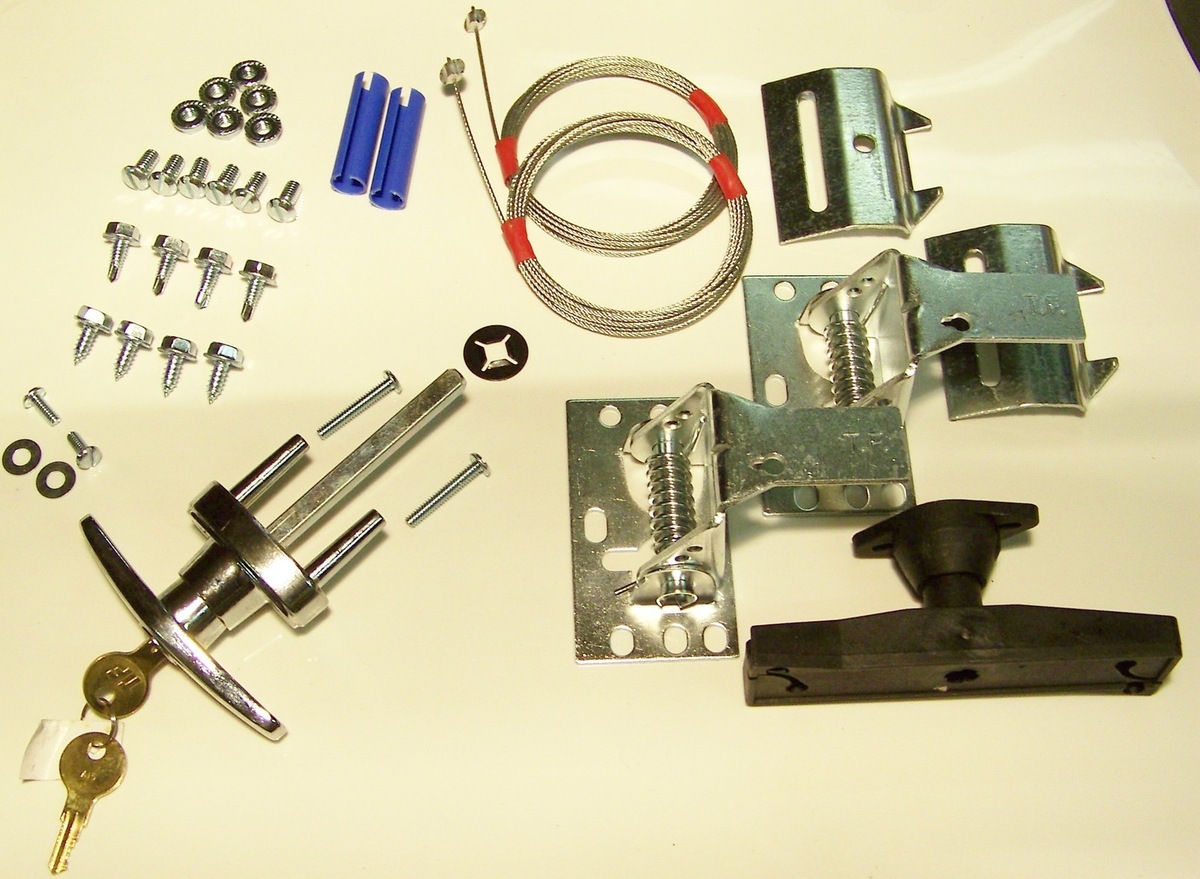
Step 1: Gather Necessary Tools and Supplies
Before diving into the battery replacement process, it’s essential to gather the required tools and supplies. Having everything at your fingertips will streamline the task and minimize any potential interruptions. Here’s what you’ll need:
- Replacement Battery: The first item on your checklist is the replacement battery for your ADT door lock. Ensure that you have the correct type and size specified by the manufacturer.
- Screwdriver: Depending on the model of your ADT door lock, you may need a screwdriver to access the battery compartment. Verify the type of screwdriver required and have it ready.
- Cleaning Cloth: A soft cleaning cloth will come in handy for wiping any dust or debris around the battery compartment.
- Step Ladder (if needed): If your ADT door lock is installed at a height requiring a step ladder for access, ensure that it is stable and within reach.
- Replacement Batteries: It’s always a good idea to have spare batteries on hand for future replacements, so consider purchasing an extra set for convenience.
By assembling these tools and supplies, you’ll be fully prepared to tackle the battery replacement process without any unnecessary delays. With everything in place, you’re ready to move on to the next step and remove the old battery from your ADT door lock.
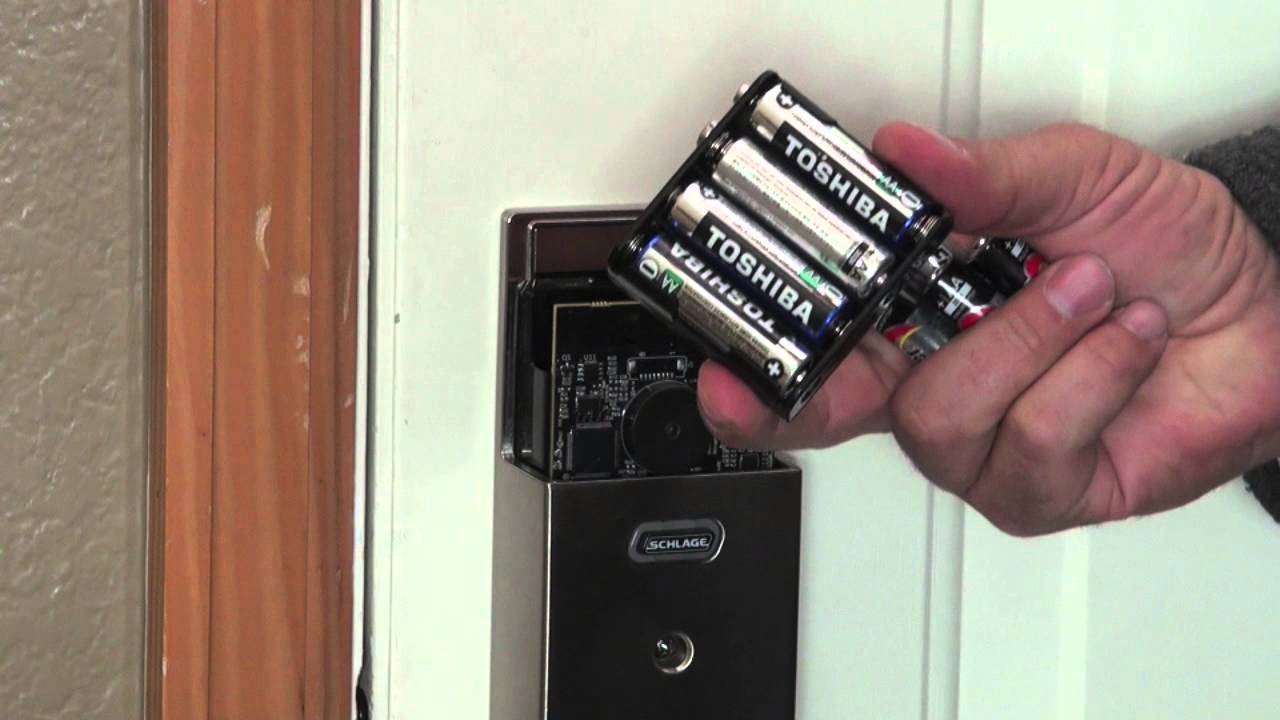
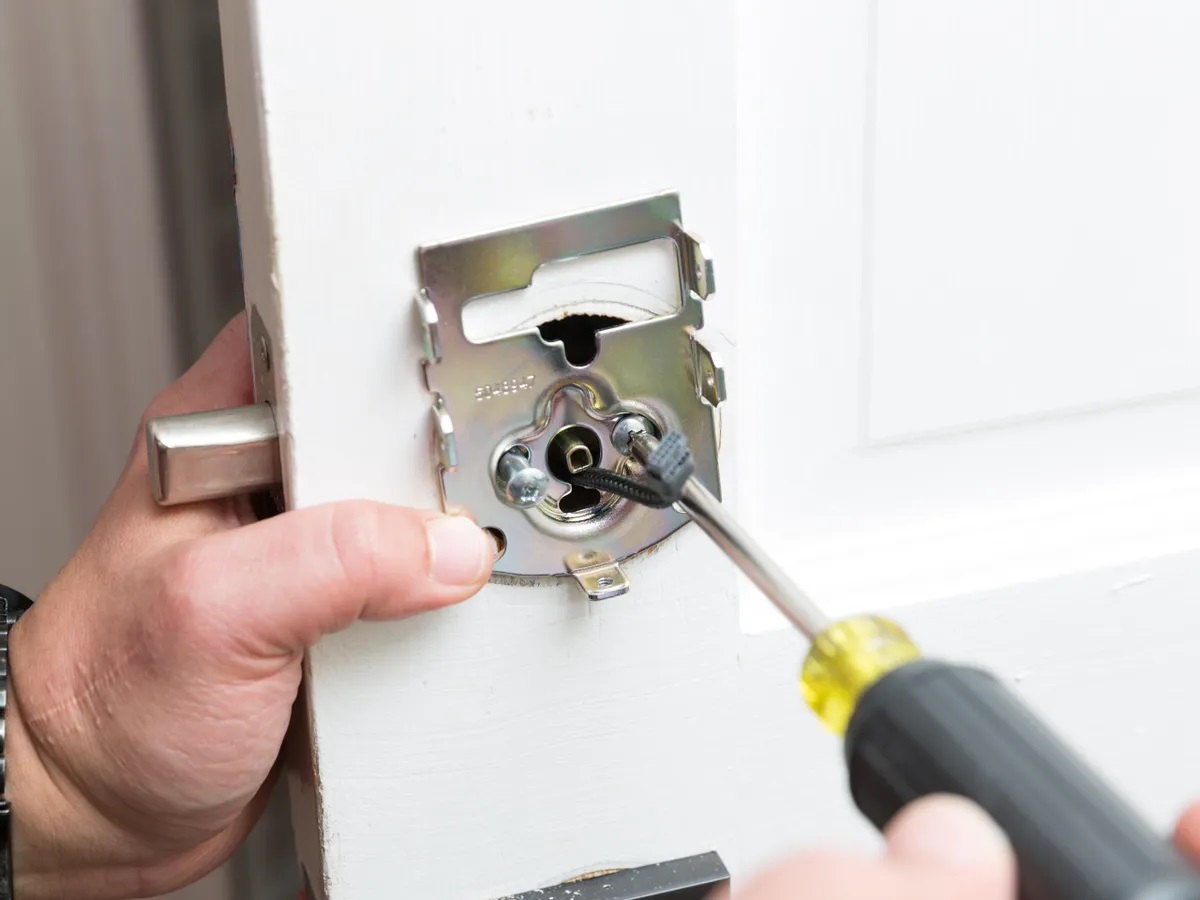
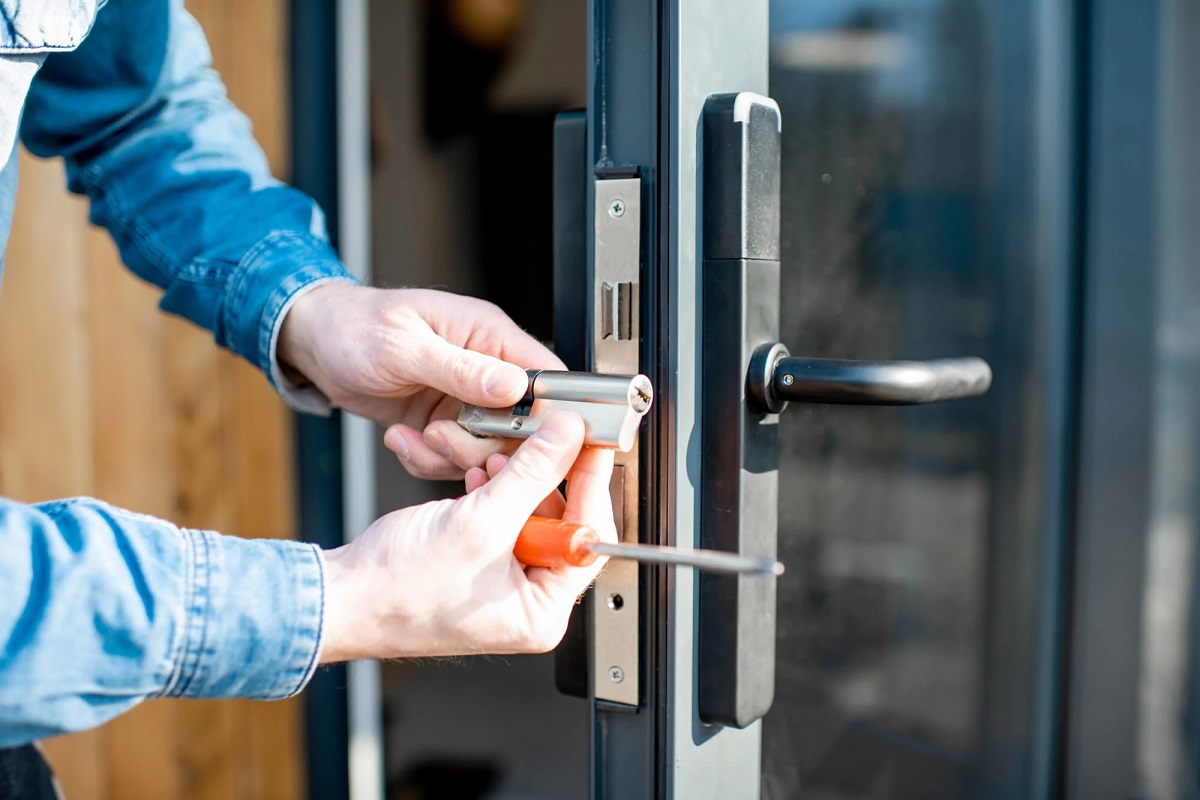
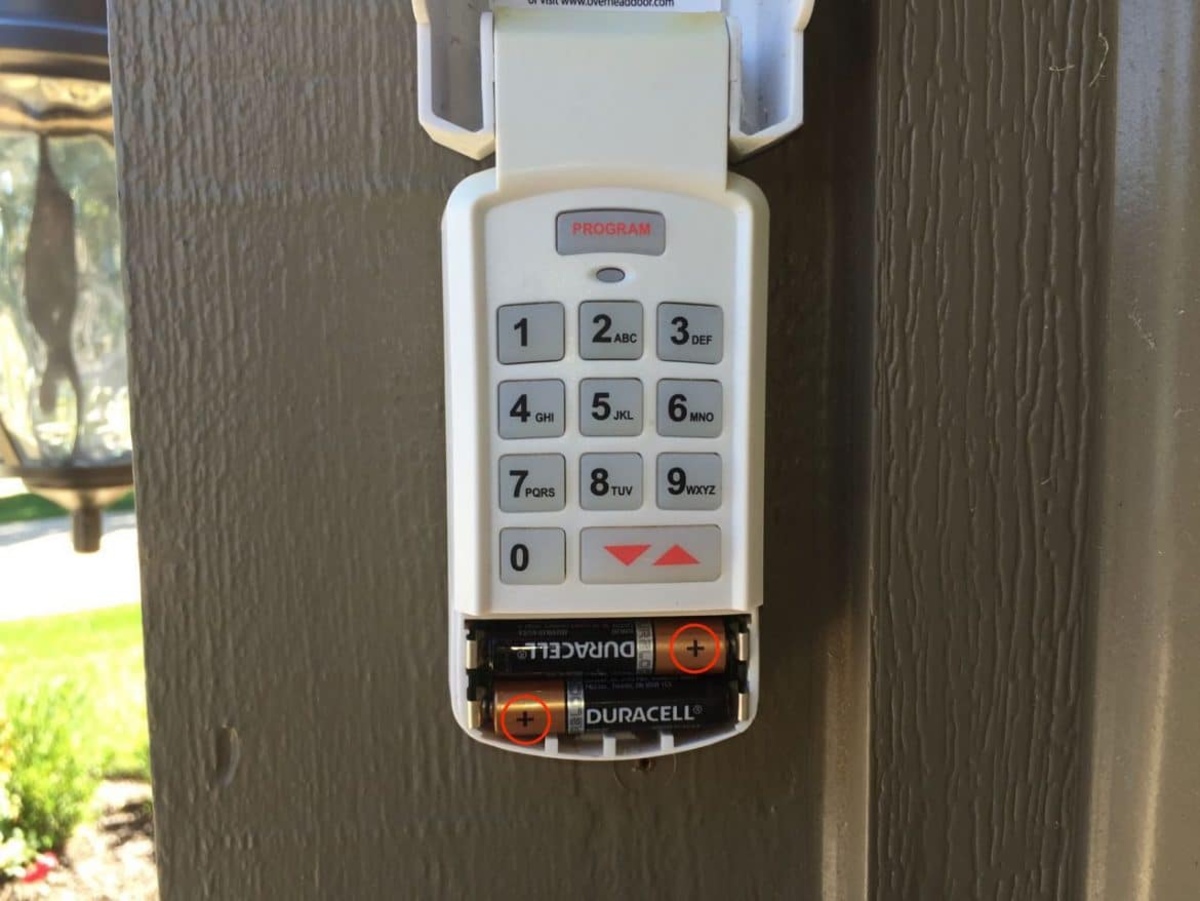
Step 2: Remove the Old Battery
Now that you have all the necessary tools and supplies assembled, it’s time to proceed with removing the old battery from your ADT door lock. Follow these steps carefully to ensure a smooth and hassle-free process:
- Locate the Battery Compartment: Depending on the model of your ADT door lock, the battery compartment may be situated in different areas. Refer to the manufacturer’s instructions to pinpoint the exact location.
- Prepare the Area: Before opening the battery compartment, ensure that the surrounding area is clean and free of any dust or debris. Use a cleaning cloth to wipe the exterior of the lock, if necessary.
- Use the Screwdriver: If the battery compartment is secured with screws, use the appropriate screwdriver to carefully remove them. Place the screws in a secure location to prevent misplacement.
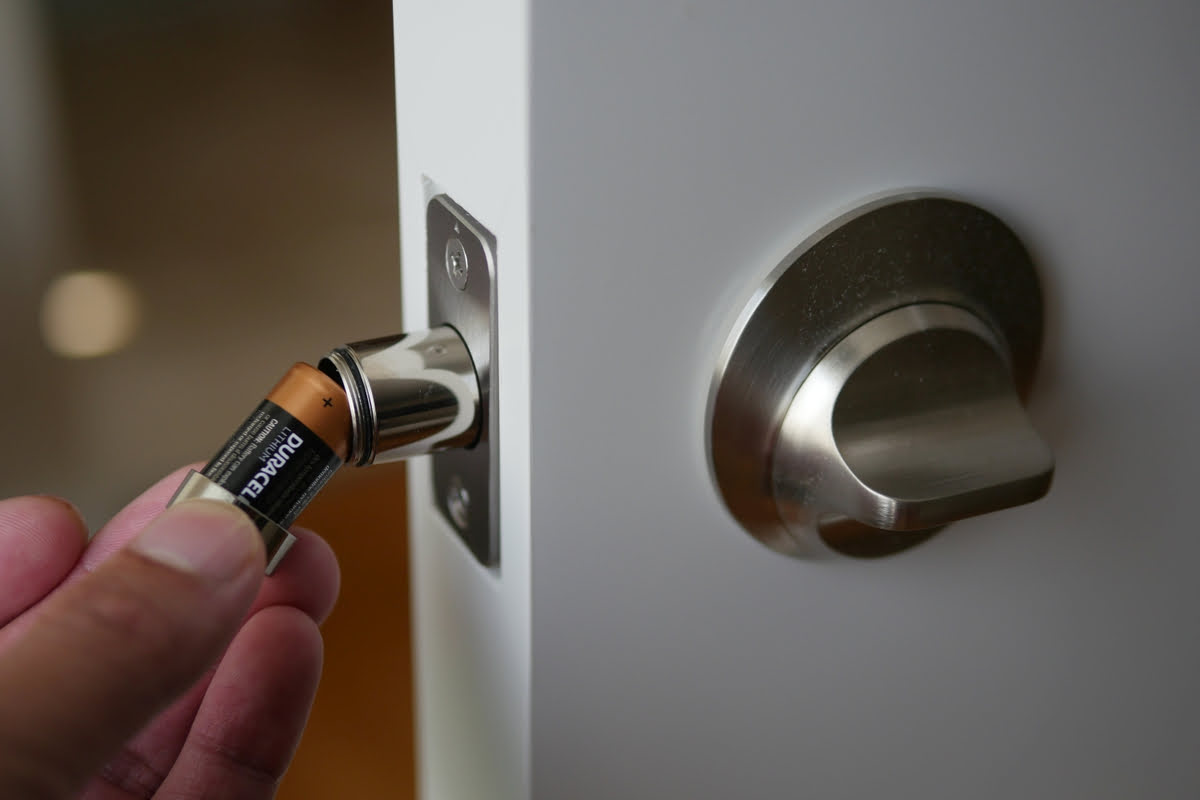
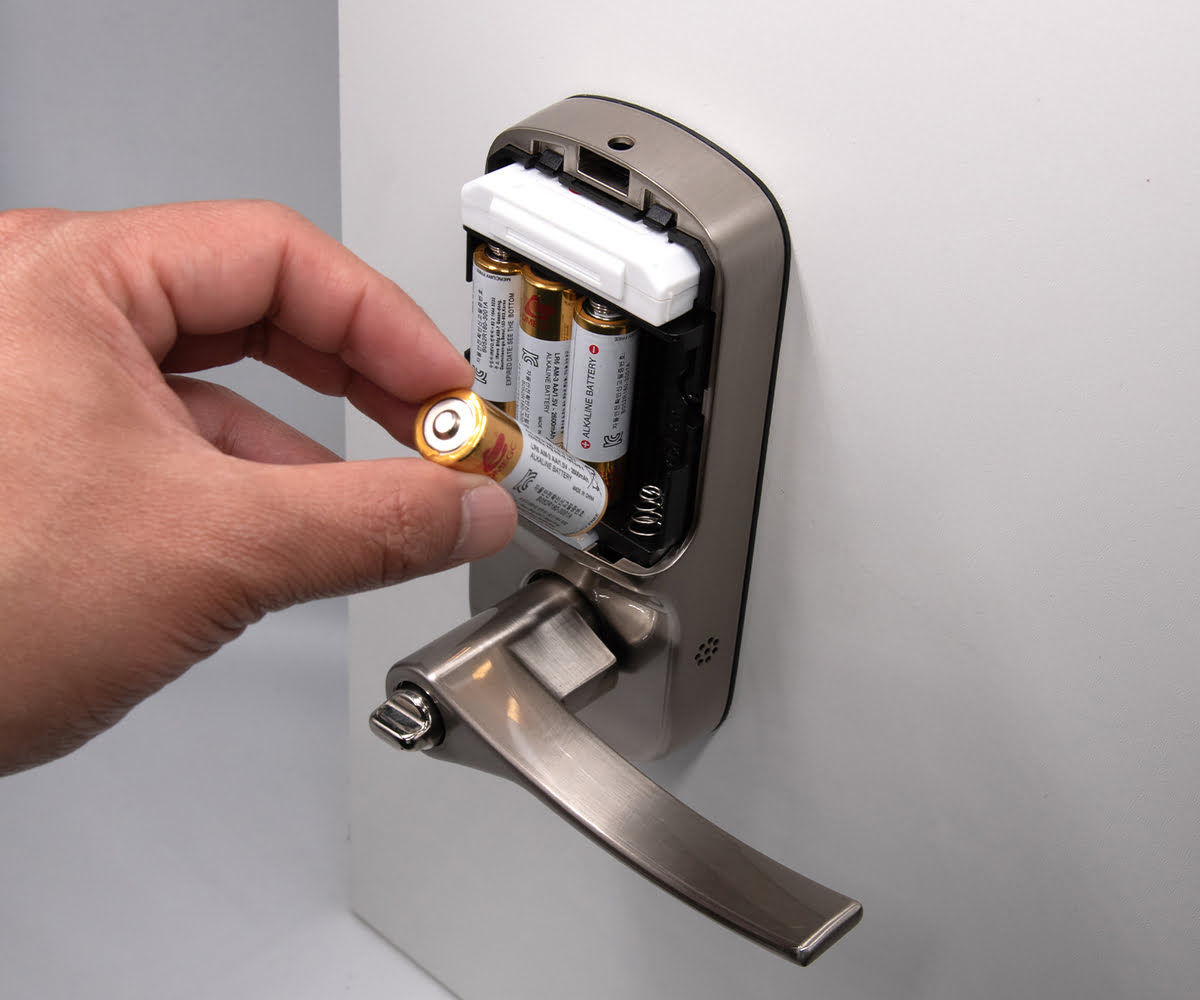
- Remove the Old Battery: Gently take out the old battery from the compartment, paying attention to its orientation. Note the positive and negative terminals, as this will be crucial when inserting the new battery.
- Inspect the Compartment: While the battery is removed, take a moment to inspect the inside of the compartment for any signs of corrosion or buildup. If present, use a clean, dry cloth to carefully remove any residue.
- Dispose of the Old Battery Responsibly: Since batteries contain potentially harmful materials, it’s important to dispose of the old battery in accordance with local regulations. Many communities offer recycling programs for household batteries, so consider utilizing these eco-friendly options.
By following these steps, you will successfully remove the old battery from your ADT door lock, paving the way for the next crucial phase: inserting the new battery. With the old battery safely disposed of, you’re now ready to proceed to the next step and complete the battery replacement process.
To change the battery on an ADT door lock, locate the battery cover on the lock, remove the old batteries, and insert new ones according to the correct polarity. Be sure to use the specific type of batteries recommended by the manufacturer.
Step 3: Insert the New Battery
With the old battery removed, it’s time to introduce the new power source into your ADT door lock. Follow these straightforward steps to ensure a seamless insertion of the new battery:
- Verify Battery Orientation: Before proceeding, confirm the correct orientation of the new battery. Align the positive and negative terminals of the battery with the corresponding markings or indicators inside the battery compartment.
- Place the New Battery: Carefully insert the new battery into the compartment, ensuring a snug and secure fit. Avoid applying excessive force, and double-check that the battery is positioned correctly.
- Secure the Battery Compartment: If your ADT door lock features a compartment cover or securing mechanism, reattach or secure it according to the manufacturer’s instructions. This step ensures that the battery remains in place and protected.
- Test the Battery Connection: Before fully securing the battery compartment, test the connection by briefly activating the lock. Listen for any audible signals or observe the indicator lights to confirm that the new battery is functioning as intended.
By following these steps, you will successfully insert the new battery into your ADT door lock, setting the stage for the final phase of the process: testing the lock to ensure that the new battery is functioning optimally. With the new battery securely in place, you’re ready to proceed to the next step and verify the functionality of your ADT door lock.
Step 4: Test the Lock
After successfully replacing the battery in your ADT door lock, it’s crucial to verify its functionality through a comprehensive testing process. Follow these steps to ensure that the lock operates smoothly and reliably:
- Activate the Lock: Use the designated method to activate the lock, whether it’s through a key fob, keypad, or smartphone app. Ensure that the lock responds promptly to the command.
- Test Remote Access: If your ADT door lock supports remote access or control, test this feature to confirm that the communication between the lock and the control device is uninterrupted.
- Check Indicator Lights: Look for any indicator lights or display notifications on the lock itself or the control device. These visual cues can provide valuable information about the status of the lock and the battery’s performance.
- Verify Sound Alerts: If the lock is equipped with sound alerts, listen for any audible signals that indicate successful locking and unlocking actions. These alerts can offer additional reassurance regarding the lock’s operation.
- Ensure Smooth Operation: Test the physical operation of the lock by manually engaging it with the key or handle. Confirm that the lock moves smoothly and without any unusual resistance.
- Monitor Battery Life Indicators: If your ADT door lock includes battery life indicators, take note of the readings to gauge the new battery’s performance. This information can help you anticipate future replacements and maintain the lock’s reliability.
By meticulously testing the lock and observing its responses, you can effectively validate the successful replacement of the battery and the seamless operation of your ADT door lock. With the testing phase completed, you can rest assured that your home security system is fully functional and ready to safeguard your property.
Conclusion
Congratulations on successfully completing the battery replacement process for your ADT door lock! By following the step-by-step guide provided here, you have demonstrated your commitment to maintaining a secure and reliable home environment. As you reflect on this accomplishment, consider the following key takeaways:
- Maintaining Security: Regular maintenance, such as battery replacement, is essential for ensuring the continued effectiveness of your ADT door lock in safeguarding your home and loved ones.
- Peace of Mind: By proactively addressing the battery replacement, you have reaffirmed your dedication to upholding the security and functionality of your home’s access control system.
- Empowerment Through Knowledge: Engaging in DIY maintenance tasks fosters a sense of empowerment and self-sufficiency, allowing you to take an active role in preserving your home’s security infrastructure.
- Future Preparedness: With the successful replacement of the battery, you are now equipped with the knowledge and confidence to address future maintenance needs, ensuring the ongoing reliability of your ADT door lock.
As you bask in the satisfaction of a job well done, take a moment to consider the peace of mind that comes from knowing your home is protected by a meticulously maintained security system. Your proactive approach to battery replacement exemplifies your commitment to a secure and resilient living space.
Remember, regular maintenance and periodic checks are integral to the longevity and effectiveness of your home security devices. By staying attuned to the needs of your ADT door lock and addressing them in a timely manner, you are actively contributing to the safety and security of your household.
Armed with the knowledge and practical experience gained from this guide, you are now better prepared to tackle future maintenance tasks and uphold the integrity of your home’s security infrastructure. Your dedication to maintaining a safe and secure living environment is commendable and serves as a testament to your commitment to the well-being of your household.
With the battery successfully replaced and your ADT door lock operating at its full potential, take pride in the proactive measures you’ve taken to fortify your home’s security. Your diligence and attention to detail have undoubtedly contributed to the continued peace of mind and protection of your cherished abode.
Now that you've mastered changing batteries in your ADT door lock, why stop there? Securing your home goes beyond simple maintenance. Dive into our engaging article on home security systems to understand why these measures are not just optional but necessary for safeguarding your family and possessions. Don't wait until safety is compromised; proactive steps today can prevent future incidents.
Frequently Asked Questions about How To Change The Battery On ADT Door Lock
Was this page helpful?
At Storables.com, we guarantee accurate and reliable information. Our content, validated by Expert Board Contributors, is crafted following stringent Editorial Policies. We're committed to providing you with well-researched, expert-backed insights for all your informational needs.


0 thoughts on “How To Change The Battery On ADT Door Lock”