Home>Gardening & Outdoor>Garden Tools & Equipment>How To Change A Lawnmower Battery

Garden Tools & Equipment
How To Change A Lawnmower Battery
Modified: February 18, 2024
Learn how to change a lawnmower battery with our step-by-step guide. Keep your garden tools and equipment in top shape with this easy DIY tutorial.
(Many of the links in this article redirect to a specific reviewed product. Your purchase of these products through affiliate links helps to generate commission for Storables.com, at no extra cost. Learn more)
Introduction
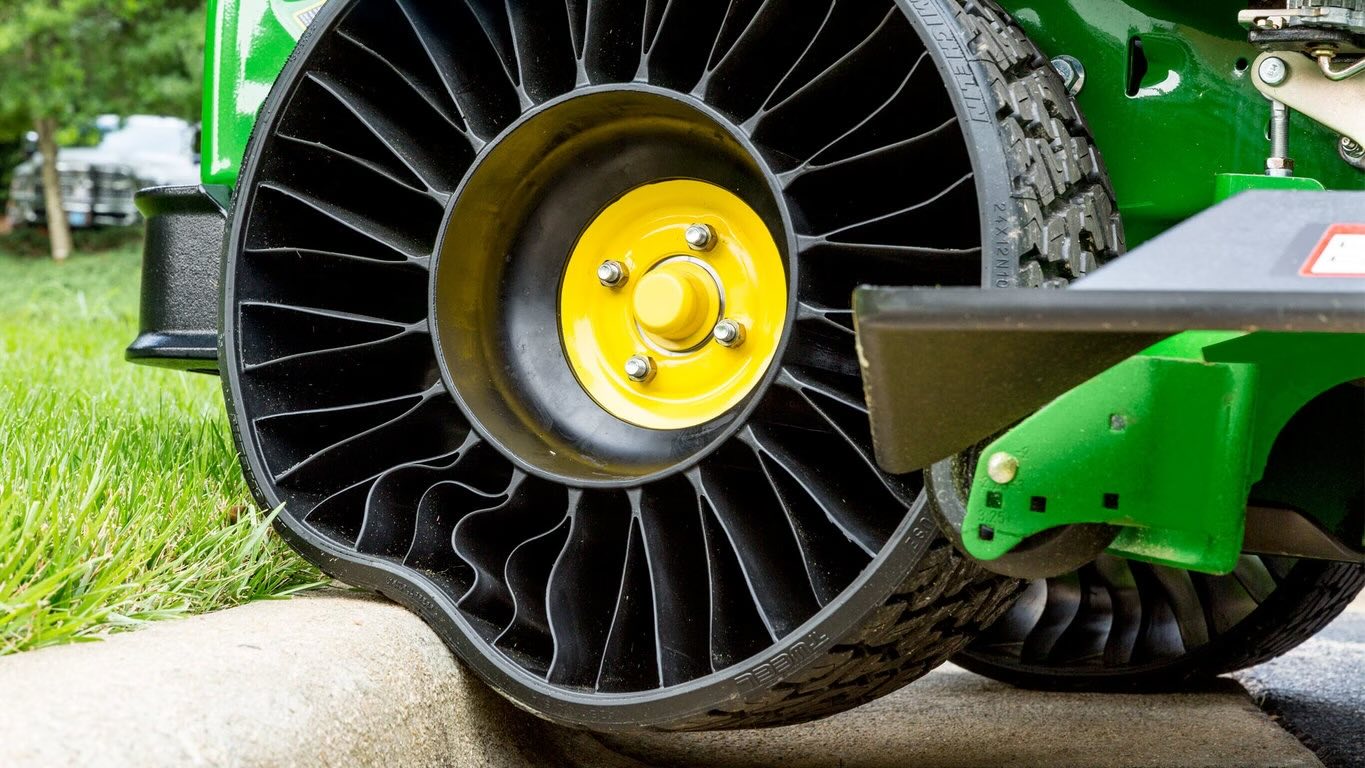
Welcome to our comprehensive guide on how to change a lawnmower battery. A lawnmower is an essential tool for maintaining a lush, well-manicured lawn, and a functional battery is crucial for powering the ignition system. Over time, the battery in your lawnmower may lose its charge or become damaged, requiring replacement to ensure seamless operation.
In this guide, we will walk you through the step-by-step process of changing a lawnmower battery, empowering you to tackle this task with confidence. Whether you're a seasoned DIY enthusiast or a novice looking to expand your mechanical skills, this guide is designed to provide you with the knowledge and insights needed to successfully replace the battery in your lawnmower.
Before diving into the practical steps, it's important to emphasize the significance of safety precautions when working with any machinery, including lawnmowers. Additionally, we'll outline the tools and materials necessary for this project, ensuring that you're well-prepared before embarking on the battery replacement process.
So, let's roll up our sleeves, gather our tools, and embark on this journey to rejuvenate your lawnmower with a brand-new battery!
Key Takeaways:
- Safety first! Always power down, wear protective gear, and work on a stable surface when changing a lawnmower battery to prevent accidents and ensure a smooth process.
- Gather the right tools and materials, locate and remove the old battery, install the new one, and test its functionality to keep your lawnmower running smoothly and efficiently.
Read more: How To Test A Lawnmower Battery
Safety Precautions
Before beginning any maintenance or repair work on your lawnmower, it’s crucial to prioritize safety. The following precautions should be observed to ensure a secure and risk-free environment:
- Power Down: Before handling the lawnmower or its components, ensure that the engine is turned off and that the spark plug wire is disconnected to prevent accidental starts.
- Cool Down Period: If the lawnmower has been in use, allow it to cool down completely before attempting to replace the battery to avoid burns or other heat-related injuries.
- Protective Gear: Wear appropriate protective gear, including gloves and safety glasses, to shield yourself from potential debris, battery acid, or other hazards.
- Stable Surface: Work on a flat, stable surface to prevent the lawnmower from tipping over during the battery replacement process.
- Battery Handling: When handling the old or new battery, ensure that it is kept upright and avoid tipping or mishandling to prevent spillage of battery acid.
- Proper Disposal: If the old battery is damaged or no longer functional, dispose of it in accordance with local regulations and environmental guidelines. Avoid contact with the battery acid and ensure safe disposal practices.
- Read the Manual: Refer to the lawnmower’s manual for specific safety instructions and precautions related to the battery and electrical components.
By adhering to these safety measures, you can minimize the risk of accidents and injuries while working on your lawnmower. Remember, safety should always be the top priority when engaging in any maintenance or repair activities.
Gather Necessary Tools and Materials
Before embarking on the task of changing the lawnmower battery, it’s essential to gather the required tools and materials. Having the right equipment at your disposal will streamline the process and ensure that you can complete the battery replacement efficiently. Here’s a list of the tools and materials you will need:
Tools:
- Socket Wrench Set: A socket wrench set with the appropriate socket sizes for removing the battery terminals and securing the new battery in place.
- Adjustable Wrench: An adjustable wrench may be necessary for specific lawnmower models to loosen and tighten battery terminal nuts.
- Battery Terminal Cleaner: A battery terminal cleaner or wire brush to remove any corrosion or buildup from the battery terminals and cable connectors.
- Safety Gloves: Durable, well-fitting gloves to protect your hands from dirt, battery acid, and potential sharp edges.
- Safety Glasses: Protective eyewear to shield your eyes from debris, especially when cleaning the battery terminals.
- Battery Acid Neutralizing Solution: In case of accidental spills or exposure to battery acid, having a neutralizing solution on hand is crucial for safety.
Materials:
- New Lawnmower Battery: Ensure that you have the correct replacement battery for your lawnmower model, with the appropriate voltage and dimensions.
- Baking Soda: This household item can be used to create a homemade solution for neutralizing battery acid if spills occur.
- Shop Rags or Paper Towels: Clean, absorbent rags or paper towels for wiping any dirt, grime, or battery acid during the battery replacement process.
- Corrosion Inhibitor Spray: A corrosion inhibitor spray can be applied to the battery terminals after installation to prevent future corrosion and ensure a reliable connection.
By ensuring that you have these tools and materials at your disposal, you can approach the battery replacement task with confidence and efficiency. Preparation is key to a successful outcome, and having the right equipment will contribute to a smooth and hassle-free process.
Read more: How Many Volts Is A Lawnmower Battery
Locate and Remove the Old Battery
Before you can install a new battery, you’ll need to locate and remove the old one from your lawnmower. Follow these steps to safely and effectively complete this part of the process:
- Locate the Battery: Depending on the make and model of your lawnmower, the battery may be located beneath the seat, under a protective cover, or in another designated compartment. Refer to your lawnmower’s manual if you’re unsure of its exact location.
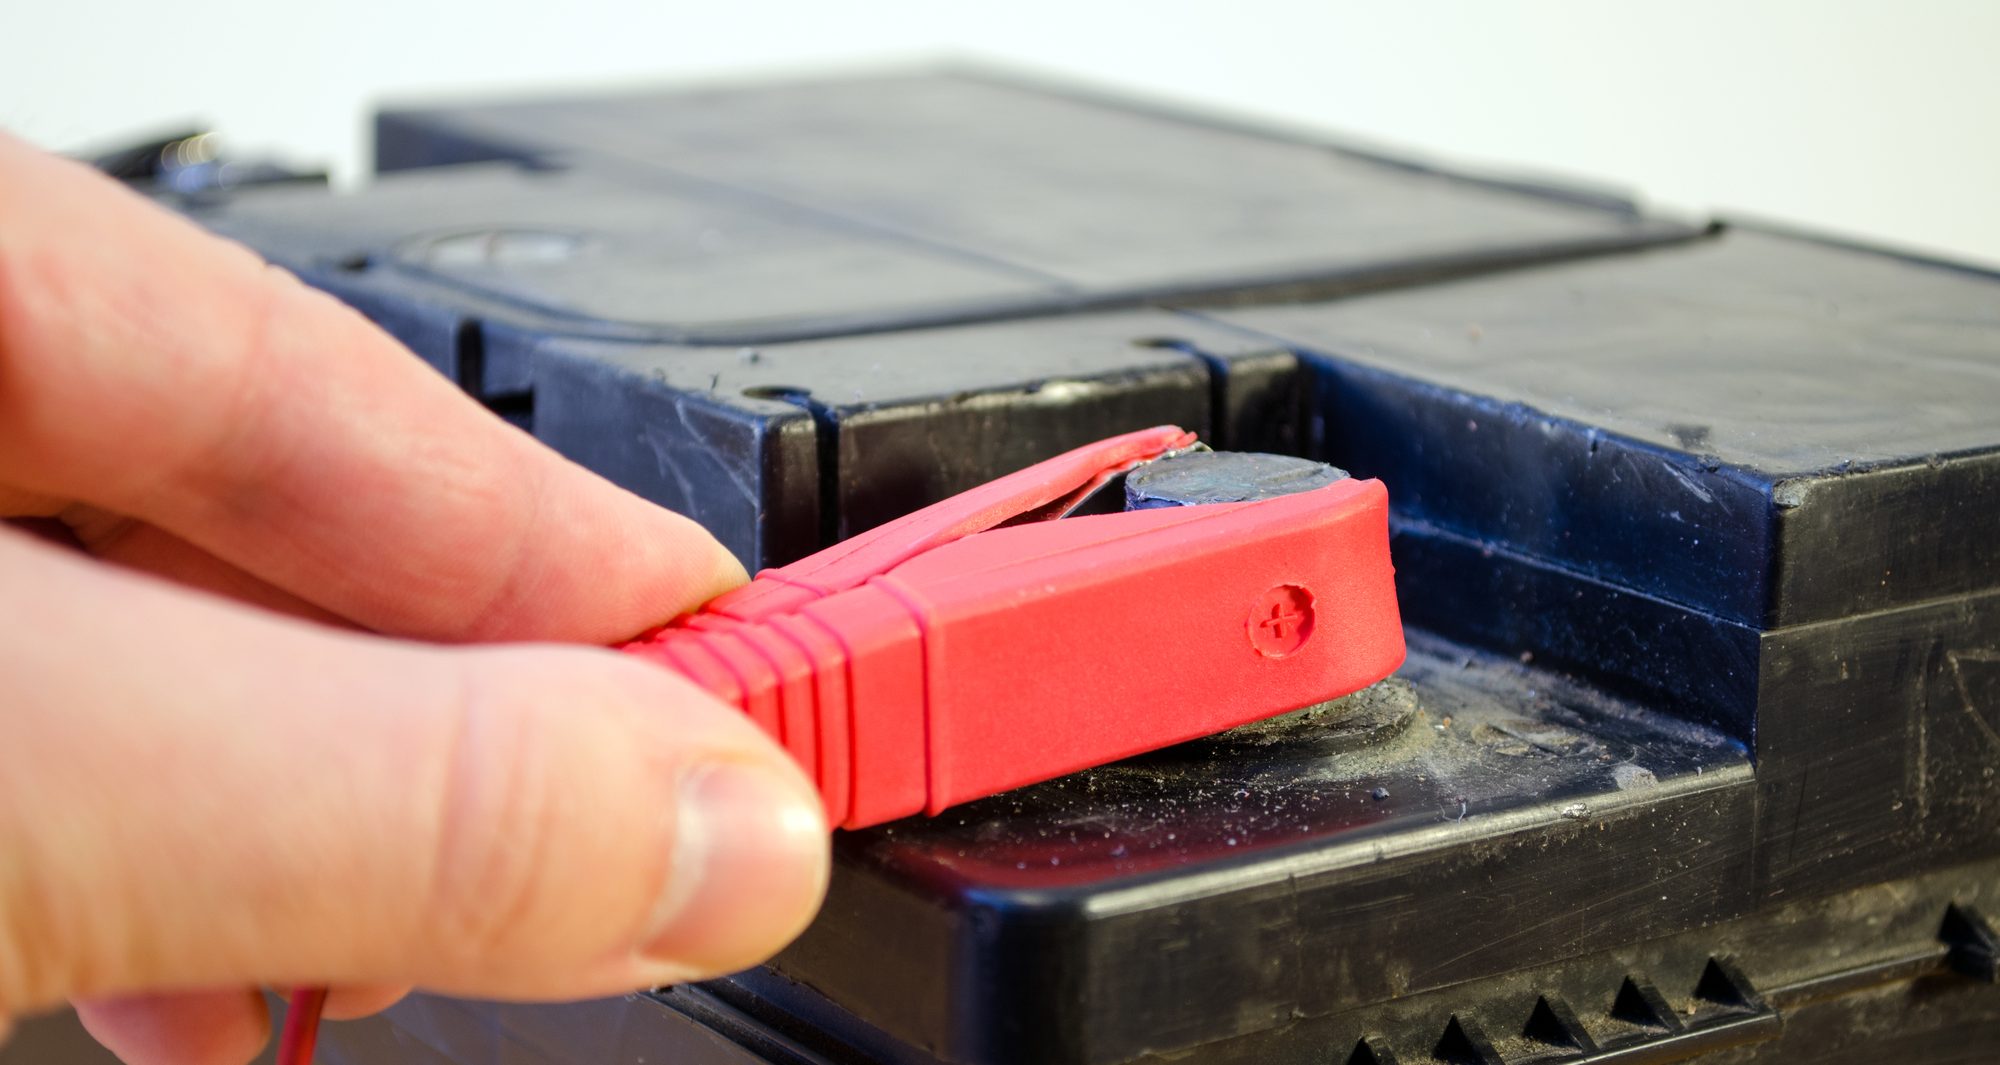
- Disconnect the Cables: Using the appropriate wrench or socket, carefully loosen and remove the cable connectors from the battery terminals. Start with the negative (-) terminal, followed by the positive (+) terminal. It’s essential to disconnect the cables in this order to minimize the risk of electrical hazards.
- Remove the Battery: Once the cables are detached, carefully lift the old battery out of its housing, ensuring that you have a firm grip and that it doesn’t tip over. Some batteries may be secured in place with a bracket or strap, so be sure to release any fastenings before attempting to remove it.
- Inspect for Damage: With the old battery removed, take a moment to inspect the battery tray and surrounding area for any signs of corrosion, damage, or debris. Cleaning this area before installing the new battery can help ensure a secure and reliable connection.
- Dispose of the Old Battery: If the old battery is damaged or no longer functional, it should be disposed of responsibly in accordance with local regulations. Many automotive or hardware stores offer battery recycling services, making it convenient to safely dispose of the old unit.
By carefully following these steps, you can successfully locate and remove the old battery from your lawnmower, paving the way for the installation of a new, reliable power source. With the old battery out of the way, you’re ready to proceed to the next crucial step: installing the new battery.
Install the New Battery
With the old battery safely removed, it’s time to install the new battery in your lawnmower. Follow these steps to ensure a smooth and secure installation:
- Prepare the Battery: Before placing the new battery into the lawnmower, inspect the terminals to ensure they are clean and free of any corrosion or debris. If necessary, use a battery terminal cleaner or wire brush to gently remove any buildup.
- Position the Battery: Carefully place the new battery into the designated compartment or tray, ensuring that it sits securely and does not shift or tip over. If the battery has a hold-down bracket or strap, secure it in place according to the manufacturer’s instructions.
- Connect the Cables: Starting with the positive (+) terminal, attach the corresponding cable connector to the terminal and tighten it securely using the appropriate wrench or socket. Repeat this process for the negative (-) terminal, ensuring a snug and reliable connection.
- Apply Corrosion Inhibitor: To protect the battery terminals and prevent corrosion, consider applying a thin coat of corrosion inhibitor spray after the cables are securely attached. This can help maintain a clean and reliable electrical connection.
- Secure the Battery: Once the new battery is in place and the cables are connected, double-check that it is securely positioned and that there is no risk of movement or dislodging during operation. This step is crucial for ensuring the safety and stability of the battery within the lawnmower.
By methodically following these steps, you can successfully install the new battery in your lawnmower, setting the stage for a revitalized power source that will support the efficient operation of your equipment. With the new battery securely in place, you’re ready to move on to the next important phase: testing the new battery to confirm its functionality.
When changing a lawnmower battery, always disconnect the negative terminal first to avoid any electrical accidents. Then, carefully remove the old battery and replace it with the new one, connecting the positive terminal first before reattaching the negative terminal.
Test the New Battery
After installing the new battery in your lawnmower, it’s essential to verify its functionality before resuming regular operation. Follow these steps to test the new battery and ensure that it is operating as expected:
- Inspect Connections: Double-check that the cable connectors are securely attached to the battery terminals. Ensure that the positive (+) and negative (-) terminals are correctly connected to their respective cables.
- Reconnect the Spark Plug Wire: If you disconnected the spark plug wire as a safety precaution before starting the battery replacement process, reattach it to the spark plug to restore the ignition system’s functionality.
- Turn the Ignition: With the new battery in place and all connections secure, attempt to start the lawnmower by turning the ignition key or engaging the start mechanism, depending on your lawnmower’s design.
- Observe Startup: Pay close attention to the lawnmower’s response when attempting to start it. If the new battery is functioning correctly, the engine should turn over smoothly, and the lawnmower should start without hesitation.
- Monitor Performance: Once the lawnmower is running, observe its performance for a few minutes to ensure that the new battery is providing the necessary power for smooth operation. Listen for any unusual sounds or irregularities that may indicate issues with the battery or electrical system.
By diligently following these testing steps, you can confirm that the new battery is fully operational and capable of powering your lawnmower effectively. If the lawnmower starts and runs smoothly without any issues, you can be confident that the new battery installation was successful.
However, if you encounter any difficulties or the lawnmower exhibits signs of a weak or faulty electrical system, it may be necessary to recheck the battery connections, seek professional assistance, or consider alternative troubleshooting steps to address the issue.
With the new battery successfully tested and confirmed to be in good working order, you can look forward to resuming your lawn maintenance tasks with a reliable and rejuvenated power source at your disposal.
Conclusion
Congratulations on successfully navigating the process of changing the battery in your lawnmower! By following the steps outlined in this guide, you’ve taken a proactive approach to maintaining the functionality and reliability of your essential lawn care equipment.
From prioritizing safety precautions to gathering the necessary tools and materials, locating and removing the old battery, installing the new battery, and testing its functionality, you’ve demonstrated a commendable commitment to the proper care and maintenance of your lawnmower.
It’s important to recognize that regular inspection and maintenance of the battery and electrical system in your lawnmower can contribute to its longevity and dependable performance. By staying attuned to the condition of the battery and addressing any issues promptly, you can ensure that your lawnmower remains a valuable asset in maintaining a well-groomed and inviting outdoor space.
As you continue to engage in lawn care and equipment maintenance, remember that periodic checks of the battery, cables, and electrical connections can help preempt potential issues and prolong the lifespan of your lawnmower. Additionally, staying informed about the specific maintenance recommendations outlined in your lawnmower’s manual can provide valuable insights and guidance tailored to your equipment’s make and model.
By embracing a proactive and attentive approach to the care of your lawnmower, you’re not only enhancing its performance and reliability but also contributing to a more enjoyable and efficient lawn care experience.
Thank you for entrusting us with the opportunity to guide you through the process of changing your lawnmower’s battery. We hope that this comprehensive guide has empowered you with the knowledge and confidence to tackle this maintenance task effectively and with peace of mind.
Here’s to many more seasons of effortless lawn maintenance and the satisfaction of a job well done. Happy mowing!
Frequently Asked Questions about How To Change A Lawnmower Battery
Was this page helpful?
At Storables.com, we guarantee accurate and reliable information. Our content, validated by Expert Board Contributors, is crafted following stringent Editorial Policies. We're committed to providing you with well-researched, expert-backed insights for all your informational needs.


0 thoughts on “How To Change A Lawnmower Battery”