Home>Technology>Security & Surveillance>How Do You Change The Batteries In A Kwikset Door Lock
Security & Surveillance
How Do You Change The Batteries In A Kwikset Door Lock
Modified: January 3, 2024
Learn how to change the batteries in your Kwikset door lock for enhanced security and surveillance. Follow our step-by-step guide to keep your home safe and secure.
(Many of the links in this article redirect to a specific reviewed product. Your purchase of these products through affiliate links helps to generate commission for Storables.com, at no extra cost. Learn more)
Introduction
Introduction
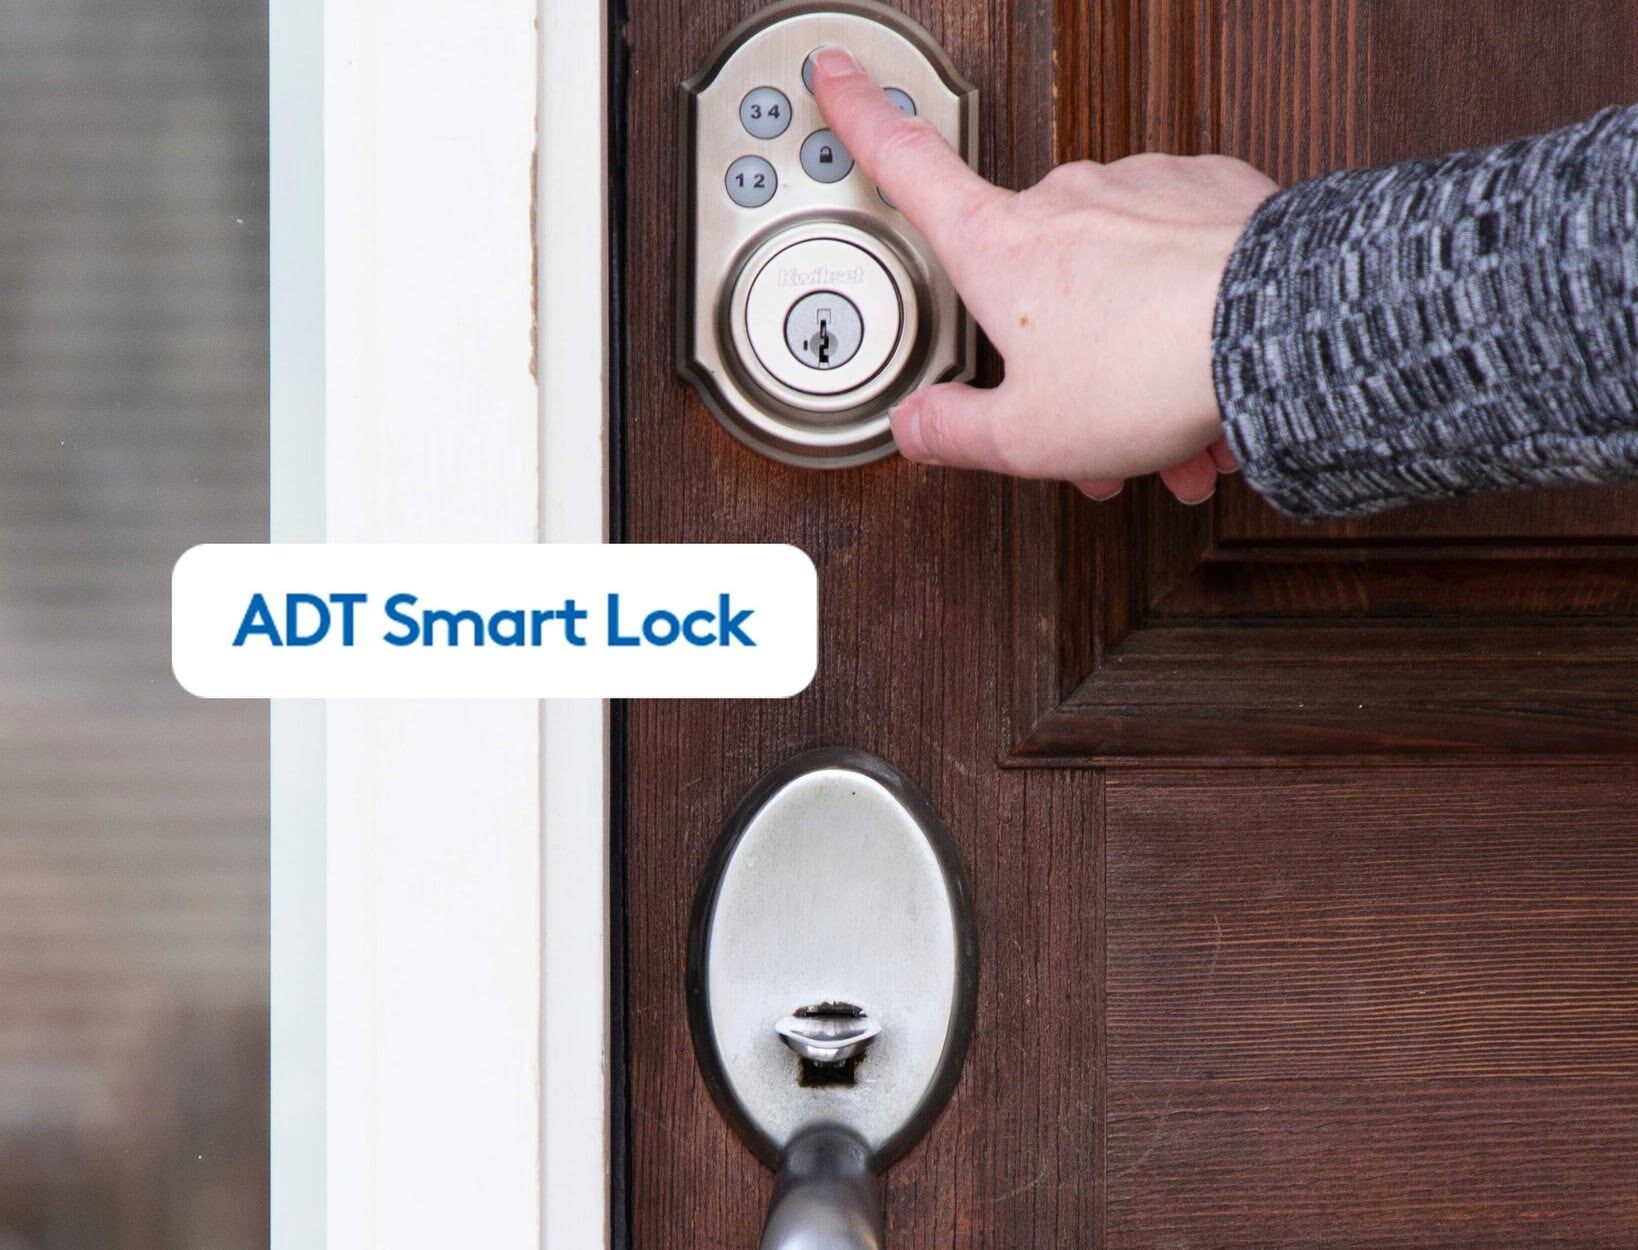
Welcome to the world of Kwikset door locks! These innovative and convenient locks provide an extra layer of security for your home while offering ease of use. However, like all electronic devices, Kwikset door locks require regular maintenance, including battery replacement. In this guide, we will walk you through the simple and essential process of changing the batteries in your Kwikset door lock.
Whether you're a new Kwikset lock owner or have been enjoying the benefits of this advanced technology for some time, knowing how to change the batteries is crucial for ensuring uninterrupted functionality. By following the steps outlined in this article, you'll be equipped with the knowledge and confidence to keep your Kwikset door lock operating smoothly.
So, grab your tools and let's dive into the process of changing the batteries in your Kwikset door lock. Whether you're a seasoned DIY enthusiast or a newcomer to home maintenance, this step-by-step guide will empower you to tackle this task with ease and efficiency. Let's get started!
Tools Required
Key Takeaways:
- Regularly changing the batteries in your Kwikset door lock is crucial for maintaining its reliability and ensuring uninterrupted security for your home.
- By following the simple steps outlined in this guide, you can confidently handle the battery replacement process and contribute to the long-term performance of your Kwikset lock.
Read more: How To Change Battery On Kwikset Smart Lock
Tools Required
Before embarking on the battery replacement process for your Kwikset door lock, it’s essential to gather the necessary tools. The good news is that you won’t need a vast array of specialized equipment for this task. Here are the basic tools you’ll need:
- Phillips Head Screwdriver: This tool will be used to remove the screws securing the cover of the lock.
- New Batteries: Ensure you have the correct type of batteries recommended for your specific Kwikset door lock model. Most Kwikset locks utilize AA alkaline batteries, but it’s always best to refer to the product manual for precise information.
- Clean Cloth: Having a clean cloth or paper towels on hand can help you wipe down any dust or debris that may have accumulated inside the battery compartment.
With these simple tools at your disposal, you’ll be well-prepared to proceed with the battery replacement process. Remember to work in a well-lit and comfortable environment, and ensure that you have a stable surface to place the lock cover and screws during the process. Now that you have your tools ready, it’s time to move on to the next step: removing the cover of the Kwikset door lock.
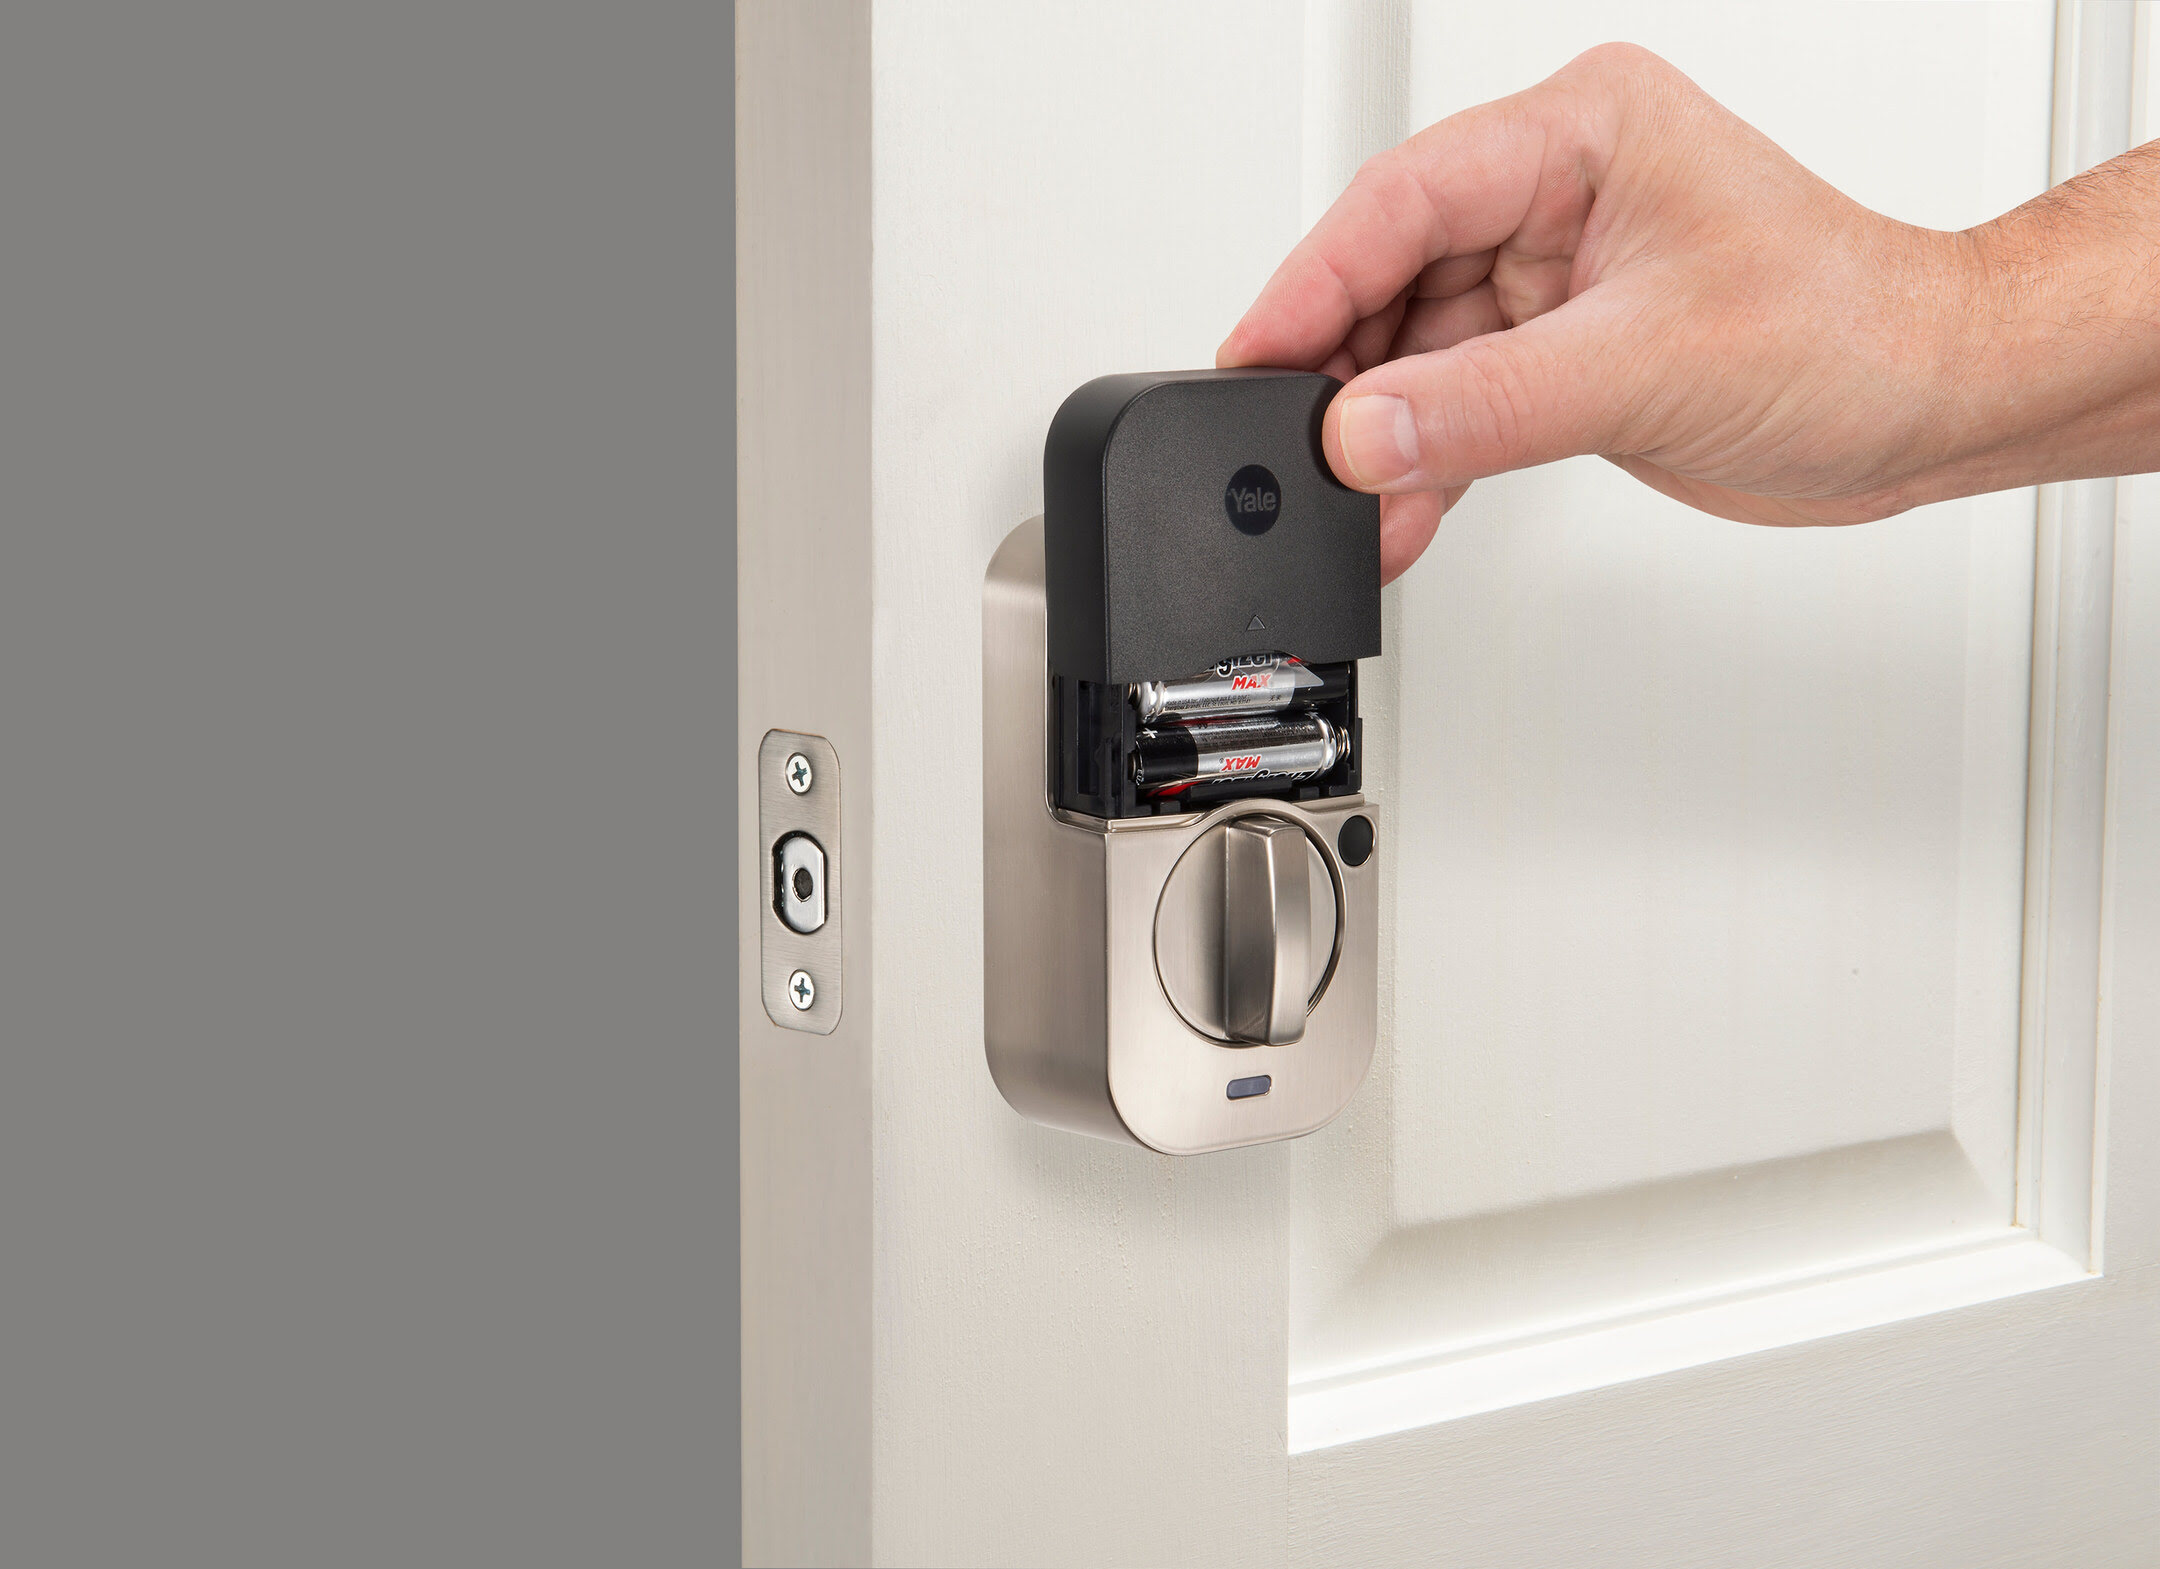
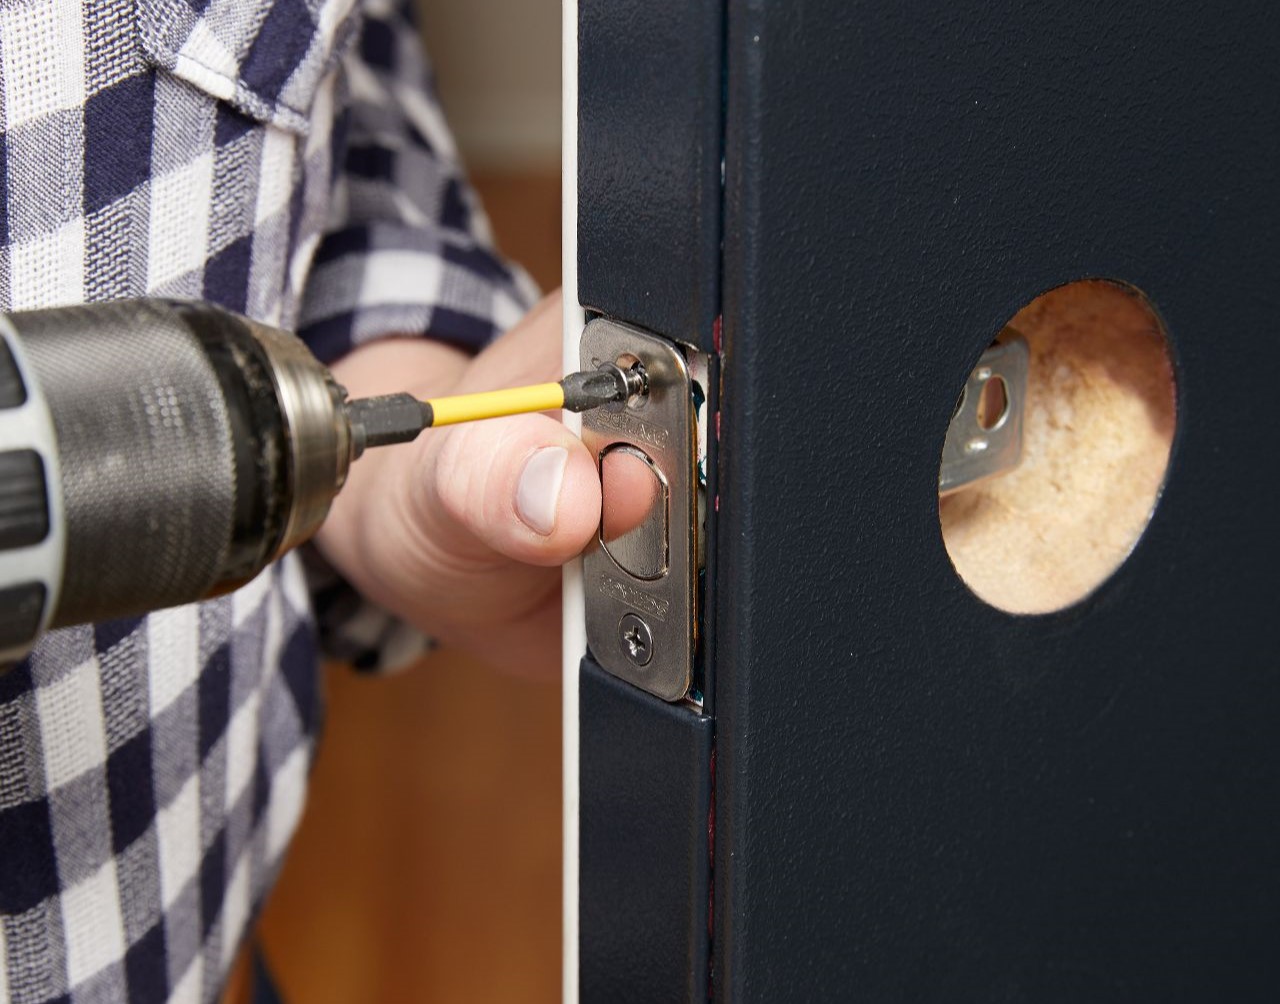
Removing the Cover
Removing the Cover
Before you can access the batteries in your Kwikset door lock, you’ll need to remove the cover that encases the battery compartment. This process is relatively straightforward and requires a Phillips head screwdriver, which was listed in the tools required section. Follow these steps to remove the cover:
- Locate the Screws: Depending on the model of your Kwikset lock, the cover may have one or two screws securing it in place. These screws are typically located on the interior portion of the lock, near the thumb turn.
- Unscrew the Cover: Use the Phillips head screwdriver to carefully loosen and remove the screws. Keep the screws in a secure place, as you’ll need them to reattach the cover later.
- Remove the Cover: Once the screws are removed, gently pull the cover away from the main body of the lock. Be mindful of any connecting wires or components, and avoid pulling forcefully to prevent damage.
With the cover successfully removed, you’ll now have clear access to the battery compartment. Take a moment to inspect the interior of the lock for any dust or debris, and use a clean cloth to wipe away any accumulation if necessary. Now that you’ve completed this step, you’re ready to move on to the next phase: removing the old batteries from the Kwikset lock.
Removing the Old Batteries
Removing the Old Batteries
With the cover of your Kwikset door lock successfully removed, the next step is to take out the old batteries from the battery compartment. This process is crucial for ensuring that the new batteries will operate efficiently. Follow these simple steps to remove the old batteries:
- Identify the Battery Compartment: Within the interior of the lock, you’ll find the battery compartment. It’s typically a small, rectangular enclosure designed to hold the batteries securely in place.
- Inspect the Battery Orientation: Take note of how the old batteries are positioned within the compartment. Most Kwikset locks use a standard orientation, with the positive and negative ends of the batteries aligned accordingly.
- Remove the Old Batteries: Carefully slide or lift out the old batteries from the compartment, paying attention to any spring-loaded terminals or connectors. If the batteries are stuck due to corrosion or residue, use a gentle twisting motion to release them.
- Dispose of the Old Batteries: Safely discard the old batteries according to your local regulations for battery disposal. Many communities have designated recycling centers or drop-off locations for proper battery disposal.
Once the old batteries have been removed and responsibly disposed of, take a moment to inspect the battery compartment for any signs of corrosion or buildup. If you notice any residue, use a clean cloth or cotton swab to gently clean the contacts and interior surfaces. With the old batteries out of the way, you’re now ready to proceed to the next step: inserting the new batteries into the Kwikset lock.
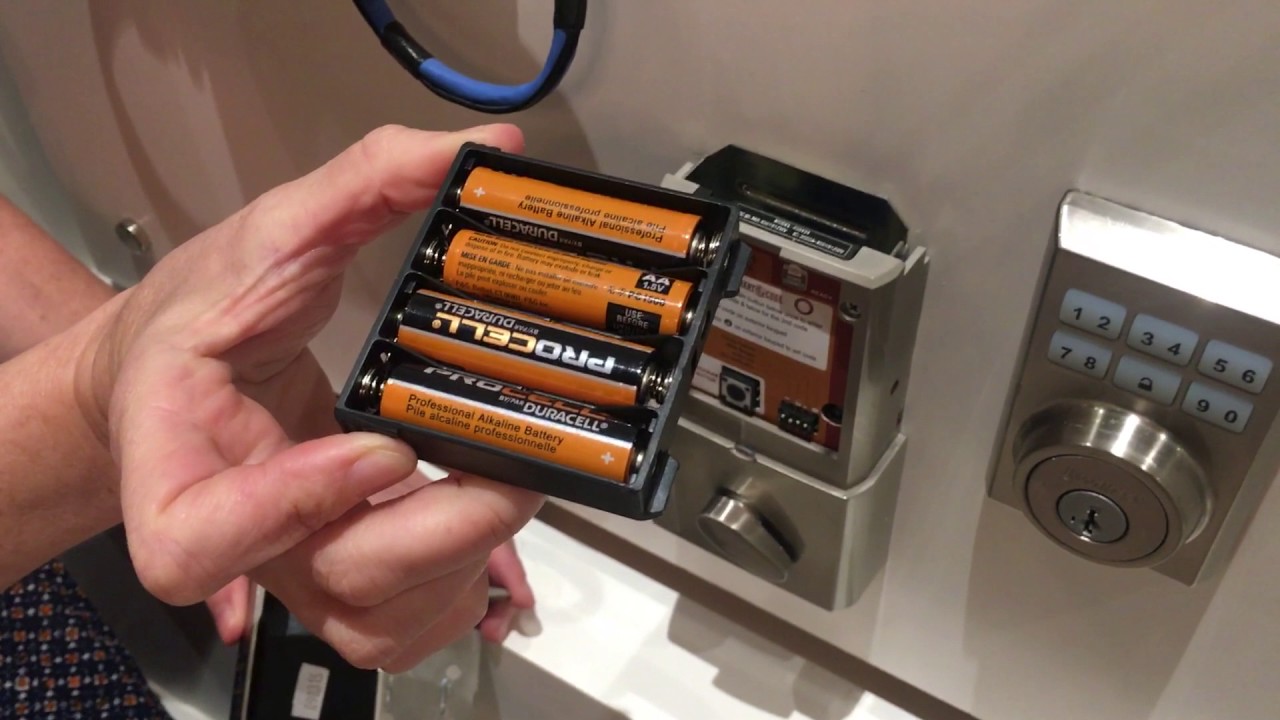
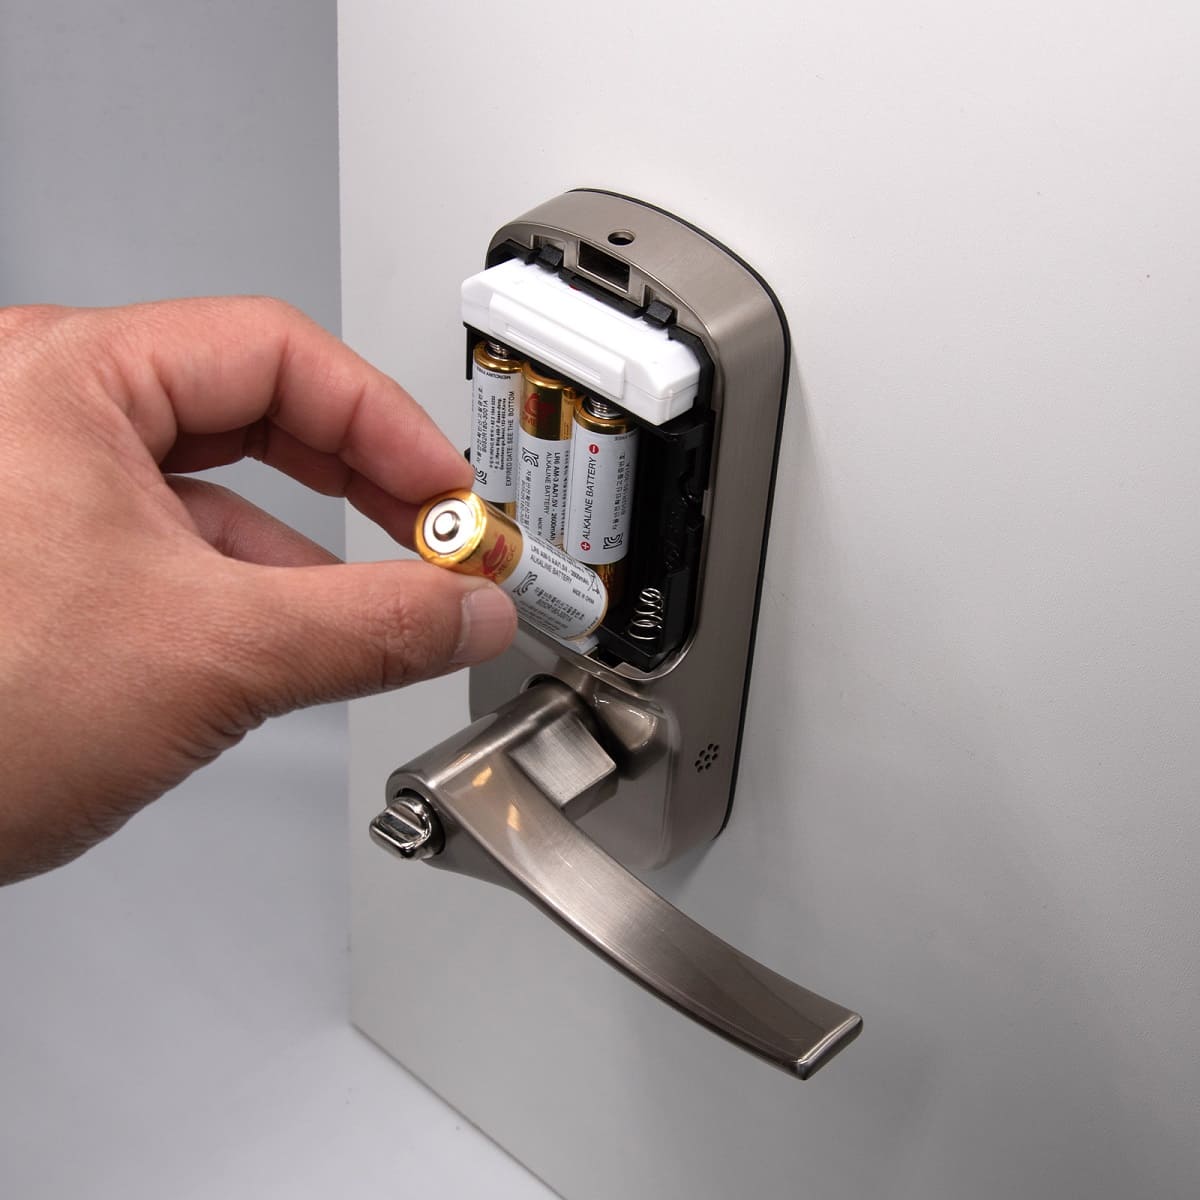
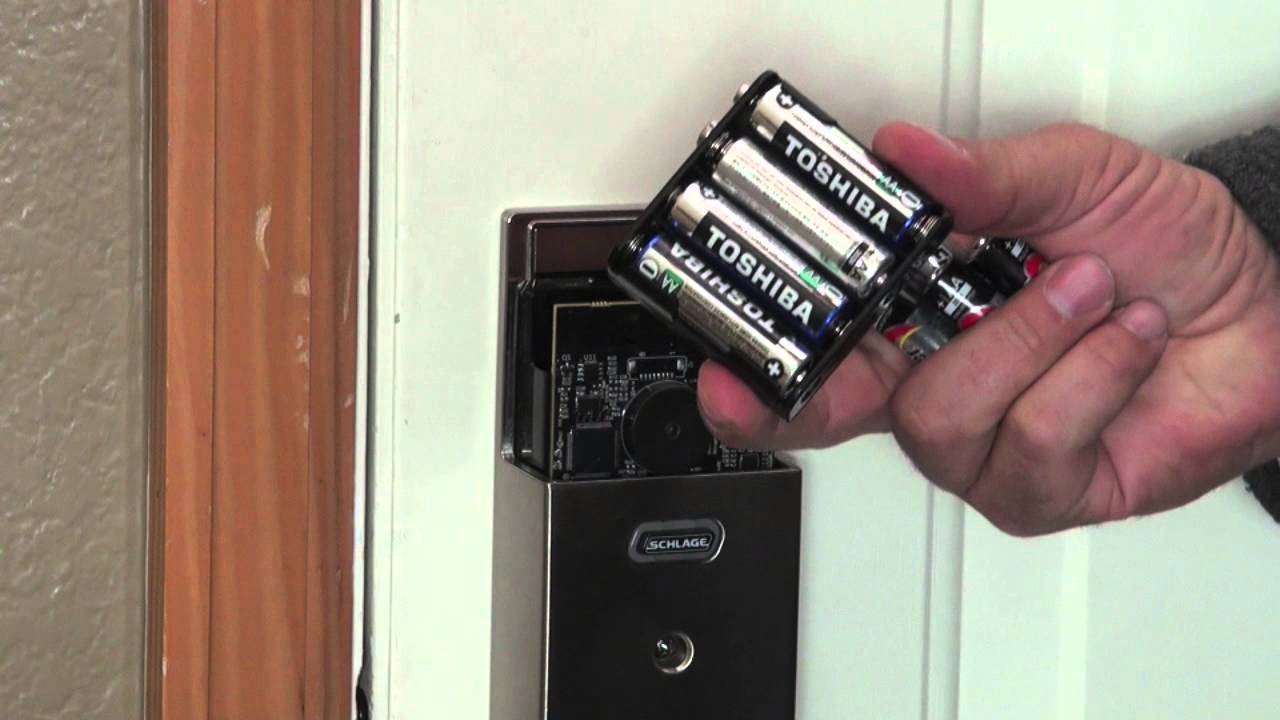
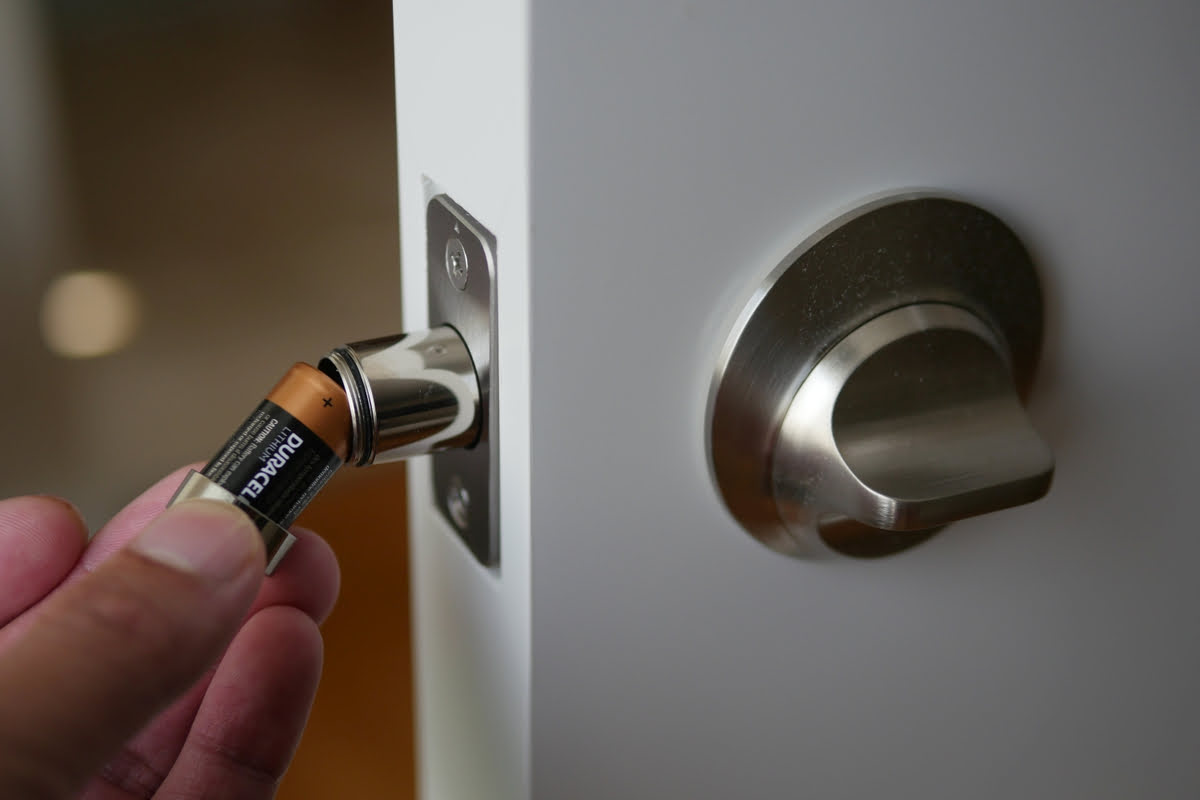
Inserting the New Batteries
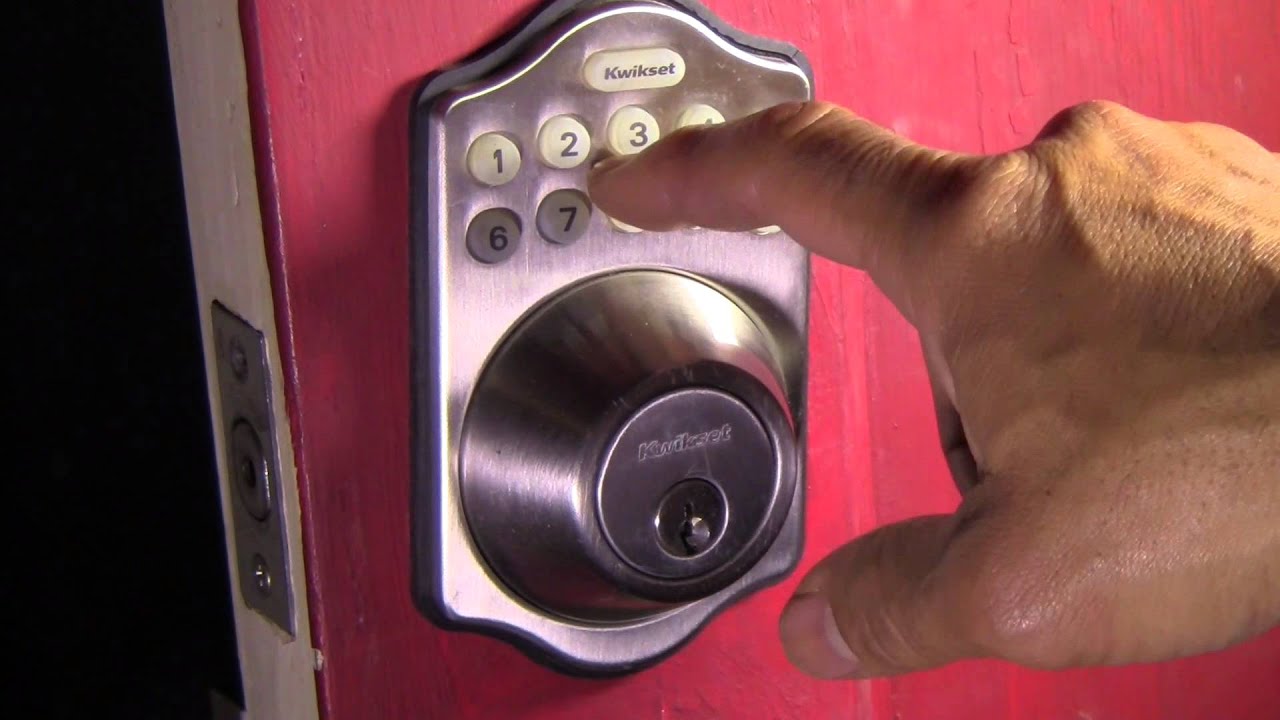
To change the batteries in a Kwikset door lock, locate the battery cover on the interior side of the lock, remove the cover, and replace the old batteries with new ones. Make sure to follow the correct polarity (+/-) when inserting the new batteries.
Inserting the New Batteries
Now that the old batteries have been removed from the battery compartment of your Kwikset door lock, it’s time to insert the new batteries. This step is crucial for restoring the lock’s functionality and ensuring reliable operation. Follow these straightforward steps to insert the new batteries:
- Check Battery Polarity: Before inserting the new batteries, verify the correct orientation by checking the polarity markings inside the battery compartment. The positive and negative symbols indicate how the batteries should be positioned.
- Insert the New Batteries: Take the new batteries and align them according to the correct polarity within the compartment. Slide or press the batteries firmly into place, ensuring they make secure contact with the terminals.
- Confirm Battery Engagement: Once the new batteries are inserted, ensure that they are seated properly and that the spring-loaded terminals, if present, are making good contact with the battery ends. This step is crucial for optimal performance.
- Replace the Battery Cover: If the battery compartment has a cover or lid, securely reattach it to the lock. Ensure that any locking mechanisms or tabs are properly engaged to prevent the cover from coming loose.
With the new batteries successfully inserted and secured within the battery compartment, you’ve completed a critical phase of the maintenance process. Before moving on to the next step, take a moment to confirm that the batteries are positioned correctly and that the compartment is free from any debris or obstructions. Now that the new batteries are in place, you’re ready to proceed to the following step: replacing the cover of the Kwikset door lock.
Replacing the Cover
Read more: How To Change Batteries On Door Lock
Replacing the Cover
With the new batteries securely in place within the battery compartment of your Kwikset door lock, the next step is to reattach the cover to the lock’s interior. This process ensures that the batteries remain protected and that the lock’s components are properly enclosed. Follow these simple steps to replace the cover:
- Position the Cover: Align the cover with the main body of the lock, taking care to position it correctly to allow for the reinsertion of the securing screws.
- Secure the Cover: If your lock’s cover features tabs or alignment guides, ensure that they are properly engaged before proceeding. This step helps maintain the cover’s stability and alignment during reattachment.
- Reattach the Screws: Using the Phillips head screwdriver, carefully insert and tighten the screws to secure the cover in place. Be mindful of the screw alignment and avoid over-tightening, as this may cause damage to the lock’s components.
- Confirm Cover Stability: Once the screws are in place, give the cover a gentle wiggle to confirm that it is securely attached and that there are no loose or protruding components.
After successfully replacing the cover and securing it with the screws, take a moment to ensure that the cover is flush with the lock’s body and that there are no gaps or misalignments. This step helps maintain the lock’s integrity and weather resistance. With the cover firmly reattached, you’re now ready to move on to the next phase: testing the lock to confirm proper battery functionality.
Testing the Lock
Testing the Lock
After completing the battery replacement process for your Kwikset door lock, it’s essential to perform a thorough test to confirm that the new batteries are providing the necessary power for the lock’s operation. Follow these steps to test the lock and ensure its functionality:
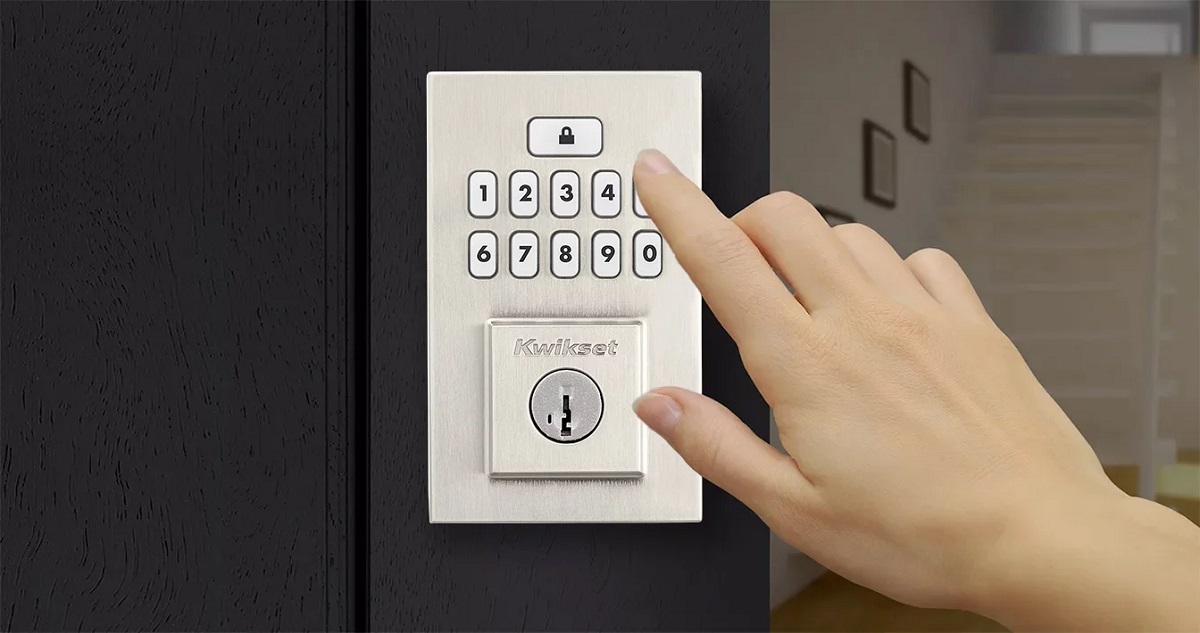
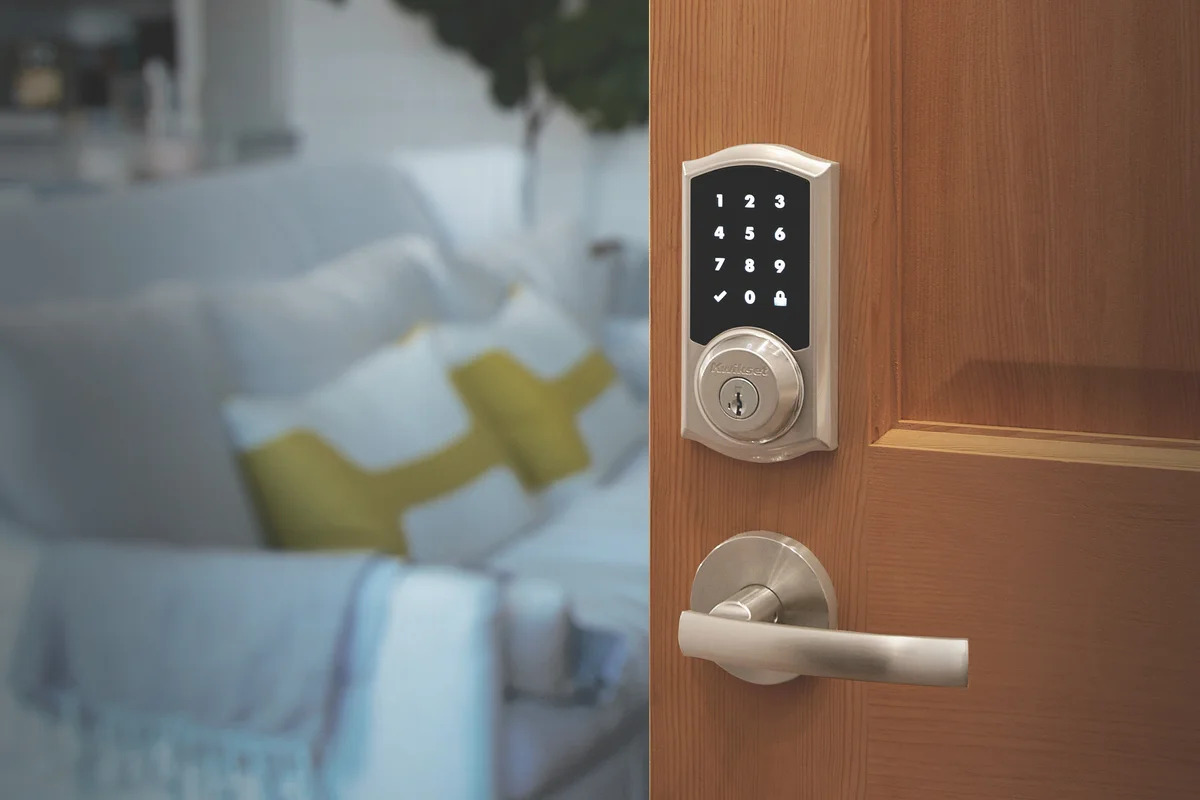
- Activate the Lock: Use the lock’s keypad, keyway, or other activation method to engage the locking mechanism. Ensure that the lock responds promptly and smoothly to the input, indicating that it is receiving power from the new batteries.
- Test Additional Features: If your Kwikset lock includes advanced features such as remote access or integration with smart home systems, test these functionalities to confirm that the lock is operating as expected.
- Monitor Battery Indicator: If your lock is equipped with a battery status indicator, observe the display to ensure that it reflects the installation of new batteries and shows an appropriate power level.
- Perform Multiple Operations: Engage the lock multiple times to simulate regular usage. This step helps verify the consistent performance of the lock and ensures that the new batteries are sustaining its operation.
By conducting a comprehensive test of the lock, you can gain confidence in the successful replacement of the batteries and the overall functionality of the Kwikset lock. If the lock operates smoothly and responsively during testing, it indicates that the new batteries are providing the necessary power for continued use. With the testing phase completed, you can now feel assured that your Kwikset door lock is ready to offer reliable security and convenience.
Conclusion
Conclusion
Congratulations on successfully completing the battery replacement process for your Kwikset door lock! By following the step-by-step guide outlined in this article, you’ve taken an essential maintenance task into your own hands and ensured the continued functionality of your lock. As a result, you can enjoy peace of mind knowing that your home security system remains reliable and effective.
Changing the batteries in your Kwikset door lock is a straightforward yet vital aspect of lock maintenance. By being proactive in this regard, you contribute to the longevity and consistent performance of your lock, ultimately enhancing the security of your home or property.
Remember, regular battery replacement is key to preventing unexpected lockouts or malfunctions, especially in advanced electronic locks. By incorporating this task into your home maintenance routine, you can avoid potential inconveniences and uphold the operational integrity of your Kwikset lock.
As you reflect on the process you’ve completed, take pride in your ability to handle this essential maintenance task with confidence and precision. Your proactive approach to maintaining your Kwikset door lock ensures that it will continue to serve as a reliable guardian of your home’s security.
Thank you for entrusting us to guide you through the battery replacement process for your Kwikset door lock. We hope this article has empowered you with the knowledge and skills to tackle this task effectively. As you move forward, may your Kwikset lock continue to provide you with the peace of mind and convenience that you deserve.
Frequently Asked Questions about How Do You Change The Batteries In A Kwikset Door Lock
Was this page helpful?
At Storables.com, we guarantee accurate and reliable information. Our content, validated by Expert Board Contributors, is crafted following stringent Editorial Policies. We're committed to providing you with well-researched, expert-backed insights for all your informational needs.

0 thoughts on “How Do You Change The Batteries In A Kwikset Door Lock”