Home>Technology>Security & Surveillance>How To Install A Smart Lock
Security & Surveillance
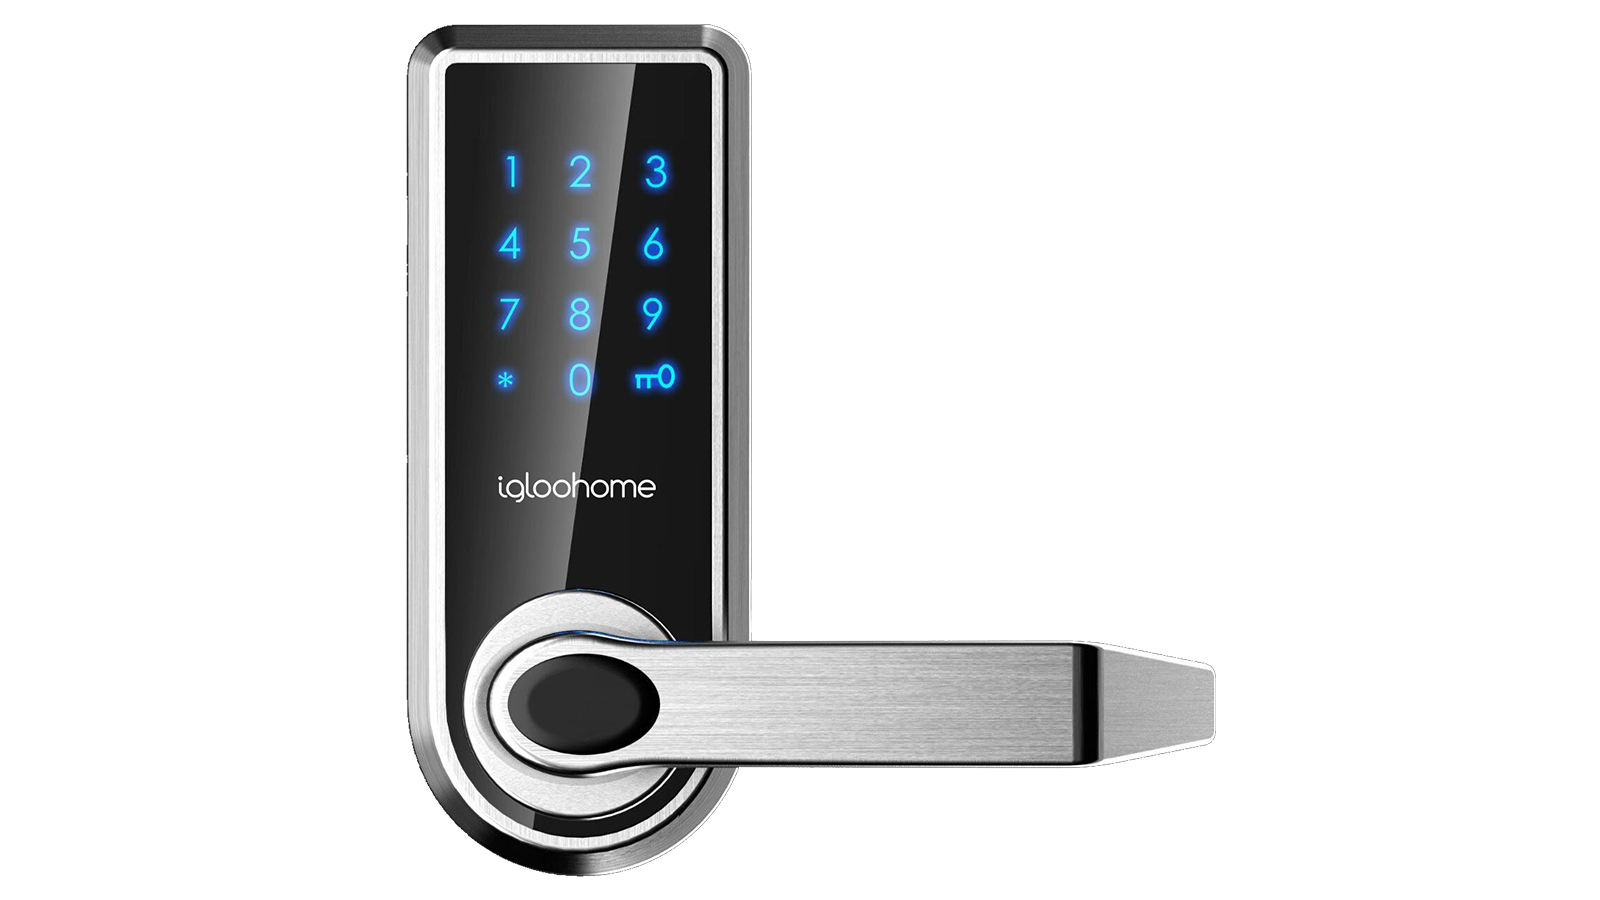
How To Install A Smart Lock
Modified: February 25, 2024
Learn how to install a smart lock for enhanced security and surveillance at home. Follow our step-by-step guide for a seamless setup process.
(Many of the links in this article redirect to a specific reviewed product. Your purchase of these products through affiliate links helps to generate commission for Storables.com, at no extra cost. Learn more)
Introduction
Welcome to the future of home security! Installing a smart lock is a fantastic way to enhance the convenience and safety of your home. These innovative devices not only provide keyless entry but also offer remote access and monitoring capabilities through smartphone integration. In this guide, we will walk you through the step-by-step process of installing a smart lock, empowering you to take control of your home’s security in a modern and efficient manner.
Whether you’re a tech enthusiast or simply seeking a more convenient way to access your home, smart locks offer a myriad of benefits. From eliminating the need for physical keys to granting temporary access to guests, these devices are designed to simplify your life while bolstering your home’s security. Get ready to embark on this exciting journey of upgrading your home with the latest in smart security technology!
Key Takeaways:
- Upgrade your home security with a smart lock for keyless entry, remote access, and monitoring through smartphone integration. Enjoy convenience and peace of mind in modernizing your home’s security.
- Follow the step-by-step guide to install and connect your smart lock, ensuring a seamless and successful process. Test its features to fully embrace the convenience and security it brings to your home.
Read more: How To Install A Smart Door Lock
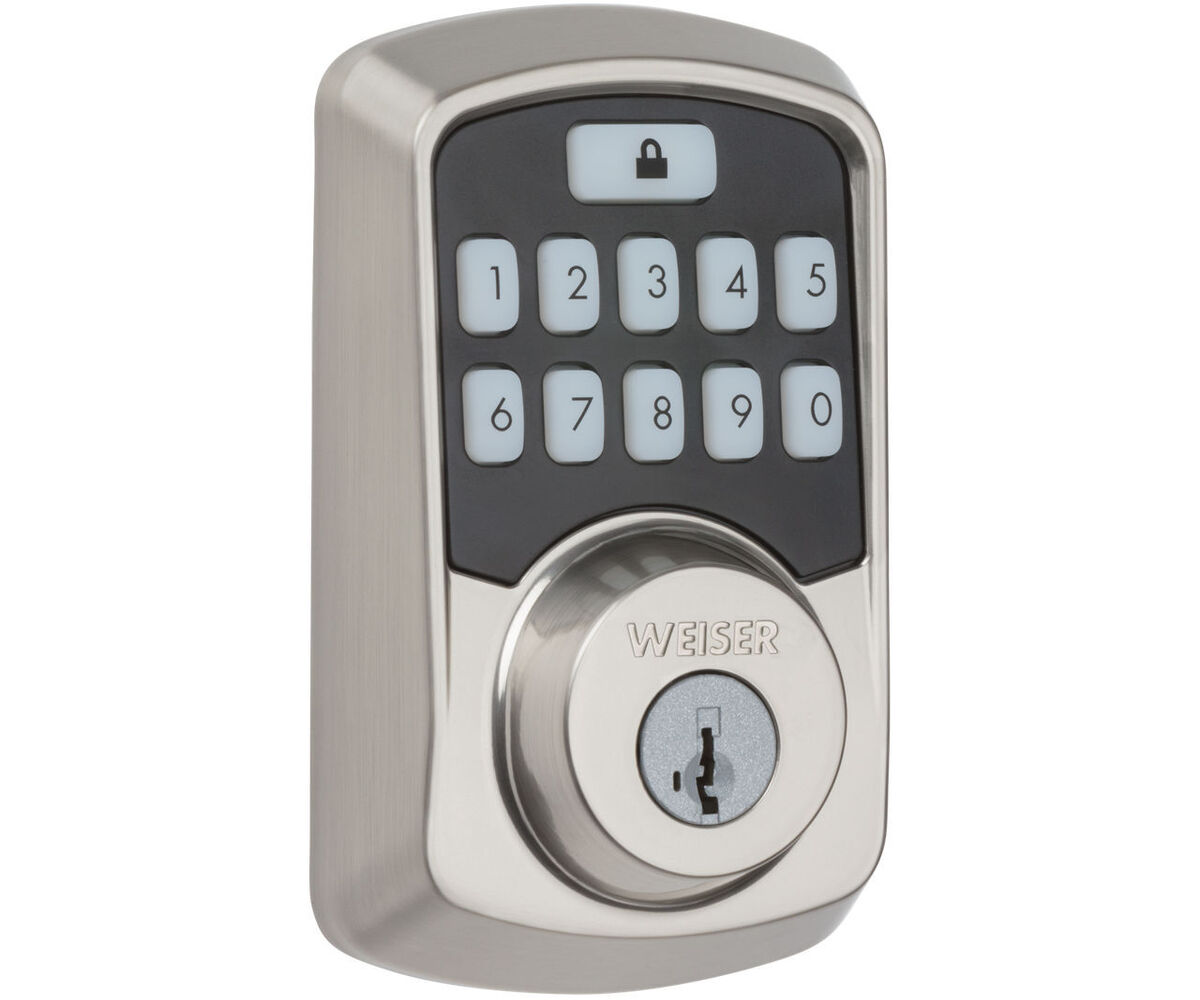
Step 1: Gather the Necessary Tools and Materials
Before diving into the installation process, it’s crucial to gather all the essential tools and materials. Ensuring that you have everything on hand will streamline the installation and prevent unnecessary interruptions. Here’s a comprehensive list of what you’ll need:
- Smart Lock Kit: This includes the smart lock device, mounting hardware, and any additional components specific to the model you’ve chosen.
- Phillips Head Screwdriver: To remove the existing lock and handle, as well as to install the new smart lock.
- Tape Measure: Essential for taking precise measurements to ensure proper fit during installation.
- Pencil: For marking the positions of screws and other hardware on the door.
- Hammer: If the new lock requires any minor adjustments or tapping during installation.
- Smartphone or Tablet: You’ll need this to download the corresponding smart lock app and connect the lock to your home network.
- Stable Internet Connection: A reliable Wi-Fi network or Bluetooth connectivity is necessary for the smart lock to function seamlessly.
- Batteries: Depending on the smart lock model, you may need AA or AAA batteries to power the device.
- User Manual: Always refer to the manufacturer’s instructions for specific guidance related to your smart lock model.
By ensuring that you have all the necessary tools and materials at your disposal, you’ll be well-prepared to embark on the installation process with confidence and ease. With everything in hand, you’re ready to move on to the next step of this exciting journey!
Step 2: Remove the Old Lock
Before installing your new smart lock, it’s essential to remove the existing lock and handle from your door. This process typically involves a few straightforward steps:
- Unscrew and Remove the Existing Deadbolt: Use a Phillips head screwdriver to loosen and remove the screws holding the deadbolt in place. Once the screws are out, carefully pull out the old deadbolt assembly from the door.
- Take Out the Latch and Strike Plate: Unscrew and remove the latch and strike plate from the edge of the door. These components are usually held in place by screws and can be easily detached once the screws are removed.
- Detach the Door Handles: If your door has a handle set, unscrew and remove the handle assembly from both sides of the door. This step may vary depending on the type of handle you have, but most handle sets can be detached by unscrewing the connecting screws.
- Clean and Prepare the Door: Once all the old lock components are removed, take this opportunity to clean the door surface and ensure it’s free of any debris or obstructions. This will provide a clean and smooth surface for installing the new smart lock.
After successfully removing the old lock, you’re now ready to move on to the exciting phase of installing your new smart lock. By following these steps diligently, you’re laying the groundwork for a seamless and successful installation process. Let’s dive into the next step and bring your home security into the 21st century!
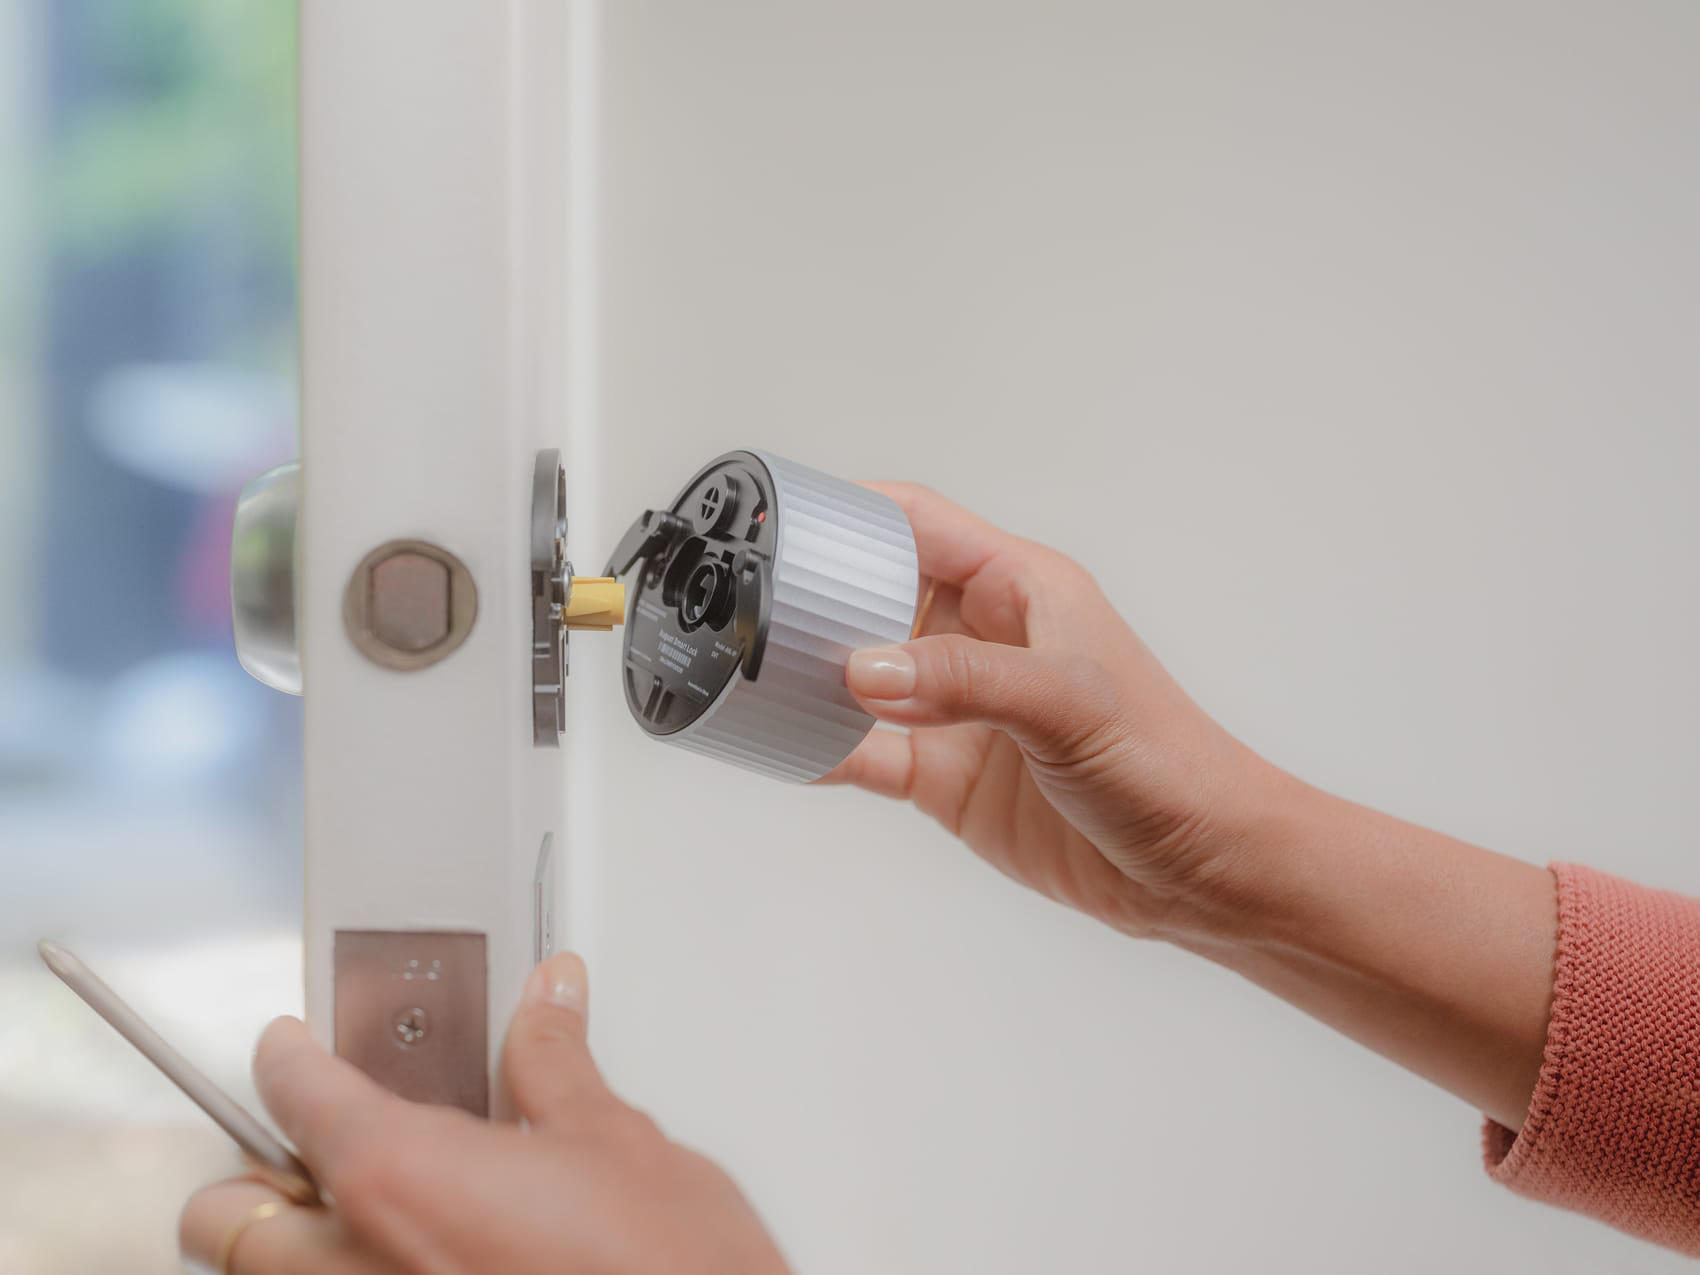
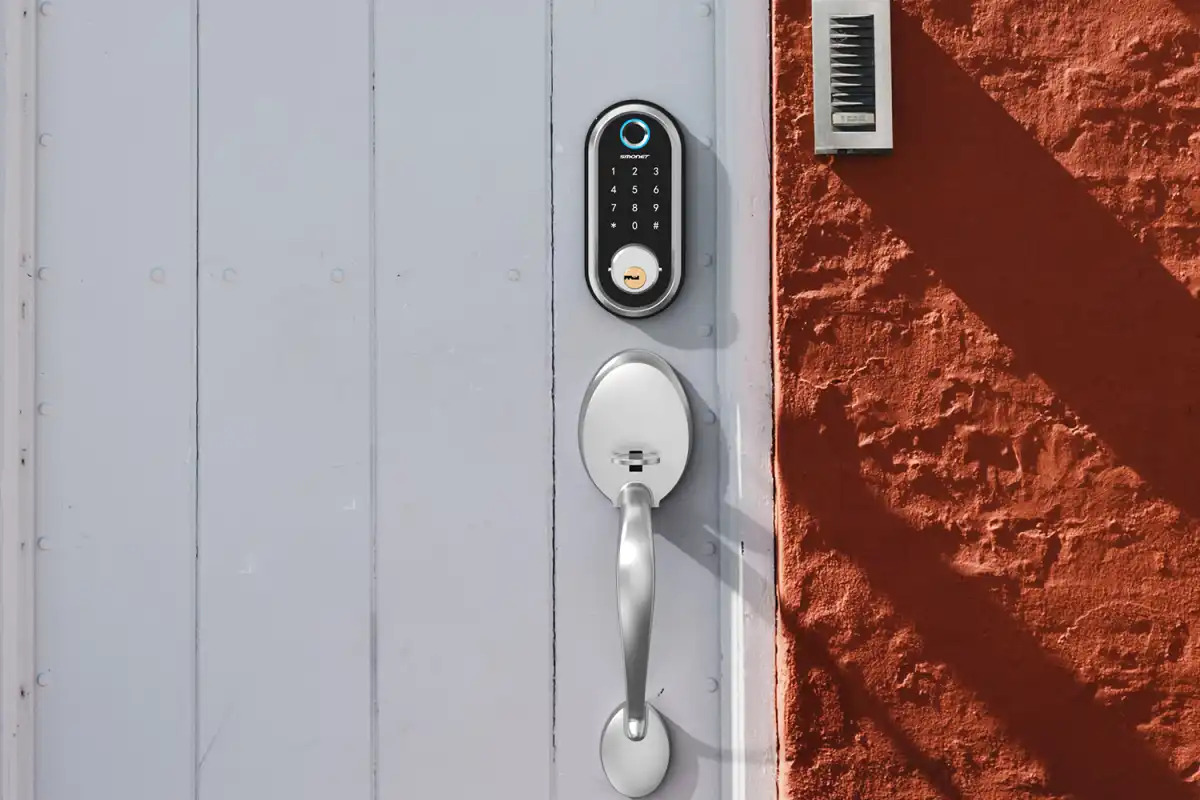
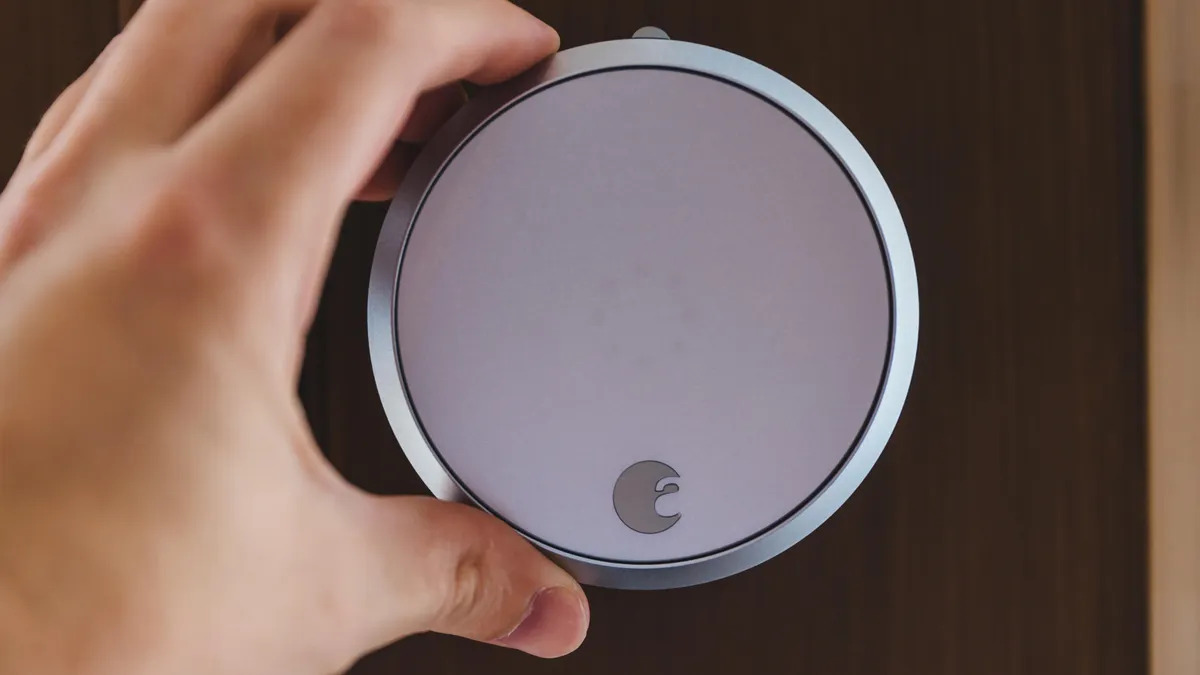
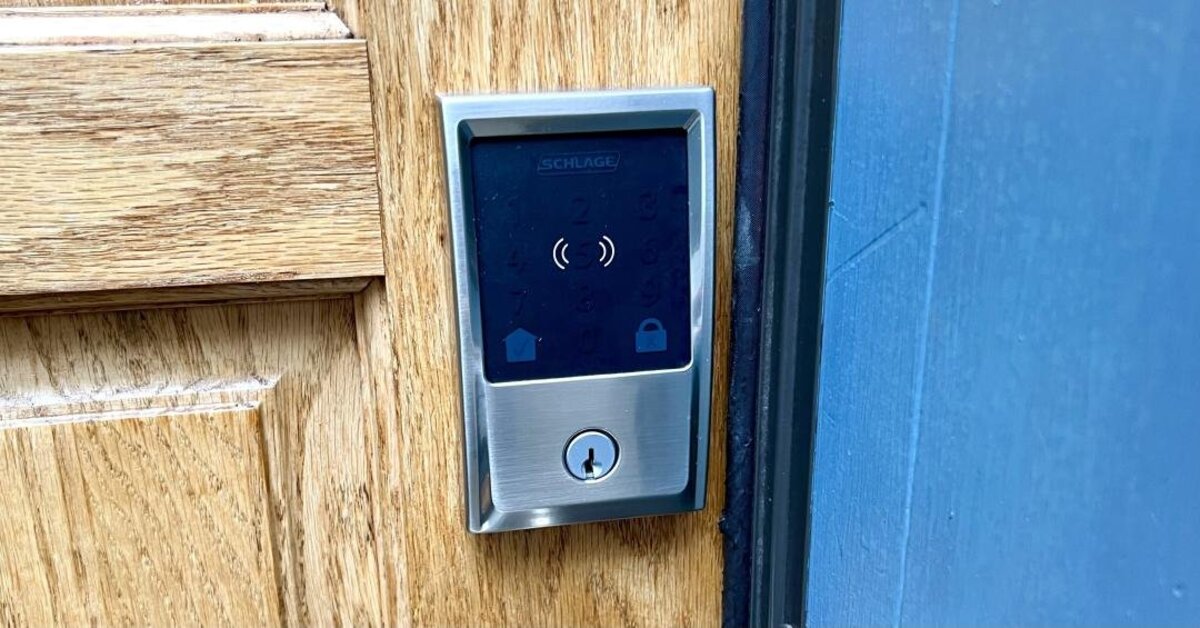
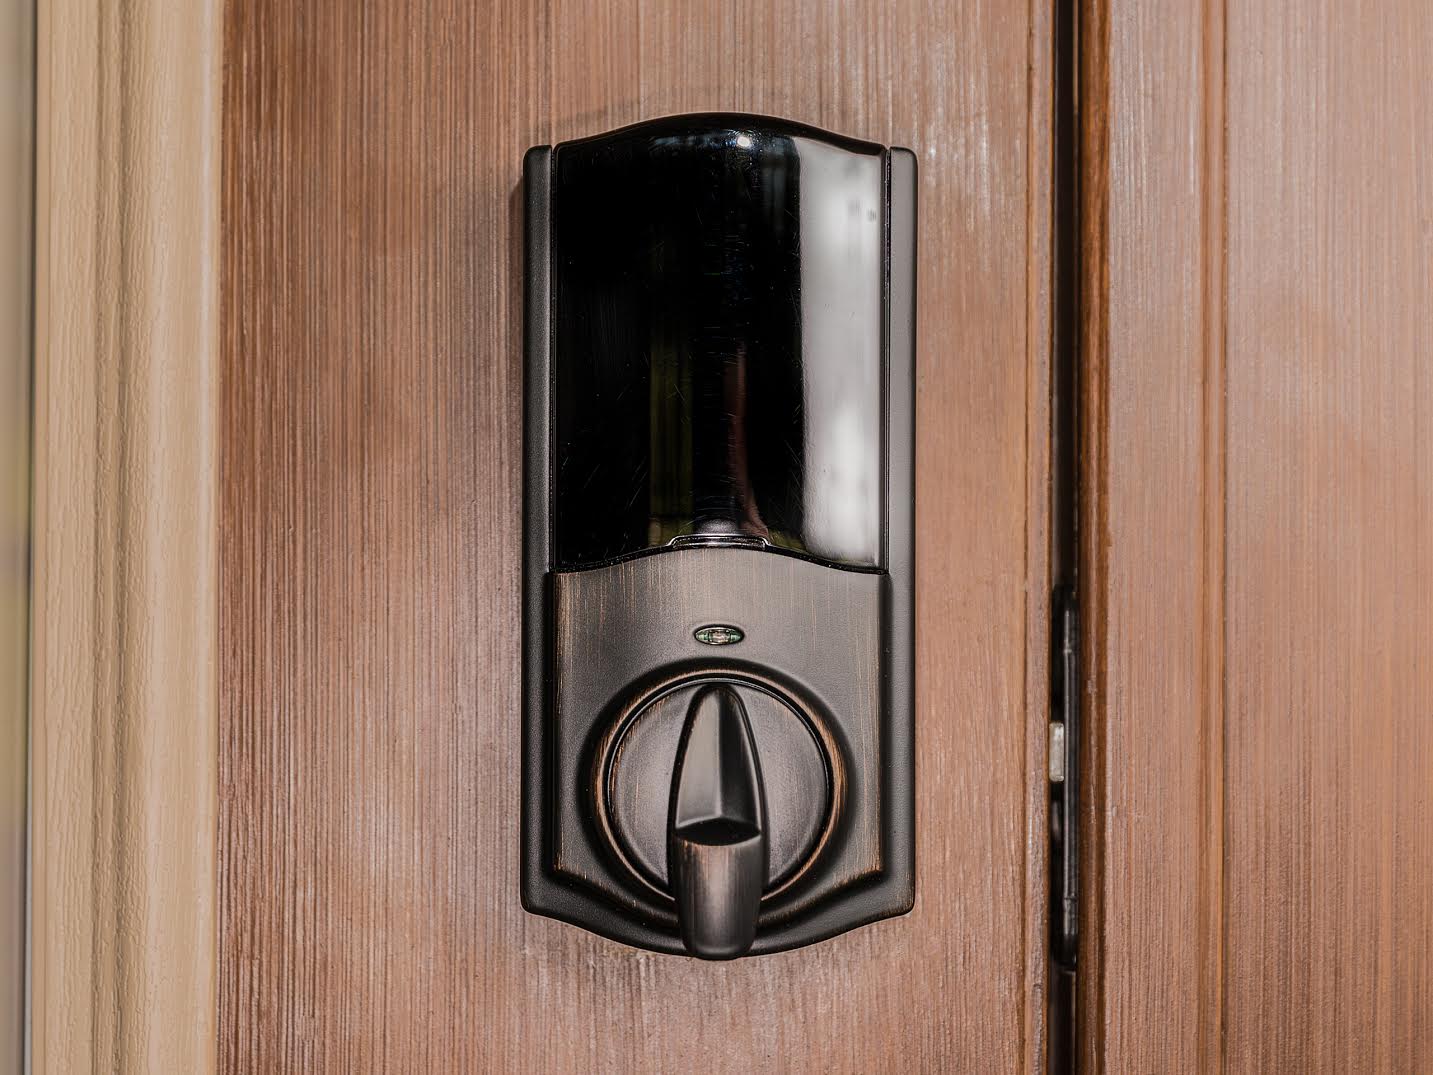
Step 3: Install the Smart Lock
Now comes the exciting part – installing your new smart lock! This step is where you’ll bring cutting-edge technology to your door, enhancing both security and convenience. Follow these general guidelines for installing a typical smart lock:
- Read the Manufacturer’s Instructions: Before proceeding, carefully review the user manual and installation guide provided by the smart lock manufacturer. Each smart lock model may have specific nuances and requirements, so it’s crucial to familiarize yourself with the provided instructions.
- Prepare the Smart Lock: Depending on the model, you may need to insert batteries into the smart lock to power it up. Once powered, follow the manufacturer’s instructions to initialize the lock and prepare it for installation.
- Position the Smart Lock: Place the smart lock on the interior side of the door, aligning it with the pre-existing borehole or markings left by the previous lock. Ensure that the lock is oriented correctly based on the manufacturer’s instructions.
- Secure the Smart Lock: Use the provided screws and mounting hardware to securely fasten the smart lock to the door. Follow the specific instructions for your smart lock model to ensure proper installation. Avoid overtightening the screws, as this could affect the lock’s functionality.
- Attach Additional Components: If your smart lock includes additional components, such as a strike plate or cover, carefully attach them according to the manufacturer’s guidelines. These components are essential for the proper functioning and security of the smart lock.
By following these steps, you’ll be well on your way to successfully installing your new smart lock. Remember, precision and attention to detail are key during this process. Once the smart lock is securely installed, you’re ready to move on to the next step of connecting it to your smartphone and unlocking a world of innovative security features!
Before installing a smart lock, make sure to check if your door is compatible with the lock. Some smart locks require specific door types, so it’s important to verify before purchasing.
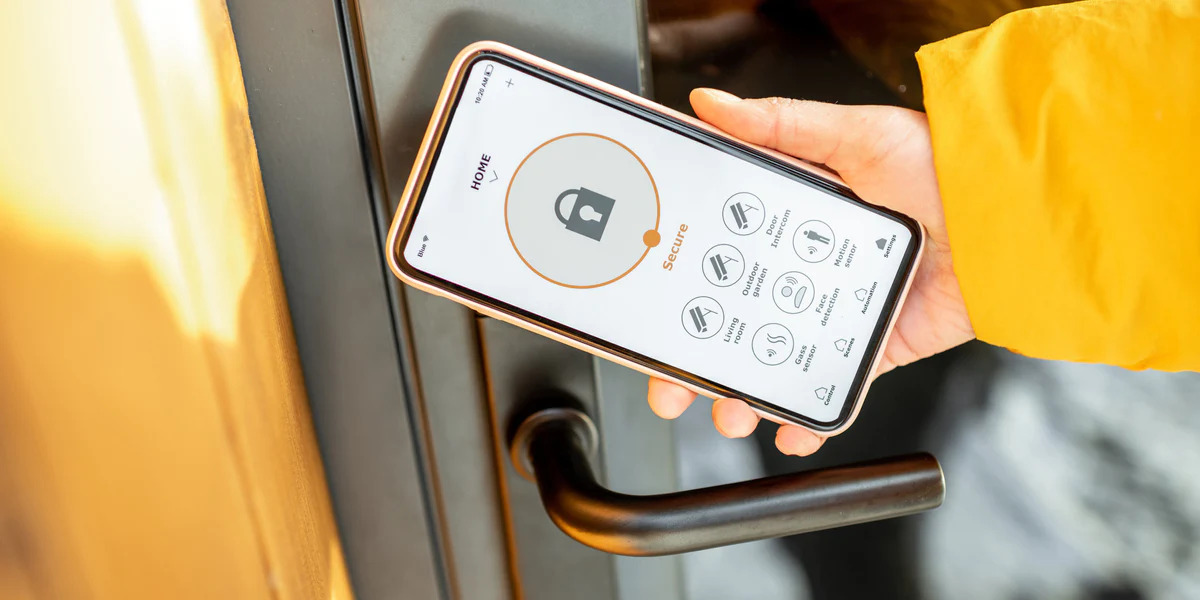
Step 4: Connect the Smart Lock to Your Smartphone
Now that your smart lock is securely installed, it’s time to harness its full potential by connecting it to your smartphone. This step will enable you to unlock a host of convenient features, such as remote access, activity logs, and personalized user settings. Follow these general steps to connect your smart lock to your smartphone:
- Download the Smart Lock App: Visit the App Store or Google Play Store on your smartphone and search for the corresponding app for your smart lock model. Download and install the app onto your device.
- Create an Account: Open the app and create a new account or log in if you already have one. Follow the app’s prompts to set up your account and ensure that it’s linked to your smart lock.
- Add the Smart Lock to the App: Using the app, follow the provided instructions to add your smart lock to your account. This typically involves scanning a QR code or following specific pairing procedures outlined in the app.
- Pair the Smart Lock with Your Smartphone: Once the smart lock is added to your account, initiate the pairing process between the lock and your smartphone. This may involve Bluetooth or Wi-Fi connectivity, depending on the smart lock model.
- Configure Settings and Permissions: Within the app, customize your smart lock settings, such as user access permissions, auto-lock features, and notifications. Tailor these settings to suit your preferences and security requirements.
By successfully connecting your smart lock to your smartphone, you’ll unlock a new realm of control and visibility over your home’s security. With the ability to monitor and manage your smart lock remotely, you’ll enjoy unparalleled peace of mind and convenience. Now, let’s move on to the final step of testing your smart lock to ensure that everything is functioning as intended!
Read more: How To Install Kwikset Smart Lock
Step 5: Test the Smart Lock
With your smart lock installed and connected to your smartphone, it’s time to put it to the test. Verifying that the lock operates smoothly and integrates seamlessly with your mobile device is crucial for ensuring its effectiveness. Follow these steps to thoroughly test your smart lock:
- Test Manual Operation: Begin by testing the manual operation of the smart lock. Use the provided physical keys or keypad (if applicable) to lock and unlock the door. Ensure that the locking mechanism engages smoothly and without resistance.
- Verify Smartphone Control: Open the smart lock app on your smartphone and test the remote control features. Use the app to lock and unlock the smart lock from a distance, ensuring that the commands are executed promptly and accurately.
- Explore Additional Features: If your smart lock offers advanced features such as user-specific access codes, activity logs, or geofencing, take the time to explore and test these functionalities. Familiarize yourself with the full spectrum of capabilities offered by your smart lock.
- Adjust Settings as Needed: Based on your testing experience, fine-tune the smart lock settings to align with your preferences. Whether it’s adjusting auto-lock timing or refining user permissions, ensure that the smart lock operates according to your desired parameters.
- Perform Multiple Test Cycles: To validate the reliability of the smart lock, perform multiple test cycles throughout the day. This will help identify any potential issues or inconsistencies in its operation under various conditions.
By diligently testing your smart lock, you’ll gain confidence in its performance and familiarize yourself with its features. This comprehensive evaluation ensures that your smart lock is fully operational and ready to safeguard your home with cutting-edge security technology. With successful testing complete, you can now revel in the peace of mind and convenience offered by your newly installed smart lock!
Conclusion
Congratulations on successfully installing and testing your new smart lock! By embracing this innovative security solution, you’ve taken a significant step towards modernizing your home’s access control and bolstering its protection. The convenience, flexibility, and peace of mind offered by a smart lock are invaluable assets in today’s fast-paced world. As you conclude this installation journey, it’s essential to reflect on the benefits and newfound capabilities that your smart lock brings to your home.
With a smart lock in place, you no longer need to fret about misplaced keys or rushed trips back home to double-check if the door is locked. The ability to remotely monitor and manage your home’s entry points through your smartphone empowers you to stay connected and in control, no matter where you are. Whether granting temporary access to visitors, receiving real-time alerts, or tracking entry logs, the smart lock’s features are designed to simplify your life and enhance your home security.
As you revel in the seamless integration of technology and security, take a moment to appreciate the peace of mind that comes with knowing your home is equipped with the latest in smart access control. Embrace the newfound convenience and confidence that your smart lock provides, and rest assured that your home is safeguarded by a cutting-edge security solution.
As you embark on this exciting journey with your smart lock, remember that ongoing maintenance and regular software updates are essential to ensure optimal performance and security. Stay informed about the latest advancements in smart lock technology and continue to explore the evolving landscape of smart home security.
Thank you for joining us on this installation adventure, and may your new smart lock bring you unparalleled convenience, security, and peace of mind for years to come!
Frequently Asked Questions about How To Install A Smart Lock
Was this page helpful?
At Storables.com, we guarantee accurate and reliable information. Our content, validated by Expert Board Contributors, is crafted following stringent Editorial Policies. We're committed to providing you with well-researched, expert-backed insights for all your informational needs.


0 thoughts on “How To Install A Smart Lock”