Home>Technology>Security & Surveillance>How To Install Kwikset Smart Lock
Security & Surveillance
How To Install Kwikset Smart Lock
Modified: August 17, 2024
Learn how to install Kwikset smart lock for enhanced security and surveillance. Follow step-by-step instructions for a quick and easy setup.
(Many of the links in this article redirect to a specific reviewed product. Your purchase of these products through affiliate links helps to generate commission for Storables.com, at no extra cost. Learn more)
Introduction
Welcome to the world of smart home security! In this guide, we'll walk you through the process of installing a Kwikset Smart Lock. This innovative device not only enhances the security of your home but also adds a touch of modern convenience to your life. With the Kwikset Smart Lock, you can say goodbye to fumbling for keys and hello to keyless entry using advanced technology.
The installation process may seem daunting at first, but fear not! We've broken it down into simple, easy-to-follow steps that will have you enjoying the benefits of your new smart lock in no time. Whether you're a tech-savvy DIY enthusiast or just someone looking to upgrade their home security, this guide is designed to help you every step of the way.
Before we dive into the installation process, it's important to note that the Kwikset Smart Lock comes in various models, each with its own unique features and installation requirements. Be sure to consult the specific user manual for your model to ensure a smooth installation experience.
Now, let's get ready to transform your traditional deadbolt into a cutting-edge smart lock that offers both security and convenience. Gather your tools, roll up your sleeves, and let's embark on this exciting journey to upgrade your home security system!
Key Takeaways:
- Upgrade your home security with a Kwikset Smart Lock for keyless entry and modern convenience. Follow simple steps to install and set up the smart lock, enhancing your daily life with advanced technology.
- Gather tools and materials, remove the existing deadbolt, install the Kwikset Smart Lock, and set it up for personalized access and remote control. Embrace the future of home security with ease and confidence.
Read more: How To Lock Kwikset Smart Lock
Step 1: Gather Necessary Tools and Materials
Before diving into the installation process, it’s essential to gather all the tools and materials required to ensure a seamless and efficient setup of your Kwikset Smart Lock. Here’s a comprehensive list of what you’ll need:
Tools:
- Phillips head screwdriver
- Flat head screwdriver
- Measuring tape
- Hammer
Materials:
- Kwikset Smart Lock (specific model as per your preference)
- Four AA batteries
- Door frame reinforcer (if recommended for your specific door type)
- Backup mechanical key (provided with the smart lock)
- Mounting plate and screws (included with the smart lock)
Ensure that you have all the tools and materials readily available before commencing the installation. This will streamline the process and prevent unnecessary interruptions as you progress through the subsequent steps.
Additionally, it’s important to review the user manual provided with your Kwikset Smart Lock. Familiarizing yourself with the instructions and diagrams specific to your model will contribute to a successful installation experience. Take a moment to understand the components of the smart lock and how they integrate with your existing door structure.
By gathering the necessary tools and materials and acquainting yourself with the user manual, you’re setting the stage for a smooth and efficient installation of your Kwikset Smart Lock. With everything in place, you’re ready to move on to the next step and begin transforming your traditional deadbolt into a state-of-the-art smart lock system.
Step 2: Remove the Existing Deadbolt
Now that you have all the necessary tools and materials at hand, it’s time to bid farewell to your traditional deadbolt and prepare the door for the installation of the Kwikset Smart Lock. This step involves carefully removing the existing deadbolt to make way for the innovative smart lock system.
Read more: How To Reset A Kwikset Smart Lock
1. Prepare the Work Area:
Before you begin, ensure that the area around the door is clear and well-lit. This will provide ample space for maneuvering and prevent any obstructions during the removal process.
2. Secure the Door:
To prevent the door from swinging while you work, use a doorstop or have someone hold the door steady. This will make the removal process safer and more manageable.
3. Disassemble the Deadbolt:
Using a Phillips head screwdriver, carefully unscrew and remove the screws securing the deadbolt plate on the edge of the door. Once the plate is detached, proceed to unscrew and remove the interior and exterior portions of the deadbolt assembly. Set these components aside for future reference, as they may be needed for troubleshooting or in the event of reverting to a traditional lock system.
4. Remove the Latch Mechanism:
With the deadbolt assembly removed, focus on the latch mechanism on the edge of the door. Utilize a flat head screwdriver to release the latch from the door frame, allowing you to fully extract the existing deadbolt hardware.
Read more: How To Remove Kwikset Smart Lock
5. Inspect the Door:
Take a moment to inspect the door and the surrounding area to ensure that no damage has occurred during the removal process. This is also an opportune time to clean and prepare the door surface for the installation of the Kwikset Smart Lock.
By following these steps, you’ll successfully remove the existing deadbolt and prepare the door for the installation of the Kwikset Smart Lock. With the old hardware out of the way, you’re now ready to usher in the next generation of home security and convenience. The stage is set for the exciting installation of your new smart lock!
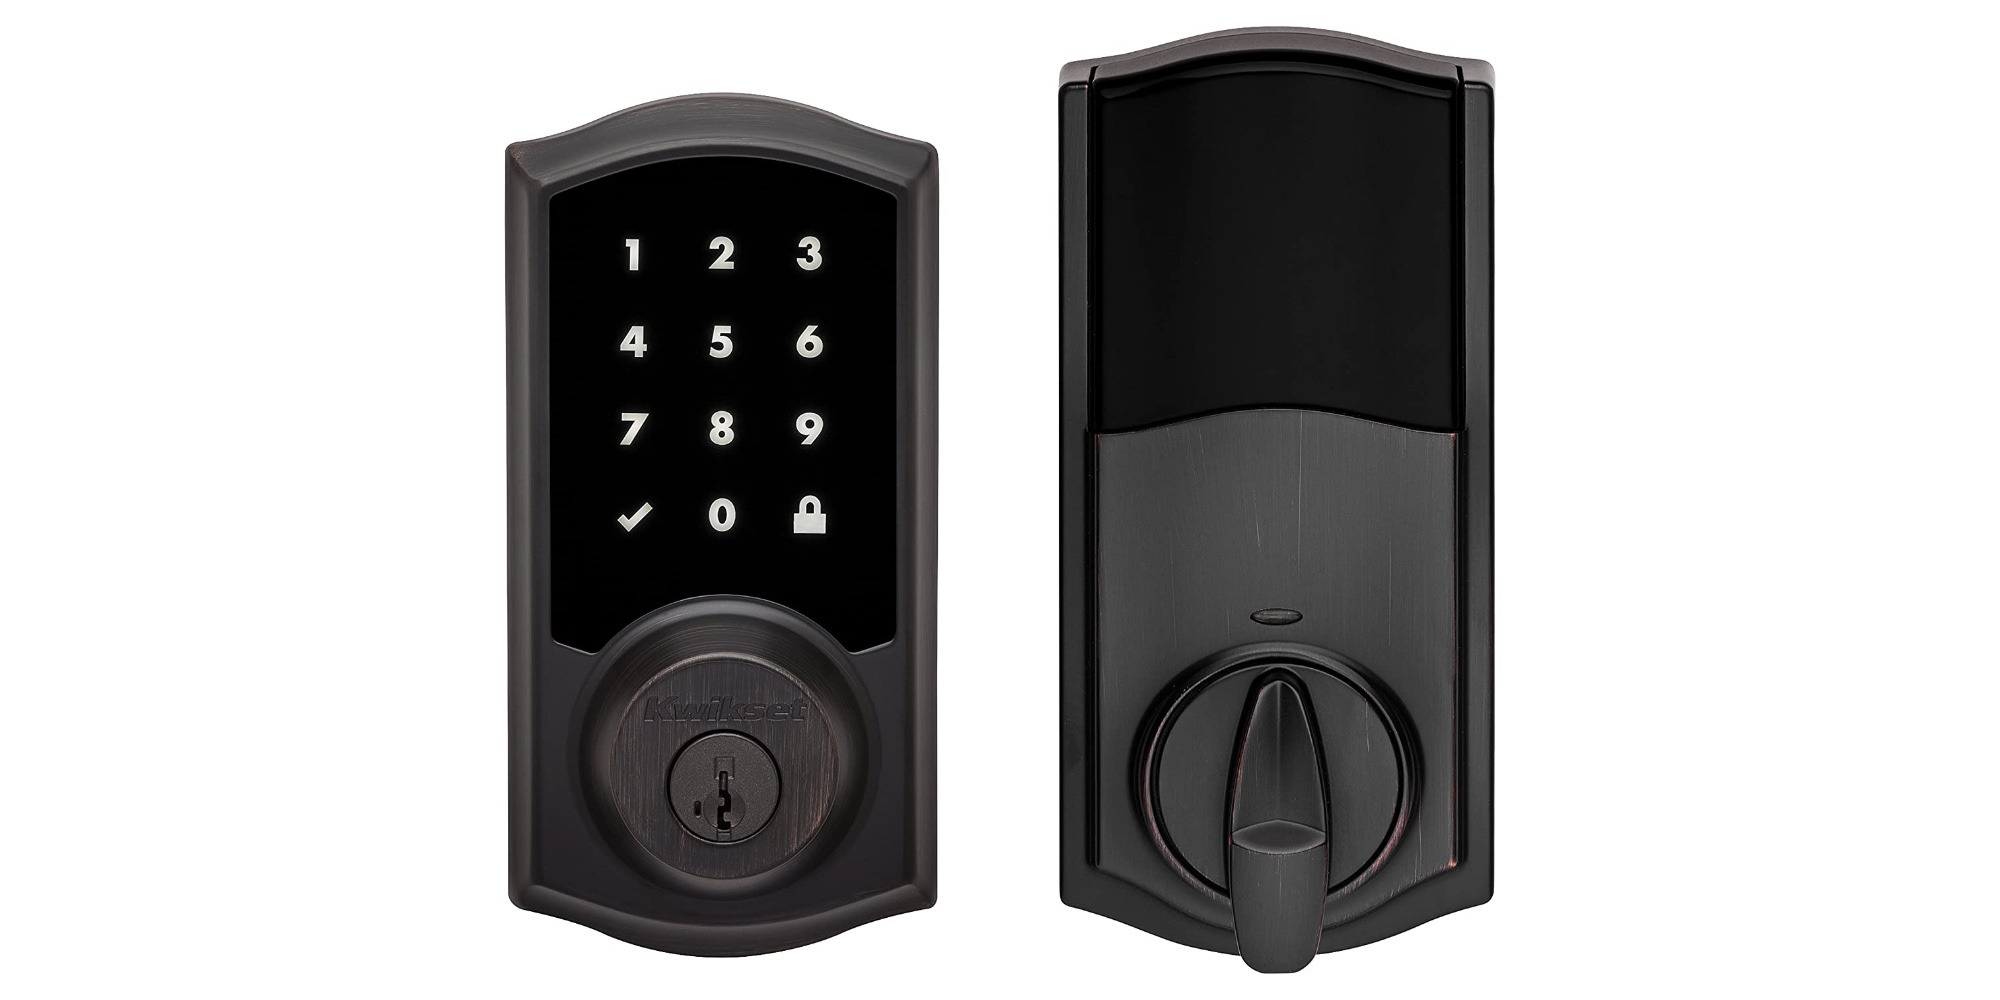
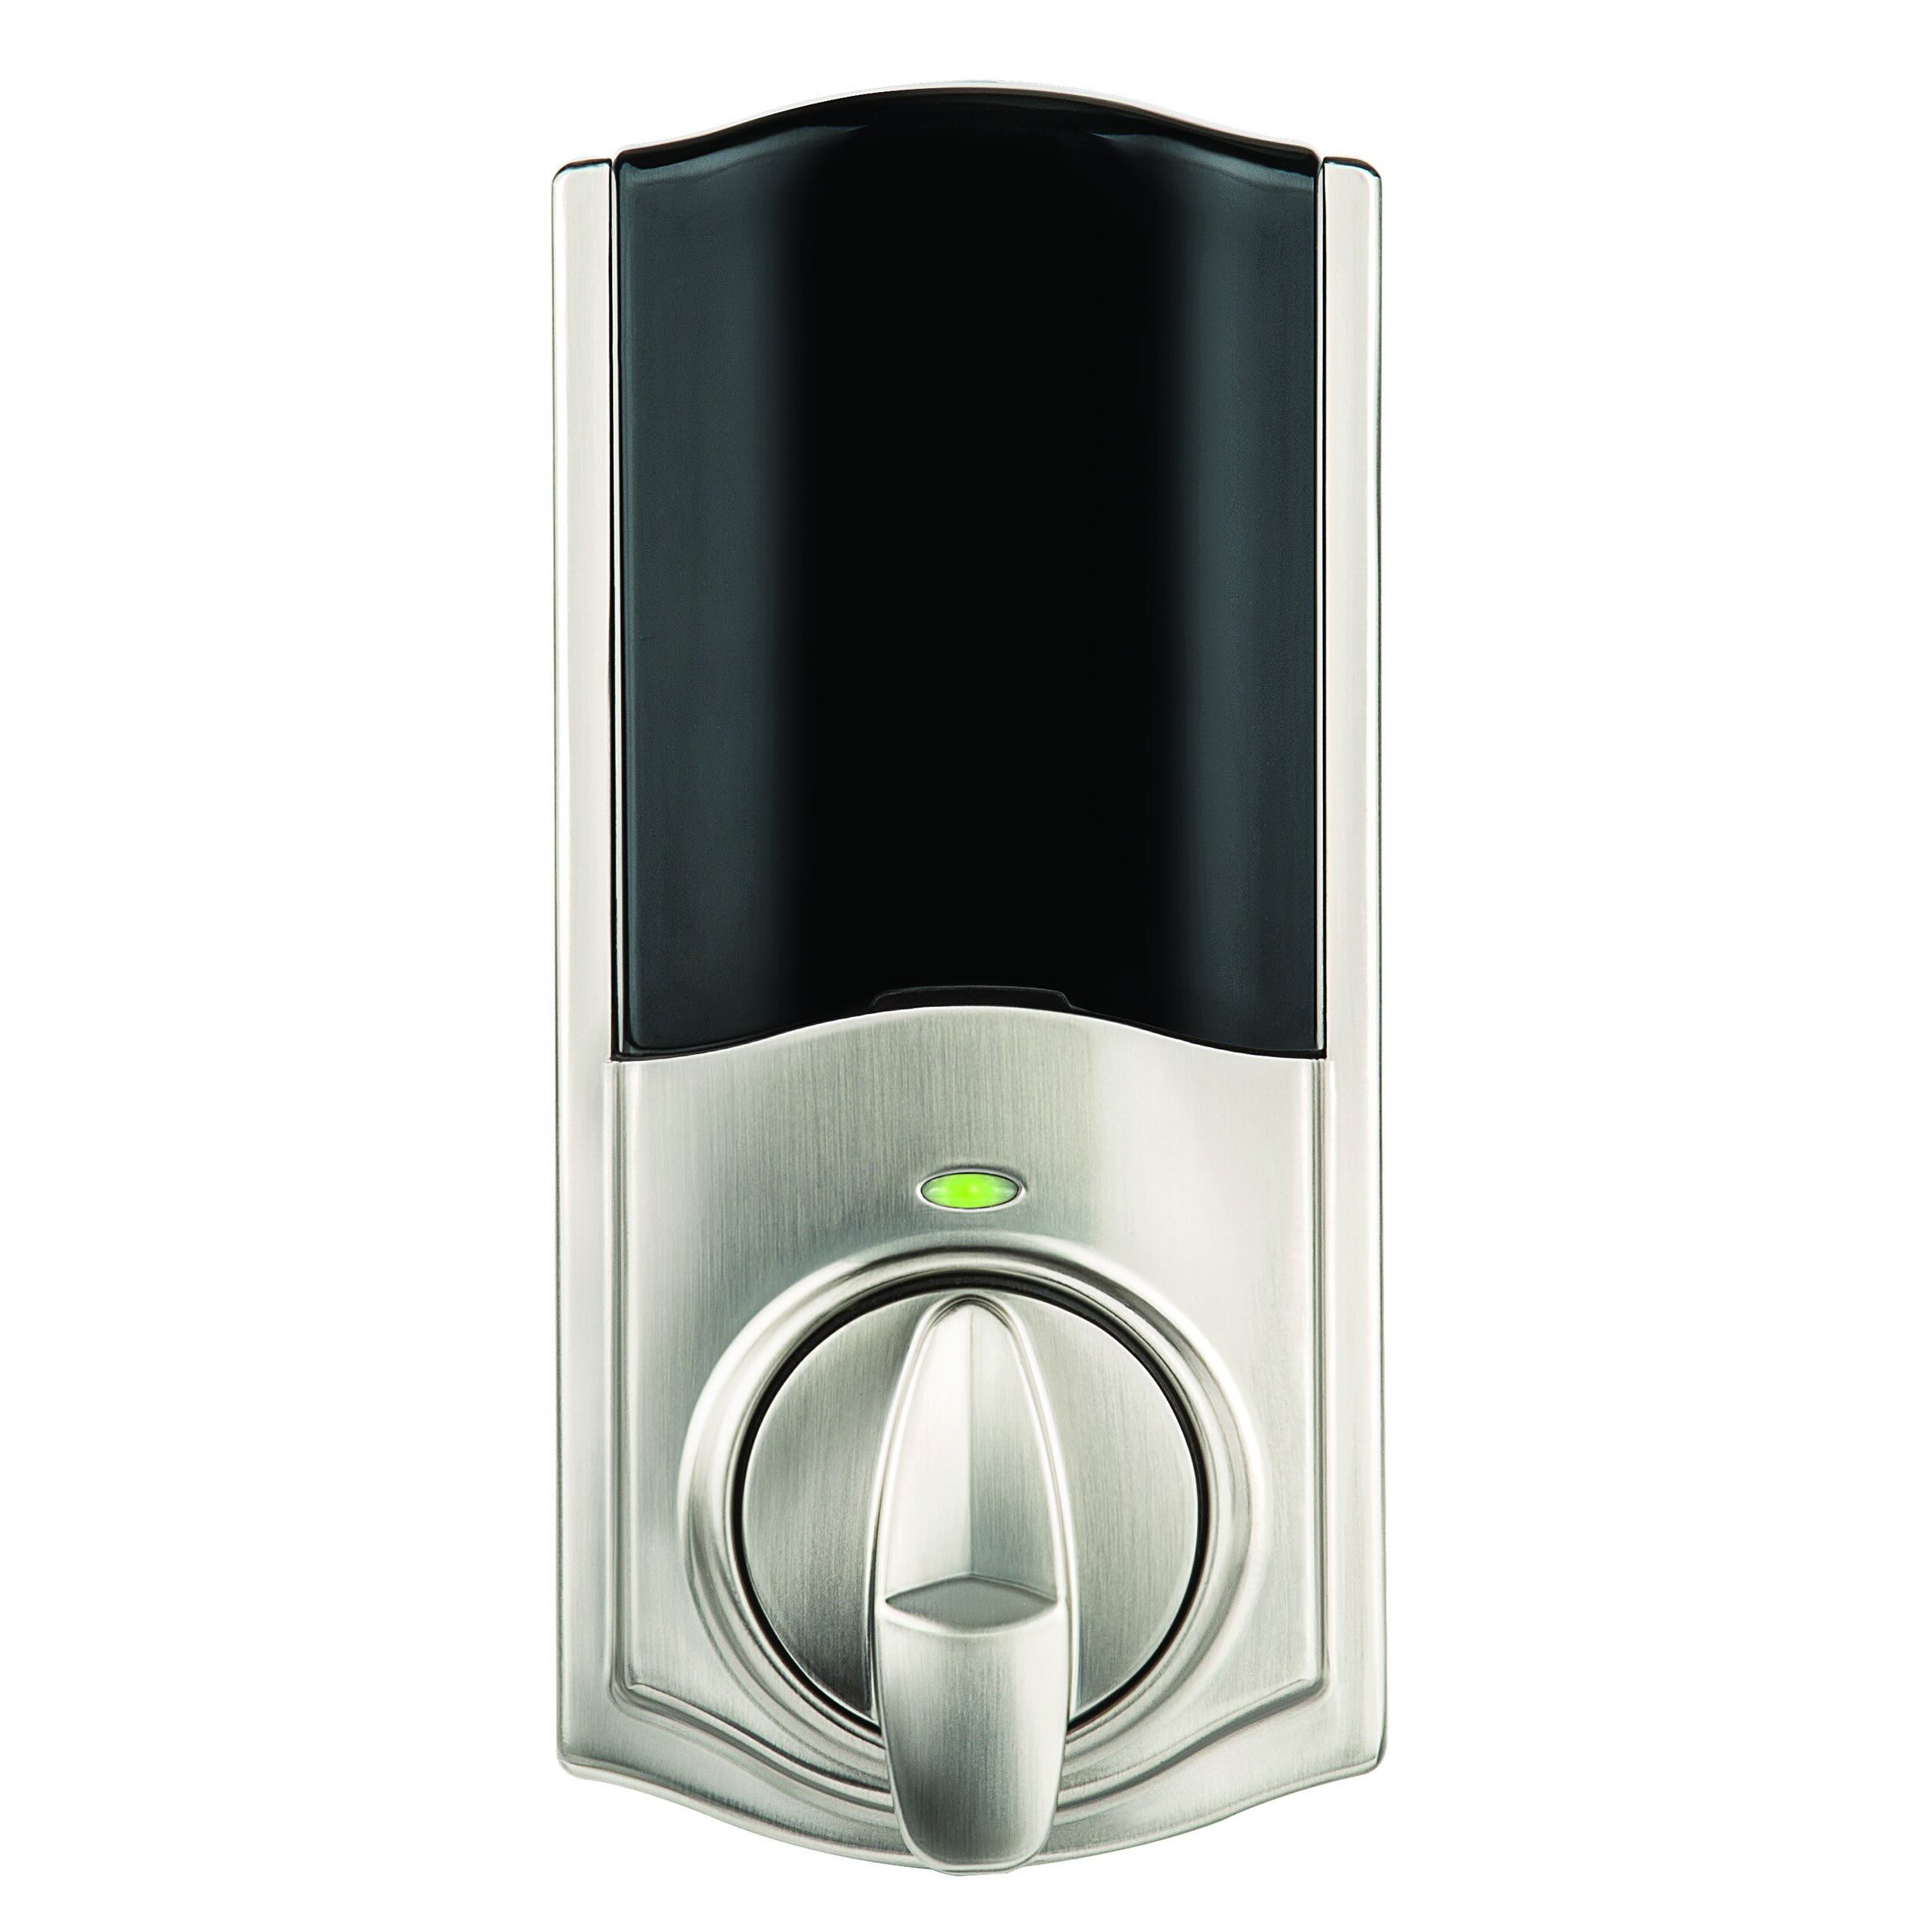
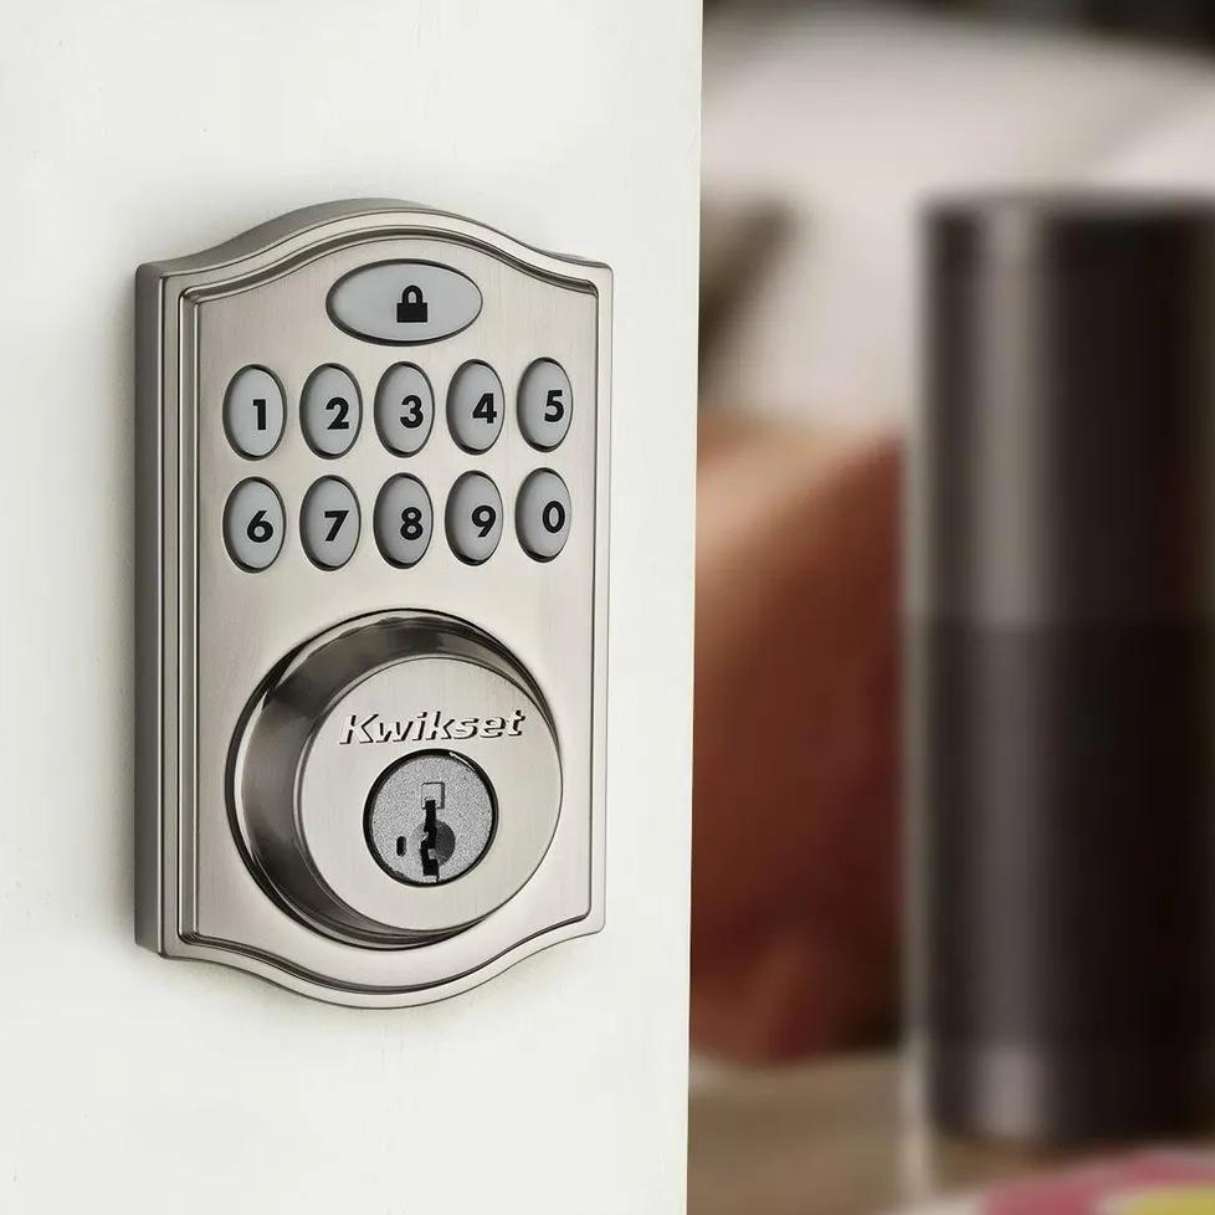
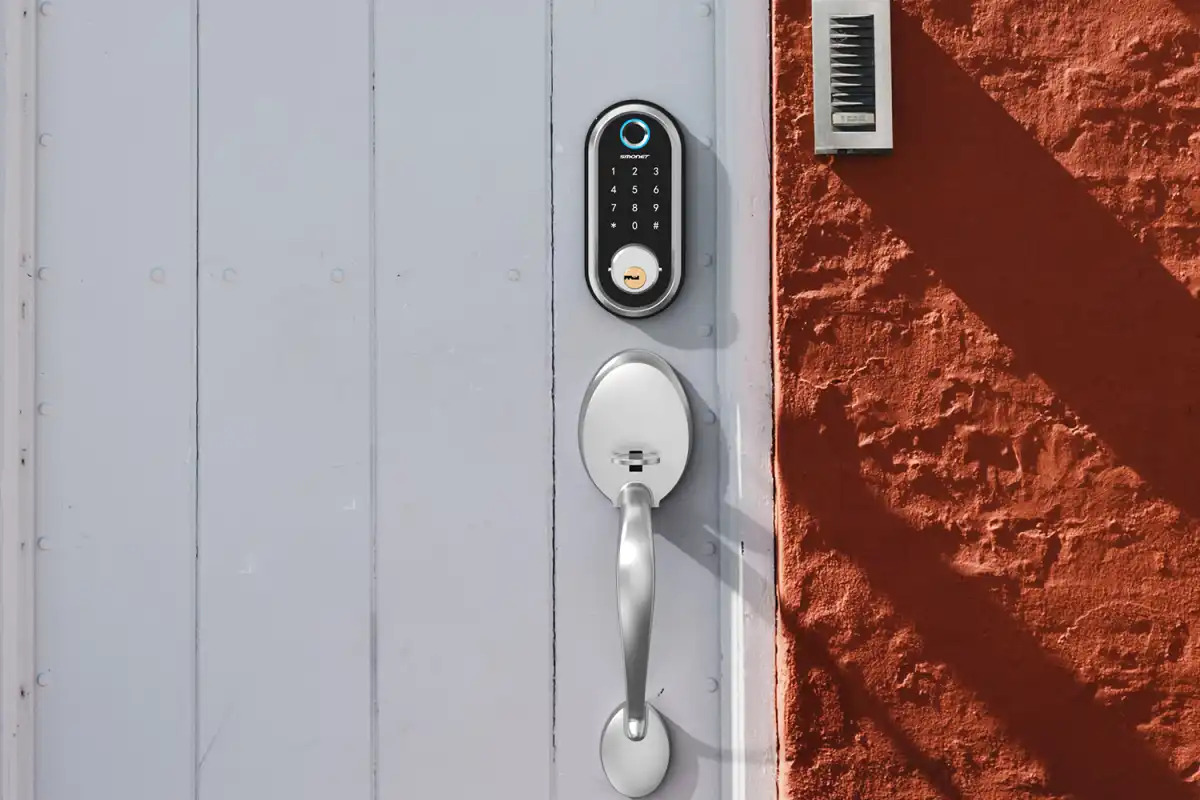
Step 3: Install the Kwikset Smart Lock
With the old deadbolt removed and the door prepped for the installation, it’s time to embark on the exciting process of installing your Kwikset Smart Lock. This step will guide you through mounting the smart lock and integrating it seamlessly with your door, setting the stage for enhanced security and modern convenience.
1. Position the Mounting Plate:
Begin by positioning the mounting plate on the interior side of the door. Align the plate so that it fits securely and level against the door surface, ensuring that the screw holes are properly aligned with the door’s borehole.
2. Secure the Mounting Plate:
Using the screws provided with the smart lock, fasten the mounting plate to the door. Ensure that the plate is firmly attached and level, providing a stable foundation for the smart lock mechanism.
Read more: How To Change Battery On Kwikset Smart Lock
3. Install the Smart Lock Assembly:
Carefully position the Kwikset Smart Lock assembly on the mounting plate, aligning it with the screw holes. Once in place, secure the smart lock by fastening the screws provided, ensuring a snug and secure fit.
4. Insert Batteries:
Open the battery compartment of the smart lock and insert four AA batteries, ensuring proper polarity. This will power the smart lock and enable its keyless entry and security features.
5. Test the Lock:
Before proceeding, test the functionality of the smart lock by using the provided user manual to perform a manual locking and unlocking of the device. This will confirm that the installation has been executed accurately and that the smart lock is operational.
6. Adjust and Fine-Tune:
Take the time to adjust and fine-tune the smart lock as per the manufacturer’s instructions. This may include calibrating the door handing and adjusting the latch to ensure smooth and reliable operation of the smart lock.
By following these steps, you’ll successfully install the Kwikset Smart Lock, bringing cutting-edge security and convenience to your home. With the smart lock securely in place, you’re now ready to proceed to the next phase of the installation process and set up the smart lock’s advanced features.
Read more: How To Change Code On Kwikset Smart Lock
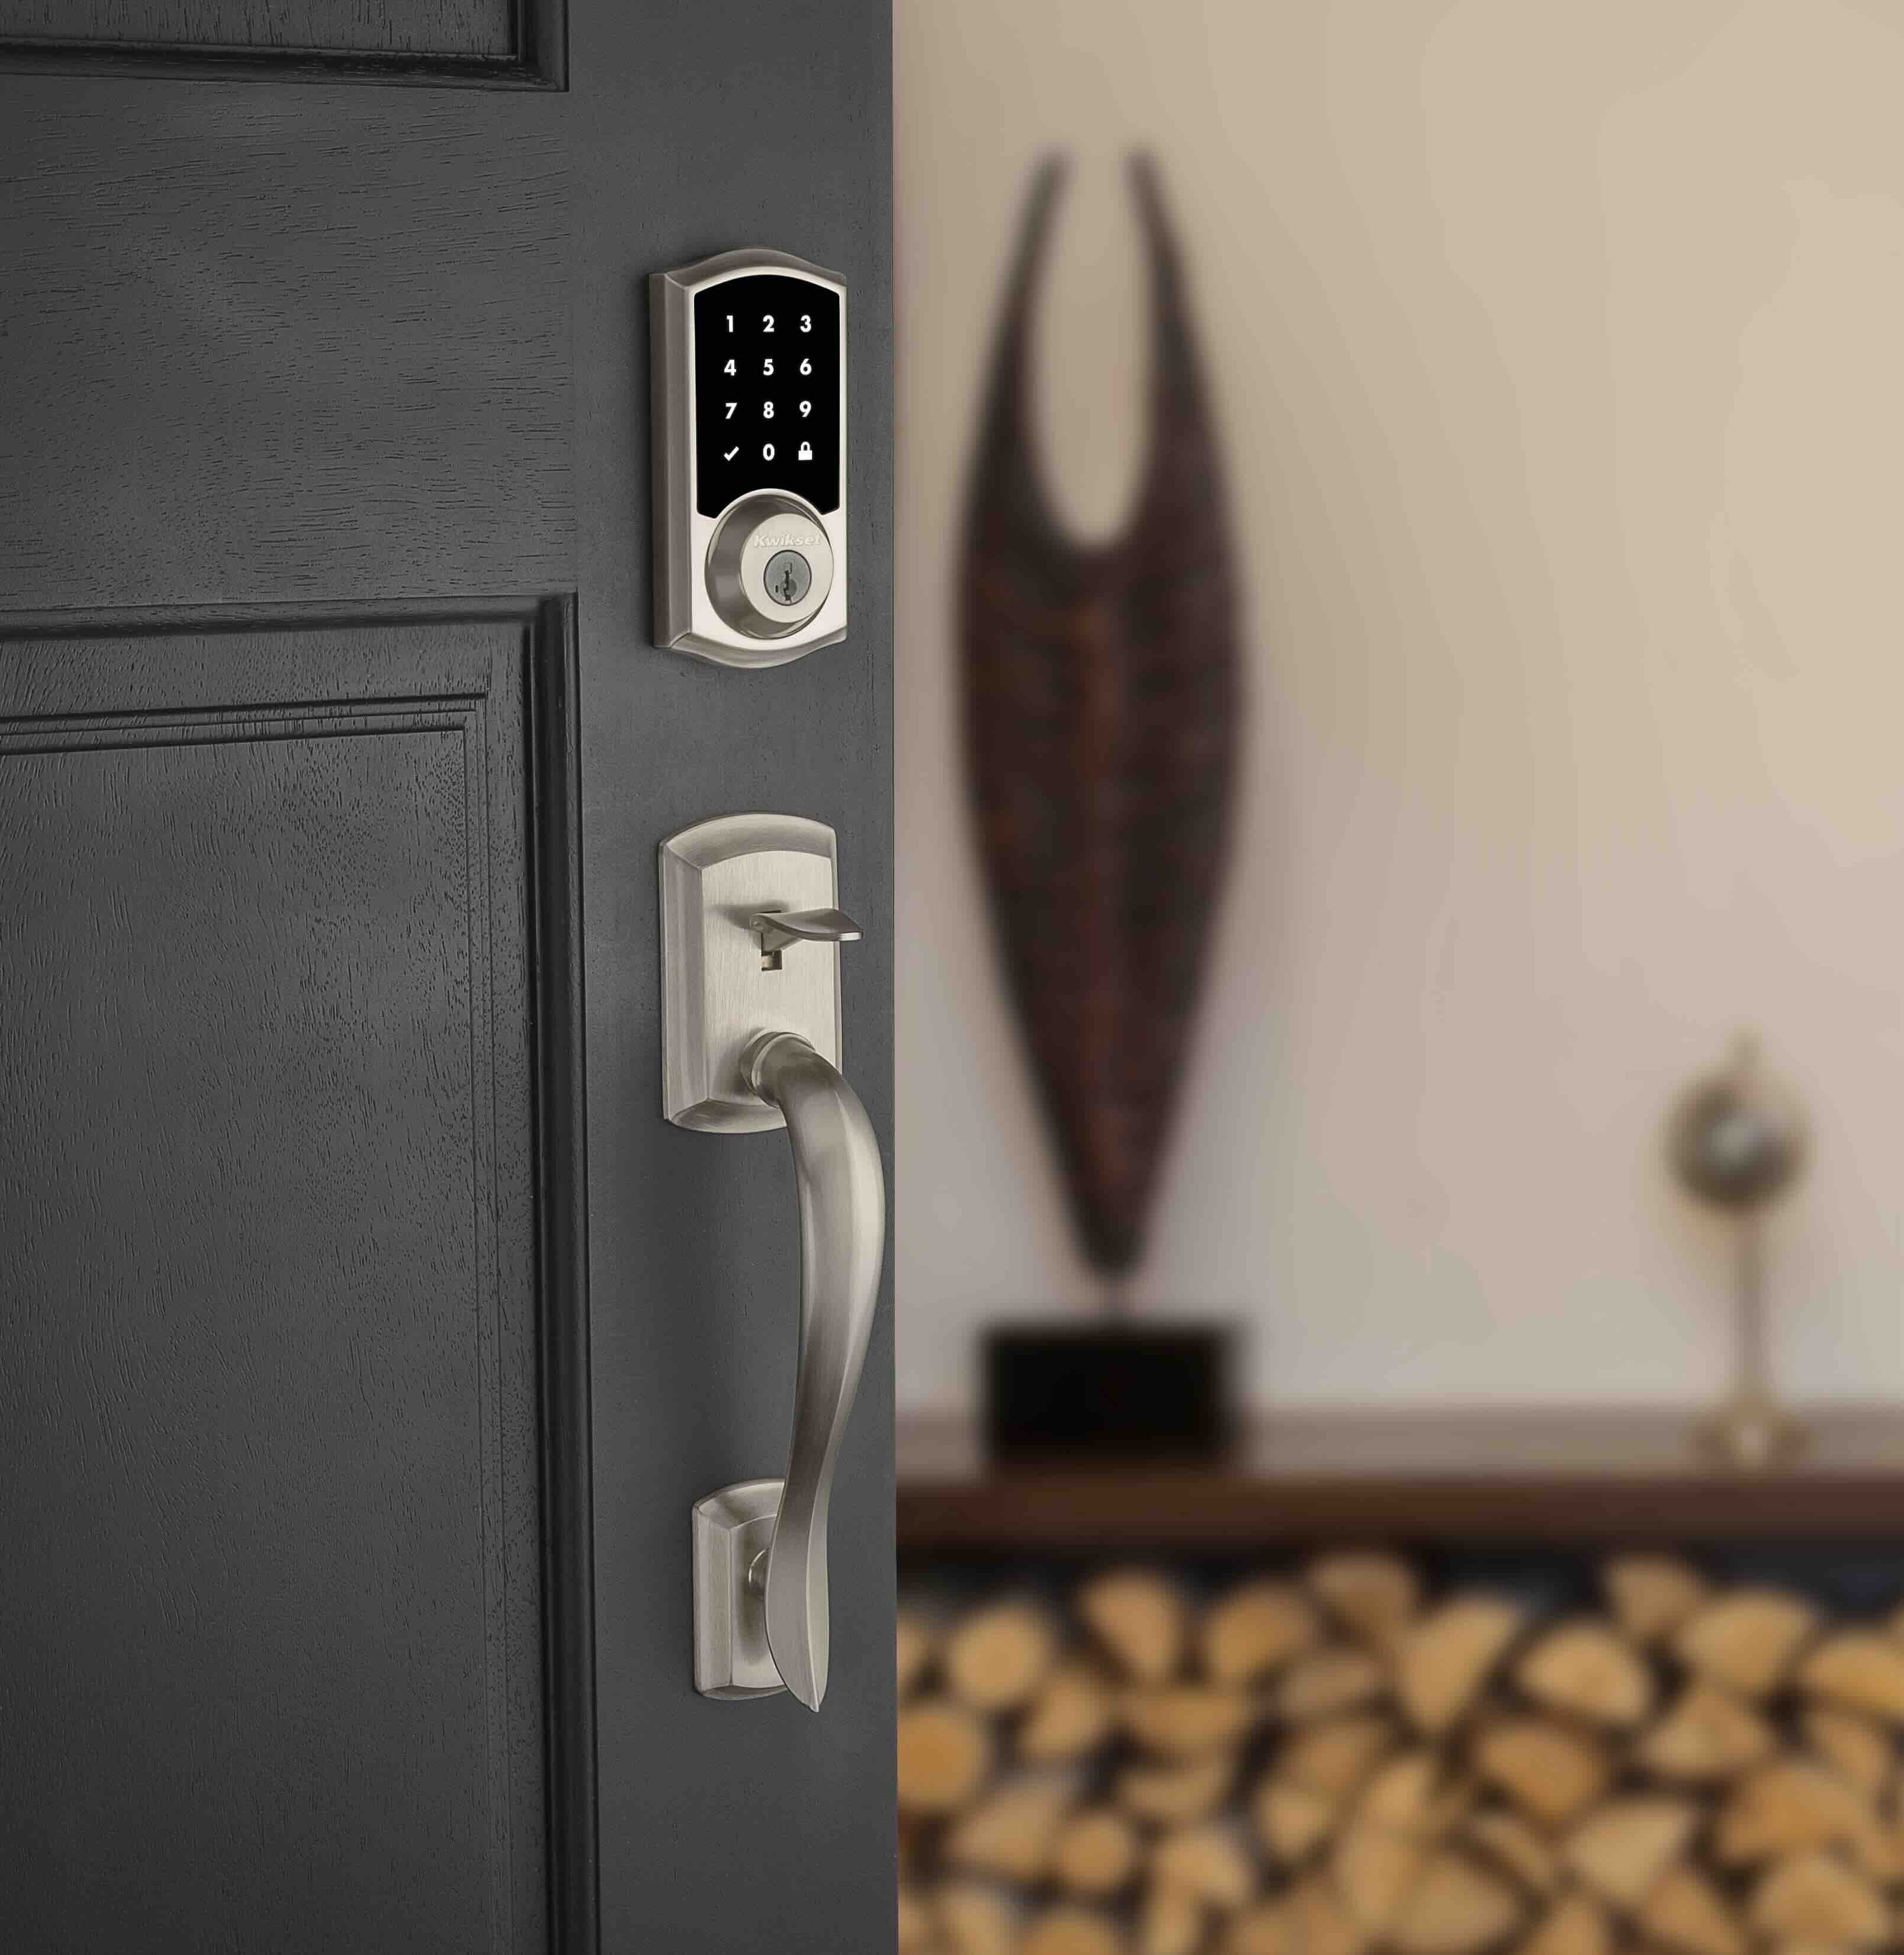
Step 4: Set Up the Smart Lock
With the Kwikset Smart Lock securely installed, it’s time to delve into the setup process, enabling you to personalize and optimize the advanced features of your new smart lock. This step will guide you through the essential setup procedures, allowing you to tailor the smart lock to your preferences and maximize its functionality.
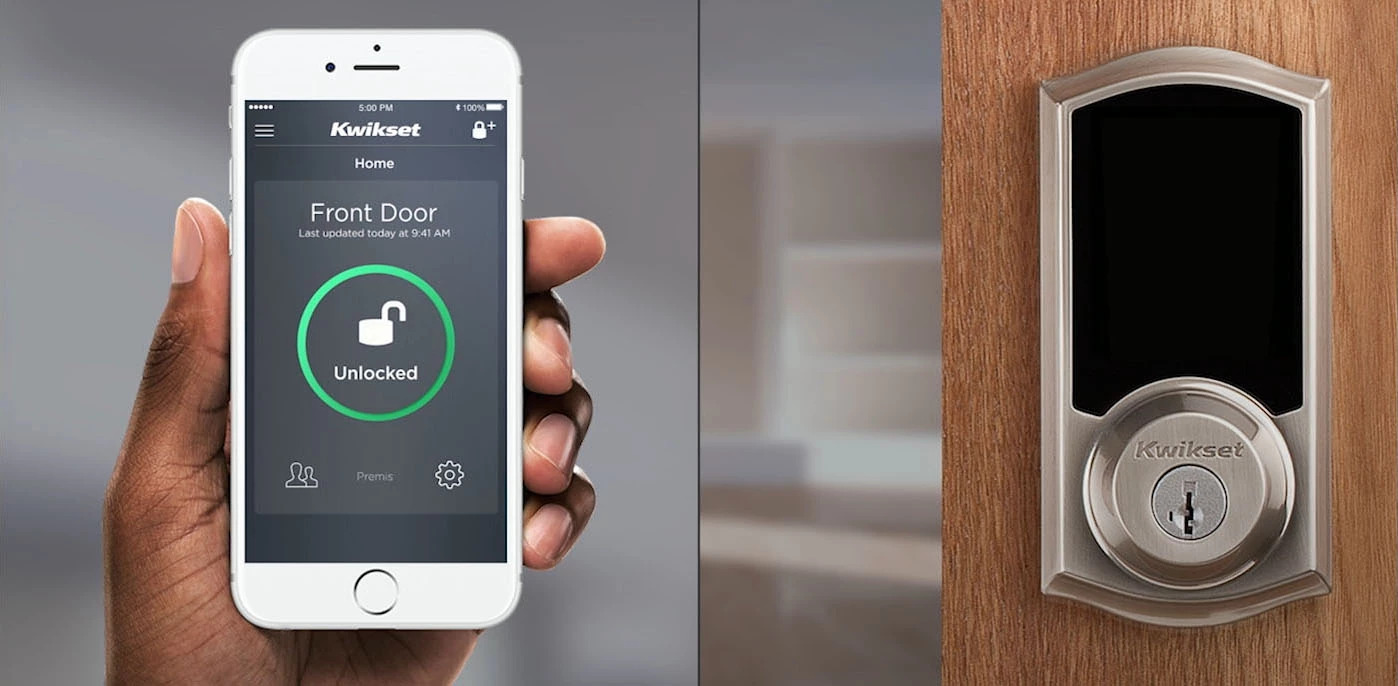
1. Download the App (If Applicable):
If your Kwikset Smart Lock is compatible with a dedicated mobile app, download and install the app on your smartphone or tablet. The app will serve as a central hub for managing and controlling your smart lock, offering a range of convenient features.
2. Pair the Smart Lock:
Follow the manufacturer’s instructions to pair the smart lock with the app or any other compatible smart home systems, such as a home automation hub or virtual assistant. This will establish seamless connectivity and enable remote access and control of the smart lock.
3. Create User Codes:
If your smart lock supports user code programming, take advantage of this feature to create personalized access codes for family members, trusted guests, or service providers. User codes provide a convenient and secure means of granting entry without the need for physical keys.
Read more: How To Install A Smart Lock
4. Explore Remote Access Options:
If your smart lock offers remote access capabilities, familiarize yourself with the methods for remotely locking or unlocking the door. This may involve utilizing the app or integrating the smart lock with a compatible smart home system for remote control and monitoring.
5. Customize Settings:
Take the time to explore and customize the settings of the smart lock, such as auto-lock features, tamper alerts, and activity logs. Tailoring these settings to your preferences will enhance the overall security and convenience provided by the smart lock.
6. Test and Familiarize:
Once the setup is complete, take the opportunity to test the various features of the smart lock and familiarize yourself with its operation. This may include testing user codes, remote access, and any additional features specific to your smart lock model.
By completing these setup procedures, you’ll unleash the full potential of your Kwikset Smart Lock, empowering you with advanced security and control over access to your home. With the smart lock fully set up and customized to your preferences, you can confidently embrace the convenience and peace of mind that comes with a cutting-edge smart home security solution.
Conclusion
Congratulations on successfully installing and setting up your Kwikset Smart Lock! You’ve taken a significant step towards enhancing the security and convenience of your home, embracing the latest in smart home technology. As you reflect on the installation process and the transformation of your traditional deadbolt into a state-of-the-art smart lock, it’s important to recognize the impact this upgrade will have on your daily life.
By transitioning to a Kwikset Smart Lock, you’ve embraced keyless entry, personalized user code access, and advanced security features that offer unparalleled peace of mind. The seamless integration of modern technology with traditional home security has empowered you to control and monitor access to your home with unprecedented ease and flexibility.
As you enjoy the benefits of your new smart lock, remember to periodically review the user manual and stay informed about firmware updates and new features that may enhance the performance of your smart lock. Additionally, take the time to share your experience with friends and family, spreading awareness about the advantages of smart home security solutions.
With your Kwikset Smart Lock in place, you’ve not only fortified the physical security of your home but also embraced the convenience of a connected lifestyle. Whether it’s unlocking the door with a simple touch, creating personalized access codes for family members, or monitoring your home’s security remotely, your smart lock represents a significant leap forward in home security and modern living.
As technology continues to evolve, your Kwikset Smart Lock will remain at the forefront of safeguarding your home and simplifying your daily routines. Embrace this new era of home security with confidence, knowing that you’ve made a proactive choice to elevate your living space to new heights of convenience and protection.
Thank you for entrusting us with guiding you through the installation and setup of your Kwikset Smart Lock. Here’s to a future filled with seamless security, effortless access, and the peace of mind that comes with knowing your home is protected by cutting-edge technology.
Frequently Asked Questions about How To Install Kwikset Smart Lock
Was this page helpful?
At Storables.com, we guarantee accurate and reliable information. Our content, validated by Expert Board Contributors, is crafted following stringent Editorial Policies. We're committed to providing you with well-researched, expert-backed insights for all your informational needs.

0 thoughts on “How To Install Kwikset Smart Lock”