Home>Technology>Security & Surveillance>How To Remove Kwikset Smart Lock
Security & Surveillance
How To Remove Kwikset Smart Lock
Modified: August 17, 2024
Learn how to remove a Kwikset smart lock to ensure the security of your home. Follow our step-by-step guide for a hassle-free process. Keep your security and surveillance system up to date!
(Many of the links in this article redirect to a specific reviewed product. Your purchase of these products through affiliate links helps to generate commission for Storables.com, at no extra cost. Learn more)
Introduction
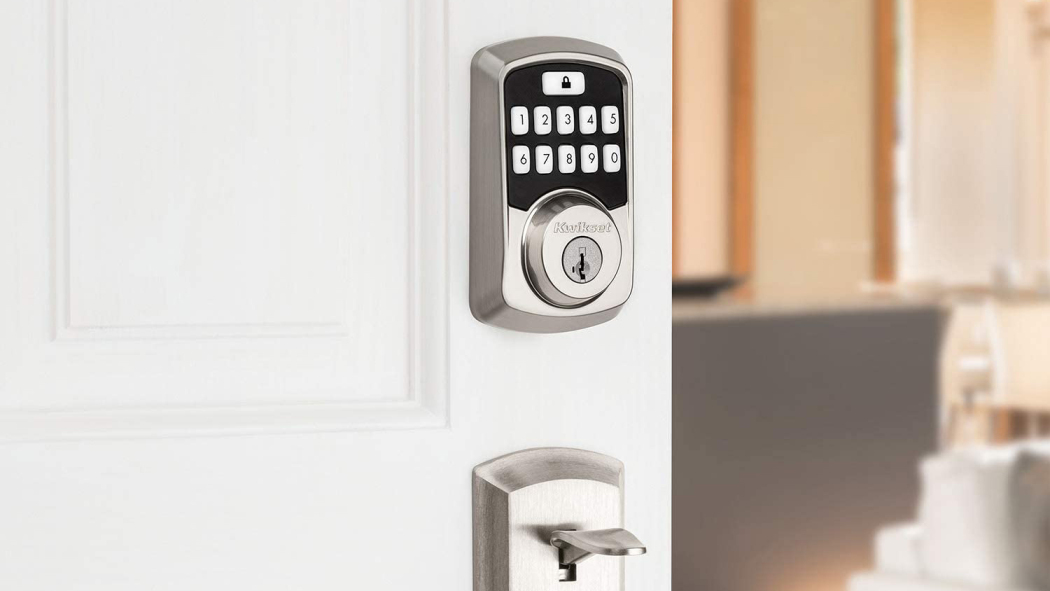
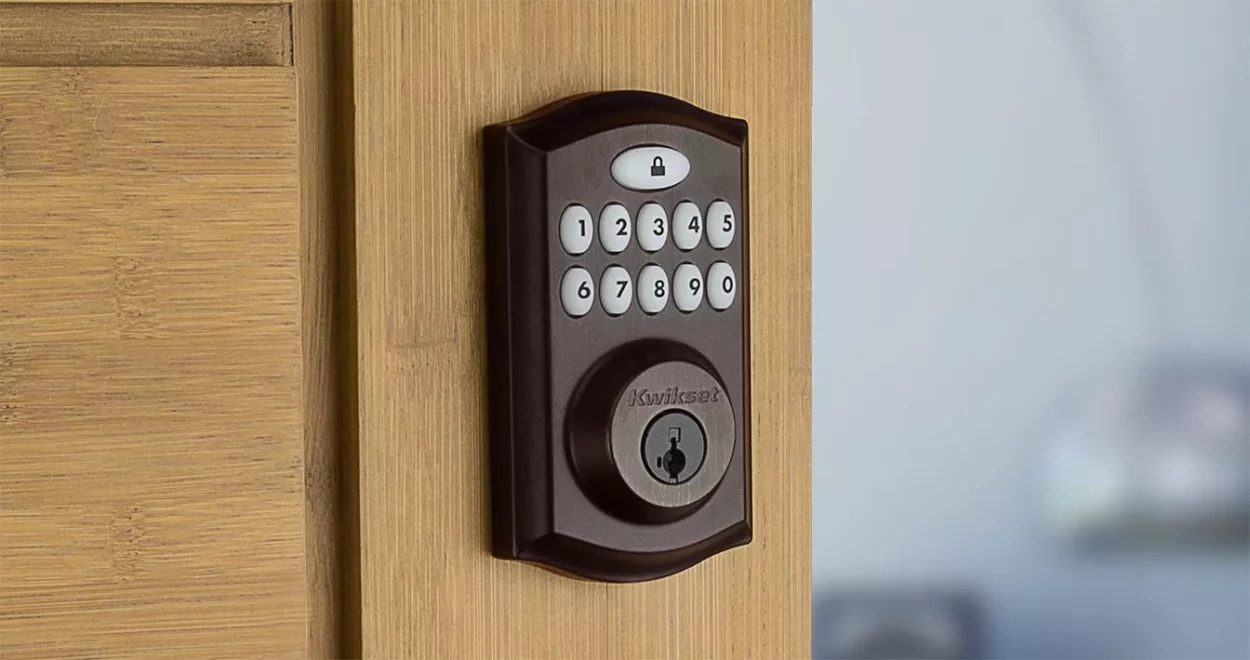
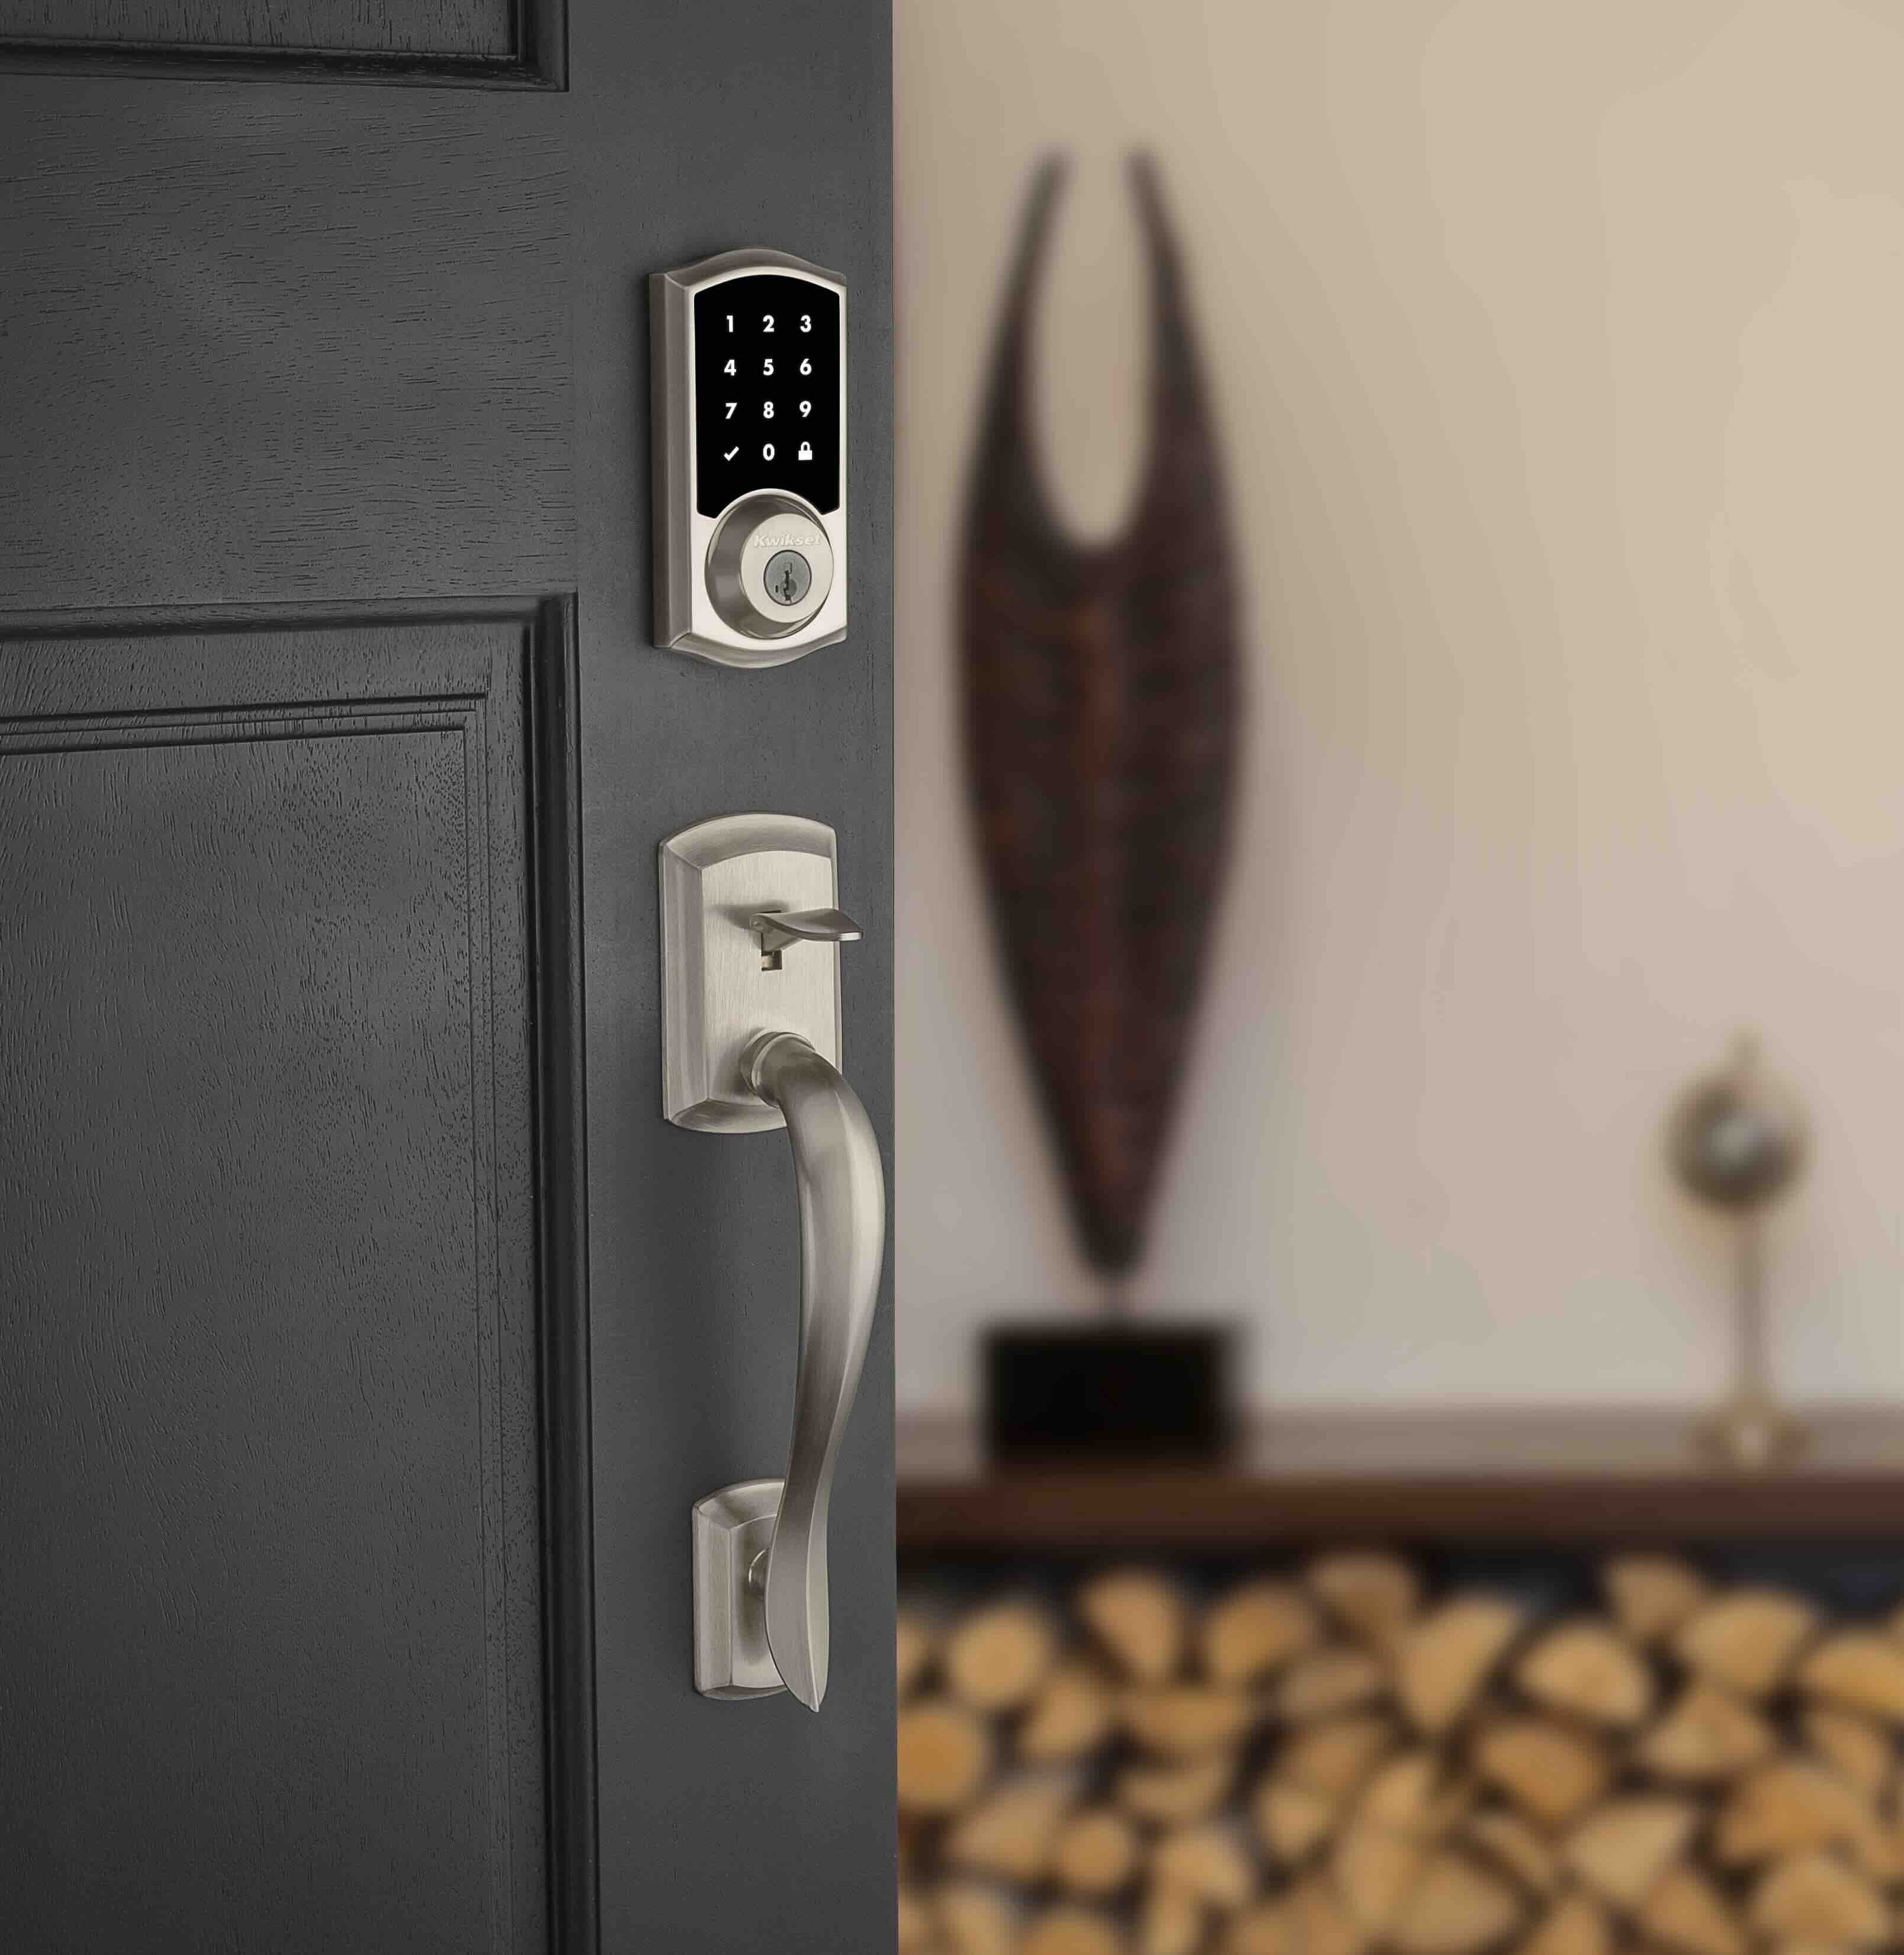
Welcome to the comprehensive guide on removing a Kwikset smart lock! Kwikset smart locks are known for their innovative features, sleek design, and advanced security mechanisms. Whether you're upgrading to a new smart lock model, replacing the existing one, or performing maintenance, knowing how to remove a Kwikset smart lock is essential.
In this guide, we'll walk you through the step-by-step process of removing a Kwikset smart lock from your door. Before we dive into the removal process, it's important to emphasize the significance of understanding the intricacies of your smart lock system. This knowledge will not only facilitate the removal process but also ensure that you handle the lock with care and precision.
By following the instructions outlined in this guide, you'll gain the confidence and expertise needed to safely and effectively remove your Kwikset smart lock. So, gather your tools, prepare for a hands-on experience, and let's embark on this insightful journey together!
Key Takeaways:
- Removing a Kwikset smart lock requires gathering essential information, using the right tools, and carefully dismantling the lock components. This hands-on process empowers you with a deeper understanding of your home security system.
- Reinstalling a Kwikset smart lock involves precision and attention to detail. By following a methodical approach, you can ensure seamless functionality and enjoy the peace of mind that comes with a well-maintained and secure living environment.
Read more: How To Lock Kwikset Smart Lock
Tools Required
Before initiating the removal process, it's crucial to have the necessary tools at your disposal. Here are the essential tools you’ll need:
- Phillips Head Screwdriver: This tool is indispensable for removing the screws that secure the smart lock components.
- Flat Head Screwdriver: A flat head screwdriver may be required to pry open certain sections of the lock assembly.
- New Batteries: If you plan to reinstall the smart lock, having fresh batteries on hand is advisable to ensure uninterrupted functionality.
- Container: A small container or bowl can be useful for keeping screws and small components organized and easily accessible during the removal process.
- Flashlight: Illumination is key, especially when working with intricate components. A flashlight will aid in visibility and precision.
- Optional: Allen Wrench: Depending on the specific model of your Kwikset smart lock, an Allen wrench may be needed for certain locking mechanisms.
By having these tools readily available, you’ll be well-equipped to navigate the removal process with confidence and efficiency. Now that you’ve gathered the necessary tools, let’s proceed to the first step of the removal process.
Step 1: Gather Necessary Information
Prior to removing your Kwikset smart lock, it’s important to gather essential information about the lock and its installation. This includes identifying the specific model of your smart lock, familiarizing yourself with its features, and understanding the unique installation requirements.
Here’s a comprehensive list of the key information to gather:
- Smart Lock Model: Locate the model number of your Kwikset smart lock. This information can typically be found on the packaging, user manual, or directly on the lock itself. Understanding the model is crucial for accessing specific removal instructions and technical details.
- User Manual: Retrieve the user manual or installation guide that accompanied the smart lock. The manual contains valuable insights into the installation process, component details, and troubleshooting guidelines.
- Backup Access Code: If your smart lock is equipped with a keypad, ensure that you have the backup access code readily available. This code is essential for reprogramming the lock or gaining access in case of electronic malfunctions.
- Locking Mechanism: Take note of the locking mechanism employed by your smart lock, whether it’s a deadbolt, latch, or a combination of both. Understanding the locking mechanism will aid in the removal process.
- Power Source: Identify the power source for your smart lock. Whether it operates on batteries, electricity, or a combination of both, knowing the power source is crucial for safely disconnecting the lock.
By gathering this vital information, you’ll be well-prepared to proceed with the removal process and navigate any potential challenges with confidence. With the necessary information at hand, you’re ready to embark on the next step of removing your Kwikset smart lock.
Step 2: Remove the Battery Cover
Before delving into the physical removal of the smart lock components, it’s essential to address the power source. Most Kwikset smart locks are powered by batteries, which play a pivotal role in their operation. Here’s a detailed guide on removing the battery cover:
- Locate the Battery Cover: Depending on the model of your Kwikset smart lock, the battery cover is typically situated on the interior assembly of the lock. It may feature a distinct design, such as a sliding compartment or a hinged cover.
- Access the Battery Compartment: Using your Phillips head screwdriver, carefully remove any screws securing the battery cover in place. Place the screws in a designated container to prevent misplacement.
- Remove the Batteries: Once the battery cover is accessible, gently remove the batteries from the compartment. Ensure that you dispose of old batteries responsibly and replace them with fresh ones if you plan to reinstall the smart lock.
- Inspect the Battery Contacts: While the battery compartment is open, take a moment to inspect the battery contacts for any signs of corrosion or debris. Clean the contacts if necessary to maintain optimal functionality.
By carefully removing the battery cover and addressing the power source, you’re taking the initial steps towards safely disengaging the smart lock from its operational components. With the battery cover removed and the power source disconnected, you’re now prepared to proceed to the subsequent steps of the removal process.
Step 3: Remove the Interior Assembly
With the battery cover removed and the power source disconnected, the next crucial step in removing your Kwikset smart lock is to dismantle the interior assembly. This component houses the electronic and mechanical elements of the smart lock system. Here’s a detailed guide on removing the interior assembly:
- Identify Mounting Screws: Examine the interior assembly to locate the mounting screws that secure it to the door. Depending on the model, these screws are usually positioned on the interior escutcheon or cover plate.
- Unscrew the Mounting Screws: Using your Phillips head screwdriver, carefully loosen and remove the mounting screws. Keep the screws organized in your designated container to prevent misplacement.
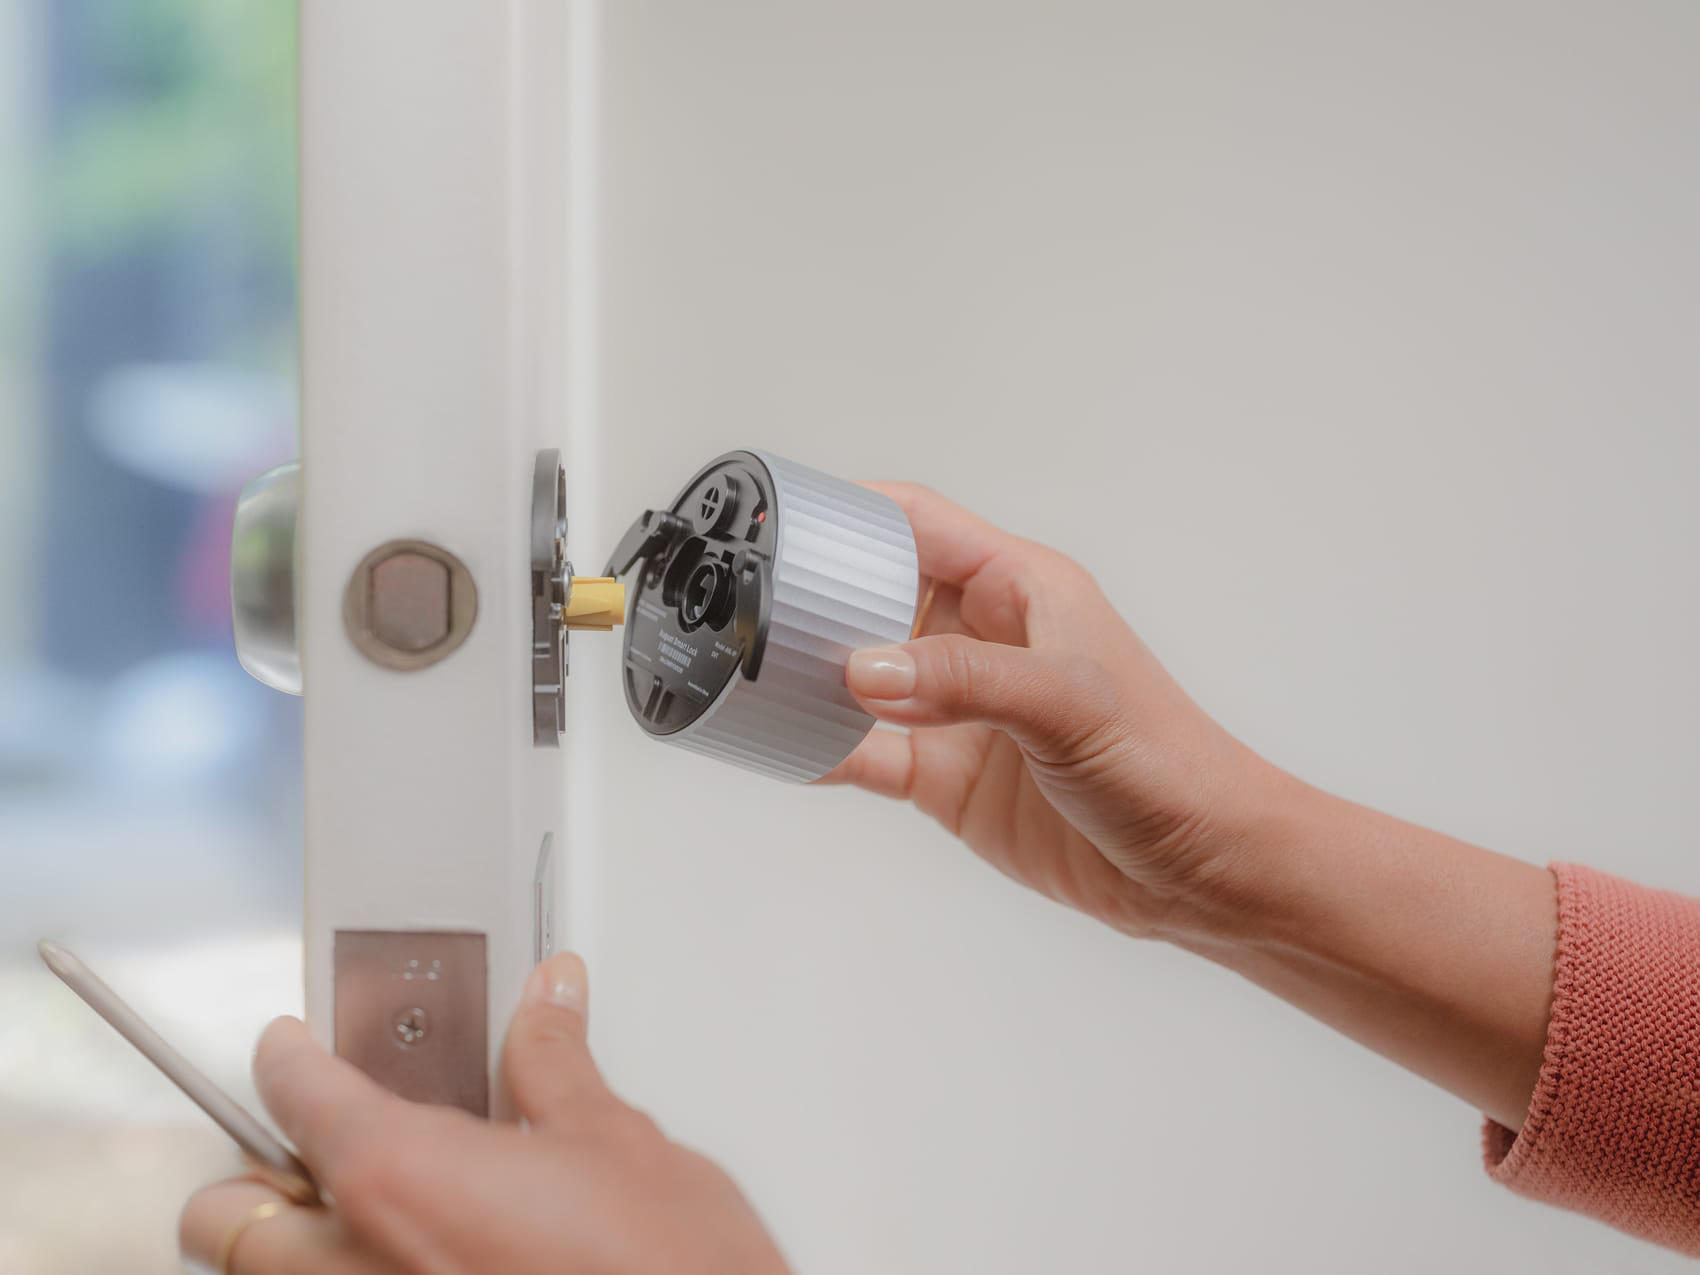
- Detach the Interior Assembly: Once the mounting screws are removed, gently detach the interior assembly from the door. Take care to disconnect any wiring or cable harnesses, if applicable, by following the manufacturer’s instructions.
- Set Aside the Interior Assembly: Place the interior assembly in a secure location, ensuring that it is protected from any potential damage or interference during the remaining removal steps.
By effectively removing the interior assembly, you are disengaging the electronic and mechanical components of the smart lock from the door, paving the way for the subsequent phases of the removal process. With the interior assembly safely detached, you’re now prepared to progress to the next step of removing your Kwikset smart lock.
To remove a Kwikset Smart Lock, start by removing the screws on the interior side of the door. Then, use a screwdriver to detach the mounting plate and disconnect the wires. Finally, remove the lock from the door.
Read more: How To Install Kwikset Smart Lock
Step 4: Remove the Mounting Plate
As you continue the process of removing your Kwikset smart lock, the next significant step involves the removal of the mounting plate. The mounting plate serves as the interface between the smart lock and the door, providing stability and support. Here’s a comprehensive guide on removing the mounting plate:
- Inspect the Mounting Plate: Examine the area surrounding the exterior assembly to locate the mounting plate. This component is typically affixed to the door, securing the smart lock in place.
- Identify Mounting Screws: Using your keen eye, pinpoint the mounting screws that secure the mounting plate to the door. These screws are crucial for maintaining the structural integrity of the smart lock system.
- Unscrew the Mounting Screws: Employ your trusty Phillips head screwdriver to carefully loosen and remove the mounting screws. Ensure that the screws are placed in a designated container for safekeeping.
- Detach the Mounting Plate: Once the mounting screws are removed, gently detach the mounting plate from the door. Exercise caution to avoid damaging the door or the surrounding area during this process.
- Inspect the Door Surface: With the mounting plate removed, take a moment to inspect the surface of the door. Clear any debris or residue to ensure a clean and smooth foundation for the subsequent steps.
By successfully removing the mounting plate, you are effectively disengaging the smart lock from its foundational support on the door. This marks a pivotal phase in the removal process, bringing you closer to the comprehensive extraction of your Kwikset smart lock. With the mounting plate safely detached, you’re now prepared to advance to the subsequent step of removing your smart lock.
Step 5: Remove the Exterior Assembly
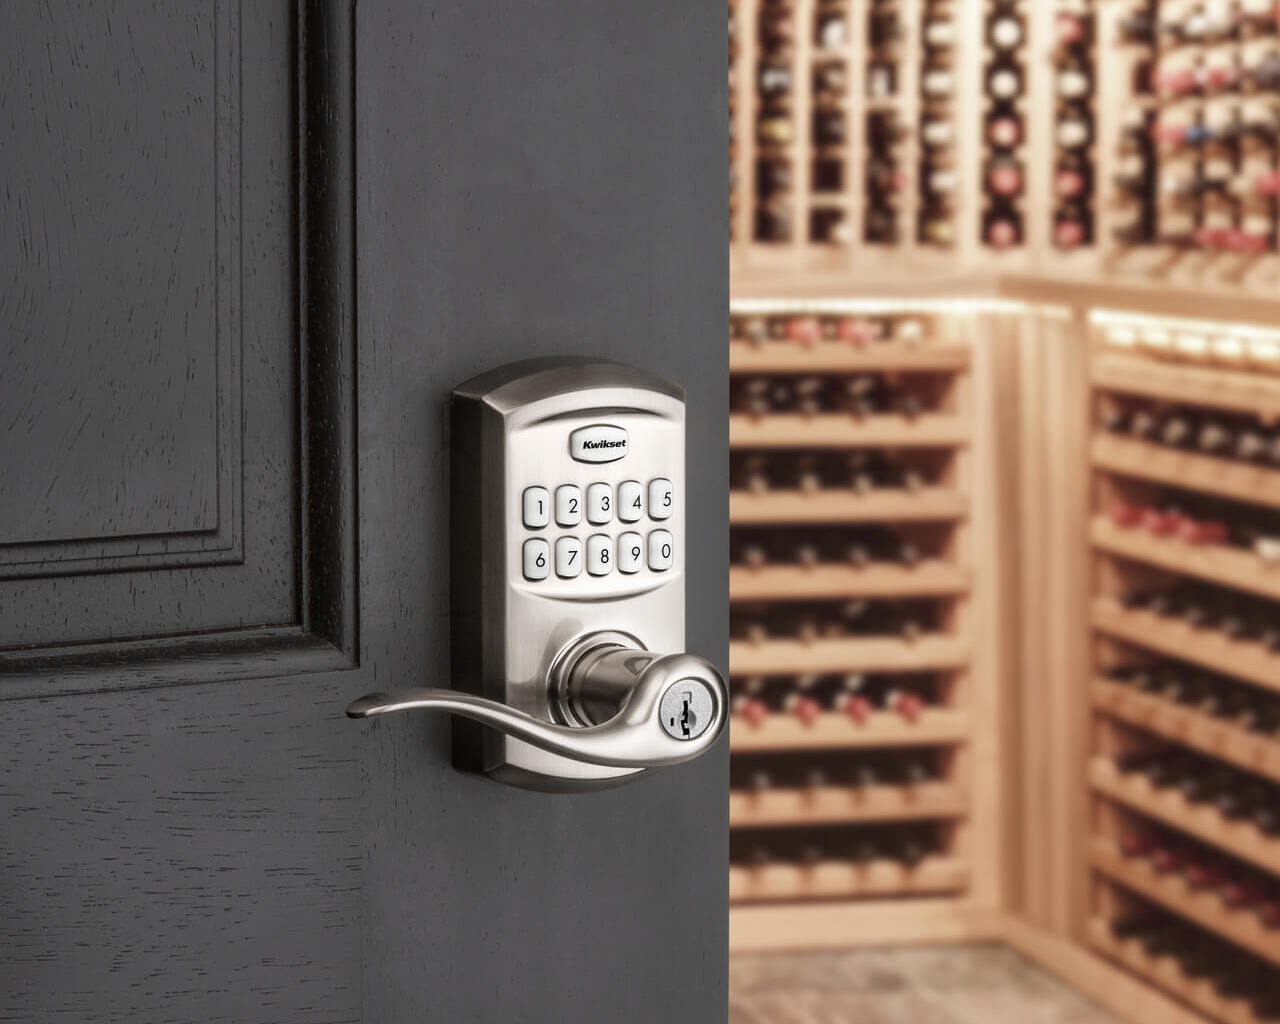
As you progress through the removal process of your Kwikset smart lock, the next critical step involves the extraction of the exterior assembly. This component encompasses the external interface of the smart lock system, including the keypad or keyway. Here’s a detailed guide on removing the exterior assembly:
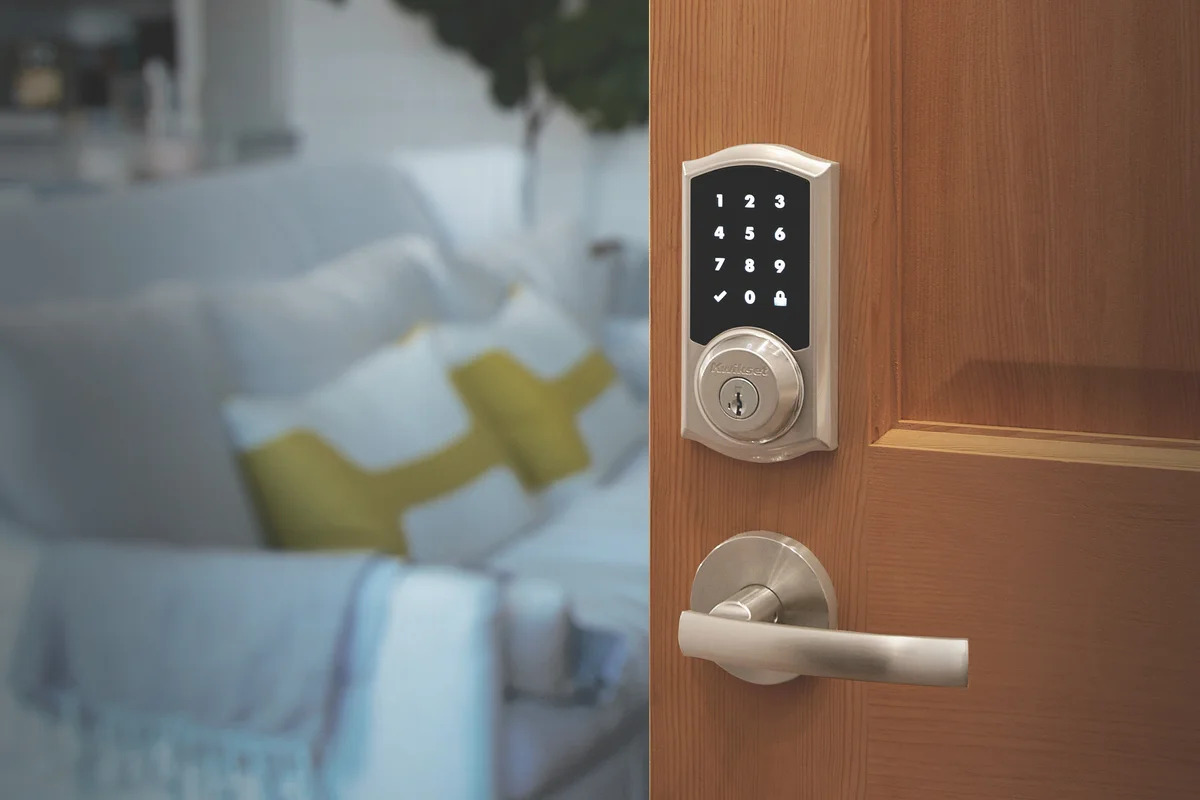
- Assess the Exterior Assembly: Take a close look at the exterior assembly to familiarize yourself with its design and components. Depending on the model of your smart lock, it may feature a keypad, keyway, or a combination of both.
- Locate and Remove Mounting Screws: Identify the mounting screws that secure the exterior assembly to the door. These screws are typically positioned on the interior side of the assembly, providing stability and structural support.
- Use the Phillips Head Screwdriver: Carefully utilize your Phillips head screwdriver to loosen and remove the mounting screws. Exercise precision and caution to prevent damage to the exterior assembly or the door surface.
- Detach the Exterior Assembly: Once the mounting screws are removed, gently detach the exterior assembly from the door. Take care to disconnect any wiring or cable harnesses, if applicable, by following the manufacturer’s instructions.
- Secure the Exterior Assembly: Place the exterior assembly in a safe location, protecting it from any potential damage or interference during the remaining removal steps.
By successfully removing the exterior assembly, you are effectively disengaging the external interface of the smart lock from the door, marking a significant milestone in the removal process. With the exterior assembly safely detached, you’re now prepared to progress to the final step of removing your Kwikset smart lock.
Step 6: Reinstalling the Lock
After successfully removing your Kwikset smart lock, you may be considering the process of reinstalling it, whether for maintenance, replacement, or an upgrade to a new smart lock model. Reinstalling the lock requires precision, attention to detail, and a methodical approach to ensure seamless functionality. Here’s a comprehensive guide on the process of reinstalling your Kwikset smart lock:
- Prepare the Components: Gather the interior and exterior assemblies, the mounting plate, and any additional components required for the reinstallation process. Ensure that all parts are clean, undamaged, and free from debris.
- Position the Mounting Plate: Align the mounting plate with the designated area on the door, ensuring that it is securely positioned and level. Use the appropriate mounting screws to affix the plate to the door, maintaining stability and structural integrity.
- Attach the Exterior Assembly: Carefully connect the exterior assembly to the mounting plate, aligning it with precision. Secure the assembly in place using the mounting screws, ensuring a snug and secure fit against the door surface.
- Reconnect the Interior Assembly: Align the interior assembly with the mounting plate and securely fasten it to the door using the mounting screws. If the assembly features wiring or cable harnesses, reconnect them in accordance with the manufacturer’s instructions.
- Insert New Batteries: If the smart lock operates on batteries, insert fresh batteries into the battery compartment of the interior assembly. Ensure that the batteries are properly positioned and secure within the compartment.
- Test the Lock Functionality: Once the smart lock is reinstalled, test its functionality to verify that all components are operating as intended. This includes testing the keypad, keyway, electronic features, and the locking mechanism.
By following these meticulous steps, you can confidently reinstall your Kwikset smart lock, ensuring that it functions optimally and provides the security and convenience you rely on. With the lock successfully reinstalled, you can enjoy the peace of mind that comes with a seamlessly integrated smart lock system.
Conclusion
Congratulations on successfully completing the comprehensive process of removing and, if applicable, reinstalling your Kwikset smart lock. By following the step-by-step guide outlined in this article, you’ve gained valuable insights into the intricate components and mechanisms of your smart lock system. Whether you embarked on this journey for maintenance, replacement, or an upgrade, your hands-on experience has empowered you with a deeper understanding of your smart lock’s functionality and installation.
Throughout the removal process, you navigated the intricacies of the smart lock system with precision and care, ensuring that each component was handled methodically and safely. From removing the battery cover and interior assembly to detaching the mounting plate and exterior assembly, your attention to detail has been instrumental in the successful extraction of the smart lock from your door.
If you proceeded with the reinstallation of the smart lock, you’ve demonstrated a commendable commitment to maintaining the security and functionality of your home’s access control system. By carefully aligning and securing the mounting plate, exterior assembly, and interior components, you’ve reinstated the smart lock with confidence and expertise.
As you reflect on this hands-on experience, you’ve not only honed your practical skills but also deepened your knowledge of smart lock technology. The insights gained from this process will serve you well in future maintenance endeavors and may inspire further exploration of advanced security solutions.
Remember, the removal and installation of a smart lock are significant tasks that contribute to the safety and convenience of your living space. By engaging in these processes, you’ve taken proactive steps to ensure that your smart lock system operates optimally and provides the security features you rely on.
Whether you’re embarking on new home improvement projects or seeking to enhance your security infrastructure, the knowledge and expertise you’ve gained from this experience will undoubtedly serve you well in your future endeavors. As you continue to explore the realm of home security and automation, may your journey be filled with discovery, empowerment, and the peace of mind that comes with a well-maintained and secure living environment.
Frequently Asked Questions about How To Remove Kwikset Smart Lock
Was this page helpful?
At Storables.com, we guarantee accurate and reliable information. Our content, validated by Expert Board Contributors, is crafted following stringent Editorial Policies. We're committed to providing you with well-researched, expert-backed insights for all your informational needs.


0 thoughts on “How To Remove Kwikset Smart Lock”