Home>Technology>Security & Surveillance>How To Reset Yale Smart Lock

Security & Surveillance
How To Reset Yale Smart Lock
Modified: January 4, 2024
Learn how to reset your Yale smart lock for improved security and surveillance. Follow our step-by-step guide to ensure your home is always protected. Unlock peace of mind today.
(Many of the links in this article redirect to a specific reviewed product. Your purchase of these products through affiliate links helps to generate commission for Storables.com, at no extra cost. Learn more)
Introduction
Welcome to the world of smart home security, where convenience meets peace of mind. In today’s digital age, the Yale Smart Lock stands as a beacon of innovation, offering advanced security features and seamless integration with modern smart home systems. As with any technological marvel, understanding how to reset the Yale Smart Lock is essential for maintaining its optimal functionality and ensuring the security of your home.
In this comprehensive guide, we will delve into the intricacies of the Yale Smart Lock, exploring its features and the step-by-step process for resetting the lock. Whether you’re a tech-savvy homeowner or a novice to smart home devices, this article will equip you with the knowledge needed to navigate the resetting process with confidence.
So, let’s embark on this enlightening journey to unravel the mysteries of the Yale Smart Lock and discover the simple yet crucial steps to reset it effectively.
Key Takeaways:
- Resetting your Yale Smart Lock is easy and essential for maintaining its performance. Whether troubleshooting issues or preparing for reconfiguration, following the simple steps outlined in this guide ensures your home security remains reliable.
- By understanding the Yale Smart Lock’s features and troubleshooting common issues, you can confidently navigate its complexities. Whether it’s a standard reset or a comprehensive factory reset, you’re empowered to maintain optimal performance and security.
Read more: How To Remove A Yale Smart Lock
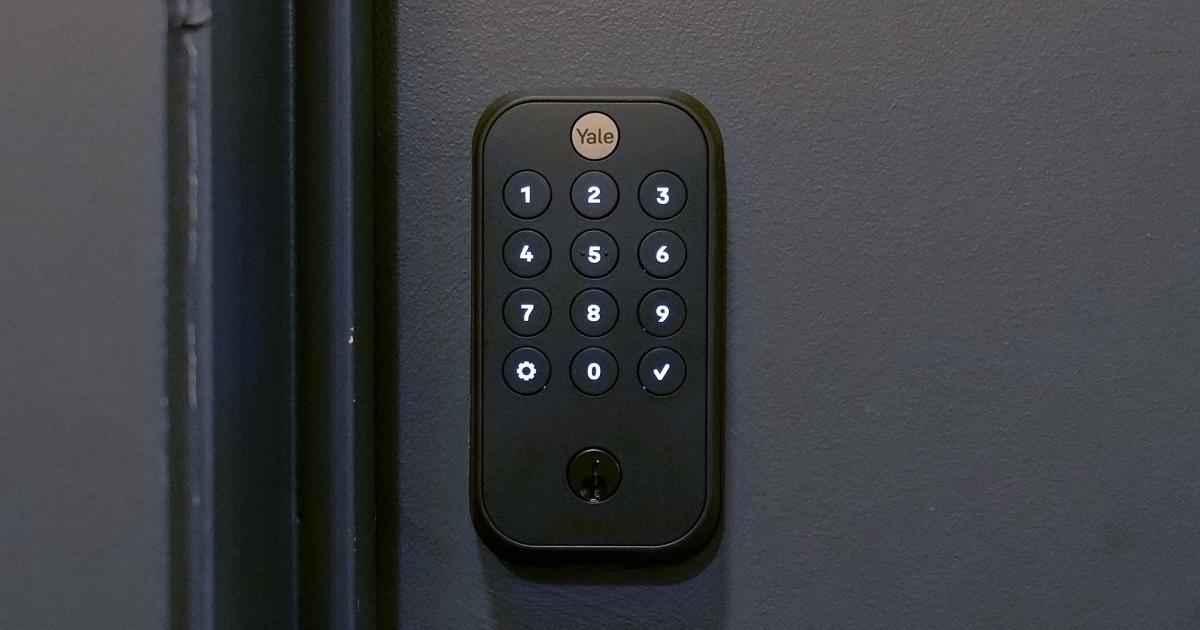
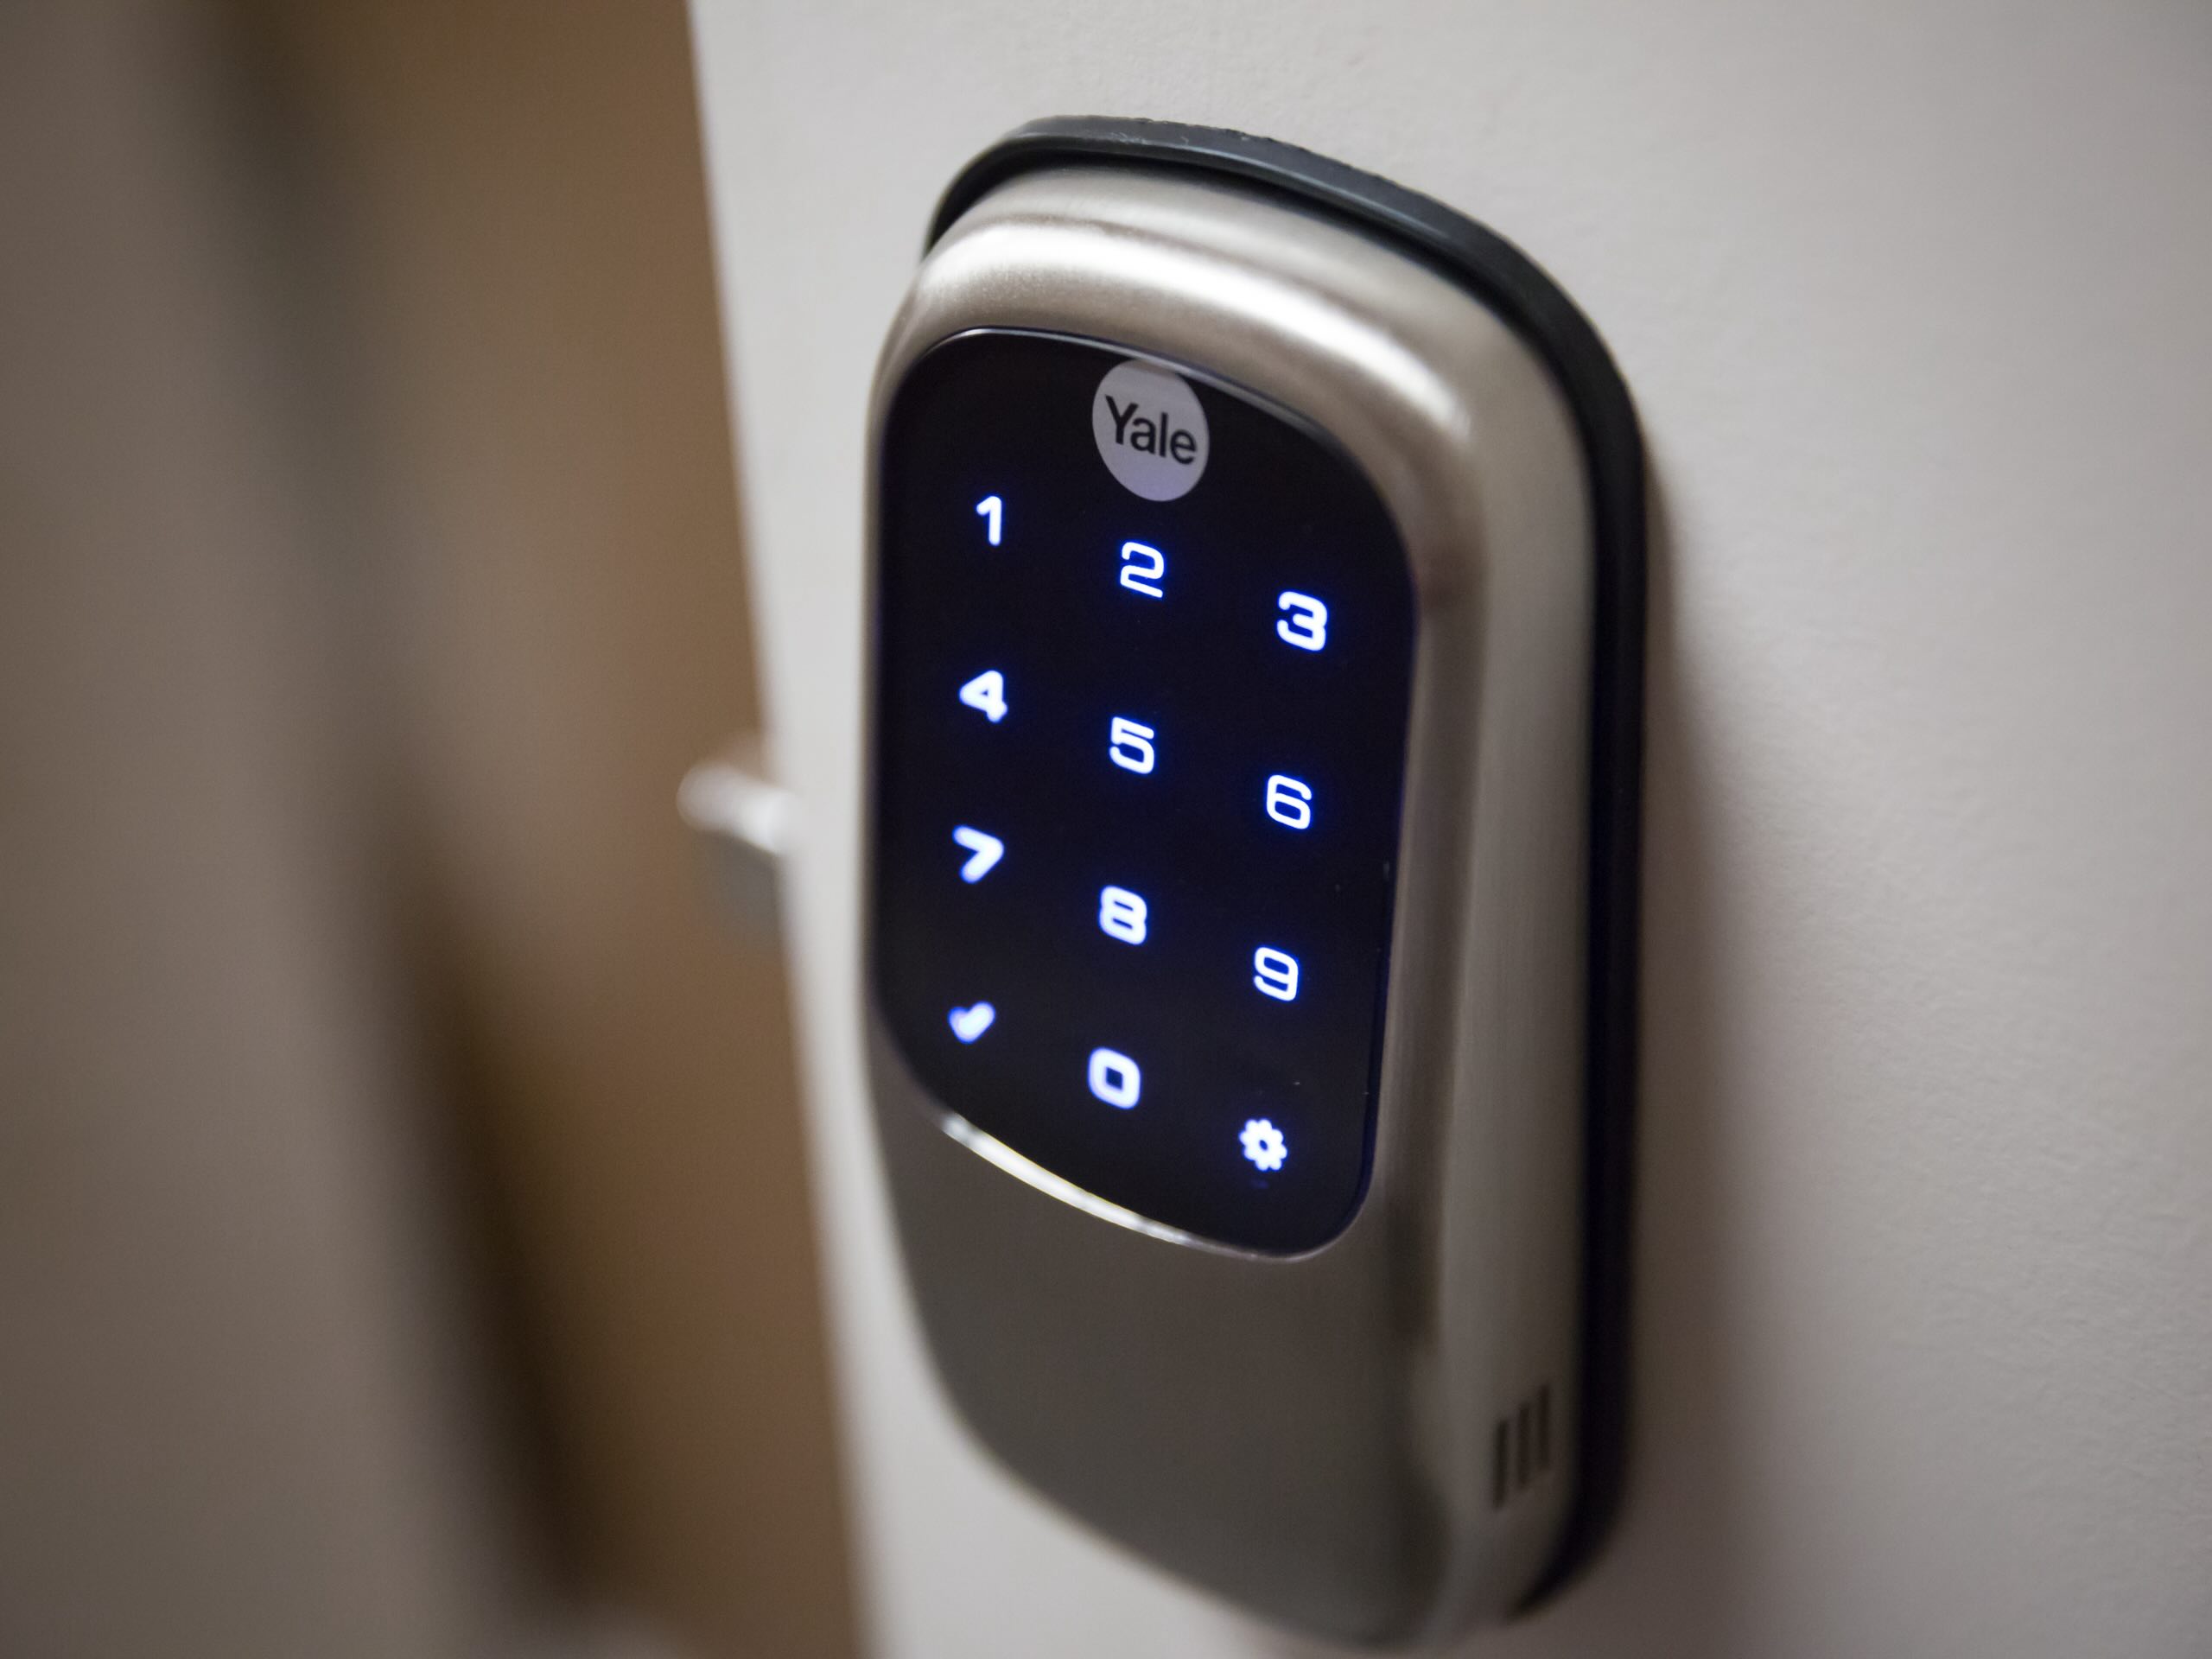
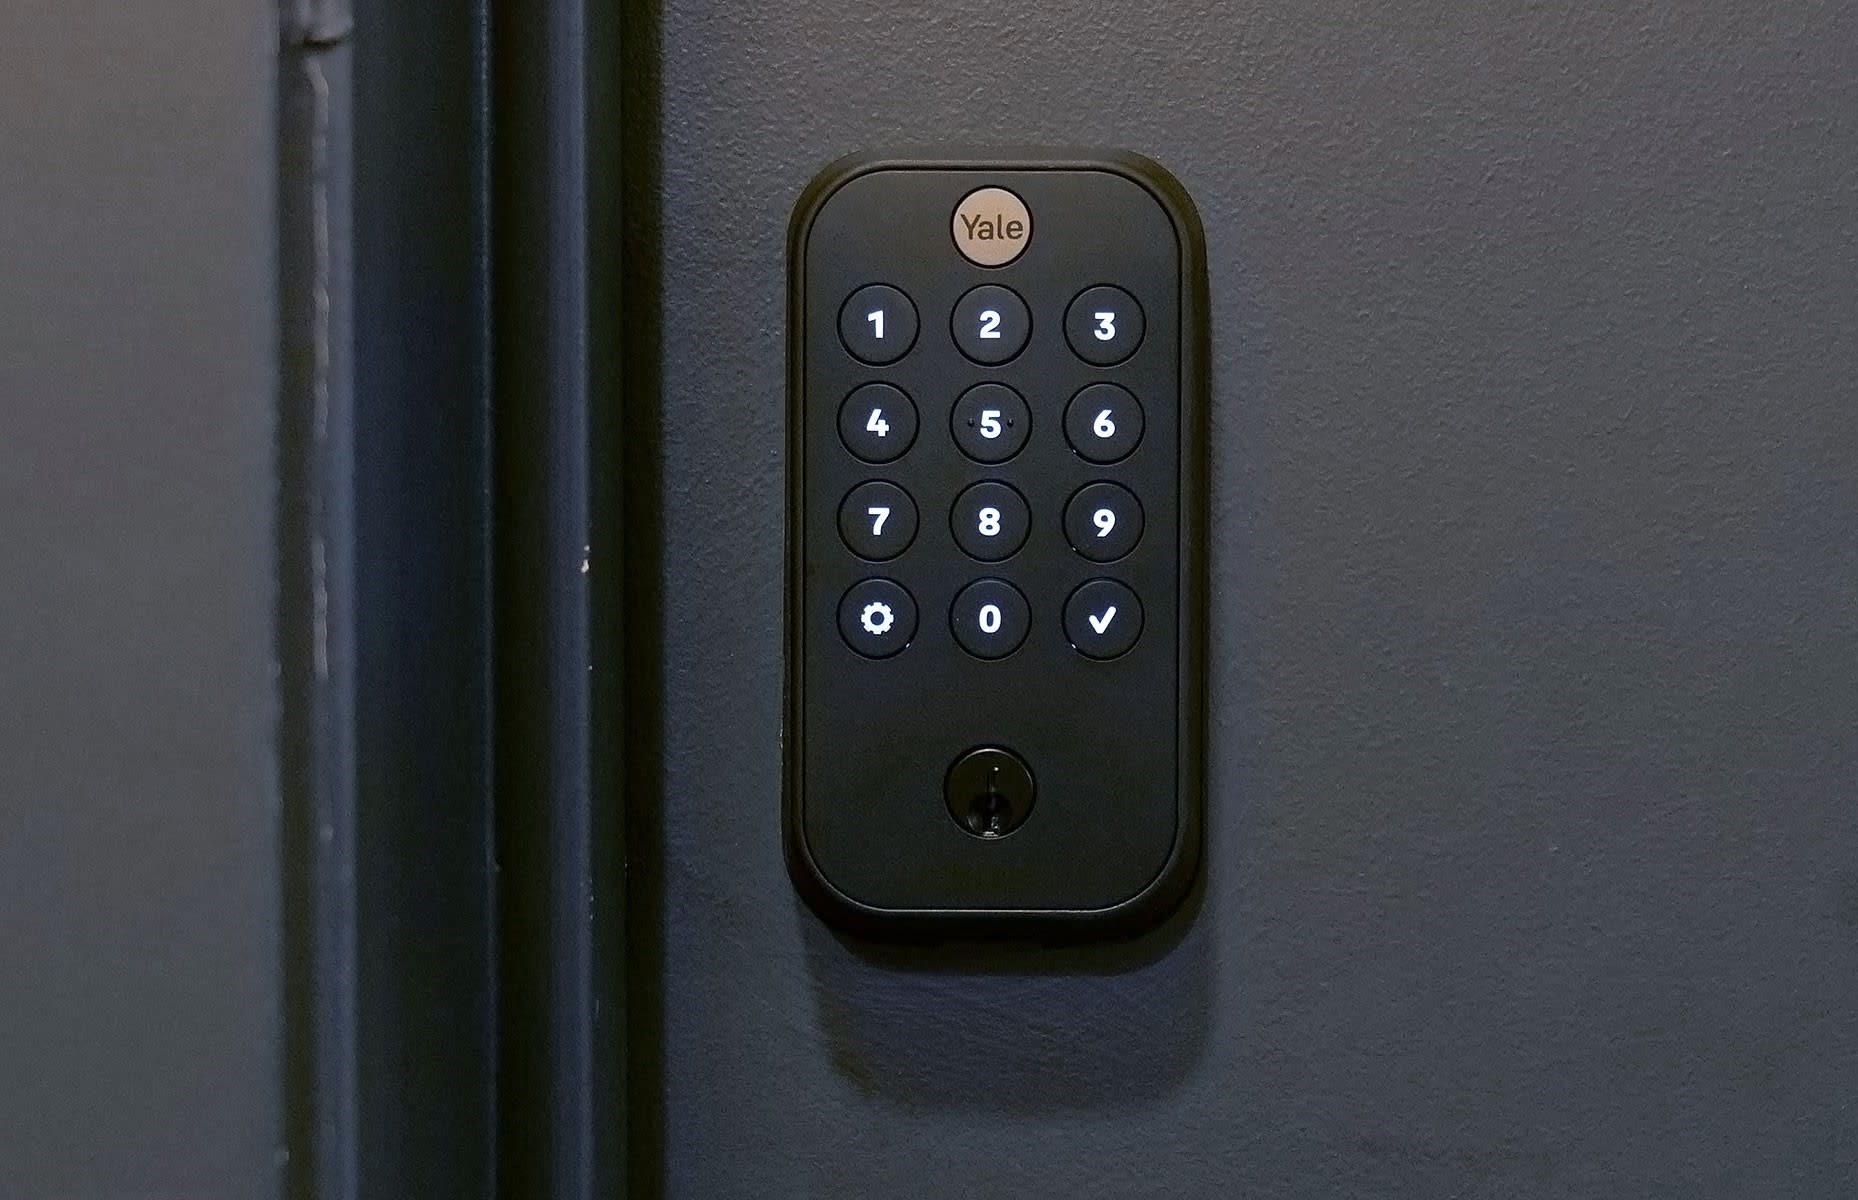
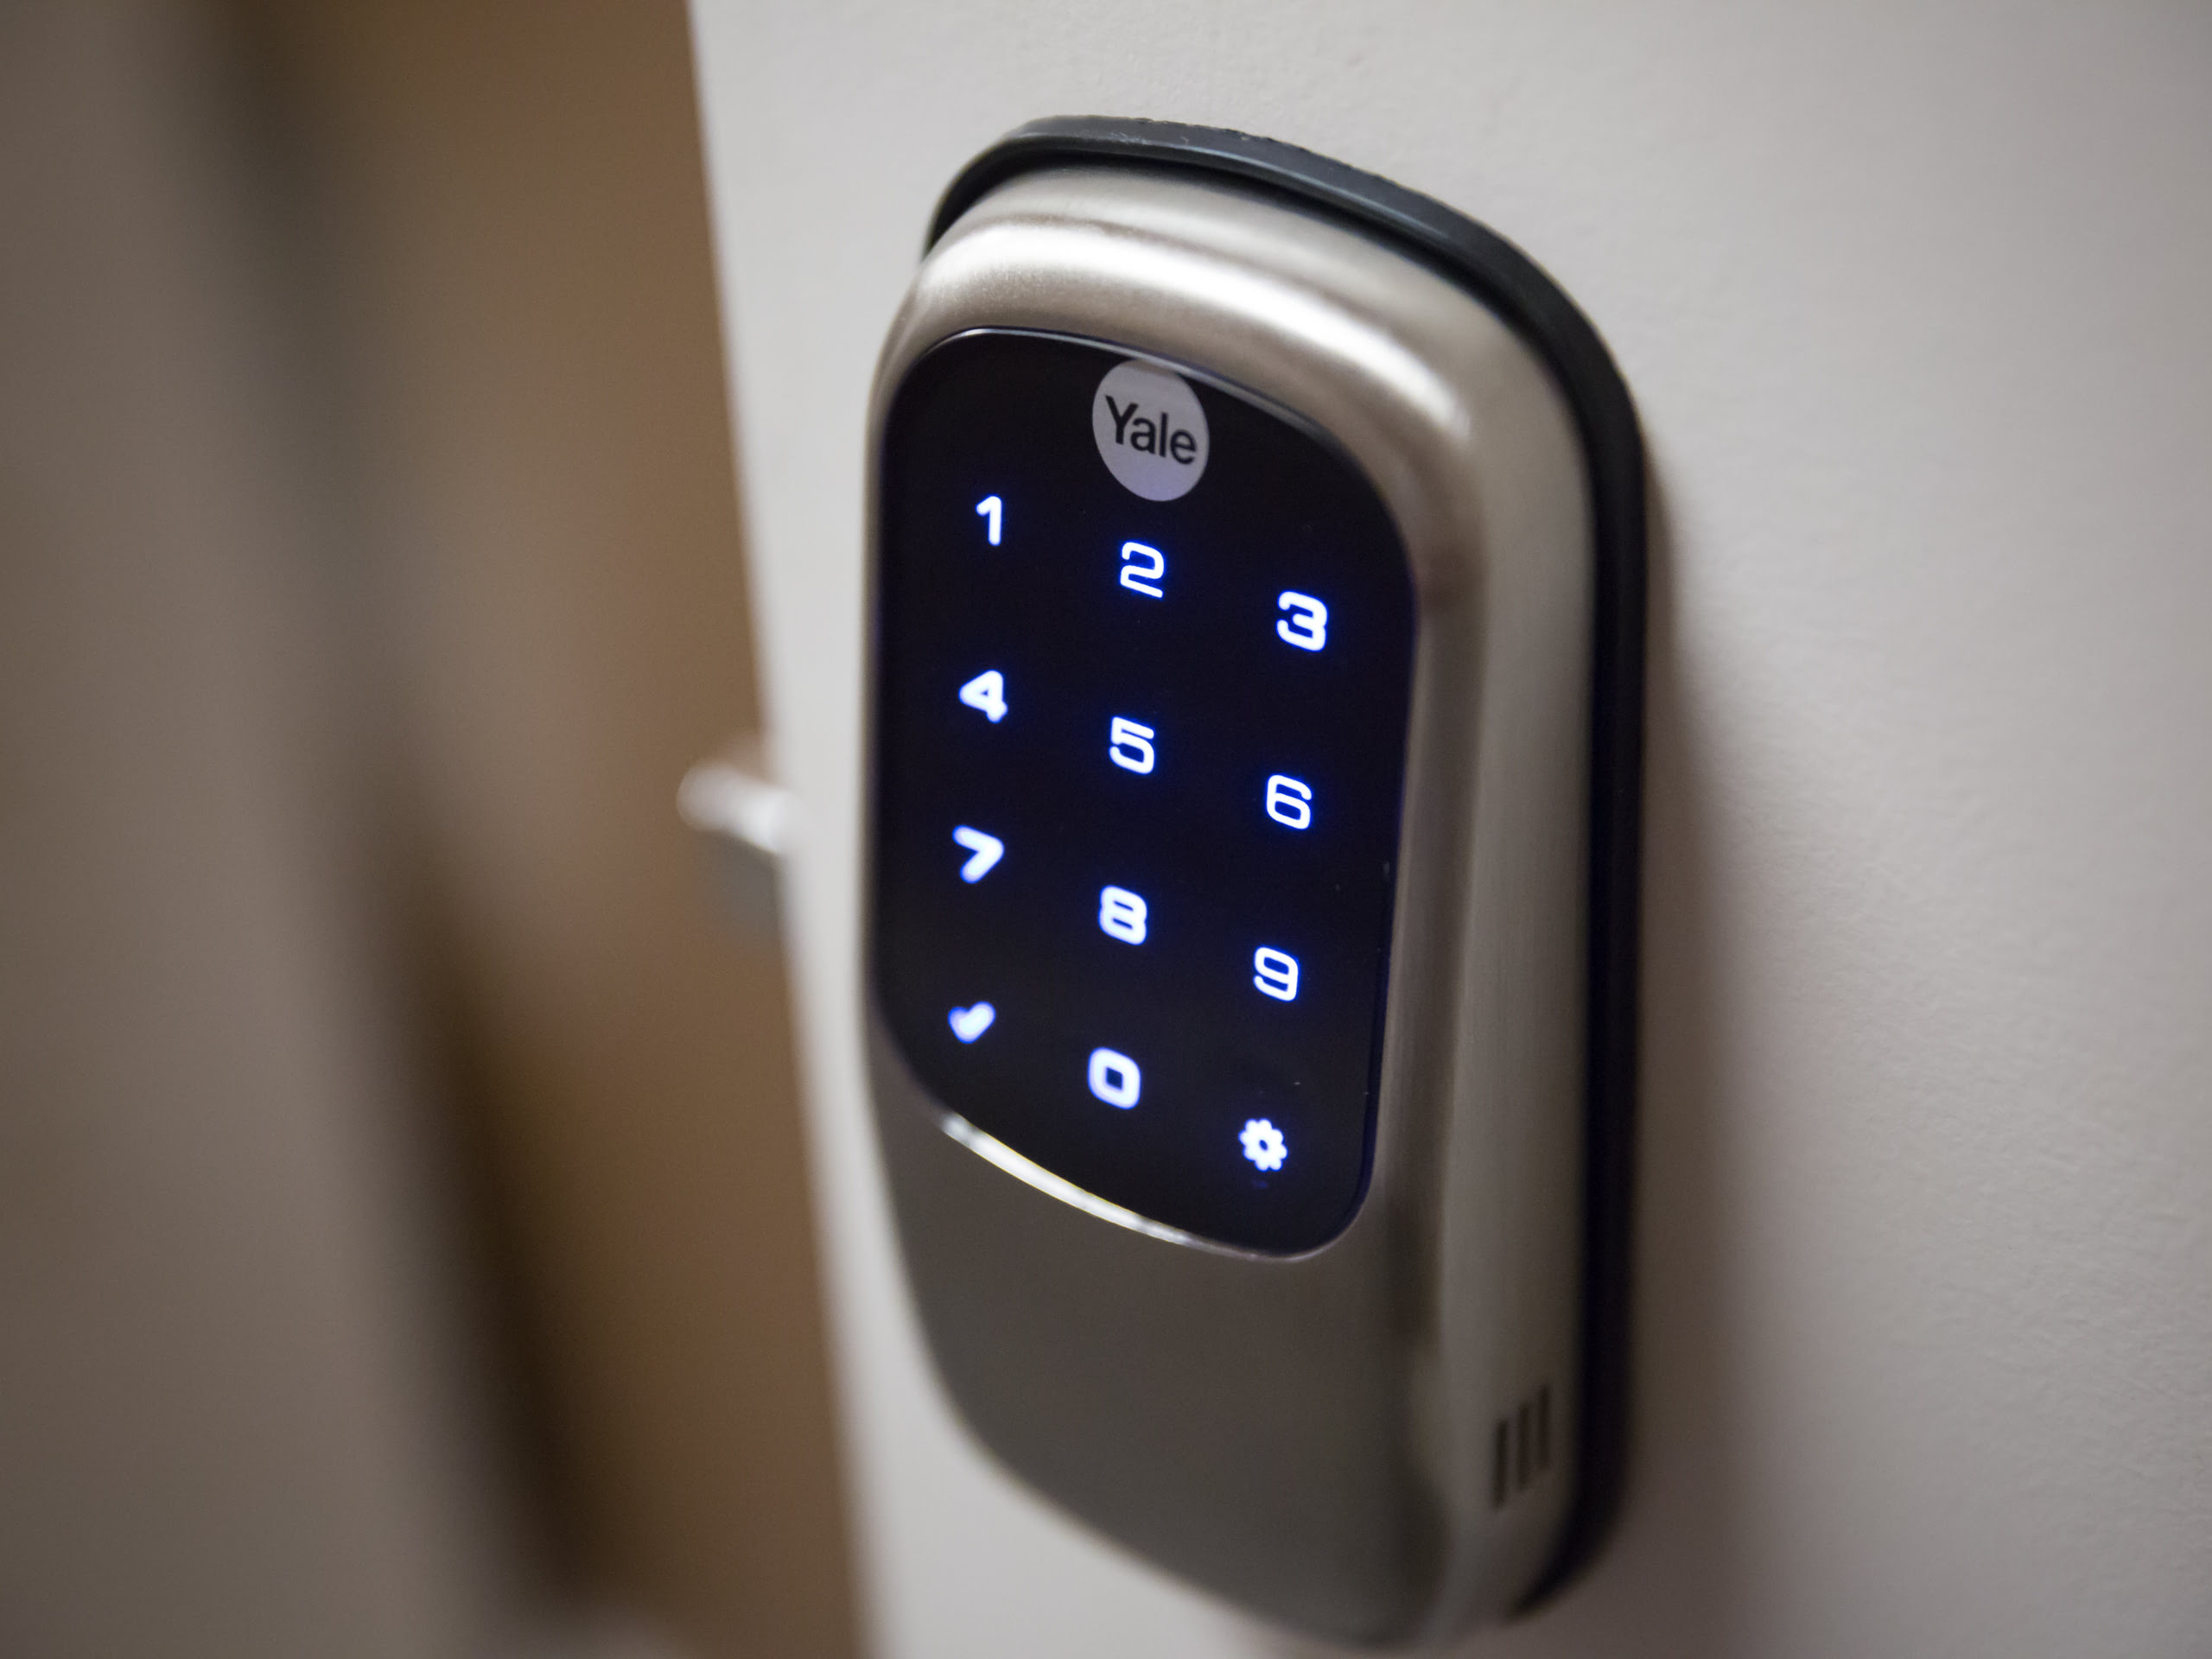
Understanding Yale Smart Lock
Before diving into the intricacies of resetting the Yale Smart Lock, it’s crucial to grasp the fundamental workings of this cutting-edge security device. The Yale Smart Lock represents a revolutionary leap in home security, seamlessly blending traditional lock-and-key mechanisms with advanced digital technology.
At its core, the Yale Smart Lock is designed to provide homeowners with unparalleled control and visibility over their property’s security. Through its intuitive interface and connectivity features, users can remotely monitor and manage access to their homes, granting entry to trusted individuals and receiving real-time alerts for any unauthorized attempts to breach the lock.
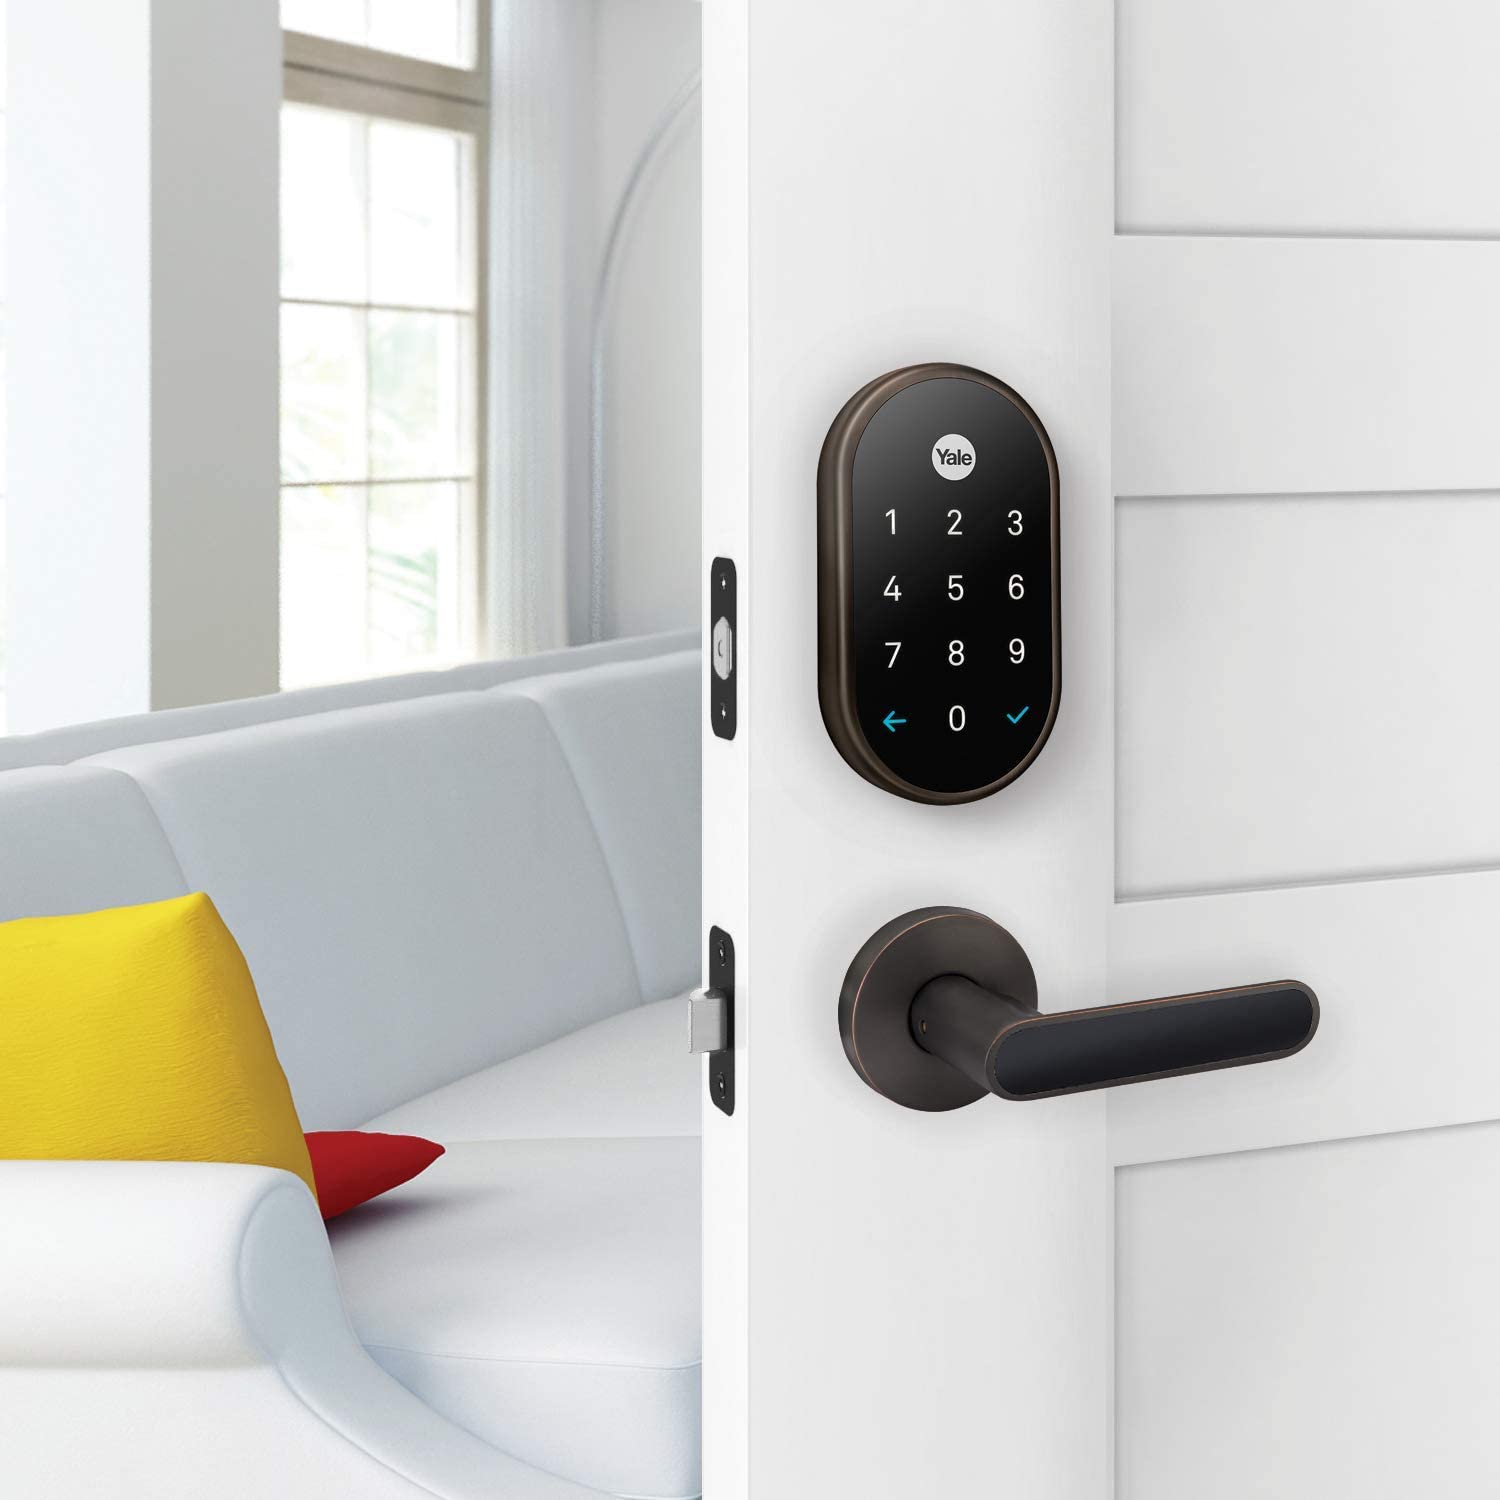
The Yale Smart Lock comes in various models, each boasting unique features such as keyless entry, voice assistant integration, and compatibility with smart home platforms. Whether it’s the Yale Assure Lock SL, Yale Real Living Assure Lock, or any other variant, these locks are engineered to offer a seamless blend of convenience and robust security.
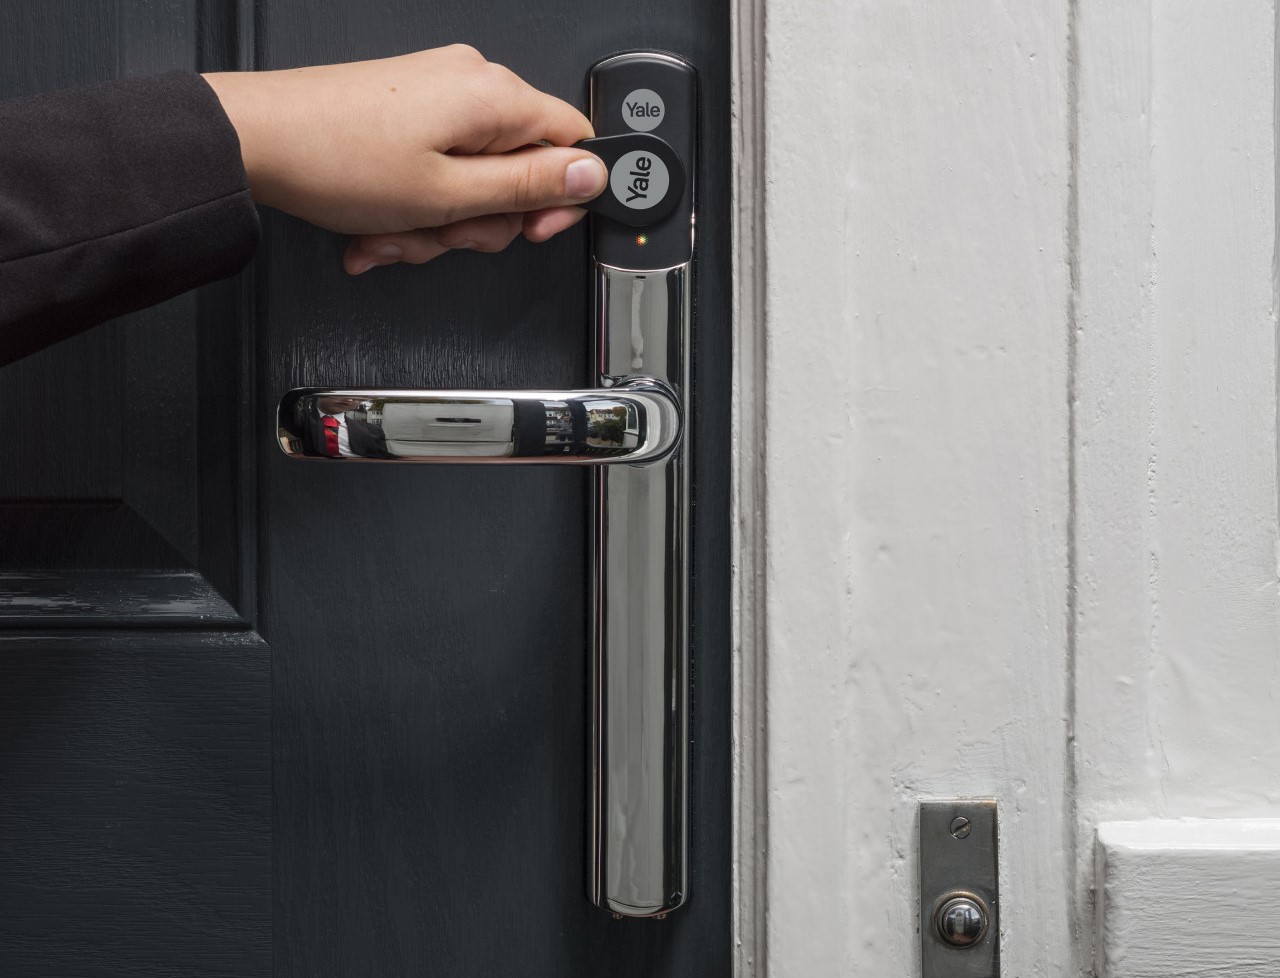
One of the standout features of the Yale Smart Lock is its ability to integrate with smart home ecosystems, allowing for effortless control via smartphone apps and voice commands. This means that homeowners can remotely lock or unlock their doors, check the lock’s status, and even create custom access codes for guests, all from the palm of their hand.
Moreover, the Yale Smart Lock prioritizes user convenience without compromising on security. With its sleek and modern design, it seamlessly complements any home aesthetic while delivering the peace of mind that comes with advanced security measures.
By understanding the innovative design and capabilities of the Yale Smart Lock, users can appreciate its value in safeguarding their homes and loved ones. Now, equipped with this knowledge, let’s explore the essential steps to reset the Yale Smart Lock, ensuring its continued reliability and performance.
Resetting Yale Smart Lock
Resetting the Yale Smart Lock is a straightforward process that can resolve various issues, from forgotten access codes to connectivity glitches. Whether you’re resetting the lock to troubleshoot a technical issue or simply performing routine maintenance, the following steps will guide you through the process with ease.
Before initiating the reset, it’s essential to ensure that you have the necessary credentials and access to the lock’s control interface, whether through a smartphone app or the lock’s physical keypad.
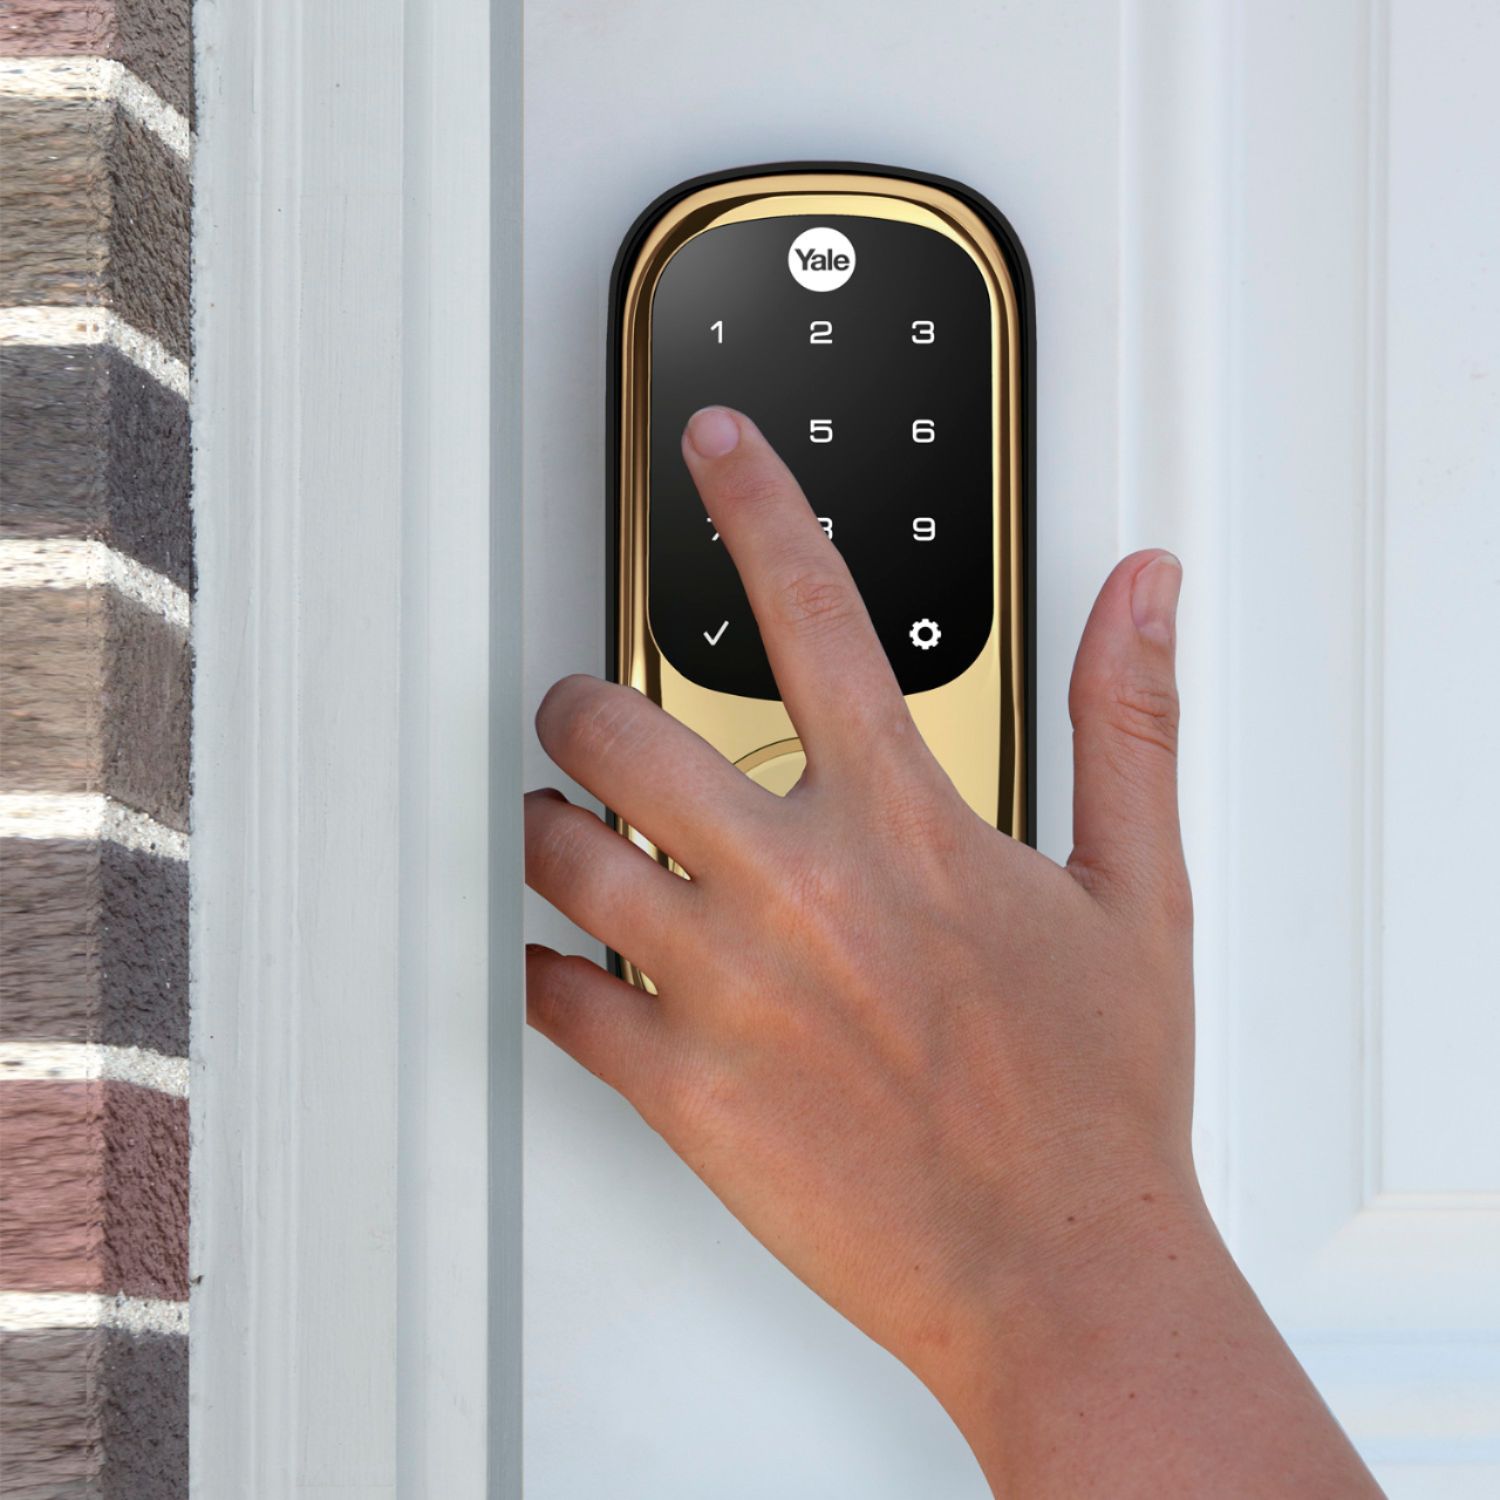
- Accessing the Control Interface: To begin, locate the control interface of your Yale Smart Lock. This may involve using a smartphone app, accessing the lock’s settings via a web portal, or interacting directly with the lock’s keypad.
- Initiating the Reset: Once you have accessed the control interface, navigate to the reset option. This may be found within the lock’s settings menu or through a specific reset button or sequence on the lock itself.
- Follow the Prompts: Depending on the model of your Yale Smart Lock, you may be prompted to confirm the reset action through a series of on-screen prompts or keypad inputs. Follow the instructions carefully to proceed with the reset.
- Confirmation: After initiating the reset, the lock may emit a visual or audible confirmation to indicate that the process has been successful. Be sure to wait for this confirmation before proceeding.
By following these steps, you can effectively reset your Yale Smart Lock, restoring it to its default settings and resolving any underlying issues that may have necessitated the reset.
It’s important to note that performing a reset will not compromise the security of your lock, as the reset process is designed to maintain the integrity of the access control and encryption mechanisms within the lock.
Now that we’ve explored the general process of resetting the Yale Smart Lock, let’s delve into a specific method known as the factory reset, which offers a comprehensive restoration of the lock’s settings.
To reset a Yale Smart Lock, locate the reset button on the lock and hold it down for 10 seconds until the lock beeps. This will restore the lock to its factory settings.
Factory Reset
When standard troubleshooting methods prove insufficient in resolving issues with your Yale Smart Lock, a factory reset may be the next logical step. A factory reset restores the lock to its original state, erasing all custom settings and user data. This process is particularly useful when encountering persistent technical issues or when preparing the lock for reconfiguration in a new environment.
Performing a factory reset on your Yale Smart Lock typically involves a series of deliberate steps to ensure that the reset is executed securely and effectively. While the exact procedure may vary slightly depending on the model of your lock, the following general steps outline the process:
- Accessing the Factory Reset Option: Begin by accessing the lock’s control interface, whether through a smartphone app, web portal, or the physical keypad. Navigate to the factory reset option within the settings menu.
- Confirmation: Upon selecting the factory reset option, the lock may prompt you to confirm the action. This confirmation step is crucial to prevent accidental resets.
- Initiating the Factory Reset: Once you have confirmed the factory reset, follow the on-screen prompts or keypad inputs to initiate the process. The lock may emit visual or audible cues to indicate that the reset is underway.
- Completion: After the factory reset is initiated, allow the lock sufficient time to complete the process. This may involve the lock cycling through various indicators to signify that the reset is in progress.
- Reconfiguration: Once the factory reset is complete, the lock will return to its original state, requiring reconfiguration to establish new access codes, user settings, and connectivity preferences.
It’s important to note that a factory reset should be approached with caution, as it irreversibly erases all custom settings and user data associated with the lock. Therefore, it’s advisable to exhaust standard troubleshooting methods and consult the lock’s documentation or customer support before resorting to a factory reset.
By following these steps, you can effectively perform a factory reset on your Yale Smart Lock, restoring it to its factory-default state and paving the way for reconfiguration and troubleshooting as needed.
Now that we’ve explored the intricacies of the factory reset process, let’s turn our attention to troubleshooting common issues that may prompt the need for a reset.
Troubleshooting
While the Yale Smart Lock is renowned for its reliability and advanced features, occasional technical hiccups or operational challenges may arise. Understanding common issues and their potential resolutions can empower you to address these challenges effectively, minimizing the need for a reset or factory reset.
Here are some common issues that users may encounter with the Yale Smart Lock, along with troubleshooting steps to consider:
- Connectivity Problems: If the lock is experiencing connectivity issues with your smart home system or smartphone app, try restarting the lock and ensuring that it is within range of the associated hub or network. Additionally, check for any firmware updates or compatibility issues with your smart home platform.
- Unresponsive Keypad: In the event of an unresponsive keypad, inspect the lock for any physical obstructions or signs of wear. Cleaning the keypad and ensuring proper power supply to the lock can often resolve this issue.
- Forgotten Access Codes: If you’ve forgotten your access code or are experiencing difficulties with user codes, refer to the lock’s documentation for instructions on resetting or reprogramming access codes without resorting to a factory reset.
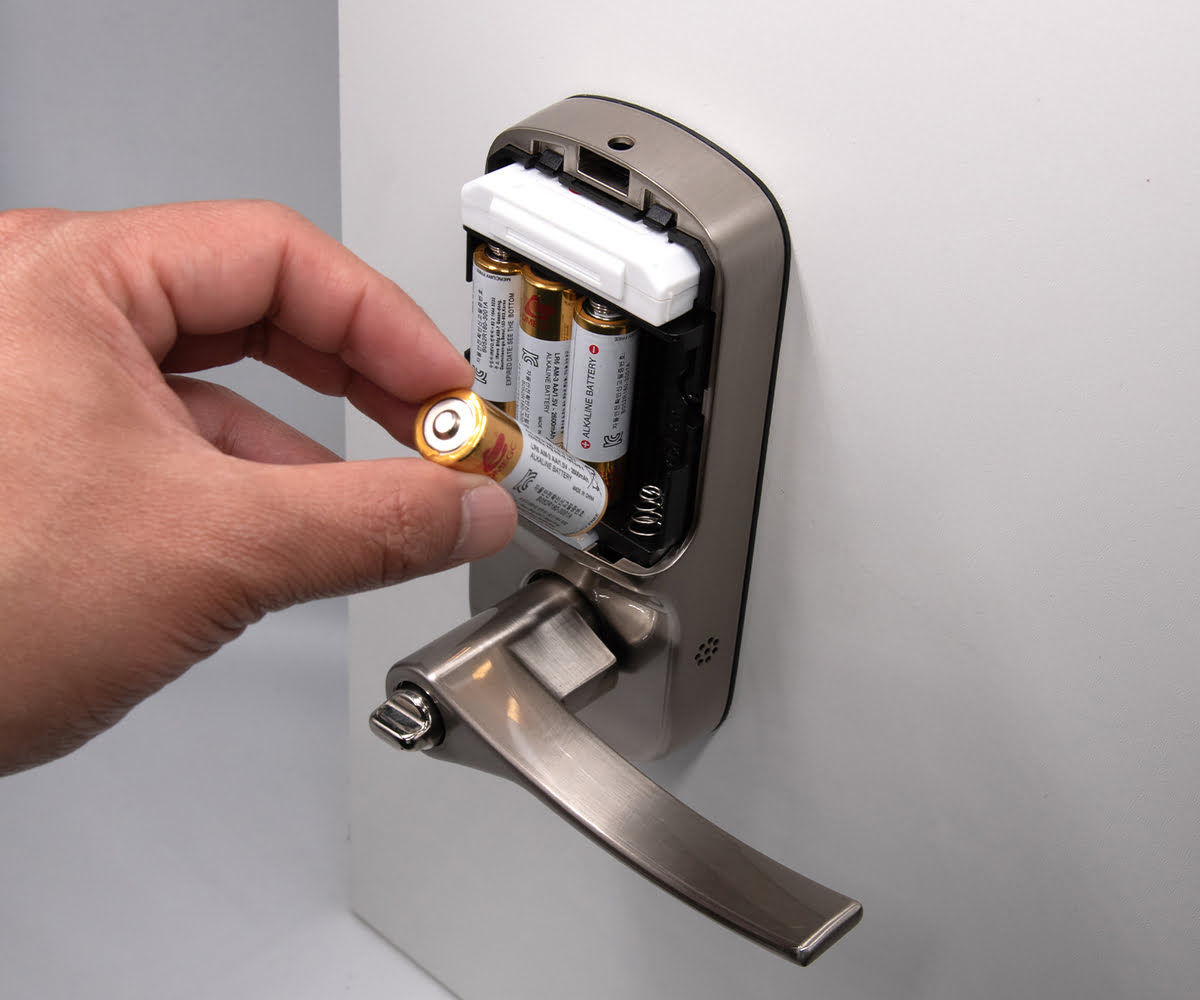
- Battery Replacement: Should the lock exhibit erratic behavior or fail to respond, replacing the batteries with fresh, high-quality replacements can often restore its functionality.
- Software Updates: Regularly check for and install any available software updates for your Yale Smart Lock, as these updates may address known issues and enhance the lock’s performance and security features.
By addressing these common issues through targeted troubleshooting, you can often resolve operational challenges and restore the optimal functionality of your Yale Smart Lock without the need for a full reset.
However, in cases where persistent issues persist despite troubleshooting efforts, or when preparing the lock for reconfiguration in a new environment, the factory reset process outlined earlier can serve as a comprehensive solution to restore the lock to its original state.
Armed with the knowledge of troubleshooting methods and the intricacies of resetting the Yale Smart Lock, you are well-equipped to navigate any technical challenges that may arise, ensuring the continued security and reliability of this innovative smart home device.
Read more: How To Reset A Smart Lock
Conclusion
As we bring our exploration of the Yale Smart Lock to a close, it’s evident that this innovative security solution represents a harmonious fusion of traditional lock-and-key mechanisms with cutting-edge digital technology. The seamless integration of convenience, control, and robust security features makes the Yale Smart Lock a formidable safeguard for modern homes.
Throughout this guide, we’ve embarked on a journey to understand the Yale Smart Lock, unraveling its features, capabilities, and the essential process of resetting the lock. Whether you’ve encountered a technical issue, need to reconfigure the lock, or simply seek to maintain its optimal functionality, the knowledge gained here empowers you to navigate the resetting process with confidence.
From standard resets to the comprehensive restoration offered by a factory reset, we’ve delved into the step-by-step procedures, ensuring that you are well-versed in the intricacies of resetting your Yale Smart Lock. Moreover, we’ve explored common troubleshooting methods to address operational challenges and minimize the need for a full reset, empowering you to maintain the lock’s reliability and security.
As technology continues to evolve, the Yale Smart Lock stands as a beacon of innovation, offering peace of mind and convenience to homeowners. Its seamless integration with smart home ecosystems and commitment to user-centric design reaffirms its status as a cornerstone of modern home security.
By embracing the knowledge shared in this guide, you are poised to navigate the complexities of the Yale Smart Lock with confidence, ensuring that your home’s security remains steadfast and reliable. Whether it’s a routine reset, troubleshooting a minor issue, or embarking on a comprehensive factory reset, your understanding of the Yale Smart Lock’s intricacies empowers you to maintain its optimal performance.
As you continue to harness the power of smart home technology, may the Yale Smart Lock stand as a stalwart guardian, seamlessly blending convenience and security to enrich your daily life.
Frequently Asked Questions about How To Reset Yale Smart Lock
Was this page helpful?
At Storables.com, we guarantee accurate and reliable information. Our content, validated by Expert Board Contributors, is crafted following stringent Editorial Policies. We're committed to providing you with well-researched, expert-backed insights for all your informational needs.

0 thoughts on “How To Reset Yale Smart Lock”