Home>Technology>Security & Surveillance>How To Remove Kwikset Lock From Door

Security & Surveillance
How To Remove Kwikset Lock From Door
Modified: August 24, 2024
Learn how to remove a Kwikset lock from your door with our step-by-step guide. Ensure the security and surveillance of your property with our expert tips and instructions.
(Many of the links in this article redirect to a specific reviewed product. Your purchase of these products through affiliate links helps to generate commission for Storables.com, at no extra cost. Learn more)
Introduction
Removing a Kwikset lock from a door may seem like a daunting task, but with the right tools and a clear understanding of the process, it can be a straightforward endeavor. Whether you're replacing the lock, refurbishing the door, or addressing a malfunction, knowing how to remove a Kwikset lock is a valuable skill for any homeowner or DIY enthusiast.
In this comprehensive guide, we will walk you through the step-by-step process of removing a Kwikset lock from a door. By following these instructions and utilizing the recommended tools and materials, you can effectively disassemble the lock and prepare the door for any necessary maintenance or upgrades.
So, gather your tools, roll up your sleeves, and let's delve into the process of removing a Kwikset lock from your door. Whether you're a seasoned DIYer or a novice homeowner, this guide will equip you with the knowledge and confidence to tackle this task with ease.
Key Takeaways:
- Removing a Kwikset lock from a door is a manageable task with the right tools and preparation. By following the step-by-step guide, homeowners can confidently disassemble and reassemble the lock for maintenance or replacement.
- The process of removing a Kwikset lock involves preparing the door, removing the doorknob, latch, and strike plate, and reassembling the components. With attention to detail and the recommended tools, homeowners can successfully tackle this DIY task.
Read more: How To Remove Kwikset Smart Lock
Tools and Materials Needed
Before embarking on the process of removing a Kwikset lock from your door, it's essential to gather the necessary tools and materials to ensure a smooth and efficient procedure. Here's a list of items you'll need:
- Phillips Head Screwdriver: This tool is essential for removing the screws securing the doorknob and strike plate.
- Flat Head Screwdriver: A flat head screwdriver will be required for releasing the latch mechanism and removing the strike plate.
- Allen Wrench: Depending on the specific Kwikset lock model, you may need an Allen wrench to loosen set screws or detach certain components.
- Replacement Lockset (Optional): If you intend to replace the existing Kwikset lock with a new one, ensure you have the replacement lockset on hand.
- Protective Gloves: It's advisable to wear protective gloves, especially if the lock or door components are old or corroded.
- Container or Bag: Having a container or bag to store the screws and small components during disassembly can prevent loss and facilitate reassembly.
- Clean Cloth: A clean cloth may be useful for wiping down the door and components as you work.
By having these tools and materials prepared, you can approach the task of removing a Kwikset lock with confidence and efficiency. With everything at your disposal, you'll be well-equipped to tackle each step of the process seamlessly.
Step 1: Prepare the Door
Before diving into the removal process, it’s crucial to prepare the door and ensure a safe and organized workspace. Follow these steps to set the stage for a successful Kwikset lock removal:
- Clear the Surrounding Area: Begin by clearing any obstacles or obstructions around the door. This includes removing any decorative items, mats, or furniture that may hinder your access to the door.
- Secure the Work Area: To prevent any disturbances or safety hazards, ensure that the area around the door is clear and secure. This may involve informing household members or placing a temporary barricade to delineate the work zone.
- Inspect the Lock and Components: Take a moment to inspect the Kwikset lock and its components. Look for any visible damage, corrosion, or signs of wear that may impact the removal process or indicate the need for replacement.
- Gather the Necessary Tools and Materials: Double-check that you have all the required tools and materials at hand, as outlined in the previous section. Having everything within reach will streamline the process and minimize interruptions.
- Put on Protective Gear: If you opted to wear protective gloves during the removal process, ensure that you put them on at this stage to safeguard your hands from any sharp edges or debris.
By meticulously preparing the door and its surroundings, you’ll create an environment conducive to a smooth and efficient Kwikset lock removal. Taking the time to set the stage will contribute to a hassle-free experience and set the tone for the subsequent steps in the process.
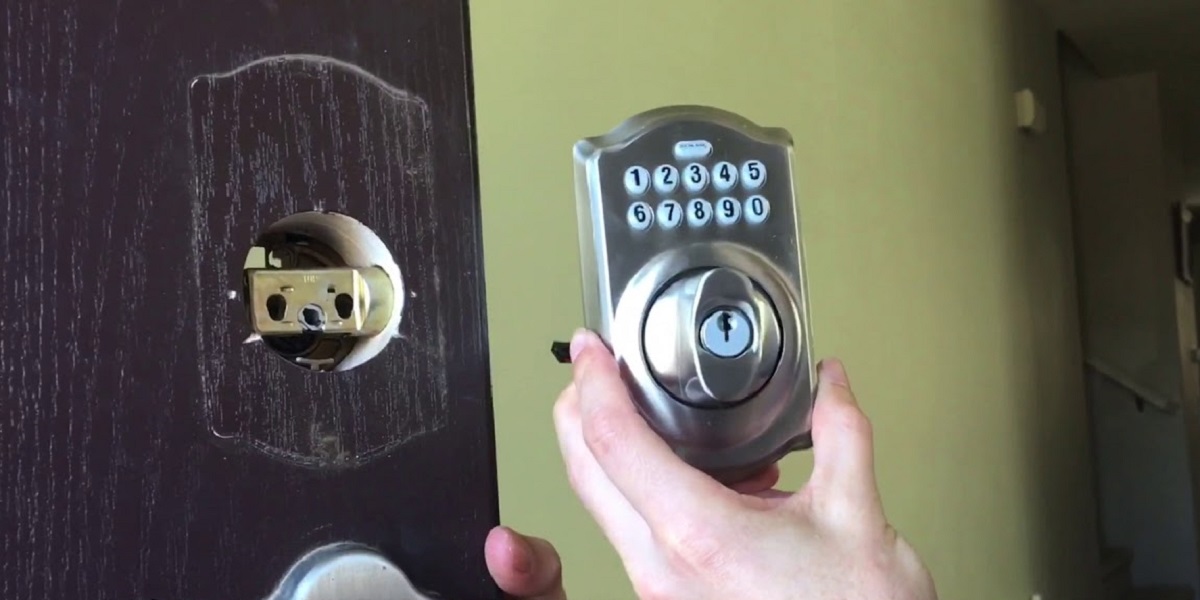
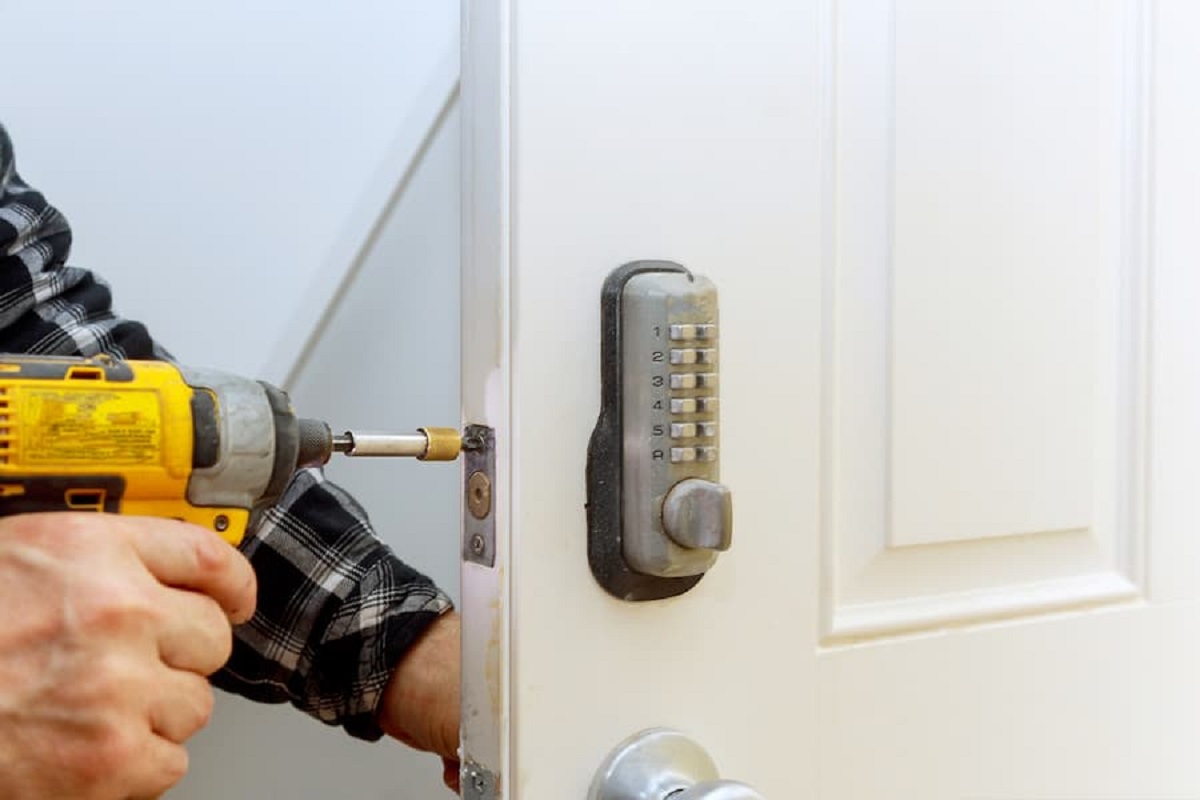
Step 2: Remove the Doorknob
Now that the door is prepared, it’s time to begin the disassembly process by removing the doorknob. Follow these steps to effectively remove the Kwikset doorknob:
- Locate the Screws: Inspect the base of the doorknob and look for the screws securing it to the door. In most Kwikset locks, these screws are located on the neck of the knob, connecting it to the door.
- Unscrew the Fasteners: Using a Phillips head screwdriver, carefully unscrew the fasteners to detach the doorknob from the door. Place the screws in a designated container or bag to prevent misplacement.
- Separate the Knob Halves: Once the screws are removed, gently pull apart the two halves of the doorknob to reveal the concealed mounting plate beneath.
- Remove the Mounting Plate: With the knob halves separated, you’ll find the mounting plate fixed to the door. Use the screwdriver to release the screws securing the plate, allowing you to detach it from the door.
As you proceed through these steps, exercise caution to avoid any damage to the door or the doorknob components. By methodically removing the doorknob, you’ll pave the way for the subsequent stages of disassembling the Kwikset lock with precision and care.
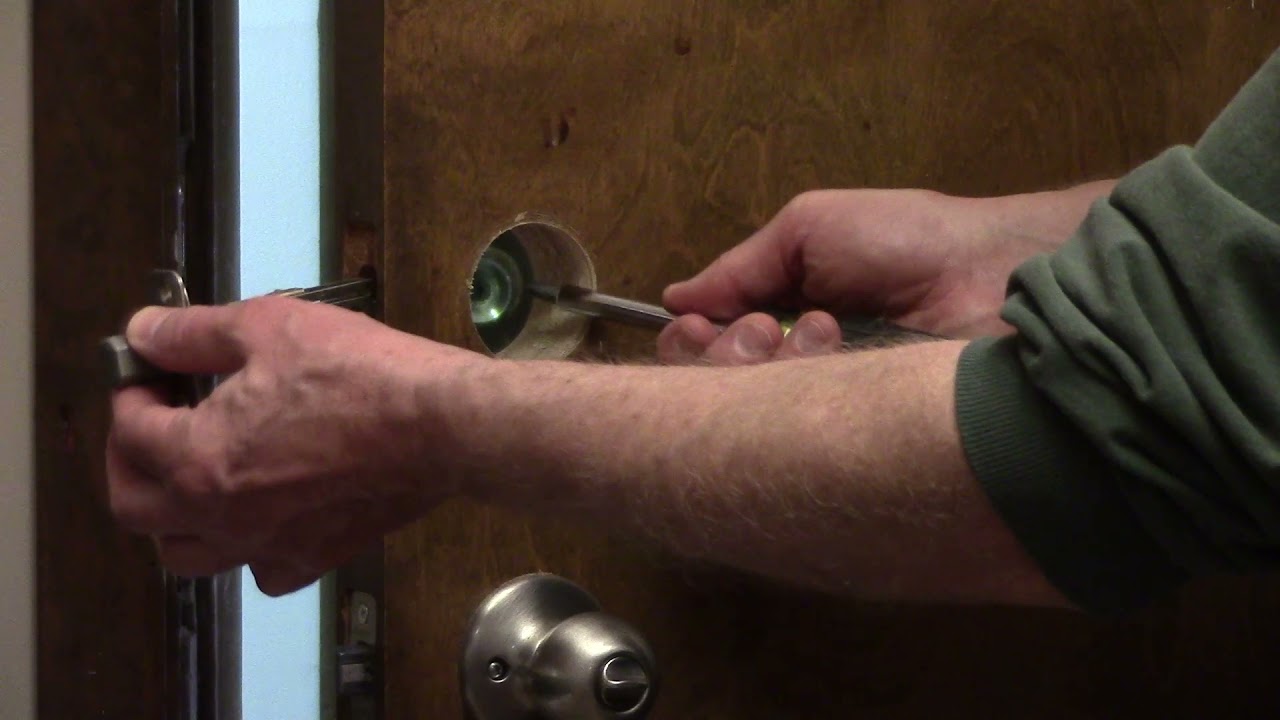
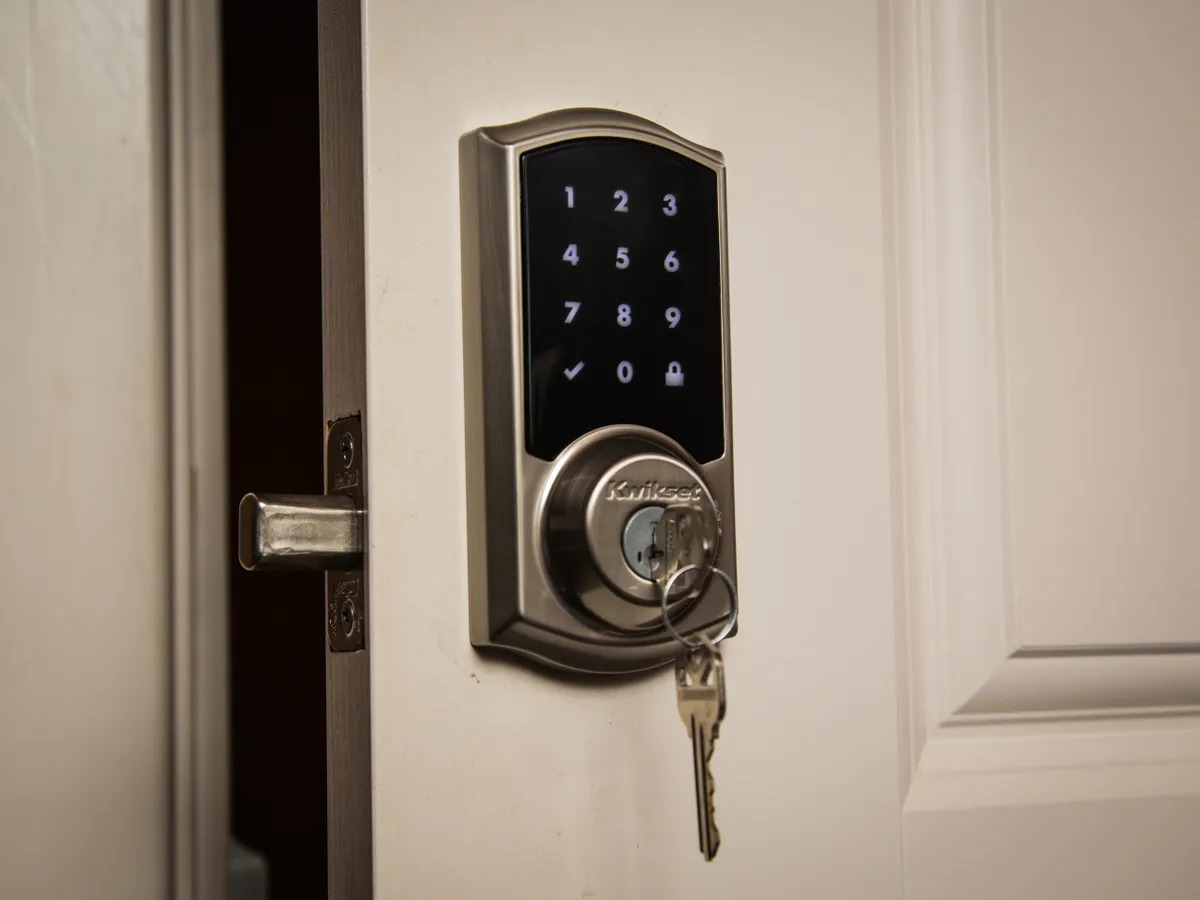
To remove a Kwikset lock from a door, start by unscrewing the screws on the interior side of the lock. Once the screws are removed, the lock should easily come off the door. If there is a latch, use a screwdriver to push in the latch and remove it from the door.
Step 3: Remove the Latch
With the doorknob successfully removed, the next crucial component to address is the latch. Follow these steps to remove the Kwikset latch from the door:
- Locate the Latch Plate: Identify the latch plate, which is the metal fixture located on the edge of the door. This plate encompasses the latch mechanism and is secured in place by screws.
- Unscrew the Latch Plate: Using a Phillips head screwdriver, carefully remove the screws that secure the latch plate to the door. Place the screws in the designated container to keep them organized for reassembly.
- Extract the Latch: Once the screws are removed, gently extract the latch assembly from the edge of the door. Be mindful of any resistance, and maneuver the latch out of its housing with care.
- Inspect the Latch: Take a moment to inspect the latch mechanism for any signs of wear, damage, or obstruction. This evaluation can inform you of the condition of the latch and whether it may require replacement.
By methodically removing the latch from the door, you’re progressing through the disassembly process with precision and attention to detail. Addressing the latch sets the stage for the final steps in removing the Kwikset lock and preparing the door for any necessary maintenance or upgrades.
Step 4: Remove the Strike Plate
As you continue the disassembly process, the next component to address is the strike plate. Follow these steps to remove the Kwikset strike plate from the door:
- Locate the Strike Plate: The strike plate is affixed to the door jamb and is positioned to receive the latch when the door is closed. It is typically secured in place by screws.
- Unscrew the Strike Plate: Using a Phillips head screwdriver, carefully unscrew the fasteners securing the strike plate to the door jamb. Place the screws in the designated container to prevent misplacement.
- Inspect the Area: With the strike plate removed, take a moment to inspect the area of the door jamb where the plate was positioned. Look for any signs of wear, damage, or misalignment that may need attention before reinstallation.
By systematically removing the strike plate, you’re nearing the completion of the disassembly process for the Kwikset lock. This step prepares the door for any necessary adjustments or enhancements before reassembling the components.
Step 5: Reassemble the Door
After successfully removing the Kwikset lock components, it’s time to reassemble the door. Follow these steps to restore the door to its functional state:
- Inspect the Components: Before reassembly, inspect the removed components, including the latch, strike plate, and doorknob, to ensure they are in good condition and free from any debris or damage.
- Position the Latch: Carefully position the latch assembly back into the edge of the door, aligning it properly within its housing. Ensure that it operates smoothly and securely fits into place.
- Attach the Strike Plate: Using the original screws, reattach the strike plate to the door jamb. Confirm that it is aligned with the latch and functions seamlessly when the door is closed.
- Reinstall the Doorknob: Begin by reattaching the mounting plate to the door, securing it with the appropriate screws. Then, align the doorknob halves and fasten them together, ensuring a snug and secure fit.
- Test the Operation: Once the components are reassembled, test the functionality of the door by operating the doorknob and ensuring that the latch engages with the strike plate as intended.
By meticulously reassembling the door components, you’re restoring the functionality and security of the entryway. This final step in the process ensures that the Kwikset lock is properly reinstated and ready to serve its purpose effectively.
Conclusion
Congratulations! You’ve successfully navigated the process of removing a Kwikset lock from your door. By following the step-by-step instructions outlined in this guide and utilizing the recommended tools and materials, you’ve gained the knowledge and confidence to tackle this task with precision and ease.
Whether you embarked on this endeavor to replace the lock, refurbish the door, or address a specific issue, your proactive approach to understanding the disassembly process has equipped you with valuable DIY skills. By preparing the door, removing the doorknob, latch, and strike plate, and reassembling the components, you’ve demonstrated resourcefulness and a commitment to maintaining your home.
As you reflect on this experience, take pride in your ability to handle home maintenance tasks with proficiency. The insights gained from this guide empower you to engage with future projects and enhance the functionality and security of your living space.
Remember, should you encounter challenges or complexities beyond your comfort level, seeking professional assistance is always a viable option. Your dedication to maintaining your home, paired with the knowledge gained from this guide, will contribute to a safe, secure, and well-maintained living environment for you and your loved ones.
Thank you for embarking on this DIY journey with us. We hope this guide has been instrumental in your home maintenance endeavors, and we wish you continued success in all your future projects.
Frequently Asked Questions about How To Remove Kwikset Lock From Door
Was this page helpful?
At Storables.com, we guarantee accurate and reliable information. Our content, validated by Expert Board Contributors, is crafted following stringent Editorial Policies. We're committed to providing you with well-researched, expert-backed insights for all your informational needs.


0 thoughts on “How To Remove Kwikset Lock From Door”