Home>Technology>Security & Surveillance>How To Change Door Lock Cylinder On A Car
Security & Surveillance
How To Change Door Lock Cylinder On A Car
Modified: October 30, 2024
Learn how to change the door lock cylinder on your car for improved security and surveillance. Follow our step-by-step guide for a secure and hassle-free process.
(Many of the links in this article redirect to a specific reviewed product. Your purchase of these products through affiliate links helps to generate commission for Storables.com, at no extra cost. Learn more)
Introduction
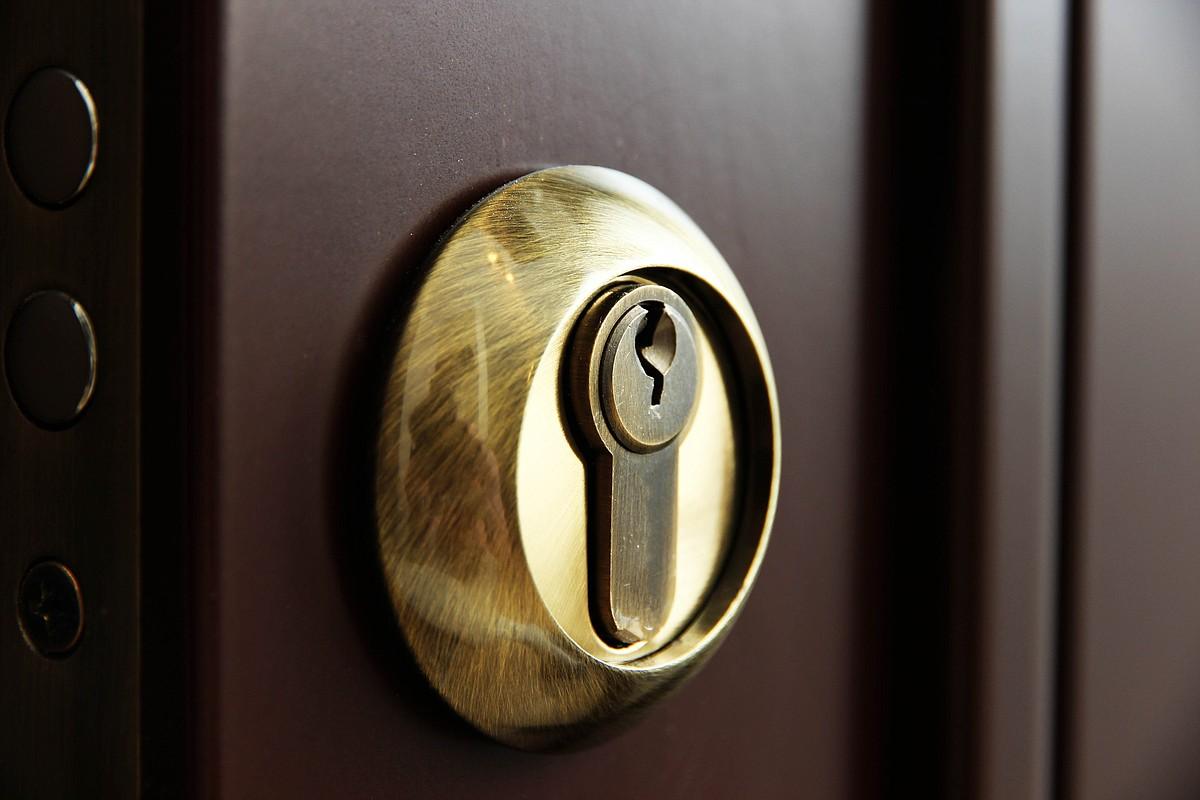
When it comes to safeguarding your vehicle, ensuring that the door lock cylinder is in optimal condition is paramount. The door lock cylinder is a crucial component that enables you to securely lock and unlock your car. Over time, wear and tear can compromise its functionality, necessitating a replacement. While seeking professional assistance is always an option, understanding how to change the door lock cylinder on a car can empower you to undertake this task with confidence.
In this comprehensive guide, we will walk you through the step-by-step process of replacing a door lock cylinder on a car. By following these instructions and utilizing the necessary tools and materials, you can restore the security of your vehicle and gain a sense of accomplishment in mastering this essential maintenance task.
Whether you have encountered issues with your current lock cylinder or simply wish to proactively upgrade it, this guide will equip you with the knowledge and skills to complete the replacement process effectively. With a bit of patience and attention to detail, you can successfully install a new door lock cylinder and ensure the safety and security of your vehicle. So, let's gather the required tools and materials and embark on this empowering journey to upgrade your car's security system.
Key Takeaways:
- Changing a car’s door lock cylinder is a manageable task with the right tools and patience. By following step-by-step instructions, you can enhance your vehicle’s security and gain a sense of accomplishment.
- Proactively maintaining your car’s security system empowers you as a responsible vehicle owner. With attention to detail and resourcefulness, you can successfully replace the lock cylinder and ensure your car’s safety.
Read more: How To Remove A Door Lock Cylinder
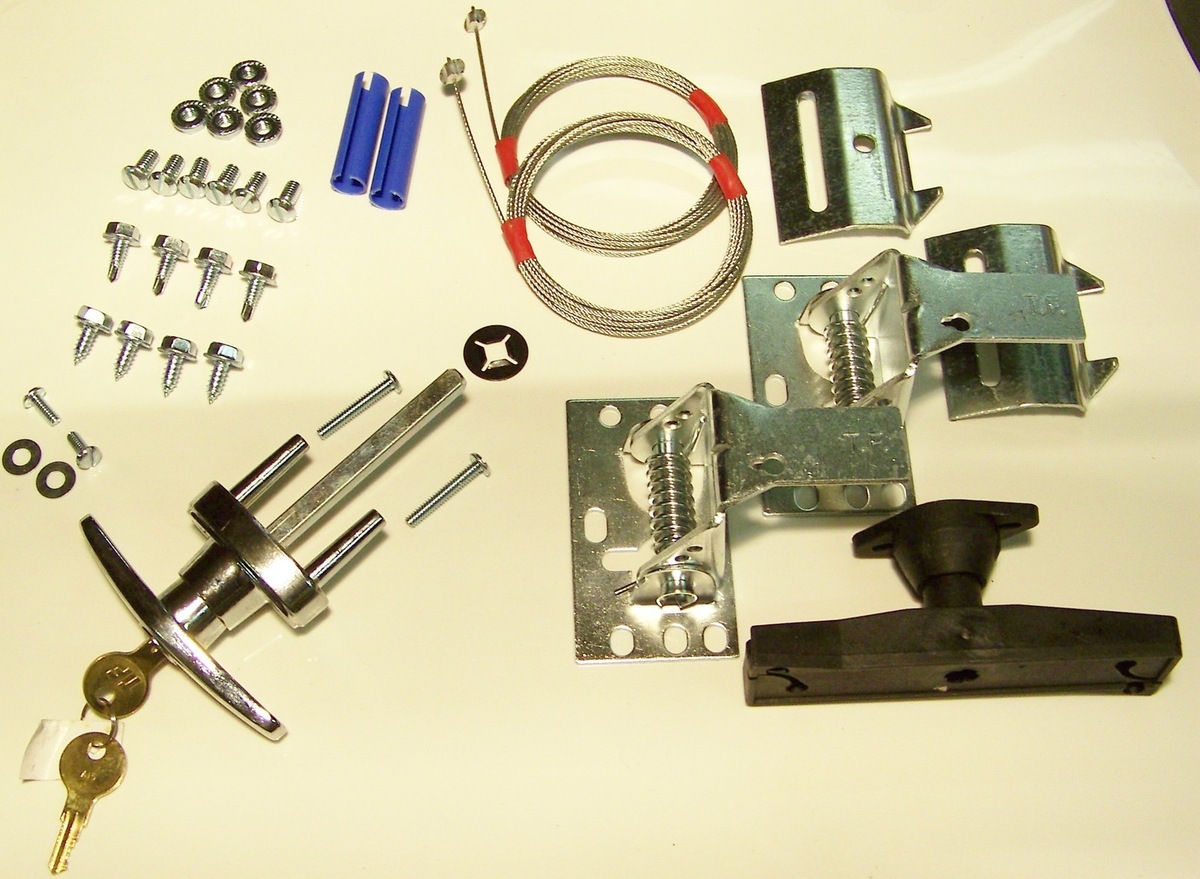
Step 1: Gather Necessary Tools and Materials
Before embarking on the task of changing the door lock cylinder on your car, it’s crucial to gather all the essential tools and materials. Having the right equipment at your disposal will streamline the process and ensure a smooth transition from removing the old cylinder to installing the new one.
Here’s a comprehensive list of the tools and materials you will need:
- Screwdriver Set: A set of screwdrivers, including both flathead and Phillips head varieties, will be essential for removing screws and disassembling components.
- Trim Panel Removal Tool: This specialized tool will aid in safely prying off the door panel without causing damage to the surrounding surfaces.
- New Door Lock Cylinder: Ensure that you have the correct replacement cylinder for your specific car model. It’s advisable to purchase this in advance to avoid delays during the installation process.
- Replacement Door Panel Clips: In case the existing clips are worn or damaged during removal, having replacements on hand will be beneficial for reattaching the door panel securely.
- Protective Gloves: Working with automotive components can expose your hands to sharp edges and dirt. Wearing protective gloves will safeguard your hands during the process.
- Flashlight: A reliable flashlight will illuminate the work area within the door cavity, enabling you to see and access components more effectively.
- Container for Screws and Small Parts: Keeping track of screws and small components is essential. Using a container to organize and store these parts during disassembly will prevent loss and confusion.
- Shop Rags or Towels: Having clean rags or towels on hand will help you wipe away any dirt, grease, or debris encountered during the process.
By ensuring that you have all the necessary tools and materials ready, you can proceed with confidence and efficiency as you navigate through the subsequent steps of replacing the door lock cylinder on your car.
Step 2: Remove the Door Panel
With the necessary tools and materials at your disposal, the next step in replacing the door lock cylinder on your car involves removing the door panel. The door panel serves as a protective covering for the internal components of the door, and accessing the lock cylinder necessitates its removal.
Follow these steps to safely remove the door panel:
- Locate and Remove Screws: Using a suitable screwdriver, carefully remove any visible screws securing the door panel to the door frame. These screws are typically located along the edges and possibly near the door handle.
- Utilize Trim Panel Removal Tool: With the screws removed, gently insert the trim panel removal tool behind the edge of the door panel. Slowly pry the panel away from the door frame, releasing the plastic clips that secure it in place. Exercise caution to avoid applying excessive force, as this may damage the panel or the clips.
- Disconnect Electrical Connectors: Once the panel is partially detached, locate any electrical connectors attached to components such as the power window switches, door locks, or speakers. Carefully disconnect these connectors to fully free the door panel from the door frame.
- Remove the Door Panel: With all screws and connectors detached, carefully lift the door panel away from the door frame, ensuring that no obstructions hinder its removal. Place the panel in a safe location to prevent any damage.
Removing the door panel provides access to the internal mechanisms of the door, allowing you to proceed with disconnecting the existing door lock cylinder and preparing for the installation of the new one. By following these steps diligently, you can successfully navigate this crucial phase of the door lock cylinder replacement process.
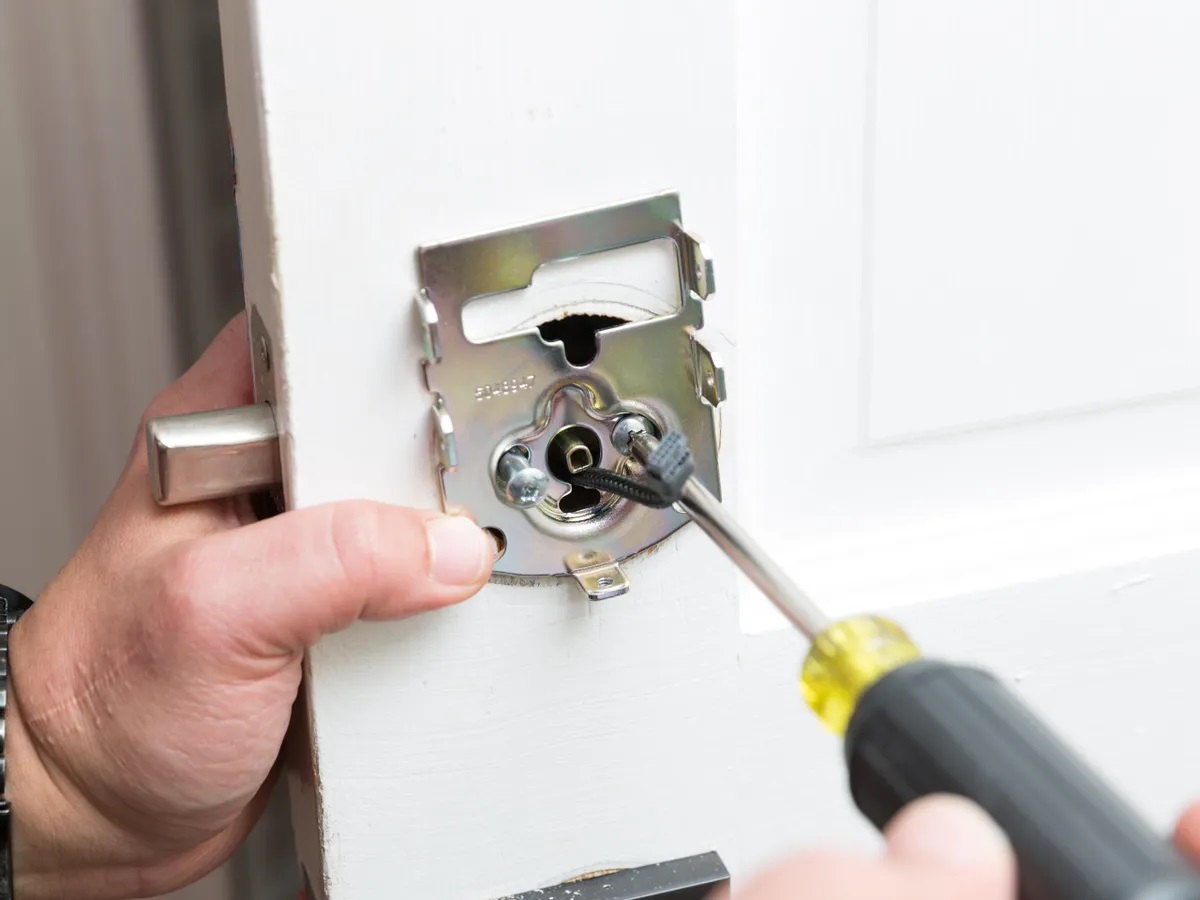
Step 3: Disconnect the Lock Cylinder
With the door panel removed, you can now focus on disconnecting the existing lock cylinder from the door mechanism. This step involves accessing and disengaging the components that secure the cylinder in place, allowing for its safe removal.
Follow these detailed steps to disconnect the lock cylinder:
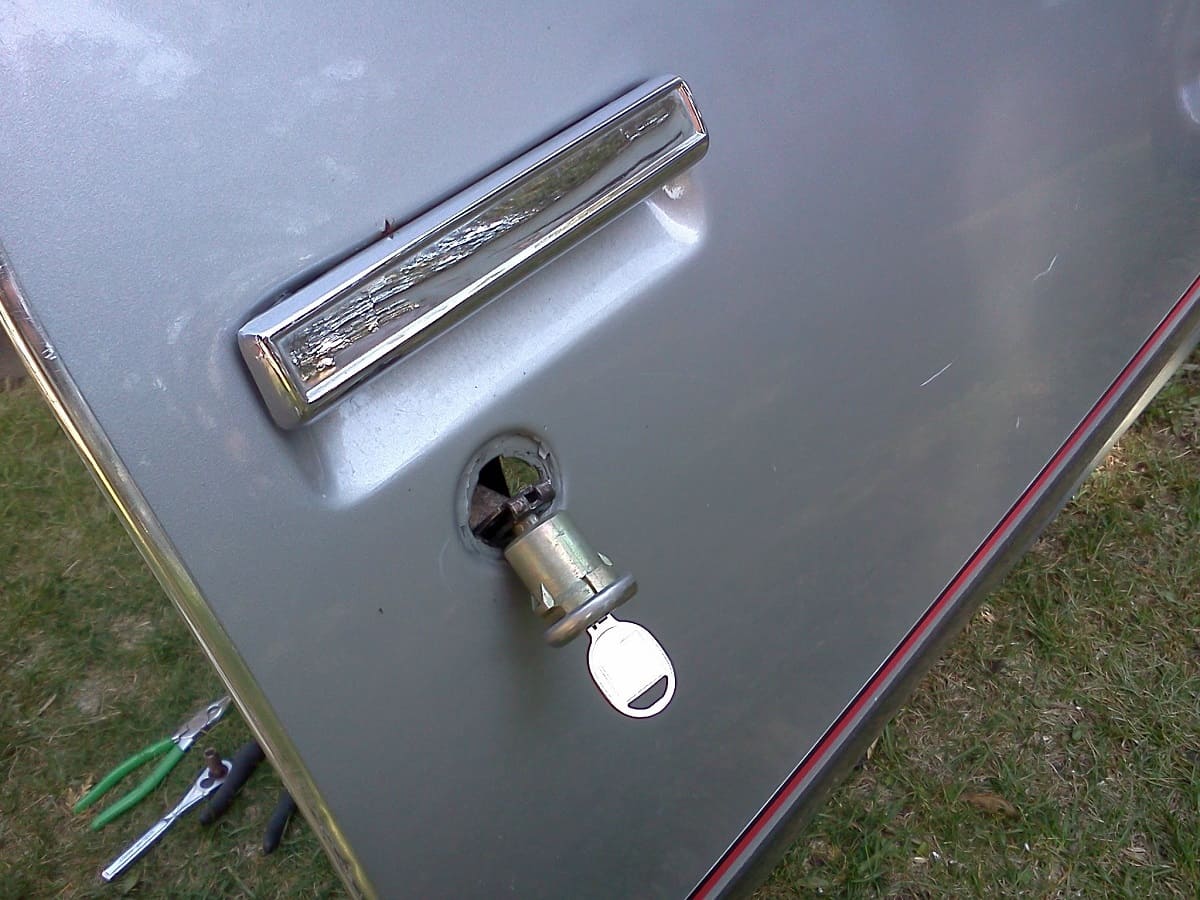
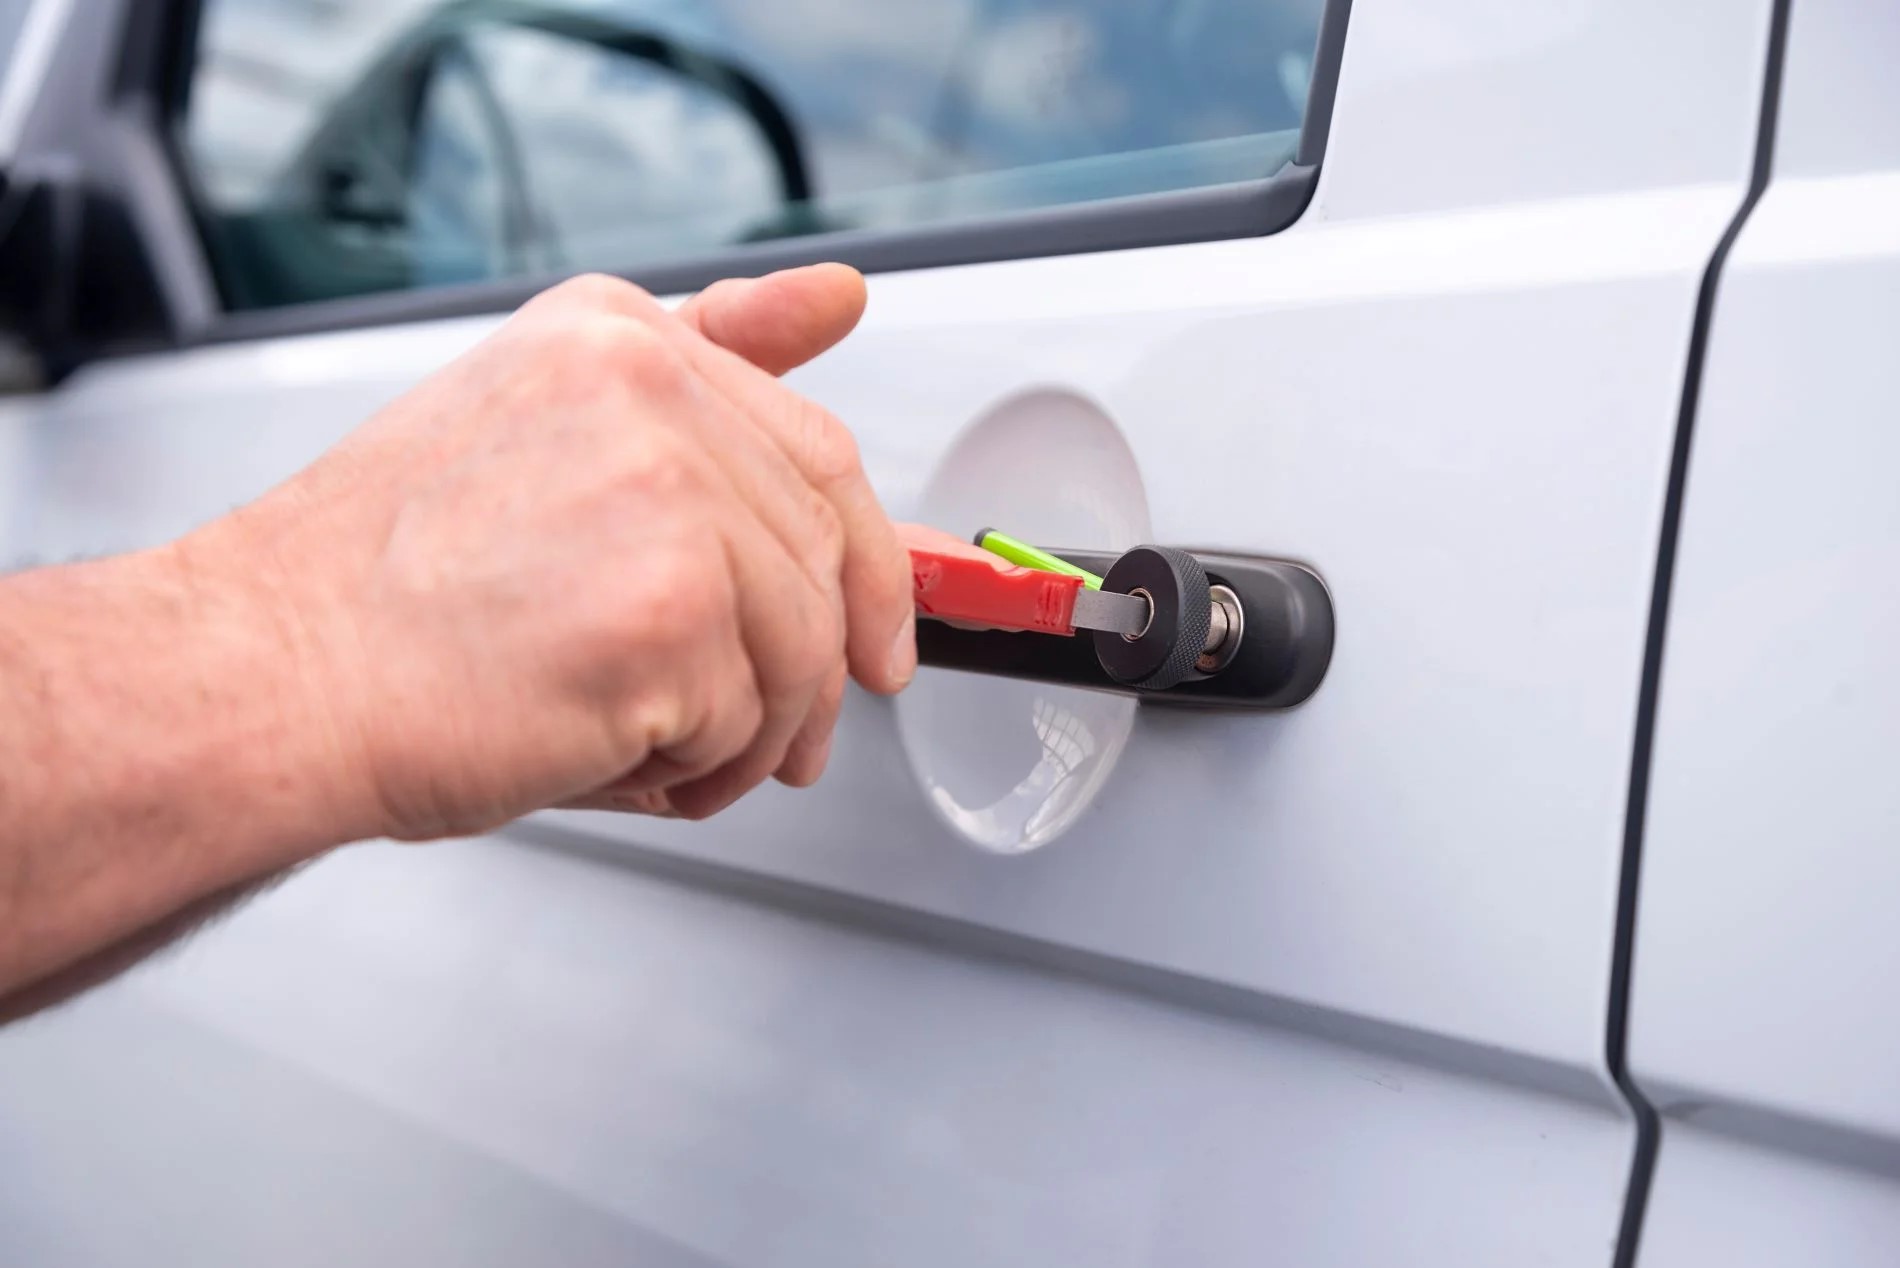
- Locate the Lock Cylinder: Within the door cavity, identify the location of the lock cylinder assembly. It is typically positioned near the door handle and may be secured by a retaining clip or fastener.
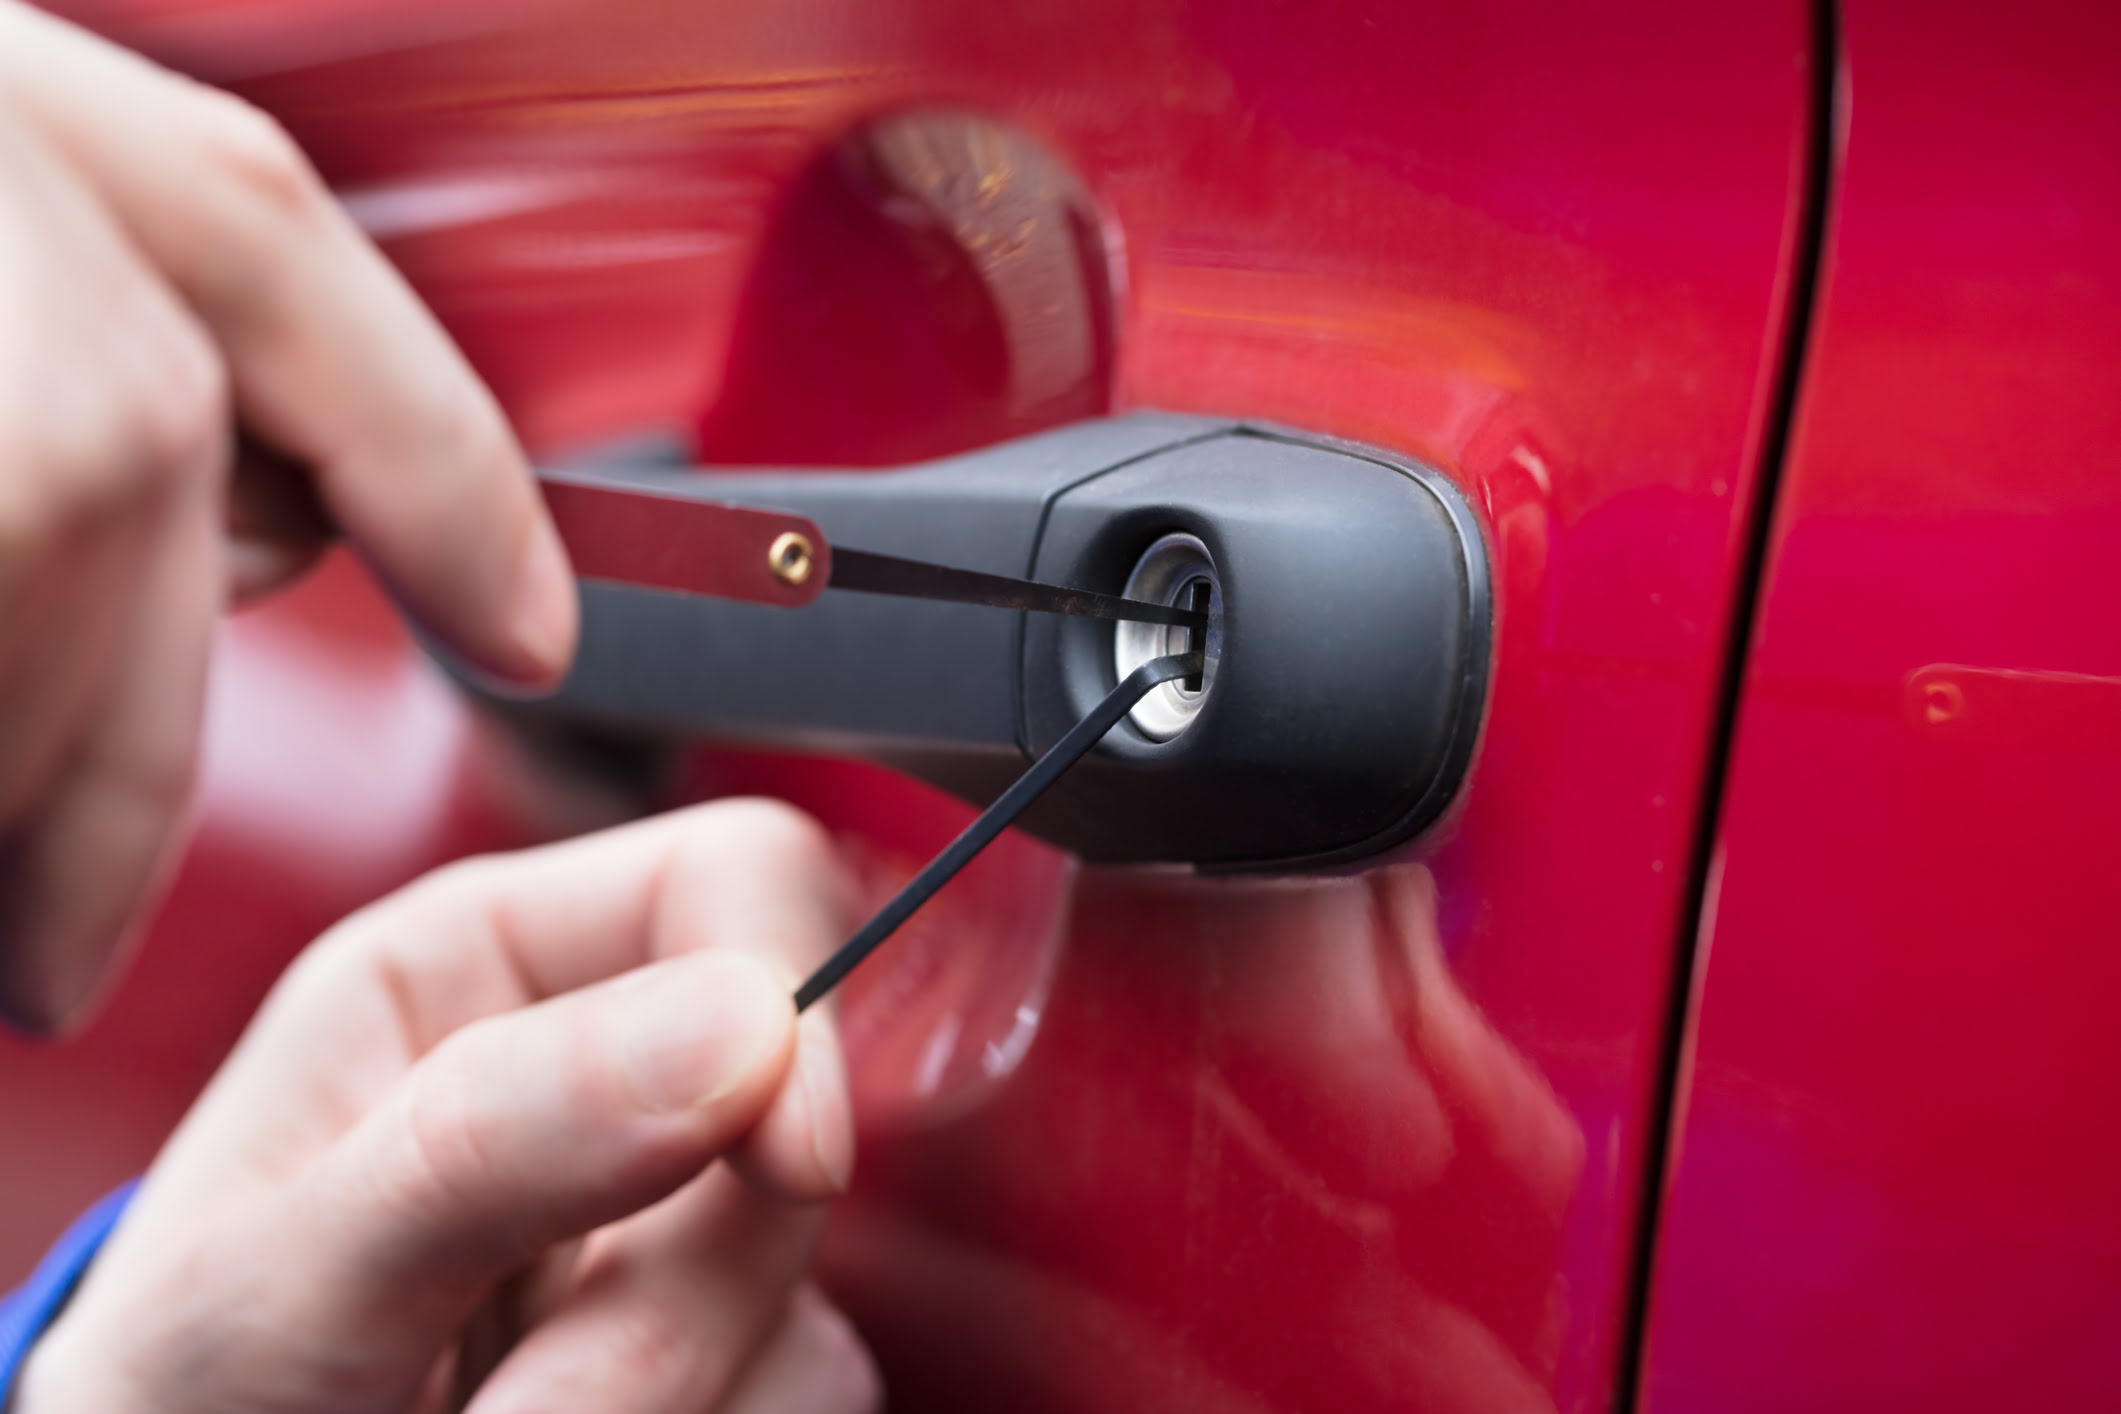
- Release Retaining Clip or Fastener: Depending on the specific design of the lock cylinder assembly, you may need to release a retaining clip or fastener that holds the cylinder in place. Use caution and appropriate tools to disengage this securing mechanism without causing damage to the surrounding components.
- Disconnect Linkage or Actuator: Once the cylinder is no longer secured, locate the linkage or actuator that connects to the cylinder. This linkage enables the cylinder to engage and disengage the door lock mechanism. Carefully disconnect this linkage, ensuring that any retaining clips or fasteners are safely released to free the linkage from the cylinder.
- Remove the Lock Cylinder: With the linkage disconnected, carefully maneuver the lock cylinder out of its housing within the door. Exercise patience and precision to avoid damaging the surrounding components during this process. Once removed, set the old lock cylinder aside for proper disposal.
By meticulously following these steps, you can effectively disconnect the existing lock cylinder from the door mechanism, preparing the space for the installation of the new cylinder. Paying attention to details and exercising care during this process will ensure a seamless transition to the subsequent step of installing the replacement lock cylinder.
Before starting to change the door lock cylinder on a car, make sure to disconnect the car battery to avoid any electrical issues.
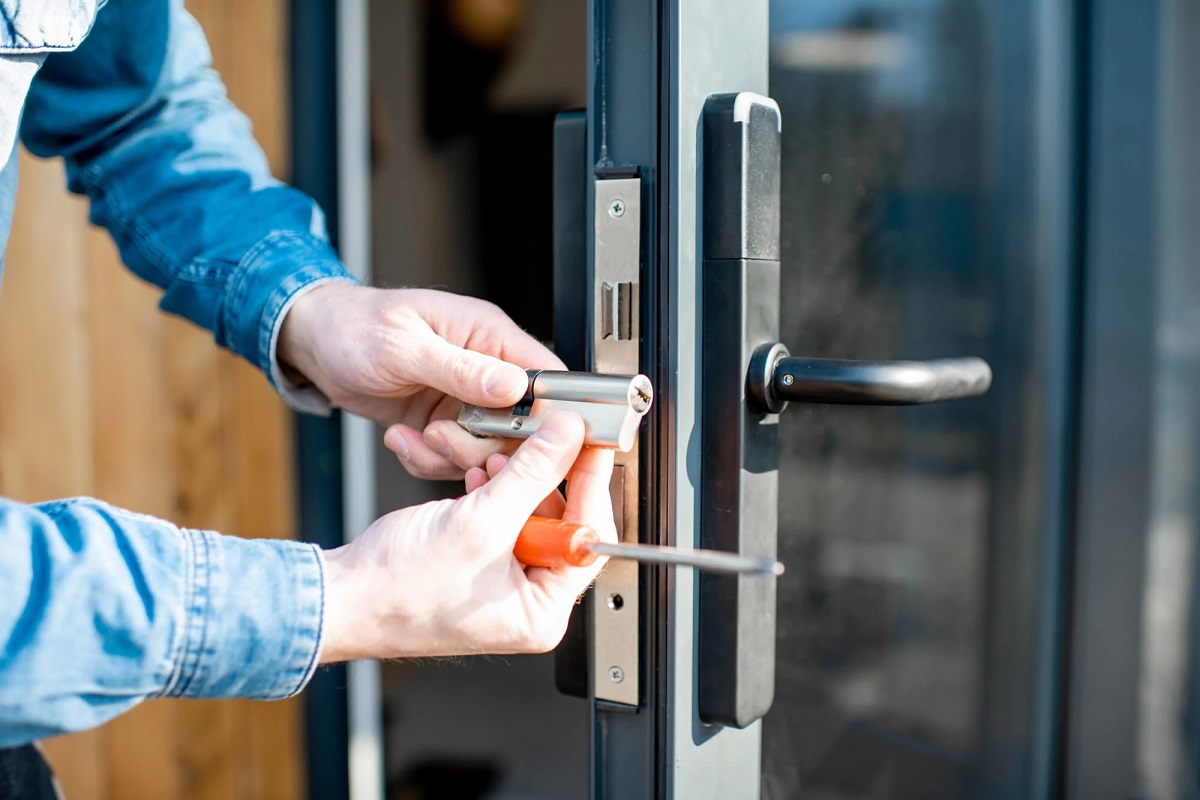
Step 4: Install the New Lock Cylinder
With the old lock cylinder successfully disconnected, it’s time to proceed with the installation of the new cylinder. This step involves carefully positioning the replacement cylinder and reattaching the necessary components to secure it within the door mechanism.
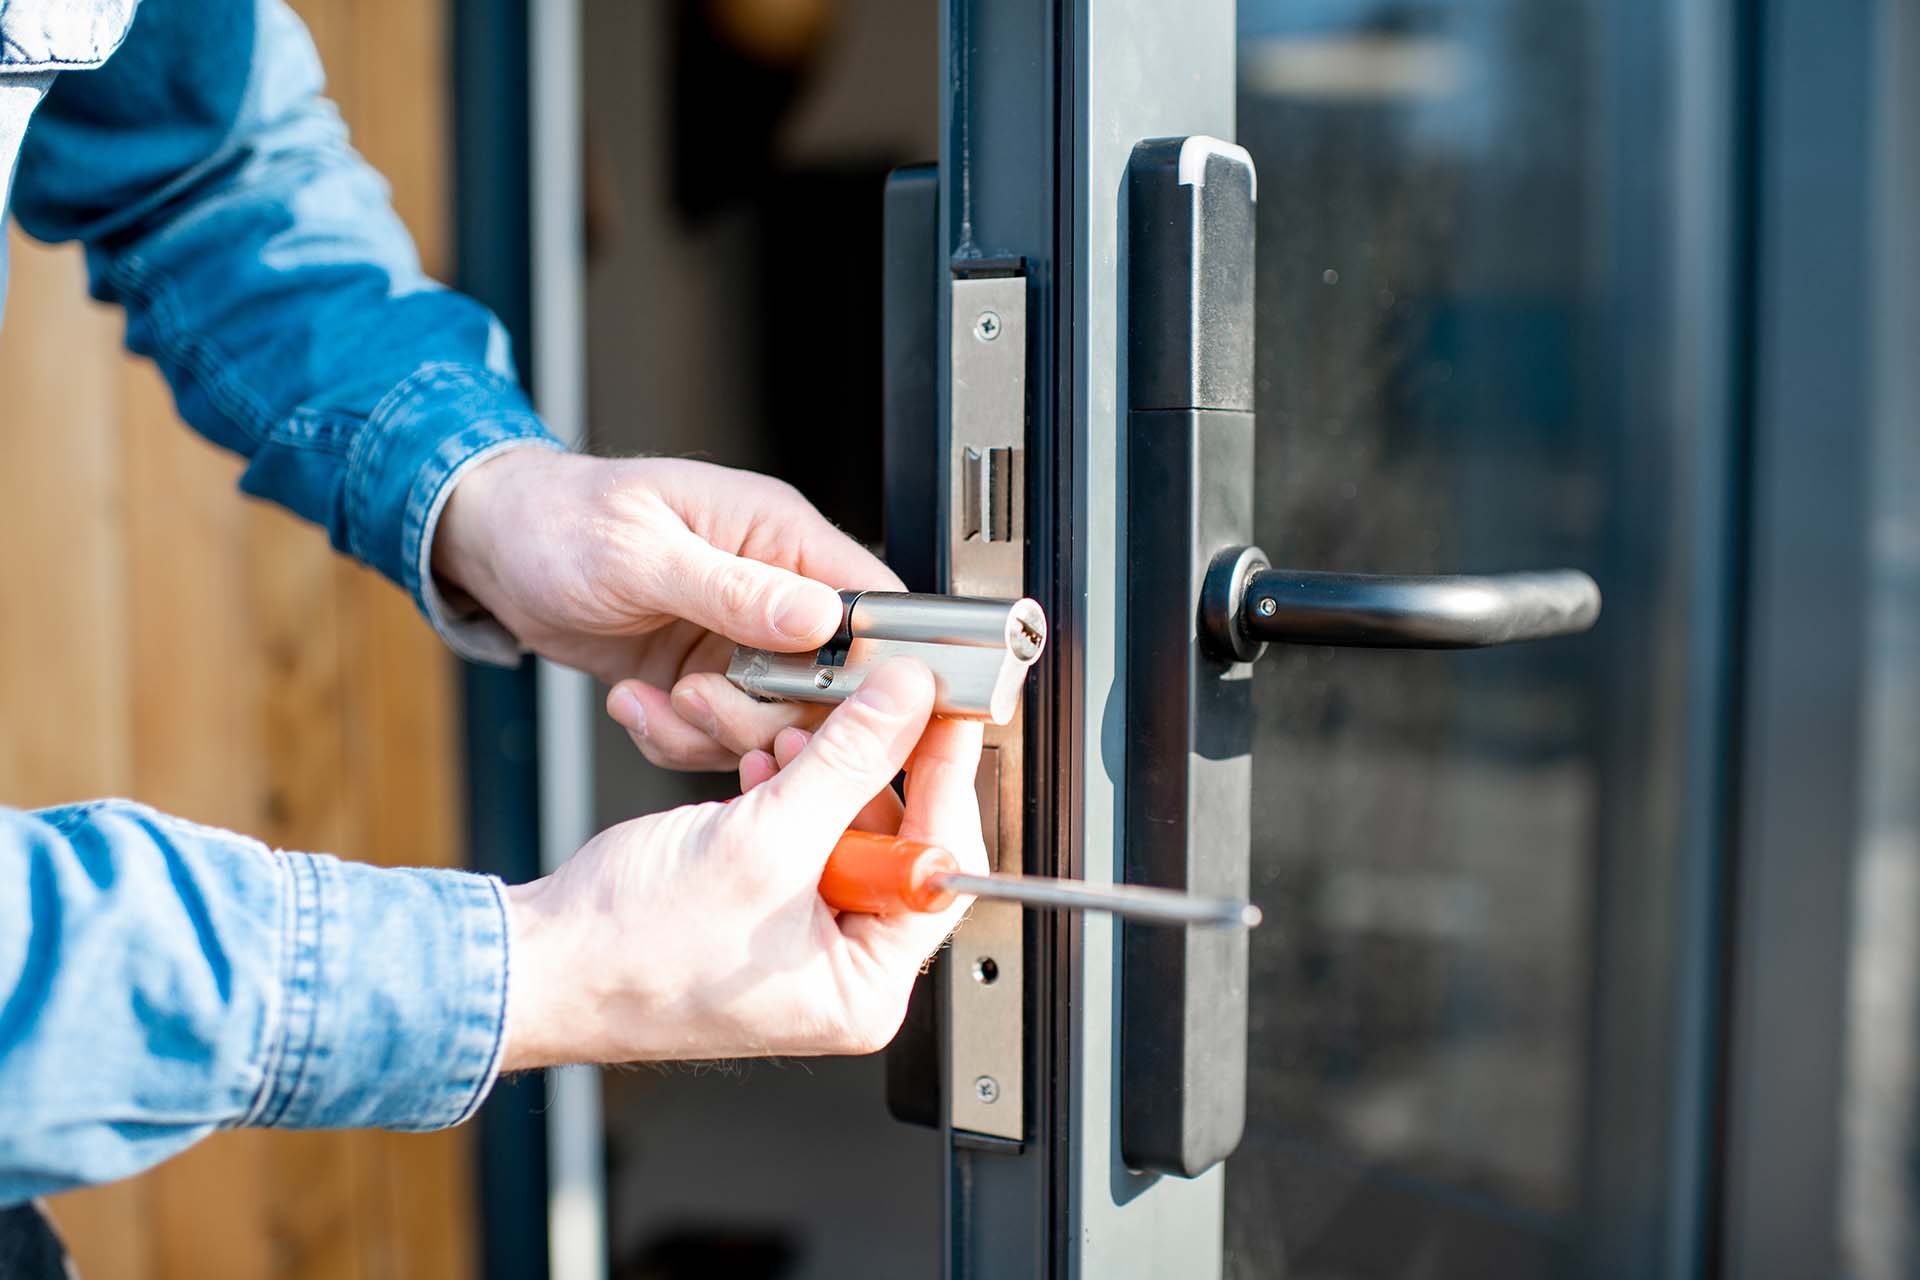
- Position the New Cylinder: Take the new lock cylinder and position it correctly within the housing in the door. Ensure that it aligns with the door handle and the surrounding components, allowing for smooth operation once installed.
- Connect Linkage or Actuator: Reconnect the linkage or actuator to the new cylinder. Ensure that any retaining clips or fasteners are securely engaged, providing a firm connection that enables the cylinder to effectively engage and disengage the door lock mechanism.
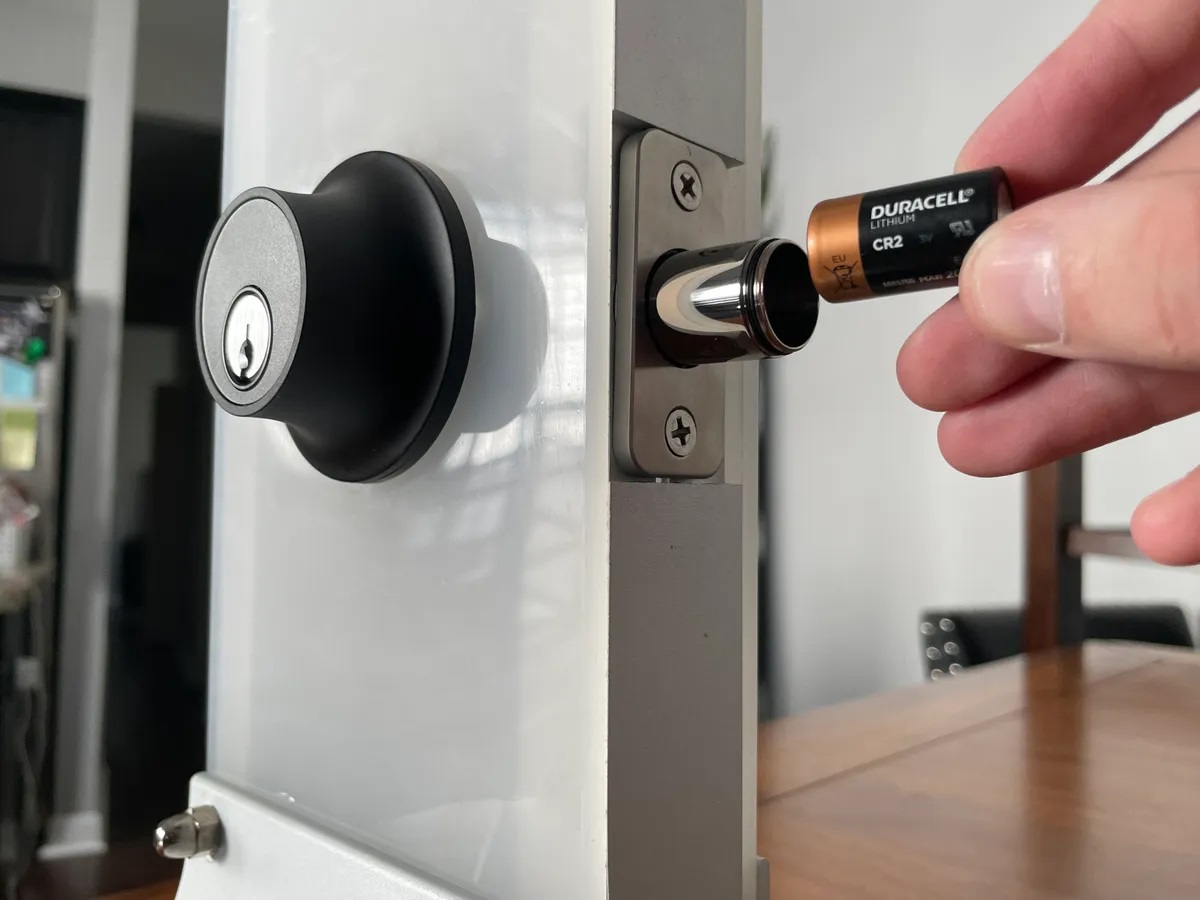
- Secure the Cylinder: If the new cylinder features a retaining clip or fastener, carefully secure it in place to prevent any unnecessary movement or instability. Confirm that the cylinder is firmly positioned within the door housing, ready to facilitate seamless locking and unlocking of the vehicle.
- Test the Cylinder Operation: Before proceeding with reassembling the door panel, test the functionality of the new lock cylinder. Ensure that it smoothly engages and disengages the door lock mechanism, providing the expected level of security and convenience.
By methodically following these steps, you can effectively install the new lock cylinder, ensuring that it is securely positioned and fully operational within the door mechanism. Attention to detail and precision during this phase will contribute to a successful replacement process, bringing enhanced security to your vehicle.
Read more: How To Replace A Cylinder Lock On Door
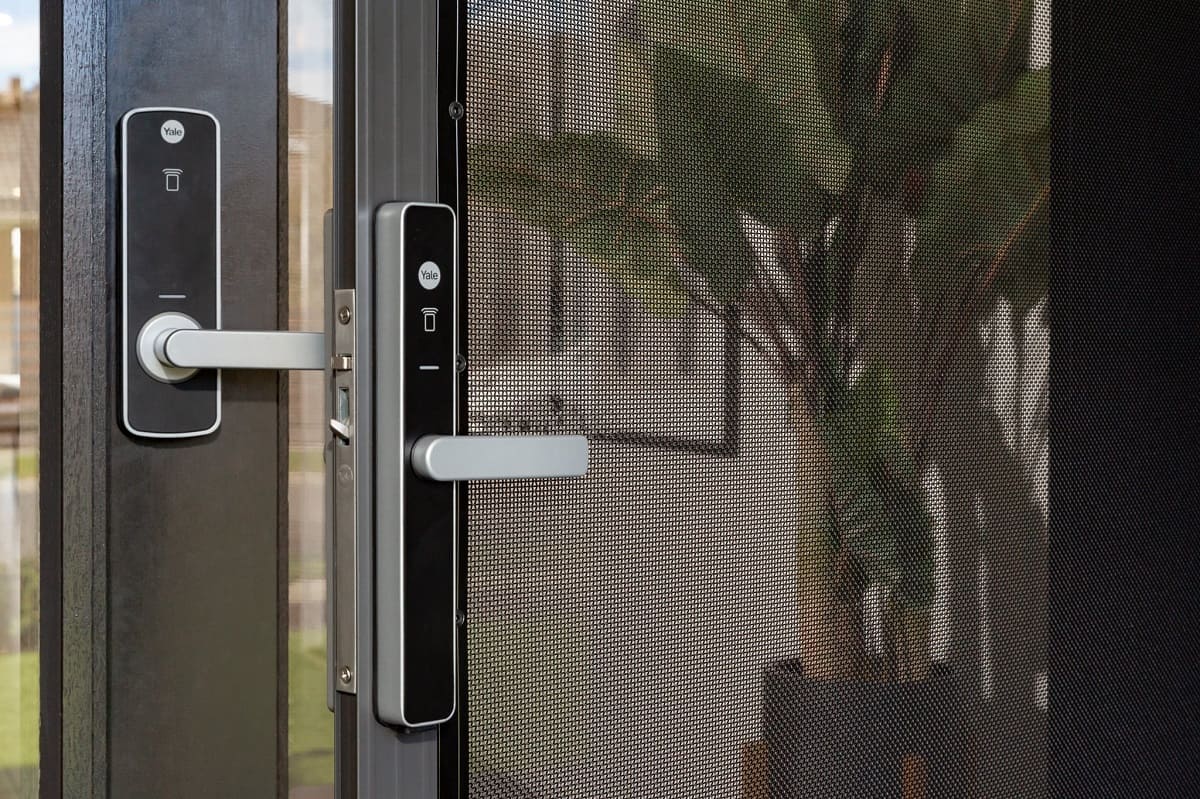
Step 5: Reassemble the Door Panel
With the new lock cylinder successfully installed, the final step involves reassembling the door panel to restore the protective covering and complete the replacement process. Reattaching the door panel securely is essential to ensure the integrity and functionality of the door while providing a polished and professional finish.
- Position the Door Panel: Carefully align the door panel with the door frame, ensuring that any wiring for electrical components is appropriately routed through the panel. Take care to avoid trapping or damaging any wiring during this process.
- Reconnect Electrical Connectors: If the door panel features electrical components such as power window switches, door locks, or speakers, reconnect the electrical connectors to their respective components. Ensure that each connector securely engages, facilitating the proper operation of the associated features.
- Align Panel Clips: With the panel positioned correctly, align the plastic clips on the back of the panel with the slots on the door frame. Apply gentle pressure to the panel, allowing the clips to securely engage and hold the panel in place.
- Secure the Panel with Screws: If any screws were removed during the disassembly process, reinsert and tighten them using an appropriate screwdriver. Ensure that each screw is snug but not over-tightened, preventing damage to the panel or the door frame.
- Test Panel Stability: Once the panel is reattached, perform a gentle test to ensure that it is securely in place. Gently press along the edges and surfaces to confirm that the panel is stable and properly aligned with the door frame.
By meticulously following these steps, you can effectively reassemble the door panel, restoring its protective function and completing the door lock cylinder replacement process. Attention to detail and care during this phase will result in a professionally finished installation, providing enhanced security and peace of mind for your vehicle.
Conclusion
Congratulations! By following this comprehensive guide, you have successfully learned how to change the door lock cylinder on a car. Equipped with the necessary tools and materials, you embarked on a journey to enhance the security and functionality of your vehicle, demonstrating resourcefulness and a proactive approach to maintenance.
Throughout this process, you gained valuable insights into the intricate components within the door mechanism and honed your skills in disassembly, replacement, and reassembly. Your commitment to meticulous detail and precision has culminated in the successful installation of a new lock cylinder, ensuring the continued security and reliability of your car’s locking system.
As you reflect on this accomplishment, take pride in your newfound knowledge and capability to undertake essential maintenance tasks. Whether you encountered this process as a proactive measure or in response to a specific issue, your dedication to mastering this skill is commendable.
Remember, as you maintain and care for your vehicle, staying informed about its various components and systems empowers you to address challenges and preserve its optimal condition. Your commitment to proactive maintenance and the pursuit of knowledge sets a commendable example for responsible vehicle ownership.
With the new lock cylinder seamlessly integrated into your car’s door mechanism, you can confidently embrace the enhanced security and peace of mind it provides. Your proactive approach to maintenance exemplifies the dedication of a conscientious vehicle owner, and your newfound expertise serves as a testament to your resourcefulness and capability.
As you embark on future automotive endeavors, may your confidence and aptitude continue to shine, driving you toward new achievements and a deeper understanding of your vehicle’s intricacies. Your proactive approach and commitment to excellence set a commendable standard for responsible vehicle ownership.
Frequently Asked Questions about How To Change Door Lock Cylinder On A Car
Was this page helpful?
At Storables.com, we guarantee accurate and reliable information. Our content, validated by Expert Board Contributors, is crafted following stringent Editorial Policies. We're committed to providing you with well-researched, expert-backed insights for all your informational needs.


0 thoughts on “How To Change Door Lock Cylinder On A Car”