Home>Technology>Security & Surveillance>How To Remove A Door Lock Cylinder
Security & Surveillance
How To Remove A Door Lock Cylinder
Modified: August 24, 2024
Learn how to remove a door lock cylinder for enhanced security and surveillance. Follow our step-by-step guide for easy removal.
(Many of the links in this article redirect to a specific reviewed product. Your purchase of these products through affiliate links helps to generate commission for Storables.com, at no extra cost. Learn more)
Introduction
Welcome to the comprehensive guide on how to remove a door lock cylinder. Whether you're upgrading your security system or replacing a damaged cylinder, understanding the process is crucial. The door lock cylinder is a fundamental component of any lock, and knowing how to remove and replace it can save you time and money. By following the steps outlined in this guide, you can successfully navigate this task and enhance the security of your property.
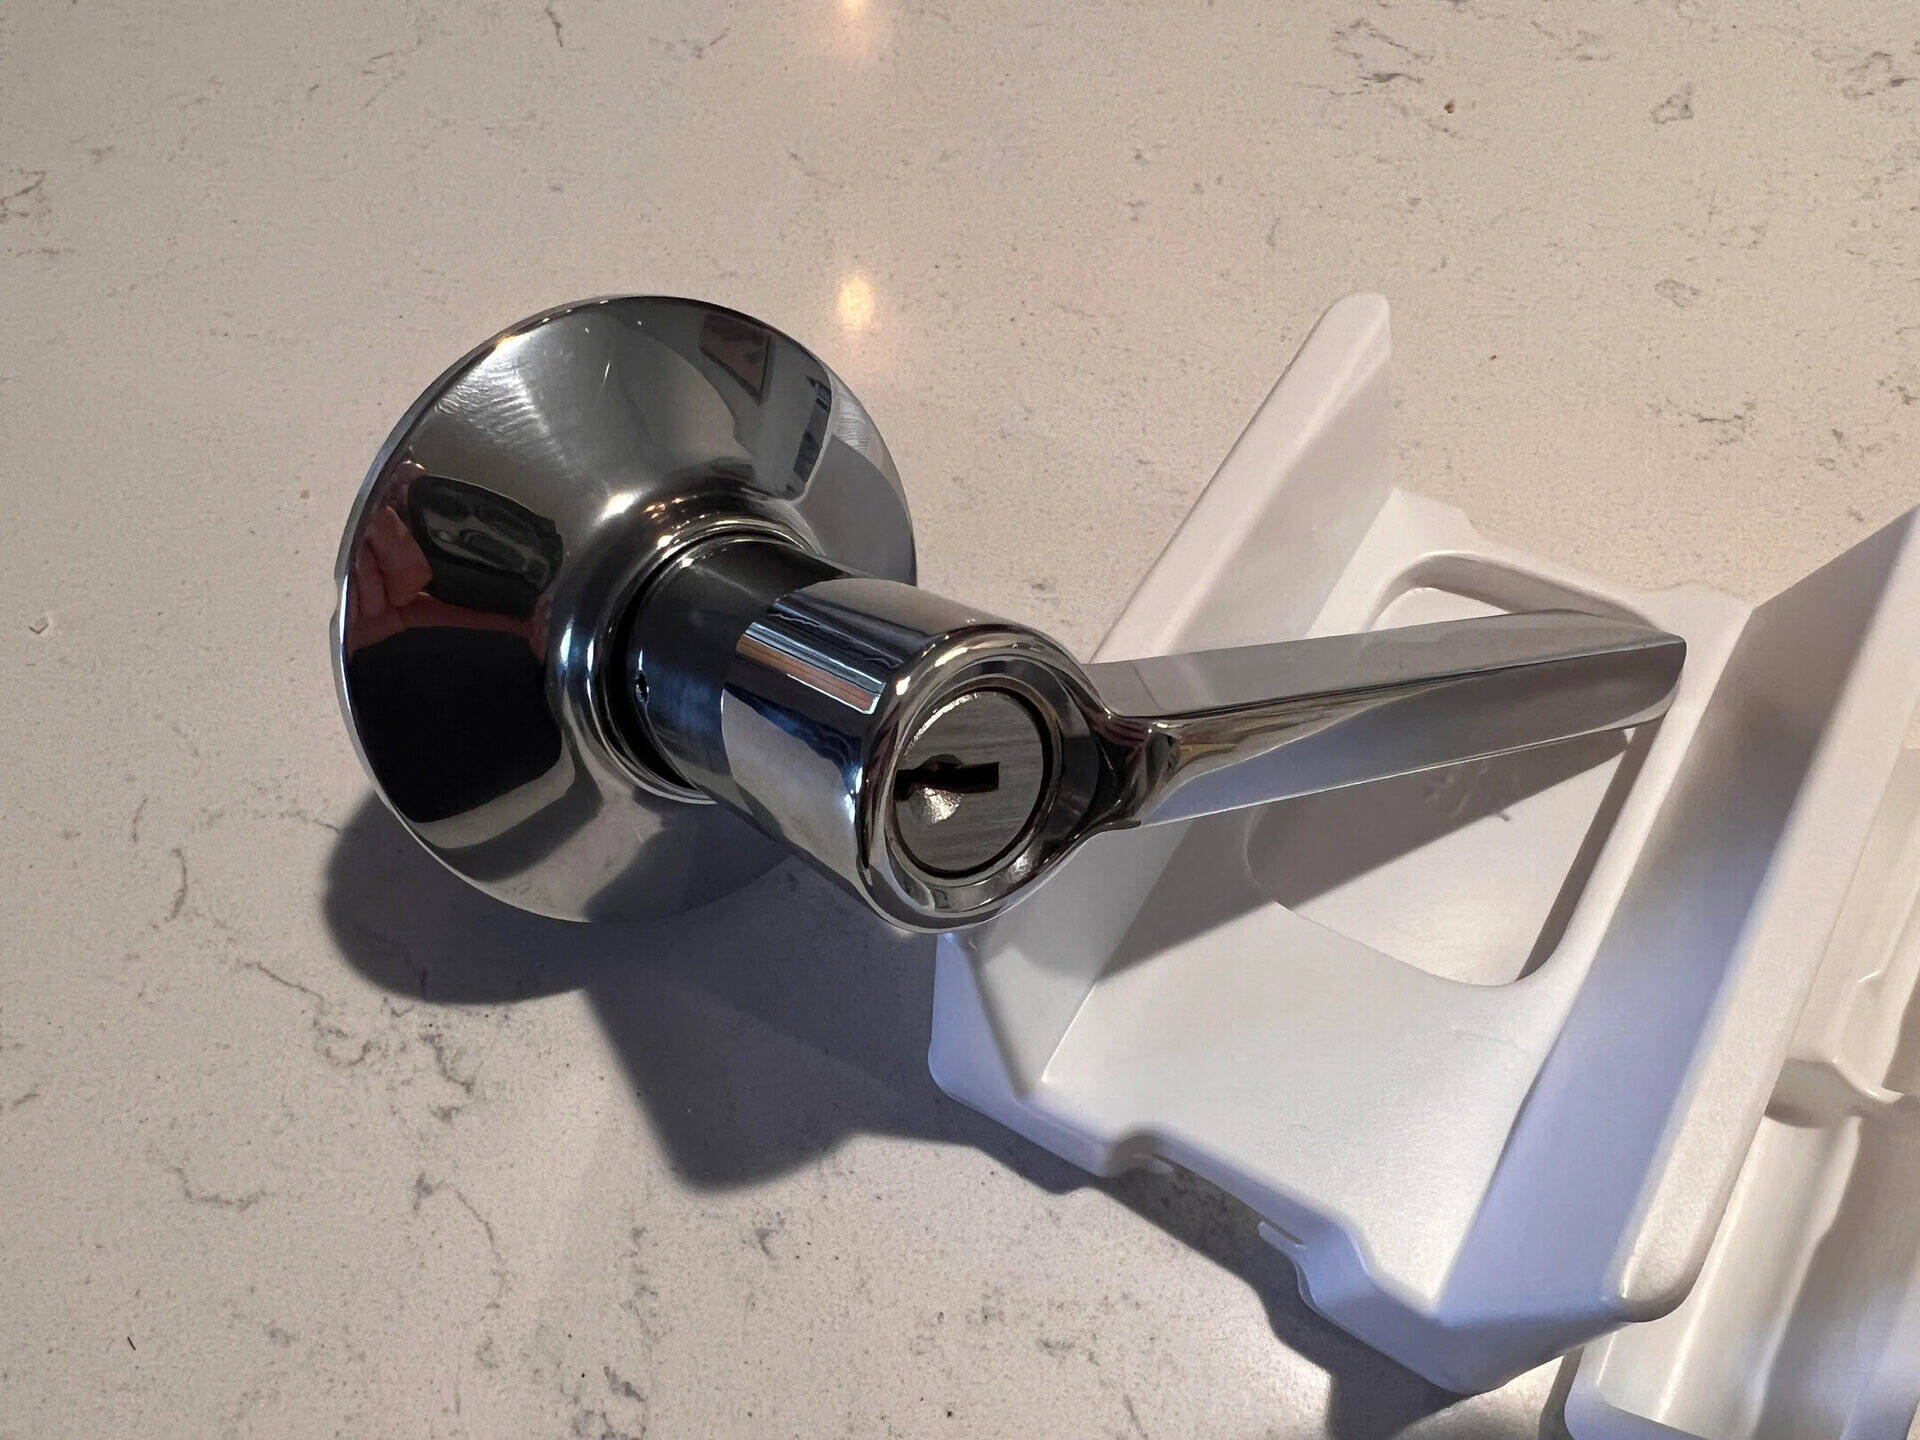
The door lock cylinder, also known as the lock core or key cylinder, is the part of the lock where the key is inserted. It is responsible for the mechanical operation of the lock, allowing the key to engage and disengage the locking mechanism. Over time, door lock cylinders can become worn or damaged, leading to issues with key insertion or turning. In such cases, it becomes necessary to remove the old cylinder and install a new one.
Before embarking on the process of removing a door lock cylinder, it's essential to gather the necessary tools and materials. Having the right equipment at your disposal will streamline the task and ensure a successful outcome. From basic hand tools to the new cylinder itself, each item plays a crucial role in the smooth execution of the procedure.
In the following sections, we will delve into the step-by-step process of removing a door lock cylinder, providing clear instructions and insights to guide you through each stage. By following these instructions diligently, you can effectively remove the old cylinder, install a new one, and reassemble the doorknob with confidence.
Whether you're a homeowner looking to upgrade your security or a DIY enthusiast eager to tackle a new project, mastering the art of removing a door lock cylinder is a valuable skill. So, let's gather our tools and embark on this insightful journey to enhance your understanding of home security and maintenance.
Key Takeaways:
- Removing and replacing a door lock cylinder is a crucial skill for enhancing home security. With the right tools and careful steps, you can upgrade your property’s protection and save on maintenance costs.
- By mastering the process of door lock cylinder removal, you empower yourself to proactively maintain home security. Regular assessments and hands-on maintenance contribute to a safe and secure living environment.
Read more: How To Remove Door Lock Cylinder Without Key
Tools and Materials
Before initiating the process of removing a door lock cylinder, it’s essential to gather the requisite tools and materials. Having the right equipment at your disposal will facilitate a smooth and efficient execution of the task. Here’s a comprehensive list of the tools and materials you’ll need:
- Phillips Head Screwdriver: This tool is essential for removing screws that secure the doorknob and the lock cylinder.
- Flat Head Screwdriver: A flat head screwdriver will be required for certain types of doorknobs and locks, particularly for prying and removing covers or plates.
- Replacement Cylinder: Ensure you have the correct replacement cylinder that is compatible with your existing lock. It’s crucial to verify the compatibility to avoid installation issues.
- Allen Wrench: Some lock cylinders are secured with set screws that require an Allen wrench for removal. Verify the size of the set screw and prepare the corresponding Allen wrench.
- Needle-Nose Pliers: These pliers can be useful for gripping and manipulating small components within the lock mechanism.
- Lubricant: Having a lubricant such as graphite powder or lock lubricant can aid in the smooth operation of the new cylinder and the overall functionality of the lock.
- Clean Cloth: A clean cloth or rag will be handy for wiping and cleaning various components during the process.
- Replacement Screws: In some cases, you may need new screws to secure the components in place. Ensure you have the appropriate replacements if necessary.
Ensuring that you have these tools and materials readily available will streamline the process of removing the door lock cylinder. Additionally, having the replacement cylinder on hand will allow for a seamless transition from removing the old cylinder to installing the new one. With these items at your disposal, you’re well-equipped to proceed with confidence and precision.
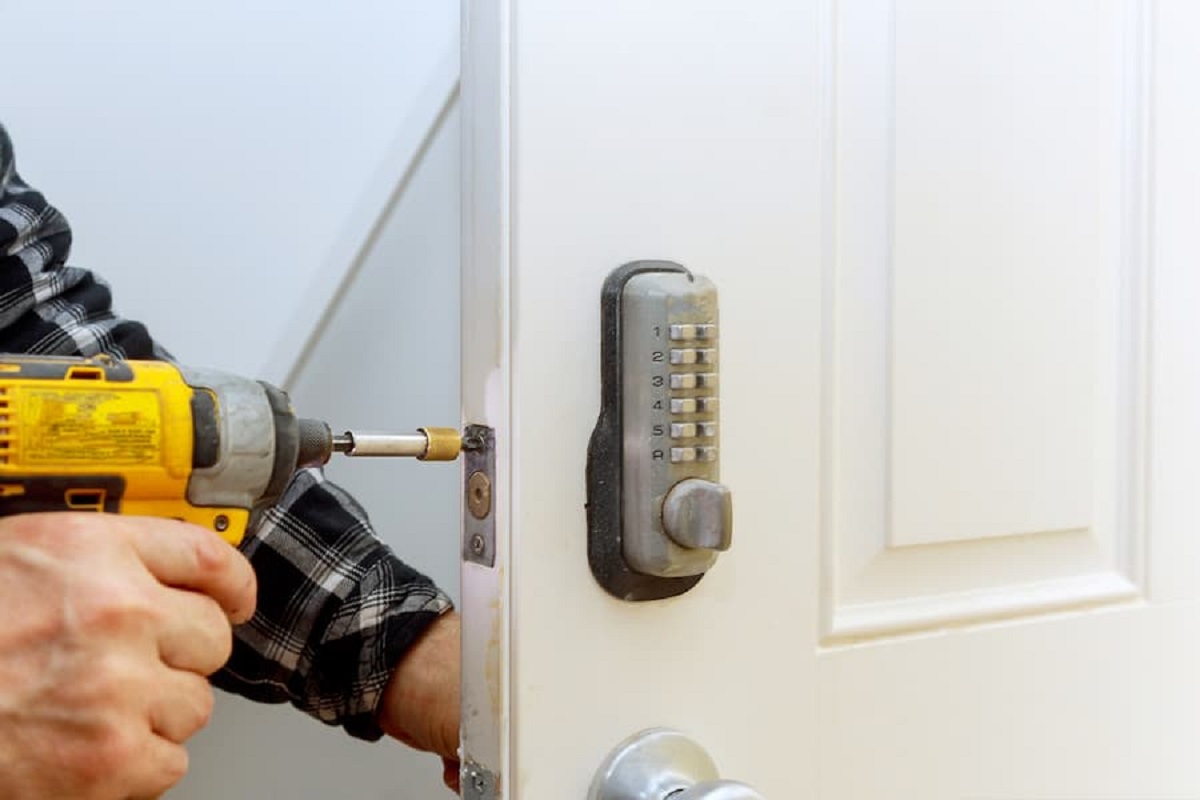
Step 1: Remove the Doorknob
The first step in removing a door lock cylinder is to access the internal components of the lock by removing the doorknob. This process may vary slightly depending on the type of knob or lever you have, but the general principles remain consistent. Here’s a guide to help you navigate this essential initial step:
- Locate the Screws: Examine the doorknob and look for any visible screws or fasteners. These are typically located either on the escutcheon plate or the collar beneath the knob.
- Remove the Screws: Utilizing a Phillips head screwdriver, carefully remove the screws or fasteners that secure the doorknob in place. Keep these screws in a safe location, as they will be needed later for reassembly.
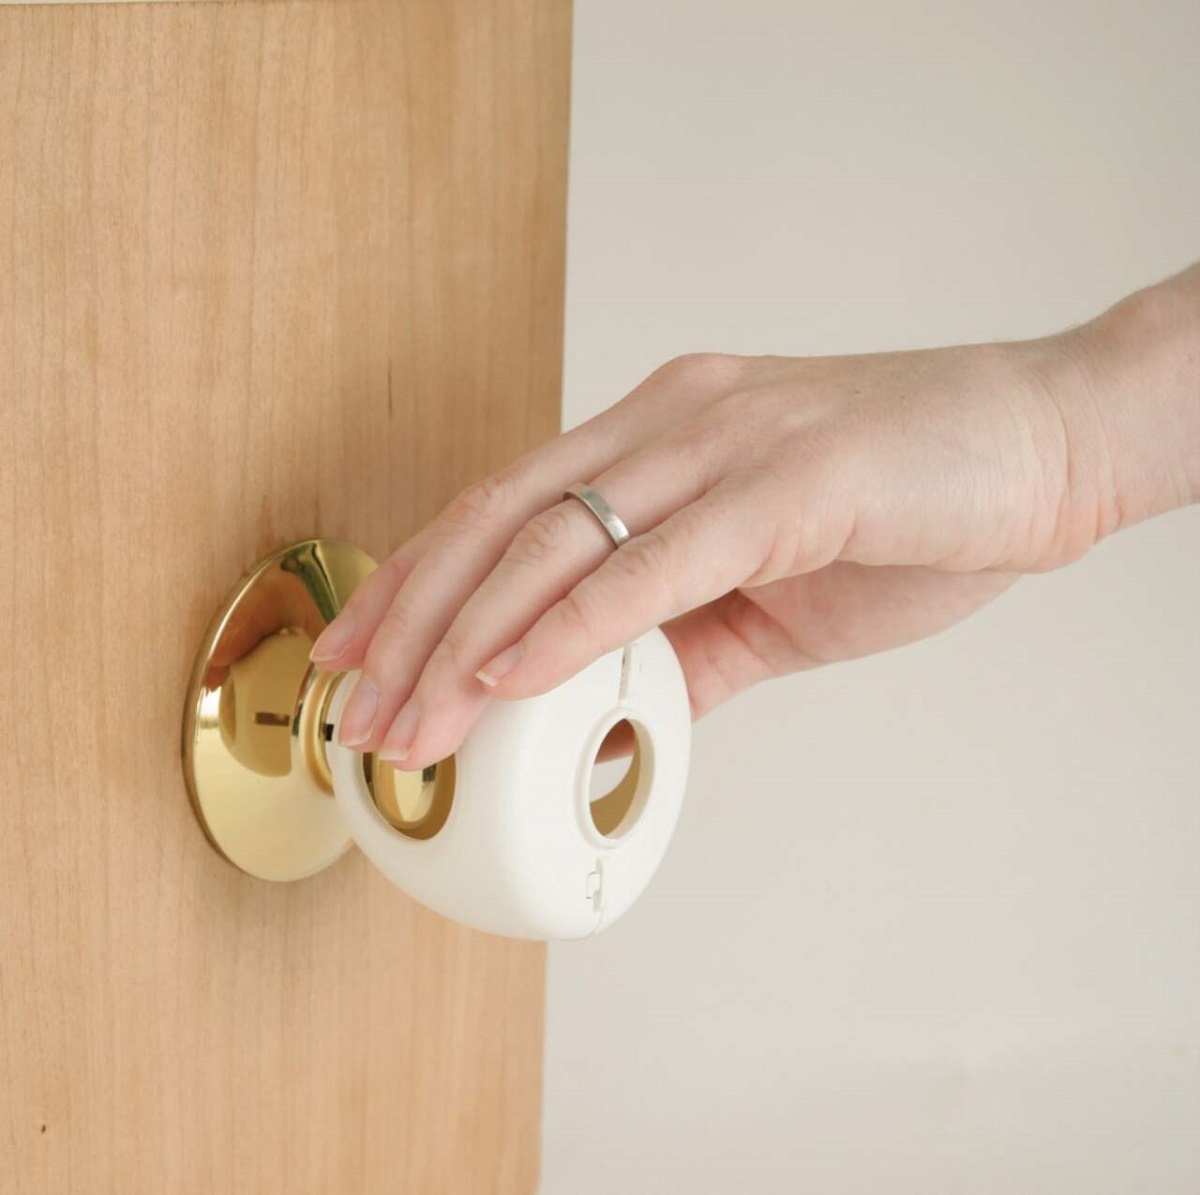
- Separate the Knob: Once the screws are removed, gently pull the knob away from the door to expose the inner components. Some knobs may have a release button or slot that allows for easy separation.
- Remove the Rosette or Cover Plate: In some cases, there may be a rosette or cover plate concealing the screws that hold the lock cylinder in place. Use a flat head screwdriver to carefully pry off the rosette or cover plate to access the next set of components.
By successfully completing this step, you’ll have effectively gained access to the internal mechanism of the lock, setting the stage for the subsequent steps in the process. This initial phase is crucial for seamlessly progressing to the removal of the cylinder and, ultimately, the installation of the new one.
Step 2: Remove the Cylinder Set Screw
With the doorknob removed, the next critical step in the process of removing a door lock cylinder is to locate and remove the cylinder set screw. This set screw is responsible for securing the cylinder in place within the lock mechanism. Here’s a detailed guide to help you navigate this essential phase:
- Locate the Set Screw: Within the exposed area where the knob was situated, look for the small set screw that secures the cylinder. This screw is often located on the edge of the door or the side of the exposed mechanism.
- Choose the Correct Tool: Depending on the type of set screw used, you may require an appropriate tool such as an Allen wrench to loosen and remove it. Ensure you have the right tool for the job to avoid damaging the screw.
- Loosen the Set Screw: Carefully insert the Allen wrench into the set screw and turn it counterclockwise to loosen and eventually remove it. Exercise caution to prevent the screw from falling into the lock mechanism or onto the floor.
- Secure the Set Screw: Once the set screw is fully loosened, keep it in a safe place, as it will be needed when installing the new cylinder. This small but crucial component plays a vital role in the stability and security of the cylinder within the lock.
By successfully completing this step, you’ll have effectively removed the set screw, clearing the path for the subsequent extraction of the cylinder from the lock mechanism. This pivotal phase sets the stage for the seamless transition to the next step in the process, bringing you closer to the successful removal and replacement of the cylinder.
When removing a door lock cylinder, make sure to disconnect the battery to avoid any electrical issues. Use the appropriate tools and follow the manufacturer’s instructions for a safe and successful removal.
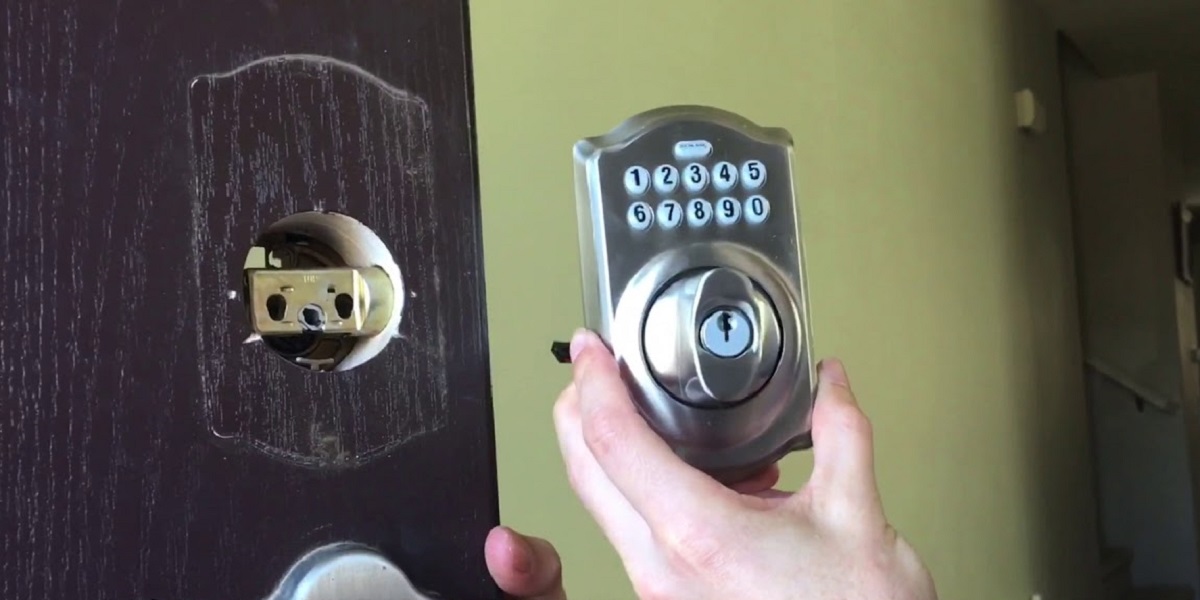
Step 3: Remove the Cylinder
As you progress through the process of removing a door lock cylinder, the next crucial step involves the actual removal of the cylinder from the lock mechanism. This step requires precision and attention to detail to ensure a smooth extraction. Here’s a comprehensive guide to help you navigate this essential phase:
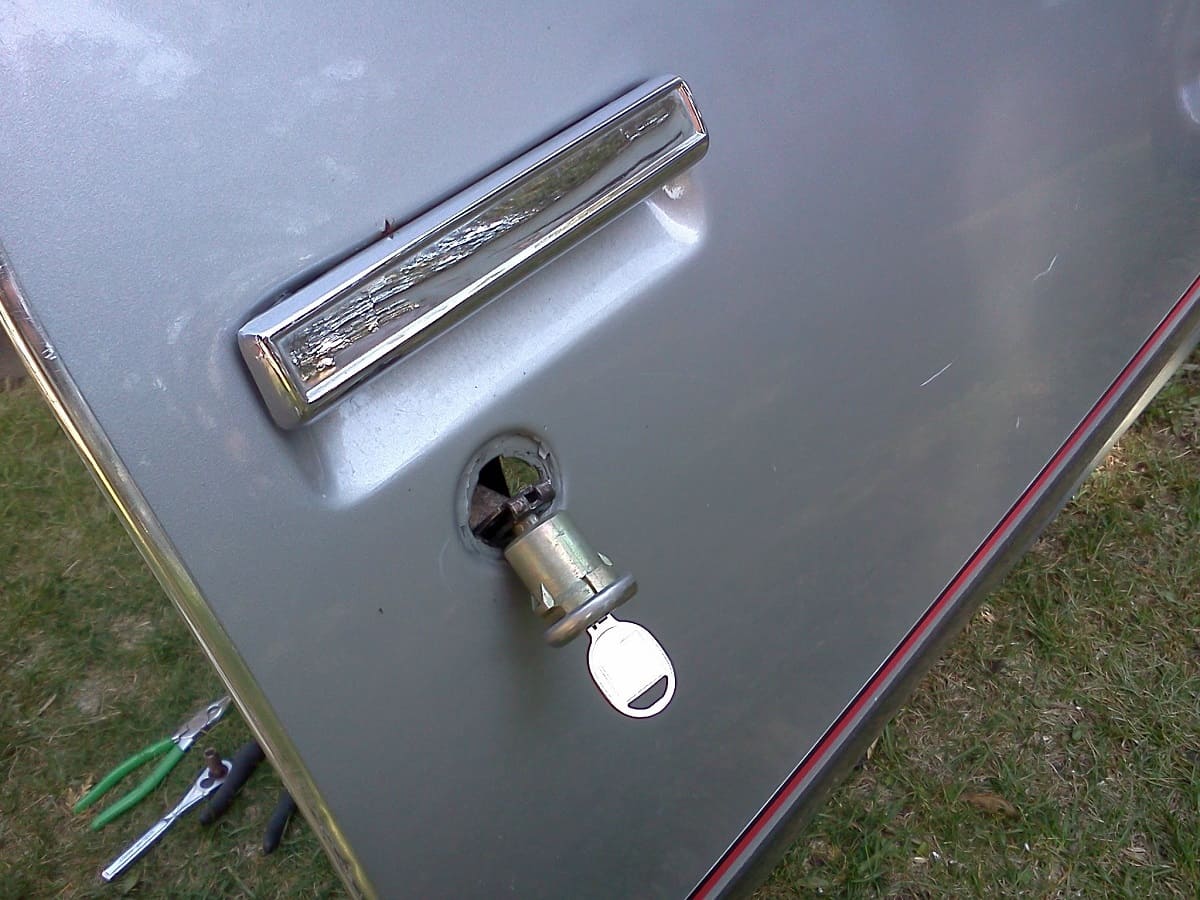
- Extract the Cylinder: With the set screw removed, gently grasp the outer ring of the cylinder and begin to pull it directly out of the lock mechanism. Exercise caution and patience to avoid any damage to the surrounding components.
- Observe the Tailpiece: As you extract the cylinder, take note of the tailpiece that extends from the back of the cylinder. This component is crucial for the mechanical operation of the lock and must be handled with care to prevent bending or misalignment.
- Inspect the Cylinder: Once the cylinder is removed, take a moment to inspect it for any signs of damage, wear, or malfunction. This visual assessment can provide valuable insights into the condition of the old cylinder and the potential reasons for replacement.
- Prepare the Replacement Cylinder: Before proceeding further, ensure that the replacement cylinder is readily available and compatible with the existing lock. Verify that the new cylinder matches the dimensions and configuration of the old one to facilitate a seamless installation.
By successfully completing this step, you will have effectively removed the old cylinder from the lock mechanism, paving the way for the subsequent installation of the new cylinder. This pivotal phase sets the stage for the seamless transition to the next step in the process, bringing you closer to the successful replacement of the cylinder and the enhancement of your door’s security.
Read more: How To Replace A Cylinder Lock On Door
Step 4: Install the New Cylinder
As you embark on the process of replacing a door lock cylinder, the installation of the new cylinder is a critical step that demands precision and attention to detail. Successfully integrating the new cylinder into the lock mechanism is essential for ensuring optimal functionality and security. Here’s a comprehensive guide to help you navigate this pivotal phase:
- Align the Replacement Cylinder: Carefully position the new cylinder, ensuring that the tailpiece aligns with the corresponding mechanism within the lock. Proper alignment is crucial for the smooth operation and engagement of the new cylinder.
- Insert the New Cylinder: Gently insert the new cylinder into the lock mechanism, ensuring that it slides in smoothly and securely. Exercise caution to prevent any damage to the surrounding components and to maintain the integrity of the new cylinder.
- Secure the Set Screw: Once the new cylinder is in place, locate the set screw that was removed earlier and carefully reinsert it to secure the cylinder within the lock mechanism. Use the appropriate tool, such as an Allen wrench, to tighten the set screw securely.
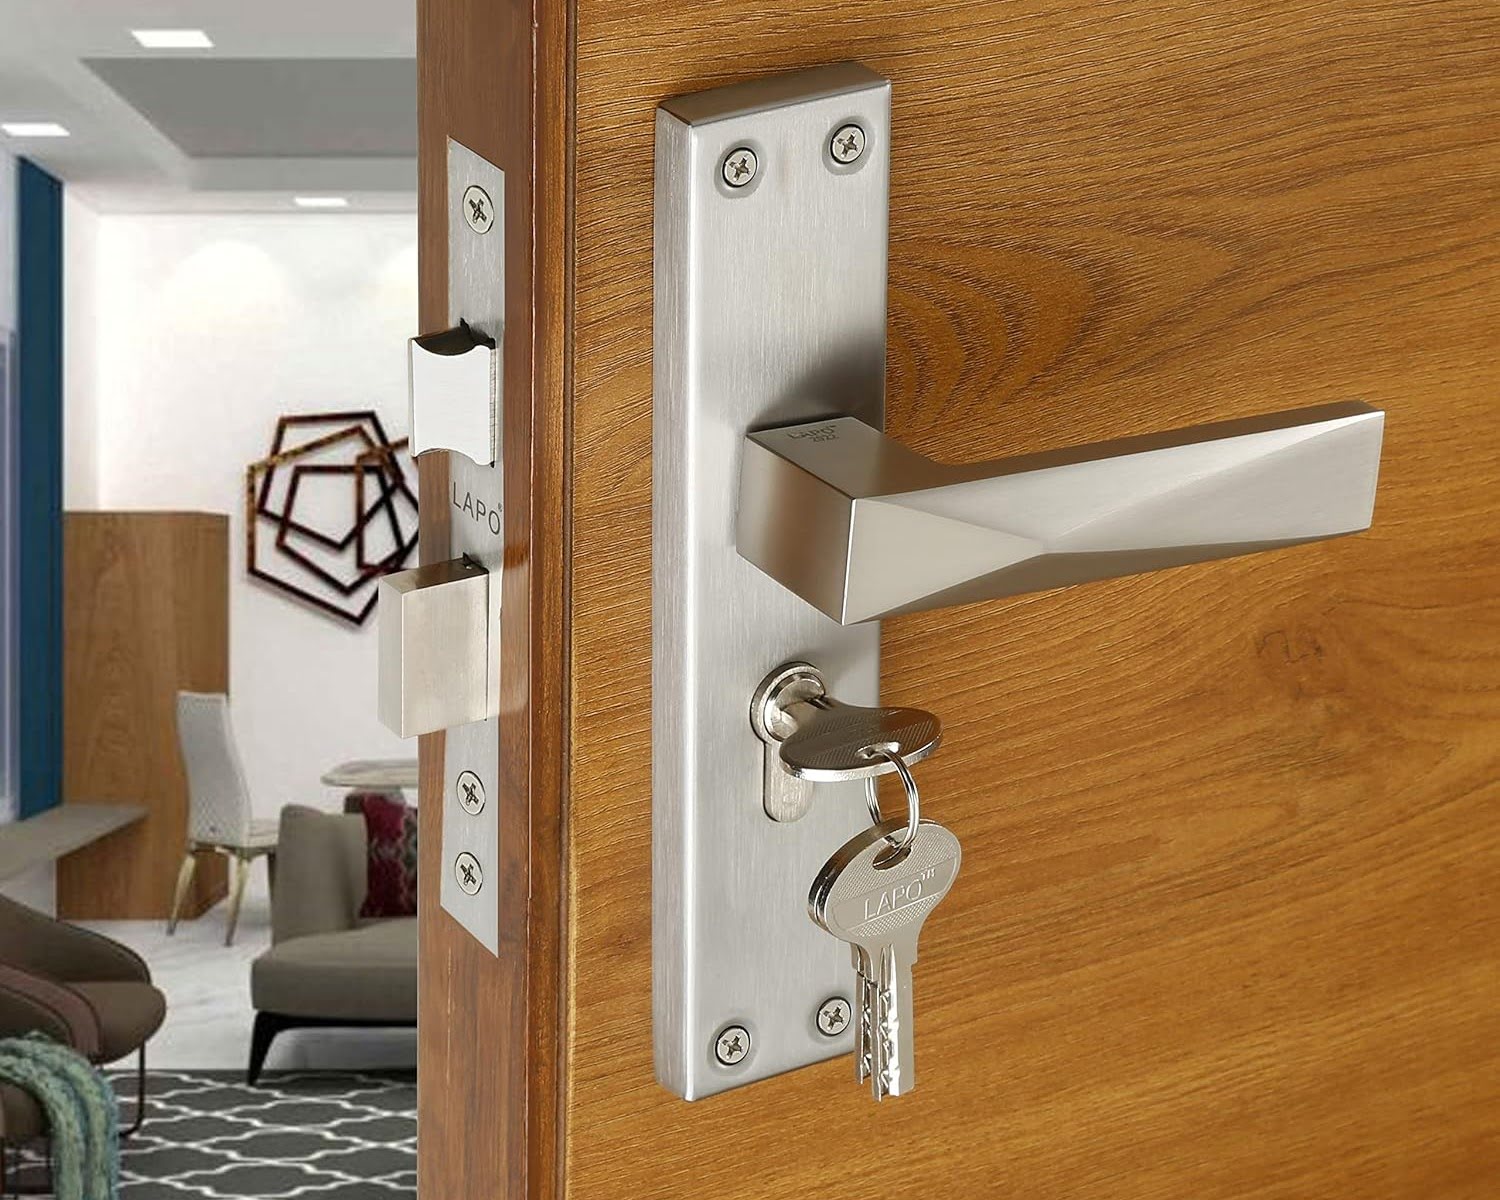
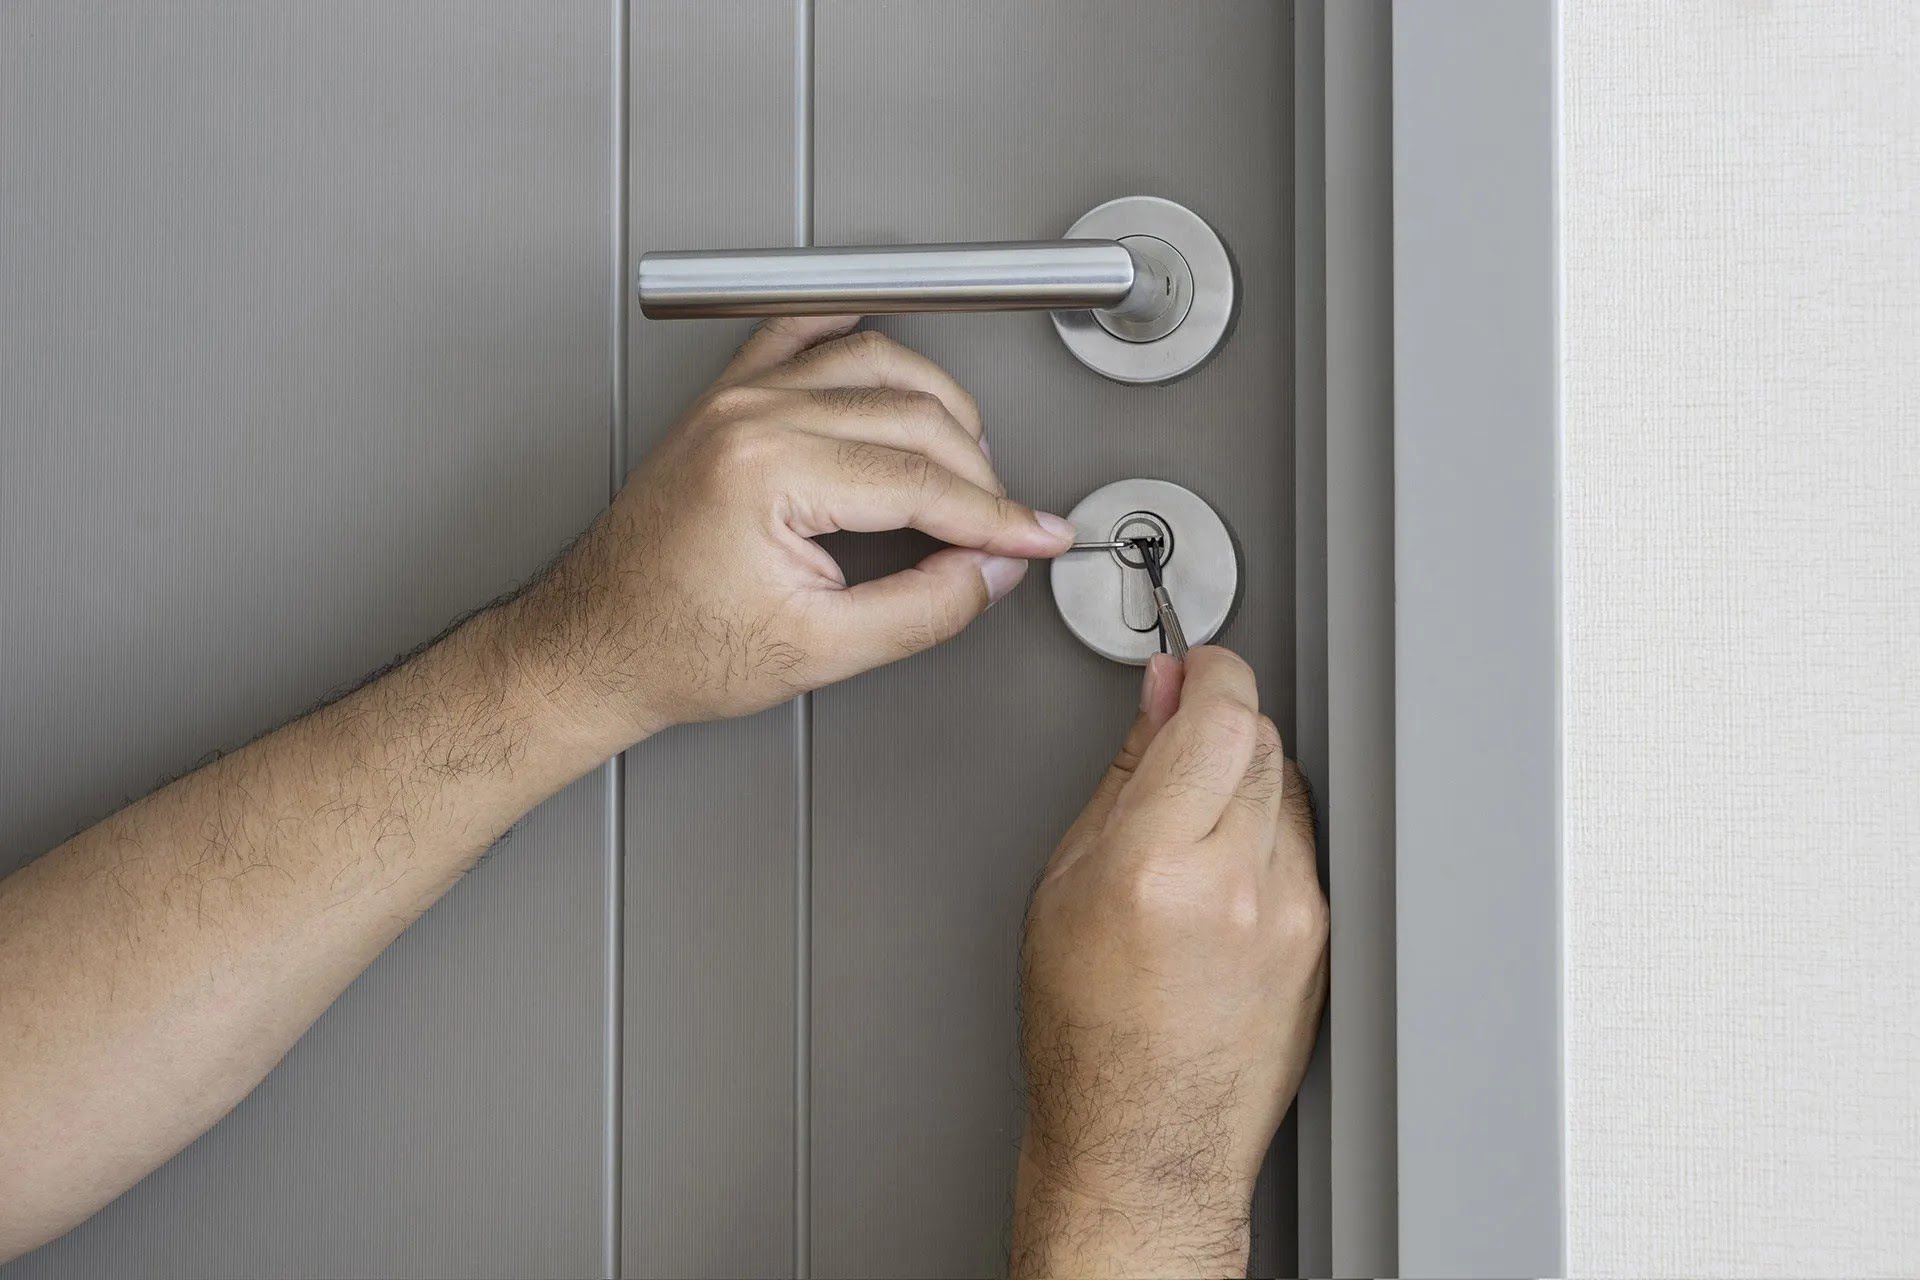
- Verify Smooth Operation: With the new cylinder installed and secured, test the operation of the lock with the key. Ensure that the key turns smoothly, engaging and disengaging the locking mechanism without any resistance or difficulty.
By successfully completing this step, you will have seamlessly integrated the new cylinder into the lock mechanism, laying the foundation for the final phase of reassembling the doorknob and completing the replacement process. This pivotal phase brings you closer to the successful installation of the new cylinder, enhancing the security and functionality of your door lock.
Step 5: Reassemble the Doorknob
As you near the completion of the process of replacing a door lock cylinder, the final step involves reassembling the doorknob to restore the functionality and security of the door lock. This phase requires attention to detail and precision to ensure a seamless and secure reassembly. Here’s a comprehensive guide to help you navigate this essential phase:
- Position the Doorknob Components: Begin by aligning the internal components of the doorknob, including the spindle and any associated mechanisms, with the corresponding components within the door.
- Reattach the Knob: Carefully position the exterior knob over the spindle and align it with the internal components. Ensure that any alignment tabs or slots are properly engaged to facilitate a secure connection.
- Secure the Knob: Once the knob is in place, reattach the screws or fasteners that secure the knob to the door. Utilize a Phillips head screwdriver to tighten the screws securely, ensuring that the knob is stable and immovable.
- Replace the Rosette or Cover Plate: If a rosette or cover plate was removed earlier, carefully position it over the knob and secure it in place. Use a flat head screwdriver to ensure a snug and secure fit.
- Test the Doorknob: With the doorknob reassembled, test the functionality of the lock by engaging and disengaging it with the key. Verify that the key turns smoothly and that the locking mechanism operates effectively.
By successfully completing this step, you will have seamlessly reassembled the doorknob, culminating in the successful replacement of the door lock cylinder. This pivotal phase marks the completion of the replacement process, ensuring that your door lock is fully functional, secure, and ready to provide reliable protection for your property.
Conclusion
Congratulations on successfully completing the process of removing and replacing a door lock cylinder. By following the step-by-step guide outlined in this comprehensive tutorial, you have gained valuable insights into the intricacies of door lock maintenance and enhancement. The ability to navigate this process with confidence and precision is a testament to your dedication to home security and maintenance.
Understanding the fundamental components of a door lock, such as the cylinder, and mastering the skill of removal and replacement empowers you to take charge of your home security. Whether you were driven by the need to upgrade your security system or to address a malfunctioning cylinder, your proactive approach to this task reflects a commitment to safeguarding your property and loved ones.
As you reflect on this journey, remember the importance of regular maintenance and periodic assessments of your door locks. By staying attuned to the condition of key components and addressing any issues promptly, you can ensure the continued reliability and effectiveness of your security measures.
Armed with the knowledge and skills acquired through this process, you are well-prepared to tackle future home maintenance tasks and security enhancements with confidence. Your proactive approach and willingness to engage in hands-on maintenance are invaluable assets in maintaining a safe and secure living environment.
Thank you for embarking on this insightful journey to enhance your understanding of home security and maintenance. By mastering the art of removing and replacing a door lock cylinder, you have taken a proactive step towards fortifying the security of your property and ensuring peace of mind for you and your loved ones.
Frequently Asked Questions about How To Remove A Door Lock Cylinder
Was this page helpful?
At Storables.com, we guarantee accurate and reliable information. Our content, validated by Expert Board Contributors, is crafted following stringent Editorial Policies. We're committed to providing you with well-researched, expert-backed insights for all your informational needs.


0 thoughts on “How To Remove A Door Lock Cylinder”