Home>Technology>Security & Surveillance>How To Remove A Door Lock Without Screws

Security & Surveillance
How To Remove A Door Lock Without Screws
Modified: August 26, 2024
Learn how to remove a door lock without screws for enhanced security and surveillance. Follow our step-by-step guide for easy solutions.
(Many of the links in this article redirect to a specific reviewed product. Your purchase of these products through affiliate links helps to generate commission for Storables.com, at no extra cost. Learn more)
Introduction
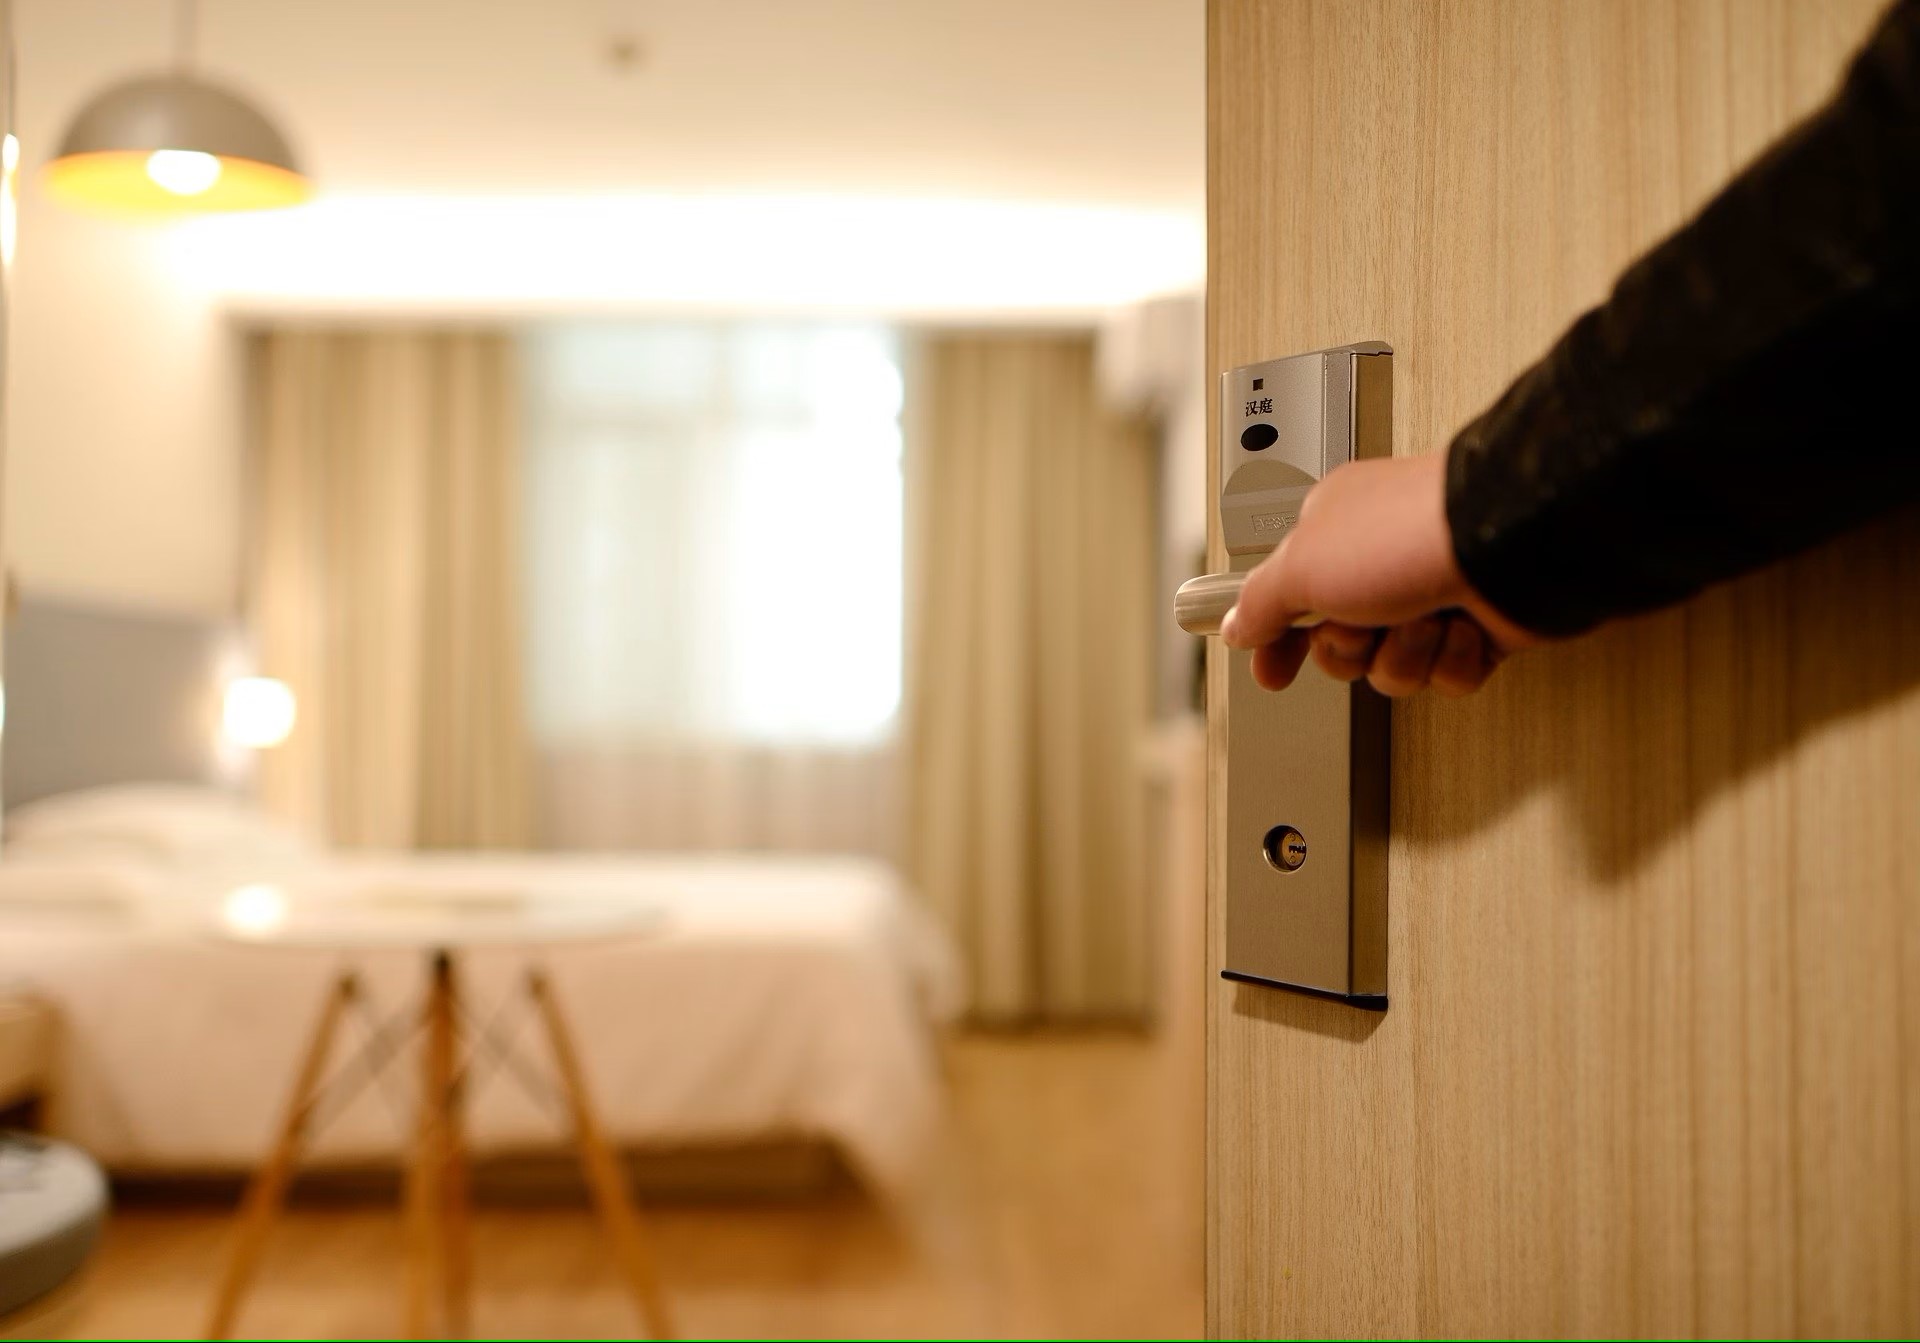
Welcome to the ultimate guide on removing a door lock without screws! Whether you're a DIY enthusiast, a homeowner dealing with a broken lock, or simply curious about the inner workings of door locks, this step-by-step tutorial is designed to equip you with the knowledge and skills to tackle this task with confidence.
Door locks are essential components of home security, providing peace of mind and safeguarding your loved ones and valuables. Understanding how to remove a door lock without screws can come in handy in various scenarios, such as when you need to replace a malfunctioning lock, upgrade to a more advanced model, or simply perform maintenance.
In this article, we'll delve into the process of removing a door lock without screws, providing clear and detailed instructions to ensure a smooth and successful outcome. Along the way, we'll highlight the tools and materials you'll need, as well as valuable tips to simplify the process.
So, roll up your sleeves, gather your tools, and get ready to embark on a journey into the inner workings of door locks. Let's dive in and discover the fascinating world of home security and maintenance!
Key Takeaways:
- Removing a door lock without screws requires patience and precision. By understanding the lock’s design and using the right tools, you can successfully dismantle and extract the lock for replacement or maintenance.
- With the right tools and careful steps, anyone can remove a door lock without screws. This DIY skill empowers you to maintain home security and handle lock-related tasks with confidence.
Read more: How To Remove Door Lock Without Key
Tools and Materials Needed
Before you begin the process of removing a door lock without screws, it’s essential to gather the necessary tools and materials to ensure a seamless experience. Here’s a comprehensive list of items you’ll need:
- Phillips Head Screwdriver: This versatile tool is crucial for removing the faceplate and accessing the internal components of the door lock.
- Flathead Screwdriver: A flathead screwdriver will be indispensable for disconnecting the lock mechanism and removing the lock from the door.
- Needle-Nose Pliers: These pliers will aid in manipulating small components and wires within the lock mechanism.
- Replacement Lock (Optional): If you’re planning to install a new lock after removing the existing one, ensure that you have the replacement lock on hand.
- Lubricant: Having a lubricant such as WD-40 can be beneficial for loosening any stubborn components or addressing minor issues within the lock.
- Protective Gloves: It’s advisable to wear protective gloves to safeguard your hands during the removal process.
- Cloth or Rag: Keeping a cloth or rag handy will allow you to wipe away any debris or excess lubricant as you work on the lock.
By having these tools and materials at your disposal, you’ll be well-prepared to tackle the task of removing a door lock without screws. With the right equipment in hand, you can proceed with confidence and efficiency, ensuring a successful outcome.
Step 1: Examine the Door Lock
Before diving into the removal process, it’s crucial to thoroughly examine the door lock to gain a clear understanding of its design and components. This initial step sets the stage for a systematic and informed approach to removing the lock without screws.
Begin by closely inspecting the outer casing of the door lock. Some locks feature visible screws on the interior or exterior faceplate, while others may utilize alternative mechanisms for securing the lock in place. If no visible screws are present, it’s likely that the lock is held in position by concealed clips or latches.
Next, carefully examine the edges and perimeter of the faceplate to identify any small slots, tabs, or release points that may indicate how the faceplate is secured to the door. These subtle details can provide valuable insights into the specific method of attachment used for the lock.
Additionally, take note of any brand or model information on the lock, as this can be helpful when seeking guidance or replacement parts. If you plan to install a new lock after removal, understanding the current lock’s specifications will streamline the replacement process.
By conducting a thorough examination of the door lock, you’ll gain clarity regarding its unique features and attachment methods. This foundational knowledge will serve as a solid starting point as you progress through the subsequent steps, ensuring a well-informed and effective approach to removing the lock without screws.
Step 2: Remove the Faceplate
With a clear understanding of the door lock’s design and attachment mechanisms, the next step is to focus on removing the faceplate. While traditional screw-secured faceplates are common, many modern locks utilize innovative methods for securing the faceplate without visible screws. Follow these steps to safely remove the faceplate:
- Locate Release Points: Carefully examine the perimeter of the faceplate to identify any subtle release points, tabs, or slots. These may be positioned along the edges or near the corners of the faceplate.
- Apply Pressure: Using gentle yet firm pressure, attempt to release the faceplate by pressing on the identified release points. It’s important to exercise caution to avoid damaging the door or the lock itself.
- Utilize a Flathead Screwdriver: If the faceplate is stubbornly secured, a flathead screwdriver can be used to carefully pry it away from the door. Insert the screwdriver into the identified release points and apply gentle leverage to gradually release the faceplate.
- Remove the Faceplate: Once the faceplate is released, carefully detach it from the door, taking care not to damage any internal components or wiring. Set the faceplate aside in a safe location for reinstallation or disposal.
It’s important to approach the removal of the faceplate with precision and patience, as forcing the faceplate off can lead to damage or complications. By following these steps and exercising care, you’ll successfully remove the faceplate and gain access to the inner workings of the lock, setting the stage for the subsequent steps in the removal process.
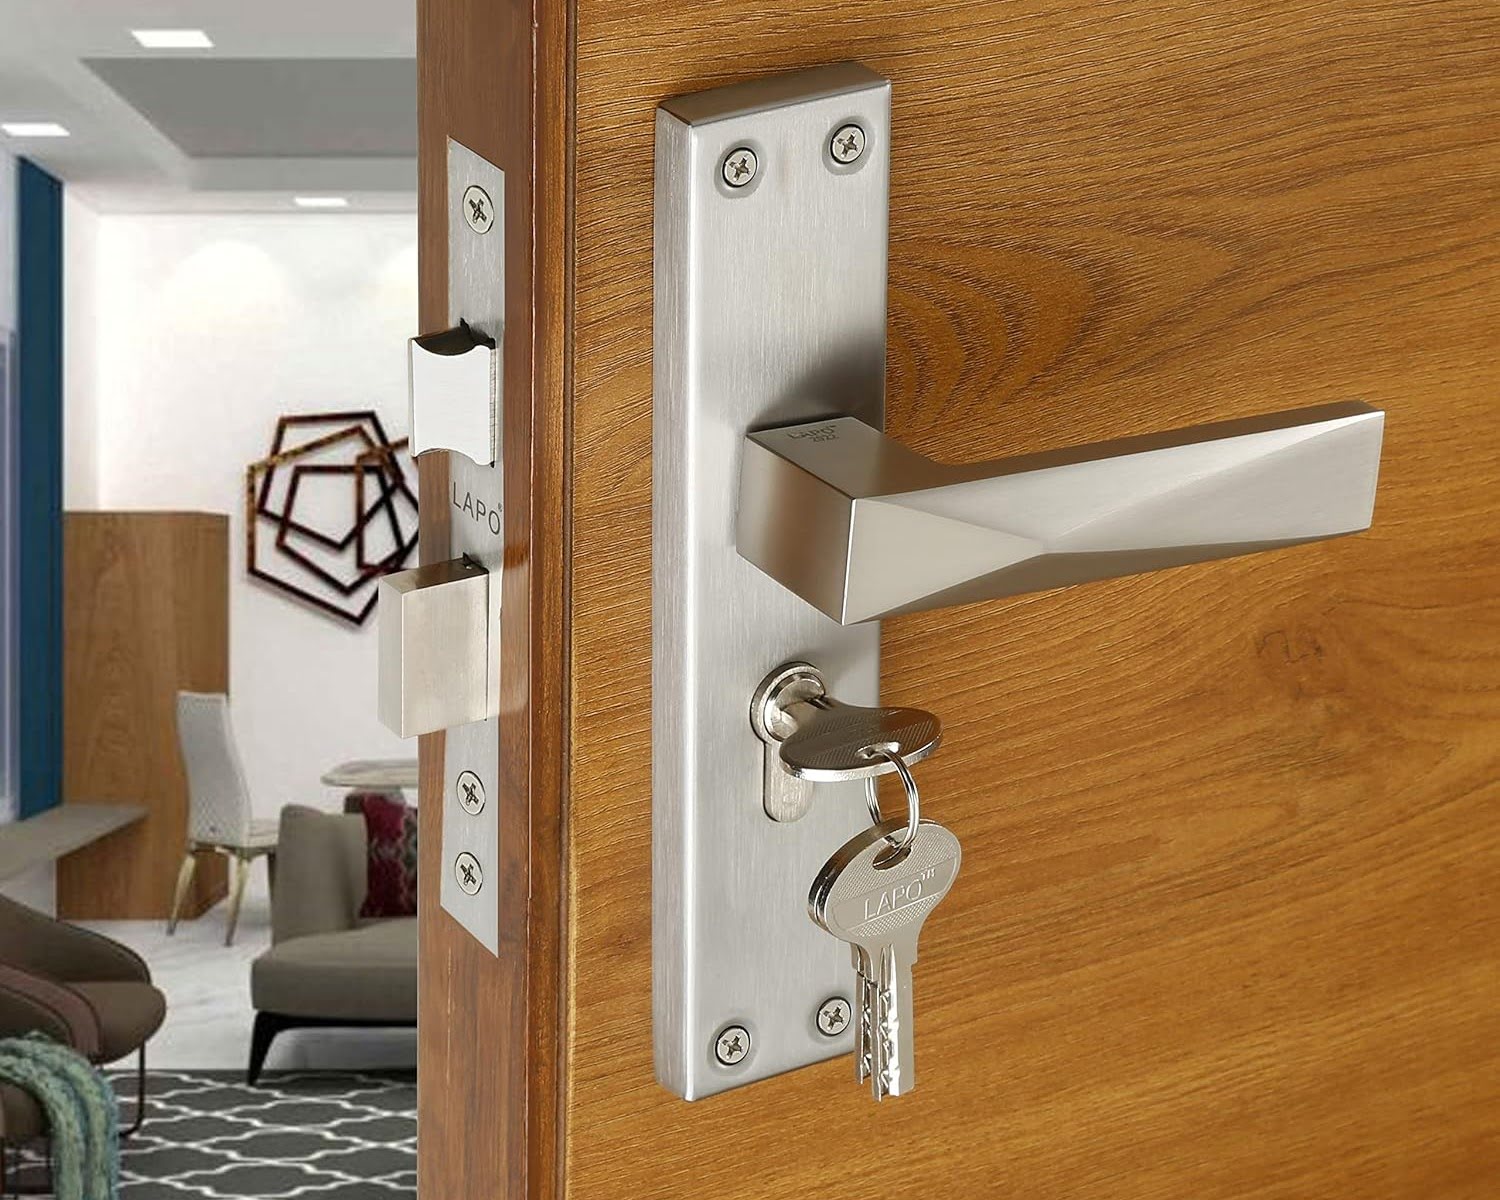
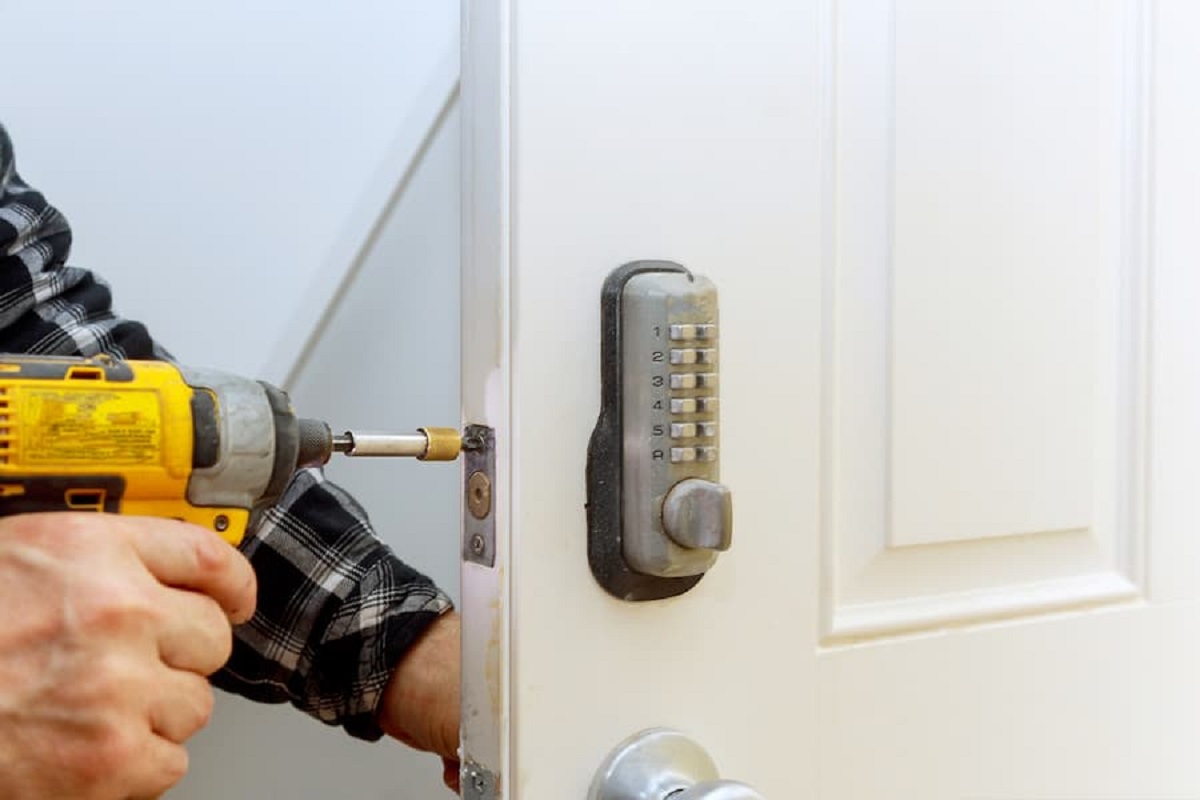
If the door lock has no visible screws, try using a flathead screwdriver to pry off the cover plate. Then, use a Phillips head screwdriver to remove the screws holding the lock in place.
Step 3: Disconnect the Lock Mechanism
With the faceplate removed, you’ll now focus on disconnecting the lock mechanism from the door. This pivotal step involves accessing and disengaging the internal components that secure the lock in place. Follow these detailed instructions to effectively disconnect the lock mechanism:
- Identify Lock Components: Upon removing the faceplate, you’ll have a clear view of the internal components of the lock. Take a moment to familiarize yourself with the various elements, including the latch, deadbolt, and any connecting rods or wires.
- Release Connecting Mechanisms: Carefully identify the connecting mechanisms that secure the lock to the door. Depending on the lock’s design, these may include screws, latches, or connecting rods. Use a combination of visual inspection and gentle manipulation to understand how these components are interconnected.
- Disconnect Wires (If Applicable): In some electronic or smart locks, wiring may be present to facilitate keyless entry or remote access. If your lock incorporates wiring, exercise caution and refer to the manufacturer’s instructions for safe disconnection procedures.
- Disengage Lock Mechanism: Once you’ve identified and addressed the connecting mechanisms, proceed to disengage the lock mechanism from the door. This may involve sliding the latch or deadbolt out of its housing or carefully maneuvering the lock to release it from the door’s surface.
By methodically following these steps and exercising care throughout the process, you’ll effectively disconnect the lock mechanism from the door, paving the way for the final step of removing the lock itself. Understanding the intricacies of the lock’s internal components and disconnection points is essential for a smooth and successful removal process.
Read more: How To Remove Door Lock Cylinder Without Key
Step 4: Remove the Lock from the Door
As you approach the final step of removing the door lock without screws, the focus shifts to physically detaching the lock from the door. This pivotal stage involves careful maneuvering and precision to ensure the safe extraction of the lock. Follow these essential guidelines to successfully remove the lock from the door:
- Assess Attachment Points: Before proceeding, take a moment to assess how the lock is attached to the door. Look for any remaining securing mechanisms, attachment points, or concealed latches that may hinder the removal process.
- Maneuver the Lock: With a clear understanding of the attachment points, carefully maneuver the lock to gradually disengage it from the door. Exercise patience and gentle force to navigate any resistance and release the lock from its position.
- Inspect for Obstructions: As you work to remove the lock, be mindful of any potential obstructions or entanglements that may impede its smooth extraction. Clear any debris or minor obstacles to facilitate a seamless removal process.
- Secure Replacement Lock (If Applicable): If you’re planning to install a new lock, ensure that it is readily available for immediate installation. Having the replacement lock on hand streamlines the transition and minimizes the time during which the door is without a secure locking mechanism.
- Store the Removed Lock: Once the lock is successfully removed, store it in a safe location, especially if it’s intended for reuse or if you need to refer to it for replacement or maintenance purposes.
By carefully adhering to these steps and maintaining a methodical approach, you’ll effectively remove the lock from the door without screws. This marks the culmination of the removal process, setting the stage for potential replacement or maintenance activities as needed.
Conclusion
Congratulations on successfully navigating the process of removing a door lock without screws! By following the comprehensive steps outlined in this guide, you’ve gained valuable insights into the intricate process of dismantling and extracting a door lock with precision and care.
Throughout this journey, you’ve honed your observational skills by examining the door lock’s design and attachment methods, successfully removed the faceplate to access the internal components, disconnected the lock mechanism with finesse, and ultimately removed the lock from the door, all without the reliance on visible screws.
As you reflect on this experience, you’ve not only acquired practical knowledge but also empowered yourself to address various lock-related scenarios with confidence. Whether it’s replacing a malfunctioning lock, performing maintenance, or upgrading to a new model, your newfound expertise will serve you well in maintaining the security and functionality of your home.
Remember, the skills and insights gained from this endeavor extend beyond the immediate task at hand. They embody the spirit of resourcefulness and DIY proficiency, showcasing your ability to tackle home maintenance challenges with determination and skill.
As you proceed with your home improvement and security endeavors, carry forward the confidence and expertise you’ve cultivated through this process. Whether it’s mastering new DIY techniques or sharing your knowledge with others, your journey in removing a door lock without screws serves as a testament to your capability and adaptability in the realm of home maintenance and security.
With your newly acquired expertise, you’re well-equipped to handle a wide array of home security and maintenance tasks, ensuring that your living space remains safe, functional, and tailored to your needs.
Frequently Asked Questions about How To Remove A Door Lock Without Screws
Was this page helpful?
At Storables.com, we guarantee accurate and reliable information. Our content, validated by Expert Board Contributors, is crafted following stringent Editorial Policies. We're committed to providing you with well-researched, expert-backed insights for all your informational needs.


0 thoughts on “How To Remove A Door Lock Without Screws”