Home>Technology>Smart Home Devices>How To Add Printer To Google Cloud

Smart Home Devices
How To Add Printer To Google Cloud
Published: January 21, 2024
Learn how to easily add a printer to Google Cloud and integrate it with your smart home devices. Follow our step-by-step guide for seamless setup.
(Many of the links in this article redirect to a specific reviewed product. Your purchase of these products through affiliate links helps to generate commission for Storables.com, at no extra cost. Learn more)
**
Introduction
**
In the era of smart homes and interconnected devices, the ability to seamlessly integrate and manage various devices has become increasingly important. Google Cloud Print offers a convenient solution for adding printers to your Google account, allowing you to print from anywhere using the cloud. This innovative technology not only simplifies printing tasks but also fosters a more efficient and flexible workflow.
As we delve into the process of adding a printer to Google Cloud Print, it's important to note that this functionality is particularly beneficial for individuals and businesses seeking a streamlined approach to printing. Whether you're working from a home office, a bustling corporate environment, or a collaborative co-working space, the ability to connect your printer to Google Cloud Print brings forth a myriad of advantages.
By following the steps outlined in this guide, you will gain a comprehensive understanding of how to seamlessly integrate your printer with Google Cloud Print. This knowledge will empower you to harness the full potential of cloud-based printing, enabling you to print documents and images from your connected devices with unparalleled ease and convenience.
Now, let's embark on this enlightening journey to explore the process of adding a printer to Google Cloud Print, unlocking a world of printing possibilities that transcend traditional boundaries.
**
Key Takeaways:
- Ensure your printer is compatible with Google Cloud Print by checking the manufacturer’s support, reviewing printer specifications, and consulting online resources. This ensures a smooth integration process and avoids compatibility issues.
- Follow the step-by-step process to connect, set up, and add your printer to Google Cloud Print. This enables seamless cloud-based printing, allowing you to print from various devices with ease and convenience.
Step 1: Check Printer Compatibility
**
Before diving into the process of adding your printer to Google Cloud Print, it’s crucial to ensure that your printer is compatible with this innovative cloud-based printing platform. Google Cloud Print is compatible with a wide range of printers, including both classic and modern models. To determine if your printer is compatible, follow these steps:
- Check Manufacturer Support: Start by visiting the official website of your printer’s manufacturer. Most leading printer manufacturers provide detailed information regarding Google Cloud Print compatibility for their devices. Look for a section dedicated to cloud printing or connectivity to ascertain if your printer supports Google Cloud Print.
- Review Printer Specifications: Refer to your printer’s user manual or documentation to identify its compatibility with cloud printing services. This information can typically be found in the connectivity or network settings section of the manual. Look for references to Google Cloud Print or cloud-based printing functionality.
- Consult Online Resources: Utilize online resources such as forums, tech communities, and support websites to seek guidance from other users who have attempted to connect your specific printer model to Google Cloud Print. These platforms often feature discussions and troubleshooting tips related to printer compatibility.
By thoroughly examining these sources, you can confidently determine whether your printer is compatible with Google Cloud Print. In the event that your printer is not compatible, you may consider alternative printing solutions or explore the possibility of upgrading to a compatible printer to fully leverage the benefits of cloud-based printing.
Once you have verified the compatibility of your printer, you are ready to proceed to the next step, which involves connecting your printer to Google Cloud Print.
**
Step 2: Connect Printer to Google Cloud
**
Connecting your printer to Google Cloud lays the groundwork for seamless cloud-based printing. This process involves linking your printer to your Google account, enabling you to effortlessly send print jobs from various devices to your connected printer. Follow these steps to connect your printer to Google Cloud:
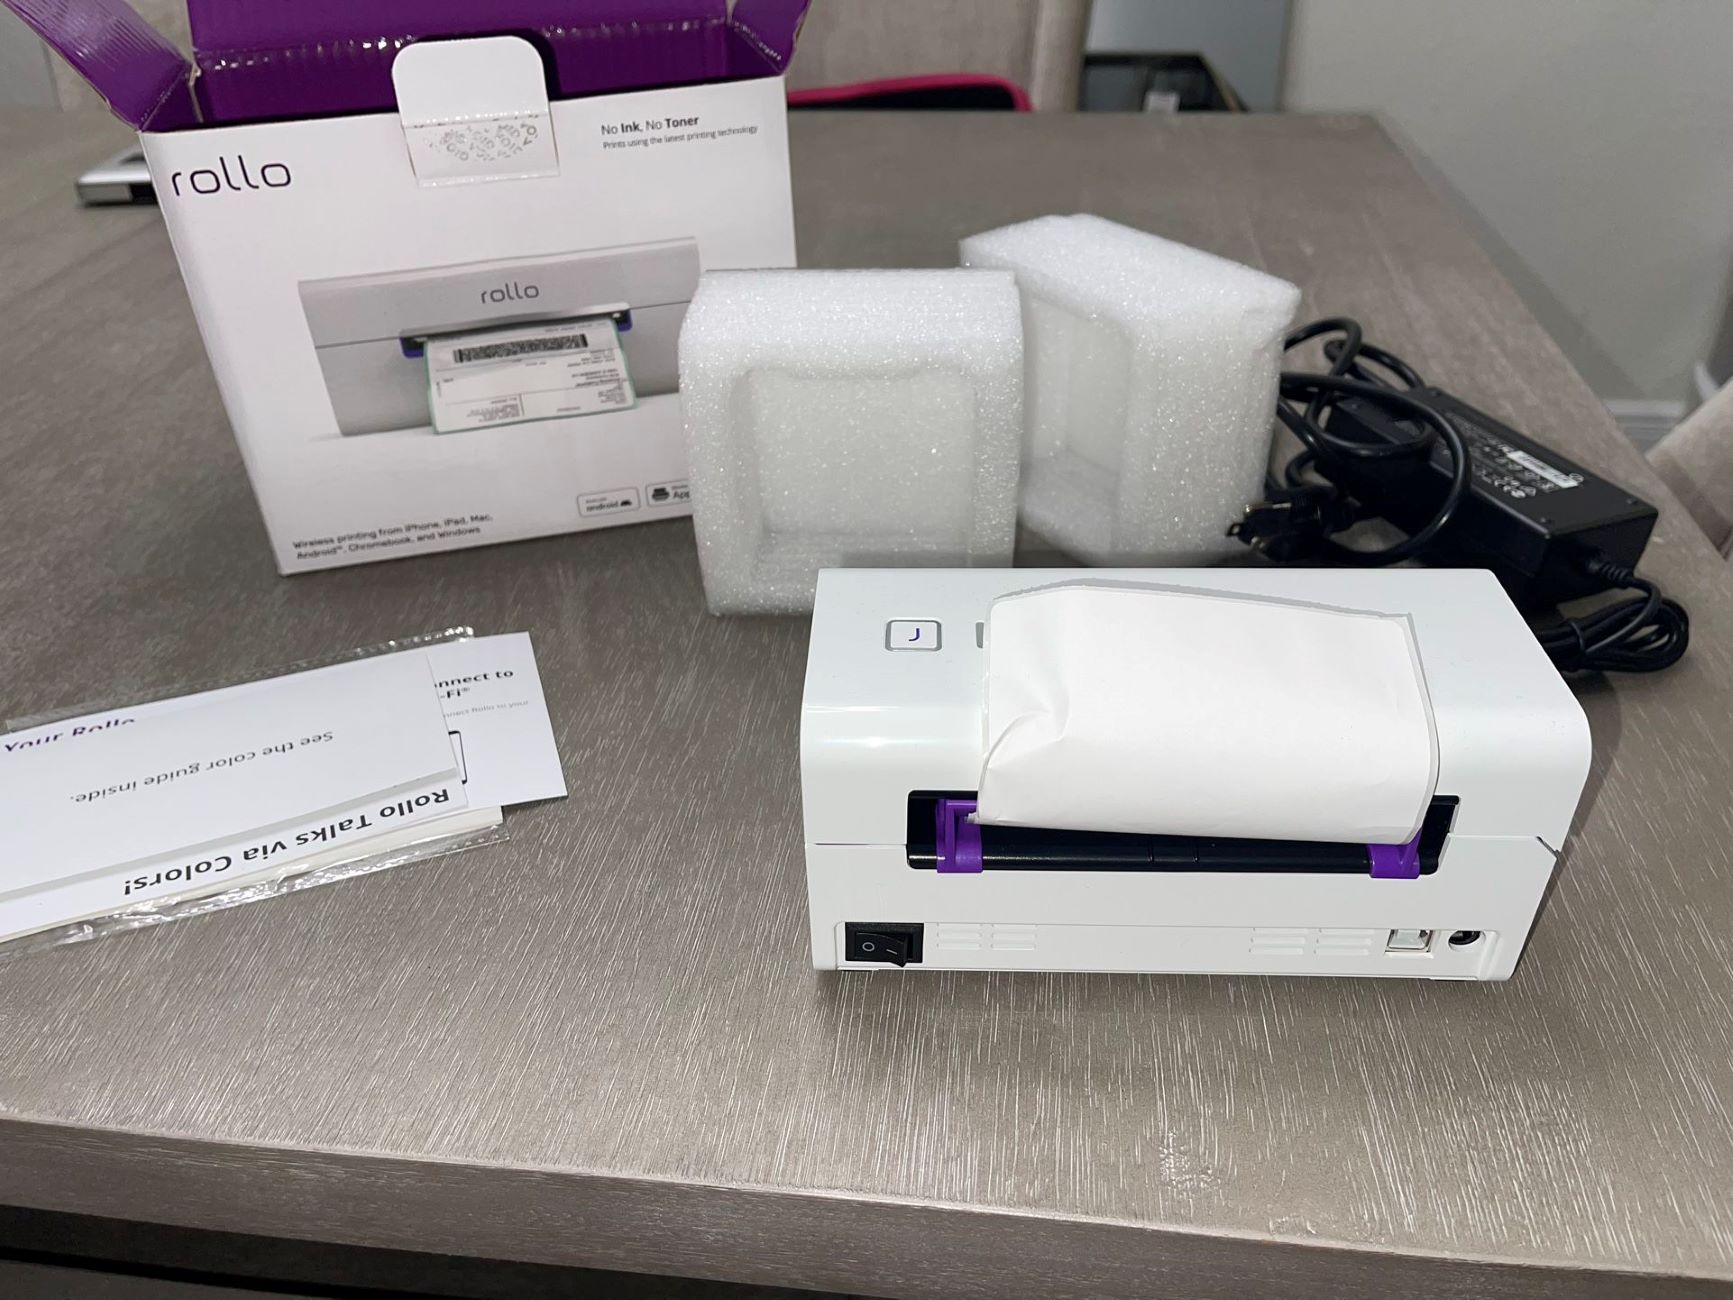
- Access Printer Settings: Begin by accessing your printer’s settings or control panel. Depending on your printer model, you may need to navigate through the menu to locate the network or connectivity settings. Look for an option related to cloud printing or Google Cloud Print.
- Enable Google Cloud Print: Within the printer settings, select the option to enable Google Cloud Print. This action initiates the process of connecting your printer to your Google account. You may be prompted to sign in to your Google account or confirm your identity during this step.
- Verification and Confirmation: After enabling Google Cloud Print, your printer may display a verification code or confirmation message. Take note of this code, as it will be used to finalize the connection between your printer and Google Cloud Print.
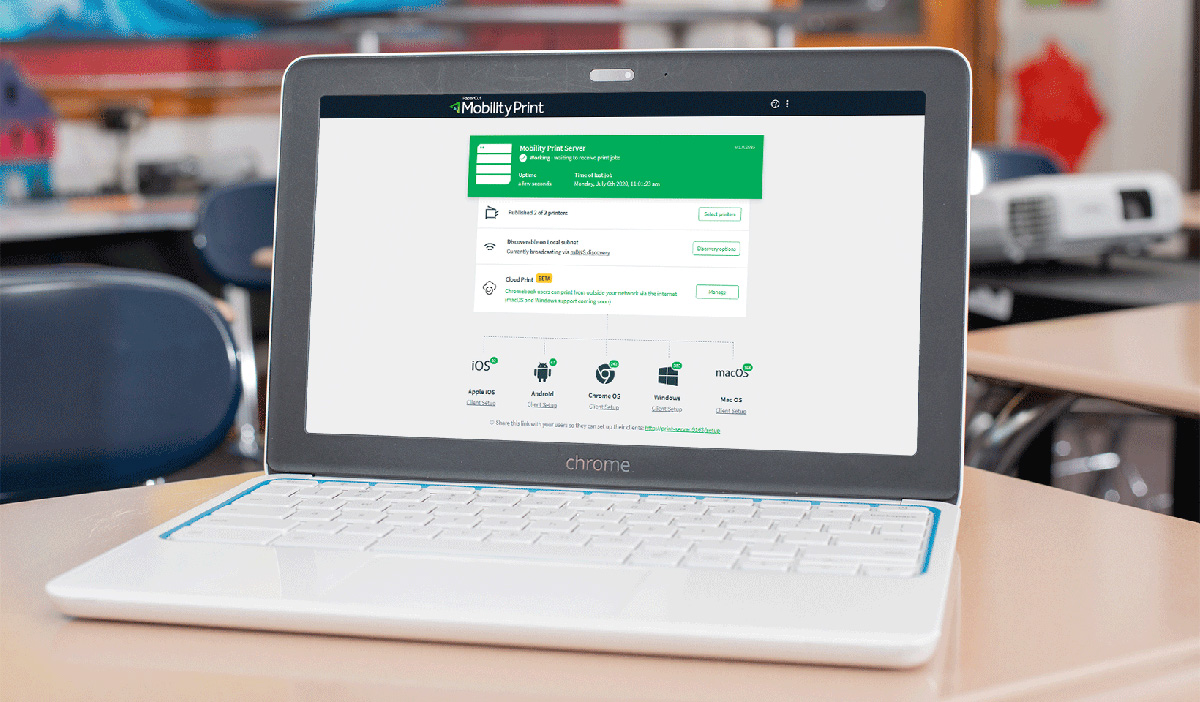
- Access Google Cloud Print Dashboard: Open a web browser on your computer or mobile device and navigate to the Google Cloud Print dashboard. Sign in to your Google account if prompted.
- Add Printer: Within the Google Cloud Print dashboard, locate the option to add a new printer. Enter the verification code provided by your printer to initiate the connection process.
- Confirmation and Testing: Upon successful addition, your printer will be linked to your Google account via Google Cloud Print. To ensure the connection is functioning correctly, attempt to print a test page or document from a device connected to your Google account.
By following these steps, you will successfully connect your printer to Google Cloud, paving the way for efficient and convenient cloud-based printing. With this foundational connection established, you are now prepared to proceed to the next step: setting up Google Cloud Print.
**
To add a printer to Google Cloud, make sure your printer is compatible with Google Cloud Print. Then, go to your Google account, open the Chrome browser, and go to Settings > Advanced > Printing > Google Cloud Print > Manage Cloud Print devices. Click on “Add printers” and follow the prompts to complete the setup.
Step 3: Set Up Google Cloud Print
**
Setting up Google Cloud Print is a pivotal step in the process of integrating your printer with this innovative cloud-based printing platform. This step involves configuring your Google account to seamlessly interact with your connected printer, enabling you to initiate print jobs from a diverse array of devices. Follow these steps to set up Google Cloud Print:
- Access Google Account Settings: Begin by accessing the settings section of your Google account. This can typically be achieved by navigating to the Google account management page or settings menu from a web browser while signed in to your Google account.
- Navigate to Cloud Print Settings: Within the Google account settings, locate the section dedicated to Google Cloud Print. This section may be listed under the “Connected Devices” or “Printing” category, depending on the layout of your account settings.
- Enable Google Cloud Print: If Google Cloud Print is not already enabled, select the option to enable it. This action grants your Google account the ability to interact with printers connected to Google Cloud Print, facilitating seamless printing from various devices.
- Verify Printer Connection: After enabling Google Cloud Print, verify that your connected printer is displayed within the list of available printers. This confirmation ensures that your printer is successfully integrated with Google Cloud Print and is ready to receive print jobs from your Google account.
- Explore Advanced Settings (Optional): Depending on your preferences and printing requirements, you may explore advanced settings within the Google Cloud Print section of your account. These settings allow you to customize print options, manage print queues, and configure additional printing features.
By diligently completing these steps, you will effectively set up Google Cloud Print, establishing a seamless connection between your Google account and the connected printer. This pivotal configuration lays the foundation for effortless cloud-based printing, empowering you to conveniently print documents and images from a diverse range of devices.
With Google Cloud Print successfully set up, you are now poised to embark on the final step: adding your printer to Google Cloud.
**
Step 4: Add Printer to Google Cloud
**
The final step in the process of integrating your printer with Google Cloud Print involves adding your printer to your Google account, thereby enabling seamless printing from various devices connected to your account. Follow these steps to add your printer to Google Cloud:
- Access Google Cloud Print Dashboard: Begin by accessing the Google Cloud Print dashboard from a web browser while signed in to your Google account. This dashboard serves as the central hub for managing your connected printers and print jobs.
- Navigate to Printers Section: Within the Google Cloud Print dashboard, navigate to the section dedicated to managing printers. This section typically provides an overview of your connected printers and offers options for adding new printers to your account.
- Add Printer: Locate the option to add a new printer and initiate the process by selecting this option. Depending on your printer’s connectivity and the information provided by the manufacturer, you may have the choice to add the printer using different methods, such as through a direct network connection or by entering a specific code.
- Follow Prompts for Adding Printer: Follow the on-screen prompts and instructions to add your printer to your Google account via Google Cloud Print. This may involve selecting your printer from a list of available devices, entering relevant details, or confirming the connection using the provided verification code.
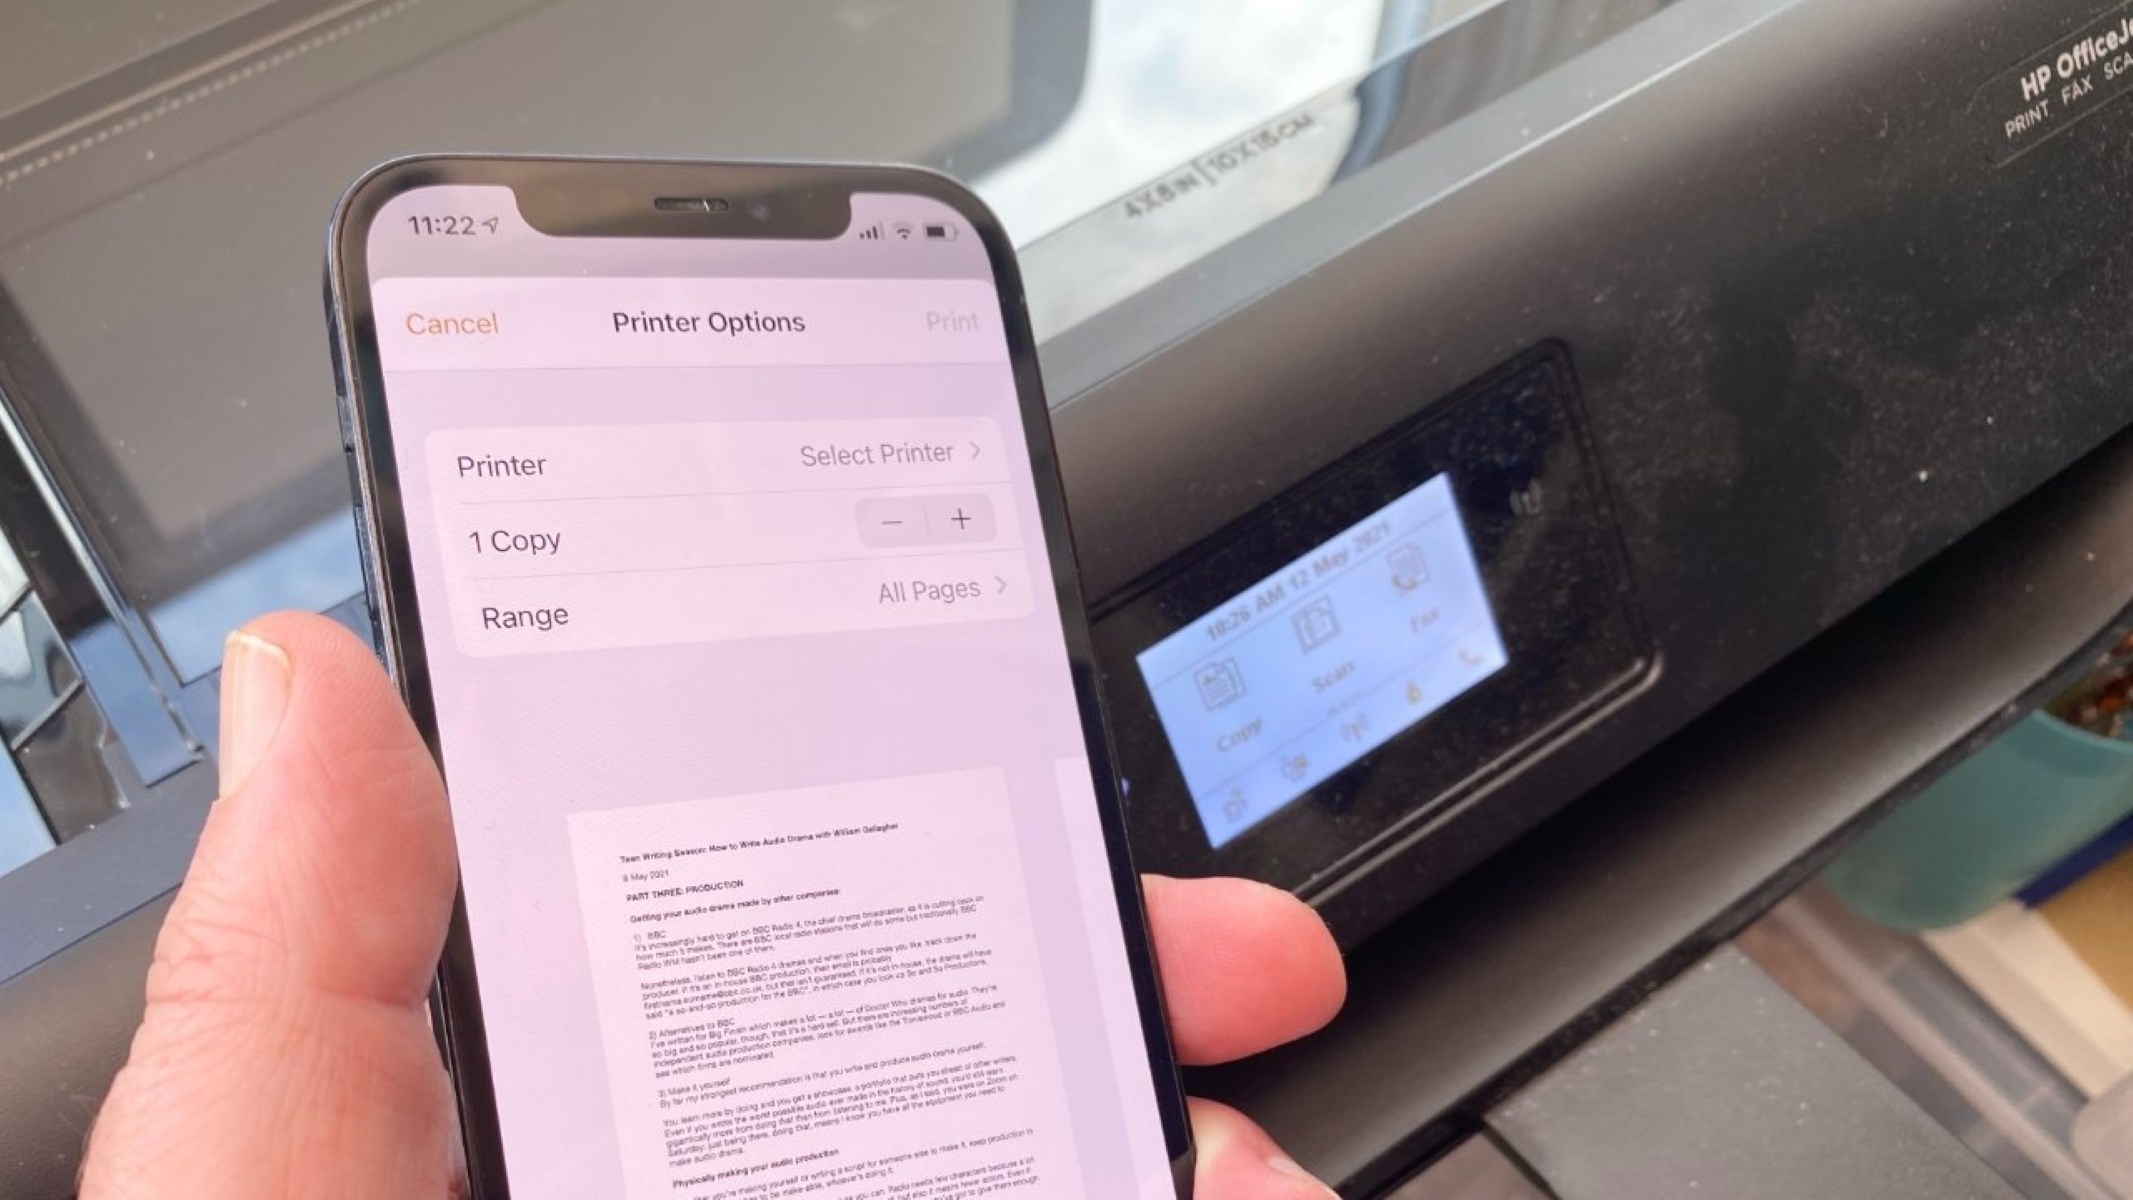
- Confirmation and Testing: Upon successful addition, your printer will be seamlessly integrated with your Google account through Google Cloud Print. To verify the successful addition, attempt to initiate a print job from a connected device, ensuring that your printer appears as an available printing option.
By completing these steps, you will successfully add your printer to Google Cloud, culminating in a harmonious integration that empowers you to print documents and images from a diverse range of devices with unparalleled ease and convenience. With your printer seamlessly connected to Google Cloud Print, you are now equipped to leverage the full potential of cloud-based printing.
With the addition of your printer to Google Cloud Print successfully accomplished, you have completed the comprehensive process of integrating your printer with this innovative cloud-based printing platform. This achievement marks the beginning of a seamless and efficient printing experience, underscoring the transformative power of interconnected devices within the modern digital landscape.
**
Read more: How To Register Printer To Google Cloud
Conclusion
**
Embarking on the journey to add a printer to Google Cloud Print has unveiled a world of possibilities, transforming the way you interact with your printing devices and enabling a new realm of convenience and flexibility. By following the comprehensive steps outlined in this guide, you have successfully integrated your printer with Google Cloud Print, laying the foundation for seamless cloud-based printing.
Through the process of checking printer compatibility, connecting your printer to Google Cloud, setting up Google Cloud Print, and adding your printer to Google Cloud, you have navigated a path that culminates in a harmonious union between your printer and the innovative cloud-based printing platform offered by Google. This achievement unlocks the potential for effortless printing from a diverse array of devices, transcending traditional boundaries and fostering a more streamlined workflow.
As you bask in the newfound convenience and flexibility afforded by Google Cloud Print, it’s essential to embrace the transformative impact of interconnected devices within the modern digital landscape. The ability to seamlessly print documents and images from various devices, regardless of your physical location, underscores the power of cloud-based printing in enhancing productivity and facilitating efficient collaboration.
With your printer seamlessly integrated with Google Cloud Print, you are poised to navigate the digital realm with enhanced printing capabilities, empowering you to effortlessly translate digital content into tangible, printed materials. This journey marks a significant milestone in your quest for a more interconnected and efficient printing experience, reflecting the dynamic evolution of smart home devices within the contemporary technological landscape.
As you harness the capabilities of Google Cloud Print, may your printing endeavors be imbued with unparalleled ease and convenience, transcending traditional limitations and embracing the boundless potential of cloud-based printing. Embrace this newfound printing prowess and revel in the seamless interplay between your devices and the innovative cloud-based printing platform provided by Google.
With your printer seamlessly integrated with Google Cloud Print, you stand at the forefront of a digital revolution that heralds a new era of interconnected printing possibilities, empowering you to navigate the realms of productivity and creativity with unparalleled ease and efficiency.
Frequently Asked Questions about How To Add Printer To Google Cloud
Was this page helpful?
At Storables.com, we guarantee accurate and reliable information. Our content, validated by Expert Board Contributors, is crafted following stringent Editorial Policies. We're committed to providing you with well-researched, expert-backed insights for all your informational needs.


0 thoughts on “How To Add Printer To Google Cloud”