Home>Technology>Smart Home Devices>How To Clean A Printer Cartridge
Smart Home Devices
How To Clean A Printer Cartridge
Modified: October 28, 2024
Learn how to properly clean a printer cartridge to maintain the quality of your smart home devices. Follow these simple steps to keep your printer functioning at its best.
(Many of the links in this article redirect to a specific reviewed product. Your purchase of these products through affiliate links helps to generate commission for Storables.com, at no extra cost. Learn more)
**
Introduction
**
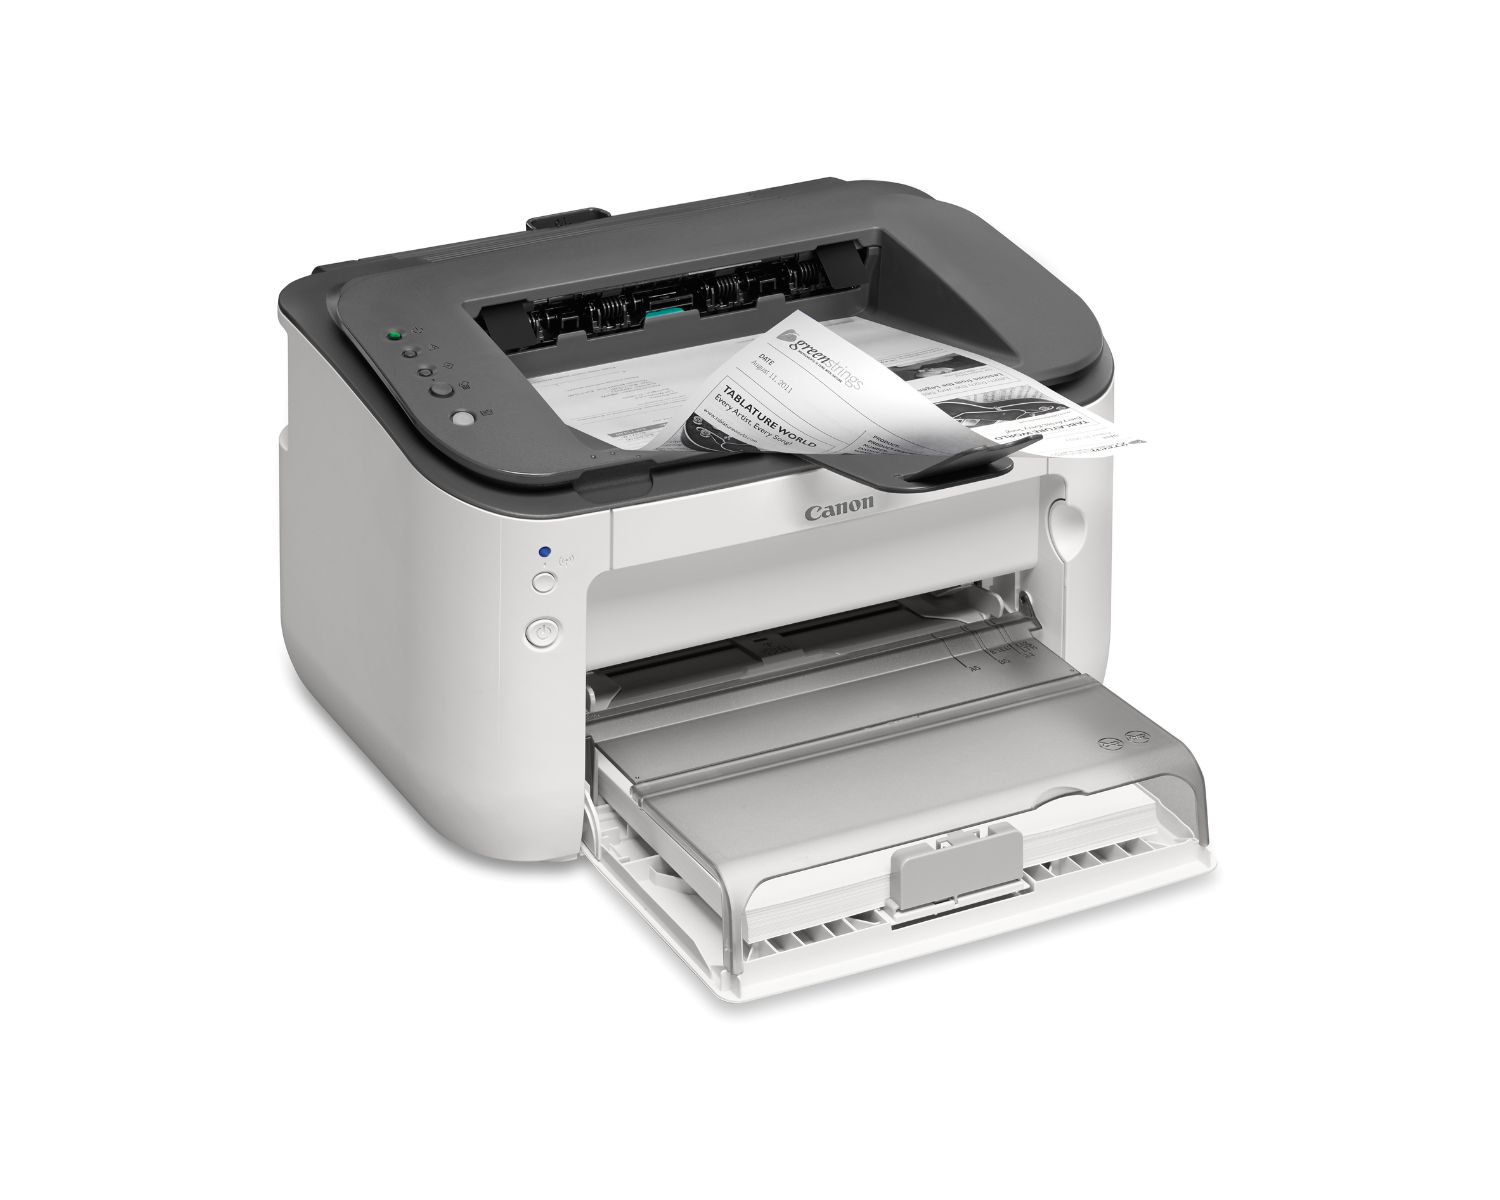
Printers are essential devices in both homes and offices, serving as a bridge between the digital and physical worlds. However, over time, printer cartridges can become clogged or dirty, leading to poor print quality. Fortunately, with the right knowledge and tools, it's possible to clean a printer cartridge and restore its performance.
In this comprehensive guide, we will explore the process of cleaning a printer cartridge, providing step-by-step instructions to help you achieve optimal results. Understanding the inner workings of printer cartridges, preparing for the cleaning process, executing the cleaning procedure, and reassembling the cartridge will all be covered in detail. By the end of this article, you will have the knowledge and confidence to maintain your printer cartridges and ensure high-quality printing output.
Let's delve into the world of printer maintenance and discover the art of cleaning printer cartridges to keep your printing tasks running smoothly.
Key Takeaways:
- Regularly cleaning printer cartridges is crucial for maintaining high-quality print output. Understanding the cartridge’s components, preparing the workspace, and following precise cleaning steps can extend the cartridge’s lifespan and save on replacement costs.
- By embracing proactive cartridge maintenance, you can ensure consistent, professional-quality prints. Following the manufacturer’s guidelines, conducting thorough testing, and integrating regular maintenance routines contribute to efficient and long-lasting printing equipment.
Read more: How To Change Printer Cartridge
Understanding Printer Cartridges
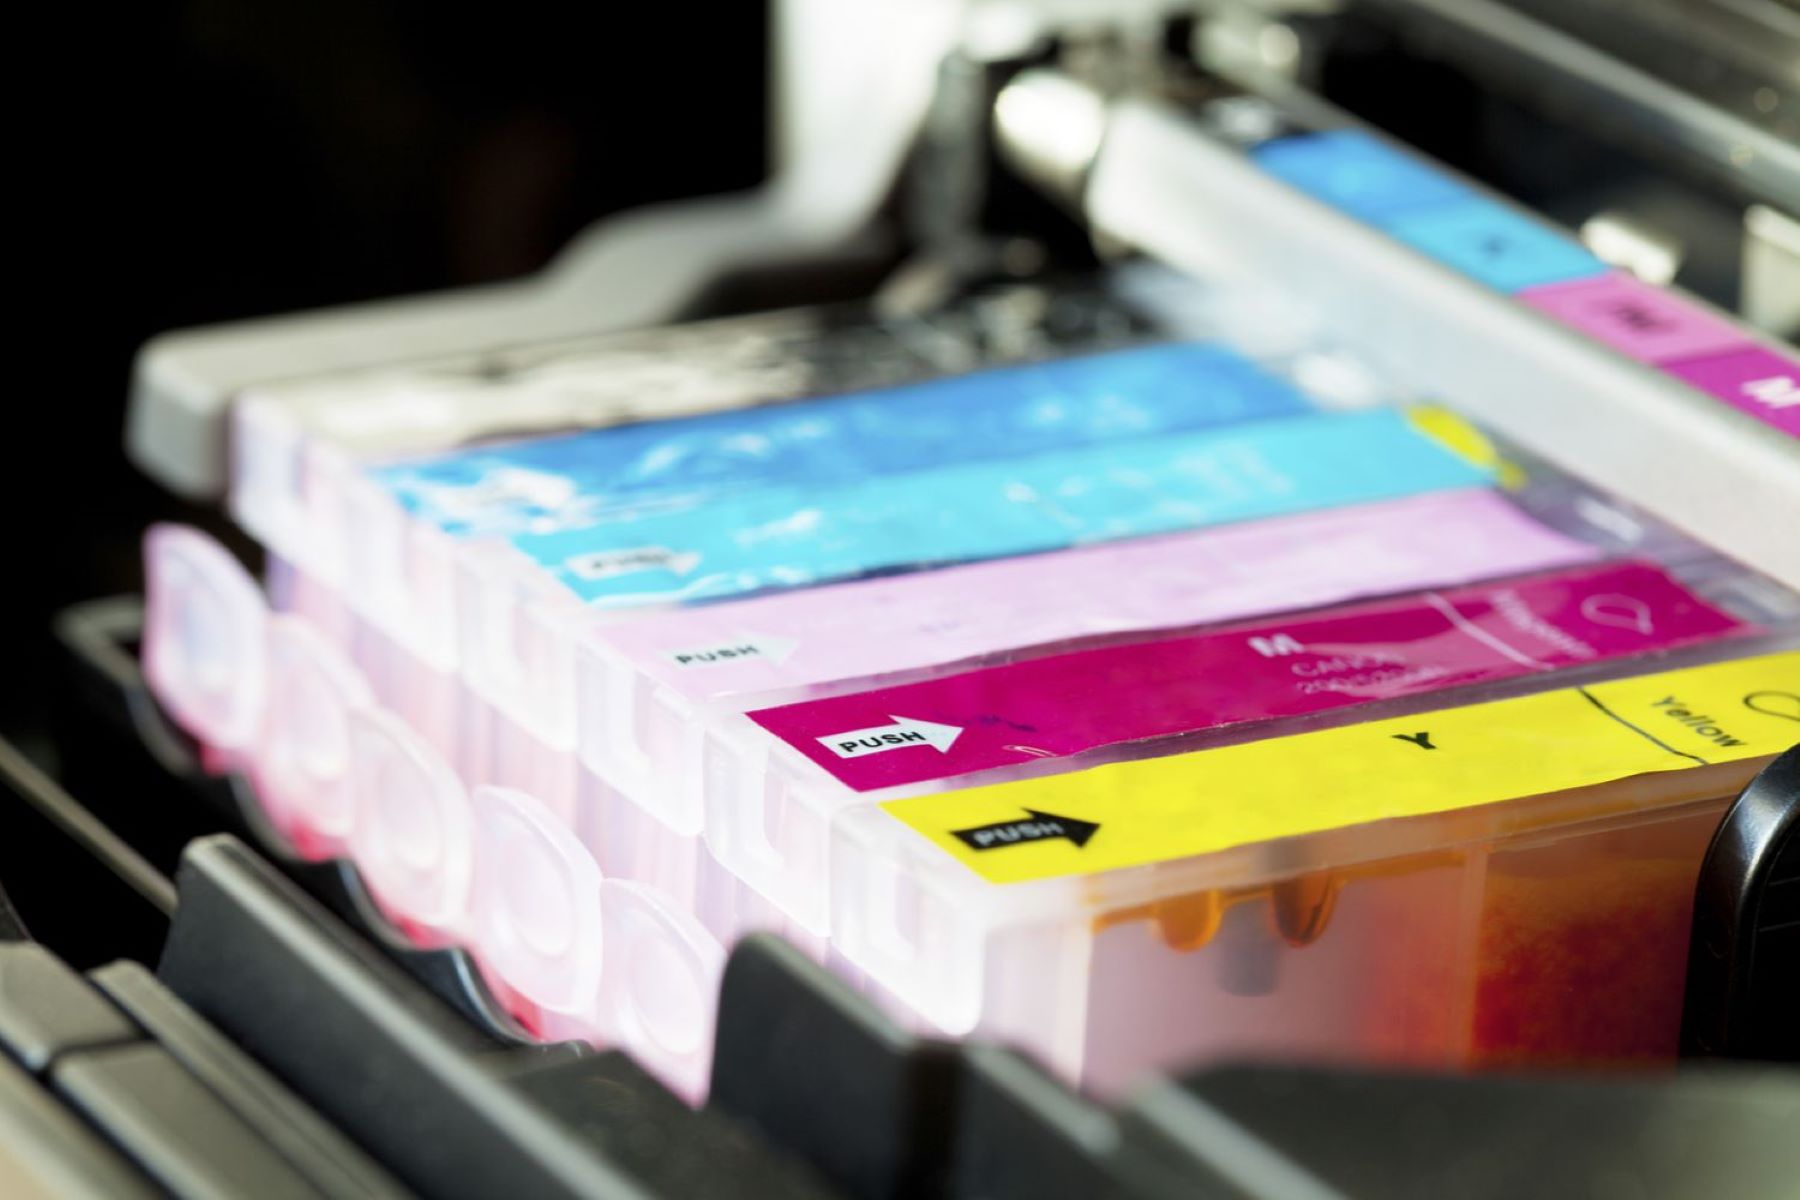
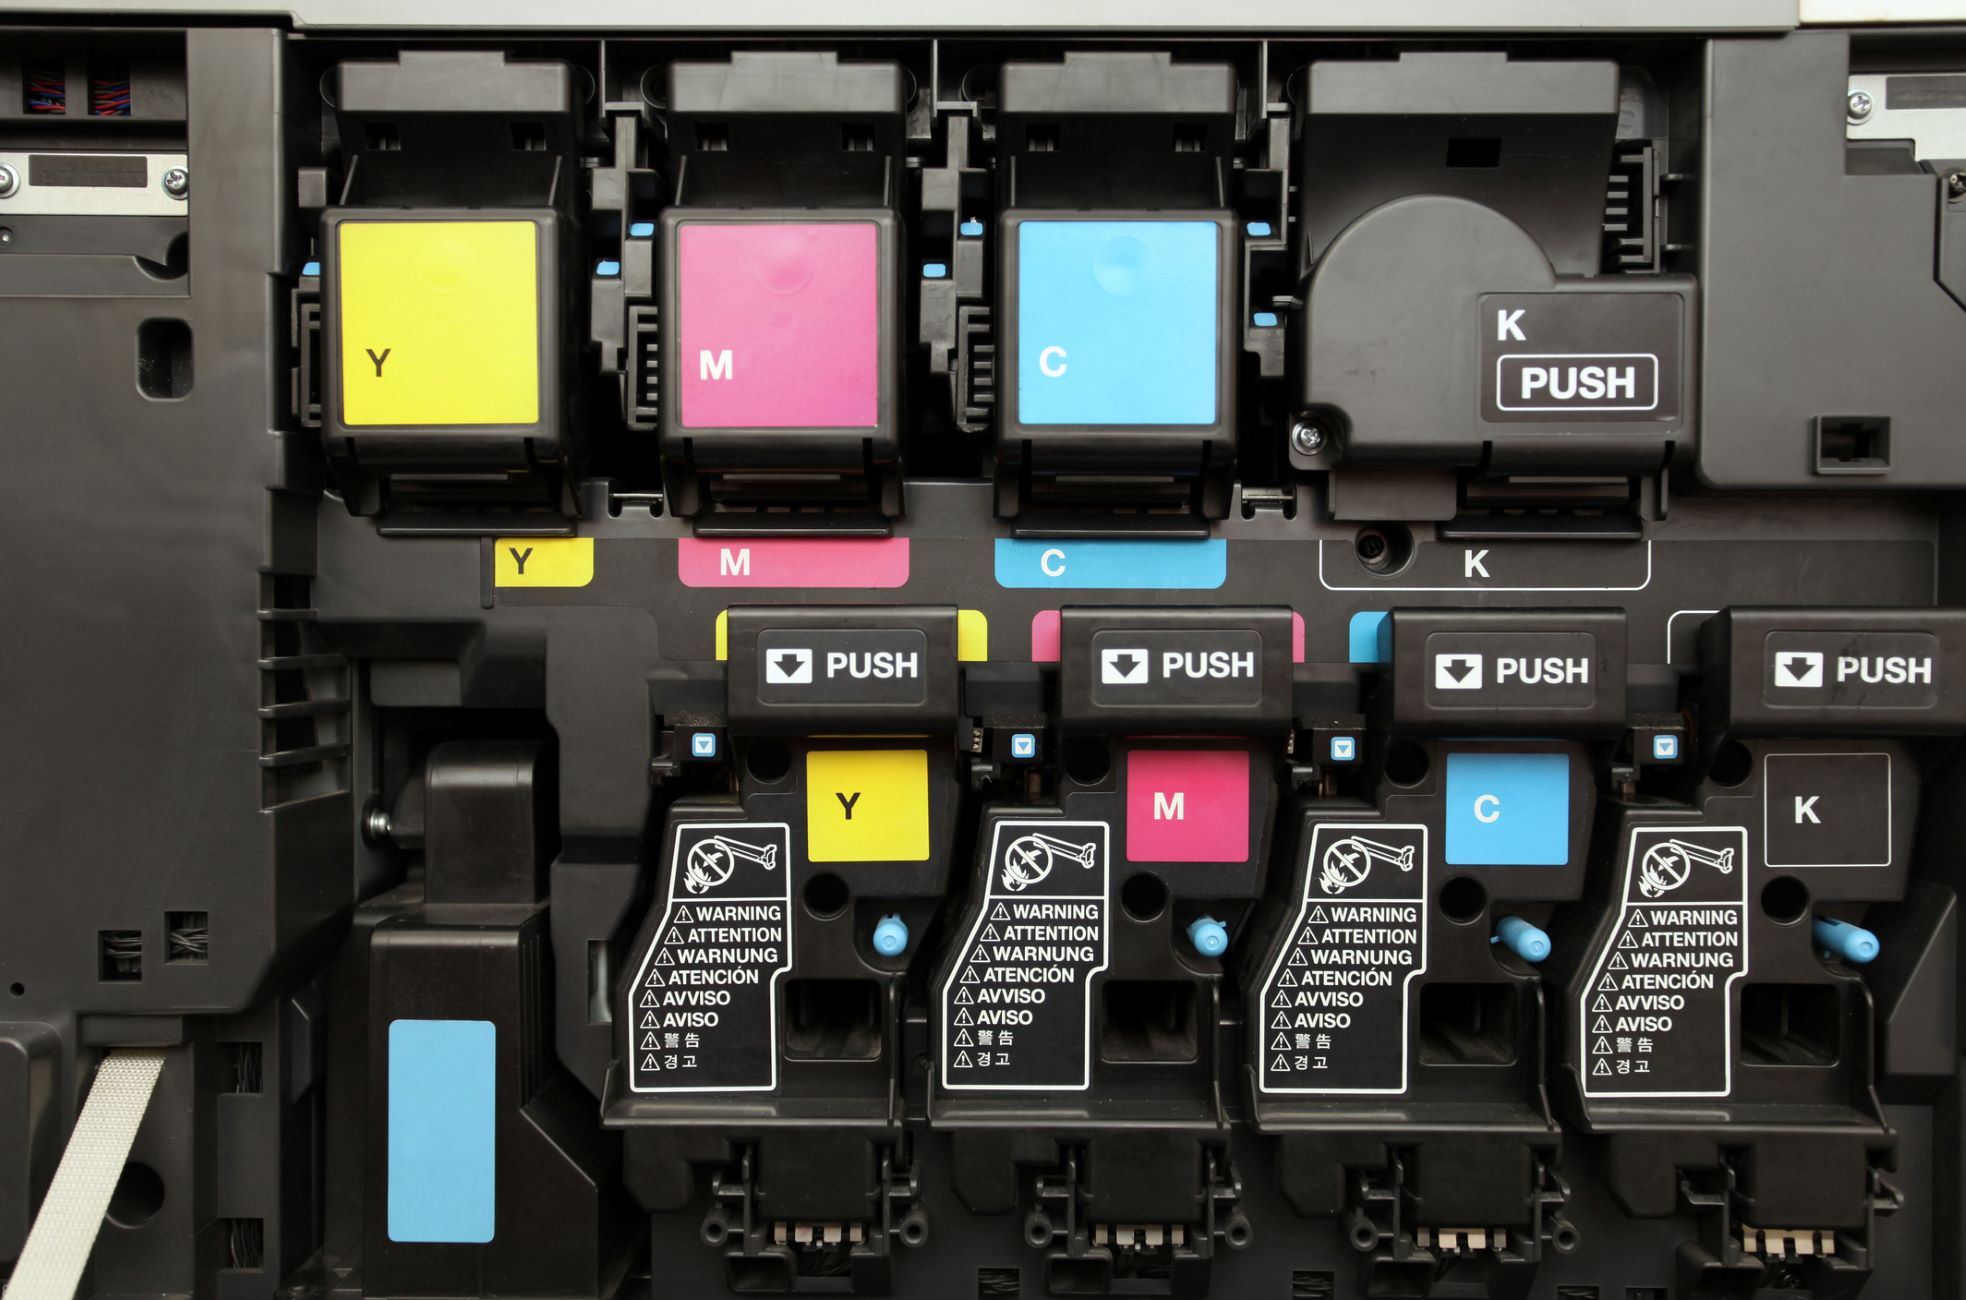
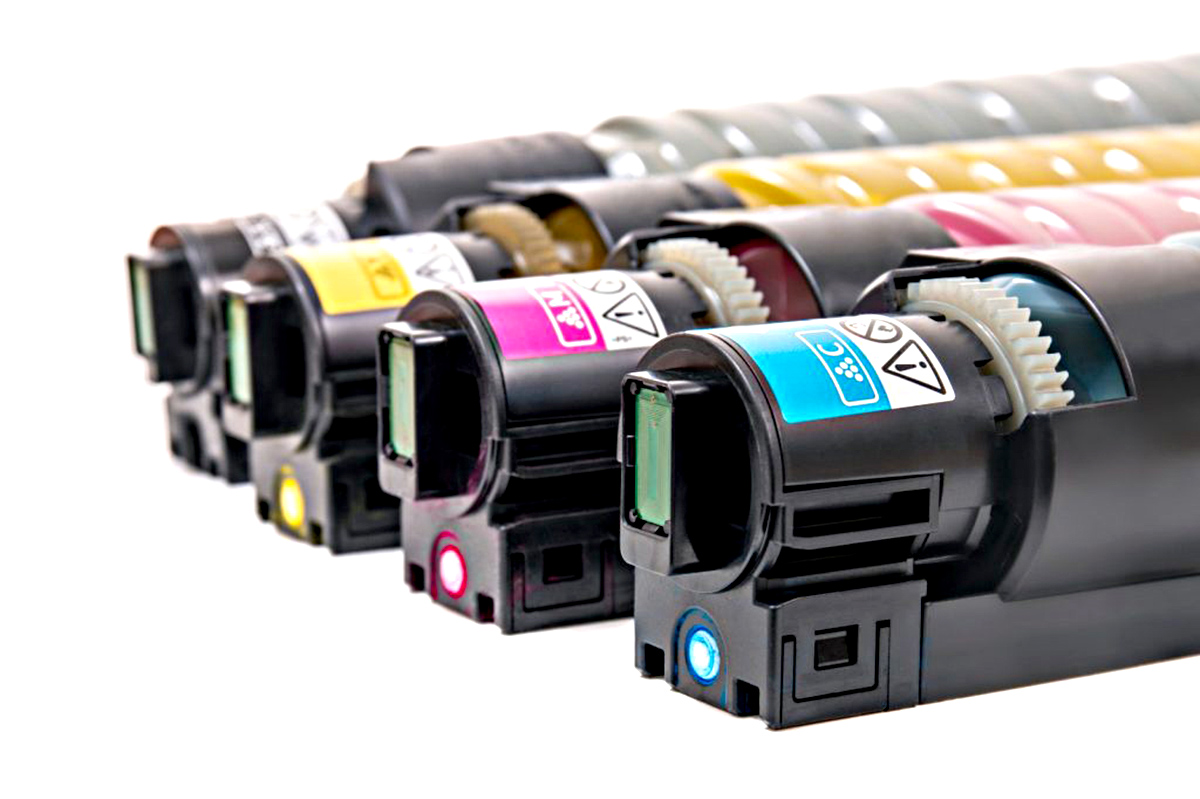
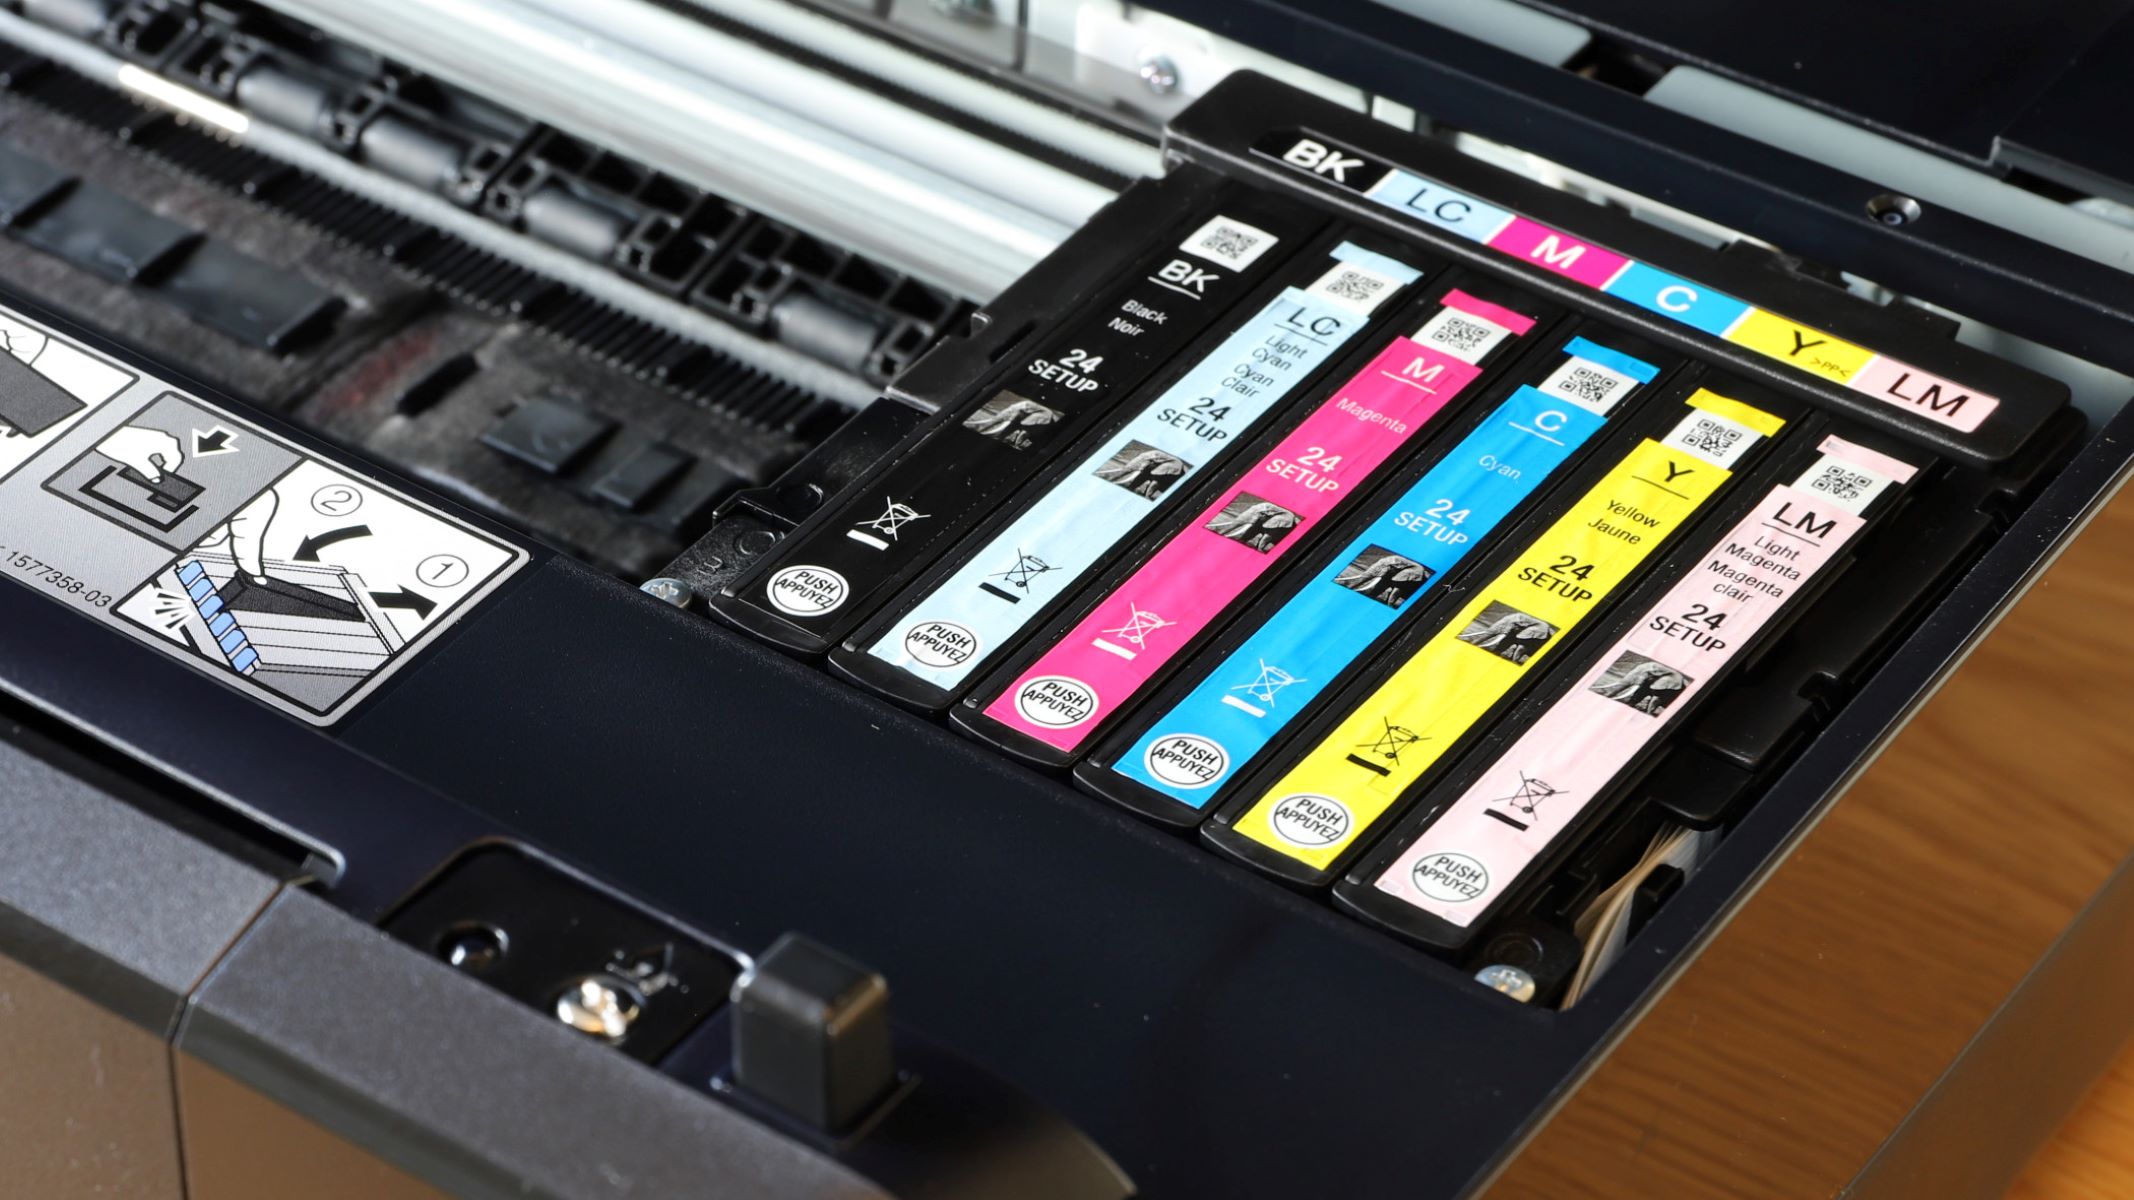
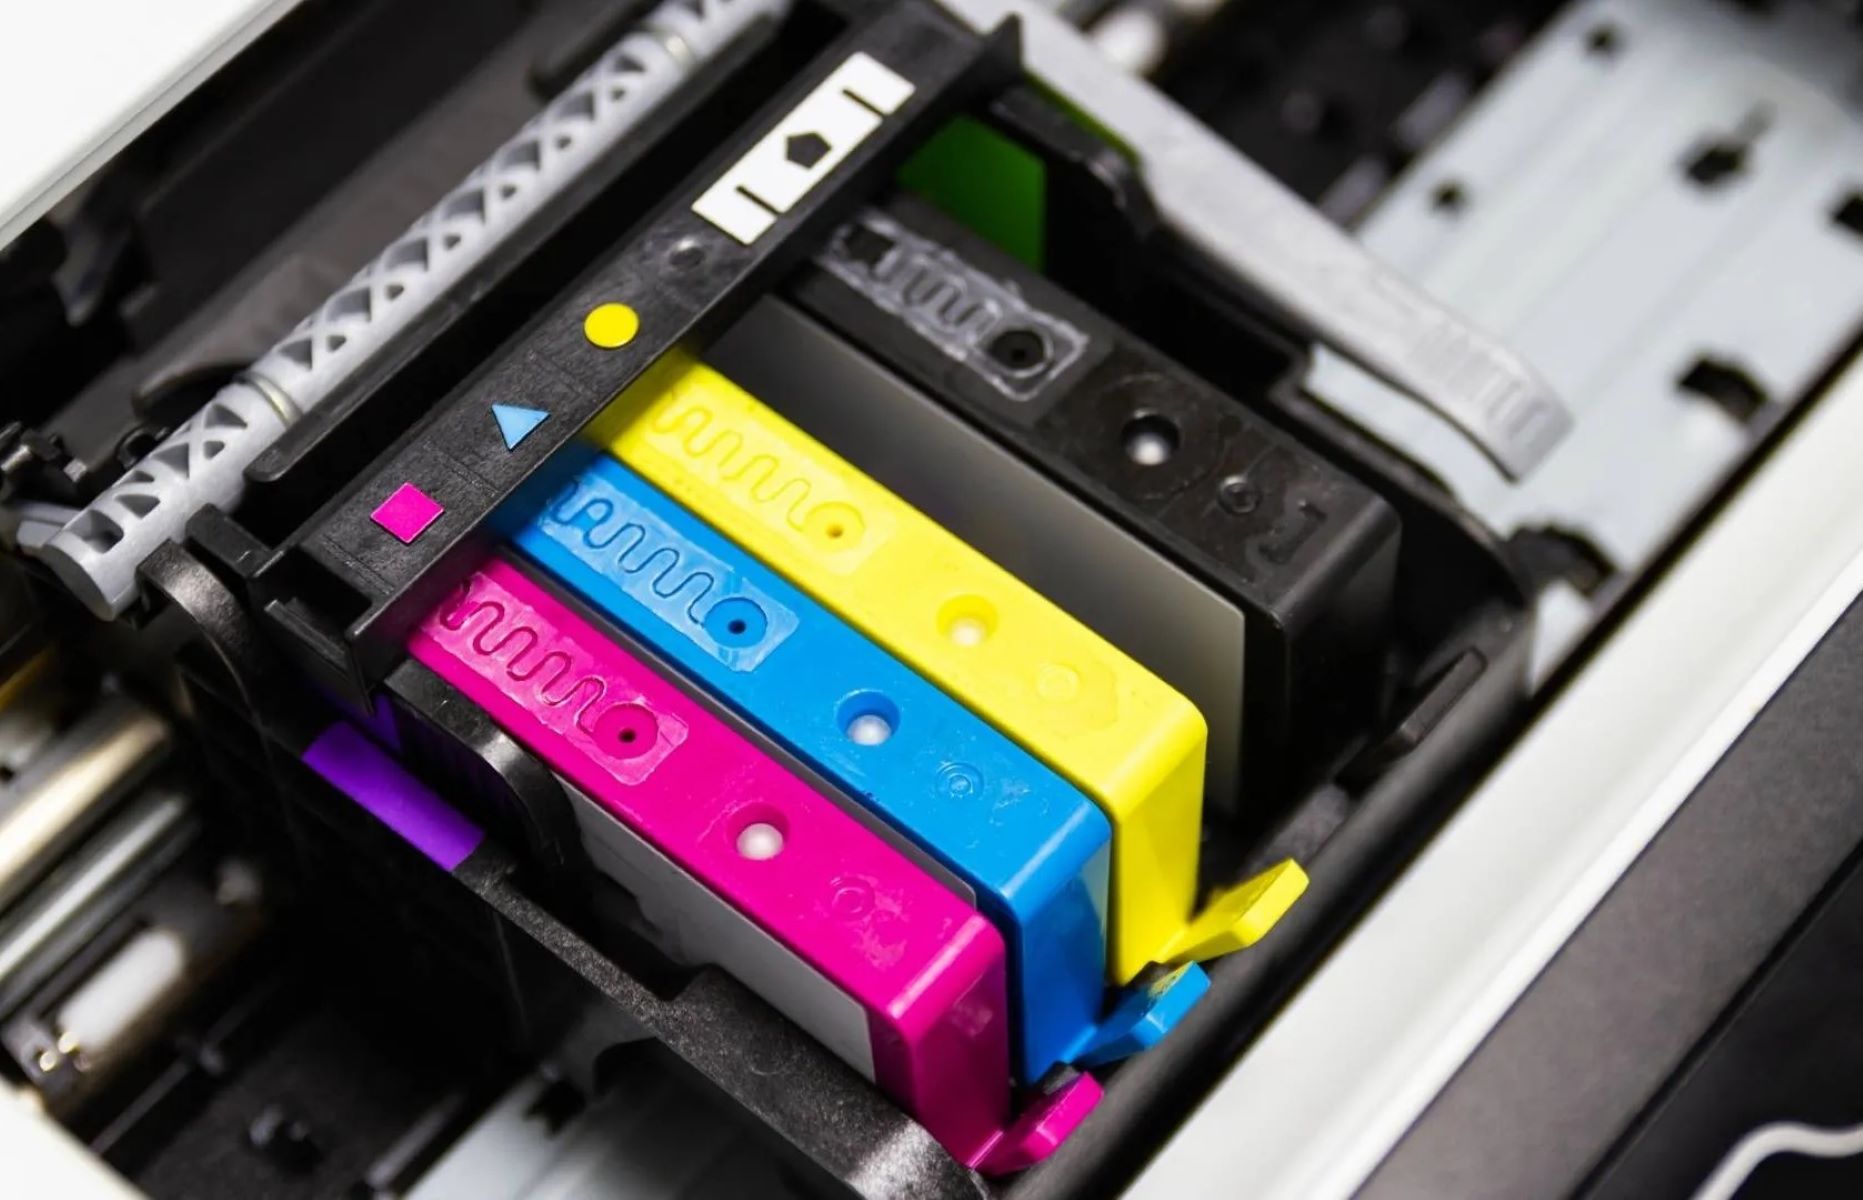
Printer cartridges are integral components of inkjet and laser printers, responsible for delivering ink or toner onto paper during the printing process. Inkjet printers typically utilize liquid ink cartridges, while laser printers use toner cartridges containing powdered toner. Both types of cartridges consist of various components, including the printhead, nozzles, and ink or toner reservoirs.
The printhead is a crucial element of inkjet cartridges, as it contains tiny nozzles that eject microscopic droplets of ink onto the paper. In contrast, laser printer cartridges feature a drum unit, toner hopper, and developer roller to transfer toner onto the paper and fuse it using heat.
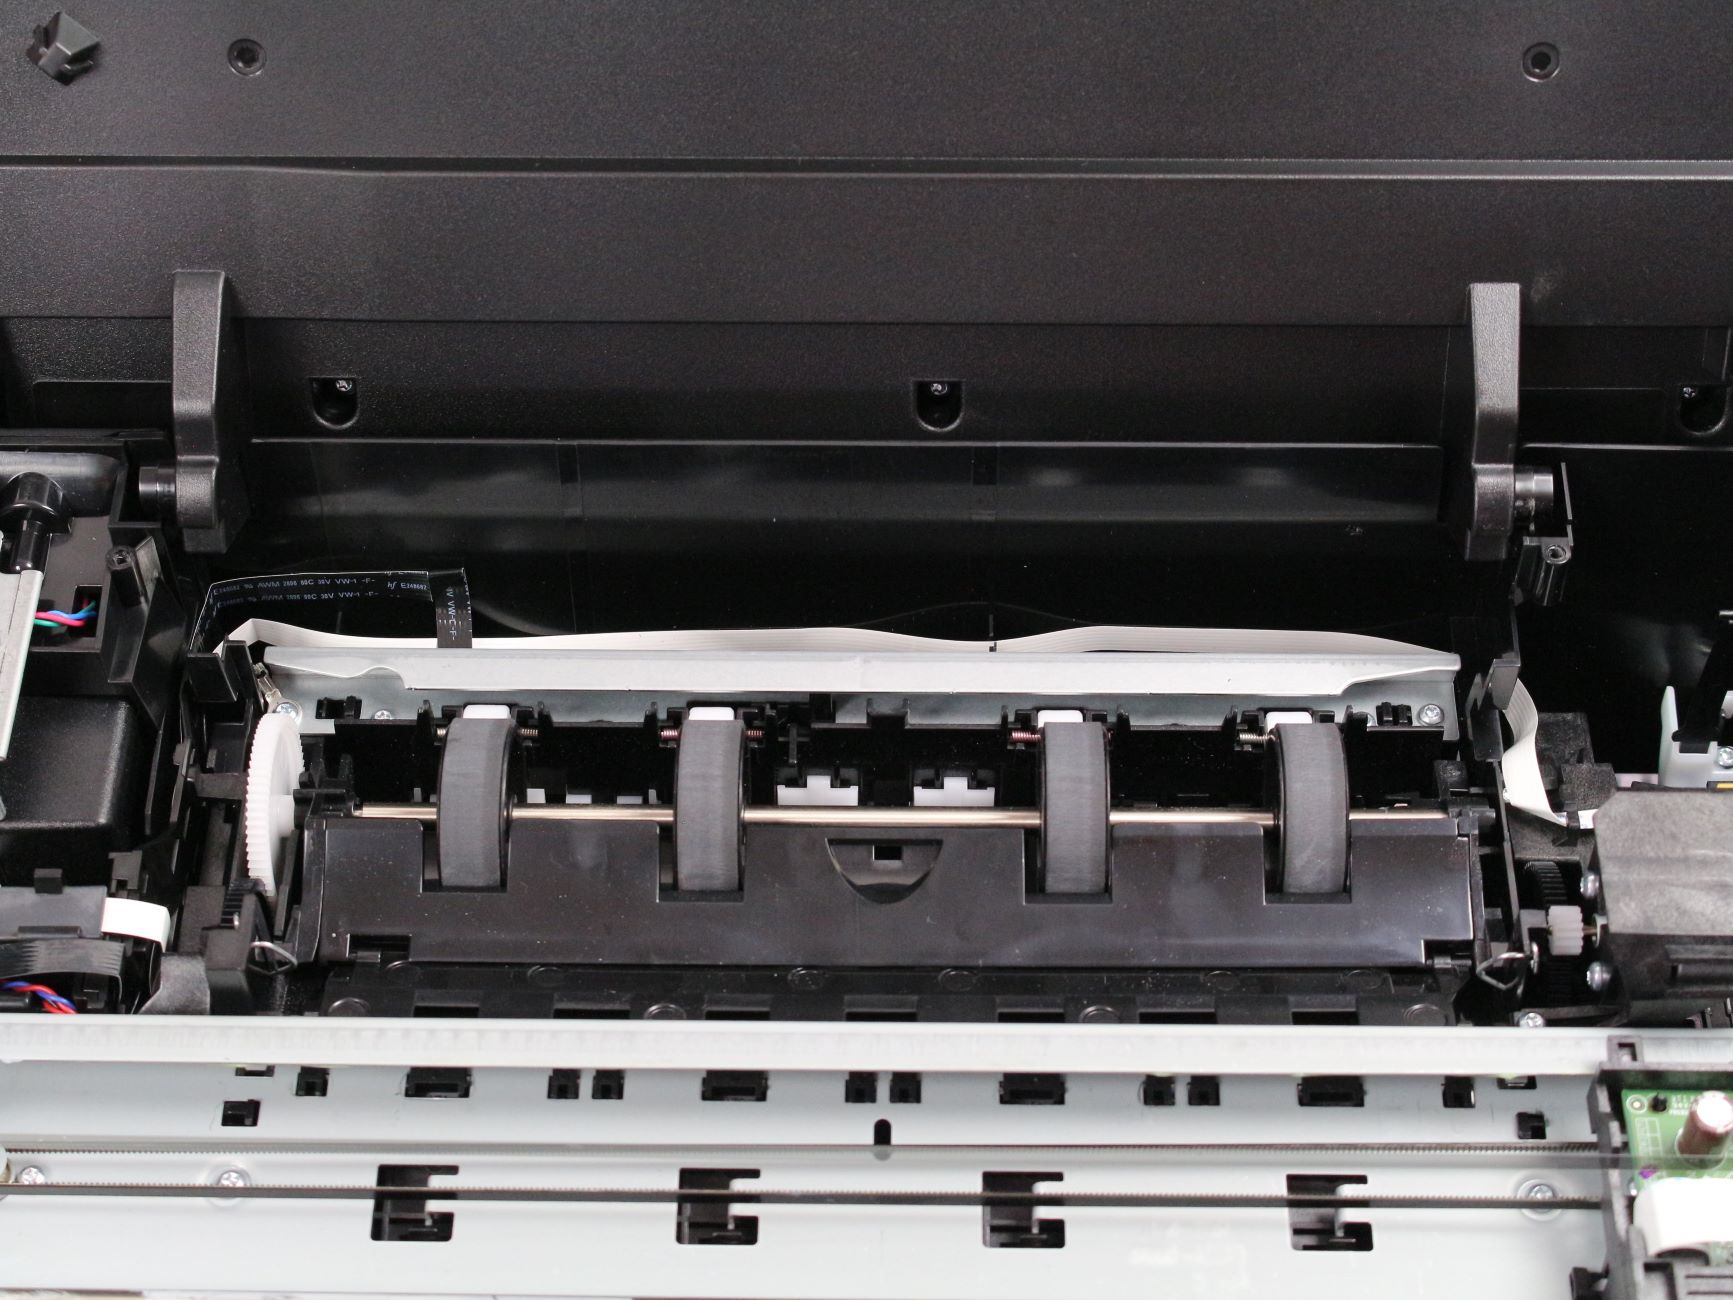
Understanding the anatomy of printer cartridges is essential for effective cleaning. A clogged printhead or toner buildup can lead to streaks, smudges, or faded prints, indicating the need for cleaning. By familiarizing yourself with the internal structure of printer cartridges, you can identify potential issues and take appropriate measures to maintain optimal printing performance.
Moreover, different printer models may have distinct cartridge designs and cleaning requirements. Some cartridges may have integrated printheads, while others may feature separate printheads that require specific cleaning techniques. It’s essential to consult the printer manual or manufacturer’s guidelines to ensure that the cleaning process aligns with the cartridge’s specifications.
As we embark on the journey of cleaning printer cartridges, it’s essential to grasp the intricate mechanisms within these vital printing components. With this knowledge in hand, we can proceed to the next phase: preparing for the cleaning process.
**
Preparing for Cleaning
**
Before initiating the cleaning process, it’s crucial to gather the necessary supplies and create a suitable workspace. Here are the essential steps to prepare for cleaning your printer cartridge:
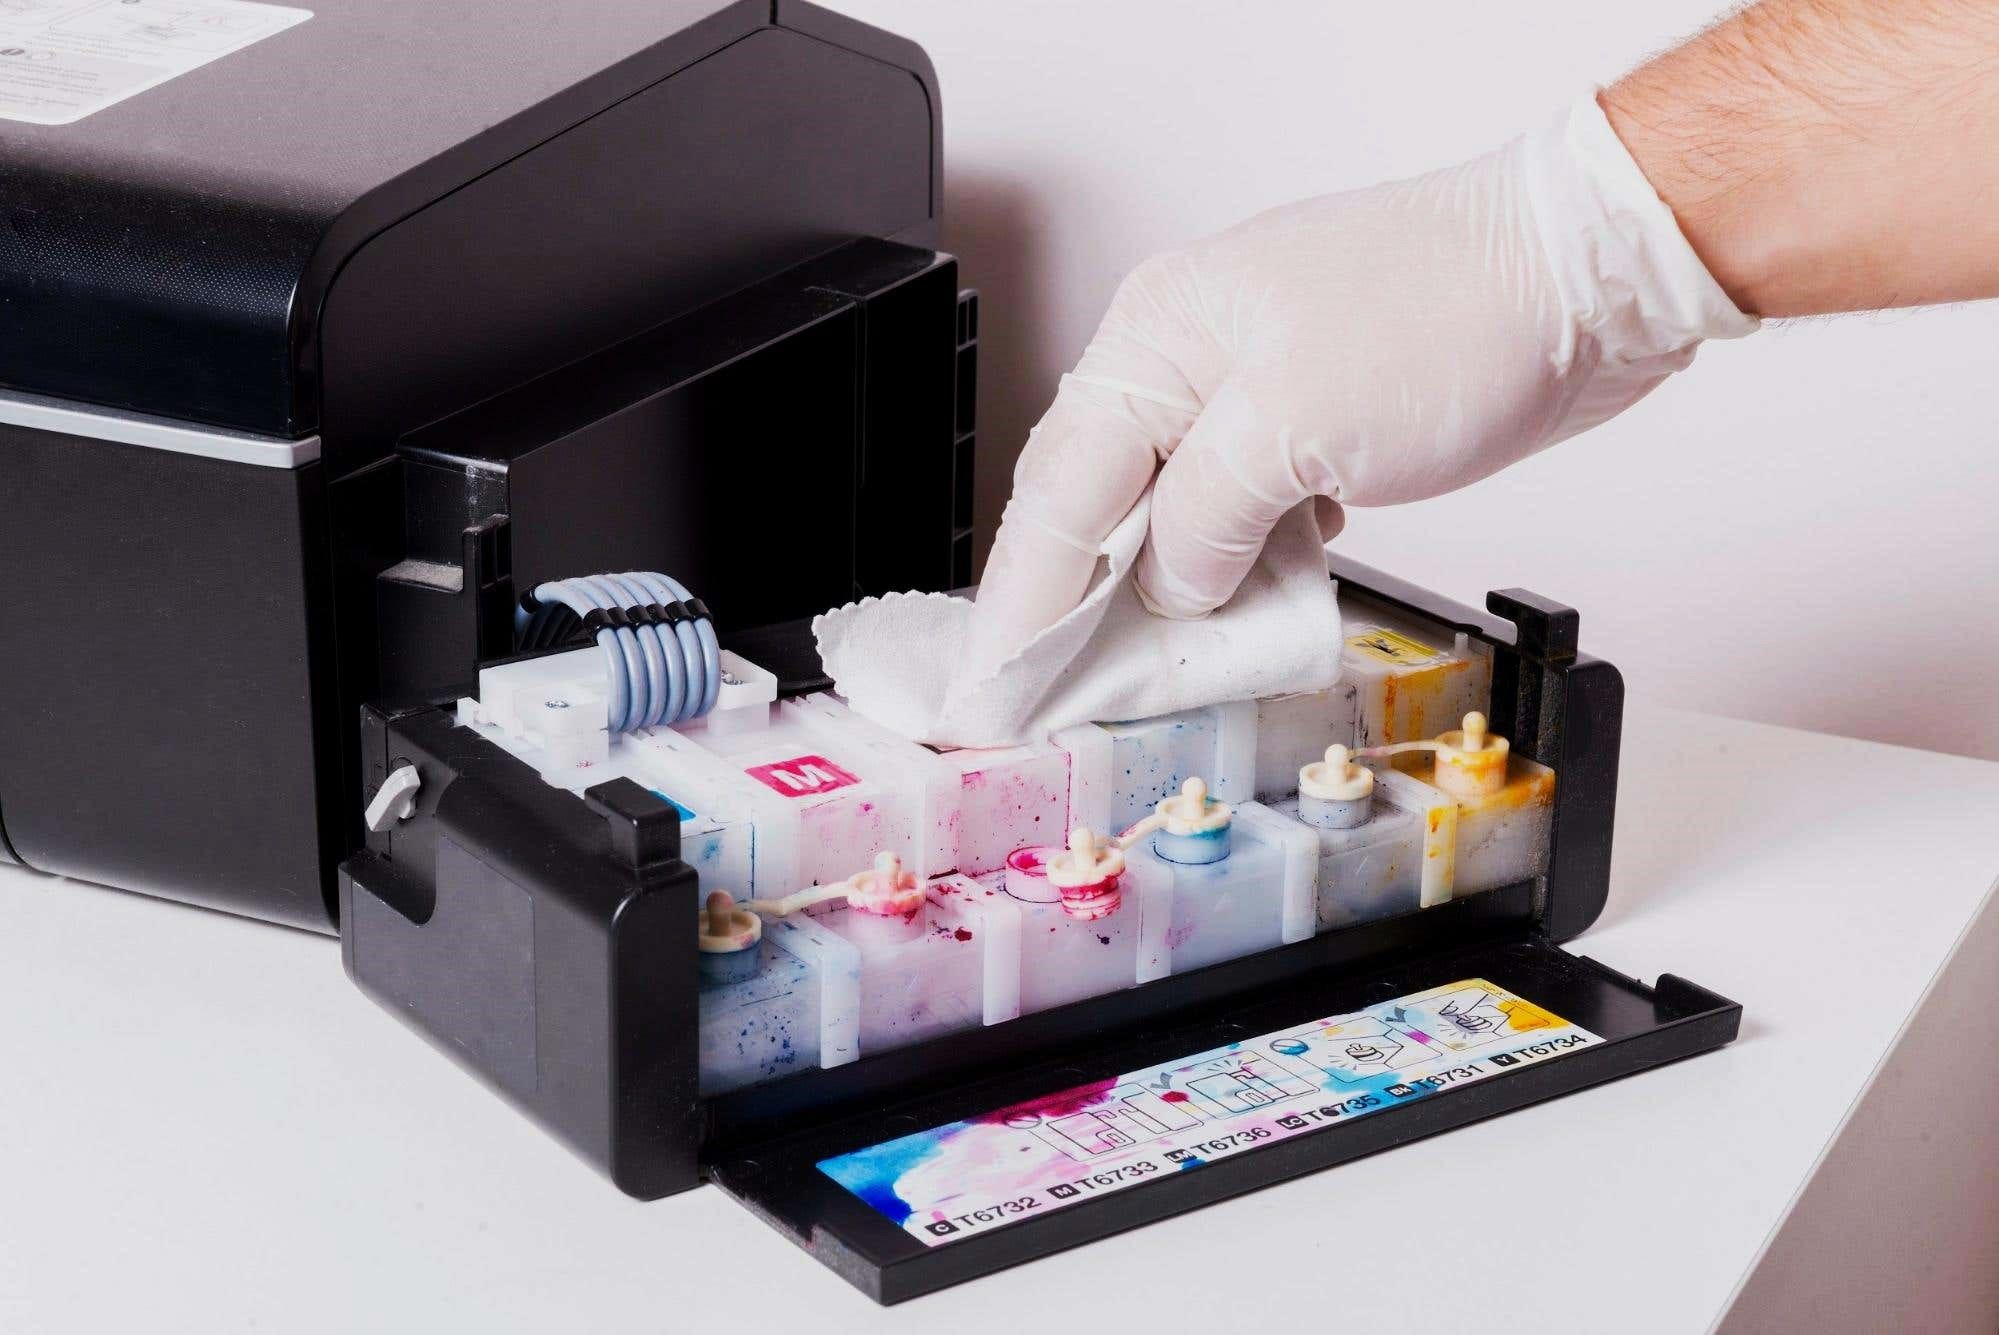
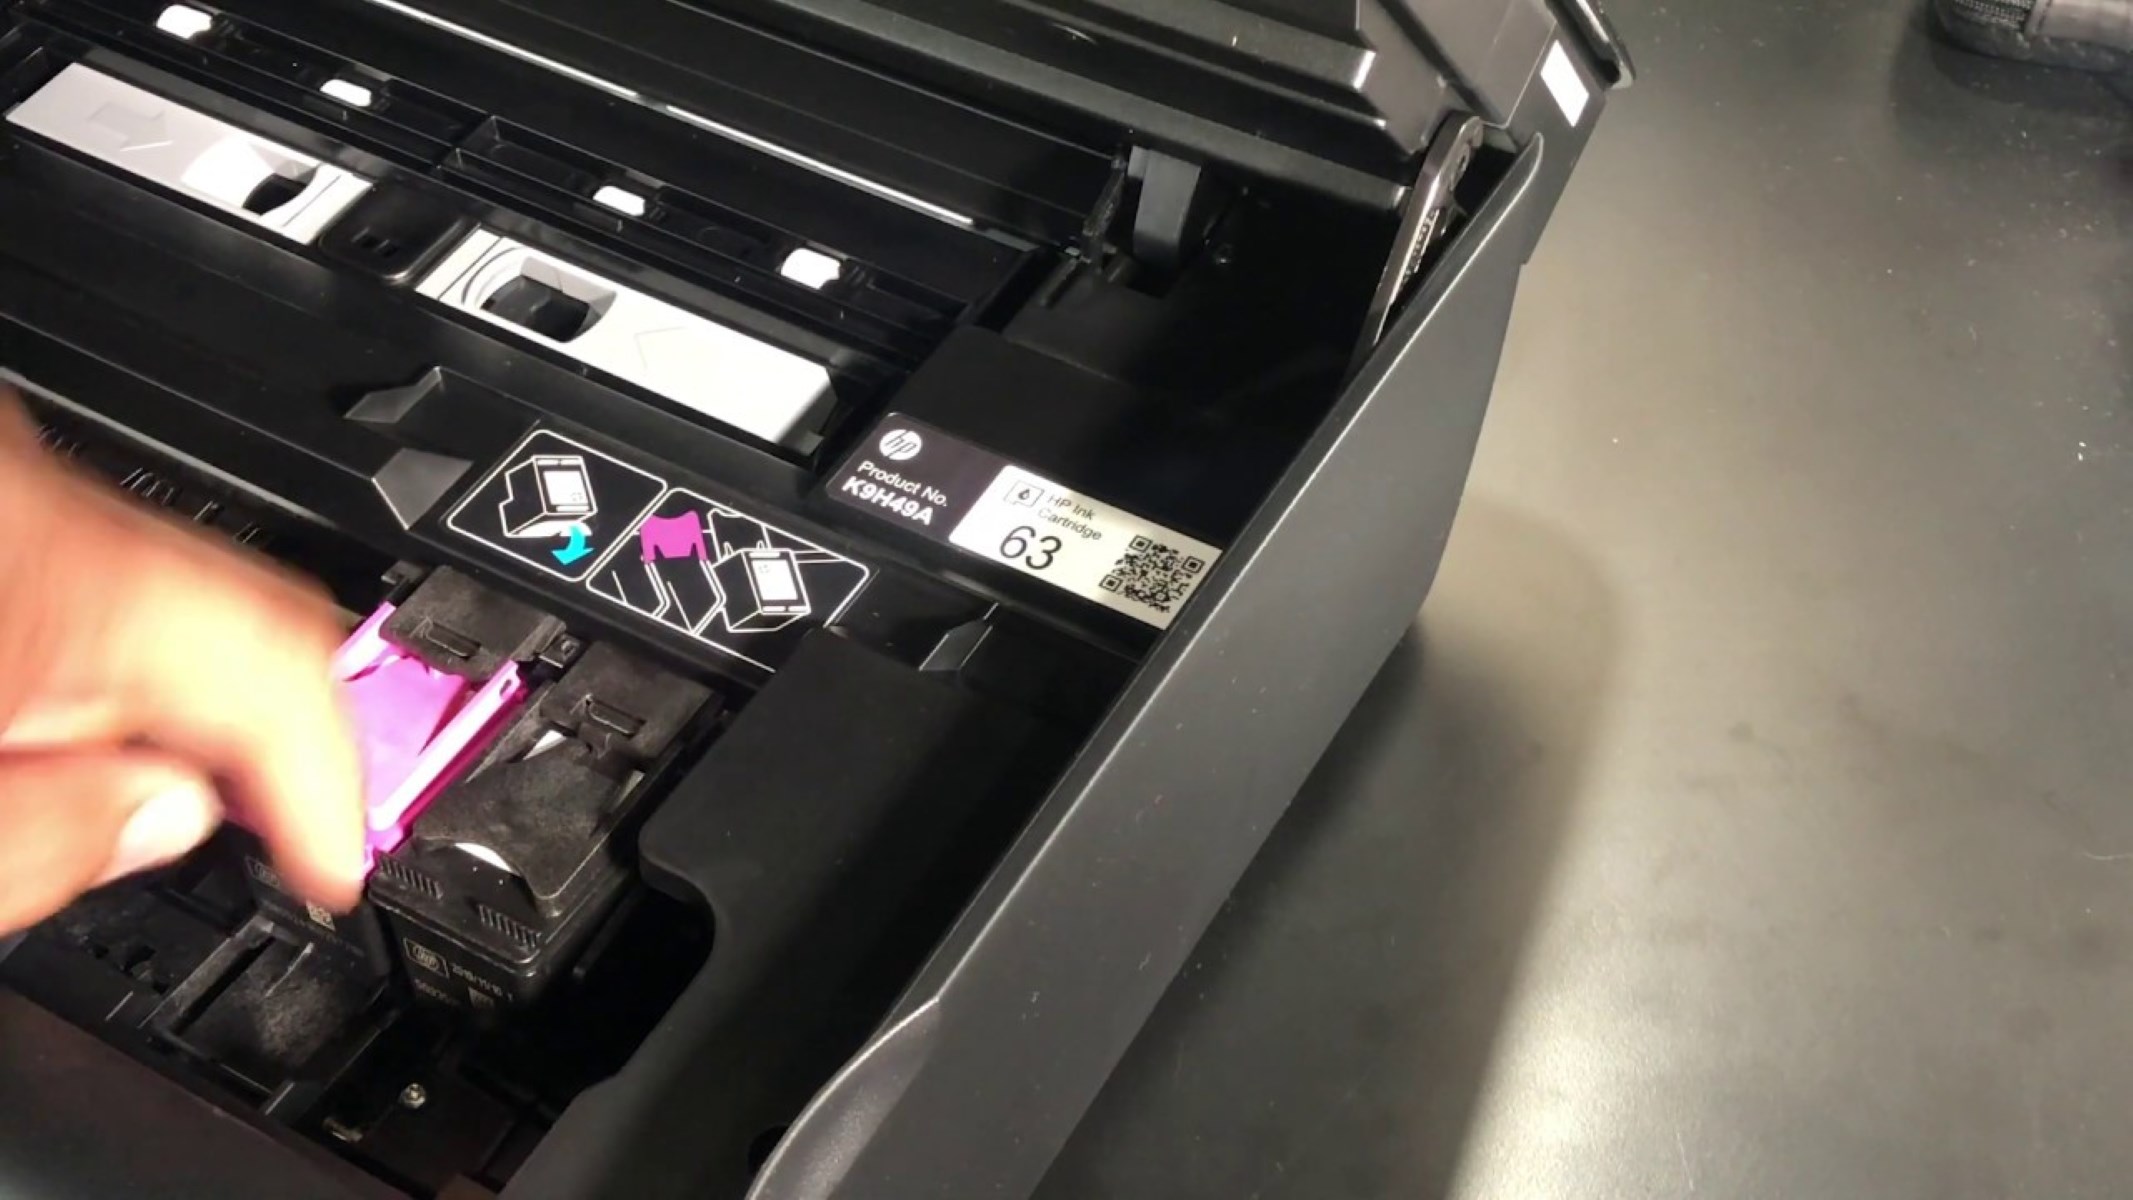
Inspecting the Cartridge: Begin by removing the printer cartridge from the printer and conducting a visual inspection. Look for signs of ink or toner buildup, clogging, or any visible debris that may be affecting the cartridge's performance. This initial assessment will help determine the extent of cleaning required.
Gathering Cleaning Supplies: Prepare a cleaning kit comprising lint-free cloths, distilled water, cotton swabs, and isopropyl alcohol. These materials are instrumental in delicately removing ink or toner residues without causing damage to the cartridge components.
Protective Measures: To prevent any potential mess or damage to your surroundings, lay down a protective covering on your workspace. This could be a disposable mat or a few layers of paper towels to absorb any spilled ink or cleaning solutions.
Referencing the Printer Manual: Consult the printer manual or manufacturer's guidelines for specific instructions on removing and handling the printer cartridge. Different printer models may have unique cartridge removal procedures, and it's essential to follow the recommended steps to avoid causing any damage.
Safety Precautions: When handling ink or toner cartridges, it's advisable to wear disposable gloves to protect your skin from direct contact with the substances. Additionally, work in a well-ventilated area to minimize inhalation of any fumes from cleaning solutions.
Organizing the Workspace: Set up a well-lit and organized workspace with ample room to maneuver while cleaning the cartridge. Ensure that all the required supplies are within reach, and any electronic devices or sensitive materials are safely positioned away from the cleaning area.
By meticulously preparing for the cleaning process, you can streamline the procedure and minimize the risk of potential mishaps. With the necessary supplies at your disposal and a clear understanding of the cartridge's condition, you are now ready to embark on the next phase: executing the cleaning procedure.
**
To clean a printer cartridge, remove it from the printer and gently wipe the nozzles with a lint-free cloth dampened with water or isopropyl alcohol. Be careful not to touch the contacts or nozzles with your fingers.
Cleaning the Printer Cartridge
**
As you embark on the cleaning process, it’s essential to approach it with precision and patience to ensure effective results. Here’s a comprehensive guide to cleaning your printer cartridge:
Step 1: Printhead Inspection: If you’re dealing with an inkjet printer cartridge, start by examining the printhead for any visible clogs or dried ink. Some cartridges have integrated printheads, while others feature separate printheads that can be accessed for cleaning. Refer to the printer manual for specific instructions on accessing the printhead.
Step 2: Initial Cleaning: Dampen a lint-free cloth with distilled water and gently wipe the printhead to remove any surface residue. Avoid using tap water, as it may contain minerals that could further clog the printhead. This preliminary cleaning helps dislodge any loose ink or debris.
Step 3: Targeted Cleaning: For stubborn clogs or dried ink, use a cotton swab lightly moistened with isopropyl alcohol to carefully clean the printhead nozzles. Ensure that the swab is not overly saturated to prevent excess liquid from entering the cartridge. Perform gentle, circular motions to dislodge any hardened ink particles.
Step 4: Toner Cartridge Cleaning: If you’re dealing with a laser printer toner cartridge, avoid direct contact with the toner powder, as it can be hazardous if inhaled or ingested. Use a dry, lint-free cloth to gently wipe the exterior of the cartridge and remove any toner residue. Refrain from using liquid cleaners on toner cartridges, as they can cause toner to clump and create further complications.
Step 5: Printhead Reassembly: Once the printhead cleaning is complete, allow any residual moisture to evaporate before reassembling the cartridge. It’s crucial to ensure that the cartridge is completely dry to prevent any damage to the printer or printhead during reinstallation.
Step 6: Test Printing: After reinserting the cleaned cartridge into the printer, perform a test print to assess the quality of the output. Print a few test pages to verify that the cleaning process has effectively resolved any print quality issues. If necessary, perform additional cleaning or maintenance based on the test results.
By meticulously following these steps, you can effectively clean your printer cartridge and restore its functionality. However, if the print quality issues persist despite cleaning attempts, it may be indicative of a more complex problem requiring professional assistance or cartridge replacement.
With the cartridge cleaning process completed, it’s time to reassemble the cartridge and test its performance to ensure optimal printing results.
**
Reassembling and Testing the Cartridge
**
After successfully cleaning the printer cartridge, the next crucial steps involve reassembling the cartridge and conducting thorough testing to ensure optimal performance. Here’s a detailed guide to reassembling and testing your printer cartridge:
Step 1: Drying Period: Before reassembling the cartridge, allow sufficient time for any residual moisture from the cleaning process to evaporate completely. Ensuring that the cartridge is dry is essential to prevent potential damage to the printer and maintain the integrity of the print output.
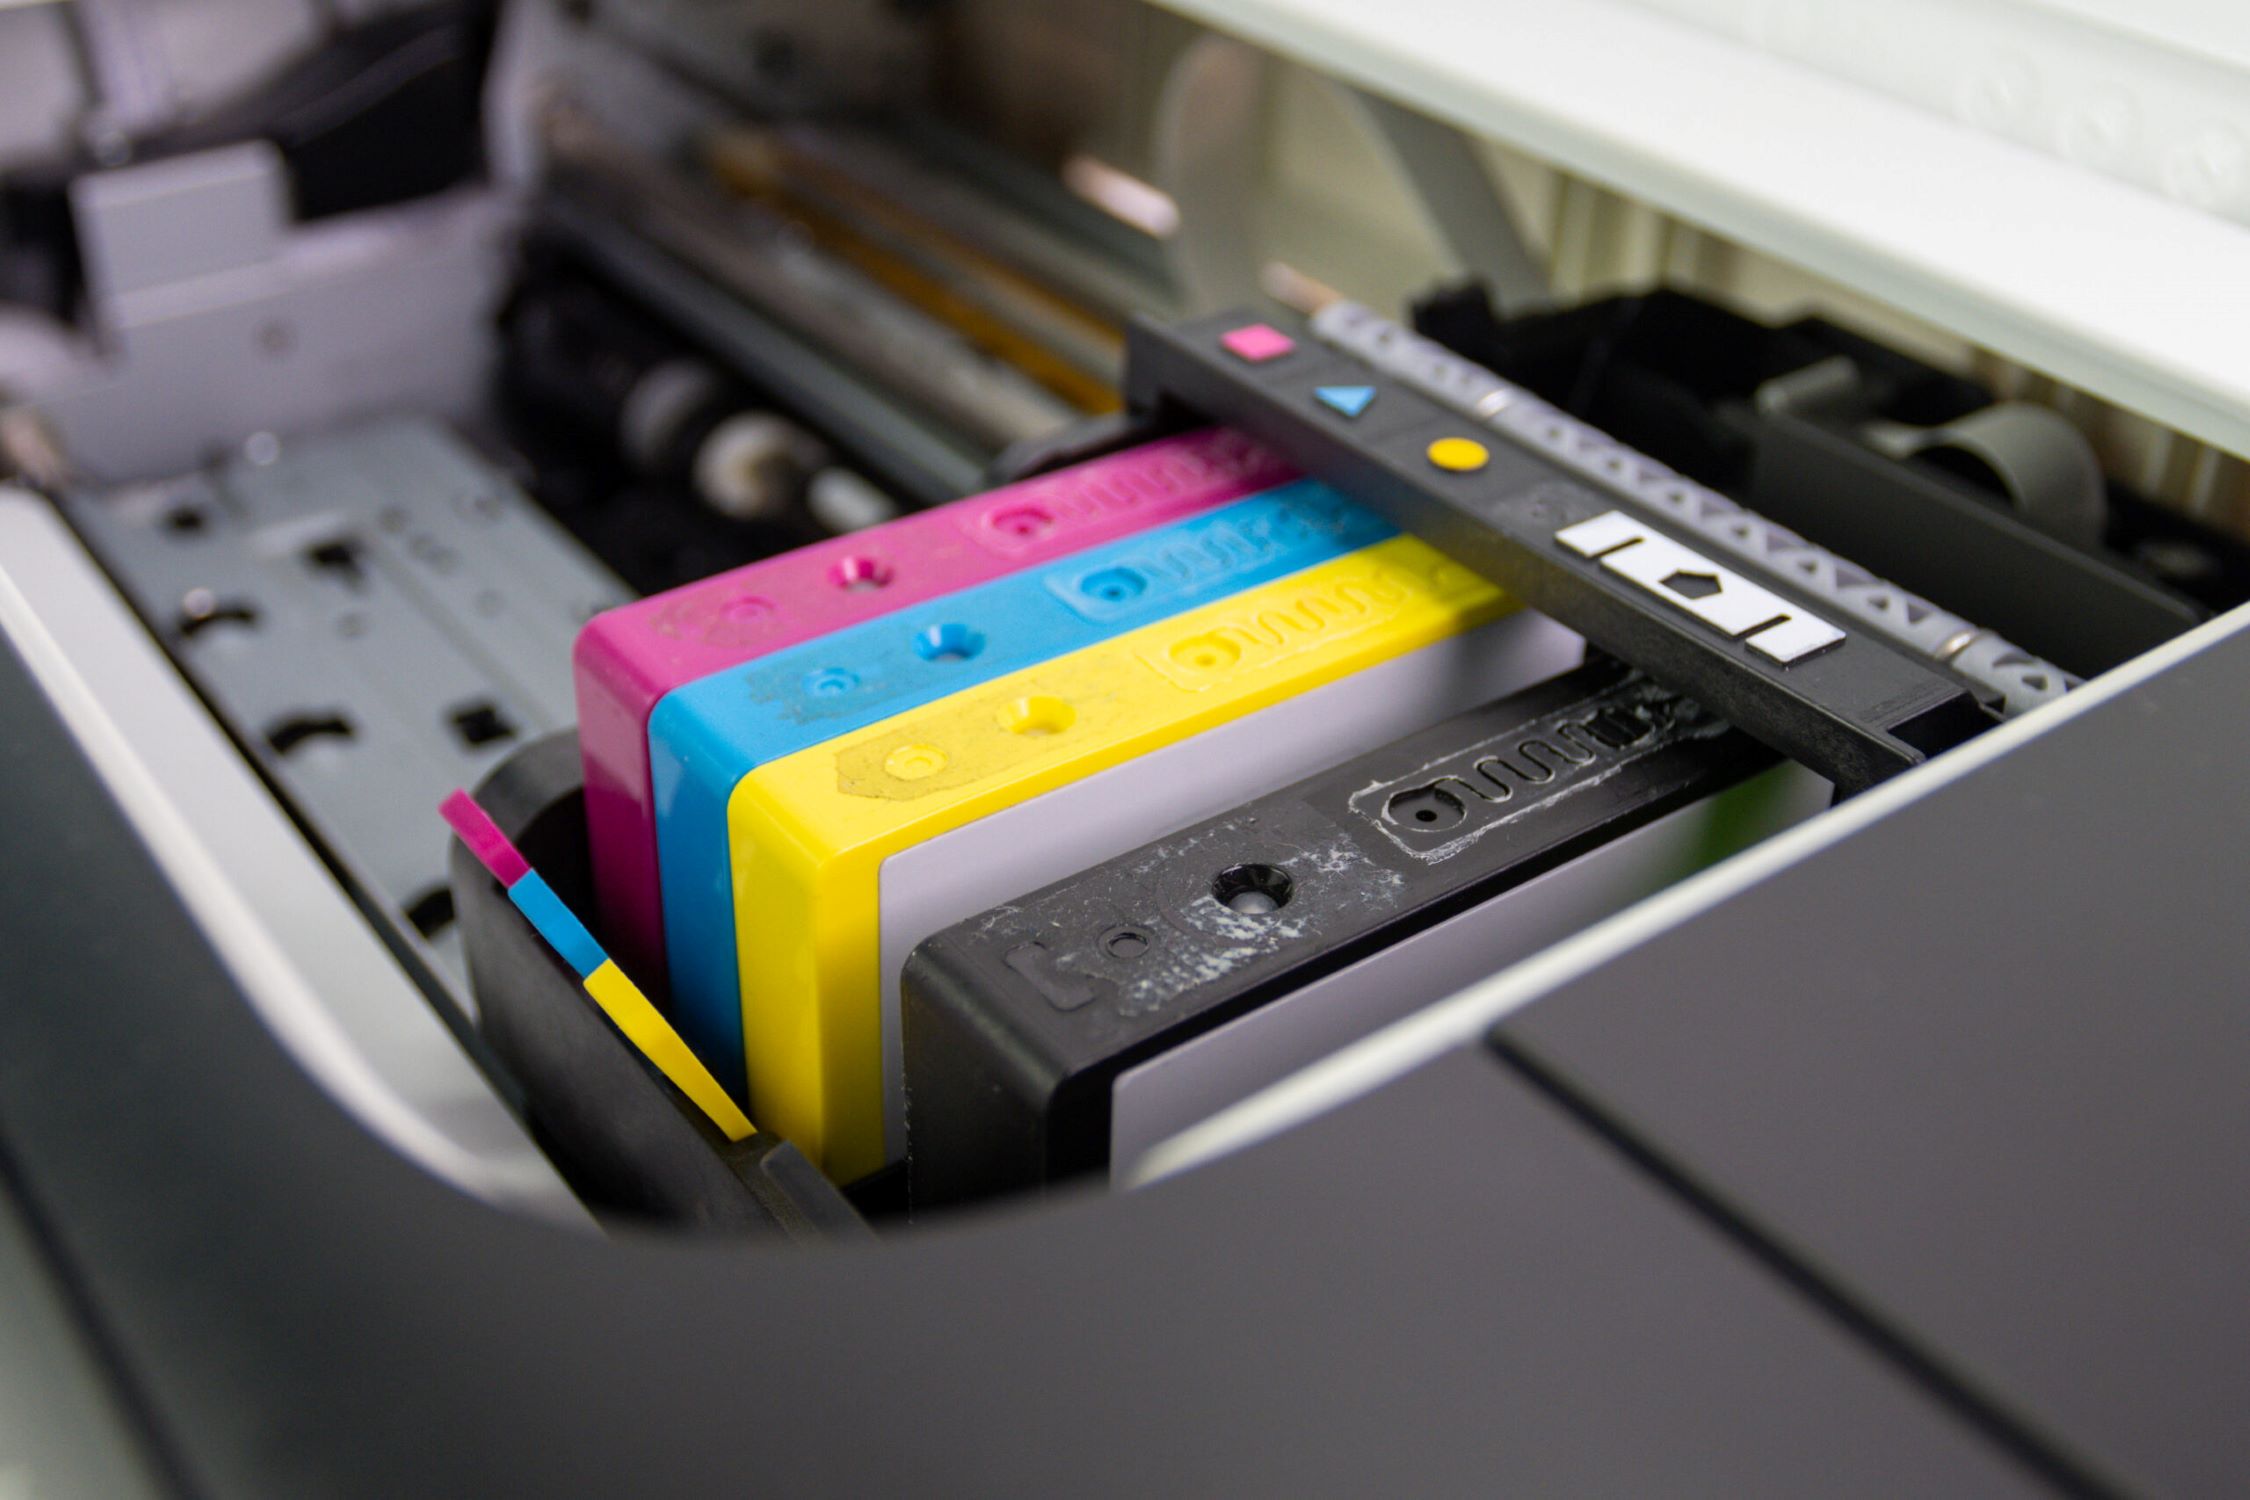
Step 2: Reassembling the Cartridge: Carefully reinstall the cleaned printer cartridge into the printer, following the specific guidelines outlined in the printer manual. Ensure that the cartridge is securely seated and properly aligned within the printer to facilitate smooth printing operations.
Step 3: Alignment and Calibration: Some printers may require cartridge alignment or calibration after reinstallation. Refer to the printer manual for instructions on performing these procedures to optimize print quality and ensure accurate ink or toner distribution.
Step 4: Test Printing: Initiate a series of test prints to evaluate the print quality and overall performance of the cleaned cartridge. Pay close attention to the clarity, color accuracy, and consistency of the printed output. If the test prints exhibit satisfactory results, the cleaning process has likely resolved the previous print quality issues.
Step 5: Ongoing Maintenance: To maintain the cleanliness and functionality of the printer cartridge, consider implementing regular maintenance routines, such as performing nozzle checks for inkjet cartridges or monitoring toner levels for laser printer cartridges. This proactive approach can help identify and address potential issues before they significantly impact print quality.
By diligently following these reassembly and testing procedures, you can ensure that the cleaned printer cartridge is seamlessly integrated into the printing system and capable of delivering high-quality prints. However, if the test prints reveal persistent print quality issues, it may be necessary to revisit the cleaning process or seek professional assistance to address underlying cartridge or printer issues.
With the printer cartridge successfully reassembled and tested, you can now enjoy the confidence of having a well-maintained printing component that contributes to consistently excellent print output. As we conclude this comprehensive guide, let’s reflect on the significance of regular printer cartridge maintenance and the impact it has on overall printing efficiency.
**
Read more: How To Extend Printer Ink Cartridges
Conclusion
**
Maintaining the cleanliness and functionality of printer cartridges is a fundamental aspect of ensuring optimal print quality and prolonging the lifespan of printing equipment. By understanding the internal mechanisms of printer cartridges, preparing for the cleaning process, executing the cleaning procedure with precision, and conducting thorough testing, you can effectively preserve the performance of your printer cartridges.
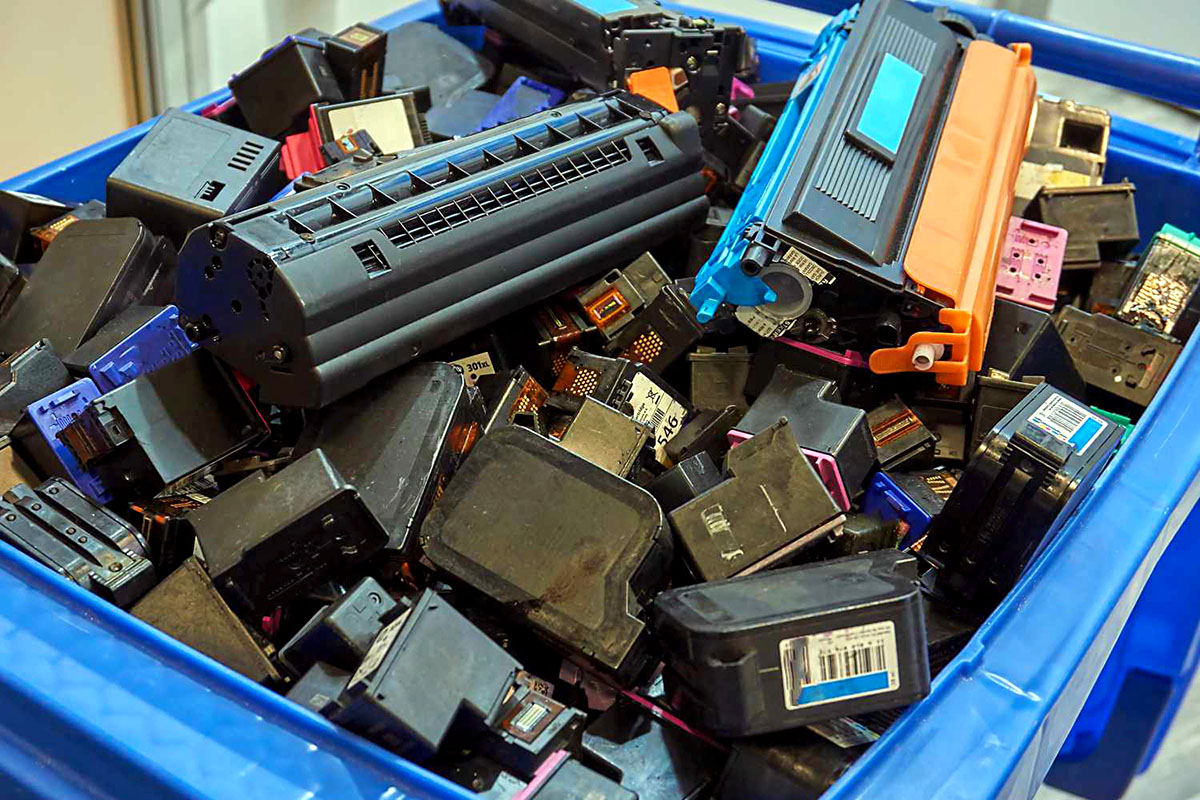
Regular maintenance and cleaning of printer cartridges not only contribute to superior print output but also minimize the risk of potential issues such as clogging, streaking, or faded prints. This proactive approach to cartridge maintenance can ultimately lead to cost savings by extending the longevity of cartridges and reducing the frequency of replacements.
As you embark on the journey of cleaning printer cartridges, it’s essential to prioritize safety measures, adhere to manufacturer guidelines, and approach the process with patience and attention to detail. Whether you’re dealing with inkjet or laser printer cartridges, the meticulous cleaning and reassembly procedures outlined in this guide provide a comprehensive framework for maintaining printing excellence.
Furthermore, staying attuned to the specific requirements of your printer model and cartridge type is crucial for achieving optimal cleaning results. Always consult the printer manual and manufacturer’s recommendations to ensure that the cleaning process aligns with the cartridge’s specifications and design.
By integrating regular cartridge maintenance into your printing routine, you can uphold the integrity of your printing equipment and consistently produce professional-quality prints. Additionally, ongoing monitoring and maintenance enable you to address potential issues promptly, preventing them from escalating into more significant complications.
As technology continues to advance, the significance of maintaining printer cartridges cannot be overstated. A proactive approach to cartridge cleaning and maintenance not only enhances print quality but also reflects a commitment to maximizing the efficiency and longevity of valuable printing assets.
With the knowledge and insights gained from this guide, you are well-equipped to embark on the journey of maintaining and cleaning your printer cartridges with confidence and precision. By nurturing a proactive approach to cartridge maintenance, you can elevate the standard of your printing endeavors and ensure consistent, high-quality results for years to come.
Embrace the art of printer cartridge maintenance and experience the transformative impact it can have on your printing experience. Here’s to pristine prints and seamlessly maintained printer cartridges!
Frequently Asked Questions about How To Clean A Printer Cartridge
Was this page helpful?
At Storables.com, we guarantee accurate and reliable information. Our content, validated by Expert Board Contributors, is crafted following stringent Editorial Policies. We're committed to providing you with well-researched, expert-backed insights for all your informational needs.


0 thoughts on “How To Clean A Printer Cartridge”