Home>Technology>Smart Home Devices>How To Manually Move A Printer Cartridge
Smart Home Devices
How To Manually Move A Printer Cartridge
Published: January 14, 2024
Learn how to manually move a printer cartridge for your smart home devices with our step-by-step guide. Keep your devices running smoothly with our expert tips.
(Many of the links in this article redirect to a specific reviewed product. Your purchase of these products through affiliate links helps to generate commission for Storables.com, at no extra cost. Learn more)
Introduction
So, you're in the middle of printing an important document when suddenly, the printer flashes a notification: "Replace the ink cartridge." Frustrating, right? Before you start panicking or calling for technical support, take a deep breath. You can easily tackle this task on your own. In this comprehensive guide, we will walk you through the step-by-step process of manually moving a printer cartridge. By the end of this article, you'll feel like a printer maintenance pro, ready to handle any ink-related hurdle that comes your way.
Moving a printer cartridge manually might seem like a daunting task, especially if you're not particularly tech-savvy. However, with the right guidance and a can-do attitude, you'll be surprised at how simple and rewarding the process can be. Whether you're a seasoned DIY enthusiast or a newbie to printer maintenance, this guide is designed to equip you with the knowledge and confidence to successfully navigate this essential aspect of printer care.
In the following sections, we'll cover everything from gathering the necessary supplies to testing the printer after the cartridge replacement. By following these clear and concise instructions, you'll not only save time and money but also gain a sense of empowerment in managing your printer's maintenance needs. So, without further ado, let's dive into the world of printer cartridge replacement and unleash the potential of your trusty printing companion.
Key Takeaways:
- Gather the necessary supplies and turn off the printer before replacing the cartridge to ensure a smooth and safe process. Having the right items and powering down the printer sets the stage for a successful cartridge replacement.
- After inserting the new cartridge, close the printer cover and power on the printer to conduct a thorough test. This ensures that the printer is functioning optimally and ready for regular use, providing peace of mind after the cartridge replacement.
Read more: How To Clean A Printer Cartridge
Gather Necessary Supplies
Before you embark on the journey of manually moving a printer cartridge, it's essential to gather the necessary supplies. Ensuring that you have all the required items at hand will streamline the process and prevent any interruptions or delays. Here's a list of the supplies you'll need:
- New Printer Cartridge: Ensure that you have the correct replacement cartridge for your specific printer model. Refer to your printer's manual or the manufacturer's website to identify the compatible cartridge.
- Gloves (Optional): While not mandatory, wearing gloves can help prevent ink smudges on your hands and provide added protection during the cartridge replacement.
- Clean Cloth: Keep a soft, lint-free cloth nearby to clean any ink spills or smudges that may occur during the process.
- Printer Manual: Having the printer manual within reach can serve as a valuable reference, especially if you encounter any specific instructions or troubleshooting tips.
- Workspace Preparation: Clear the area around the printer to create a spacious and organized workspace. This will allow you to maneuver comfortably and access the printer components with ease.
By ensuring that you have these supplies ready, you'll set the stage for a smooth and efficient cartridge replacement process. Once you've gathered everything on the list, you're all set to proceed to the next steps.
Turn off the Printer
Before delving into the intricate process of moving a printer cartridge, it's crucial to begin with a fundamental step: turning off the printer. This simple yet essential action ensures your safety and prevents potential damage to the printer or the new cartridge. Follow these steps to power down your printer:
- Save and Cancel Print Jobs: If there are any pending print jobs, make sure to save your work on the computer and cancel the print queue. This prevents any unexpected printing activities during the cartridge replacement process.
- Locate the Power Button: Identify the power button on your printer. It is typically located on the control panel or near the printer's display screen.
- Press the Power Button: Press the power button to initiate the shutdown process. Wait for the printer to completely power down before proceeding to the next step.
- Verify Power Down: Ensure that the printer's lights and display, if applicable, are turned off. This indicates that the printer is successfully powered down and ready for the next phase of the cartridge replacement.
By taking the time to turn off the printer properly, you minimize the risk of electrical mishaps and ink spillage. This proactive approach sets the stage for a safe and controlled cartridge replacement experience. Once the printer is powered down, you can confidently move on to the subsequent steps, knowing that you've laid a solid foundation for the maintenance task at hand.
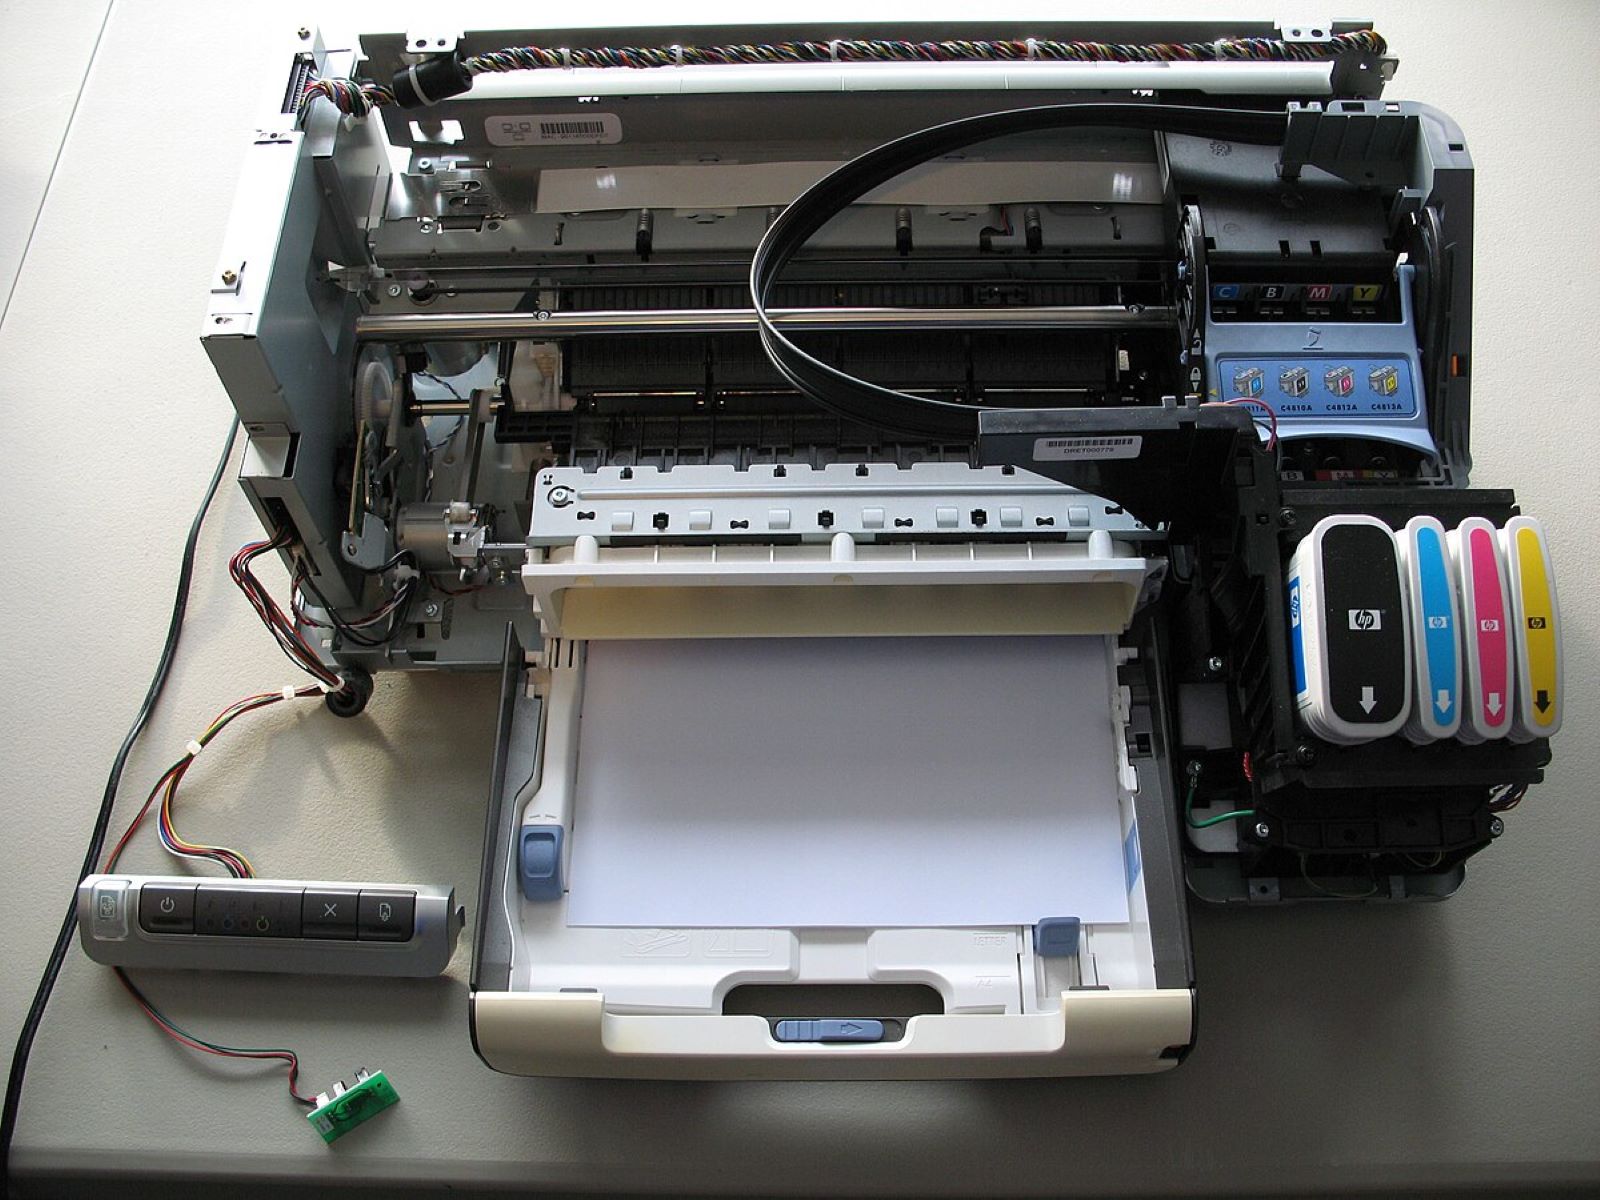
Open the Printer Cover
With the printer safely powered off, you're now ready to access the internal components by opening the printer cover. This step grants you direct visibility and reach to the ink cartridge compartment, allowing for a seamless transition to the cartridge replacement process. Follow these guidelines to open the printer cover:
- Locate the Printer Cover: Identify the specific location of the printer cover. Depending on the printer model, the cover may be situated at the top, front, or sides of the printer.
- Release Latches or Buttons: Some printers feature latches, buttons, or release levers that secure the cover in place. Check for any locking mechanisms and proceed to release them as per the printer's design.
- Gently Lift the Cover: Once the latches are disengaged, gently lift the printer cover upwards or sideways, depending on its configuration. Exercise caution to avoid applying excessive force or causing any damage to the cover.
- Secure the Cover in Open Position: If the printer cover is designed to remain open without assistance, ensure that it is securely positioned to provide unobstructed access to the cartridge compartment.
By opening the printer cover methodically and attentively, you pave the way for a clear view of the cartridge area and prepare for the subsequent steps of cartridge removal and replacement. This deliberate approach sets the stage for a smooth and controlled transition, ensuring that you can proceed with confidence and precision.
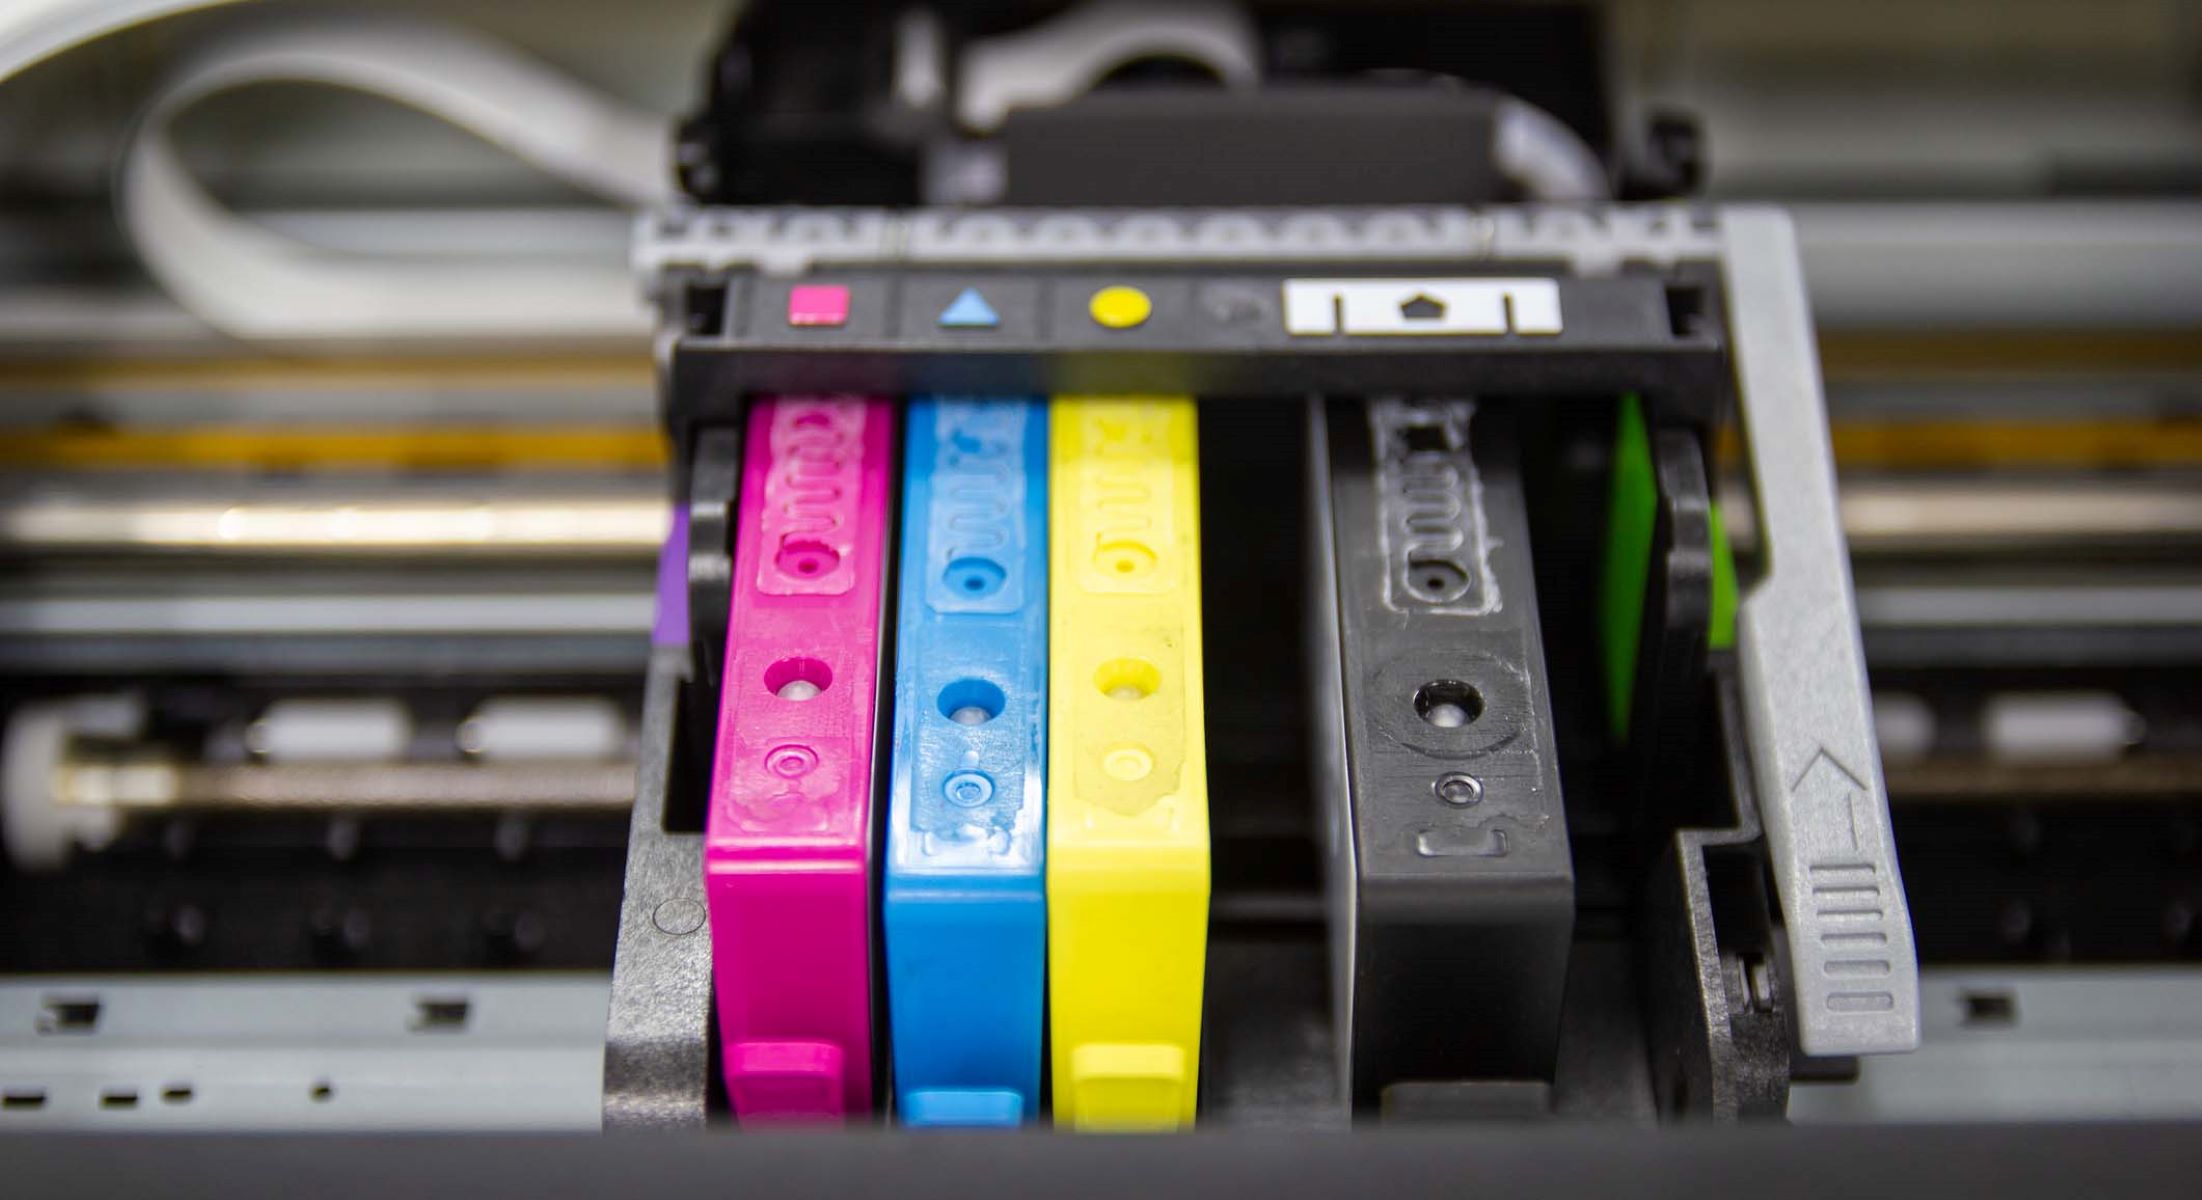
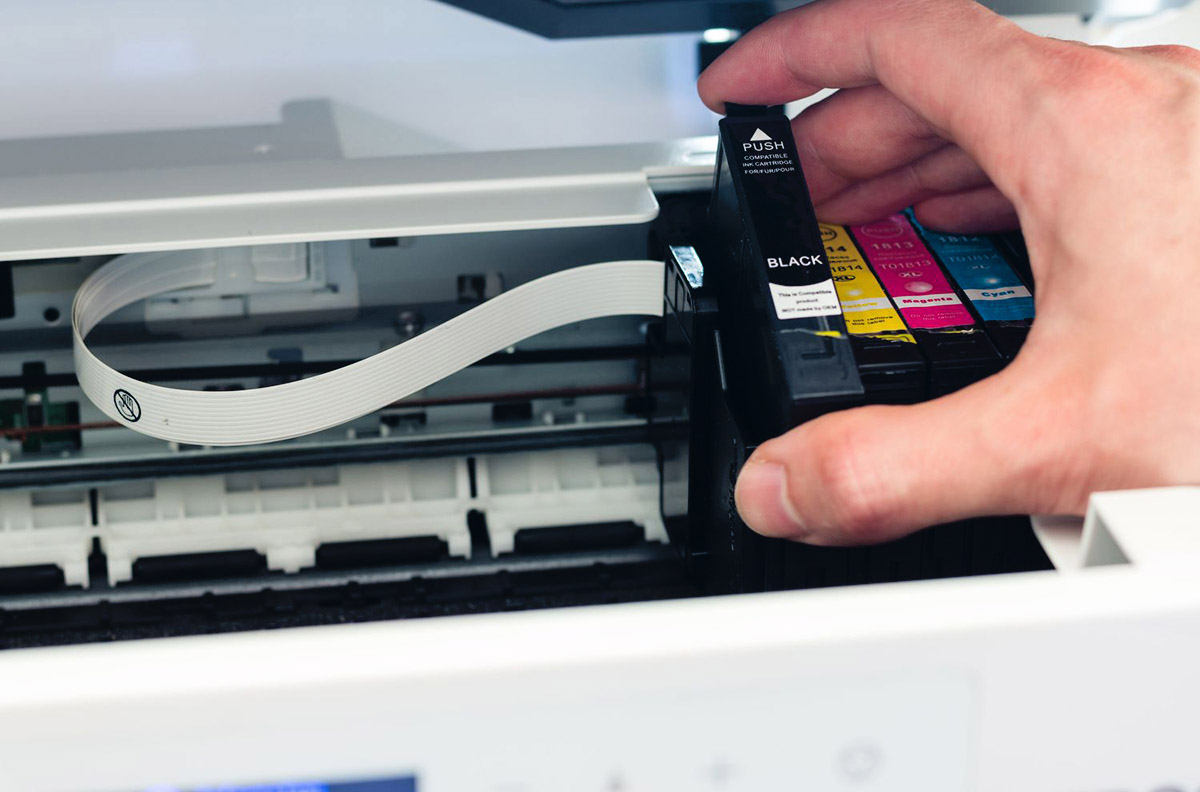
Remove the Old Cartridge
With the printer cover open and the cartridge compartment accessible, you are now poised to remove the old cartridge from the printer. This step requires careful handling to avoid any ink spills or damage to the printer components. Follow these steps to safely remove the old cartridge:
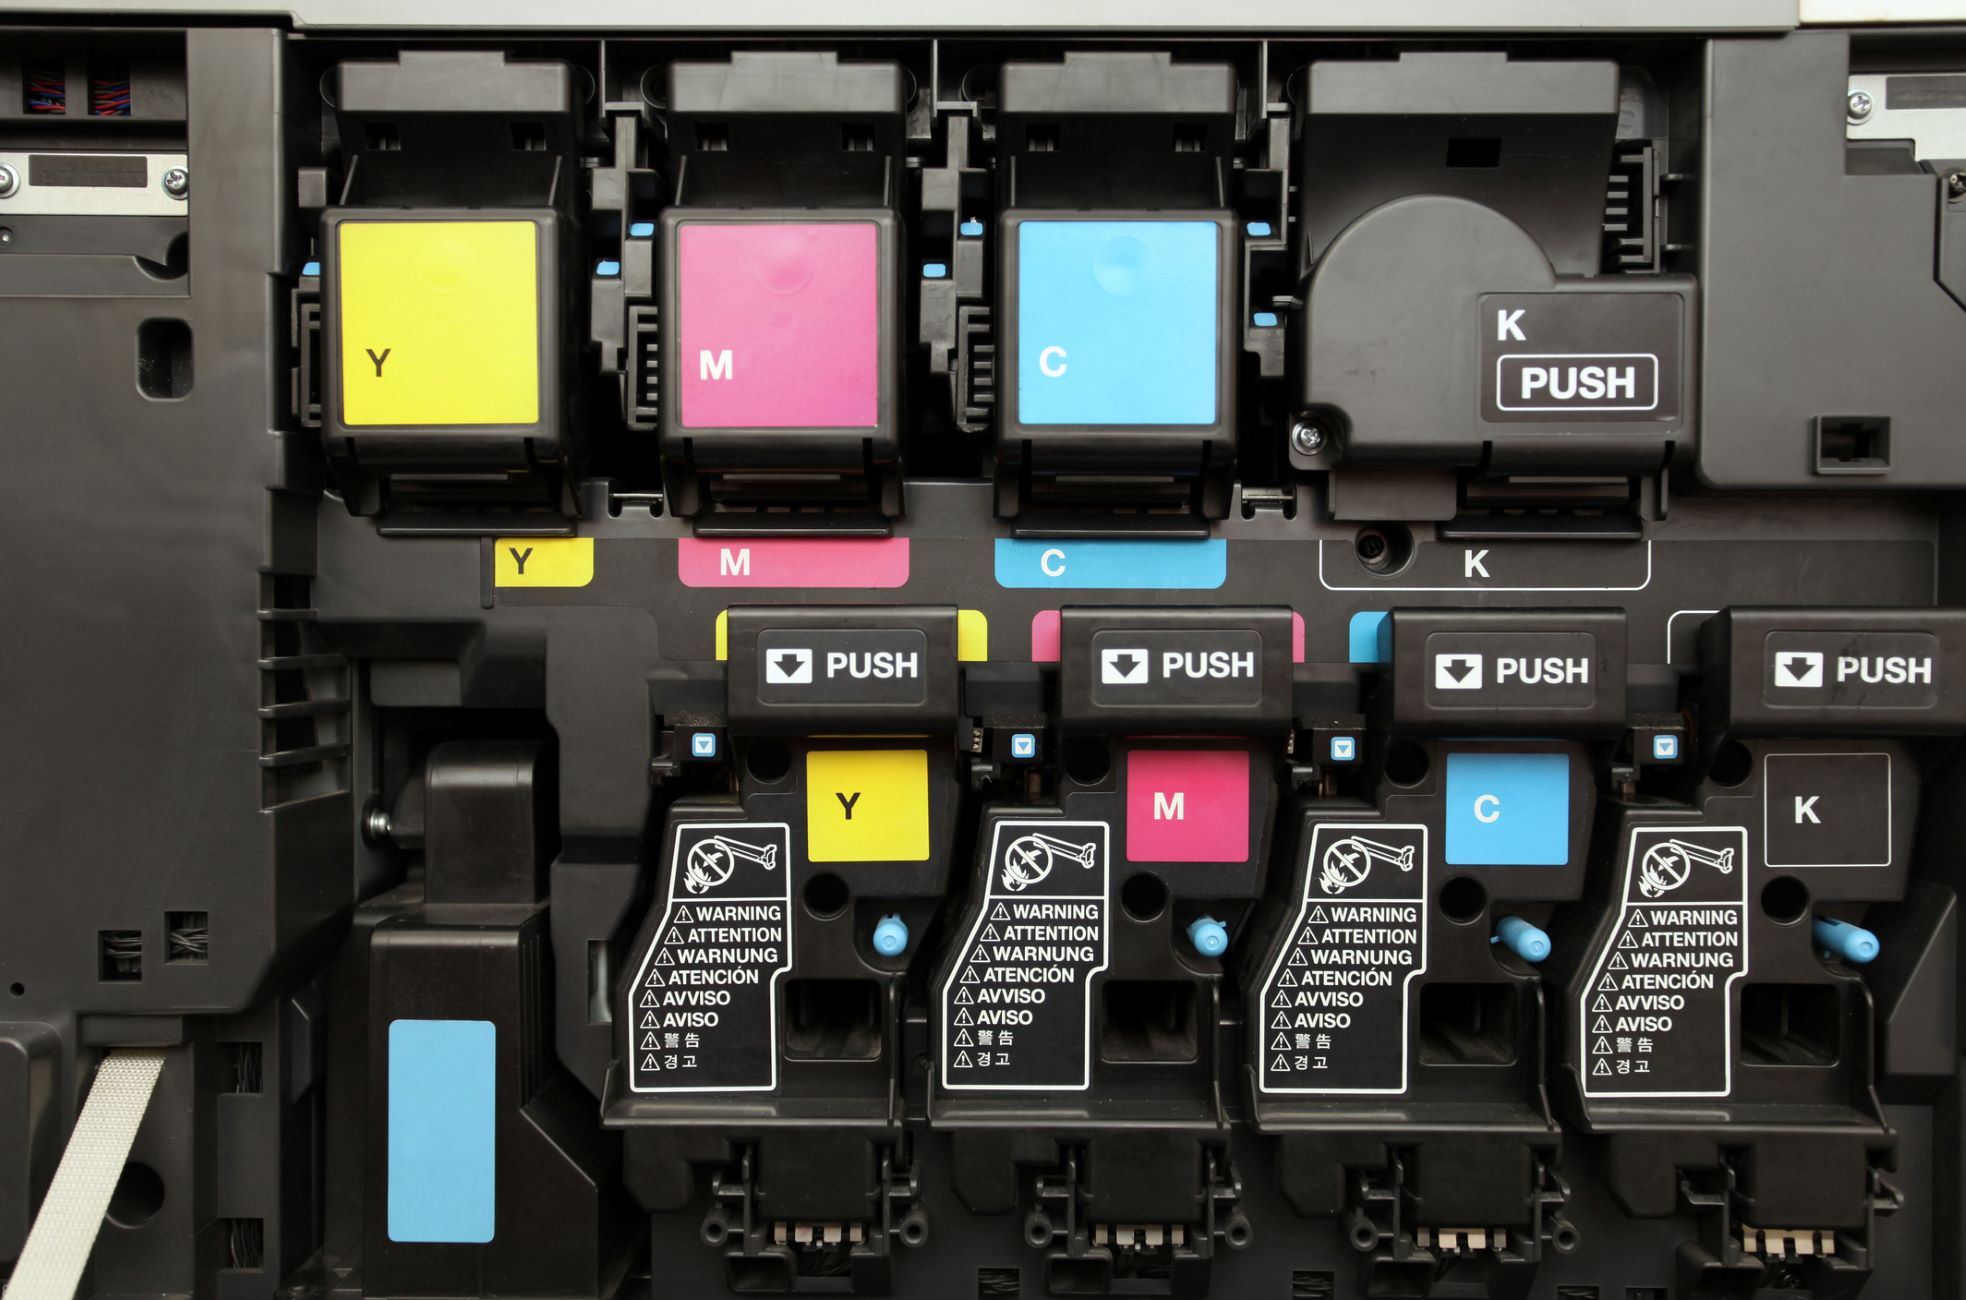
- Identify the Old Cartridge: Locate the existing cartridge within the designated compartment. Depending on your printer model, the cartridge may be visibly positioned and easily accessible.
- Release Cartridge Lock: Some printers feature a locking mechanism or latch that secures the cartridge in place. Look for any release tabs, buttons, or levers that need to be disengaged before the cartridge can be removed.
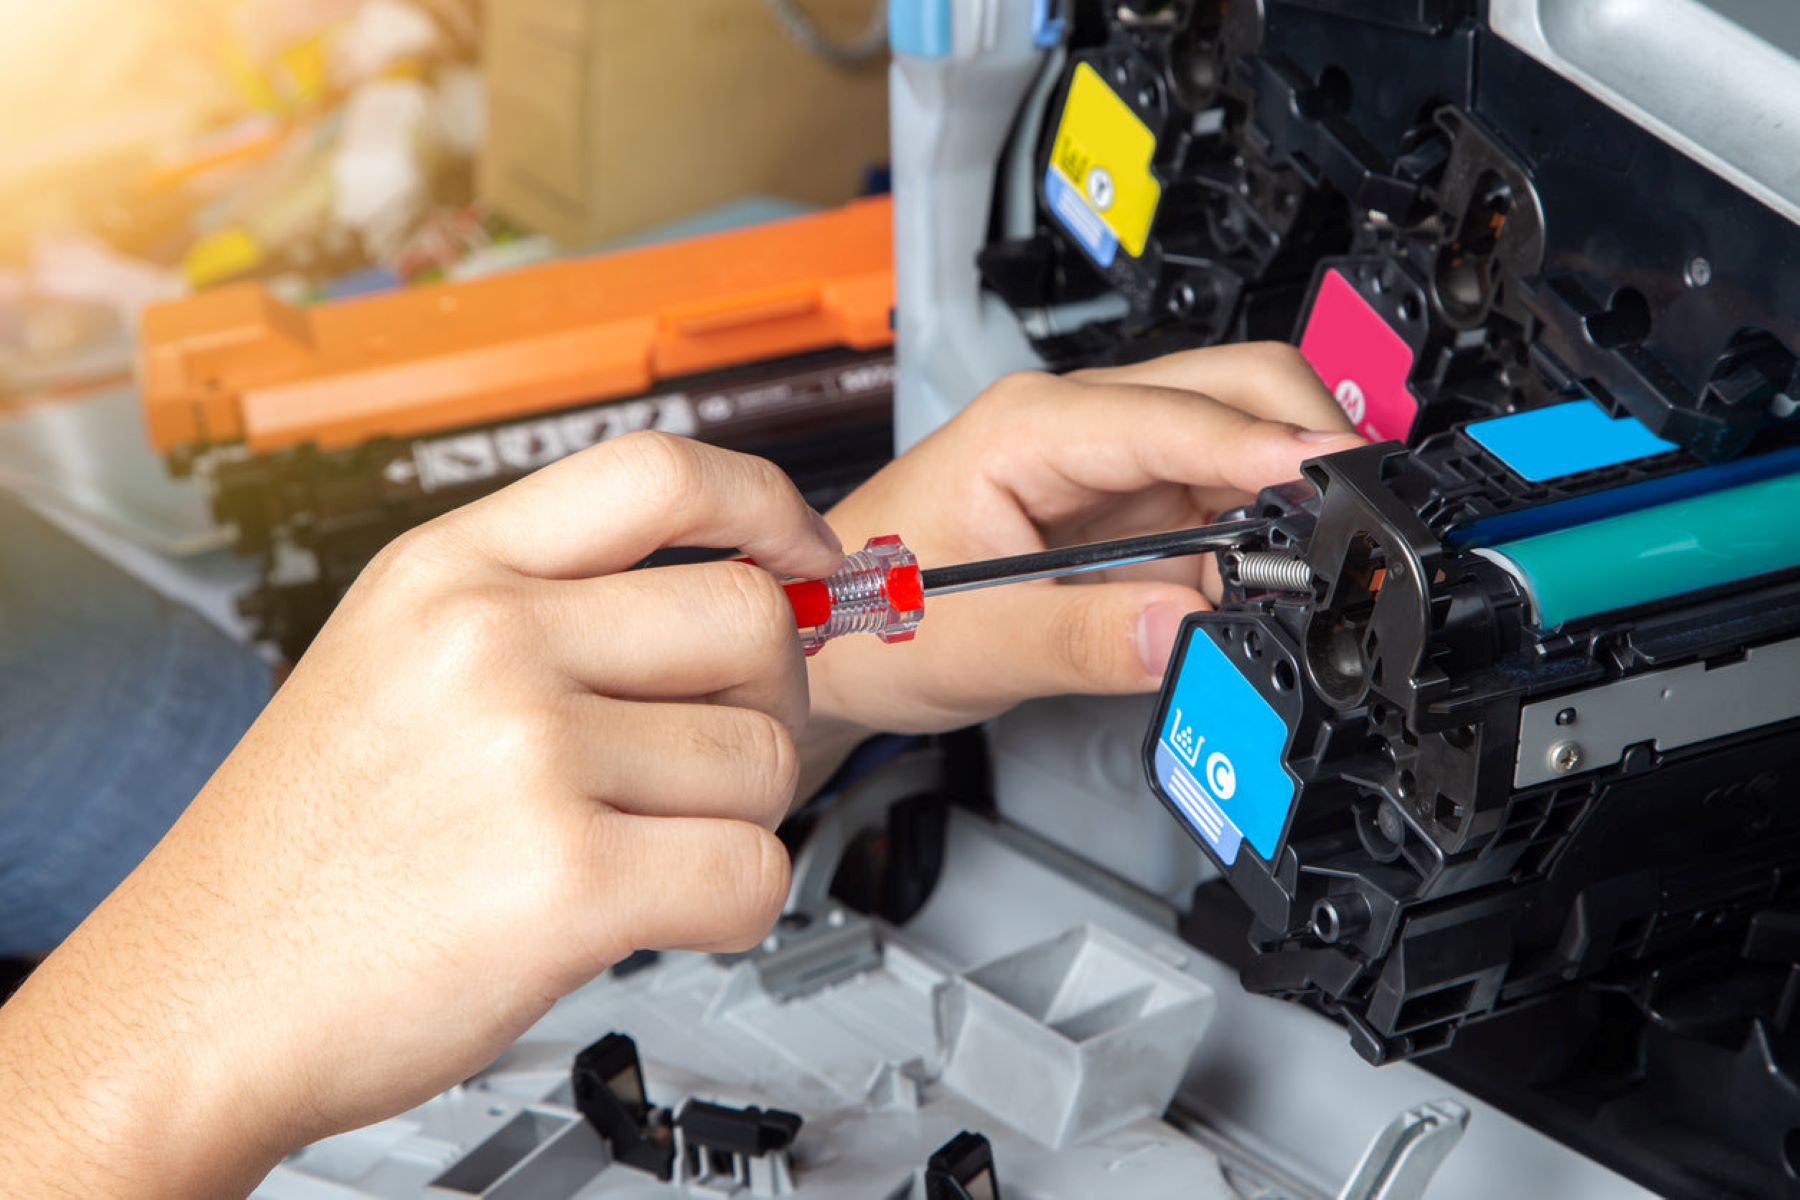
- Gently Grasp the Cartridge: Once the locking mechanism is released, carefully grasp the old cartridge with your fingers. Ensure a firm yet gentle grip to avoid causing any damage to the cartridge or the printer.
- Remove the Cartridge: In a slow and steady motion, pull the old cartridge out of the printer. Exercise caution to prevent any abrupt movements or tilting that may lead to ink spillage or mishandling of the cartridge.
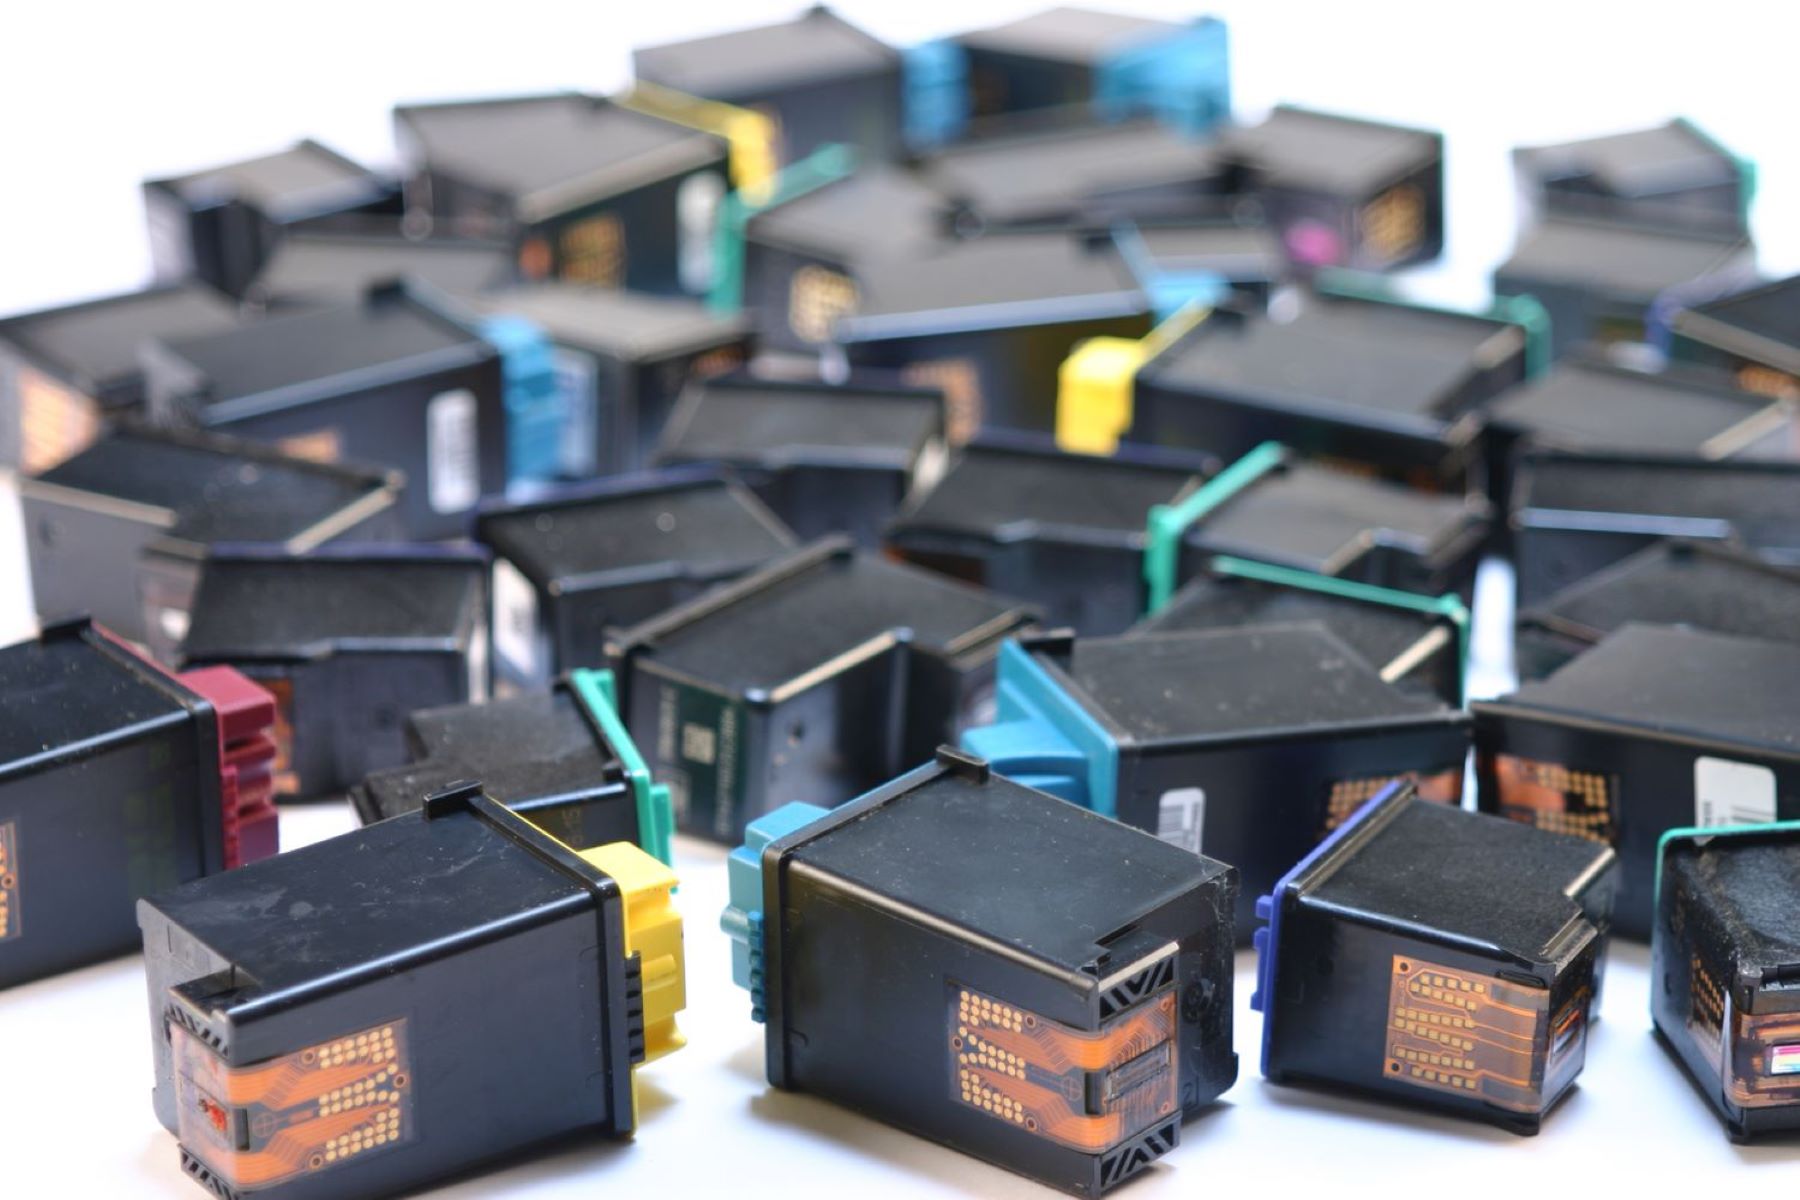
- Place the Cartridge in a Safe Location: Set the old cartridge aside in a designated area, away from the workspace, to prevent any accidental contact with the new cartridge or the printer components.
By following these steps diligently, you can safely remove the old cartridge from the printer, setting the stage for the subsequent insertion of the new cartridge. This careful and methodical approach ensures that the cartridge removal process is carried out smoothly and without any mishaps, preparing you for the next pivotal phase of the cartridge replacement procedure.
When manually moving a printer cartridge, make sure to turn off the printer and unplug it from the power source to avoid any electrical accidents. Then, gently slide the cartridge to the center of the printer and carefully remove it from the printer carriage.
Read more: How To Change Printer Cartridge
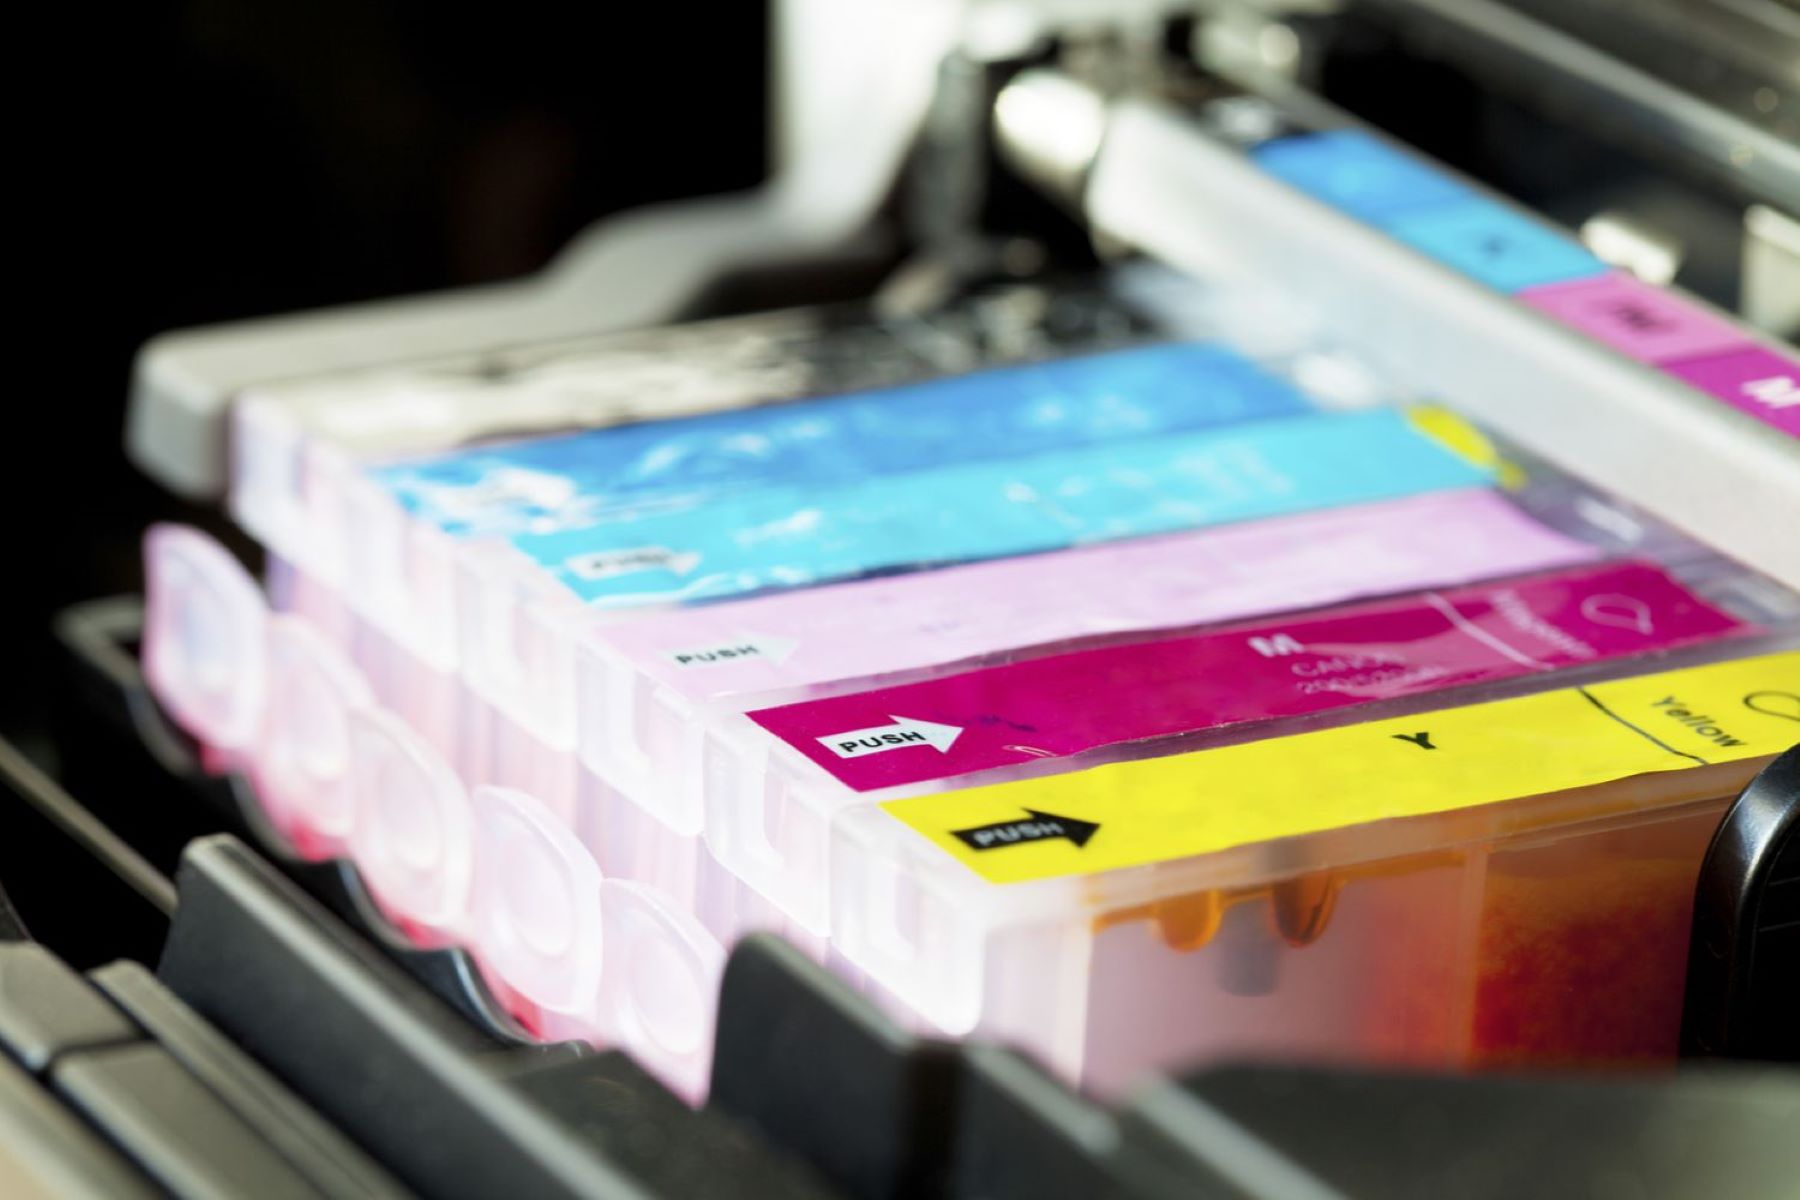
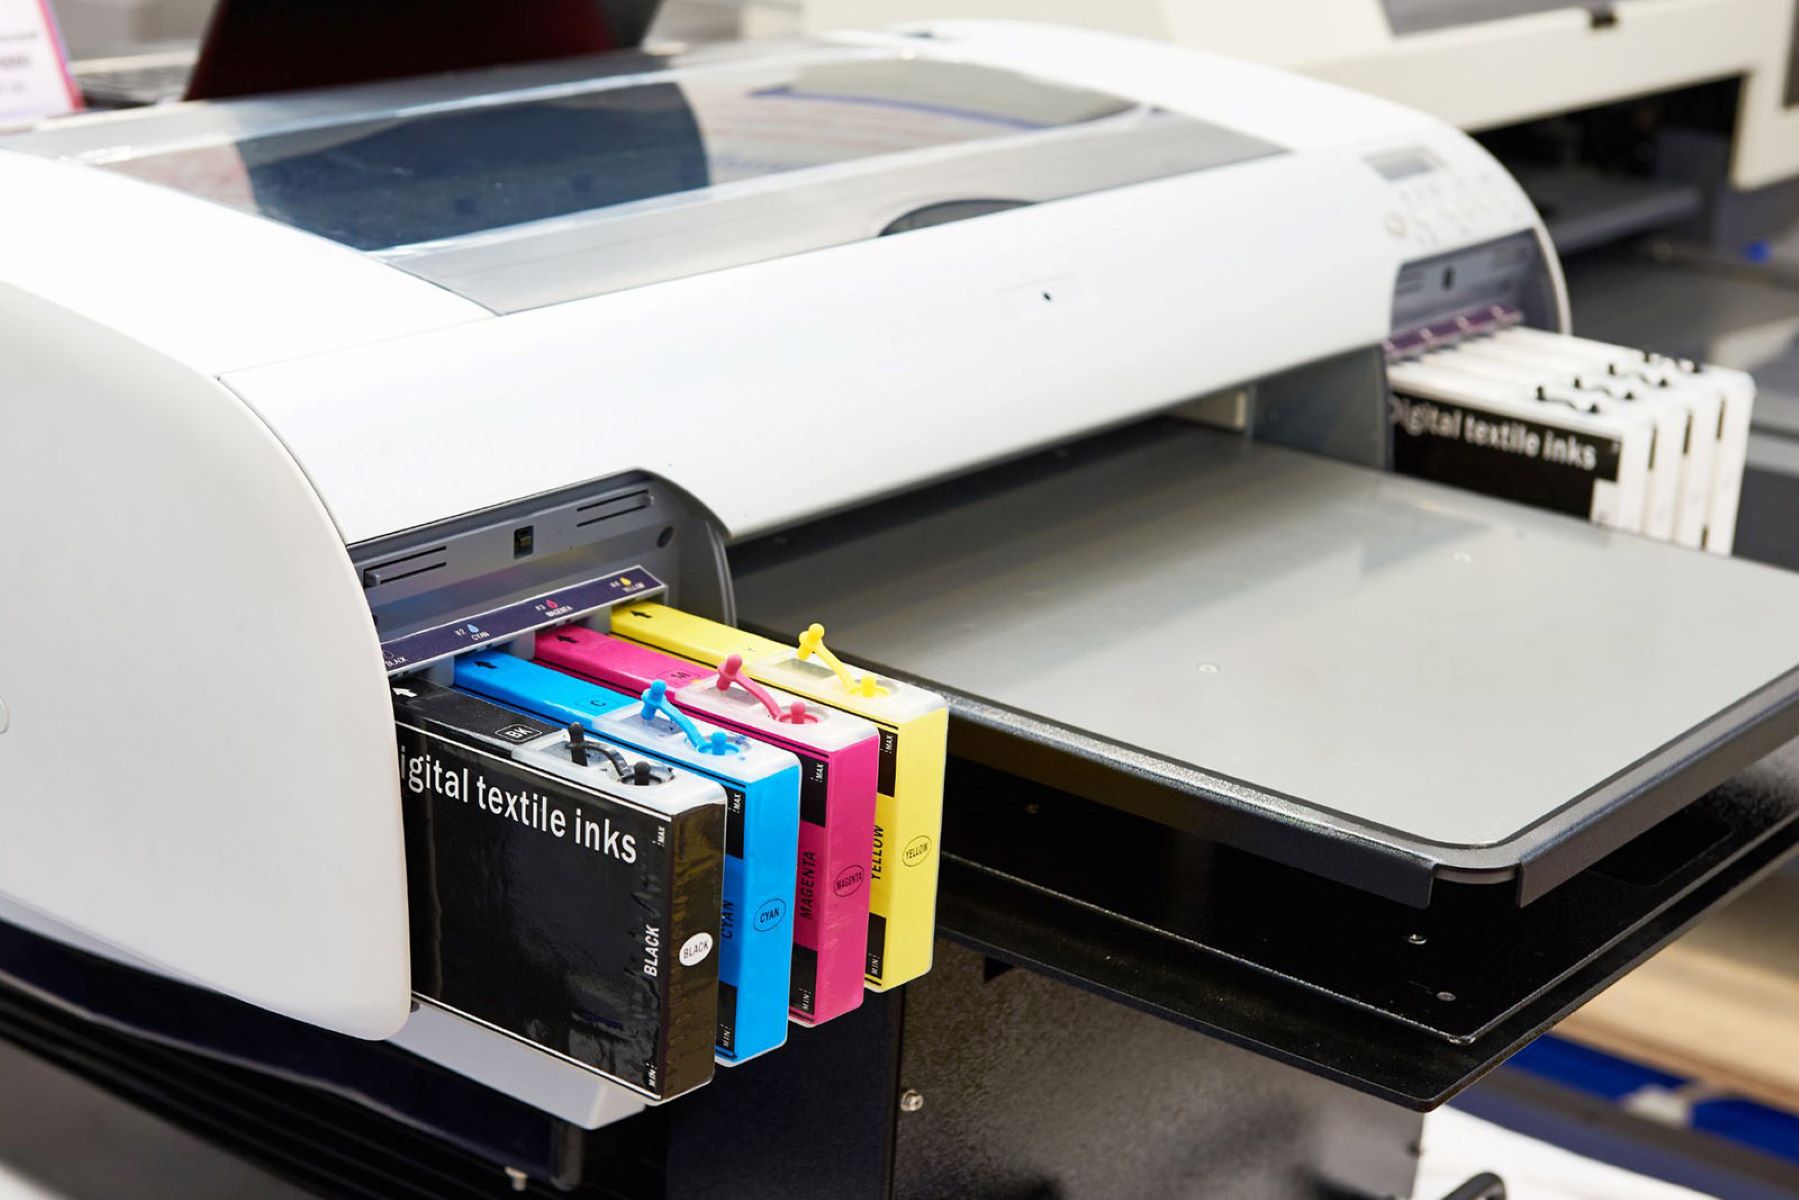
Insert the New Cartridge
With the old cartridge successfully removed, it’s time to introduce the new cartridge into the printer. This pivotal step requires precision and attention to detail to ensure a seamless installation process. Follow these guidelines to insert the new cartridge into your printer:
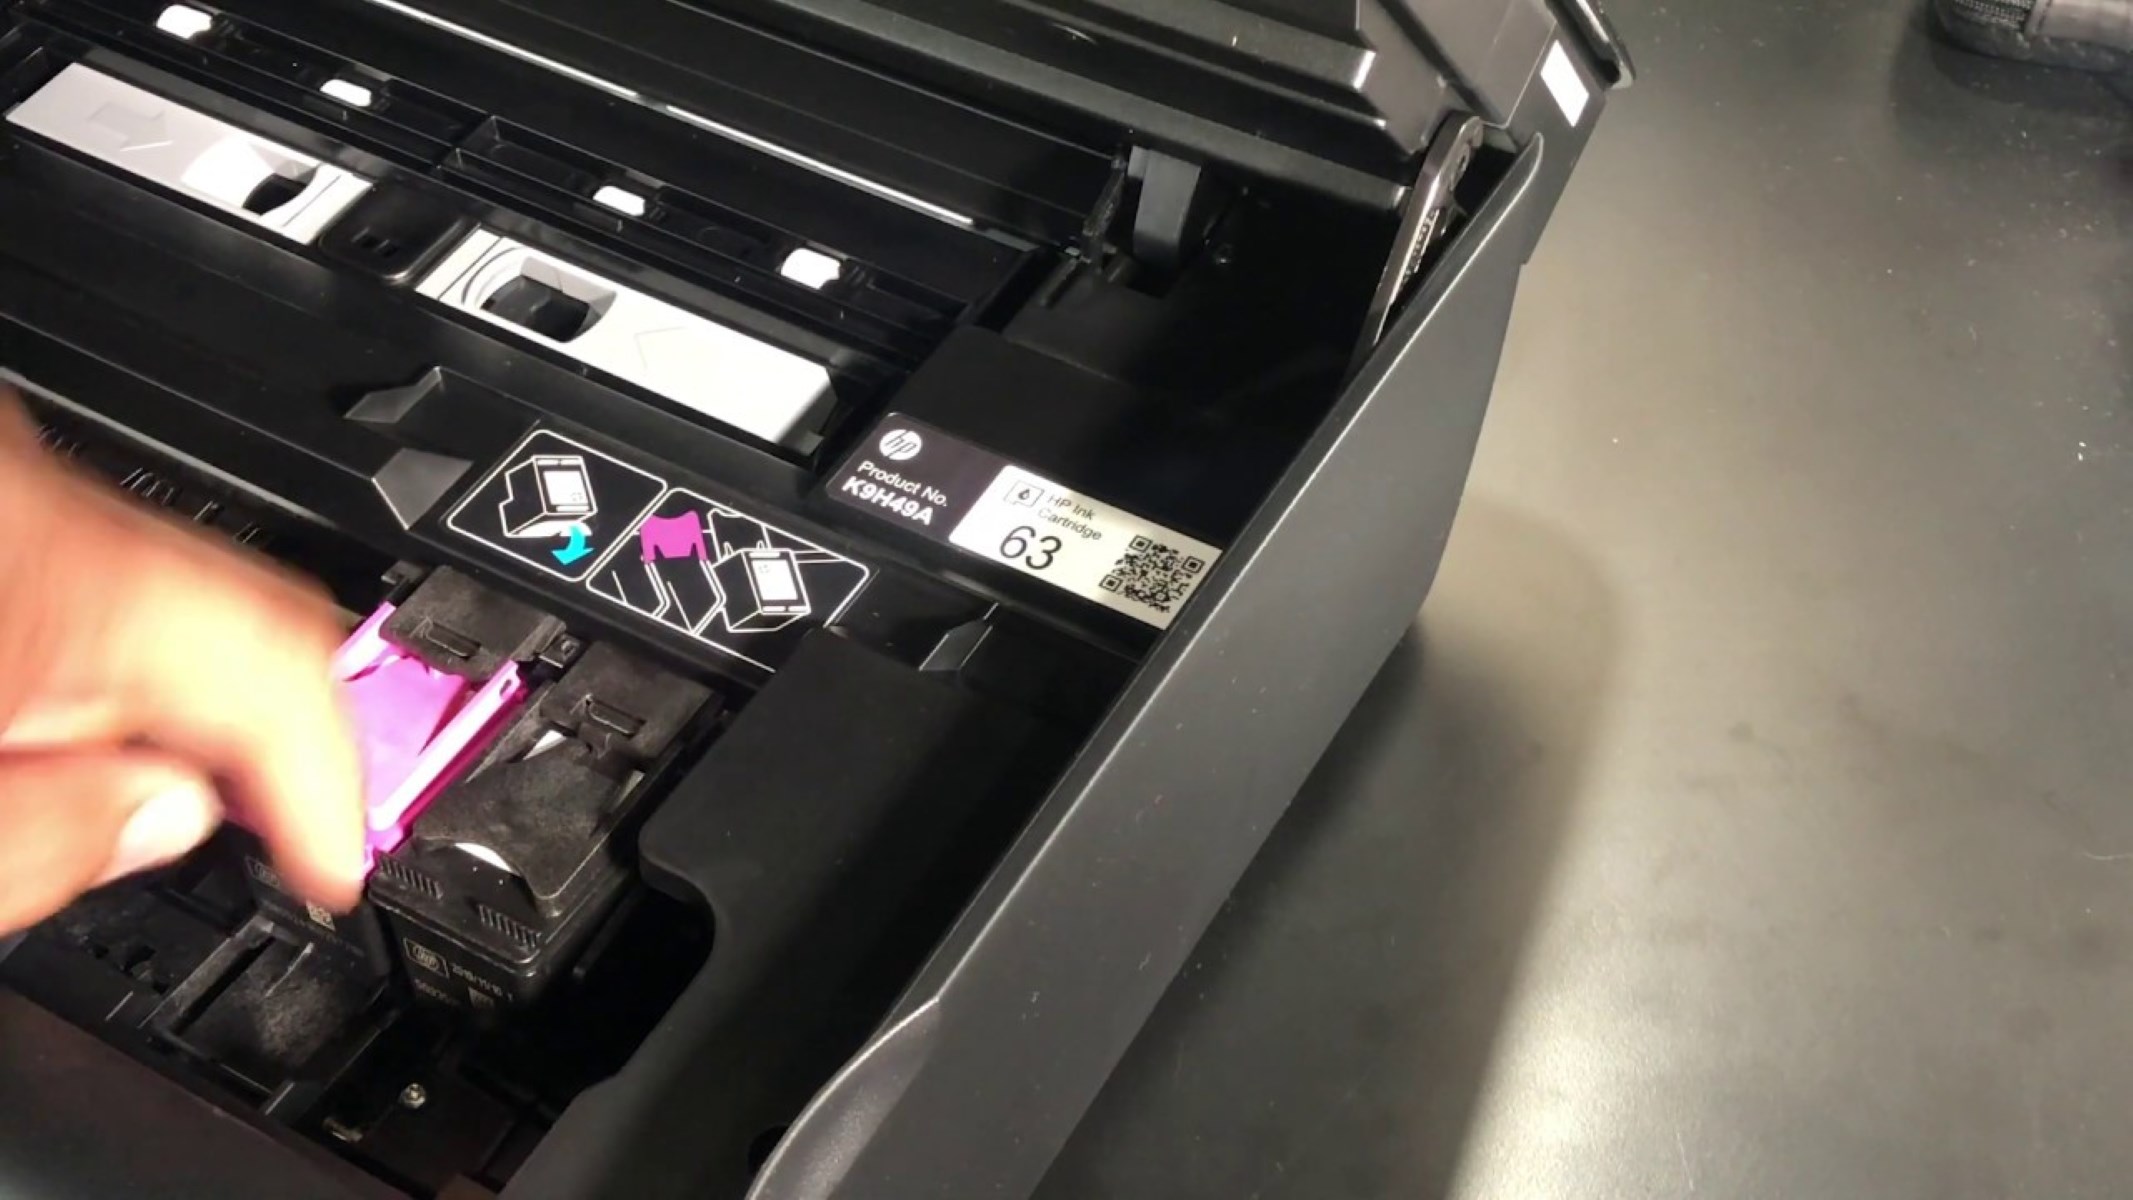
- Unpack the New Cartridge: Carefully remove the new cartridge from its packaging, ensuring that you handle it with care to avoid any damage to the cartridge or exposure to external elements.
- Remove Protective Seals or Tapes: Check the new cartridge for any protective seals, tapes, or tabs that need to be removed before installation. These protective coverings are designed to safeguard the cartridge’s integrity and should be peeled off as per the manufacturer’s instructions.
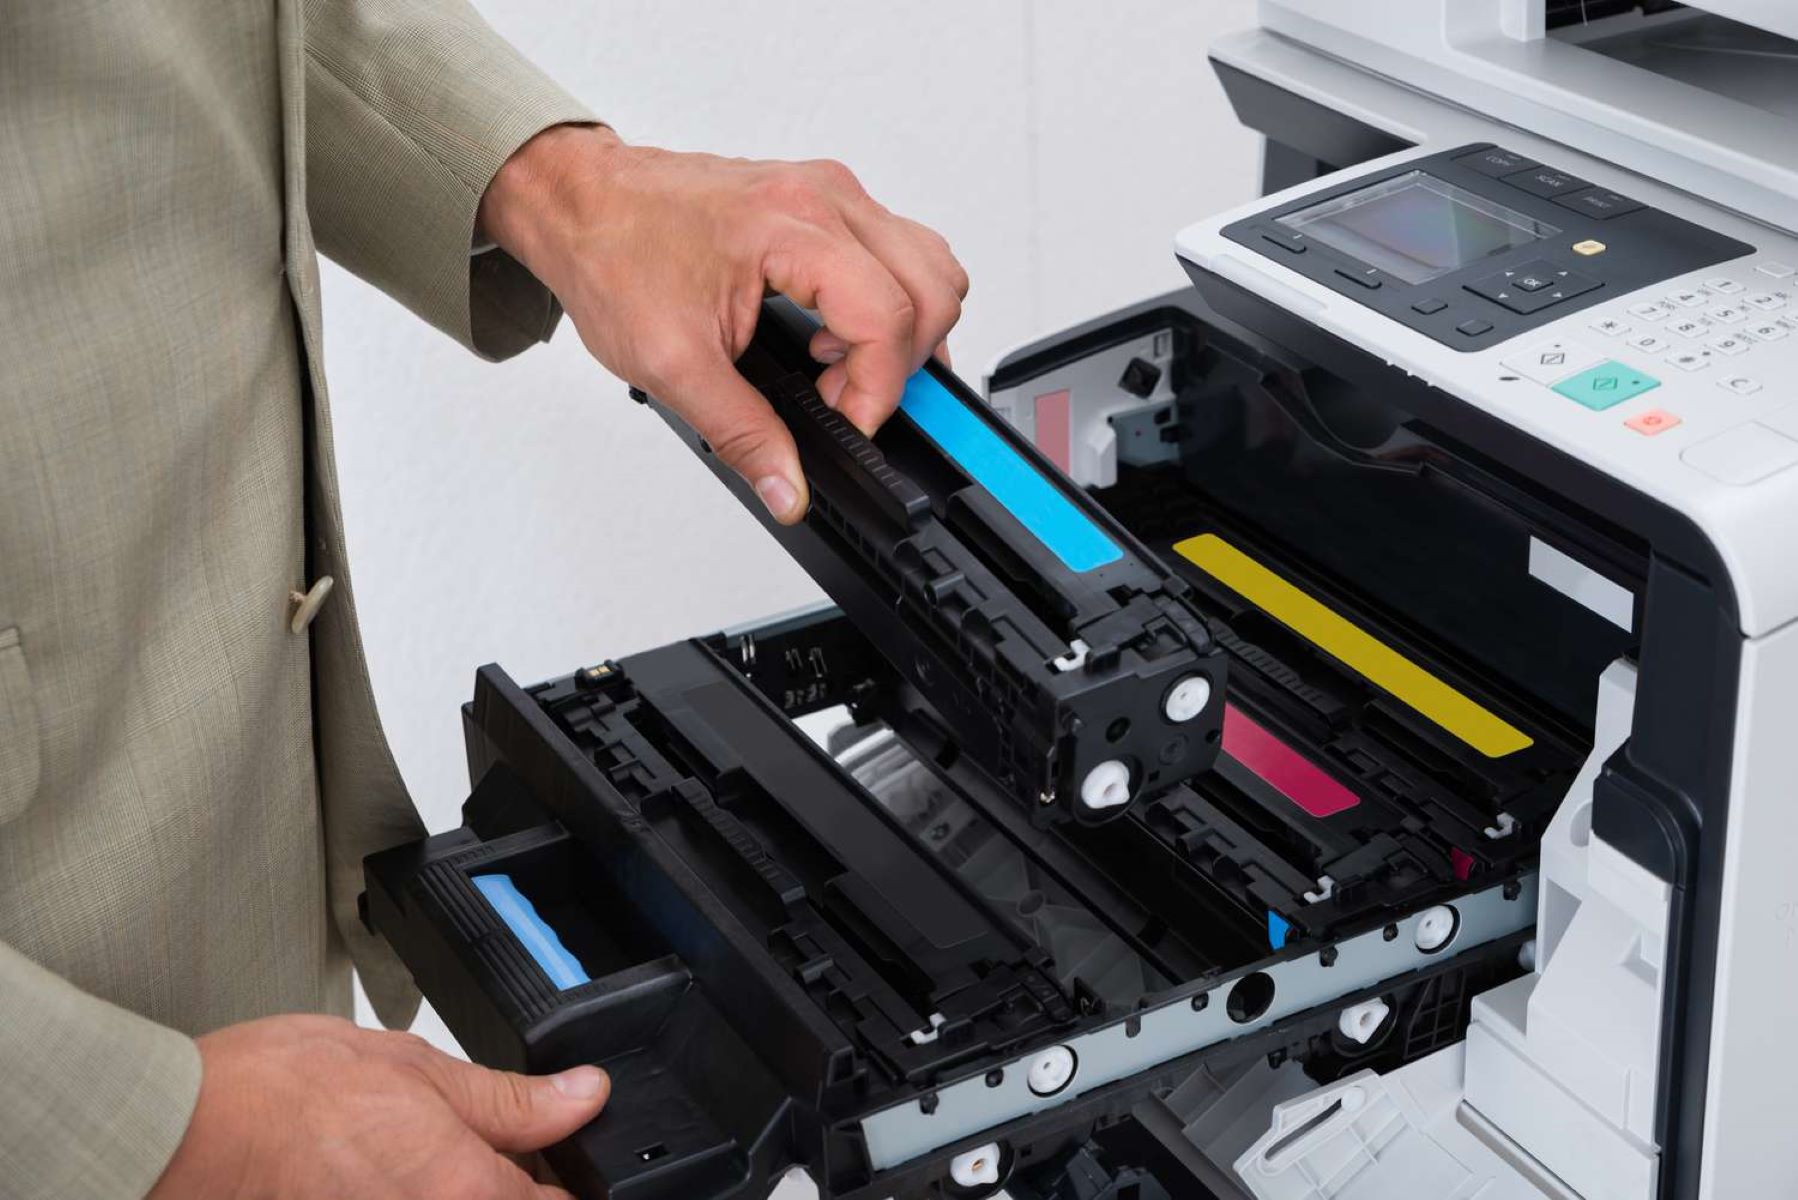
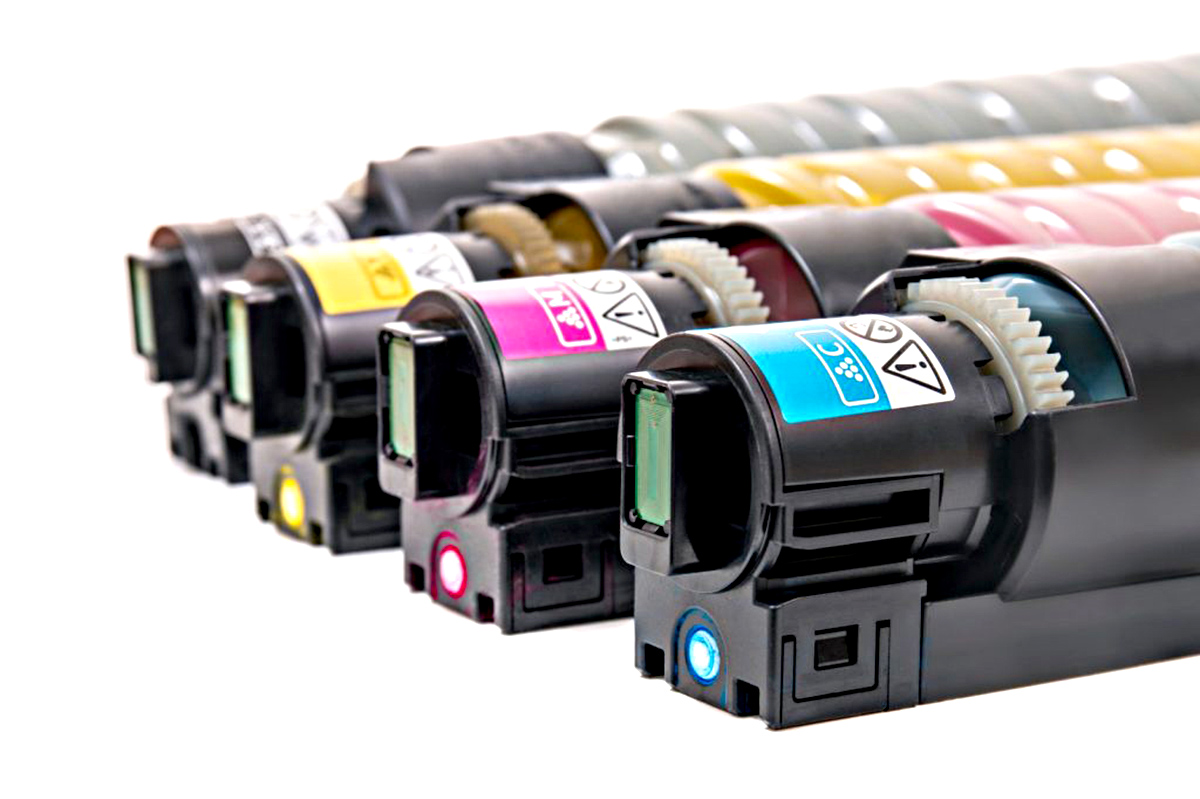
- Align the Cartridge Properly: Position the new cartridge in alignment with the designated slot within the printer. Ensure that the cartridge is oriented correctly, matching the grooves and guides to guarantee a secure fit.
- Gently Insert the Cartridge: With steady and even pressure, insert the new cartridge into the designated slot. Be mindful of maintaining a consistent and controlled motion to prevent any jarring or forceful movements.
- Secure the Cartridge in Place: Once the cartridge is fully inserted, listen for a click or indication of secure placement. Some printers may feature locking mechanisms or indicators to confirm that the cartridge is properly installed.
By following these steps meticulously, you can confidently insert the new cartridge into your printer, setting the stage for the successful integration of the replacement ink supply. This deliberate and cautious approach ensures that the new cartridge is installed with precision, positioning your printer for optimal performance and print quality.
Close the Printer Cover
After successfully inserting the new cartridge, the next crucial step is to securely close the printer cover. This final act not only safeguards the internal components of the printer but also signifies the completion of the cartridge replacement process. Follow these steps to close the printer cover with precision:
- Verify Cartridge Placement: Before closing the printer cover, double-check the alignment and placement of the new cartridge within the designated slot. Ensure that the cartridge is securely seated and properly positioned.
- Lower the Printer Cover: With gentle and even pressure, lower the printer cover back into its original position. Take care to align the cover with its corresponding hinges or grooves to facilitate a smooth closure.
- Engage Latches or Locking Mechanisms: If the printer cover features latches, locking tabs, or buttons, ensure that they are securely engaged to hold the cover in place. Verify that the cover is firmly and evenly secured.
- Avoid Excessive Force: While closing the printer cover, refrain from applying excessive force or abrupt movements. A controlled and deliberate approach minimizes the risk of damage to the cover or the printer’s internal components.
By adhering to these steps attentively, you can effectively close the printer cover, encapsulating the new cartridge within the printer’s housing. This final act not only signifies the successful completion of the cartridge replacement process but also sets the stage for the subsequent phase of powering on the printer and conducting a test to validate the cartridge’s integration.
Turn on the Printer
With the new cartridge securely in place and the printer cover closed, it’s time to power on the printer and initiate the startup sequence. This pivotal step marks the culmination of the cartridge replacement process and sets the stage for verifying the successful integration of the new ink supply. Follow these steps to power on the printer and prepare for the final phase of testing:
- Locate the Power Button: Identify the power button on your printer. It is typically situated on the control panel or near the printer’s display screen.
- Press the Power Button: Press the power button to turn on the printer. Allow the printer to initialize and complete its startup routine, which may involve self-checks and calibration processes.
- Observe Startup Indicators: Pay attention to the printer’s display, LED lights, or indicator panel to monitor the startup progress. Look for any error messages or notifications that may require attention.
- Wait for Ready Status: Once the printer has completed its startup sequence, wait for it to indicate a ready status. This signifies that the printer is operational and prepared for the final testing phase.
By following these steps diligently, you can successfully power on the printer, allowing it to initialize and prepare for the subsequent testing phase. This deliberate and attentive approach ensures that the printer is brought back to an operational state, ready to validate the successful integration of the new cartridge and resume its essential printing functions.
Test the Printer
With the printer powered on and the new cartridge seamlessly integrated, it’s time to conduct a test to ensure that the printer is functioning optimally and producing high-quality prints. This critical step allows you to validate the successful replacement of the cartridge and confirm that the printer is ready for regular use. Follow these guidelines to conduct a comprehensive test of your printer:
- Print a Test Page: Initiate the printing of a test page from your computer or directly from the printer’s control panel. Most printers feature a test page option within their settings or maintenance menu.
- Observe Print Quality: Examine the test page for print quality, including text clarity, color vibrancy, and overall output. Look for any signs of smudging, streaking, or misalignment that may indicate issues with the new cartridge installation.
- Check for Error Messages: Monitor the printer’s display or status indicators for any error messages or alerts related to the cartridge replacement. Address any reported issues by referring to the printer manual or seeking further troubleshooting guidance.
- Perform Additional Test Prints: If necessary, conduct additional test prints to assess the printer’s consistency and performance across multiple documents or images. This comprehensive testing approach ensures a thorough evaluation of the printer’s functionality.
- Verify Ink Levels: Check the printer’s ink level indicators to confirm that the new cartridge is recognized and accurately reported by the printer. Ensure that the ink levels align with the expected capacity of the new cartridge.
By adhering to these testing protocols, you can confidently evaluate the printer’s performance following the cartridge replacement. This meticulous and thorough approach allows you to identify any potential issues, validate the successful integration of the new cartridge, and ensure that the printer is primed for continued usage with optimal print quality and reliability.
Frequently Asked Questions about How To Manually Move A Printer Cartridge
Was this page helpful?
At Storables.com, we guarantee accurate and reliable information. Our content, validated by Expert Board Contributors, is crafted following stringent Editorial Policies. We're committed to providing you with well-researched, expert-backed insights for all your informational needs.


0 thoughts on “How To Manually Move A Printer Cartridge”