Home>Technology>Smart Home Devices>How To Change Printer Cartridge
Smart Home Devices
How To Change Printer Cartridge
Modified: October 28, 2024
Learn how to change the printer cartridge in your smart home devices with our easy step-by-step guide. Keep your devices running smoothly with our expert tips.
(Many of the links in this article redirect to a specific reviewed product. Your purchase of these products through affiliate links helps to generate commission for Storables.com, at no extra cost. Learn more)
Introduction
Welcome to the world of printing! Whether you're a seasoned professional or a casual user, knowing how to change a printer cartridge is a valuable skill that can save time and frustration. Printers are essential in both office and home settings, and understanding the process of replacing a cartridge can help ensure smooth and uninterrupted printing operations.
In this comprehensive guide, we will walk you through the step-by-step process of changing a printer cartridge. From gathering the necessary materials to safely installing the new cartridge, you'll gain the knowledge and confidence to tackle this task with ease.
So, grab your favorite beverage, roll up your sleeves, and let's dive into the world of printer maintenance. By the end of this guide, you'll be equipped with the expertise to effortlessly replace your printer cartridge and keep those documents flowing from your printer in no time. Let's get started!
Key Takeaways:
- Changing a printer cartridge is a valuable skill for smooth printing. Gather materials, power off the printer, access the cartridge, replace the old one, install the new one, close the printer cover, and power on the printer for a successful replacement.
- By following the step-by-step guide, you can confidently replace your printer cartridge. Prioritize safety, handle the cartridges with care, and enjoy vibrant and high-quality prints.
Step 1: Gather necessary materials
Before embarking on the journey of replacing your printer cartridge, it's essential to gather the necessary materials. Having everything at hand will streamline the process and minimize interruptions. Here's what you'll need:
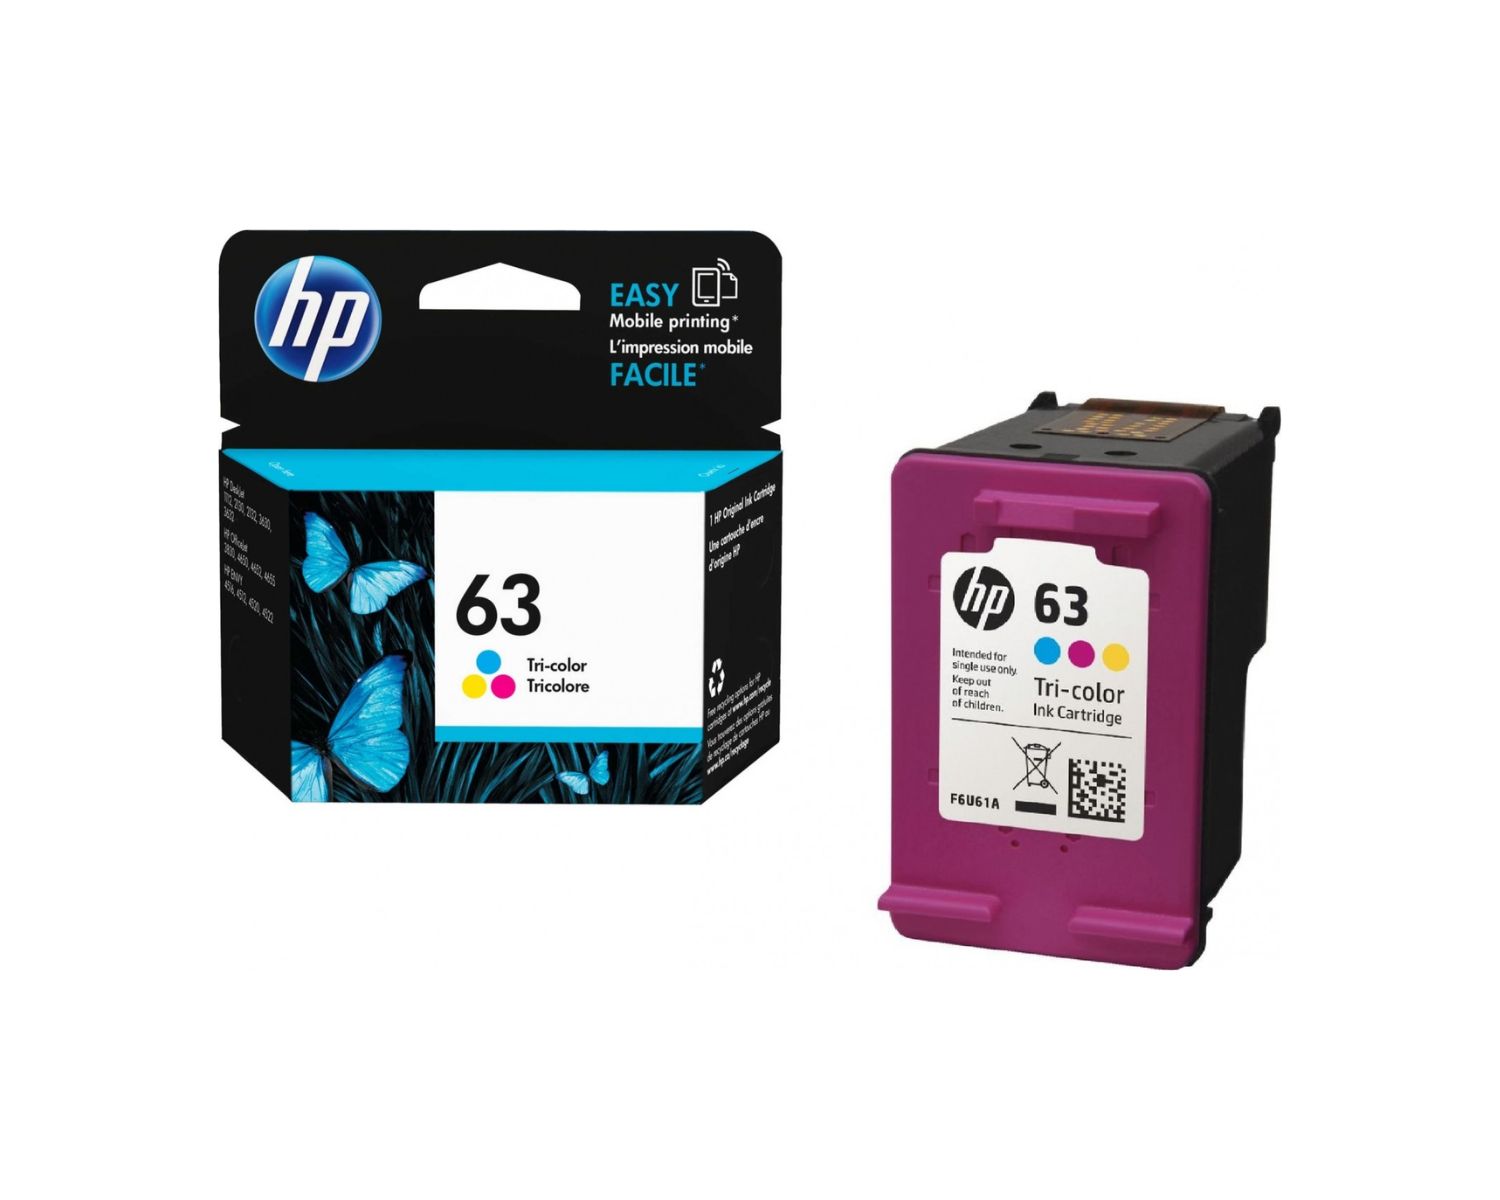
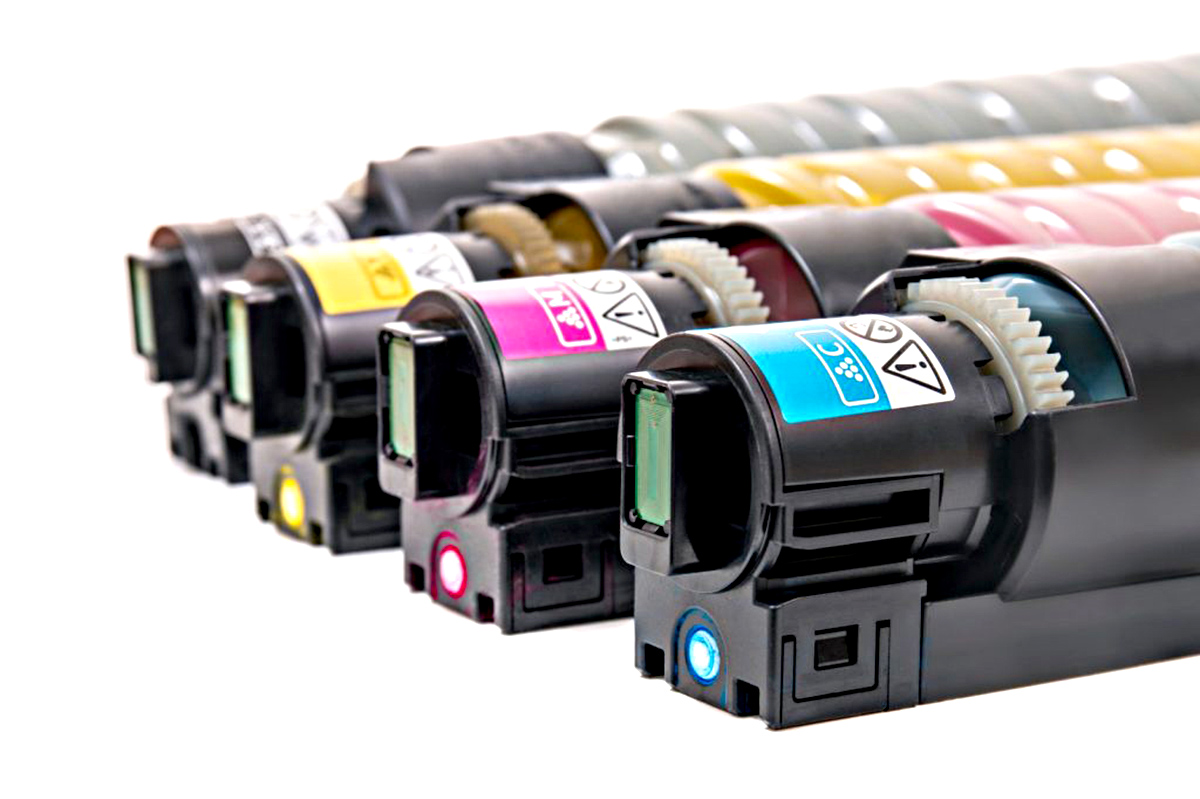
- New Printer Cartridge: Ensure that you have the correct replacement cartridge for your printer model. Refer to your printer's manual or online resources to identify the compatible cartridge.
- Clean Cloth: A lint-free cloth or a soft, clean tissue will come in handy for wiping any dust or residue from the cartridge and the printer.
- Protective Gloves (Optional): While not mandatory, wearing gloves can prevent skin contact with ink and minimize the risk of smudges or stains.
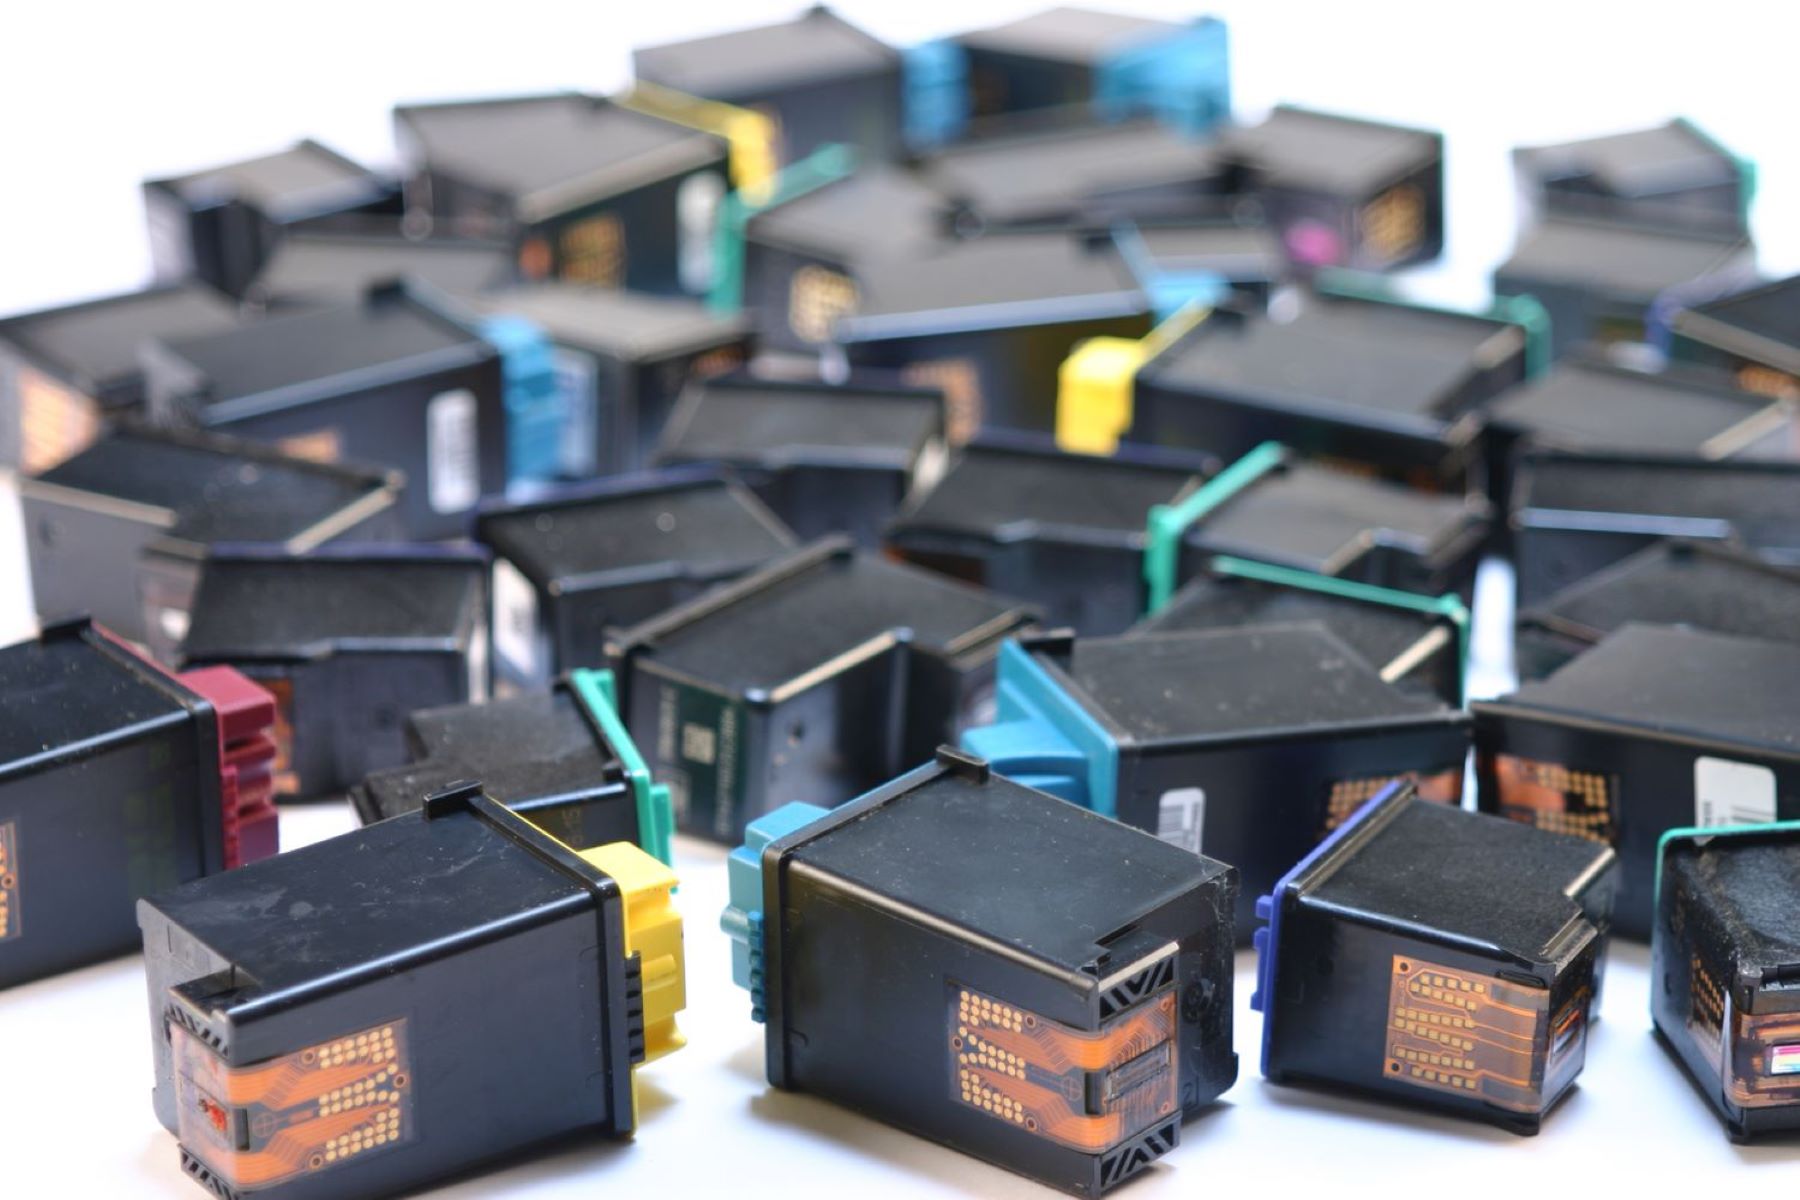
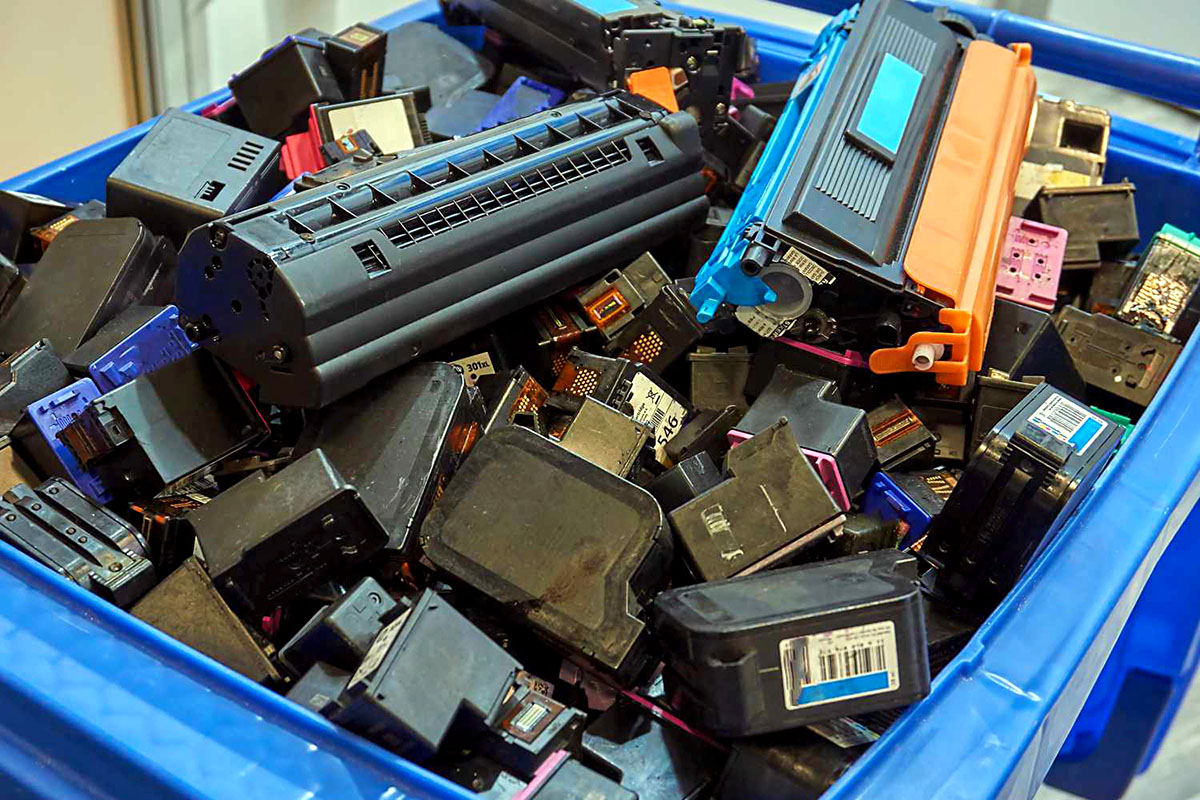
- Recycling Materials: Have a plastic bag or container ready to store the used cartridge for recycling or proper disposal.
- Printer Manual: Keep the printer manual accessible for reference, especially if it contains specific instructions for cartridge replacement.
By ensuring that you have these materials on hand, you'll be well-prepared to proceed with confidence. With everything in place, you're ready to move on to the next step in the cartridge replacement process.
Step 2: Turn off the printer
Before delving into the cartridge replacement process, it’s crucial to power off the printer. This simple yet critical step ensures safety and prevents any potential mishaps during the cartridge replacement process.
Here’s how to safely turn off your printer:
- Complete Ongoing Print Jobs: If the printer is actively processing a print job, allow it to complete before proceeding. Cancelling print jobs and clearing the print queue can prevent any unexpected output during the cartridge replacement.
- Access the Power Button: Locate the power button on your printer. It may be positioned on the control panel or elsewhere on the printer’s body.
- Power Off the Printer: Press and hold the power button until the printer shuts down completely. Some printers may require a brief press to initiate the shutdown process.
- Verify Power Down: Ensure that all lights and indicators on the printer are turned off, indicating that it’s no longer receiving power.
By following these steps, you’ll successfully power off your printer, setting the stage for a safe and uninterrupted cartridge replacement process. Remember, safety is paramount, and taking the time to power down the printer ensures a smooth transition to the next steps in the cartridge replacement journey.
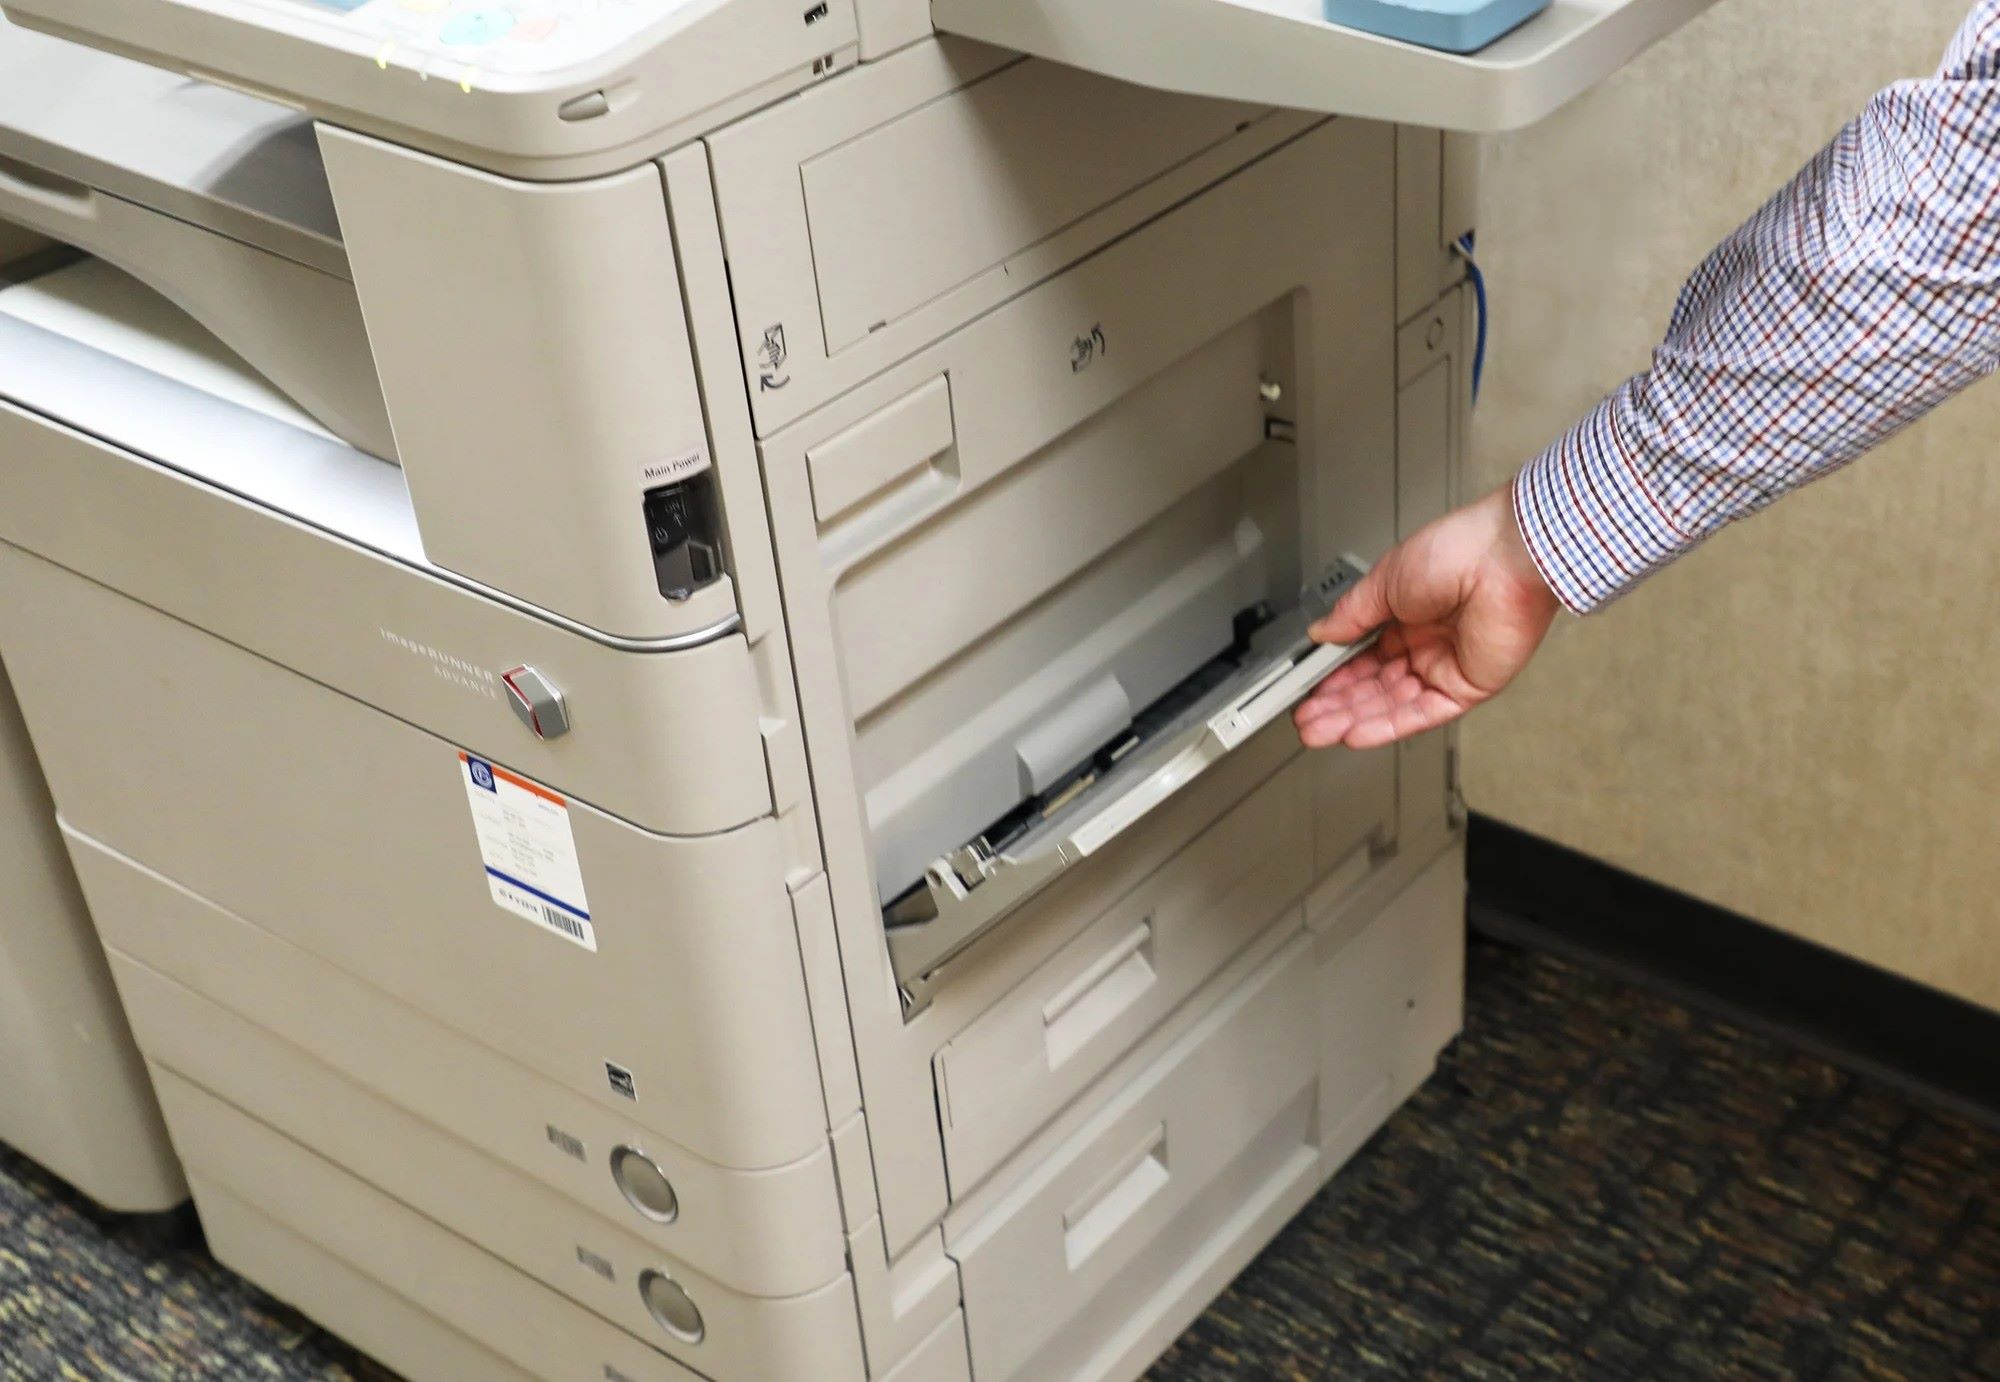
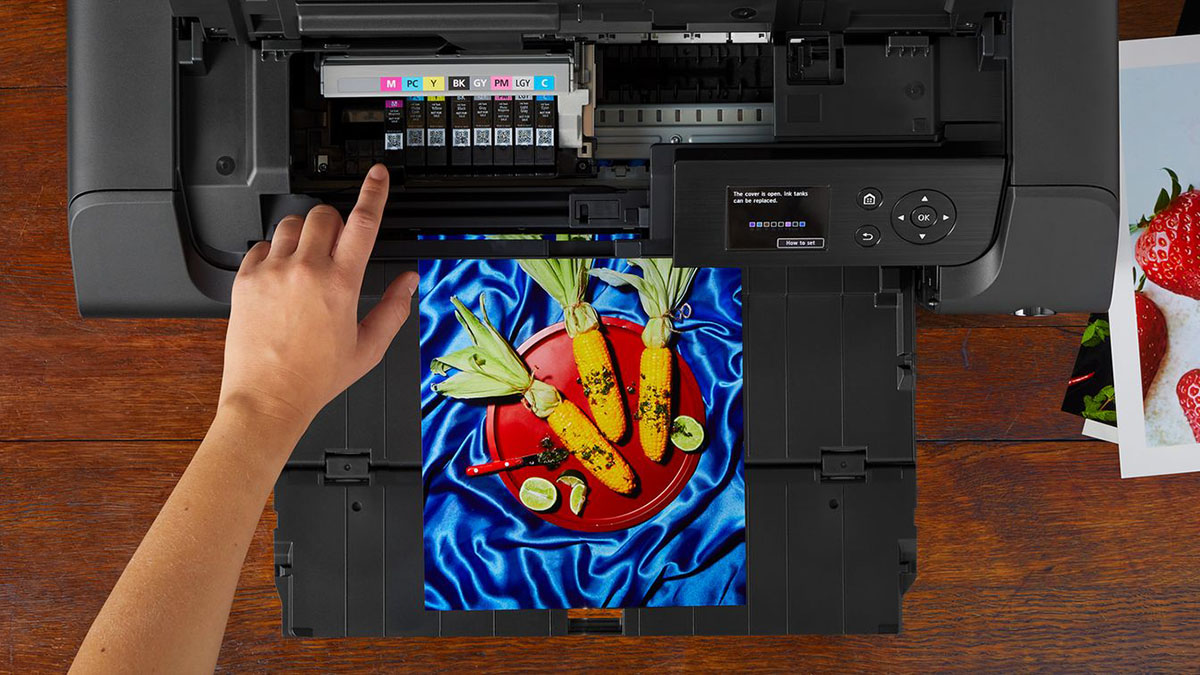
Step 3: Access the cartridge
With the printer safely powered off, the next step in the cartridge replacement process is to access the cartridge compartment. This step may vary slightly depending on your printer’s make and model, but the general process remains consistent across most printers.
Here’s how to access the cartridge:
- Open the Printer Cover: Locate the printer cover or access panel. This is typically located on the top or front of the printer. Gently lift or slide the cover to reveal the inner components of the printer.
- Wait for Cartridge Alignment: Once the printer cover is open, wait for the cartridge carriage or holder to move to the center of the printer. This allows for easy access to the cartridges and prevents any obstructions during the replacement process.
- Secure the Cover: If the printer cover has a locking mechanism, ensure that it remains in the open position. Some printers may have a latch or button to secure the cover in place, providing unhindered access to the cartridges.
By following these steps, you’ll successfully access the cartridge compartment of your printer, setting the stage for the seamless removal and installation of the new cartridge. Accessing the cartridge is a crucial preparatory step that ensures you can proceed with the replacement process without any hindrances.
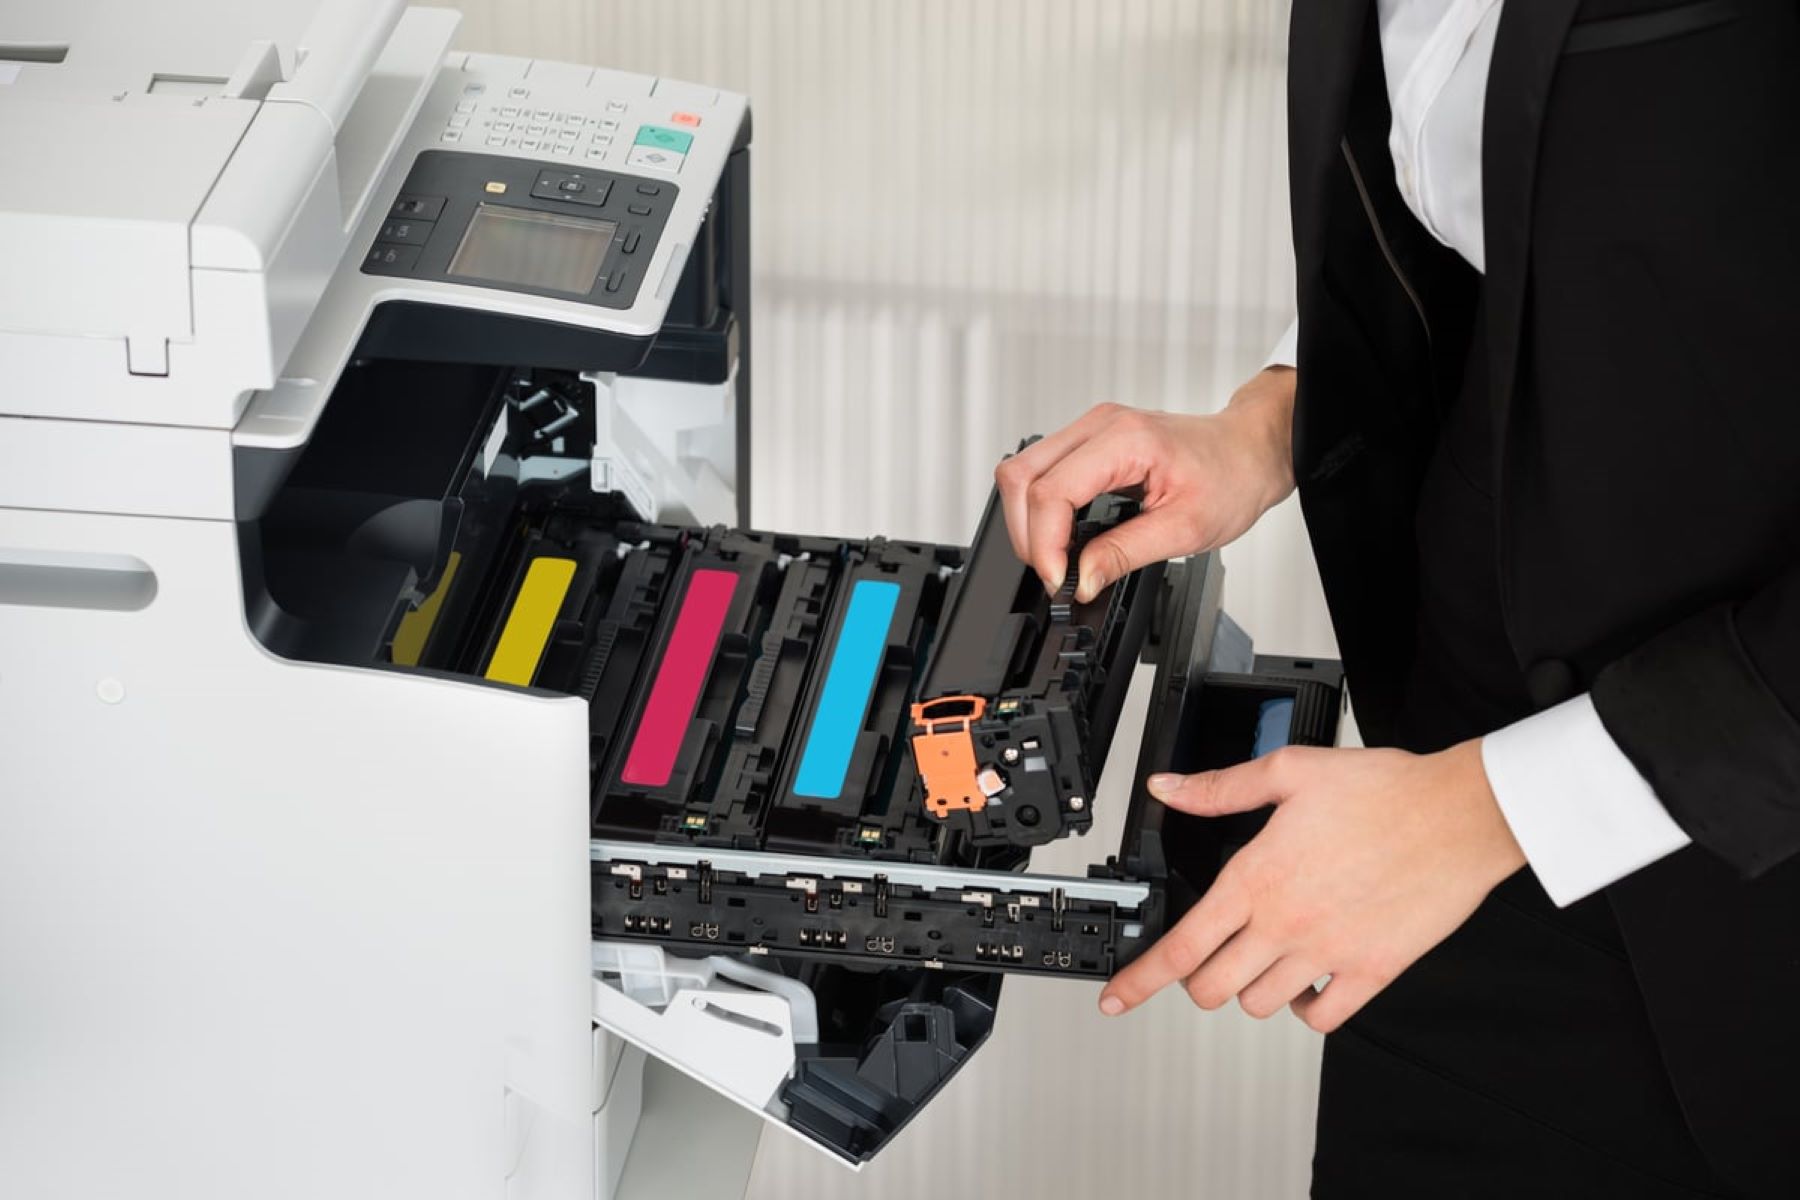
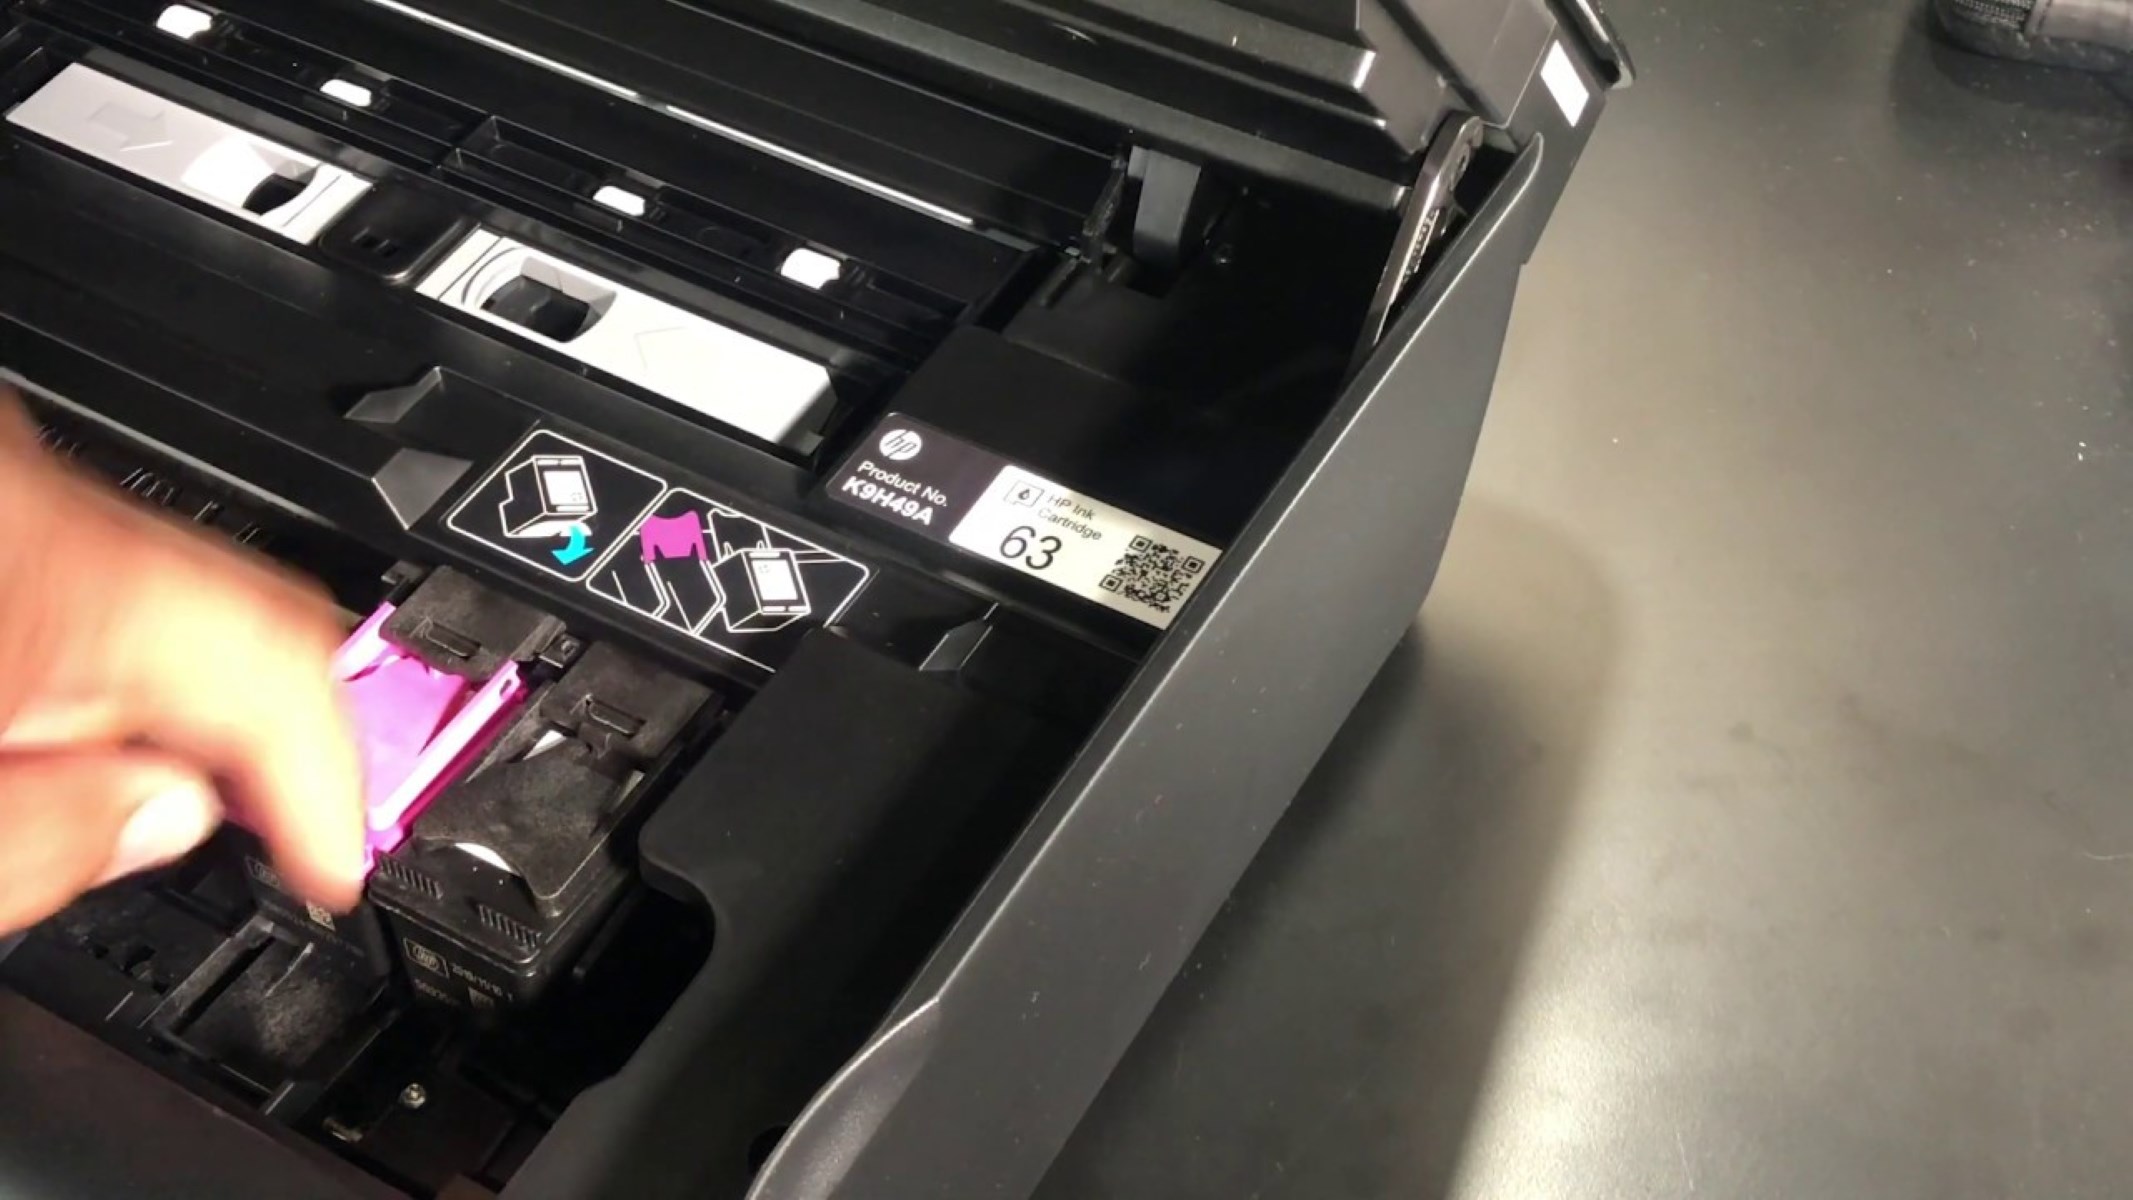
Step 4: Remove the old cartridge
Now that you’ve accessed the cartridge compartment, it’s time to bid farewell to the old cartridge and make way for its replacement. Removing the old cartridge is a straightforward process that sets the stage for installing the new one.
Here’s how to remove the old cartridge:
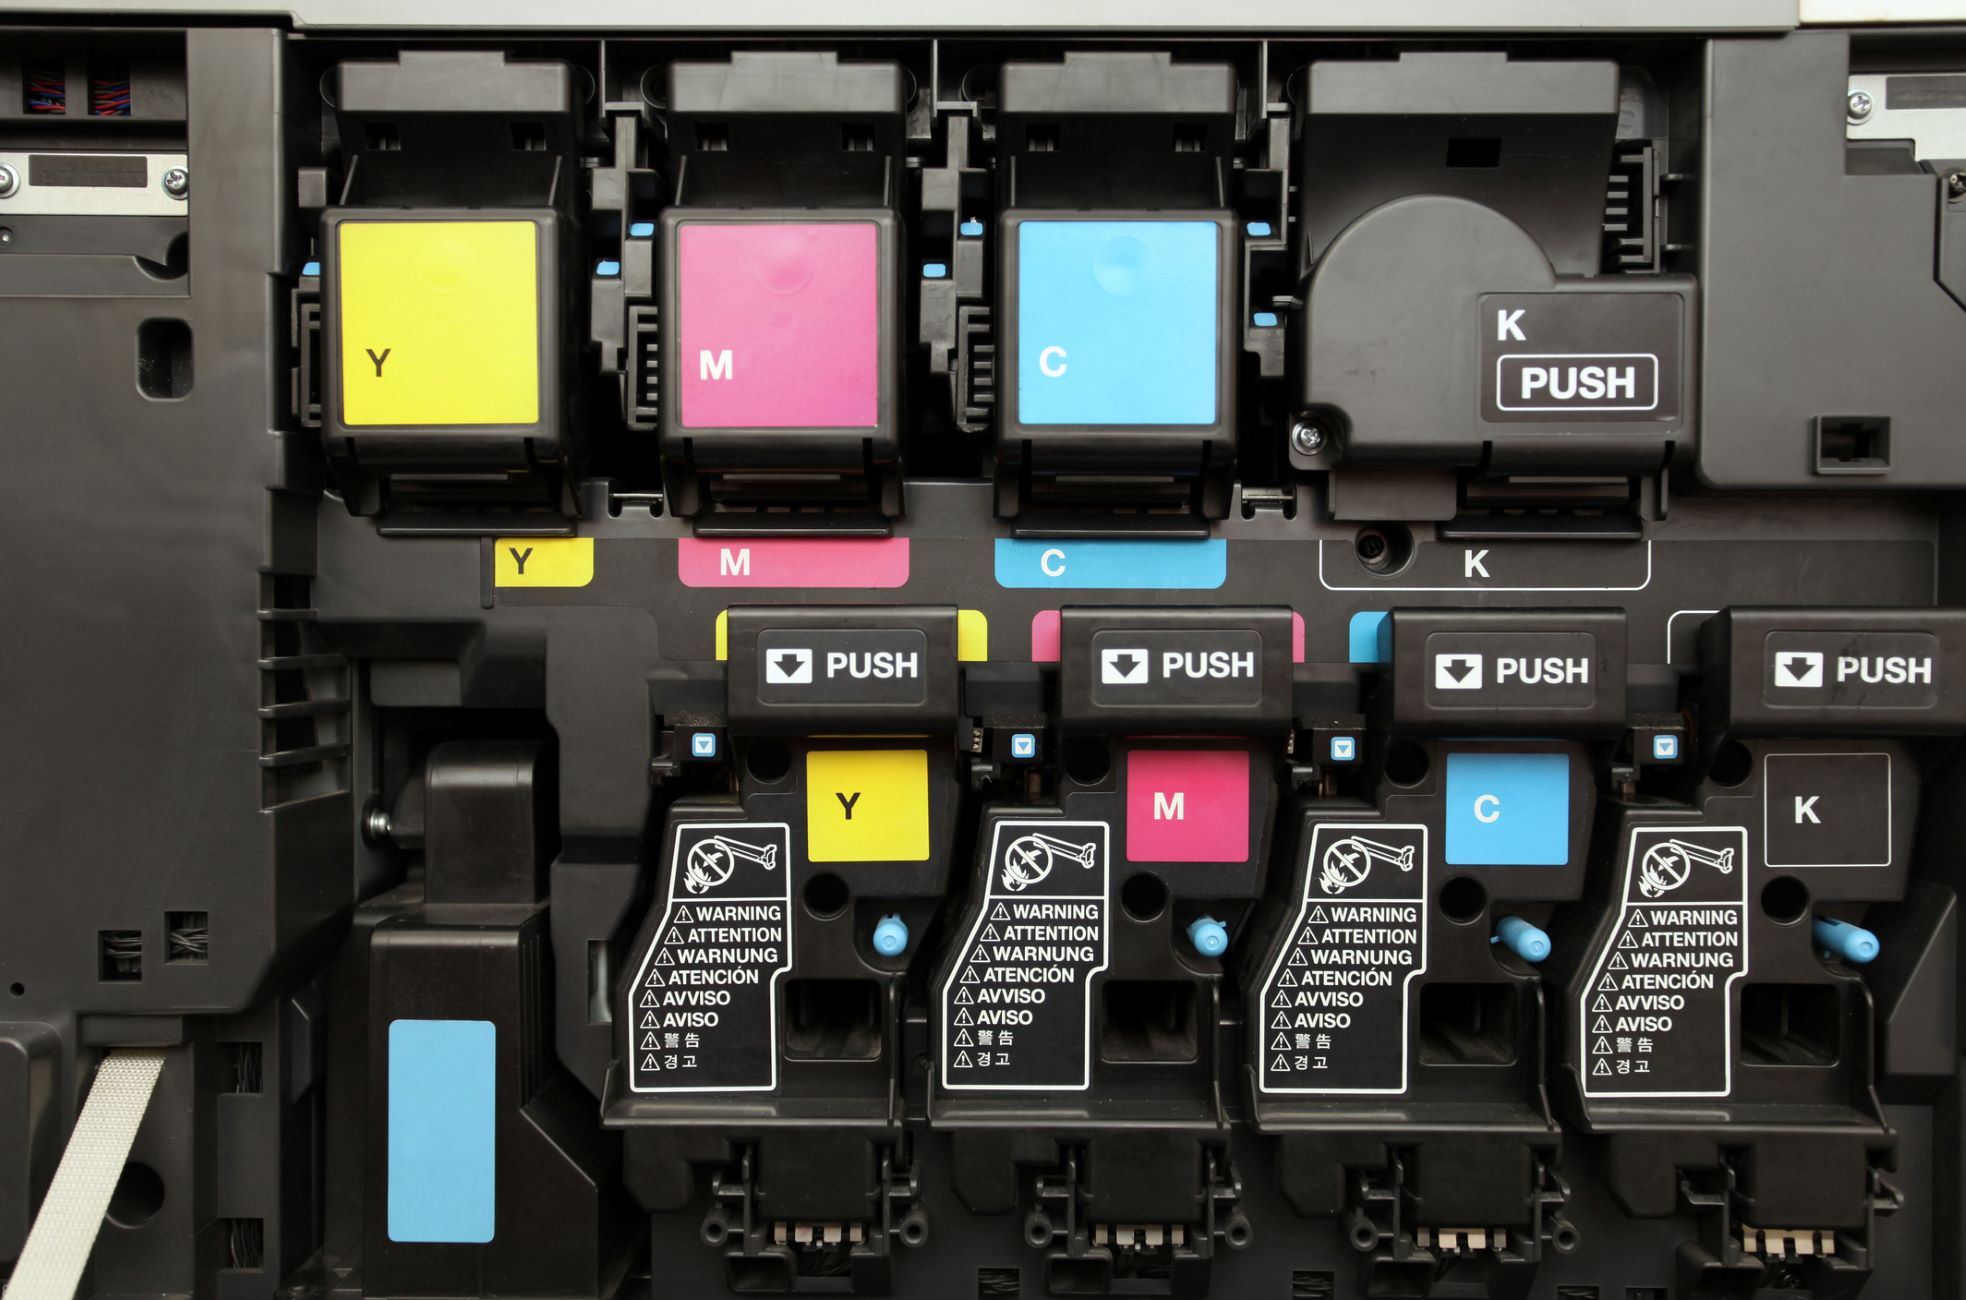
- Identify the Cartridge: Take a moment to identify the cartridge that requires replacement. Most printers have color-coded or labeled cartridges for easy recognition.
- Release the Cartridge Latch: If your printer features a latch or locking mechanism securing the cartridge in place, gently press or lift the latch to release the cartridge.
- Handle with Care: Grasp the old cartridge firmly but gently. Avoid applying excessive force or touching the electrical contacts or ink nozzles to prevent damage.
- Remove the Cartridge: Pull the old cartridge out of its slot in a smooth, straight motion. Be mindful of any retaining clips or additional securing mechanisms that may be present.
- Set Aside the Old Cartridge: Place the removed cartridge on a flat surface, preferably on a piece of paper or cloth to prevent any ink stains.
By following these steps, you’ll successfully remove the old cartridge from your printer, clearing the way for the installation of the new one. Handling the old cartridge with care ensures that the printer and surrounding area remain clean and free of any ink spillage. With the old cartridge out of the way, you’re now ready to proceed to the next step in the cartridge replacement process.
Before changing the printer cartridge, make sure to turn off the printer and wait for it to cool down. Open the printer cover, remove the old cartridge, and carefully insert the new one, following the printer’s instructions. Close the cover and turn the printer back on.
Read more: How To Clean A Printer Cartridge
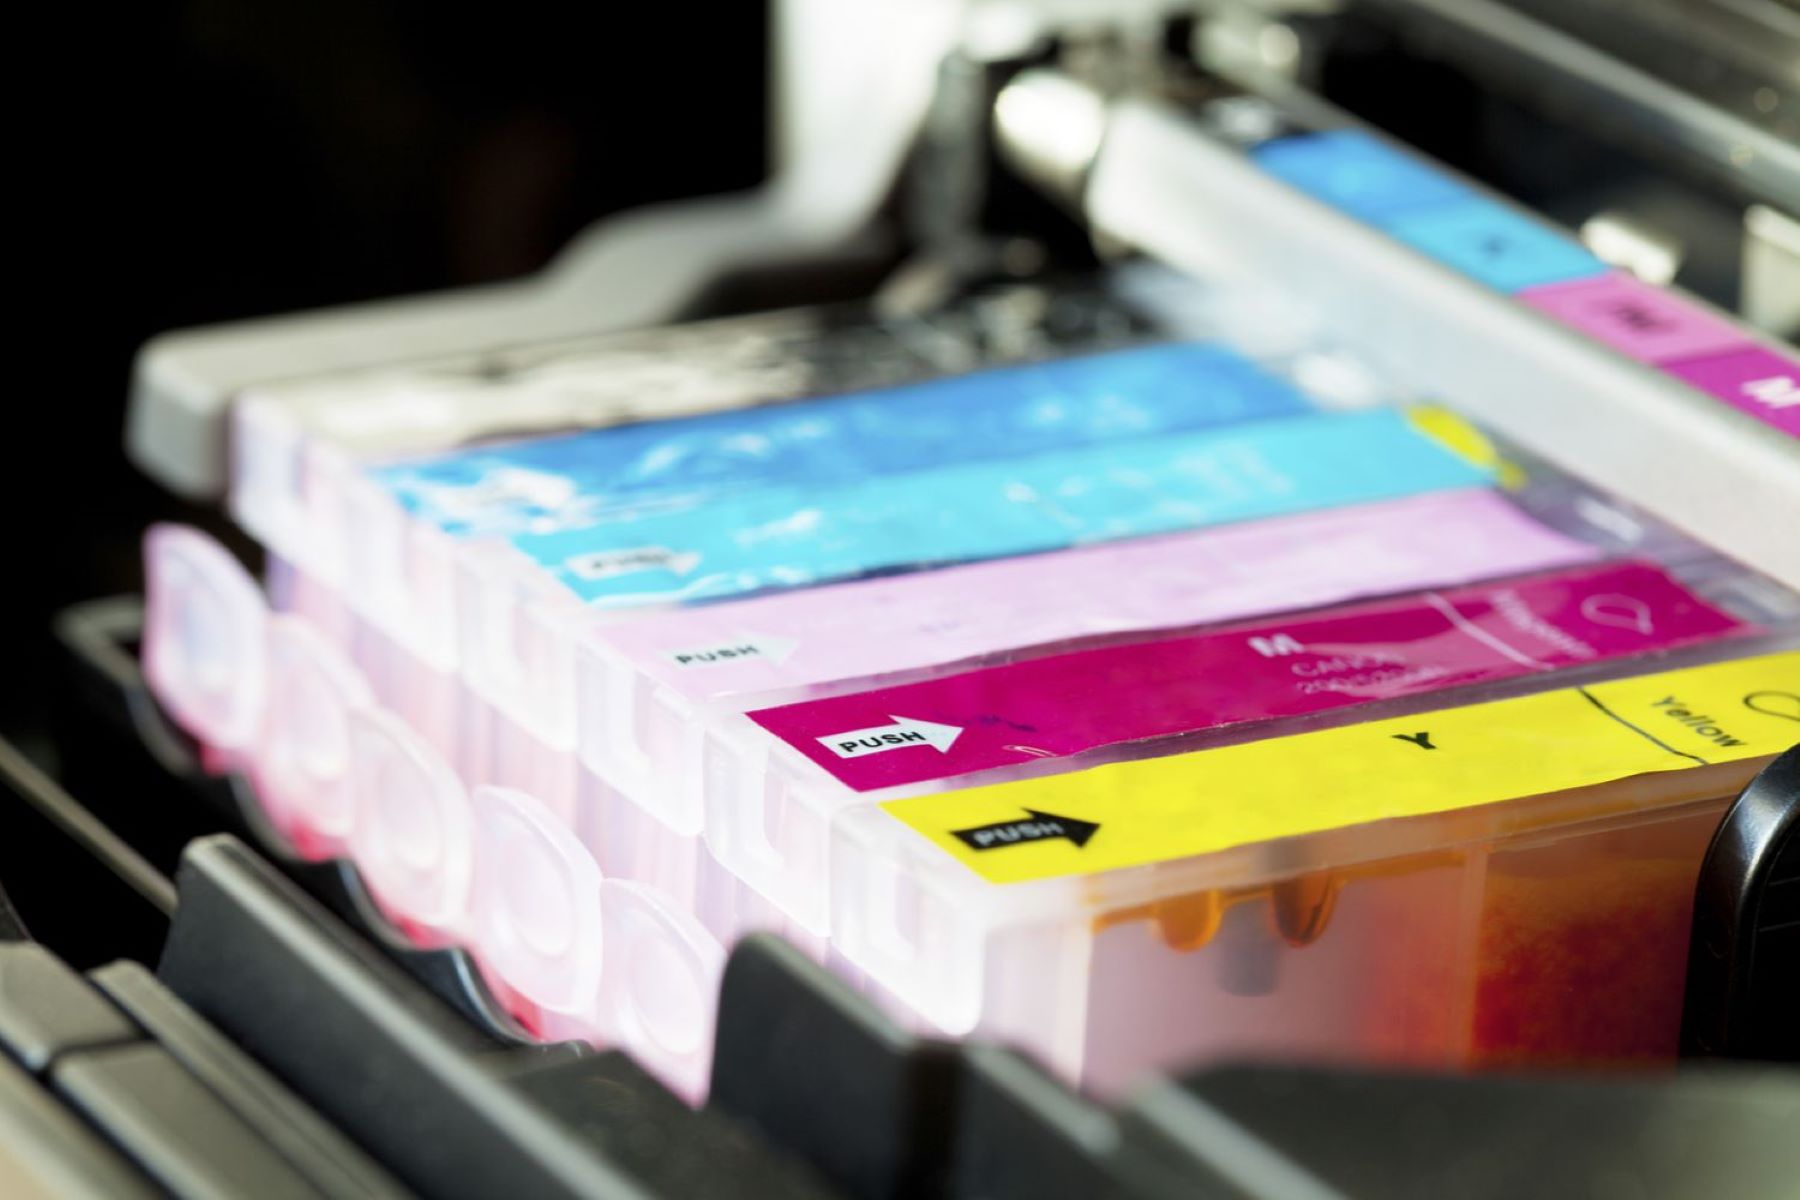
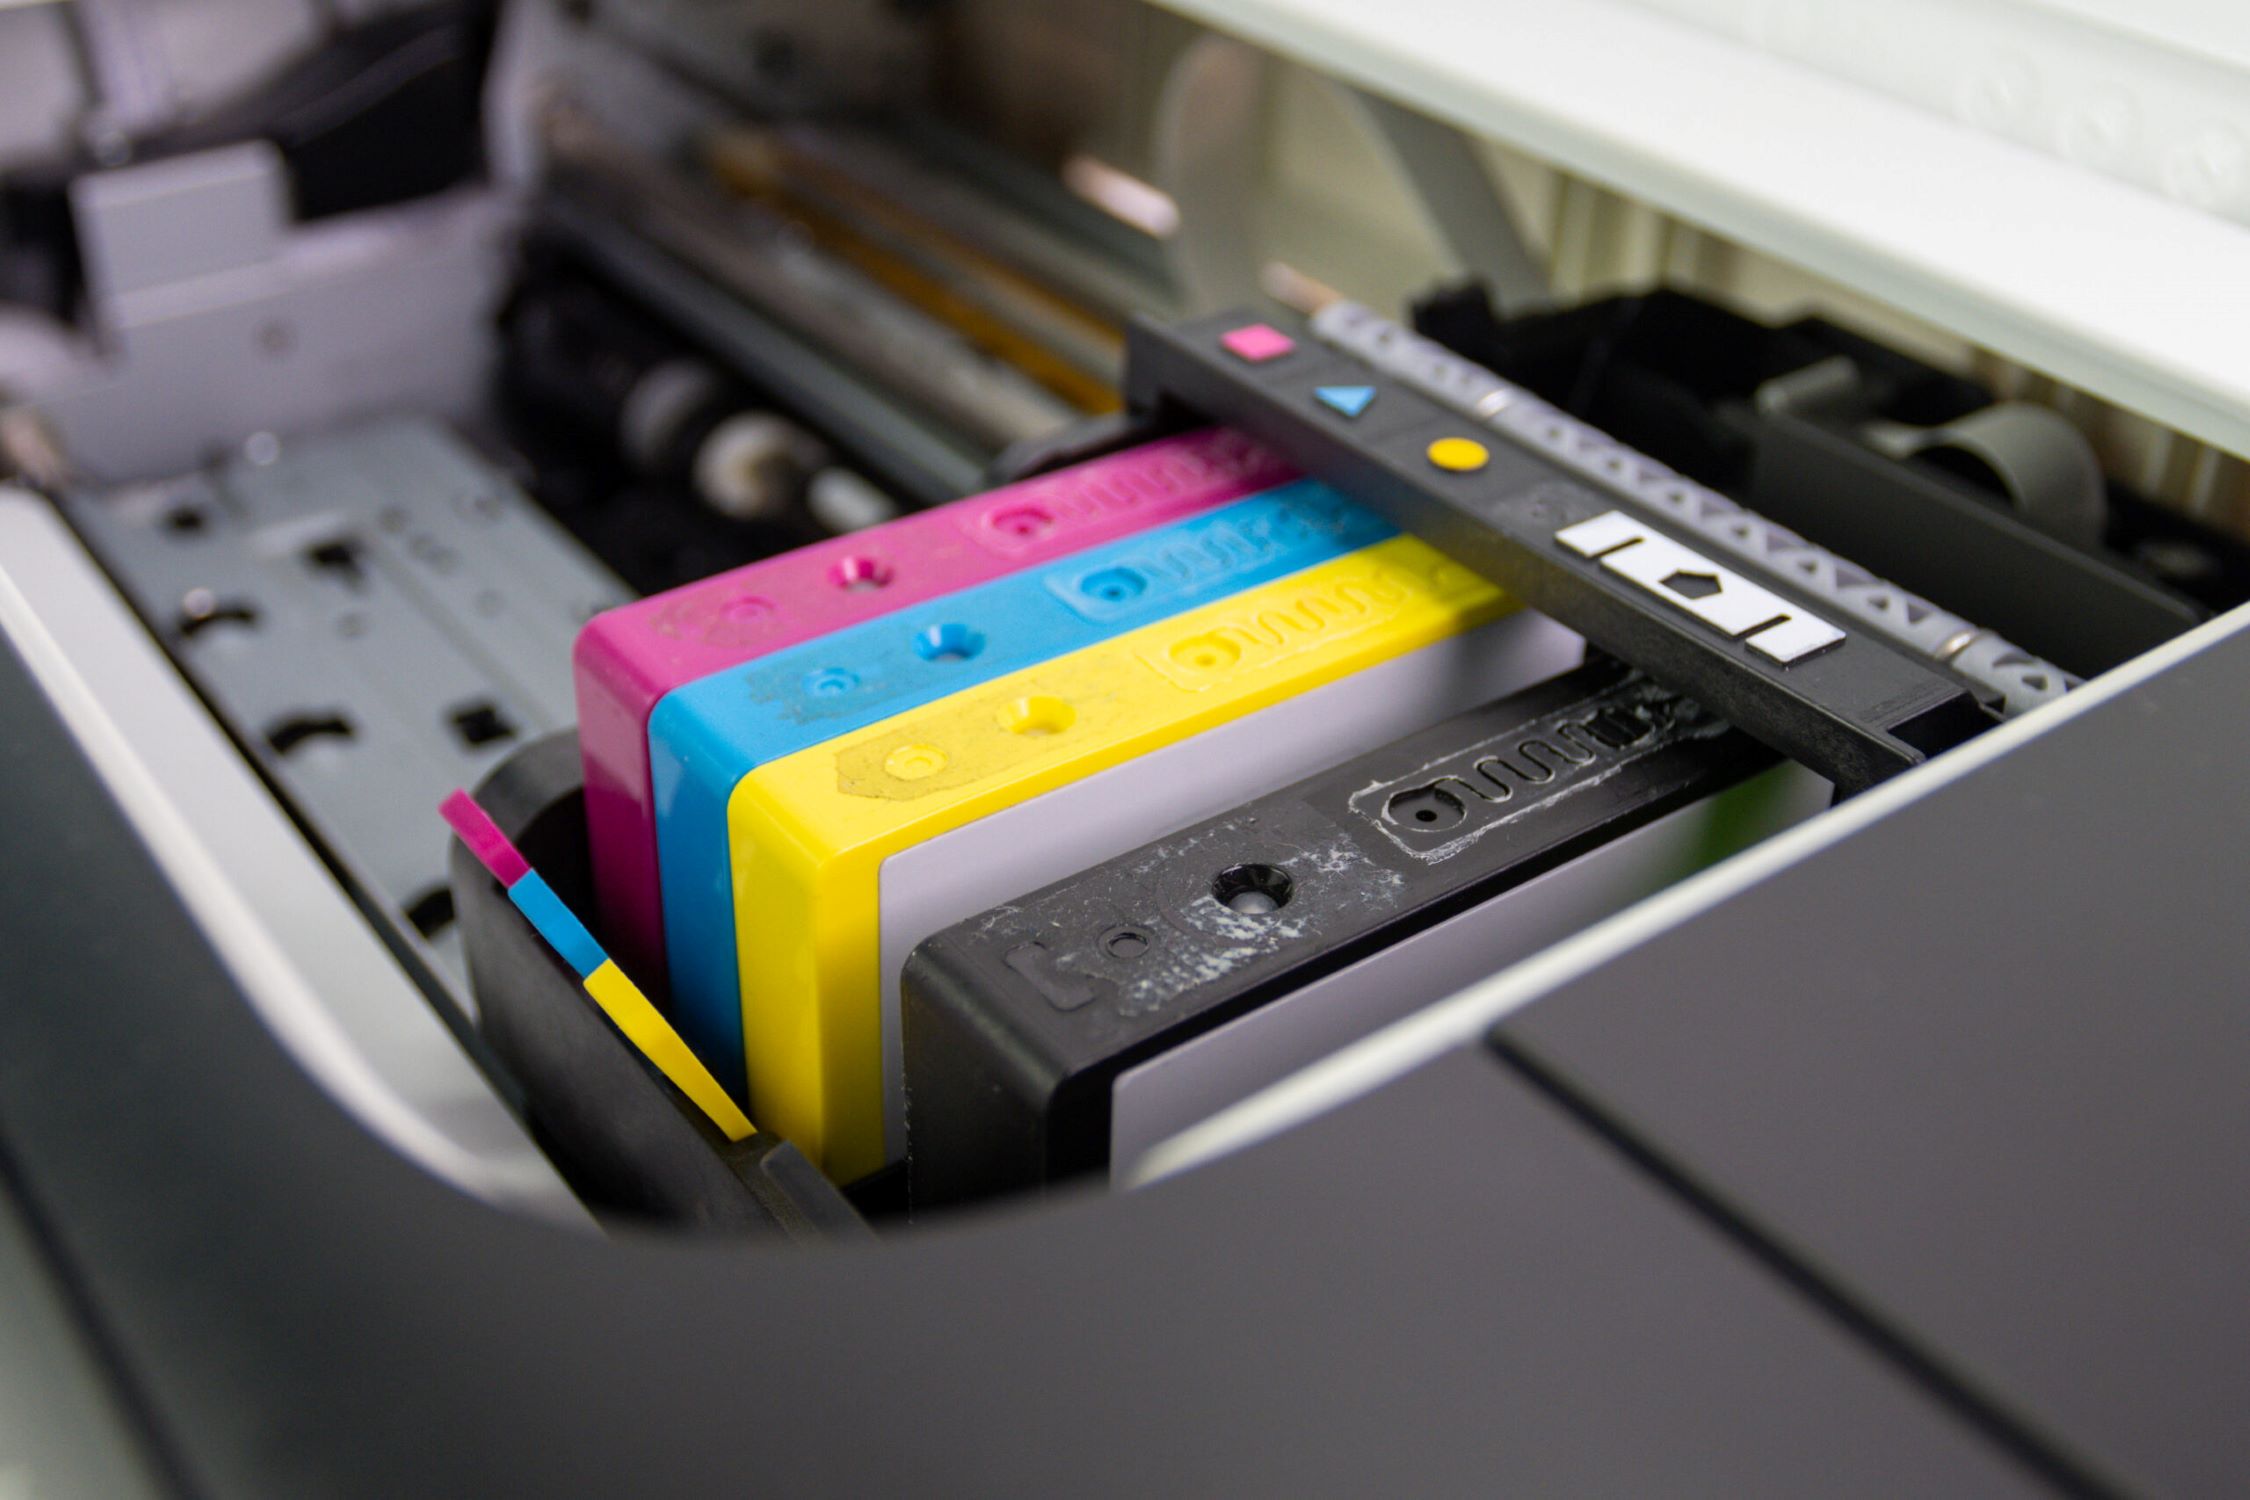
Step 5: Install the new cartridge
With the old cartridge gracefully retired, it’s time to introduce the fresh, vibrant colors of the new cartridge to your printer. Installing the new cartridge is a pivotal step that ensures optimal print quality and performance.
Here’s how to install the new cartridge:
- Unpack the New Cartridge: Carefully remove the new cartridge from its packaging, ensuring that you handle it with care to avoid any damage to the delicate components.
- Remove Protective Seals: Check the new cartridge for any protective seals or tapes. These are designed to safeguard the ink nozzles and contacts during shipping and should be removed before installation.
- Align the Cartridge: Hold the new cartridge with the label facing up and the contacts facing the printer. Align the cartridge with the corresponding slot in the cartridge compartment, ensuring a snug fit.
- Insert the Cartridge: Gently slide the new cartridge into its designated slot, applying even pressure until it securely clicks into place. Ensure that the cartridge is properly seated and aligned with the guidance marks.
- Secure the Cartridge: If your printer features a latch or locking mechanism, gently press it down to secure the new cartridge in place. This provides additional stability and ensures proper electrical contact.
By following these steps, you’ll successfully install the new cartridge, ushering in a fresh wave of printing capabilities for your printer. Taking care during the installation process ensures that the new cartridge integrates seamlessly with your printer, setting the stage for vibrant and high-quality prints.
Step 6: Close the printer cover
With the new cartridge securely in place, it’s time to bring the cartridge replacement process to a close by ensuring that the printer cover is properly secured. Closing the printer cover not only safeguards the internal components but also prepares the printer for the next printing task.
Here’s how to close the printer cover:
- Check Cartridge Alignment: Before closing the printer cover, ensure that the new cartridge is securely seated and aligned within the cartridge compartment. Verify that the cartridge is positioned as per the printer’s guidance marks.
- Gently Lower the Cover: Lower the printer cover or access panel carefully, ensuring that it aligns with the printer’s body. Take care to avoid trapping any cables or obstructing the cartridge compartment.
- Secure the Cover: If the printer cover features a latch or locking mechanism, gently press it down or slide it into place to secure the cover. This ensures that the internal components are protected and the printer is ready for operation.
- Verify Closure: Ensure that the printer cover is securely closed and latched, providing a protective shield for the internal components and the newly installed cartridge.
By following these steps, you’ll successfully close the printer cover, completing the cartridge replacement process with finesse. A securely closed printer cover not only protects the internal components but also signals that your printer is ready to embark on its next printing adventure with the newly installed cartridge.
Step 7: Turn on the printer
With the new cartridge in place and the printer cover securely closed, it’s time to power up the printer and ensure that the installation process has been completed successfully. Turning on the printer initiates the startup sequence, allowing the printer to recognize the new cartridge and prepare for upcoming printing tasks.
Here’s how to turn on the printer:
- Access the Power Button: Locate the power button on your printer. It may be positioned on the control panel or elsewhere on the printer’s body.
- Power On the Printer: Press the power button to turn on the printer. Depending on the model, you may need to hold the button for a few seconds to initiate the startup process.
- Wait for Initialization: Allow the printer to complete its startup sequence. This may involve the calibration of the new cartridge and the initialization of the printing system.
- Verify Readiness: Once the printer has powered on, verify that it displays the ready status. Some printers may indicate the readiness through visual indicators or on the control panel display.
By following these steps, you’ll successfully power on the printer, signaling the completion of the cartridge replacement process. The printer’s readiness signifies that it has acknowledged the new cartridge and is prepared to deliver high-quality prints for your documents and creative projects.
Conclusion
Congratulations! You’ve successfully navigated the intricate process of changing a printer cartridge, equipping your printer with the vitality to produce crisp documents and vibrant images. By following the step-by-step guide outlined in this comprehensive manual, you’ve gained the expertise to seamlessly replace a printer cartridge and maintain the optimal performance of your printing equipment.
As you reflect on your cartridge replacement journey, remember the essential steps that contributed to your success:
- Gathering Necessary Materials: By assembling the required materials, you set the stage for a smooth and uninterrupted cartridge replacement process.
- Turning Off the Printer: Prioritizing safety, you powered off the printer, ensuring a secure environment for the cartridge replacement.
- Accessing the Cartridge: By opening the printer cover and accessing the cartridge compartment, you positioned yourself for a seamless transition to the replacement phase.
- Removing the Old Cartridge: With care and precision, you bid farewell to the old cartridge, clearing the path for the installation of its successor.
- Installing the New Cartridge: Introducing the new cartridge, you breathed new life into your printer, setting the stage for vibrant and high-quality prints.
- Closing the Printer Cover: By securely closing the printer cover, you safeguarded the internal components and prepared the printer for its next printing endeavor.
- Turning On the Printer: Initiating the startup sequence, you confirmed the successful installation of the new cartridge and the readiness of your printer for future tasks.
With these accomplishments in mind, you’re now equipped with the knowledge and confidence to tackle future cartridge replacements with ease. Embrace the seamless flow of the printing process, knowing that you possess the expertise to maintain your printer’s optimal performance.
As you embark on your printing adventures, may the vibrant hues of your documents and the sharp clarity of your images serve as a testament to your mastery of the printer cartridge replacement process. Here’s to a future filled with flawless prints and effortless maintenance of your printing equipment!
Frequently Asked Questions about How To Change Printer Cartridge
Was this page helpful?
At Storables.com, we guarantee accurate and reliable information. Our content, validated by Expert Board Contributors, is crafted following stringent Editorial Policies. We're committed to providing you with well-researched, expert-backed insights for all your informational needs.


0 thoughts on “How To Change Printer Cartridge”