Home>Technology>Smart Home Devices>How To Configure TP-Link Wi-Fi Router Step By Step
Smart Home Devices
How To Configure TP-Link Wi-Fi Router Step By Step
Modified: January 9, 2024
Learn how to set up your TP-Link Wi-Fi router with easy step-by-step instructions. Get your smart home devices connected in no time. Simplify your home network setup!
(Many of the links in this article redirect to a specific reviewed product. Your purchase of these products through affiliate links helps to generate commission for Storables.com, at no extra cost. Learn more)
Introduction
Welcome to the world of smart home devices, where seamless connectivity and effortless control are at your fingertips. One of the essential components of a connected home is a reliable Wi-Fi network, and configuring your TP-Link Wi-Fi router is the first step towards creating a robust and secure network. Whether you’re setting up a new TP-Link router or making adjustments to an existing one, this comprehensive guide will walk you through the process step by step.
Configuring your TP-Link Wi-Fi router is not only about establishing a stable internet connection but also about optimizing your network for the best performance and security. By following the steps outlined in this guide, you’ll be able to customize your router settings to suit your specific needs, ensuring a smooth online experience for all your connected devices.
From accessing the router’s web interface to setting up your Wi-Fi network and implementing security measures, each step is crucial in creating an efficient and protected network environment. By the end of this guide, you’ll have the knowledge and confidence to configure your TP-Link Wi-Fi router like a pro, empowering you to make the most of your smart home devices and online activities.
So, grab your TP-Link router, and let’s dive into the step-by-step configuration process that will elevate your home network to new heights of performance and security.
Key Takeaways:
- Configuring your TP-Link Wi-Fi router involves connecting to the router, accessing its web interface, setting up basic and Wi-Fi network configurations, and implementing robust security measures to create a reliable and secure network environment for your smart home devices.
- Exploring additional configuration options such as Quality of Service (QoS), port forwarding, parental controls, firmware updates, and VPN configuration allows you to further optimize your TP-Link router’s performance and functionality, ensuring a seamless and secure networking experience.
Read also: 8 Amazing TP Link Wi-Fi Router For 2025
Step 1: Connect to the Router
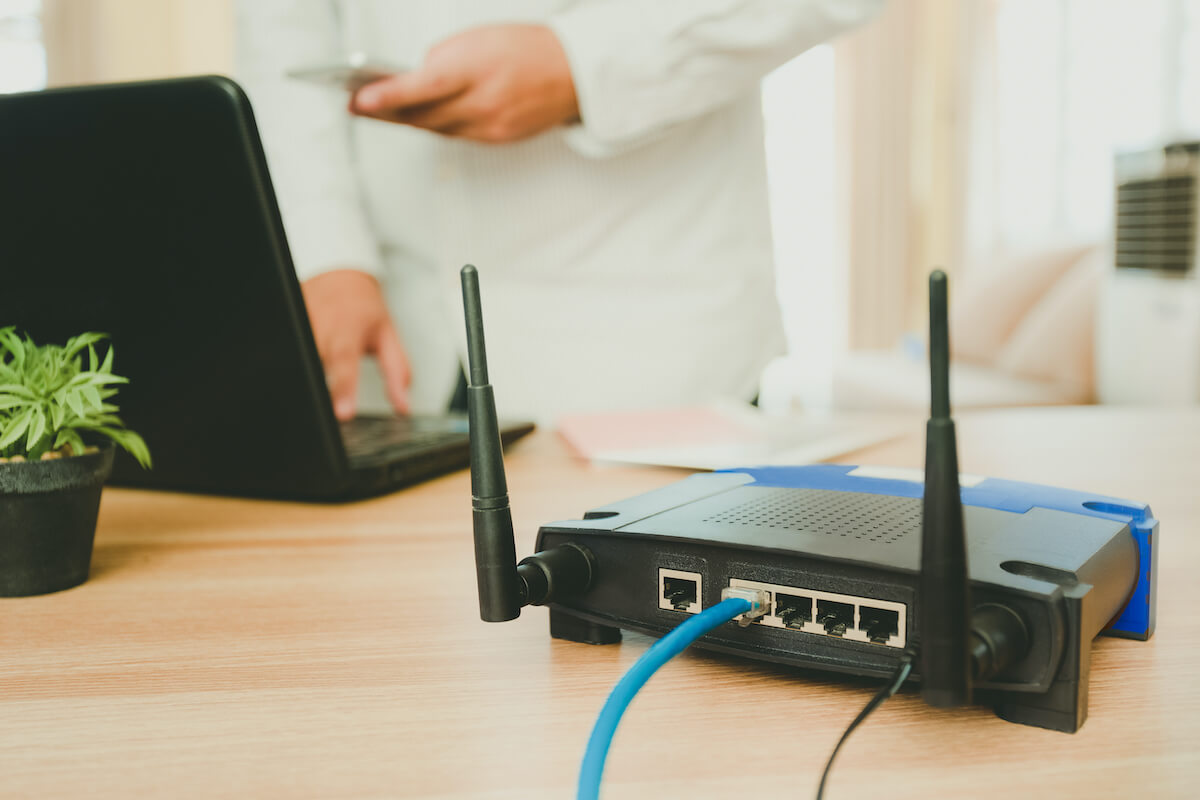
Before you can begin configuring your TP-Link Wi-Fi router, you need to establish a physical connection between the router and your computer or mobile device. Here’s how to do it:
- Power On: Ensure that your TP-Link router is powered on and properly connected to a stable power source. The power LED on the router should be lit, indicating that it’s receiving power.
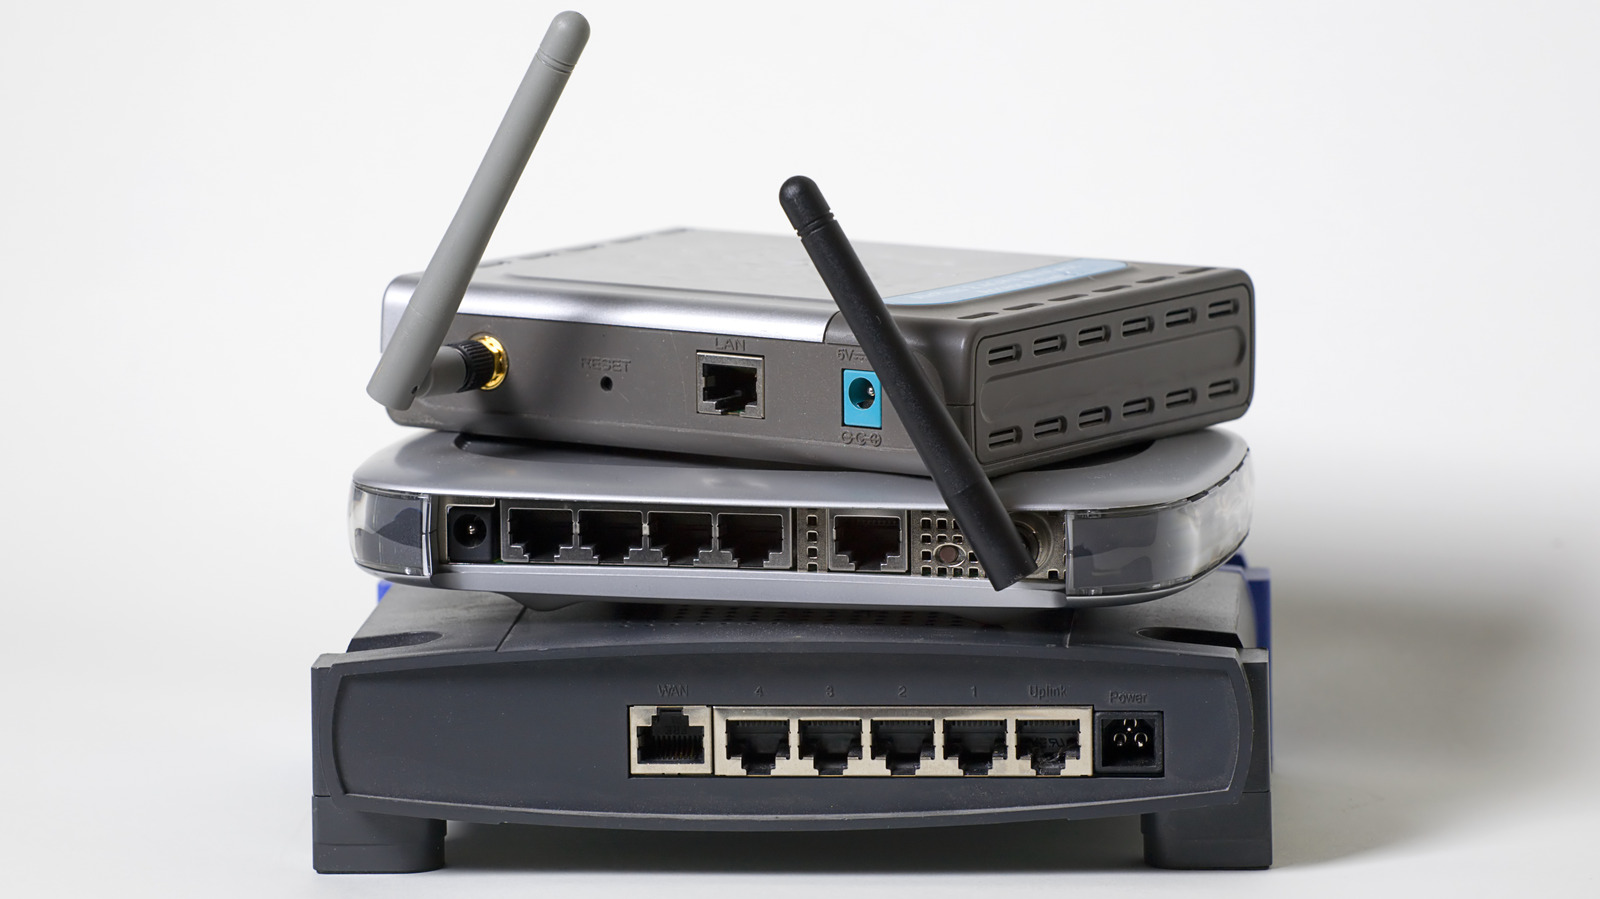
- Physical Connection: Use an Ethernet cable to connect your computer or laptop to one of the LAN (Local Area Network) ports on the router. If you’re configuring the router using a mobile device, connect to the router’s Wi-Fi network using the default SSID and password provided in the router’s documentation.
- Network Settings: If you’re using an Ethernet cable, ensure that your computer’s network settings are configured to obtain an IP address automatically (DHCP). This allows your computer to communicate with the router and access its web interface.
Once you’ve established a physical connection to the router, you’re ready to move on to the next step: accessing the router’s web interface to begin the configuration process.
Step 2: Access the Router’s Web Interface
After establishing a physical connection to your TP-Link Wi-Fi router, the next step is to access its web interface. This interface allows you to configure and customize various settings to optimize your network. Here’s how to access the router’s web interface:
- Open a Web Browser: Launch your preferred web browser on the connected computer or mobile device. Common web browsers include Google Chrome, Mozilla Firefox, Microsoft Edge, and Safari.
- Enter the Router’s IP Address: In the address bar of the web browser, type the default IP address of your TP-Link router. The default IP address is typically 192.168.0.1 or 192.168.1.1, but it may vary depending on the router model. Refer to the router’s documentation for the specific IP address.
- Enter the Login Credentials: When prompted, enter the router’s default username and password. These credentials are often provided in the router’s documentation or can be found on the router itself. If you’ve changed the login credentials in the past and can’t recall them, you may need to reset the router to its factory settings to regain access.
- Access the Web Interface: Once you’ve entered the correct IP address and login credentials, you should be directed to the router’s web interface, where you can begin configuring the router’s settings.
Upon successful access to the web interface, you’ll be greeted with a dashboard that provides access to a wide range of configuration options, including network settings, wireless settings, security features, and more. This interface serves as the control center for managing your TP-Link router and optimizing its performance to meet your specific requirements.
Now that you’ve gained access to the router’s web interface, it’s time to delve into the essential configurations that will lay the foundation for a robust and personalized Wi-Fi network.
Step 3: Configure Basic Settings
With access to your TP-Link router’s web interface, you can now begin configuring the basic settings that form the backbone of your network. These settings include network identification, internet connection type, and DHCP (Dynamic Host Configuration Protocol) settings. Follow these steps to set up the basic configurations:
- Network Identification: Navigate to the “Basic” or “Network” settings section within the router’s web interface. Here, you can customize the network name (SSID) and password for your Wi-Fi network. Choose a unique and memorable SSID, and create a strong password to secure your network from unauthorized access.
- Internet Connection Type: Access the “Internet” or “WAN” settings to specify the type of internet connection provided by your ISP (Internet Service Provider). Common connection types include Dynamic IP, Static IP, PPPoE (Point-to-Point Protocol over Ethernet), and PPTP (Point-to-Point Tunneling Protocol). Select the appropriate connection type based on your ISP’s requirements.
- DHCP Settings: In the DHCP settings section, you can configure the range of IP addresses that the router can assign to devices connected to the network. Ensure that the DHCP server is enabled, and define the starting and ending IP addresses within the range. This allows the router to automatically assign IP addresses to devices, simplifying network management.
By configuring these basic settings, you’re laying the groundwork for a functional and secure Wi-Fi network. The customized network name and password enhance the privacy and security of your network, while the appropriate internet connection type and DHCP settings ensure seamless connectivity for all your devices.
Once you’ve completed the basic configurations, you’re ready to move on to the next crucial step: setting up your Wi-Fi network to provide reliable wireless connectivity throughout your home.
When configuring a TP-Link Wi-Fi router, always connect to the router using an Ethernet cable for a more stable connection during the setup process.
Step 4: Set Up Wi-Fi Network
Setting up your Wi-Fi network is a pivotal step in configuring your TP-Link router, as it enables seamless wireless connectivity for your devices. By customizing the Wi-Fi settings, you can optimize the network for performance, coverage, and security. Here’s how to set up your Wi-Fi network:
- Wireless Settings: Navigate to the “Wireless” or “Wi-Fi” settings section within the router’s web interface. Here, you can configure the wireless mode, channel, and transmission power. Select the appropriate wireless mode based on the devices you plan to connect to the network, and choose a channel with minimal interference for optimal performance.
- SSID and Password: Ensure that the SSID and password you configured in the basic settings step are reflected in the wireless settings. You can also enable SSID broadcast to allow devices to easily discover and connect to the network.
- Wireless Security: Enable robust wireless security protocols such as WPA2-PSK (Wi-Fi Protected Access 2 – Pre-Shared Key) to encrypt the data transmitted over the network. Create a strong and unique pre-shared key (password) to safeguard your Wi-Fi network from unauthorized access.
- Guest Network (Optional): If desired, you can set up a separate guest network with limited access to your primary network. This provides a secure and convenient way for guests to connect to the internet without compromising the security of your main network.
By fine-tuning the Wi-Fi settings, you can ensure reliable wireless connectivity and mitigate potential interference or security vulnerabilities. The optimized wireless mode, channel selection, and strong security measures contribute to a stable and secure Wi-Fi network that meets the demands of your connected home.
With your Wi-Fi network successfully set up, you’re well on your way to creating a robust and efficient network environment. The next step involves implementing security measures to fortify your Wi-Fi network against potential threats and intrusions.
Read more: How To Configure A Wi-Fi Router
Step 5: Secure Your Wi-Fi Network
Securing your Wi-Fi network is paramount to safeguarding your personal data, maintaining network integrity, and preventing unauthorized access. By implementing robust security measures, you can fortify your TP-Link router and ensure that your wireless network remains protected from potential threats. Here’s how to secure your Wi-Fi network:
- Encryption Method: Access the wireless security settings within the router’s web interface and select the most advanced encryption method available, such as WPA2-PSK (Wi-Fi Protected Access 2 – Pre-Shared Key). This encryption protocol encrypts the data transmitted over the network, preventing unauthorized interception and access.
- Strong Password: Create a strong and unique pre-shared key (Wi-Fi password) that combines uppercase and lowercase letters, numbers, and special characters. Avoid using easily guessable passwords, such as common words or phrases, to enhance the security of your network.
- MAC Address Filtering: Consider enabling MAC address filtering, which allows you to specify the devices that are permitted to connect to your Wi-Fi network based on their unique MAC addresses. This additional layer of security restricts network access to authorized devices only.
- Router Administration Password: Change the default login credentials for accessing the router’s web interface. Create a strong administrator password to prevent unauthorized access to the router’s settings and configurations.
- Remote Management: Disable remote management of the router unless it’s absolutely necessary. Remote management allows the router to be configured from a location outside the local network, but it also poses a potential security risk if not properly secured.
By implementing these security measures, you can significantly enhance the resilience of your Wi-Fi network against unauthorized access, data breaches, and other security threats. Protecting your network with strong encryption, passwords, and access controls is essential in maintaining a secure and reliable wireless environment for your connected devices.
With your Wi-Fi network fortified with robust security measures, you can rest assured that your personal data and online activities are shielded from potential intrusions and vulnerabilities. The next step involves exploring additional configuration options to further optimize your TP-Link router’s performance and functionality.
Step 6: Additional Configuration Options
As you near the completion of configuring your TP-Link Wi-Fi router, exploring additional configuration options can further optimize its performance and functionality. These options encompass advanced settings that allow you to customize and fine-tune specific aspects of your network. Here are some additional configuration options to consider:
- Quality of Service (QoS): QoS settings enable you to prioritize certain types of network traffic, ensuring that critical applications and devices receive sufficient bandwidth and network resources. This is particularly useful for optimizing the performance of real-time applications such as video streaming, online gaming, and VoIP (Voice over Internet Protocol) calls.
- Port Forwarding: If you need to access specific services or applications hosted within your network from external sources, port forwarding allows you to direct incoming traffic to the appropriate devices. This is commonly used for hosting servers, remote access, and online gaming.
- Parental Controls: Utilize parental control features to manage and restrict the internet access of specific devices or users within your network. This is especially beneficial for regulating the online activities of children and ensuring a safe and controlled internet environment.
- Firmware Updates: Regularly check for firmware updates for your TP-Link router to ensure that it benefits from the latest features, performance enhancements, and security patches. Keeping the router’s firmware up to date is vital in maintaining a secure and efficient network.
- VPN (Virtual Private Network) Configuration: If you require secure remote access to your home network or wish to encrypt your internet traffic, configuring a VPN on your TP-Link router provides a secure and private connection for accessing your network from external locations.
By exploring these additional configuration options, you can tailor your TP-Link router to meet specific requirements, enhance network performance, and bolster security measures. These advanced settings empower you to customize your network environment according to your preferences and demands.
With the completion of these additional configurations, your TP-Link Wi-Fi router is fully optimized and equipped to deliver a seamless and secure networking experience for your smart home devices and online activities.
Conclusion
Congratulations on successfully configuring your TP-Link Wi-Fi router to create a robust, secure, and efficient network environment for your smart home devices and online activities. By following the comprehensive steps outlined in this guide, you’ve gained the knowledge and confidence to optimize your router’s settings and ensure a seamless connectivity experience.
From establishing a physical connection to accessing the router’s web interface, configuring basic settings, setting up your Wi-Fi network, securing the network, and exploring additional configuration options, you’ve embarked on a journey to tailor your network to your specific needs. By customizing the network name, password, encryption, and access controls, you’ve fortified your Wi-Fi network against potential threats and unauthorized access.
As you’ve delved into advanced settings such as Quality of Service (QoS), port forwarding, parental controls, firmware updates, and VPN configuration, you’ve further optimized your network’s performance and functionality. These additional configurations empower you to prioritize network traffic, manage access to specific services, regulate internet usage, and maintain the router’s security through regular firmware updates.
With your TP-Link Wi-Fi router fully configured and fine-tuned, you’re now equipped to enjoy a seamless online experience, enhanced connectivity for your smart home devices, and the peace of mind that comes with a secure and well-optimized network environment.
As technology continues to evolve, it’s essential to stay informed about the latest advancements in networking and security. Regularly reviewing and updating your router’s settings, staying vigilant against potential threats, and embracing new features and enhancements will ensure that your network remains at the forefront of performance, security, and reliability.
Thank you for embarking on this journey to configure your TP-Link Wi-Fi router. May your network continue to serve as a dependable foundation for your connected home, enabling seamless communication, entertainment, and productivity for years to come.
Frequently Asked Questions about How To Configure TP-Link Wi-Fi Router Step By Step
Was this page helpful?
At Storables.com, we guarantee accurate and reliable information. Our content, validated by Expert Board Contributors, is crafted following stringent Editorial Policies. We're committed to providing you with well-researched, expert-backed insights for all your informational needs.


0 thoughts on “How To Configure TP-Link Wi-Fi Router Step By Step”