Home>Technology>Smart Home Devices>How To Turn On A Wi-Fi Router
Smart Home Devices
How To Turn On A Wi-Fi Router
Modified: January 4, 2024
Learn how to easily turn on your Wi-Fi router for seamless connectivity with your smart home devices. Follow these simple steps to get your network up and running.
(Many of the links in this article redirect to a specific reviewed product. Your purchase of these products through affiliate links helps to generate commission for Storables.com, at no extra cost. Learn more)
**
Introduction
**
Welcome to the fascinating world of smart home devices! In today's digitally connected age, Wi-Fi routers play a pivotal role in enabling seamless connectivity for a wide array of smart devices, from smartphones and tablets to smart TVs and home security systems. Understanding how to turn on a Wi-Fi router is an essential step in harnessing the power of your smart home ecosystem. Whether you're setting up a new router or troubleshooting connectivity issues, this guide will walk you through the process with clear, step-by-step instructions.
In this comprehensive tutorial, we'll delve into the fundamental steps required to power up your Wi-Fi router and establish a reliable wireless network within your home. By following these simple yet crucial steps, you'll be well-equipped to enjoy uninterrupted internet access and seamless connectivity for all your smart home devices. So, without further ado, let's embark on this enlightening journey into the realm of Wi-Fi routers and smart home connectivity.
**
Key Takeaways:
- Power up your Wi-Fi router by checking the components, connecting it to a modem, and turning it on. Patience is key as you wait for the Wi-Fi signal to propagate and connect your smart devices.
- A reliable Wi-Fi network is essential for seamless connectivity in your smart home. By following simple steps, you can ensure uninterrupted internet access and enjoy the full potential of your smart devices.
Step 1: Check the Power
**
Before diving into the process of turning on your Wi-Fi router, it's essential to ensure that you have all the necessary components and that the power source is readily available. Here are the key steps to follow:
- Gather the Equipment: Begin by gathering all the essential components, including the Wi-Fi router, power adapter, and any accompanying cables. Ensure that you have a stable surface to place the router, preferably near a power outlet and within range of the modem or internet source.
- Inspect the Power Adapter: Examine the power adapter to verify that it is in good condition and compatible with the router model. Check for any signs of damage to the adapter or fraying of the cables, as these issues can affect the router's functionality.
- Connect the Power Adapter: Once you have confirmed the integrity of the power adapter, proceed to connect it to the designated power port on the router. Ensure a secure connection to prevent any power-related issues during the setup process.
- Plug into a Power Outlet: Locate a nearby power outlet and plug in the power adapter. Double-check that the outlet is functional by testing it with another electronic device. It's important to avoid using overloaded power strips or extension cords, as these can lead to power fluctuations that may impact the router's performance.
- Power On the Router: With the power adapter securely connected to the router and the outlet, switch on the router using the designated power button or switch. Take note of any indicator lights on the router that signal the power status, as these can provide valuable insights into the device's operational state.
By diligently following these steps, you can ensure that the power supply for your Wi-Fi router is in optimal condition, setting the stage for a smooth and successful activation process. With the power component thoroughly checked and secured, you're now ready to proceed to the next crucial step: connecting the router to a modem or internet source.
**
Step 2: Connect the Router to a Modem
**
Once the power supply for your Wi-Fi router is confirmed, the next pivotal step involves establishing a connection between the router and a modem or internet source. This crucial link forms the foundation of your home network, enabling the router to access the internet and distribute the connection to your smart devices. Here’s how to seamlessly connect the router to a modem:
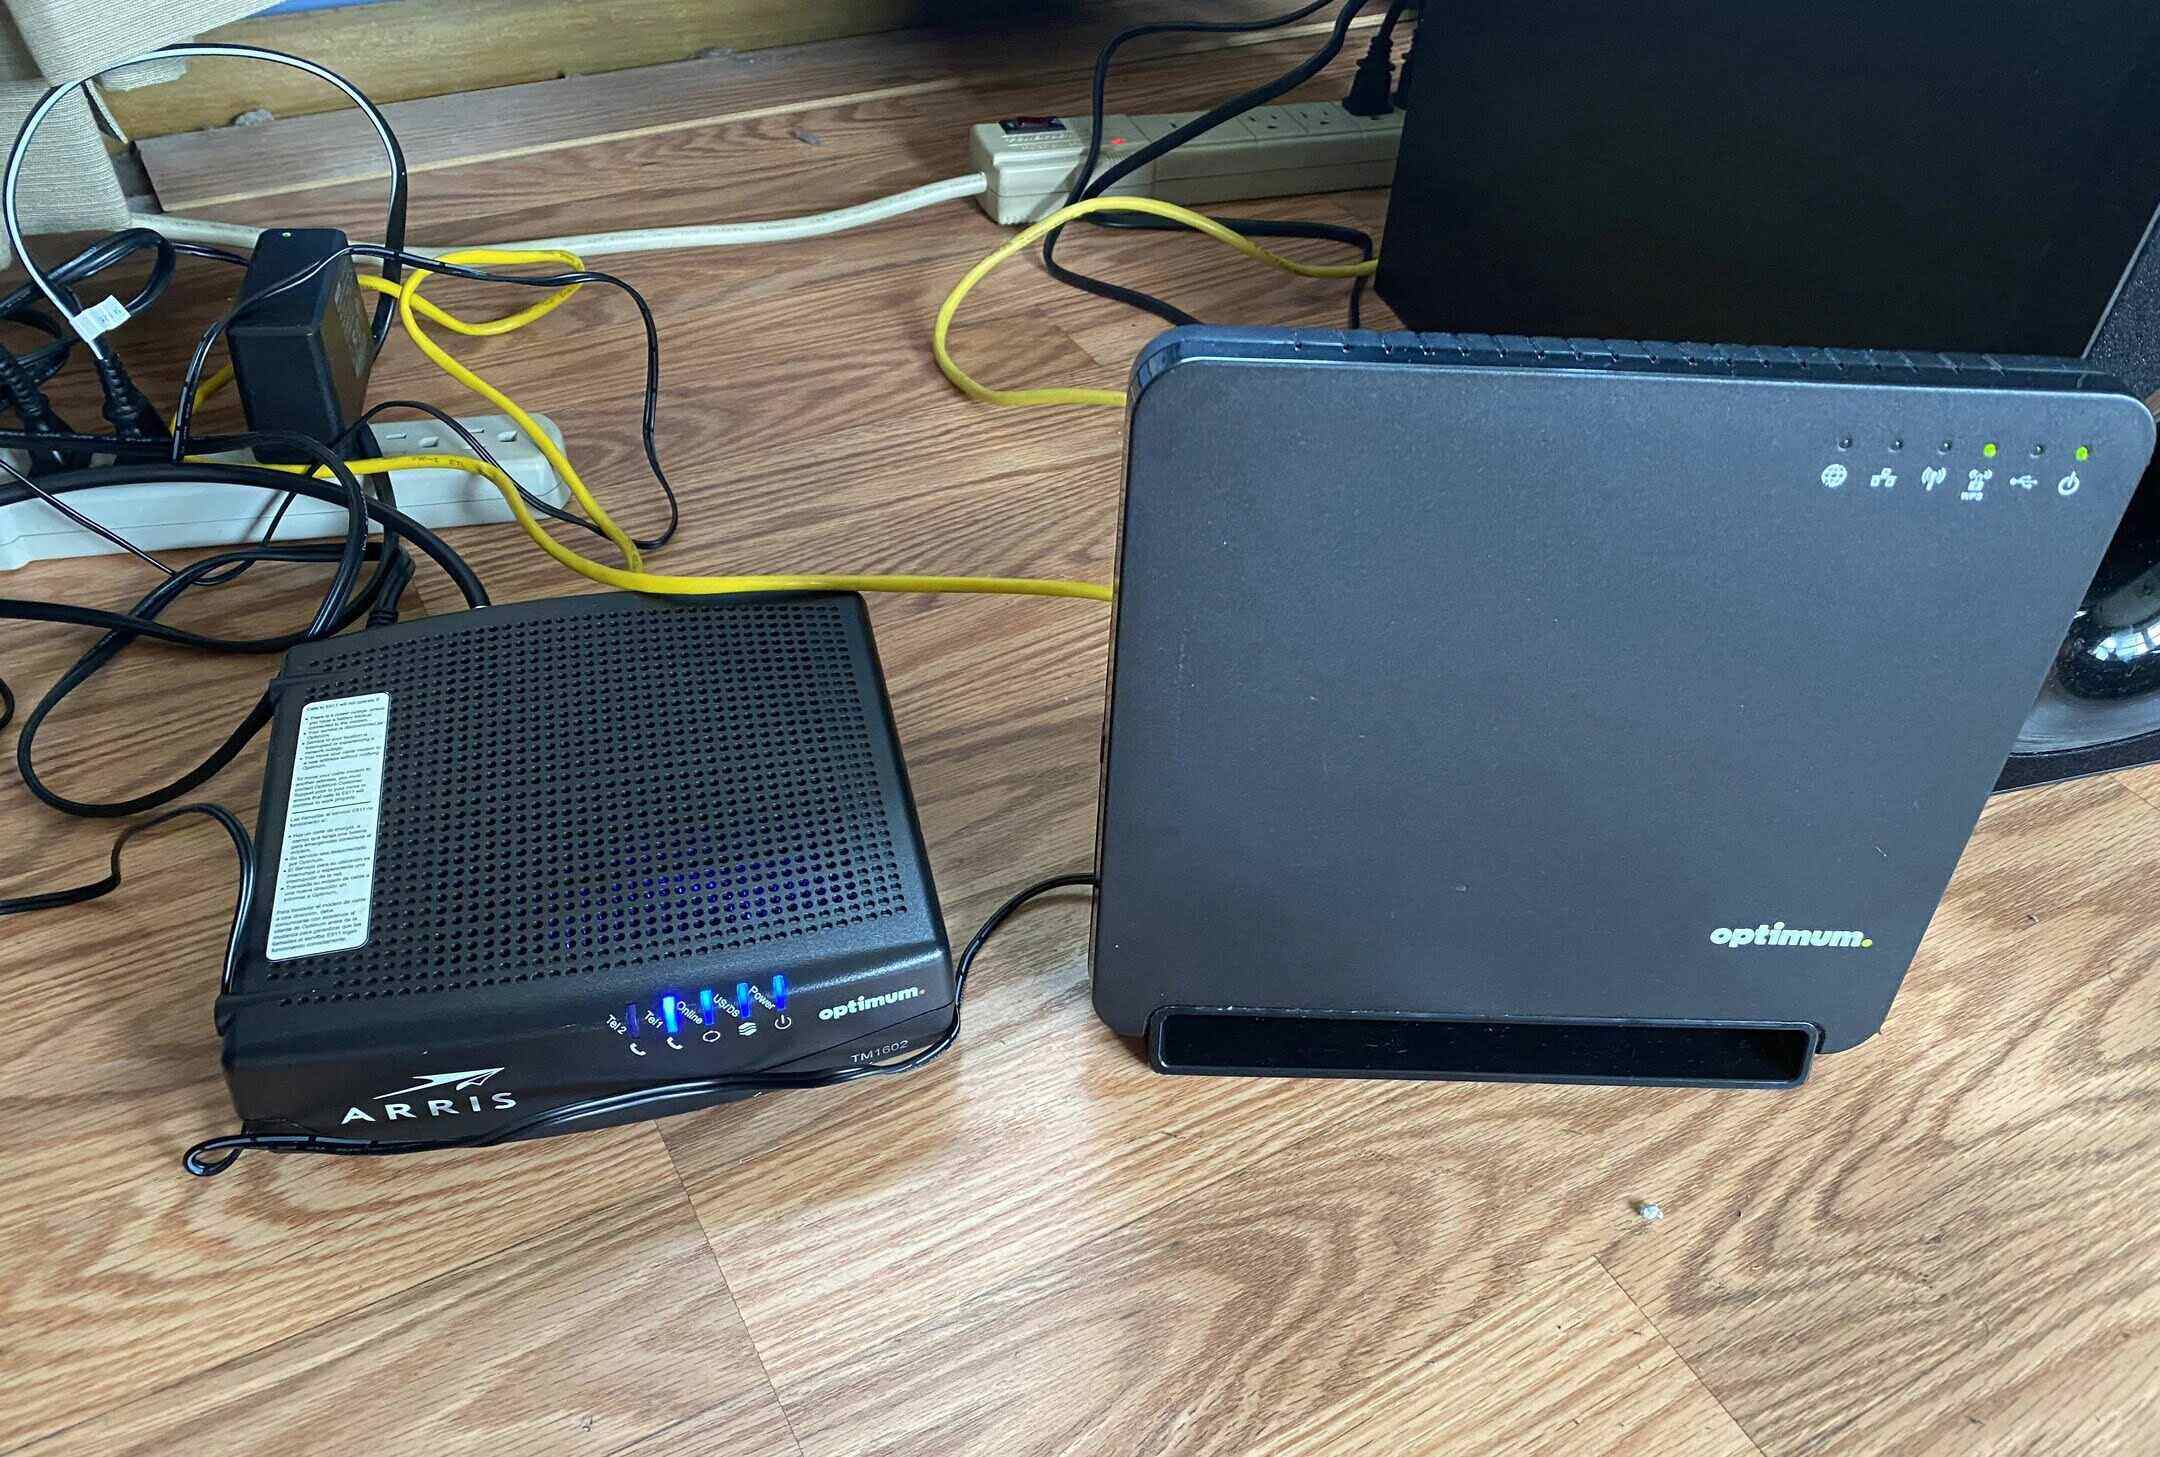
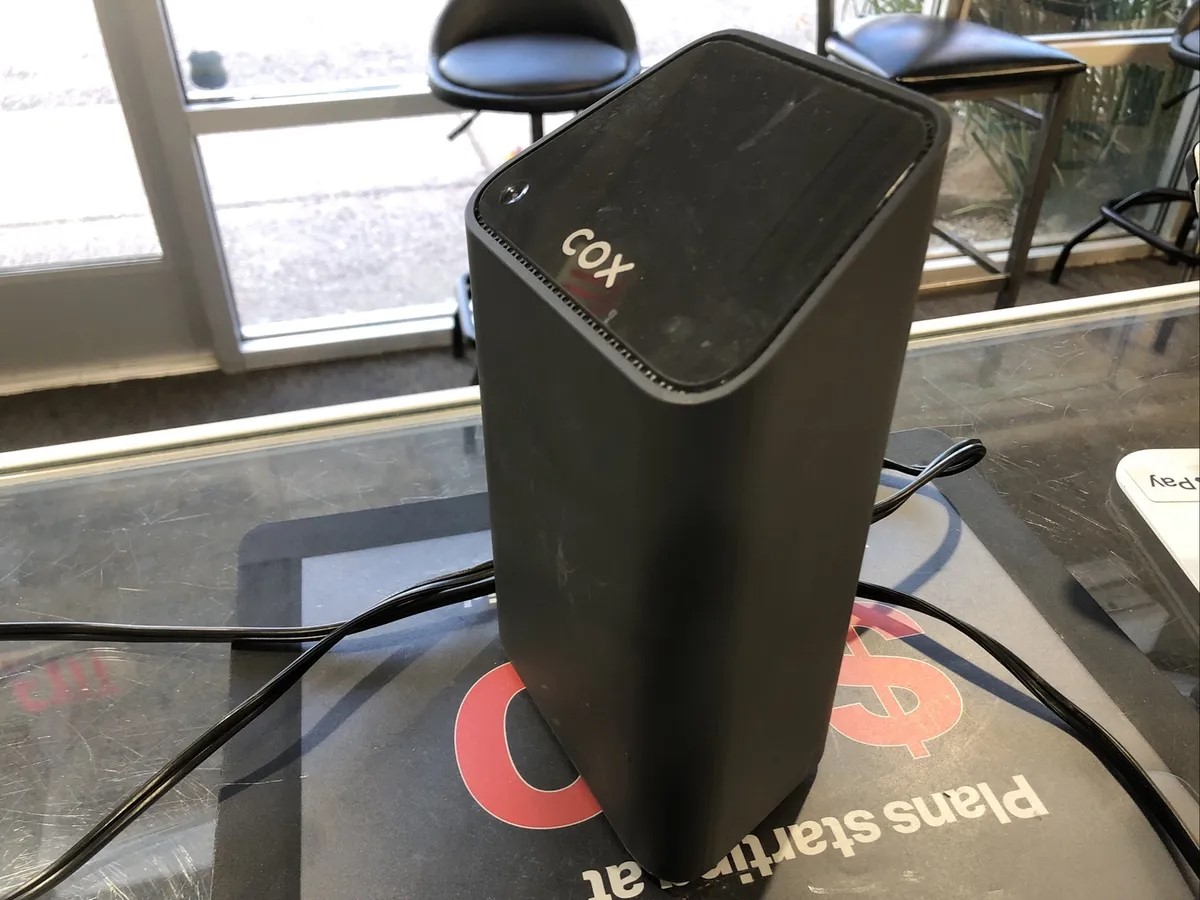
- Locate the Modem: Identify the modem provided by your internet service provider (ISP) and position it in close proximity to the router. Ideally, the modem should be placed in a central location within your home to facilitate optimal Wi-Fi coverage.
- Use an Ethernet Cable: Select an Ethernet cable of sufficient length to establish a physical connection between the modem and the router. Ensure that the cable is undamaged and free from any kinks or bends that may impede data transmission.
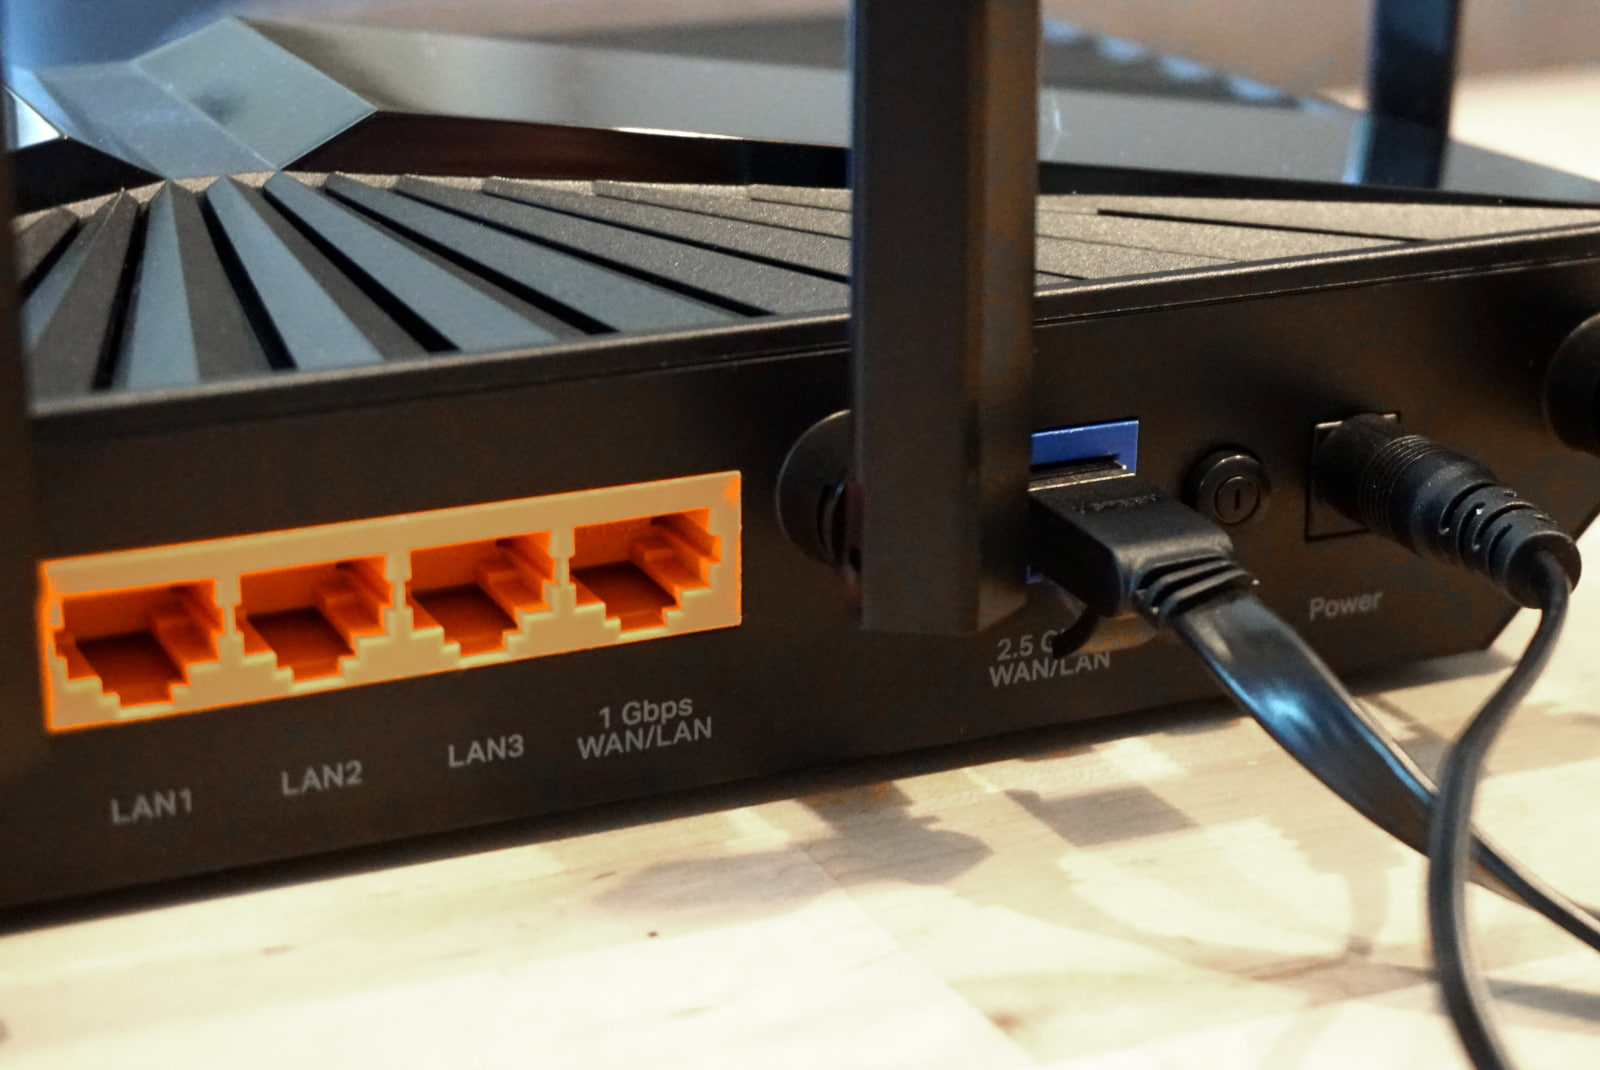
- Connect to the WAN Port: Locate the WAN (Wide Area Network) port on the back of the router, typically distinguished by its distinct labeling or color. Insert one end of the Ethernet cable into the WAN port, ensuring a secure and snug fit to guarantee reliable connectivity.
- Link to the Modem: Identify the Ethernet port on the modem and insert the opposite end of the cable into this port. Once again, prioritize a secure connection to minimize the risk of signal interference or disconnection.
- Power On the Modem: If the modem is not already powered on, proceed to activate it by plugging in the power adapter and switching on the device. Allow the modem a few moments to initialize and establish a stable internet connection.
- Router Initialization: As the modem boots up, the router will begin to detect the internet signal and establish a connection. Observe the indicator lights on the router, as they may flash or change color to indicate successful internet connectivity.
By diligently executing these steps, you can seamlessly link your Wi-Fi router to the modem, paving the way for reliable internet access and network distribution. With the physical connection established, you’re now poised to proceed to the next pivotal phase: turning on the router and initiating the Wi-Fi signal.
**
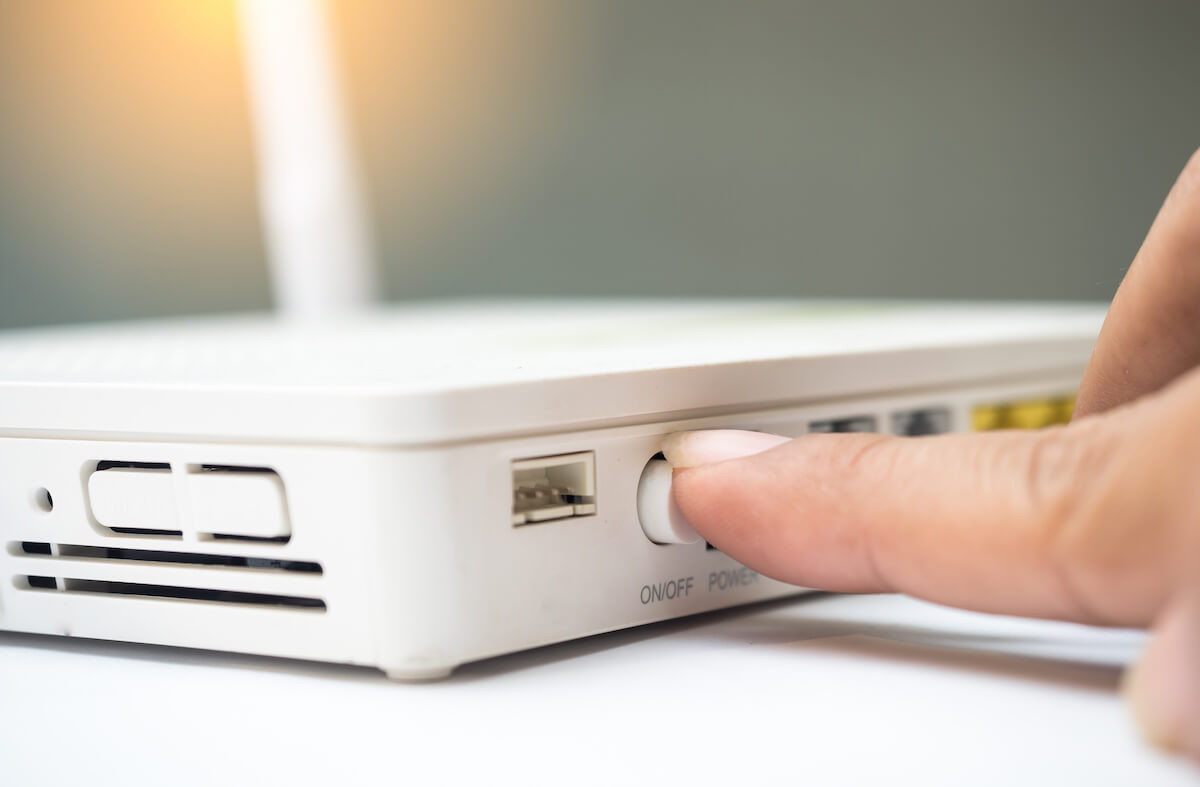
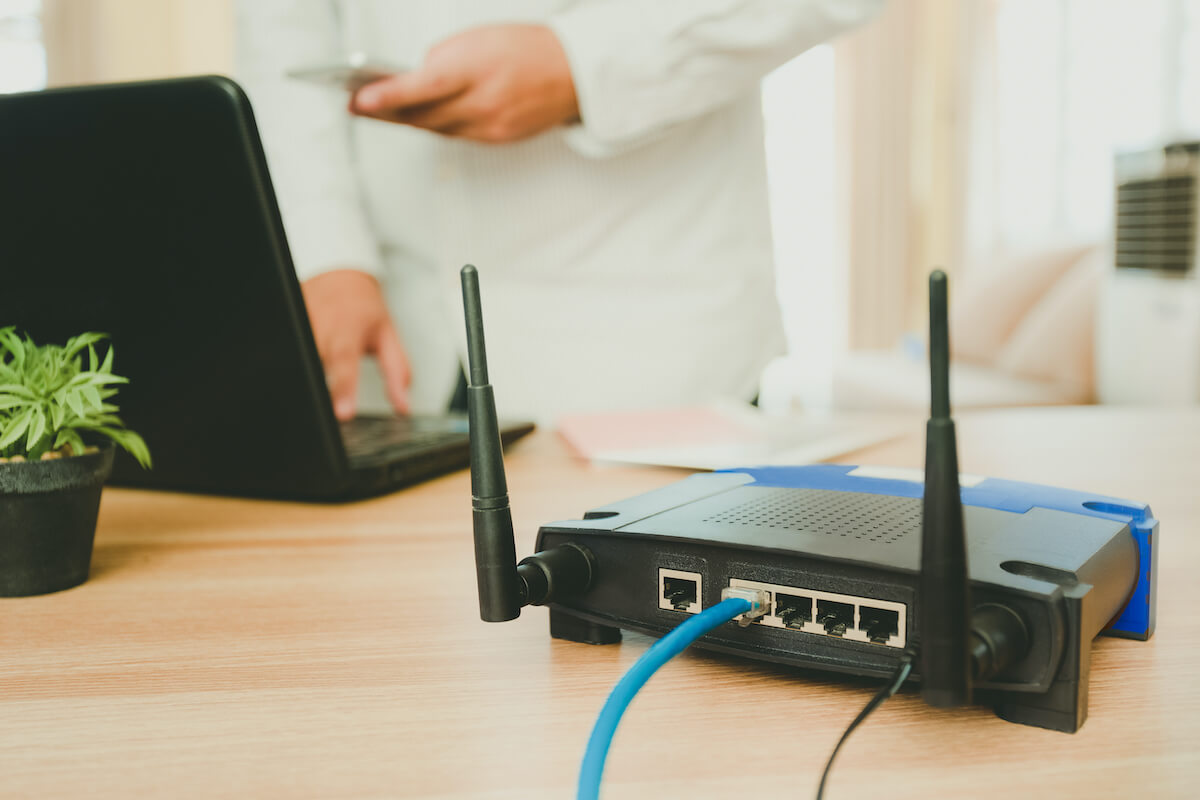
To turn on a Wi-Fi router, locate the power button on the router and press it to turn it on. Wait for the lights to indicate that the router is fully powered up before trying to connect to the Wi-Fi network.
Step 3: Turn on the Router
**
With the Wi-Fi router successfully connected to the modem, it’s time to power up the router and initiate the essential processes that will enable seamless wireless connectivity throughout your home. Follow these crucial steps to effectively turn on the router and set the stage for optimal performance:
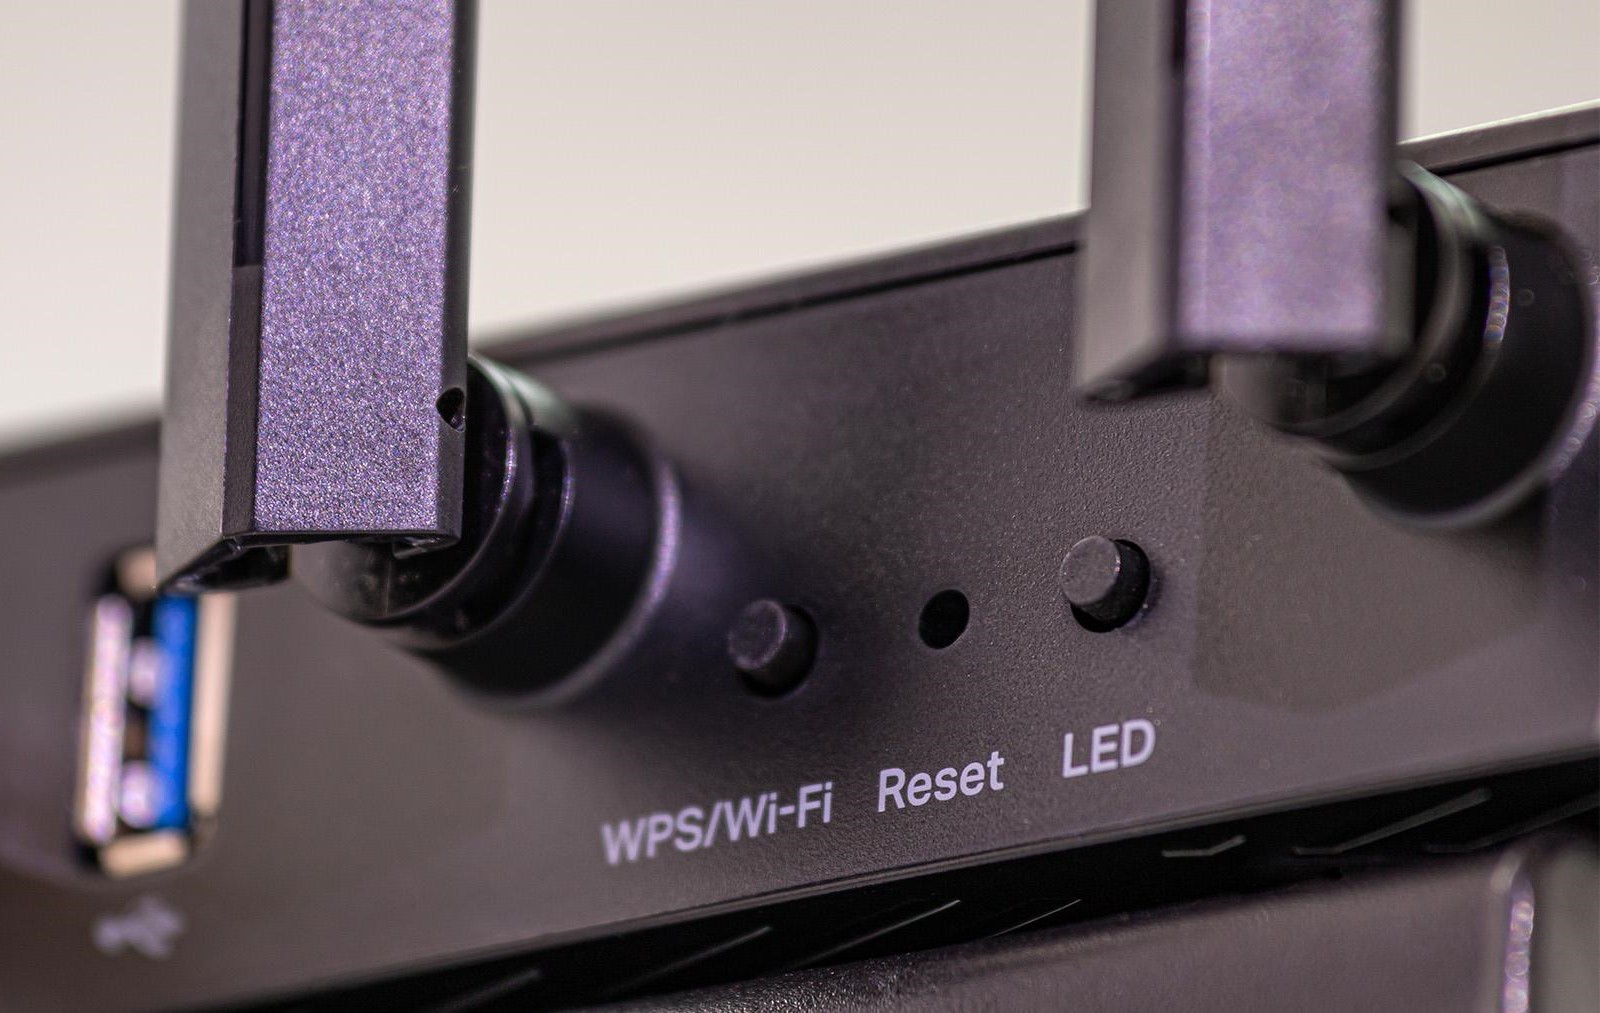
- Locate the Power Button: Identify the power button or switch on the router, typically positioned on the device’s exterior. Take a moment to familiarize yourself with the router’s layout and design, ensuring that you can easily access the power control.
- Press the Power Button: Gently press the power button to activate the router. Depending on the model, you may need to hold down the button for a few seconds to initiate the startup sequence. Pay attention to any indicator lights or display panels on the router, as they may illuminate to signify the device’s activation.
- Router Initialization: Upon powering on the router, it will undergo an initialization process, during which it establishes a connection with the modem and configures the wireless network settings. This phase is critical for ensuring the seamless operation of the router and the propagation of the Wi-Fi signal.
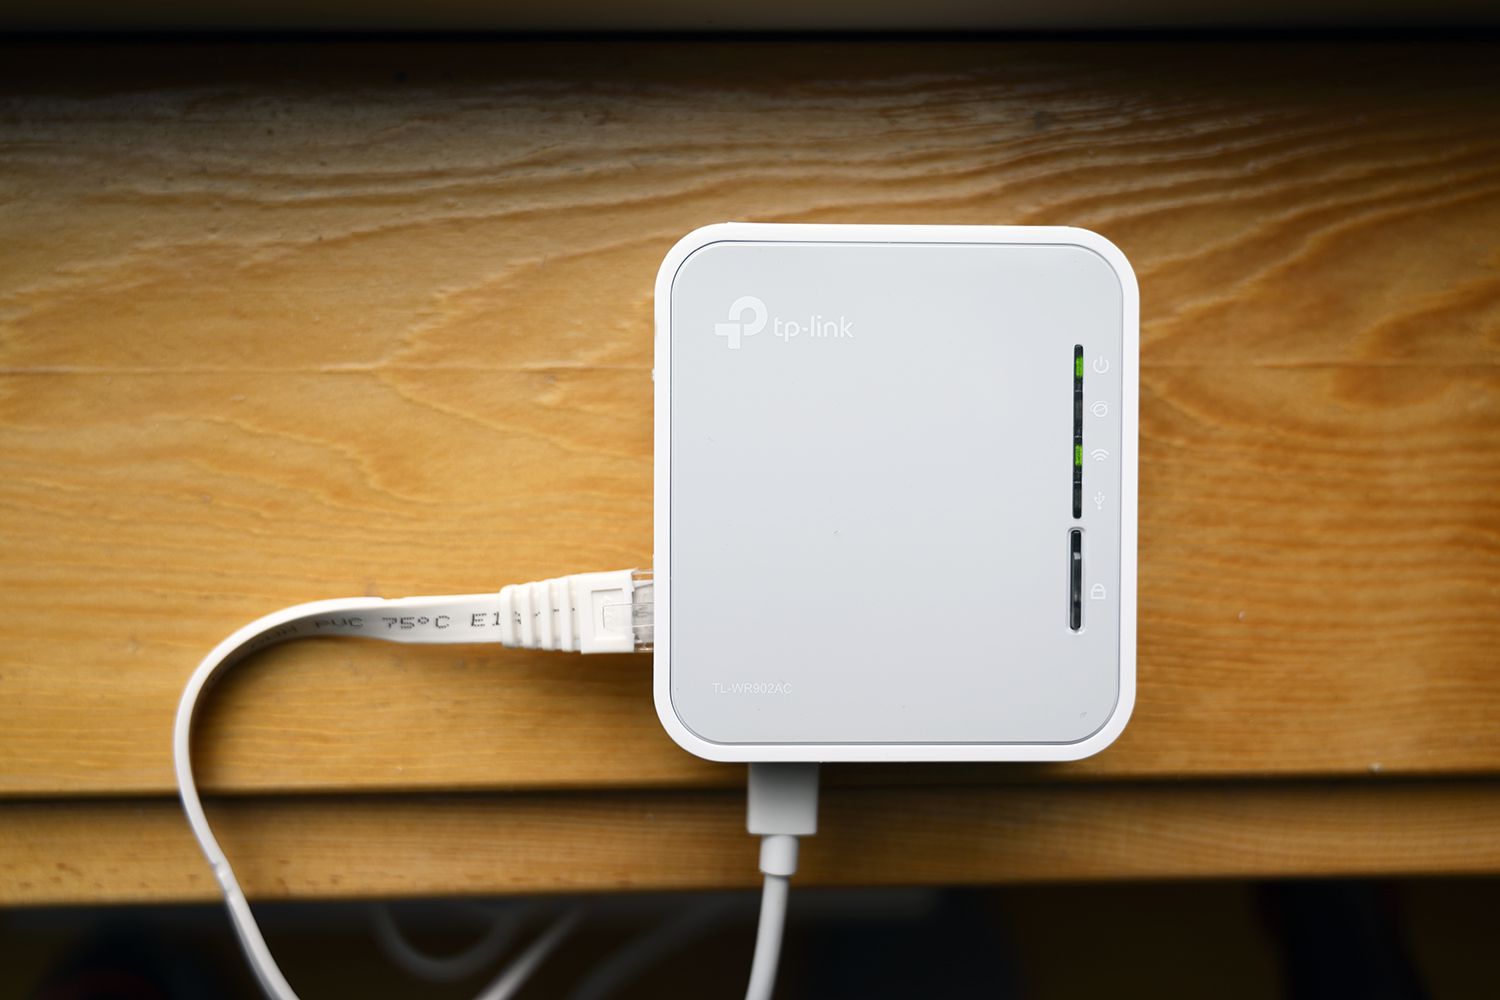
- Monitor the Indicator Lights: As the router initializes, observe the indicator lights on the device. These lights provide valuable insights into the router’s status, including power, internet connectivity, and wireless activity. A steady or blinking indicator light typically indicates that the router is operational and transmitting the Wi-Fi signal.
- Allow for Startup Time: It’s essential to allow the router an adequate amount of time to complete the startup process and establish a stable wireless network. Depending on the model and network configuration, this may take a few minutes. Exercise patience and refrain from interrupting the router’s initialization sequence.
By meticulously following these steps, you can effectively turn on the Wi-Fi router and set the stage for seamless wireless connectivity within your home. As the router undergoes the startup process, you’re now primed to transition to the next phase: patiently awaiting the propagation of the Wi-Fi signal and ensuring that your smart devices can seamlessly connect to the network.
**
Step 4: Wait for the Wi-Fi Signal
**
As the Wi-Fi router completes its initialization process, it embarks on the crucial task of broadcasting a robust and reliable wireless signal that enables seamless connectivity for your smart home devices. Patience is key during this phase, as the router fine-tunes its settings and establishes a stable network environment. Follow these essential guidelines as you await the propagation of the Wi-Fi signal:
- Observe the Indicator Lights: Keep a close eye on the indicator lights on the router, as they offer valuable insights into the device’s operational status. Look for specific indicators related to wireless connectivity, such as the Wi-Fi signal strength and activity. A steady or blinking indicator light typically signifies that the router is actively broadcasting the Wi-Fi signal.
- Monitor Device Connectivity: If you have a smartphone, tablet, or laptop at hand, periodically check the available Wi-Fi networks to see if your router’s network appears in the list. This serves as a practical method to gauge the progress of the Wi-Fi signal propagation and determine when the network becomes accessible to your devices.
- Positioning of Smart Devices: While waiting for the Wi-Fi signal, position your smart devices within range of the router to facilitate efficient connectivity. This strategic placement ensures that your devices can promptly detect and connect to the Wi-Fi network once it becomes available.
- Exercise Patience: The process of establishing a stable Wi-Fi signal may take a few minutes, especially during the initial setup or after a router reboot. Exercise patience and refrain from making frequent adjustments to the router or network settings, as this can disrupt the signal propagation process.
- Test Connectivity: Once the Wi-Fi signal becomes available, attempt to connect a smart device to the network to verify its functionality. Use a smartphone, tablet, or laptop to connect to the router’s Wi-Fi network, entering the designated password if prompted. Successful connectivity confirms that the Wi-Fi signal is operational and ready for use.
By adhering to these guidelines and exercising patience, you can effectively await the propagation of the Wi-Fi signal and ensure that your smart home devices can seamlessly connect to the network. With the Wi-Fi signal actively broadcasting, you’re now poised to revel in the seamless connectivity and boundless possibilities offered by your smart home ecosystem.
**
Read more: How To Turn Off My Wi-Fi Router
Conclusion
**
Congratulations! You’ve successfully navigated the essential steps required to power up your Wi-Fi router and establish a robust wireless network within your home. By diligently checking the power supply, connecting the router to a modem, powering on the router, and patiently awaiting the propagation of the Wi-Fi signal, you’ve set the stage for seamless connectivity and boundless possibilities in the realm of smart home devices.
As your Wi-Fi router springs to life, it becomes the cornerstone of your smart home ecosystem, facilitating uninterrupted internet access and enabling seamless communication between your smart devices. Whether you’re streaming content on a smart TV, monitoring home security cameras, or controlling smart lighting systems, the reliable Wi-Fi signal emanating from your router forms the backbone of these interconnected experiences.
With a firm grasp of the fundamental steps involved in turning on a Wi-Fi router, you’re well-equipped to embark on your journey into the world of smart home technology. As you continue to explore the myriad possibilities offered by smart devices, remember that a reliable and well-maintained Wi-Fi network is the linchpin that ties everything together, ensuring a cohesive and interconnected smart home experience.
By staying attuned to the nuances of your Wi-Fi router and nurturing a robust wireless network, you’re poised to unlock the full potential of your smart home devices and revel in the seamless connectivity that enriches your daily life. Embrace the possibilities, stay connected, and savor the transformative power of your Wi-Fi router as it fuels your journey into the captivating realm of smart home technology.
Frequently Asked Questions about How To Turn On A Wi-Fi Router
Was this page helpful?
At Storables.com, we guarantee accurate and reliable information. Our content, validated by Expert Board Contributors, is crafted following stringent Editorial Policies. We're committed to providing you with well-researched, expert-backed insights for all your informational needs.
0 thoughts on “How To Turn On A Wi-Fi Router”