Home>Technology>Smart Home Devices>How To Configure A Wi-Fi Router
Smart Home Devices
How To Configure A Wi-Fi Router
Modified: January 4, 2024
Learn how to configure a Wi-Fi router for seamless connectivity with your smart home devices. Follow our step-by-step guide for easy setup and optimization.
(Many of the links in this article redirect to a specific reviewed product. Your purchase of these products through affiliate links helps to generate commission for Storables.com, at no extra cost. Learn more)
Introduction
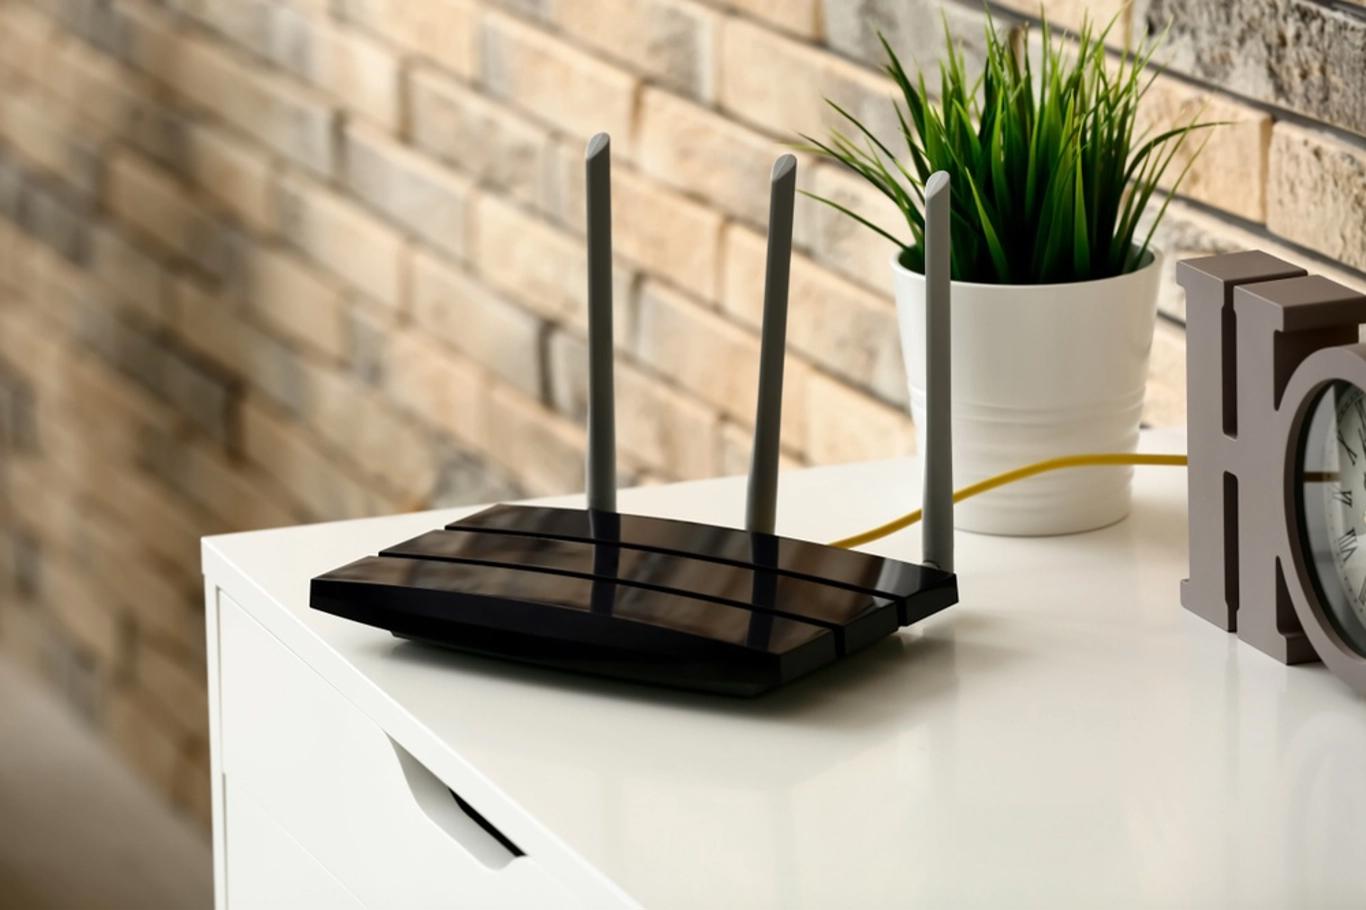
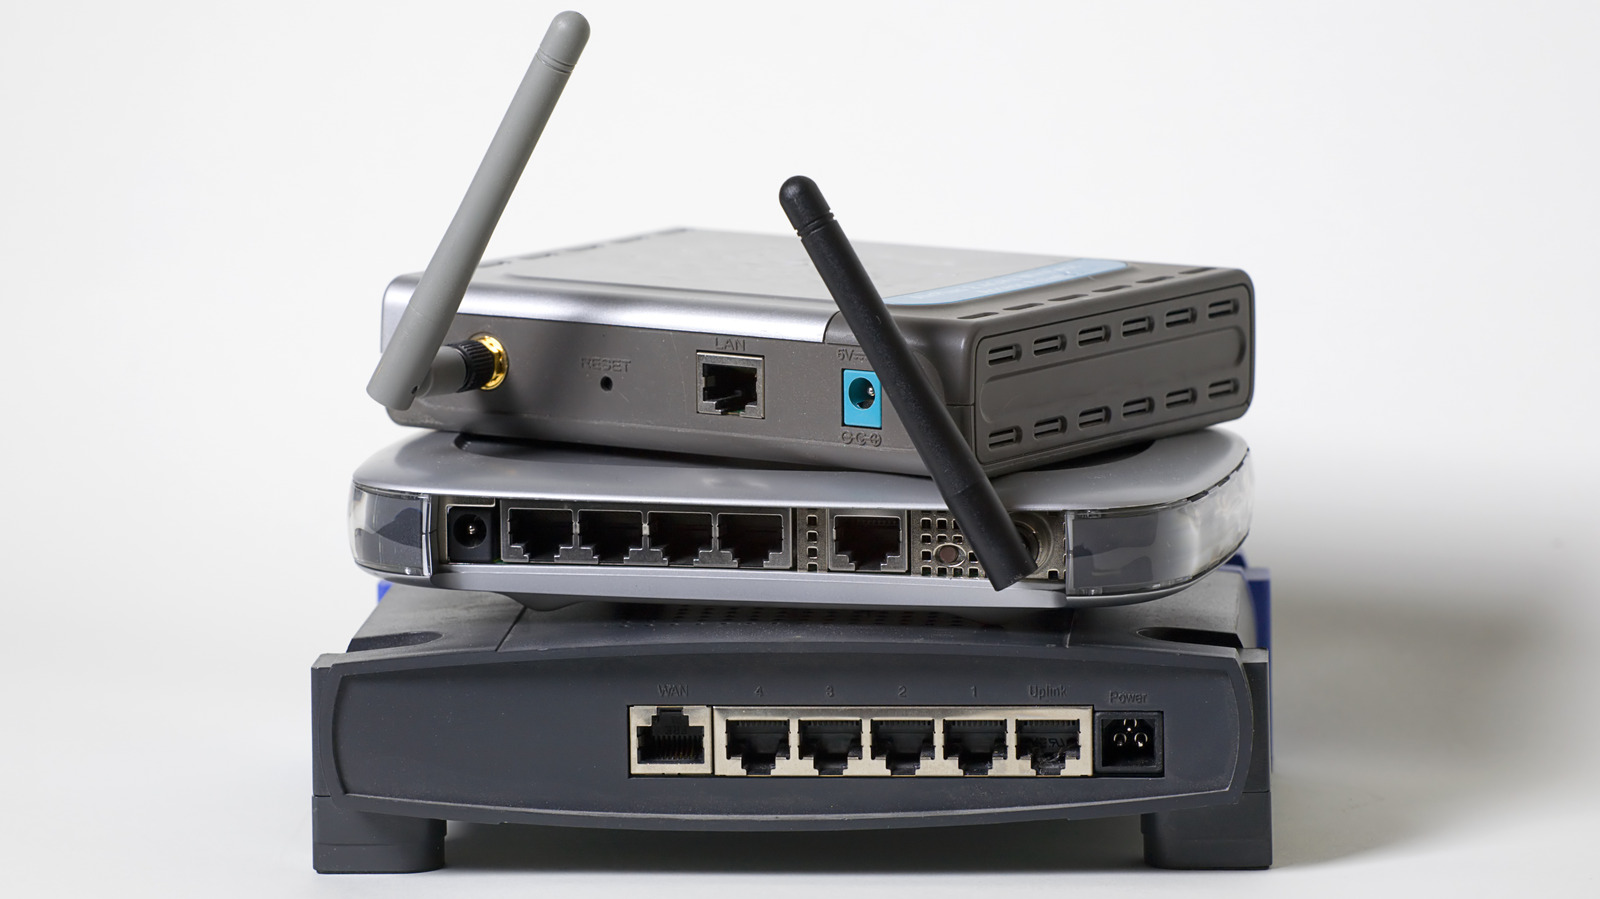
Setting up a Wi-Fi router is a crucial step in establishing a reliable and secure internet connection for your smart home devices. Whether you're a tech enthusiast or a novice, configuring a Wi-Fi router can be a straightforward process with the right guidance. This article will walk you through the essential steps to configure your Wi-Fi router, ensuring that your smart home devices are seamlessly connected to the internet.
A Wi-Fi router serves as the central hub for your home's internet connectivity, enabling wireless communication between your devices and the internet service provider. By properly configuring your router, you can optimize network performance, enhance security, and customize settings to suit your specific needs. With the proliferation of smart home devices, such as smart speakers, thermostats, and security cameras, a robust Wi-Fi network is indispensable for ensuring seamless connectivity and functionality.
In this comprehensive guide, you will learn how to connect to the router, access its settings, configure the Wi-Fi network, set up security measures, and save your changes. By following these steps, you can establish a stable and secure Wi-Fi network that meets the demands of your smart home ecosystem. Let's embark on this journey to configure your Wi-Fi router and unlock the full potential of your smart home devices.
Key Takeaways:
- Configuring your Wi-Fi router is essential for seamless smart home device connectivity. Follow the steps to connect, customize settings, and enhance security for a reliable wireless network.
- By customizing your Wi-Fi network and implementing security measures, you create a safe and efficient environment for your smart home devices to thrive, ensuring seamless connectivity and data protection.
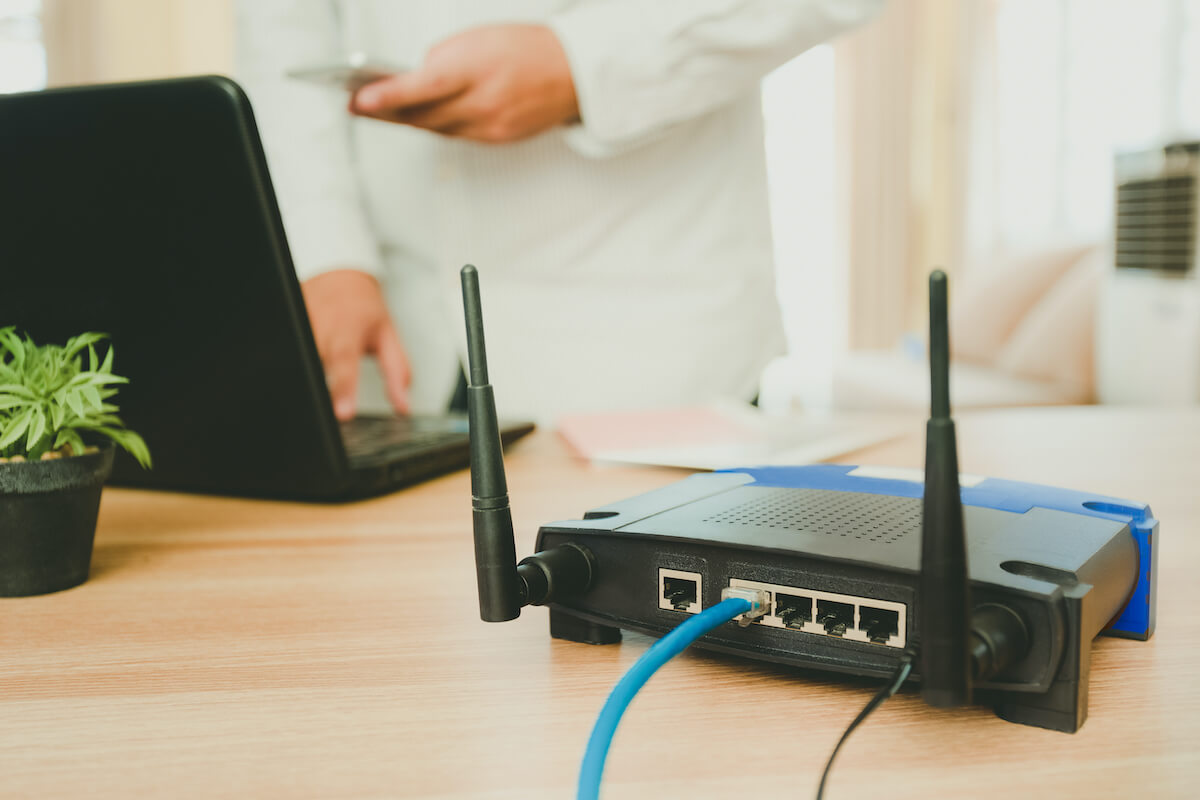
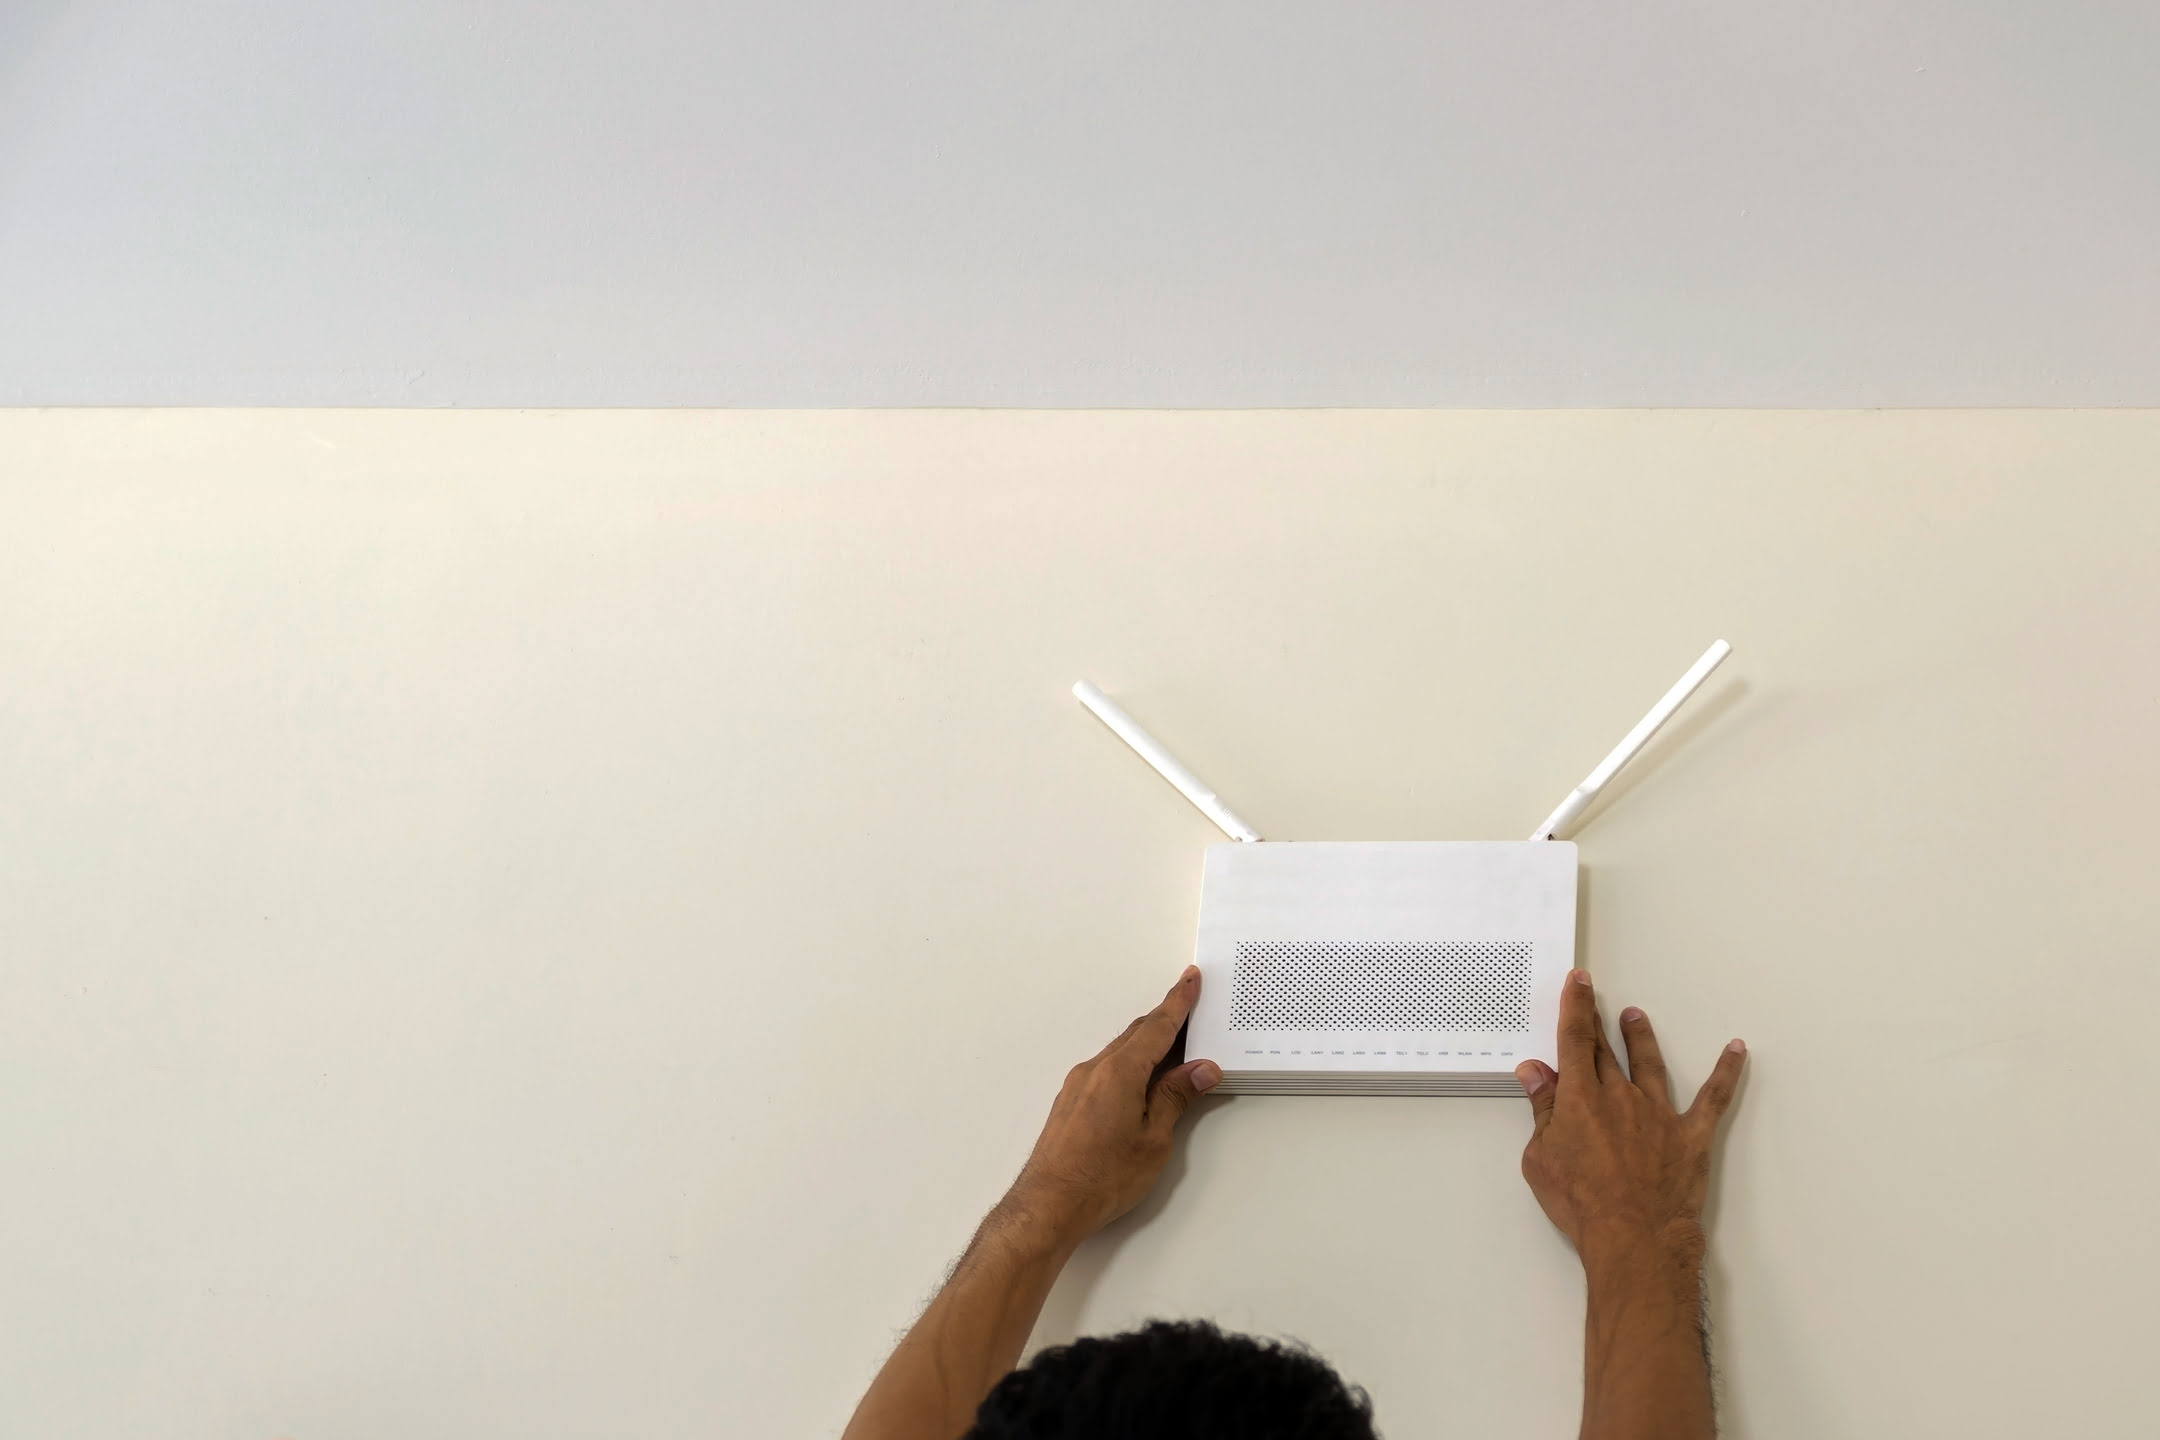
Step 1: Connect to the Router
Before you can configure your Wi-Fi router, you need to establish a direct connection to the device. Start by locating your router, which is typically placed near the modem or the primary internet source. Once you've identified the router, follow these steps to connect to it:
- Physical Connection: Use an Ethernet cable to connect your computer or laptop to one of the LAN ports on the router. This direct physical connection ensures a stable and secure link to the router’s settings interface.
- Power On the Router: Ensure that the router is powered on and receiving electricity. Most routers have indicator lights that illuminate when the device is operational.
- Access the Router’s IP Address: Open a web browser on your computer and enter the router’s default IP address in the address bar. Common router IP addresses include 192.168.0.1, 192.168.1.1, or 192.168.2.1. Refer to the router’s manual or the manufacturer’s website to find the specific IP address for your router model.
Once you’ve successfully connected to the router, you’re ready to proceed to the next step and access the router’s settings interface. Establishing this initial connection is pivotal in gaining direct access to the configuration options that will optimize your Wi-Fi network for smart home device integration.
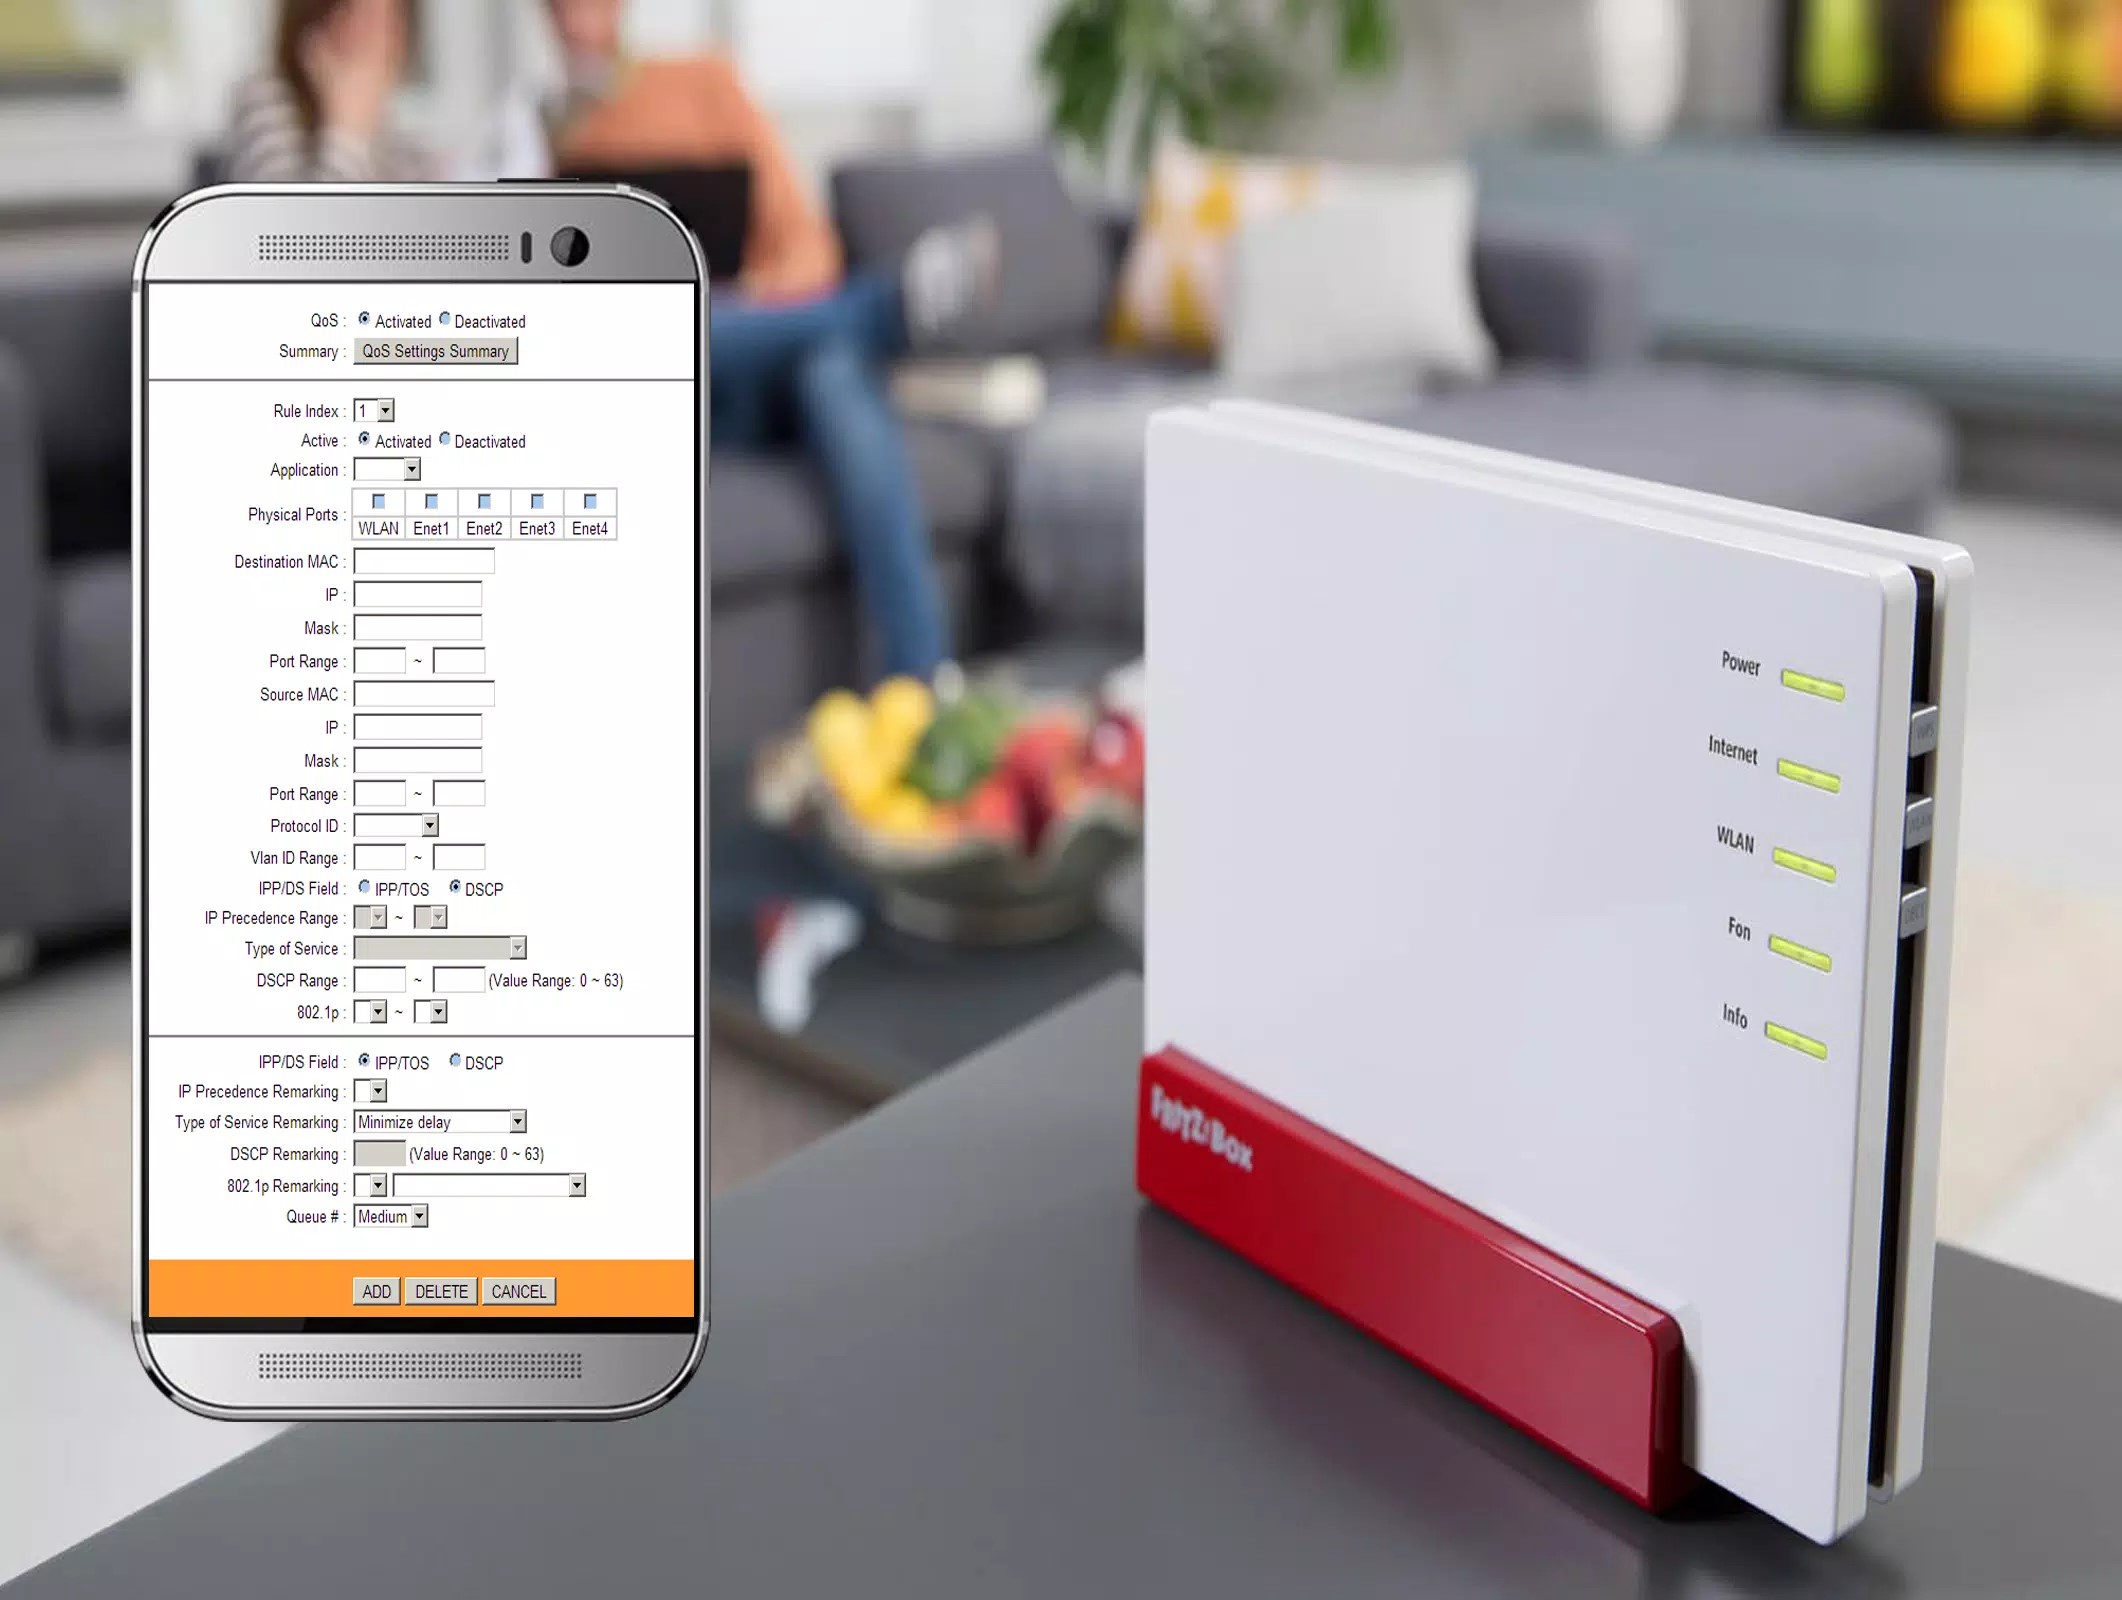
Step 2: Access the Router’s Settings
After establishing a physical connection to the router, the next step is to access the device’s settings interface. This interface allows you to customize various aspects of the router, including the Wi-Fi network configuration, security settings, and advanced options. Here’s how you can access the router’s settings:
- Login Credentials: Upon entering the router’s IP address in your web browser, you will be prompted to enter login credentials. Typically, the default username is “admin,” and the default password is either “admin” or “password.” However, it’s crucial to change these default credentials to enhance security. Consult the router’s manual or the manufacturer’s website for specific login details.
- Dashboard Interface: Once you’ve entered the correct login credentials, you will gain access to the router’s dashboard interface. This intuitive graphical interface provides an overview of the router’s settings and options for customization.
- Navigation Menu: Navigate through the menu options to locate the wireless settings section. Here, you can configure the Wi-Fi network name (SSID), choose the appropriate wireless channel, and set the network mode (e.g., 2.4GHz or 5GHz).
Accessing the router’s settings interface empowers you to tailor the Wi-Fi network to suit the specific requirements of your smart home devices. As you proceed to the next step, you’ll delve into configuring the Wi-Fi network to ensure seamless connectivity and optimal performance for your smart home ecosystem.
Step 3: Configure the Wi-Fi Network
Configuring the Wi-Fi network is a pivotal step in optimizing connectivity for your smart home devices. By customizing the network settings, you can ensure reliable and efficient wireless communication throughout your home. Here’s a guide to configuring the Wi-Fi network on your router:
- Network Name (SSID): Choose a unique and easily identifiable name for your Wi-Fi network. This name, known as the Service Set Identifier (SSID), will be visible to your devices when they search for available networks. Avoid using default or generic names and opt for a personalized SSID that reflects your household or location.
- Wireless Channel Selection: Select an optimal wireless channel to minimize interference and maximize signal strength. You can use tools such as Wi-Fi analyzer apps to identify the least congested channels in your vicinity, thereby enhancing the overall performance of your Wi-Fi network.
- Network Mode and Bandwidth: Depending on your router and smart home devices, you may have the option to choose between different network modes, such as 2.4GHz or 5GHz. Additionally, you can configure the bandwidth settings to prioritize specific devices or applications, ensuring a seamless experience for your smart home ecosystem.
- Guest Network Setup: Some routers offer the option to create a separate guest network, allowing visitors to access the internet without compromising the security of your primary network. If applicable, configure the guest network settings to provide a secure and isolated connection for your guests.
By meticulously configuring the Wi-Fi network settings, you can create an optimized wireless environment that caters to the unique demands of your smart home devices. As you proceed to the next step, you’ll delve into implementing essential security measures to safeguard your Wi-Fi network and smart home ecosystem from potential threats.
When configuring a Wi-Fi router, always change the default login credentials to enhance security. This includes changing the default username and password to something unique and strong.
Step 4: Set Up Security Measures
Ensuring the security of your Wi-Fi network is paramount, especially in the context of smart home devices that rely on wireless connectivity. Implementing robust security measures will safeguard your network from unauthorized access and potential cyber threats. Here’s how you can set up essential security measures for your Wi-Fi router:
- Change Default Login Credentials: Begin by changing the default username and password for accessing the router’s settings interface. Select strong, unique credentials to fortify the security of your router and prevent unauthorized access.
- Enable WPA2/WPA3 Encryption: Configure your Wi-Fi network to use WPA2 or WPA3 encryption, which provides strong security for wireless communication. Encryption prevents unauthorized users from intercepting and deciphering the data transmitted between your devices and the router.
- Guest Network Isolation: If you’ve set up a guest network, ensure that it is isolated from your primary network to prevent unauthorized access to sensitive data and devices. Implementing network isolation enhances the overall security posture of your Wi-Fi ecosystem.
- MAC Address Filtering: Consider enabling MAC address filtering, which allows you to specify the devices that are permitted to connect to your Wi-Fi network. By creating a whitelist of approved devices, you can mitigate the risk of unauthorized devices gaining access.
- Firmware Updates: Regularly check for firmware updates for your router and install them promptly. Firmware updates often include security patches and performance enhancements, bolstering the overall resilience of your router against emerging threats.
By proactively implementing these security measures, you can fortify your Wi-Fi network against potential vulnerabilities and unauthorized access attempts. This proactive approach to network security is essential for safeguarding your smart home devices and preserving the integrity of your digital ecosystem.
Step 5: Save and Apply Changes
After configuring the Wi-Fi network and implementing essential security measures, it’s crucial to save and apply the changes to ensure that your router operates according to the customized settings. By saving the configurations, you solidify the foundation of your Wi-Fi network, optimizing it for seamless integration with your smart home devices. Here’s how you can save and apply the changes made to your router’s settings:
- Save Settings: Once you’ve finalized the configurations for the Wi-Fi network and security measures, locate the option to save the settings within the router’s interface. This action preserves your customizations and ensures that the router operates according to the specified parameters.
- Apply Changes: After saving the settings, look for the “Apply” or “Save Changes” button within the router’s interface. By clicking this button, you commit the configured settings to the router’s memory, prompting it to implement the changes and adjust its operational parameters accordingly.
- Reboot the Router: In some cases, it may be necessary to reboot the router to apply the saved changes effectively. This reboot allows the router to reinitialize with the updated configurations, ensuring seamless functionality based on your custom settings.
By saving and applying the changes made to your router’s settings, you solidify the foundation of your Wi-Fi network and security posture. This proactive approach ensures that your smart home devices operate within an optimized and secure wireless environment, fostering reliable connectivity and data protection.
With the completion of this final step, you have successfully configured your Wi-Fi router to accommodate the unique requirements of your smart home devices. Your proactive efforts in customizing the Wi-Fi network, bolstering security, and applying the necessary changes have laid the groundwork for a robust and reliable wireless ecosystem within your home.
Conclusion
Congratulations! By following the comprehensive guide outlined in this article, you have successfully navigated the process of configuring your Wi-Fi router to accommodate the specific needs of your smart home devices. Through the sequential steps of connecting to the router, accessing its settings, configuring the Wi-Fi network, setting up security measures, and saving the changes, you have established a robust and optimized wireless environment within your home.
With a well-configured Wi-Fi router, you have laid the groundwork for seamless connectivity and efficient communication between your smart home devices and the internet. Your proactive approach to customizing the Wi-Fi network, selecting optimal wireless channels, and implementing security measures has fortified the integrity of your digital ecosystem, fostering a safe and reliable environment for your smart home devices to thrive.
As you continue to explore the possibilities of smart home technology, the foundation you’ve established with your Wi-Fi router will serve as a cornerstone for the seamless integration and optimal performance of your smart devices. The personalized SSID, carefully selected wireless channels, and robust security measures reflect your commitment to creating a tailored and secure wireless environment that aligns with the demands of modern smart home technology.
By embracing the guidance provided in this article and taking proactive steps to configure your Wi-Fi router, you have empowered yourself to harness the full potential of your smart home devices. The stable and secure Wi-Fi network you’ve cultivated will serve as the backbone of your smart home ecosystem, facilitating a seamless and reliable experience for years to come.
As technology evolves and new smart home devices emerge, your well-configured Wi-Fi router will adapt to accommodate these advancements, ensuring that your digital ecosystem remains at the forefront of connectivity and innovation. Your commitment to optimizing your Wi-Fi network exemplifies your dedication to creating a modern, efficient, and secure home environment for you and your family.
With your Wi-Fi router expertly configured, you are well-equipped to embrace the boundless potential of smart home technology and embark on a journey of seamless connectivity, convenience, and innovation within your living space.
Frequently Asked Questions about How To Configure A Wi-Fi Router
Was this page helpful?
At Storables.com, we guarantee accurate and reliable information. Our content, validated by Expert Board Contributors, is crafted following stringent Editorial Policies. We're committed to providing you with well-researched, expert-backed insights for all your informational needs.

0 thoughts on “How To Configure A Wi-Fi Router”