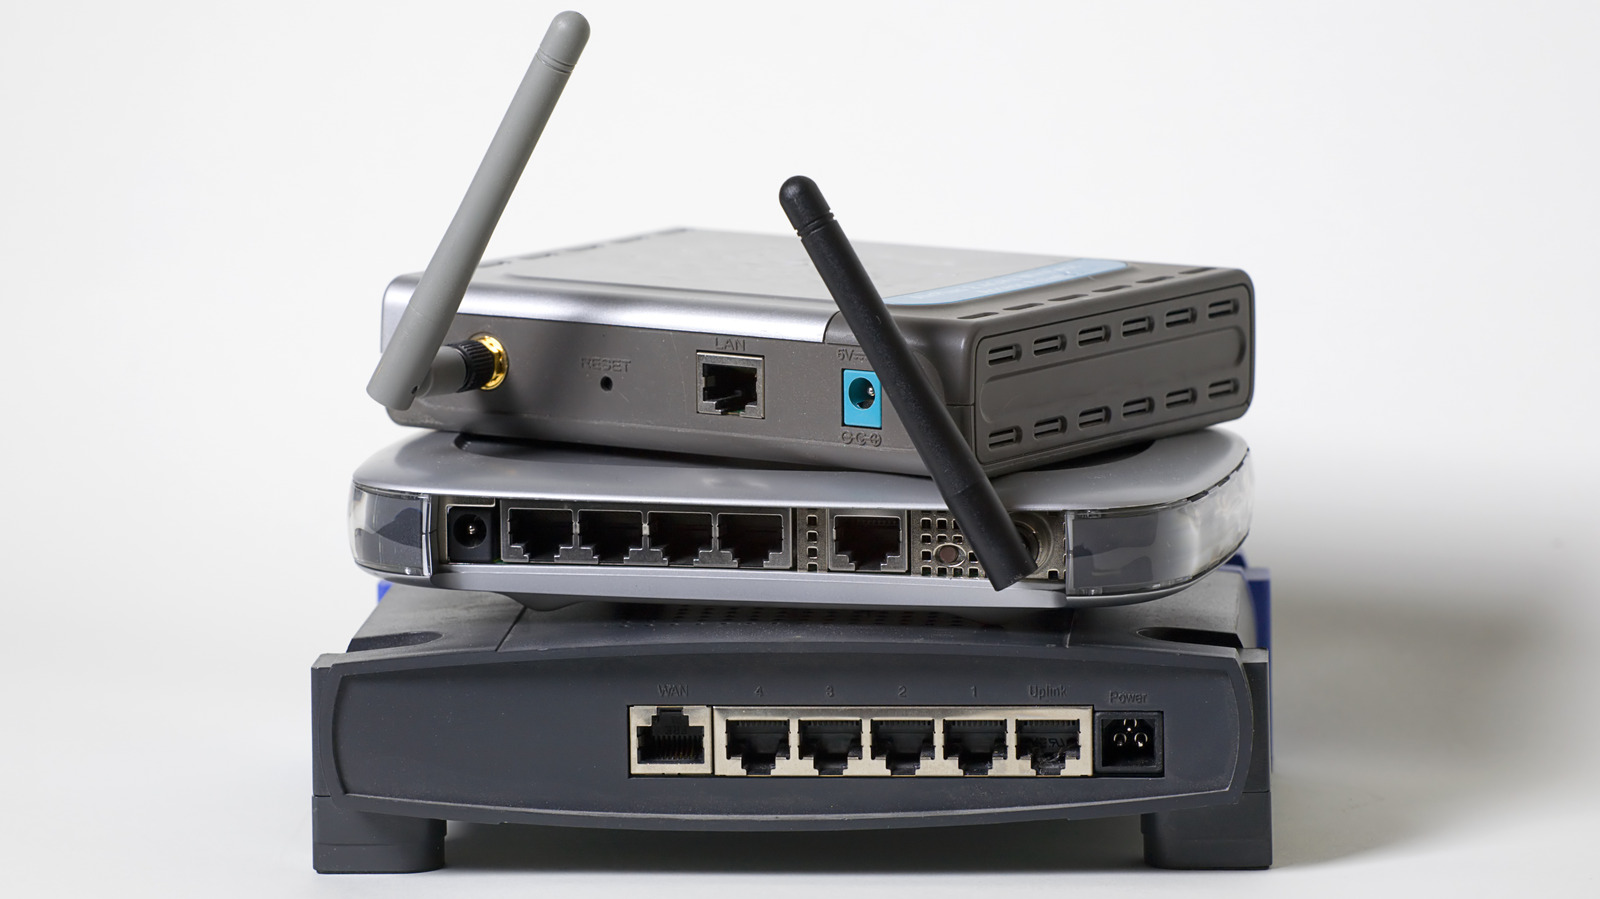
Home>Technology>Smart Home Devices>How To Make A Wi-Fi Router From A Laptop For Windows 7

Smart Home Devices
How To Make A Wi-Fi Router From A Laptop For Windows 7
Modified: January 8, 2024
Learn how to turn your Windows 7 laptop into a Wi-Fi router to connect your smart home devices easily. Follow our step-by-step guide for seamless connectivity.
(Many of the links in this article redirect to a specific reviewed product. Your purchase of these products through affiliate links helps to generate commission for Storables.com, at no extra cost. Learn more)
**
Introduction
**
In today's digitally connected world, Wi-Fi has become an indispensable part of our daily lives. Whether it's for streaming entertainment, conducting business, or staying in touch with loved ones, a reliable Wi-Fi connection is a necessity. However, there are instances when you may find yourself in need of a Wi-Fi network but without a traditional router. In such situations, the flexibility of turning your Windows 7 laptop into a Wi-Fi router can be a game-changer.
By leveraging the built-in capabilities of your Windows 7 laptop, you can create a virtual Wi-Fi hotspot, allowing other devices to connect and access the internet through it. This DIY approach not only saves you the cost of purchasing a separate router but also offers the convenience of setting up a network wherever you go, provided you have your laptop with you.
In this guide, we will walk through the step-by-step process of transforming your Windows 7 laptop into a Wi-Fi router. By following these instructions, you'll be able to share your laptop's internet connection with other devices, turning it into a portable hub for seamless connectivity. Let's dive into the details and unleash the potential of your laptop as a Wi-Fi router.
Key Takeaways:
- Turn your Windows 7 laptop into a Wi-Fi router by following simple steps, saving money on a traditional router and creating a portable hotspot for seamless connectivity wherever you go.
- With your laptop as a Wi-Fi router, connect other devices easily, expanding internet access and enhancing productivity, entertainment, and communication across multiple devices.
Read more: How To Make A Wi-Fi Router Faster
Step 1: Check Your Laptop’s Compatibility
Before embarking on the journey of turning your Windows 7 laptop into a Wi-Fi router, it’s crucial to ensure that your device meets the necessary requirements. The primary consideration is the compatibility of your laptop’s hardware and software with the virtual router functionality.
Here are the key factors to assess:
- Operating System: Confirm that your laptop is running Windows 7. The virtual router functionality is native to this operating system, making it the ideal platform for this DIY project.
- Wireless Network Adapter: Verify that your laptop is equipped with a wireless network adapter that supports hosted network capabilities. This feature allows the adapter to function as a virtual Wi-Fi hotspot, enabling other devices to connect to it.
- Driver Compatibility: Ensure that the drivers for your wireless network adapter are up to date and compatible with the hosted network feature. If necessary, update the drivers to the latest version provided by the manufacturer.
Once you’ve confirmed that your laptop meets these compatibility requirements, you can proceed with confidence to the next steps in the process. By taking the time to assess your laptop’s compatibility, you set the stage for a smooth and successful transformation into a Wi-Fi router.
Step 2: Set Up Virtual Router
With the compatibility check complete, it’s time to delve into the process of setting up a virtual router on your Windows 7 laptop. This involves leveraging the built-in capabilities of the operating system to create a virtual Wi-Fi hotspot that other devices can connect to.
Follow these steps to initiate the setup:
- Access Command Prompt: Open the Command Prompt with administrative privileges. You can do this by typing “cmd” in the Windows search bar, right-clicking on Command Prompt, and selecting “Run as administrator.”
- Enter Command: In the Command Prompt window, type the following command to set up the virtual router:
netsh wlan set hostednetwork mode=allow ssid=YourNetworkName key=YourNetworkPassword
Replace “YourNetworkName” with the desired name for your Wi-Fi network and “YourNetworkPassword” with a secure password. - Start Virtual Router: After entering the command, execute the following command to start the virtual router:
netsh wlan start hostednetwork
This command activates the virtual Wi-Fi hotspot, making it available for other devices to connect.
Upon completing these steps, your Windows 7 laptop will have established a virtual Wi-Fi hotspot, ready to accommodate connections from other devices. This marks a significant milestone in the process of transforming your laptop into a functional Wi-Fi router.
By following these straightforward steps, you’ve laid the foundation for sharing your laptop’s internet connection with other devices, enhancing the versatility and utility of your device.
You can turn your Windows 7 laptop into a Wi-Fi router by using the built-in “Virtual Router” feature. Just search for “Virtual Router” in the Start menu, open the program, set up a network name and password, and then click “Start Virtual Router.” Now your laptop will act as a Wi-Fi hotspot for other devices to connect to.
Step 3: Configure Virtual Router
Now that you’ve set up the virtual router on your Windows 7 laptop, it’s time to fine-tune the configuration to ensure optimal performance and security. By customizing the settings of the virtual Wi-Fi hotspot, you can create a seamless and secure network for connected devices.
Here’s how to configure the virtual router:
- Access Network Connections: Open the Network and Sharing Center on your laptop. Navigate to the “Change adapter settings” option to access your network connections.
- Modify Virtual Router Properties: Right-click on the virtual network adapter representing your hosted network, and select “Properties.” Here, you can configure various settings such as the network protocol, sharing options, and security parameters.
- Set Security Key: Navigate to the “Security” tab within the properties window to specify the security type and encryption settings for your virtual Wi-Fi hotspot. Assign a strong security key to safeguard the network from unauthorized access.
- Enable Sharing: In the properties window, navigate to the “Sharing” tab and enable the option to allow other network users to connect through this computer’s internet connection. This step facilitates the sharing of your laptop’s internet connection with connected devices.
By meticulously configuring the virtual router, you establish a secure and efficient Wi-Fi hotspot that caters to the connectivity needs of other devices. This level of customization ensures that your Windows 7 laptop operates as a reliable and versatile Wi-Fi router, empowering you to extend internet access to a broader range of devices.
With the virtual router now fine-tuned to your preferences, you’re poised to provide a seamless and secure Wi-Fi network for devices seeking internet connectivity. This marks a significant stride in harnessing the potential of your Windows 7 laptop as a Wi-Fi router.
Step 4: Connect Devices to Your New Wi-Fi Network
With the virtual router configured and ready, it’s time to connect other devices to your newly established Wi-Fi network. Whether it’s a smartphone, tablet, or another laptop, these devices can now leverage your Windows 7 laptop’s internet connection through the virtual Wi-Fi hotspot.
Follow these steps to connect devices to your new Wi-Fi network:
- Enable Wi-Fi on the Target Device: Ensure that the Wi-Fi feature on the device you wish to connect is turned on.
- Scan for Available Networks: Access the Wi-Fi settings on the device and scan for available networks. Your virtual Wi-Fi hotspot, identified by the network name (SSID) you specified during setup, should appear in the list of available networks.
- Connect to the Virtual Wi-Fi Hotspot: Select your virtual Wi-Fi network from the list and enter the security key you set during the configuration process. Once the correct credentials are entered, the device will establish a connection to your Windows 7 laptop’s virtual router.
By following these straightforward steps, you can seamlessly connect devices to your new Wi-Fi network, enabling them to benefit from your laptop’s internet connection. This capability transforms your Windows 7 laptop into a versatile hub for providing internet access to a variety of devices.
With devices successfully connected to your new Wi-Fi network, you’ve effectively expanded the reach of your laptop’s internet connection, fostering a connected environment that enhances productivity, entertainment, and communication across multiple devices.
Read more: How To Block EMF From A Wi-Fi Router
Conclusion
Congratulations! By following the step-by-step process outlined in this guide, you’ve successfully transformed your Windows 7 laptop into a fully functional Wi-Fi router. This DIY approach not only offers a cost-effective alternative to purchasing a traditional router but also provides the flexibility of creating a portable Wi-Fi hotspot wherever your laptop goes.
Through the careful assessment of your laptop’s compatibility, the setup of a virtual router, the meticulous configuration of network settings, and the seamless connection of devices to your new Wi-Fi network, you’ve unlocked the potential of your Windows 7 laptop as a versatile networking solution.
By harnessing the native capabilities of the Windows 7 operating system, you’ve empowered your laptop to serve as a hub for internet connectivity, enabling other devices to access the web through the virtual Wi-Fi hotspot. This capability is especially valuable in situations where a traditional router may be unavailable, such as during travel, outdoor events, or temporary setups.
As you continue to explore the possibilities of your newly created Wi-Fi router, remember to prioritize security by using strong network encryption and regularly updating your laptop’s software and drivers. Additionally, consider the potential applications of your portable Wi-Fi hotspot, whether it’s for facilitating collaborative work sessions, providing internet access in remote locations, or simply enhancing connectivity in your everyday environment.
Embracing the DIY spirit of this endeavor, you’ve not only expanded the functionality of your Windows 7 laptop but also gained valuable insights into networking and technology. This newfound capability exemplifies the versatility and adaptability of modern computing devices, showcasing the potential for innovation within everyday tools.
As you enjoy the benefits of your laptop’s newfound role as a Wi-Fi router, remember the journey you’ve taken to achieve this feat. Your resourcefulness and technical acumen have culminated in the creation of a personalized networking solution, demonstrating the power of leveraging existing technology to meet evolving needs.
With your Windows 7 laptop now serving as a reliable Wi-Fi router, you’re poised to navigate the digital landscape with enhanced connectivity and convenience, all from a device that has evolved into a multifaceted gateway to the digital world.
Frequently Asked Questions about How To Make A Wi-Fi Router From A Laptop For Windows 7
Was this page helpful?
At Storables.com, we guarantee accurate and reliable information. Our content, validated by Expert Board Contributors, is crafted following stringent Editorial Policies. We're committed to providing you with well-researched, expert-backed insights for all your informational needs.


0 thoughts on “How To Make A Wi-Fi Router From A Laptop For Windows 7”