Home>Technology>Smart Home Devices>How To Reset Nest Wi-Fi Router
Smart Home Devices
How To Reset Nest Wi-Fi Router
Published: January 3, 2024
Learn how to reset your Nest Wi-Fi router and troubleshoot connectivity issues with other smart home devices. Keep your smart home running smoothly with these simple steps.
(Many of the links in this article redirect to a specific reviewed product. Your purchase of these products through affiliate links helps to generate commission for Storables.com, at no extra cost. Learn more)
Introduction
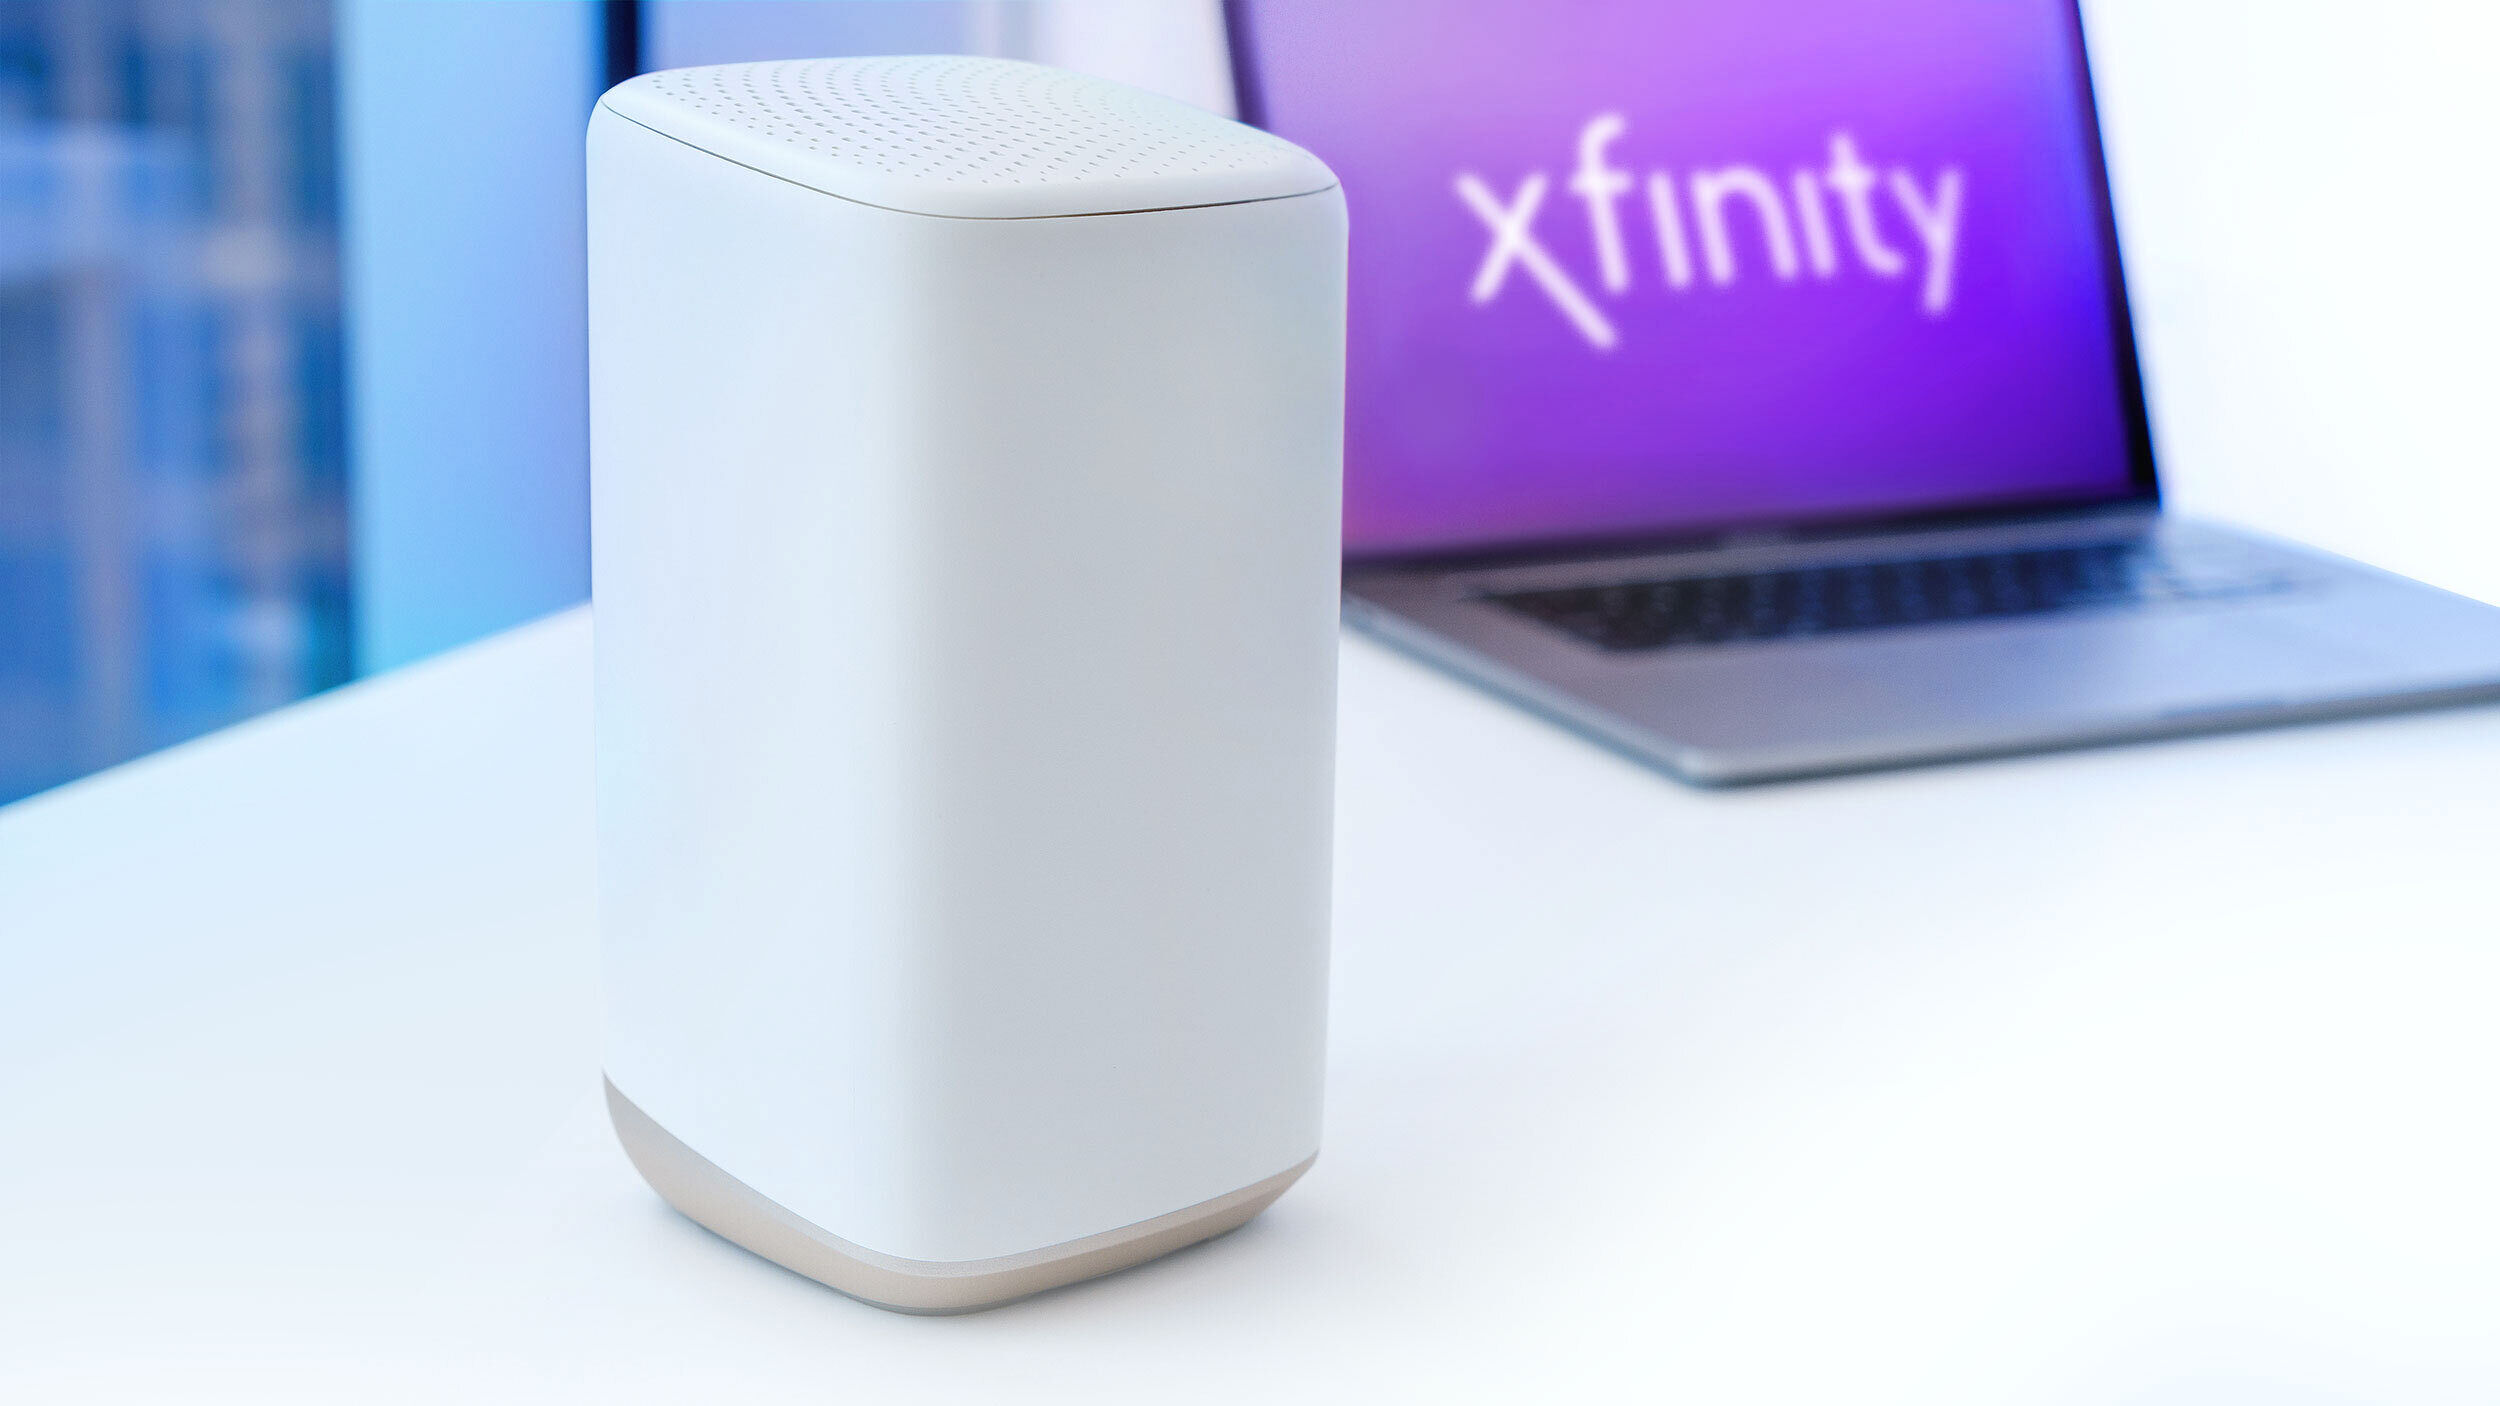
Welcome to the world of smart home devices, where convenience and connectivity converge to simplify our lives. Among the array of intelligent gadgets that power our modern homes, the Nest Wi-Fi router stands out as a cornerstone of seamless connectivity. This innovative router not only provides high-speed internet access but also integrates with the Nest smart home ecosystem, allowing for effortless management and control of various smart devices.
However, there are instances when you may encounter connectivity issues or the need to troubleshoot your Nest Wi-Fi router. In such cases, performing a reset can often resolve these issues and restore the router to its default settings. Whether you're encountering network disruptions or simply aiming to start afresh with your router, knowing how to reset your Nest Wi-Fi router is a valuable skill for any homeowner.
In this comprehensive guide, we will walk you through the step-by-step process of resetting your Nest Wi-Fi router. From locating the reset button to reconfiguring the router, we'll cover all the essential details to ensure a smooth and successful reset. By the end of this guide, you'll be equipped with the knowledge and confidence to tackle any connectivity challenges and optimize the performance of your Nest Wi-Fi router. Let's dive in and unravel the reset process, empowering you to harness the full potential of your smart home network.
Key Takeaways:
- Resetting your Nest Wi-Fi router involves finding and holding the reset button, waiting for the router to reset, and then reconfiguring it to suit your needs. This process helps resolve connectivity issues and optimize your smart home network.
- By following the reset guide, you gain the skills to troubleshoot and maintain your smart home devices. This empowers you to address connectivity challenges and enhance the performance of your smart home network.
Read more: How To Reset A Wi-Fi Router
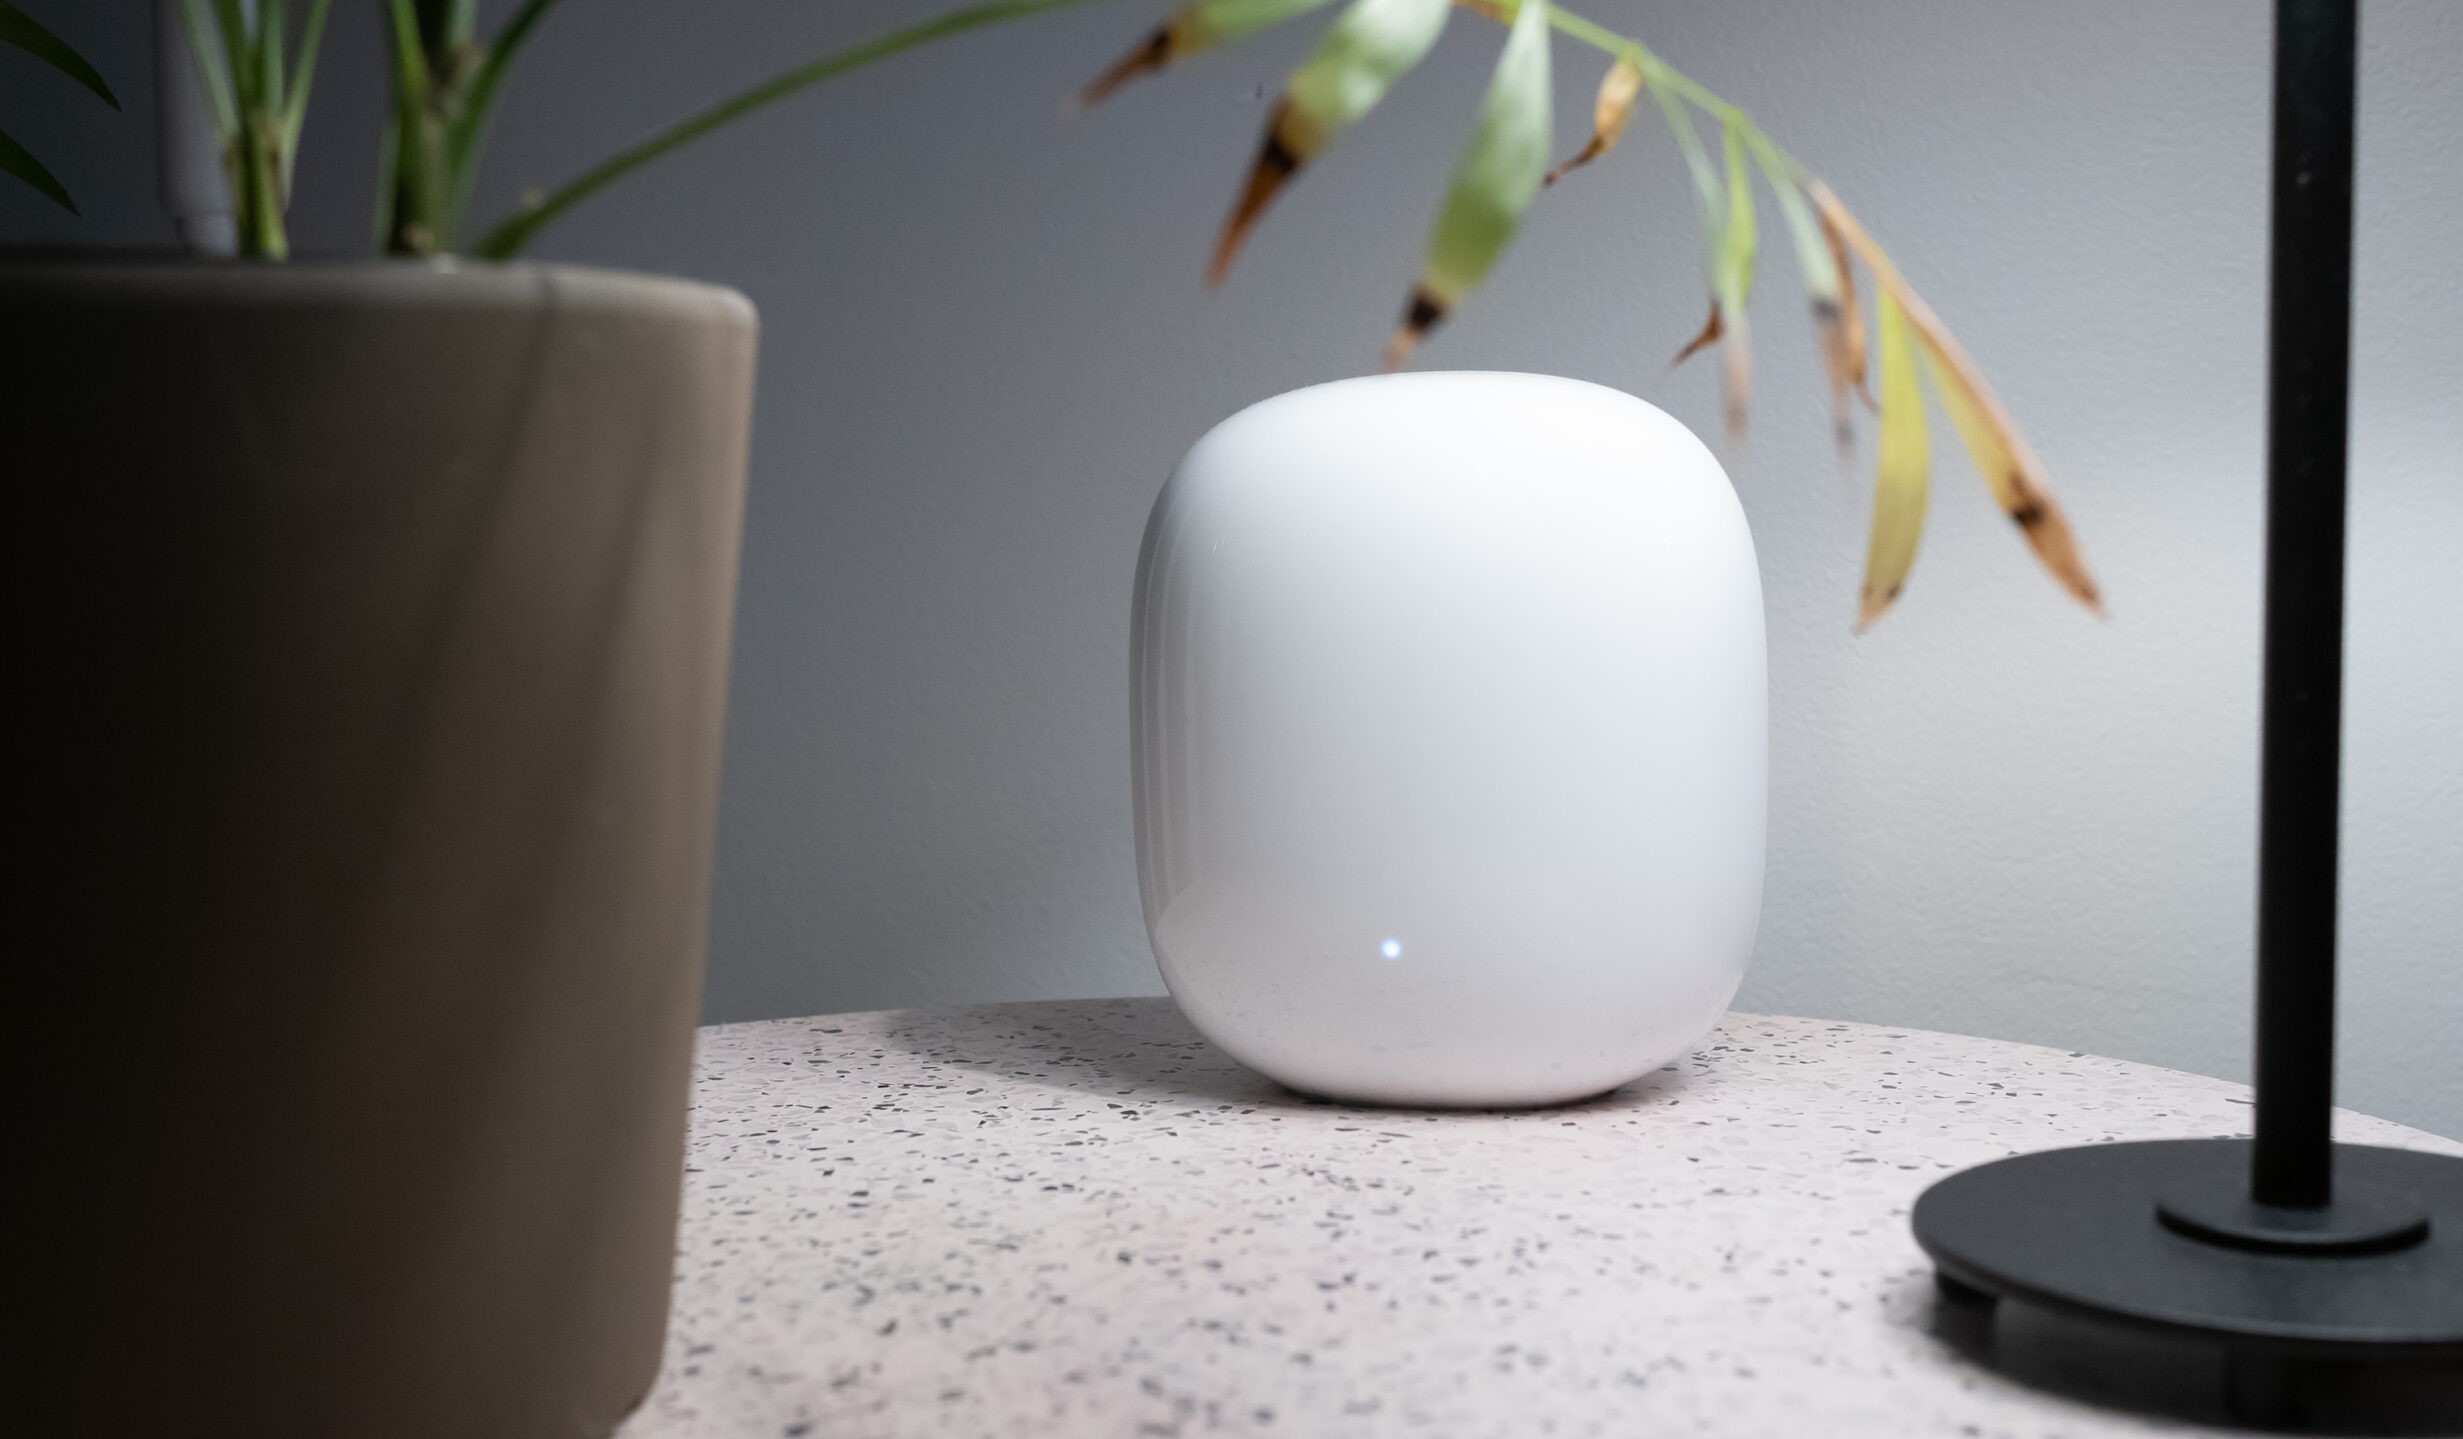
Step 1: Locate the Reset Button
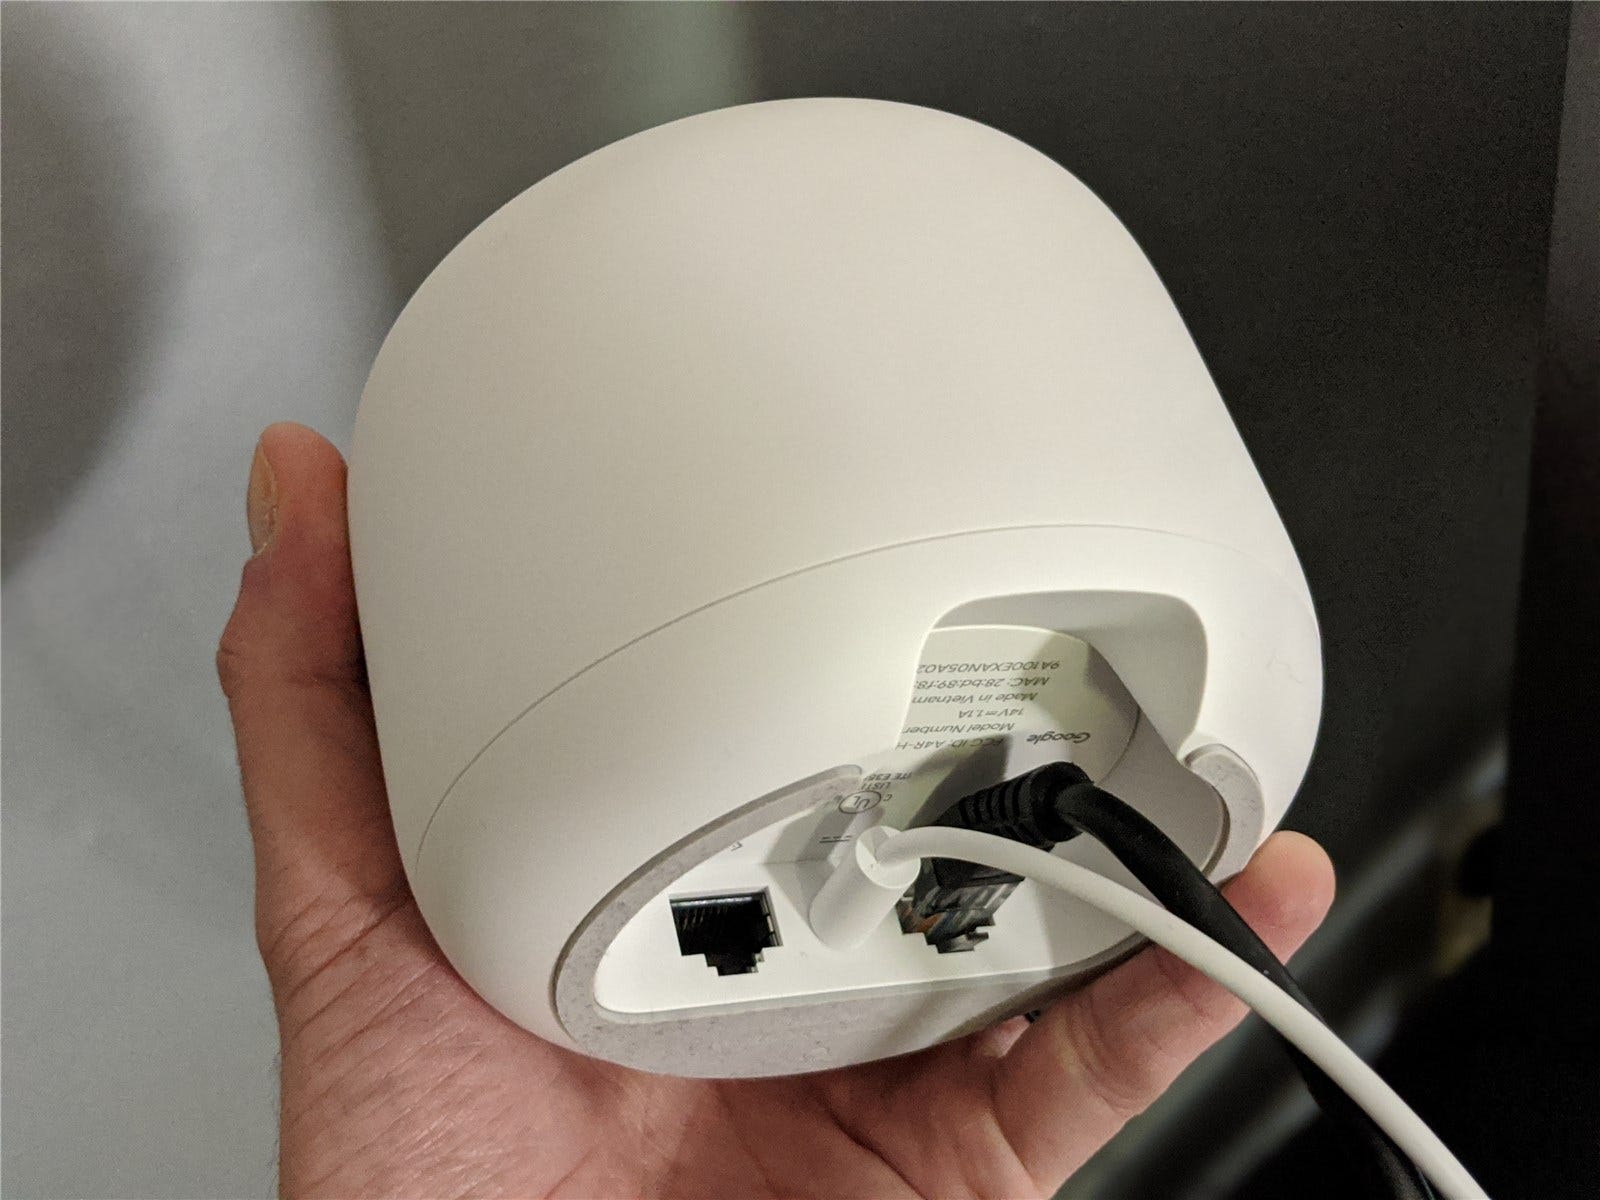
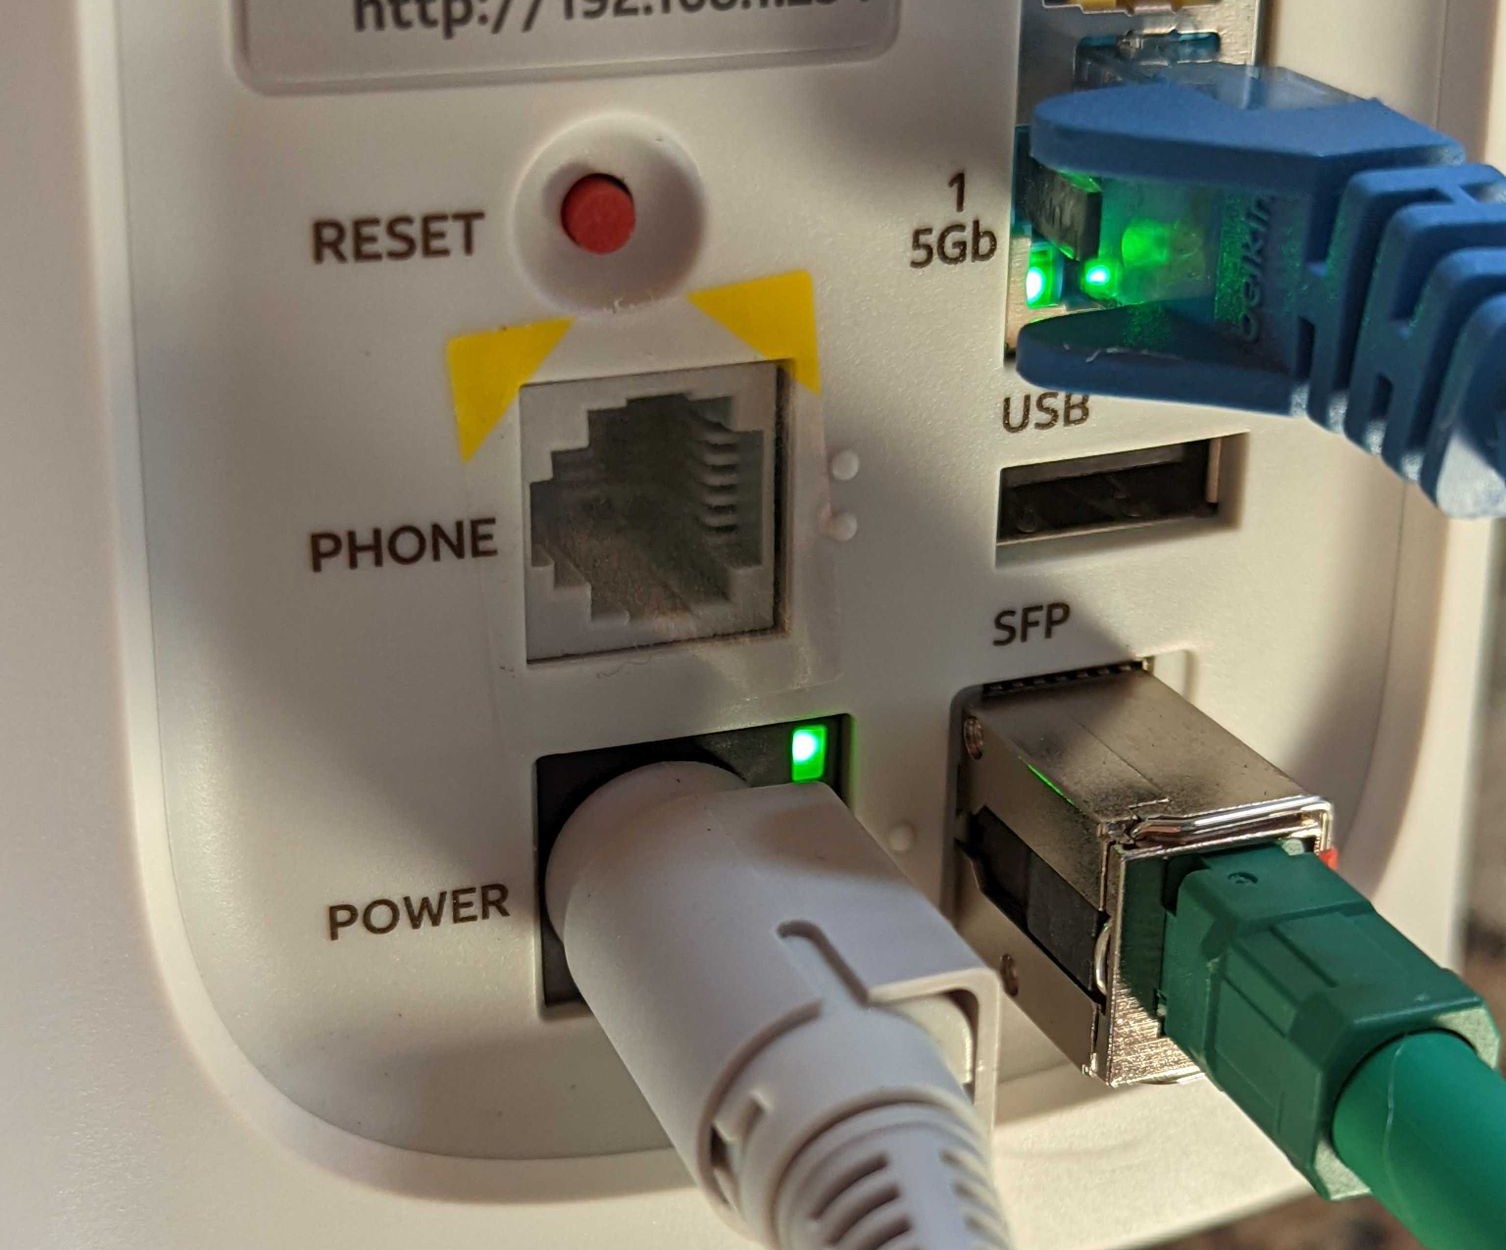
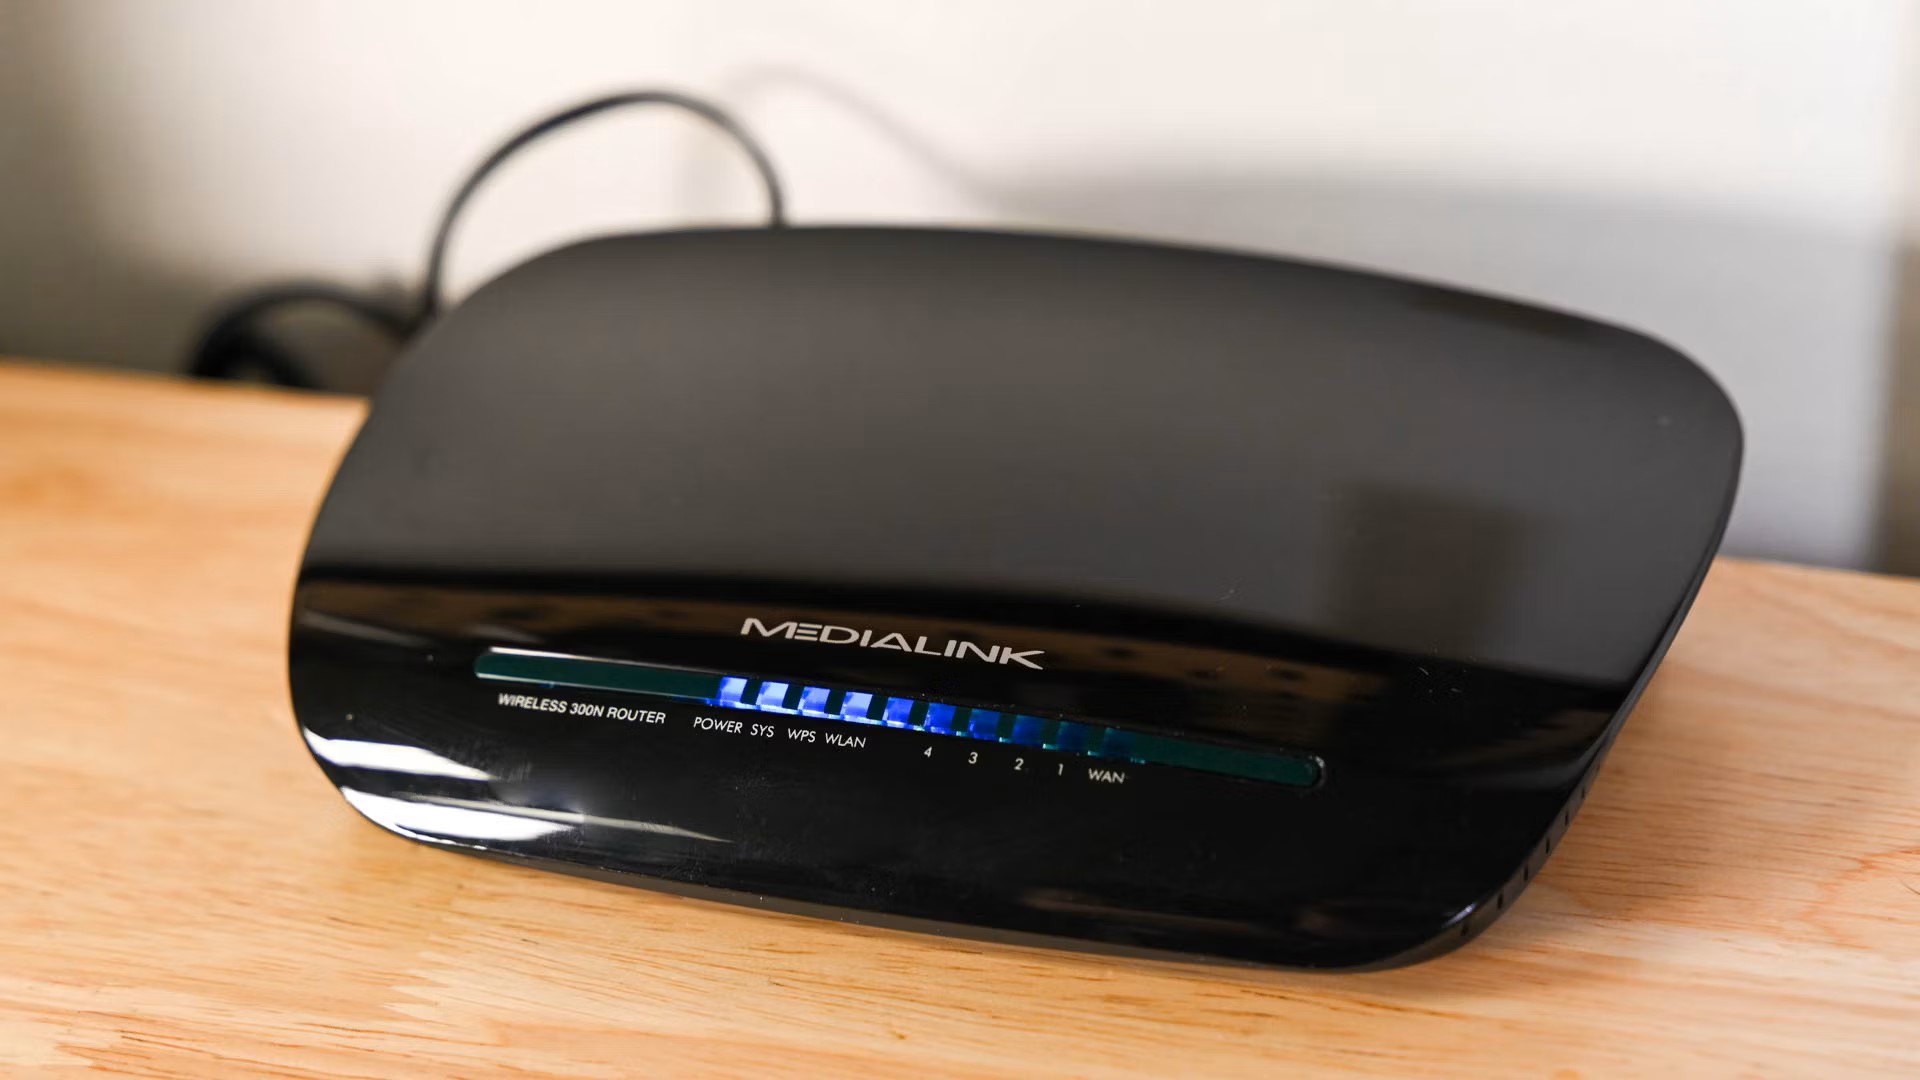
Before initiating the reset process for your Nest Wi-Fi router, it’s crucial to locate the reset button, which is a small, recessed button typically found on the router’s exterior. The exact placement of the reset button may vary depending on the model of your Nest Wi-Fi router, but it is commonly situated near the power port or on the back panel.
To effectively locate the reset button, you can refer to the user manual or online documentation provided by Nest. Additionally, a simple visual inspection of the router’s exterior should reveal the reset button’s position. It’s essential to exercise caution and ensure that you have identified the correct button to avoid inadvertently triggering other functions on the router.
Once you have successfully located the reset button, take note of its precise position and familiarize yourself with its appearance. This initial step sets the stage for the subsequent actions involved in the reset process, laying the foundation for a systematic and informed approach to resetting your Nest Wi-Fi router.
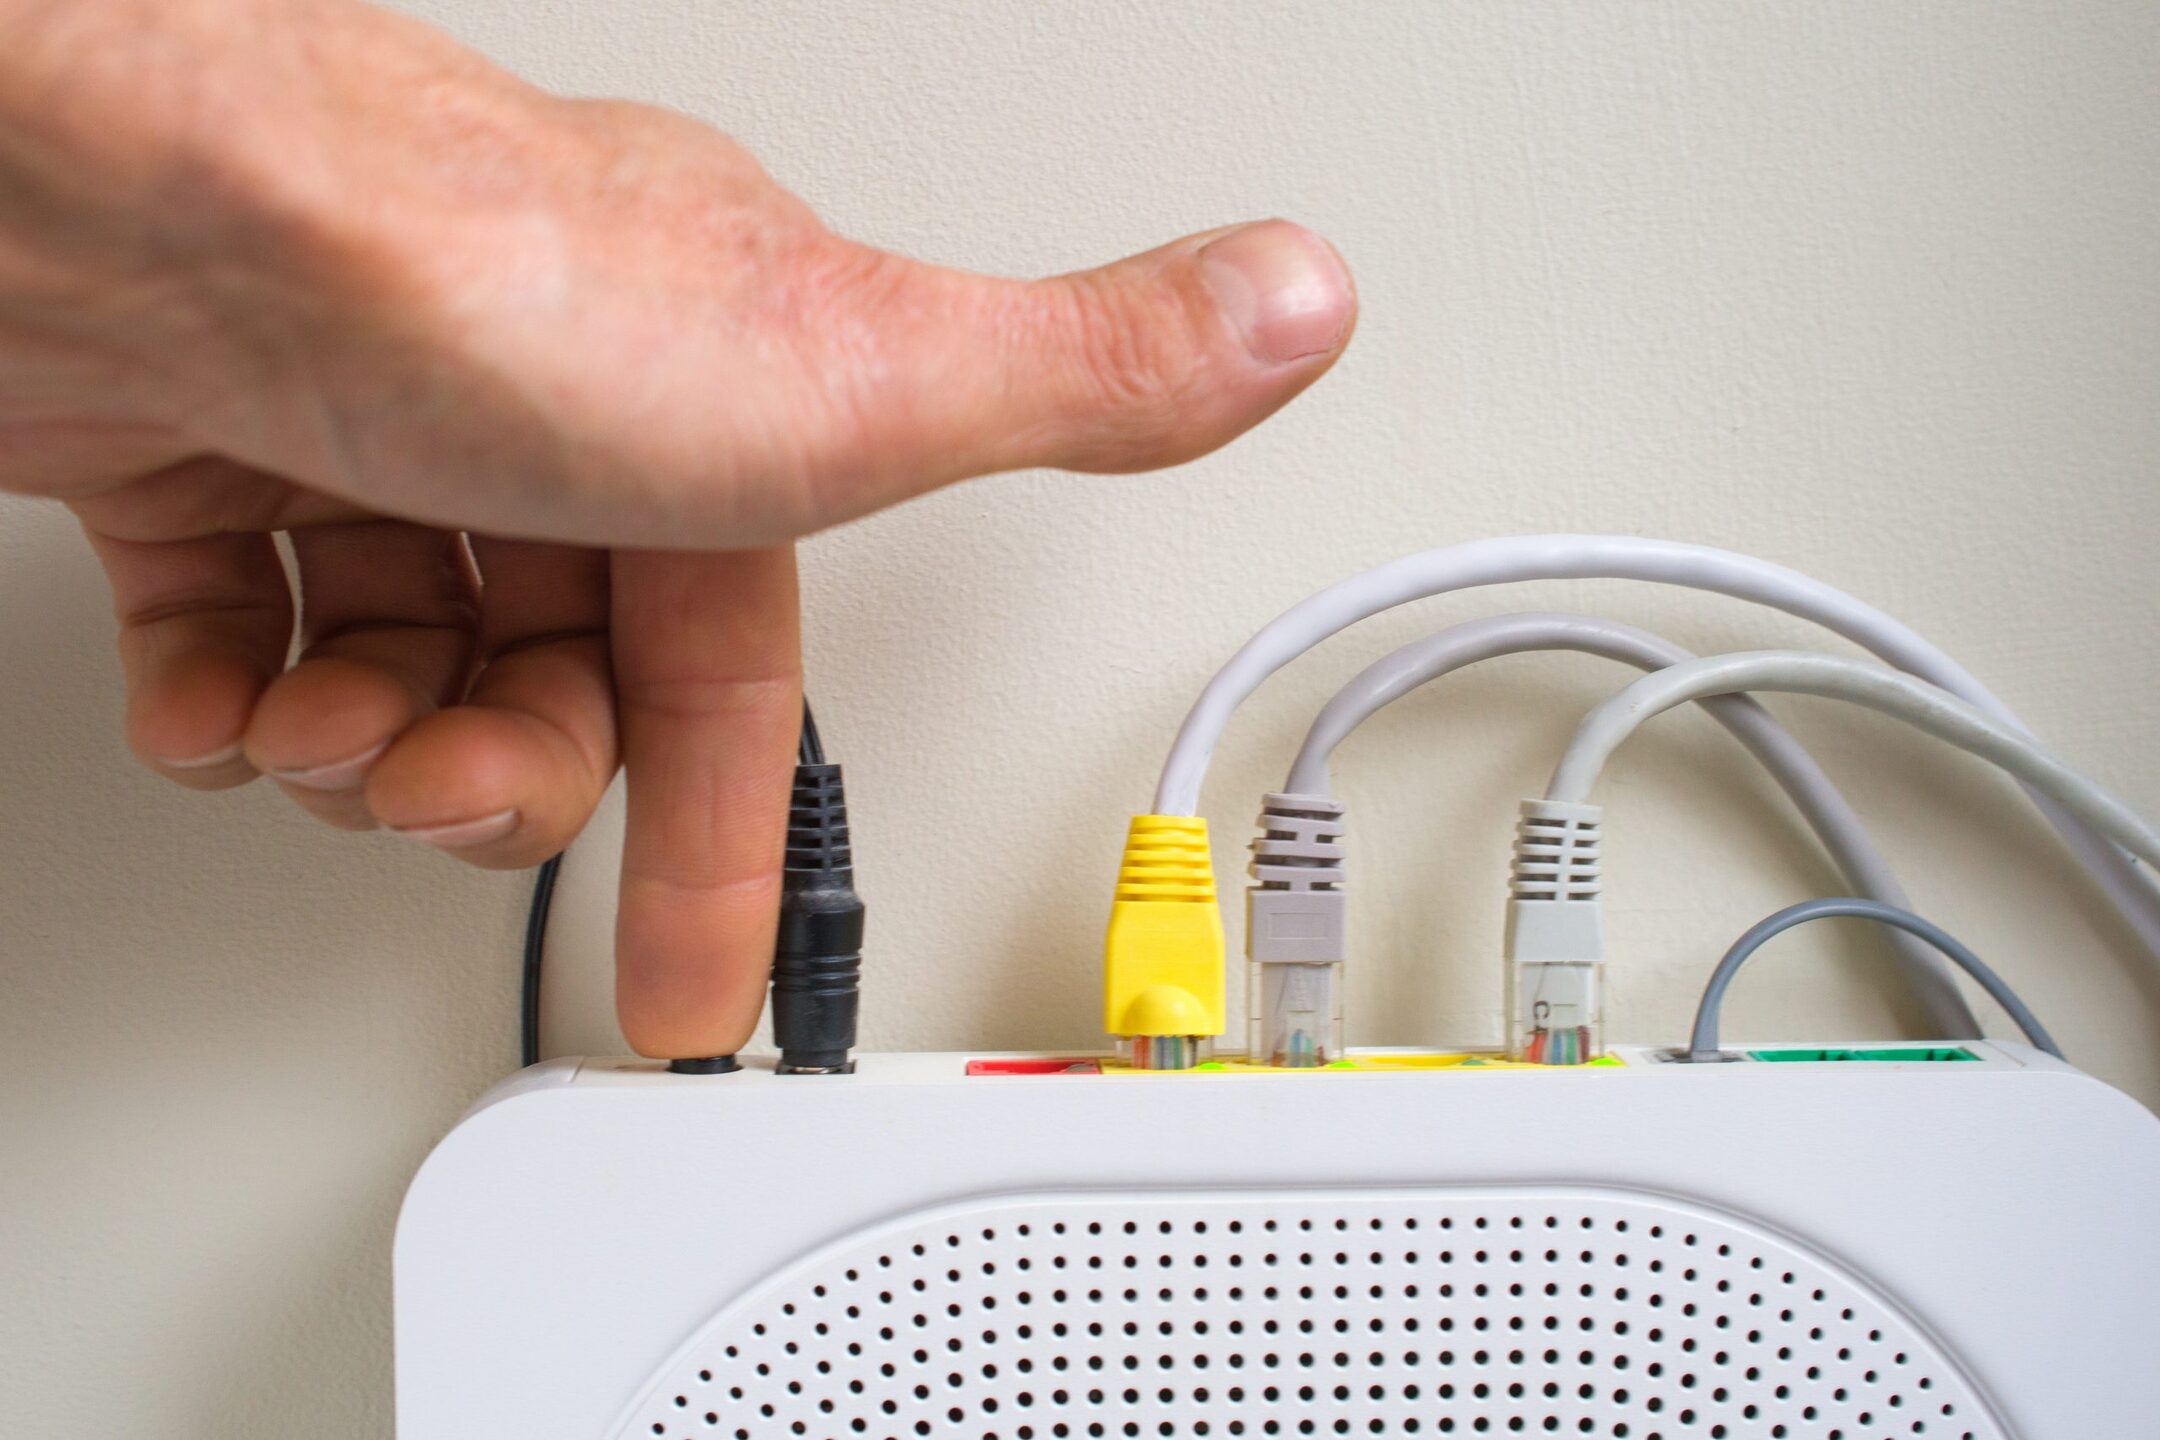
Step 2: Press and Hold the Reset Button
With the reset button identified, the next crucial step in resetting your Nest Wi-Fi router is to press and hold the reset button for a specified duration. This action initiates the reset process, allowing the router to revert to its default settings and effectively clear any existing configurations or issues.
Before proceeding, it’s important to ensure that the router is powered on and operational. Once you have confirmed the router’s status, use a small, pointed object such as a paperclip or a pen tip to press and hold the reset button. Applying gentle pressure, hold the button for approximately 10 to 15 seconds, maintaining a steady and consistent hold throughout the duration.
During this process, you may notice subtle indicators such as LED lights flashing or a brief interruption in the router’s normal operation. These signs signify that the reset process has been initiated and is underway. It’s essential to exercise patience and maintain the pressure on the reset button for the specified duration, as this ensures that the reset command is effectively transmitted to the router’s internal system.
Pressing and holding the reset button is a pivotal step that triggers the restoration of the router’s default settings, effectively clearing any previous configurations and paving the way for a fresh start. By diligently following this step, you set the stage for a successful reset process, positioning your Nest Wi-Fi router for a seamless transition to its default state.
To reset your Nest Wi-Fi router, locate the reset button on the back of the router. Use a paperclip to press and hold the button for at least 10 seconds until the light flashes. This will reset the router to its factory settings.
Step 3: Wait for the Router to Reset
After pressing and holding the reset button on your Nest Wi-Fi router, the next phase of the reset process involves allowing the router sufficient time to complete the reset procedure. This period of waiting is crucial, as it enables the router to undergo the necessary internal adjustments and reconfiguration, ultimately restoring it to its default state.
As you release the reset button after the specified duration of pressing and holding, the router begins the reset process, indicated by various visual and operational cues. During this time, it’s important to exercise patience and refrain from interrupting the router’s operation. While the exact duration of the reset process may vary, it typically takes a few minutes for the router to fully reset and stabilize.
Throughout this waiting period, you may observe the router’s LED lights exhibiting distinct patterns or changes in behavior, signaling the progress of the reset procedure. It’s essential to remain attentive to these visual cues, as they provide valuable insights into the router’s status and the completion of the reset process.
During the reset interval, it’s advisable to refrain from attempting to access the router’s settings or make any configuration changes. Allowing the router uninterrupted time to reset and recalibrate is crucial for ensuring a successful and thorough restoration to its default state.
By patiently waiting for the router to complete the reset process, you contribute to the smooth and effective transition of the Nest Wi-Fi router back to its factory settings, setting the stage for the subsequent reconfiguration steps. Embracing this phase with patience and attentiveness positions you for a successful reset outcome, empowering you to optimize the performance and functionality of your smart home network.
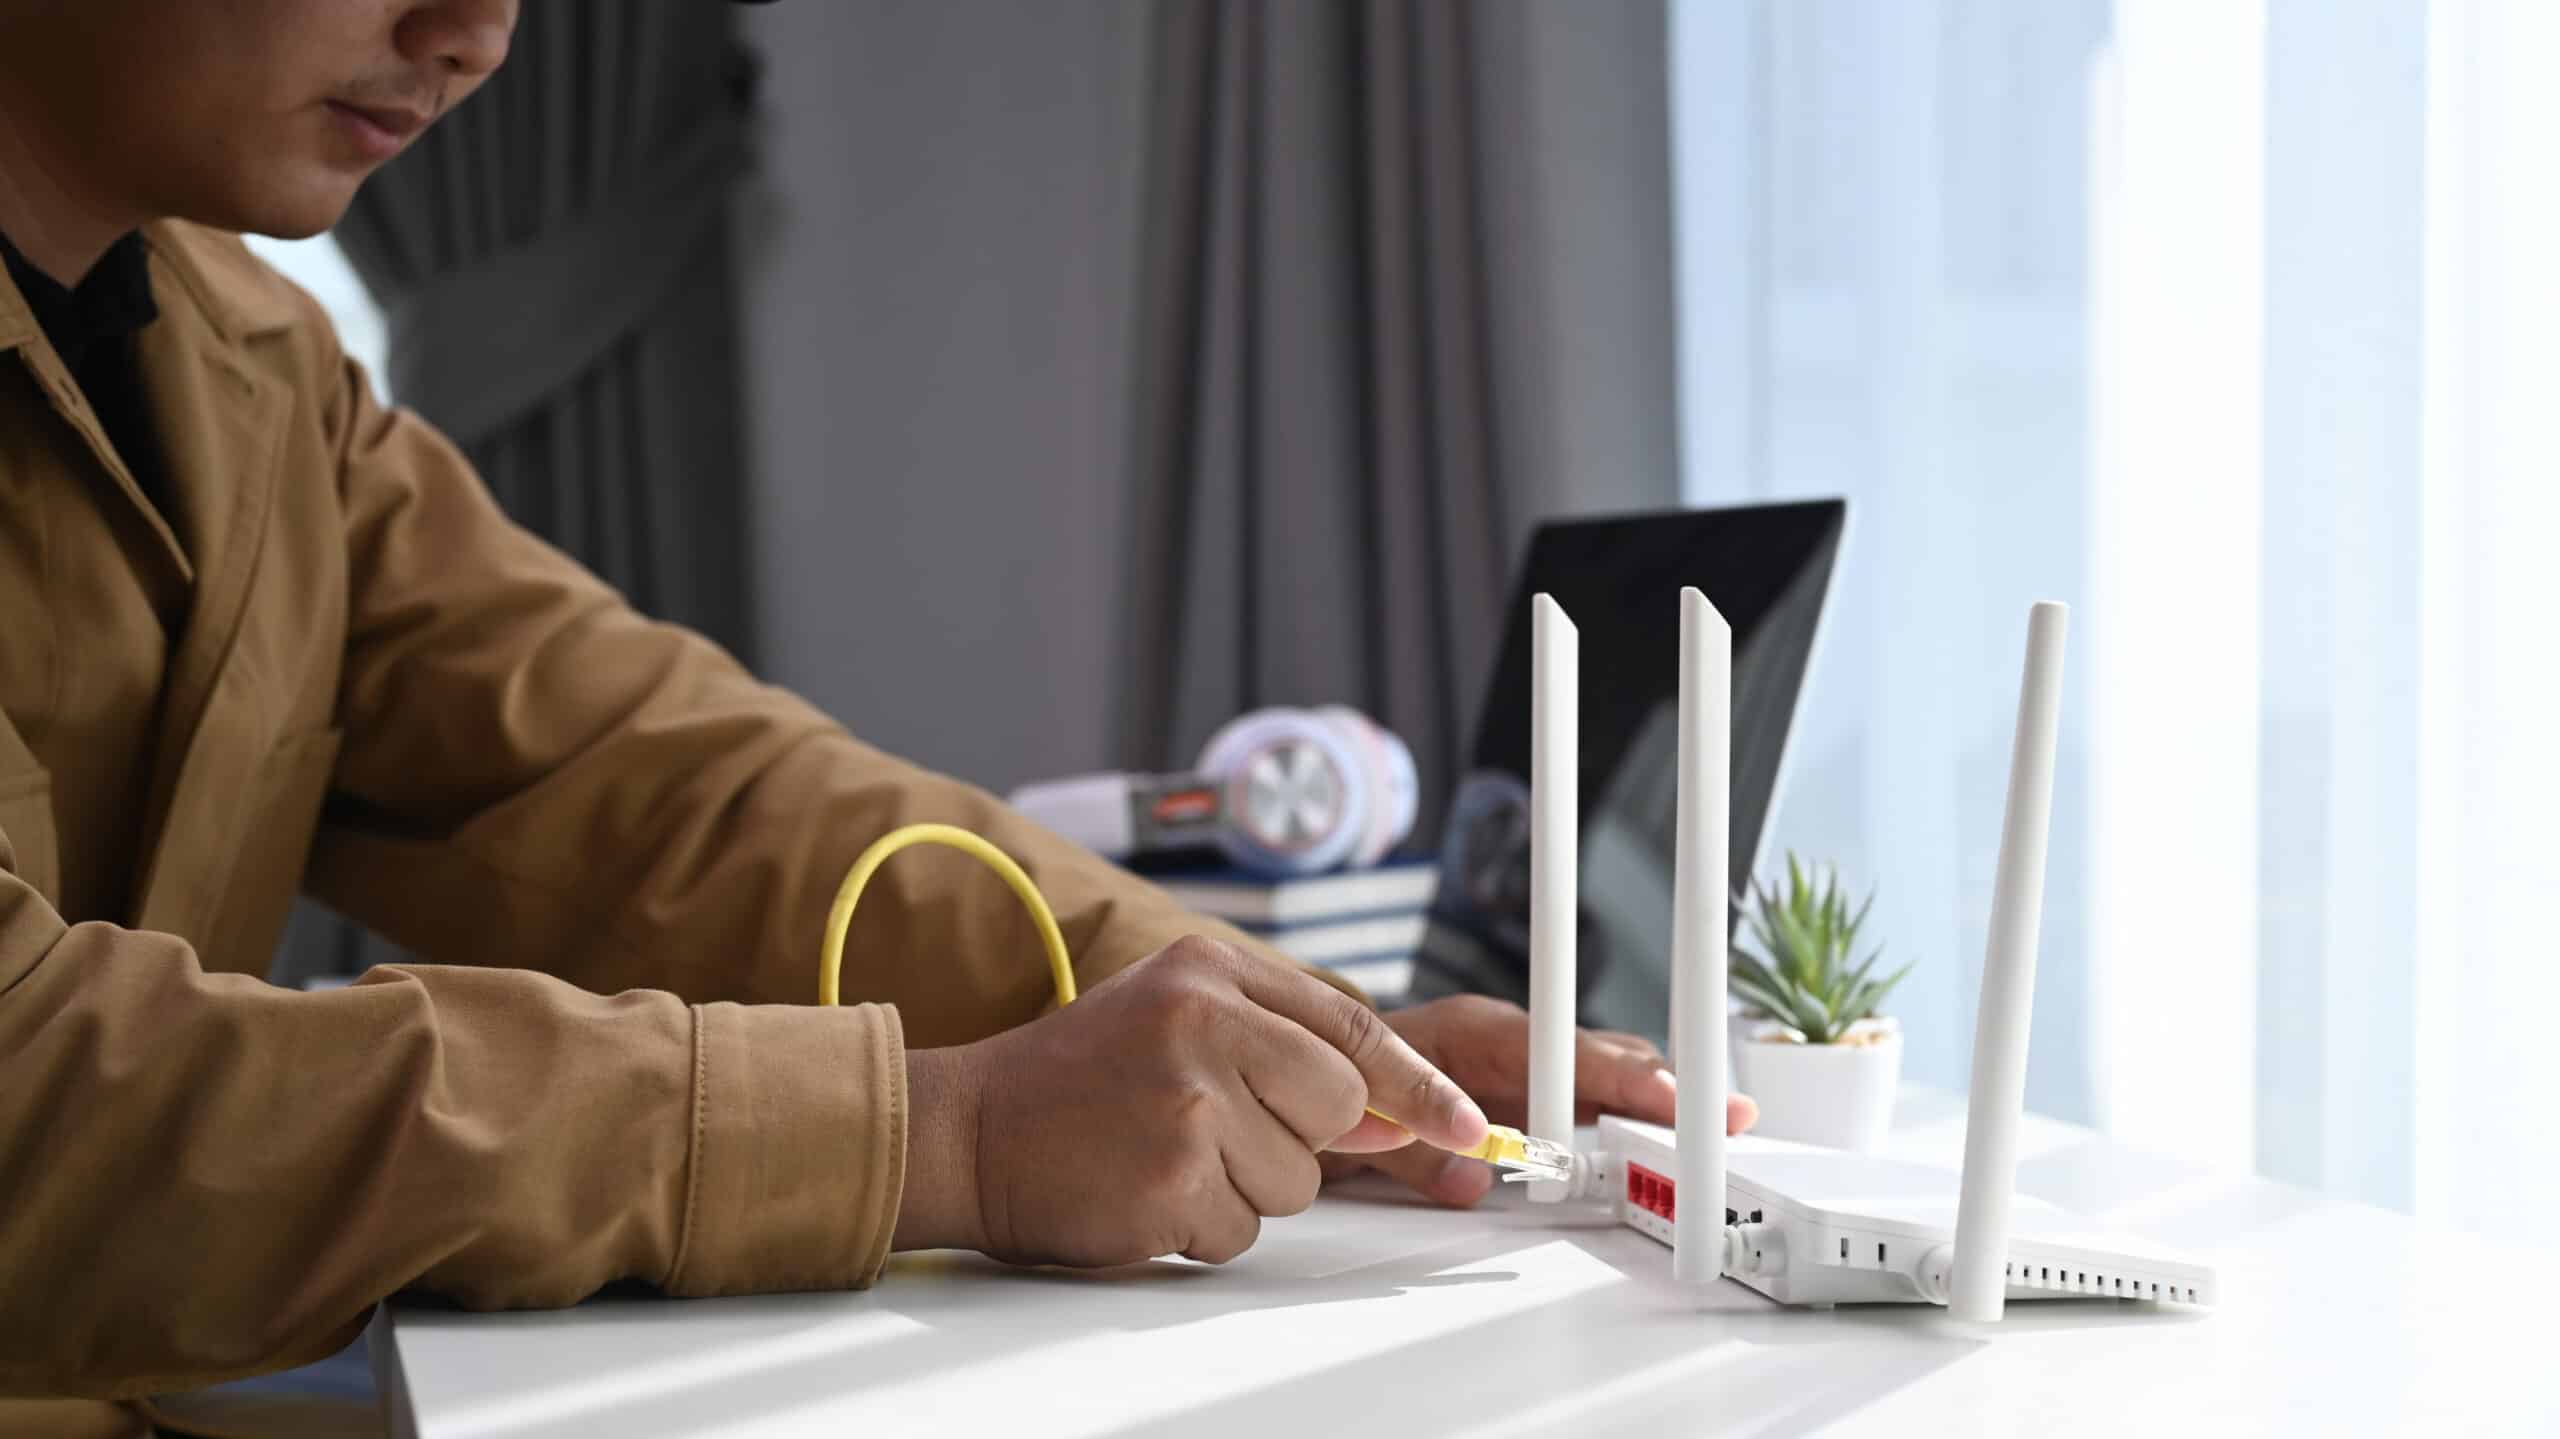
Step 4: Reconfigure the Nest Wi-Fi Router
Following the successful reset of your Nest Wi-Fi router, the final step involves reconfiguring the router to establish a new set of personalized settings and parameters. This pivotal phase allows you to tailor the router’s configurations to suit your specific connectivity needs and seamlessly integrate it with your smart home ecosystem.
To commence the reconfiguration process, begin by accessing the router’s settings interface through a web browser or the dedicated Nest app on your mobile device. Once you have successfully accessed the router’s interface, you can proceed to configure essential parameters such as network name (SSID), password, security settings, and any additional customized features offered by the Nest Wi-Fi ecosystem.
During the reconfiguration process, it’s advisable to leverage the opportunity to optimize your router’s settings to align with your unique requirements. This may include prioritizing specific devices, setting up guest networks, implementing parental controls, and exploring advanced features designed to enhance your overall smart home experience.
As you navigate through the reconfiguration interface, ensure that you save and apply the changes systematically, verifying each adjustment to guarantee the seamless integration of your personalized settings into the router’s operational framework. Additionally, it’s beneficial to explore any firmware updates or enhancements offered by Nest, ensuring that your router is equipped with the latest features and security patches.
Upon completing the reconfiguration process, take a moment to test the connectivity and functionality of your Nest Wi-Fi router, validating that the newly established settings align with your expectations and operational needs. By diligently reconfiguring the router and tailoring its settings to suit your preferences, you fortify the foundation of your smart home network, fostering a robust and reliable connectivity environment for your diverse array of smart devices.
Read more: How To Reset A Wi-Fi Router Password
Conclusion
Congratulations on successfully navigating the reset process for your Nest Wi-Fi router! By following the step-by-step guide outlined in this comprehensive walkthrough, you have empowered yourself with the knowledge and skills to effectively reset and reconfigure your router, ensuring optimal performance and connectivity within your smart home ecosystem.
As you reflect on the reset journey, it’s important to recognize the significance of troubleshooting and maintenance in preserving the efficiency and reliability of your smart home devices. The ability to initiate a reset when encountering connectivity issues or performance challenges equips you with a valuable tool for addressing and resolving such concerns, ultimately enhancing the overall functionality of your smart home network.
Furthermore, the process of resetting and reconfiguring your Nest Wi-Fi router serves as an opportunity to engage with the intricacies of your smart home ecosystem, fostering a deeper understanding of connectivity principles and network management. Embracing this hands-on approach not only optimizes the performance of your router but also cultivates a sense of empowerment and proficiency in leveraging smart home technologies to their fullest potential.
As you embark on your smart home journey, remember that ongoing maintenance, periodic reconfigurations, and proactive troubleshooting are integral components of nurturing a robust and reliable smart home network. By staying attuned to the evolving landscape of smart home technologies and embracing a proactive mindset towards maintenance and optimization, you position yourself to harness the full spectrum of benefits offered by your interconnected smart devices.
With the insights gained from this guide, you are well-equipped to navigate the intricacies of resetting and reconfiguring your Nest Wi-Fi router, fostering a seamless and efficient connectivity environment within your smart home. As you continue to explore the boundless possibilities of smart home living, may your journey be characterized by seamless connectivity, enhanced convenience, and the enriching experience of leveraging technology to elevate your daily life.
Frequently Asked Questions about How To Reset Nest Wi-Fi Router
Was this page helpful?
At Storables.com, we guarantee accurate and reliable information. Our content, validated by Expert Board Contributors, is crafted following stringent Editorial Policies. We're committed to providing you with well-researched, expert-backed insights for all your informational needs.
0 thoughts on “How To Reset Nest Wi-Fi Router”