Home>Technology>Smart Home Devices>How To Manually Clean Epson Printer Heads
Smart Home Devices
How To Manually Clean Epson Printer Heads
Modified: August 28, 2024
Learn how to manually clean Epson printer heads for optimal performance. Get expert tips on maintaining your smart home devices. Discover the best techniques for keeping your printer in top condition.
(Many of the links in this article redirect to a specific reviewed product. Your purchase of these products through affiliate links helps to generate commission for Storables.com, at no extra cost. Learn more)
Introduction
Epson printers are renowned for their exceptional print quality and reliability, but even the most advanced printing technology can encounter issues over time. One common problem that users may encounter is clogged printer heads, which can result in streaky, uneven, or faded prints. While many modern printers are equipped with automatic cleaning functions, there are instances when manual intervention is necessary to restore optimal performance.
In this comprehensive guide, we will delve into the intricacies of Epson printer heads, explore the signs indicating clogging, and provide step-by-step instructions for manually cleaning the printer heads. By following these instructions, users can potentially resolve print quality issues and prolong the lifespan of their Epson printers.
Understanding the inner workings of Epson printer heads is crucial for identifying and addressing potential issues. Additionally, recognizing the signs of clogged printer heads and understanding the manual cleaning process are essential for maintaining optimal print quality. Let's embark on this informative journey to gain a deeper understanding of Epson printer maintenance and troubleshooting.
Key Takeaways:
- Regular manual cleaning of Epson printer heads is essential for maintaining high-quality prints. Recognizing signs of clogging and following the step-by-step cleaning process can help restore optimal print performance.
- Testing the printer heads after manual cleaning is crucial for evaluating the effectiveness of the maintenance. By documenting activities and monitoring print performance, users can ensure consistent high-quality prints.
Read more: How To Clean The Printer Head On Epson
Understanding Epson Printer Heads
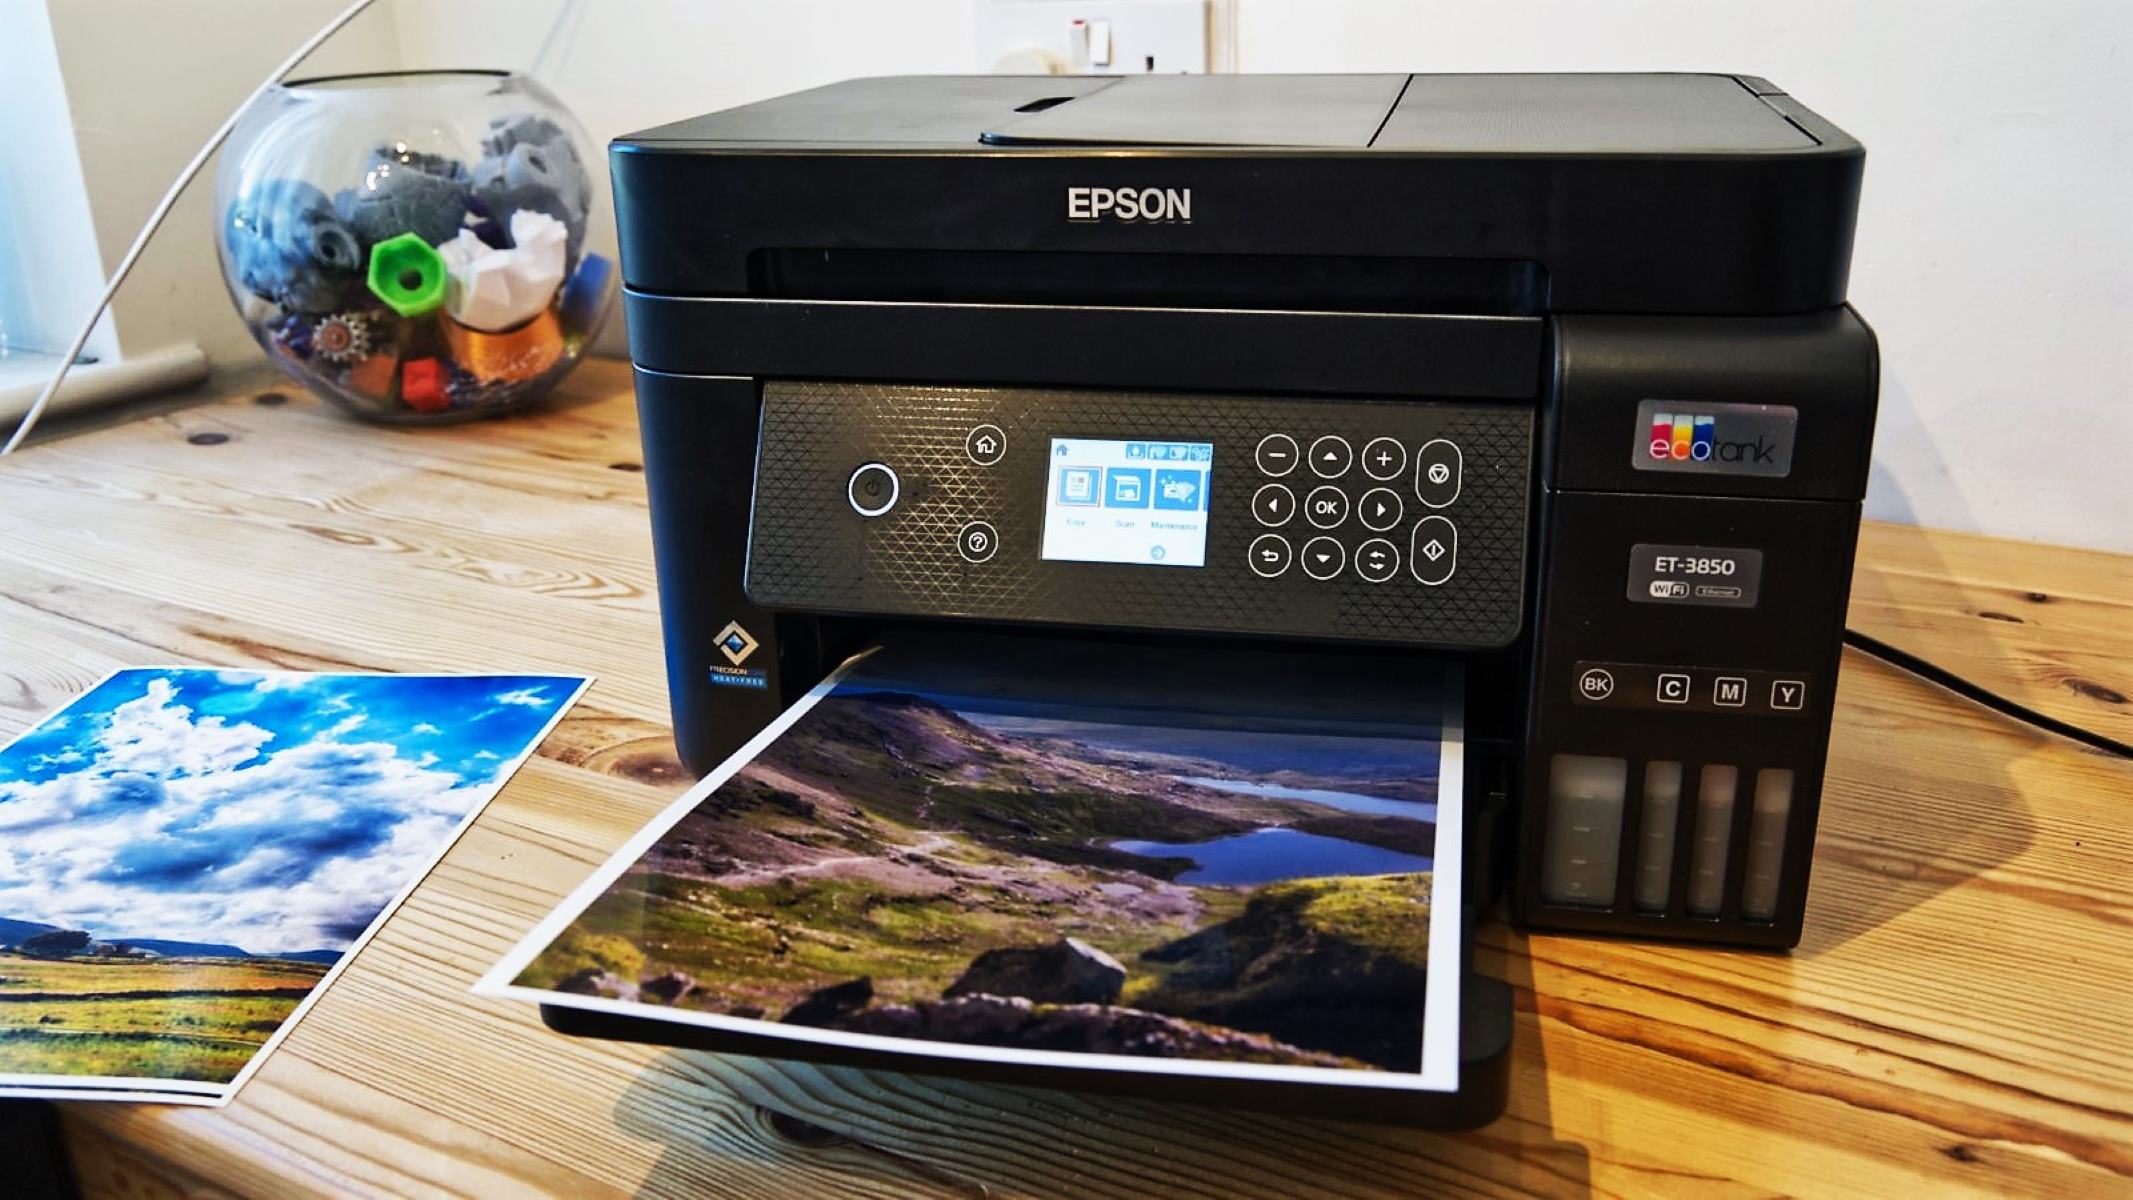
Epson printer heads are integral components responsible for dispensing ink onto the printing media with precision and accuracy. These sophisticated mechanisms are designed to deliver microscopic droplets of ink onto the paper, resulting in high-resolution prints with vibrant colors and sharp details. Epson printers typically utilize advanced Micro Piezo technology, which employs tiny piezoelectric elements to force ink droplets through the printer heads.
Micro Piezo technology enables Epson printer heads to achieve remarkable precision, ensuring that the ink is deposited onto the paper with exceptional accuracy. The printer heads consist of numerous nozzles that expel ink in a controlled manner, contributing to the overall print quality and clarity. The intricate design and functionality of Epson printer heads underscore their crucial role in producing superior prints.
It is important to note that the printer heads can become clogged or obstructed over time, leading to diminished print quality. Various factors, such as prolonged periods of inactivity, low ink levels, or the use of incompatible ink cartridges, can contribute to the clogging of printer heads. Understanding the underlying technology and functionality of Epson printer heads is essential for effectively addressing potential issues and maintaining optimal printing performance.
By gaining insight into the intricate workings of Epson printer heads, users can develop a deeper appreciation for the precision and complexity of these essential components. Furthermore, this understanding forms the foundation for recognizing the signs of clogged printer heads and undertaking the manual cleaning process, which we will explore in detail in the subsequent sections.
Signs of Clogged Printer Heads
Recognizing the signs of clogged printer heads is crucial for identifying print quality issues and determining the appropriate course of action. When printer heads become clogged, the flow of ink is impeded, resulting in subpar printouts that may exhibit distinct symptoms. By being attentive to these indicators, users can promptly address potential clogging issues and restore optimal print quality.
Here are some common signs that may indicate clogged printer heads:
- Streaky Prints: Clogged printer heads can lead to streaky or uneven prints, with visible lines or bands across the printed material. These irregularities may disrupt the overall clarity and consistency of the printed images or text.
- Faded Colors: When printer heads are clogged, the delivery of ink to the printing media may be compromised, resulting in faded or muted colors. This can detract from the vibrancy and richness of the prints, diminishing their visual impact.
- White Lines or Gaps: Clogging can cause the printer heads to produce prints with noticeable white lines or gaps, where the ink fails to fully cover the designated areas. This can detract from the overall quality and professionalism of the printed material.
- Incomplete or Missing Sections: Clogged printer heads may lead to incomplete or missing sections within the prints, where certain areas appear faint or entirely devoid of ink. This can result in an incomplete or distorted representation of the intended content.
- Print Misalignments: Printer heads that are clogged may contribute to misalignments in the printed output, leading to discrepancies in the positioning of text or images. This can detract from the overall precision and accuracy of the prints.
By closely inspecting the printouts and being mindful of these potential indicators, users can promptly identify clogged printer heads and take the necessary steps to address the underlying issues. In the subsequent sections, we will delve into the preparatory measures for manual cleaning and provide a comprehensive guide to effectively addressing clogged printer heads.
Preparing for Manual Cleaning
Prior to embarking on the manual cleaning process for Epson printer heads, it is essential to gather the necessary supplies and create a suitable workspace. By preparing diligently and ensuring that the printer is ready for maintenance, users can streamline the cleaning procedure and minimize the risk of potential complications.
Here are the preparatory steps for manual cleaning:
- Gather Cleaning Supplies: Acquire the appropriate cleaning supplies, including lint-free cloths, distilled water, and cleaning solution specifically formulated for printer heads. It is crucial to use cleaning solutions that are compatible with Epson printer heads to avoid damage or adverse reactions.
- Ensure Adequate Ventilation: Select a well-ventilated area for the cleaning process to prevent the accumulation of fumes from cleaning solutions. Adequate ventilation helps maintain a comfortable and safe environment for performing maintenance tasks.
- Power On the Printer: Turn on the Epson printer and ensure that it is in a ready state before initiating the cleaning process. This allows the printer to prepare for maintenance and facilitates the subsequent steps.
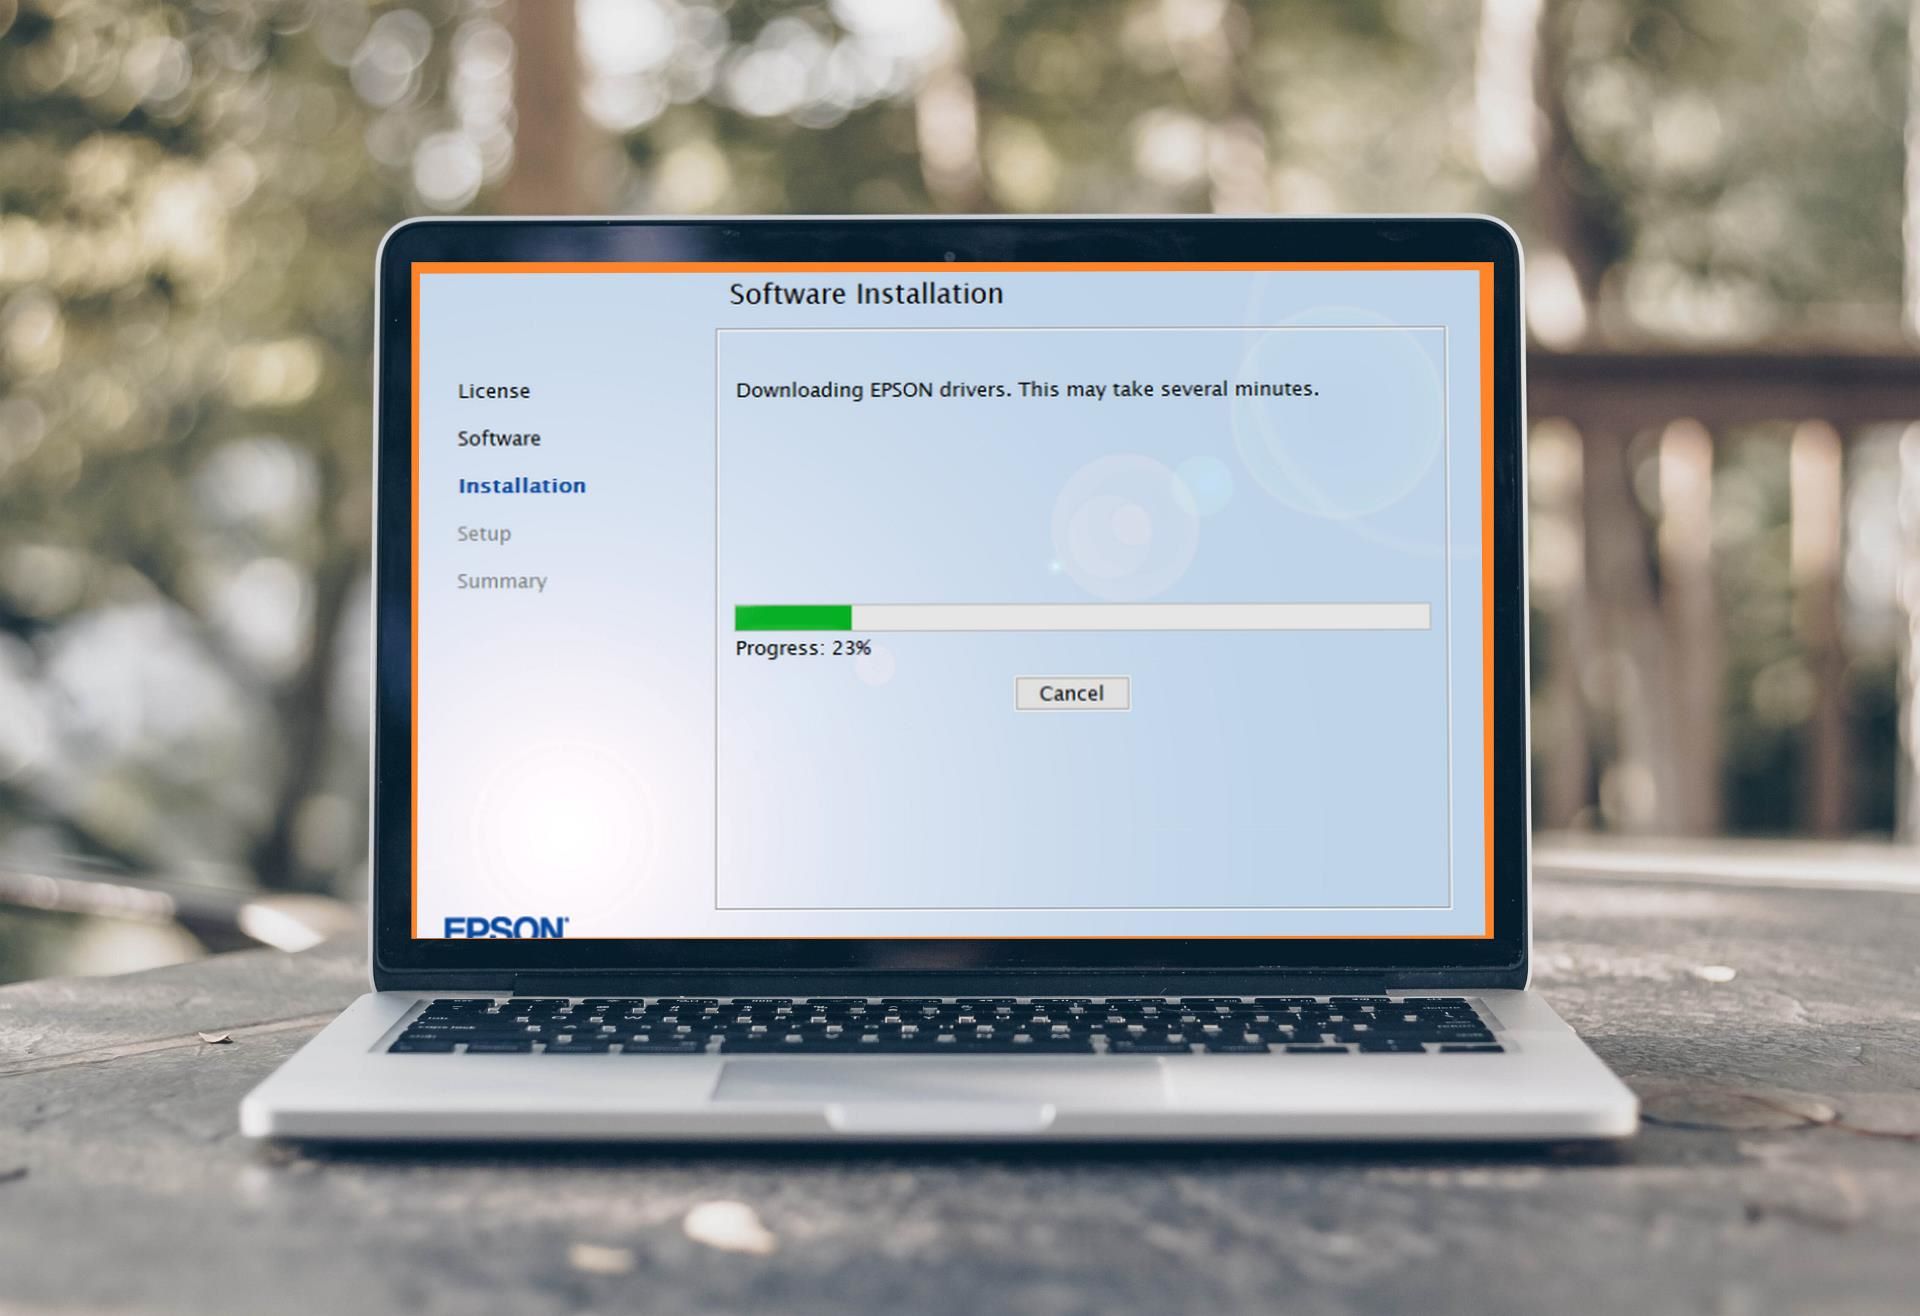
- Access the Printer Maintenance Settings: Navigate to the printer’s maintenance settings through the control panel or the accompanying software. Familiarize yourself with the specific maintenance options available for your Epson printer model, as these settings may facilitate the manual cleaning process.
- Review the User Manual: Consult the printer’s user manual or online resources provided by Epson to gain insights into the recommended cleaning procedures and precautions. Familiarizing yourself with the manufacturer’s guidelines enhances the effectiveness and safety of the manual cleaning process.
- Protect the Workspace: Place a protective layer, such as a disposable mat or cloth, beneath the printer to safeguard the surrounding area from potential drips or spills during the cleaning process. This precaution helps maintain cleanliness and prevents the spread of cleaning agents.
By diligently preparing for the manual cleaning process, users can establish a conducive environment for addressing clogged printer heads effectively. The next section will delve into the step-by-step process of manually cleaning Epson printer heads, providing comprehensive guidance for restoring optimal print quality.
To manually clean Epson printer heads, remove the cartridges and gently wipe the printhead with a lint-free cloth dampened with distilled water. Be careful not to touch the nozzles.
Manual Cleaning Process
The manual cleaning process for Epson printer heads involves meticulous steps to dislodge and remove any accumulated ink residue or debris that may be obstructing the nozzles. By following these steps diligently, users can potentially restore the printer heads to optimal functionality and alleviate print quality issues.
Here is a comprehensive guide to the manual cleaning process:
- Access the Maintenance Settings: Navigate to the maintenance settings on the printer control panel or through the accompanying software. Locate the option for manual cleaning or printer head maintenance, which may vary based on the specific Epson printer model.
- Initiate Printer Head Cleaning: Select the manual cleaning option and follow the on-screen prompts to commence the cleaning cycle. This process activates the printer’s internal mechanisms to prepare the printer heads for manual cleaning.
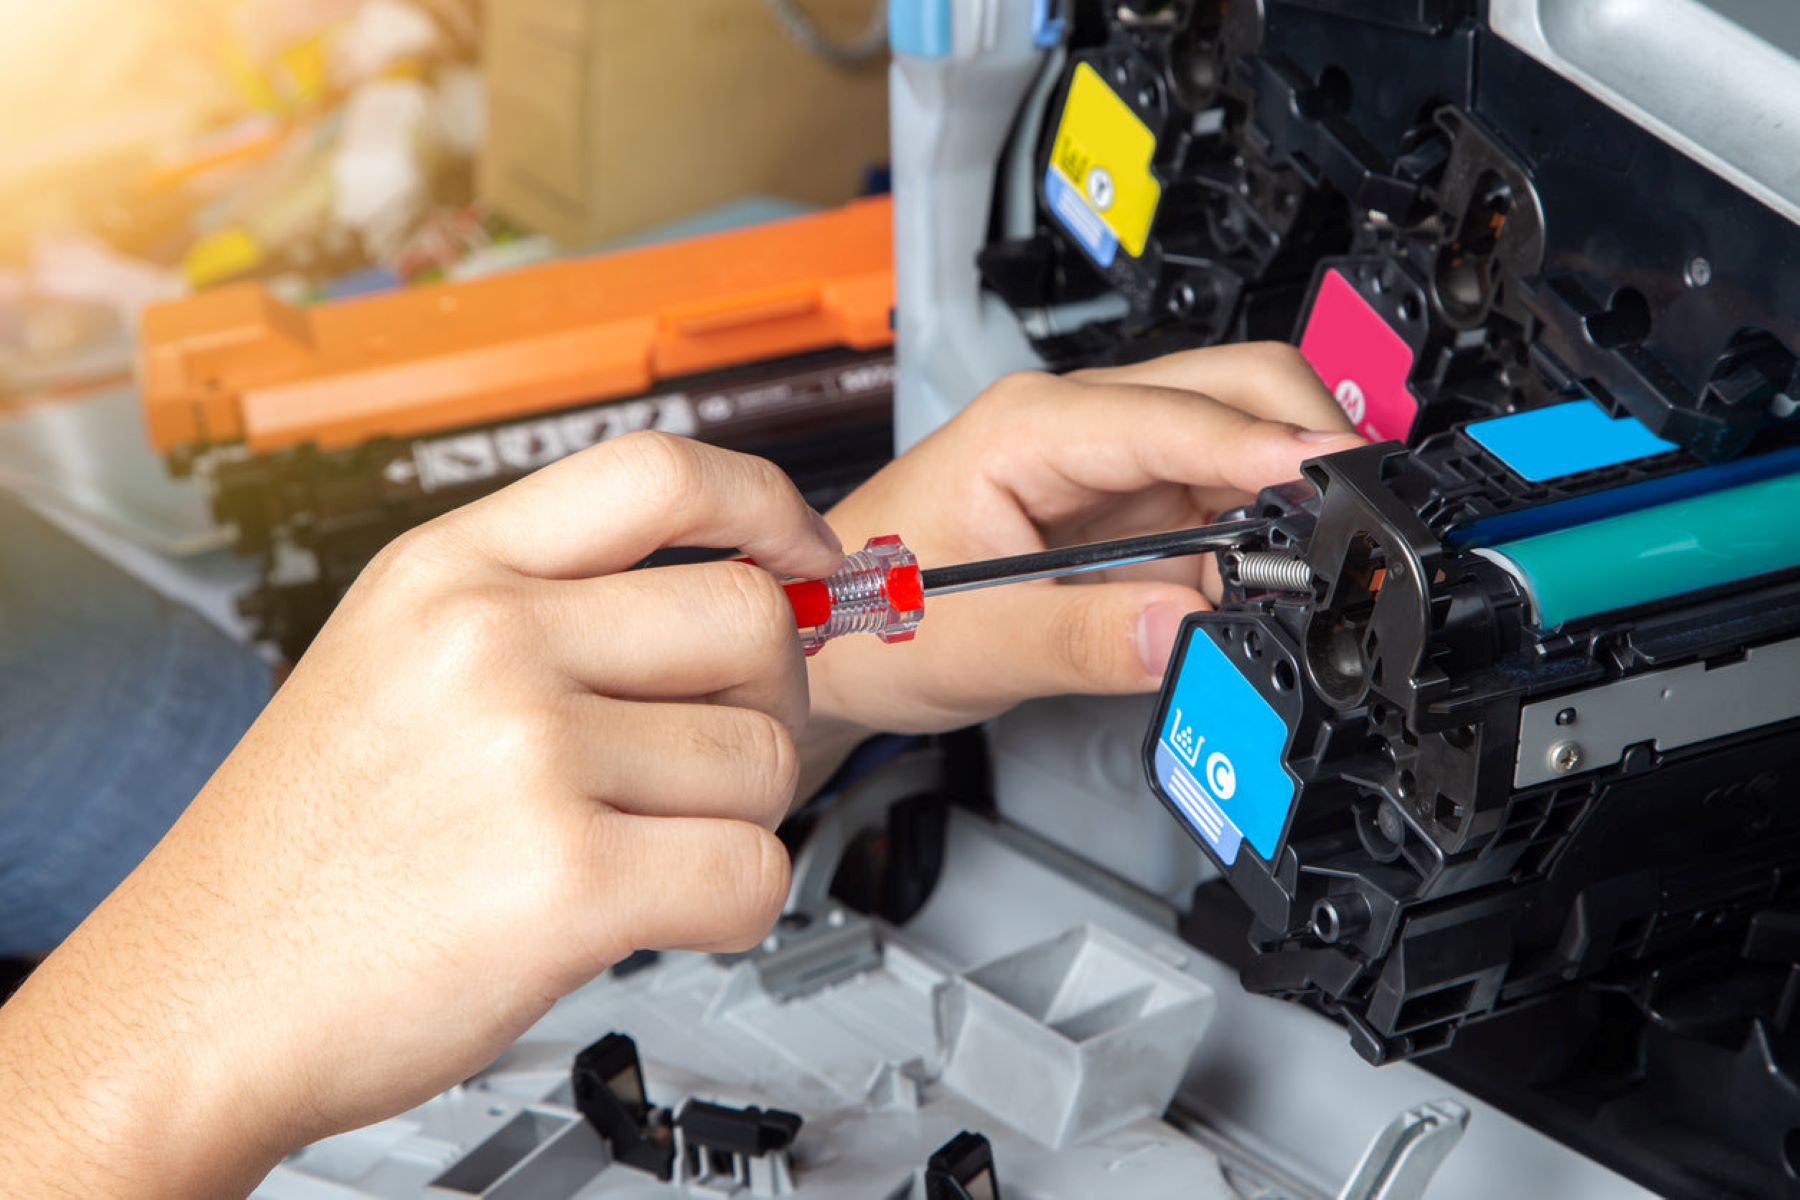
- Open the Printer Cover: Once the printer heads are primed for cleaning, carefully open the printer cover to access the printer heads. Exercise caution to avoid unnecessary contact with internal components and delicate mechanisms.
- Dampen a Lint-Free Cloth: Moisten a lint-free cloth with distilled water or the recommended cleaning solution for printer heads. Ensure that the cloth is not excessively wet, as dripping liquid can cause damage to the printer.
- Gently Wipe the Printer Heads: With the moistened cloth, gently wipe the surface of the printer heads to dislodge any dried ink or residue. Use delicate, circular motions to target the affected areas while avoiding excessive pressure or abrasive movements.
- Clean the Maintenance Station: If applicable, locate the maintenance station within the printer and clean any accessible components using the damp cloth. This area may accumulate ink residue and debris, contributing to printer head clogging.
- Close the Printer Cover: Once the manual cleaning process is complete, carefully close the printer cover and ensure that it is securely latched. This helps maintain the integrity of the printer’s internal environment.
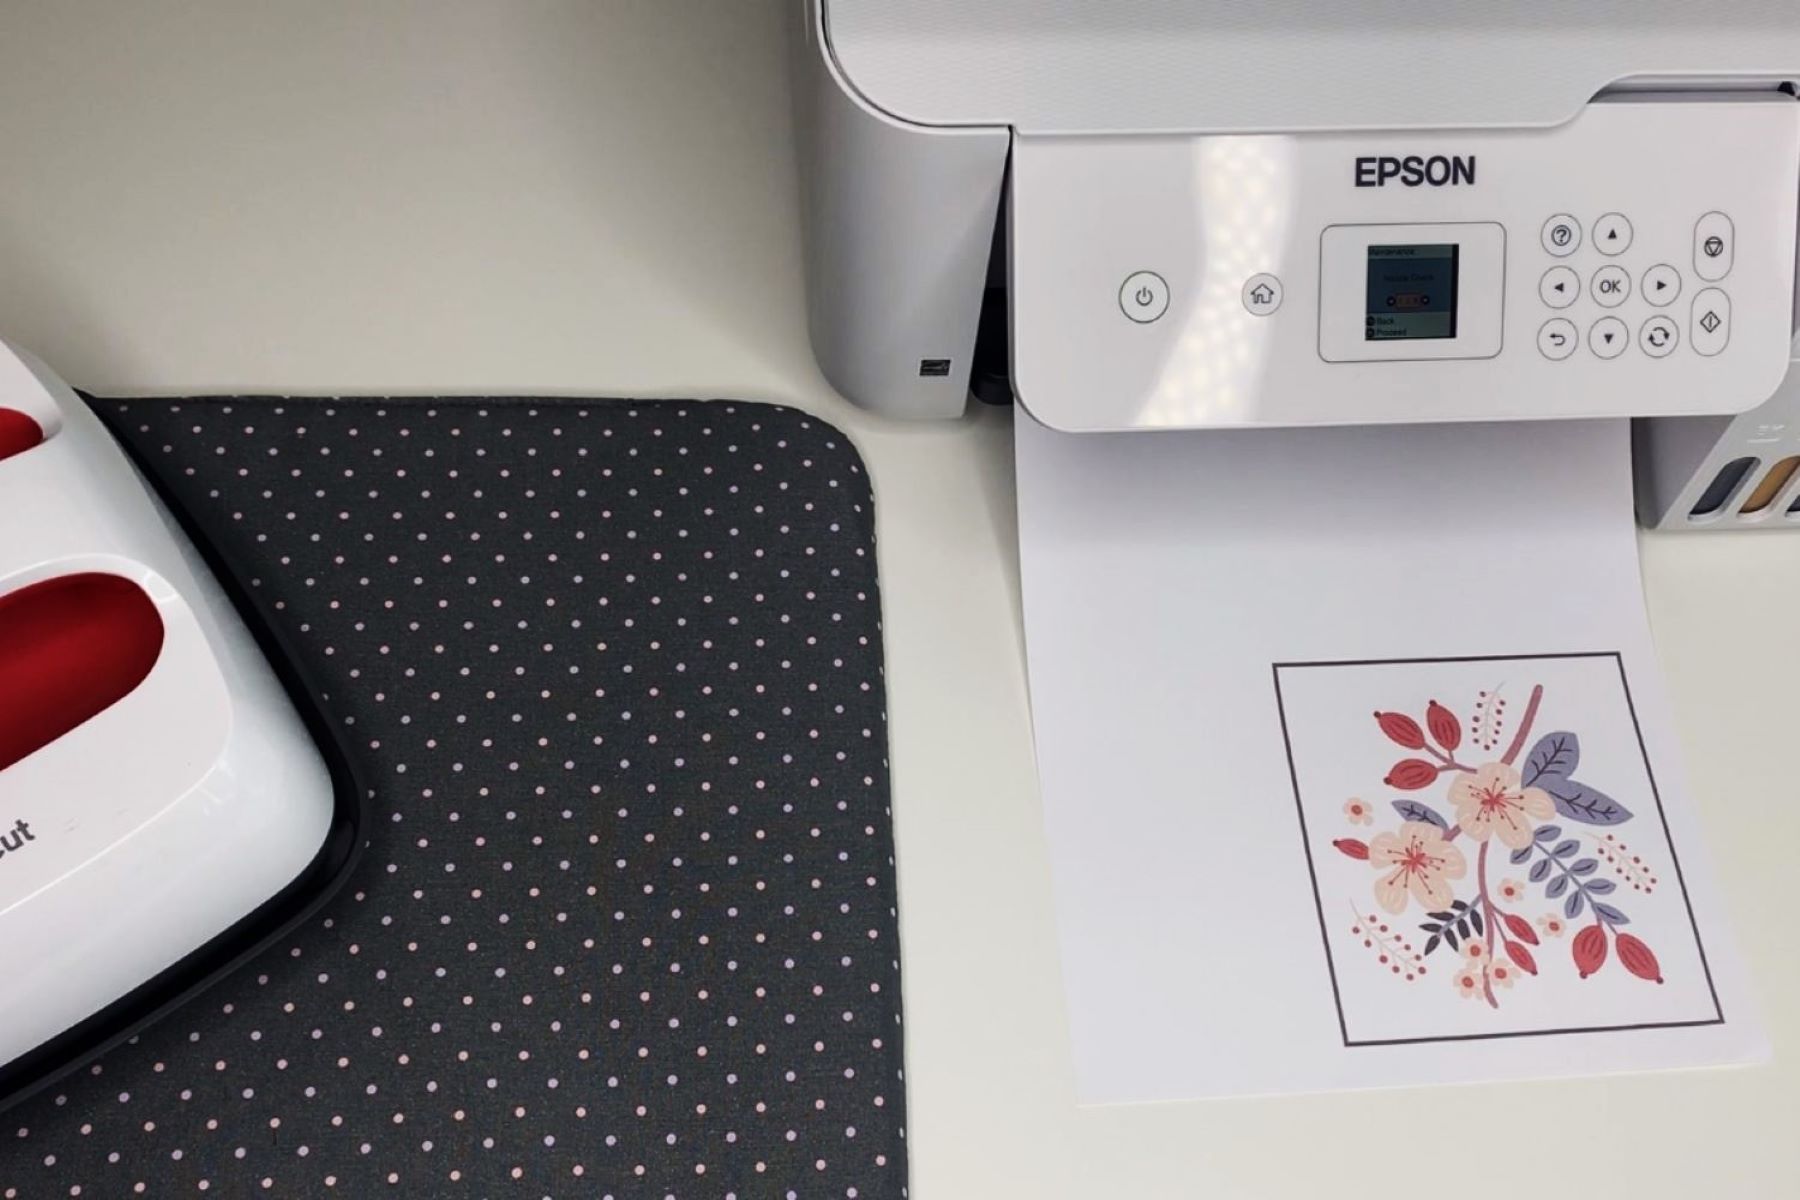
- Run a Nozzle Check: Initiate a nozzle check or test print to assess the effectiveness of the manual cleaning process. This step allows users to evaluate the print quality and identify any remaining issues that may require further attention.
By meticulously following these steps and exercising care throughout the manual cleaning process, users can potentially address clogged printer heads and enhance the overall print quality of their Epson printers. The subsequent section will delve into the testing of printer heads to validate the effectiveness of the manual cleaning procedure.
Read more: Epson Printer: How To Scan
Testing the Printer Heads
After completing the manual cleaning process for Epson printer heads, it is essential to conduct thorough testing to evaluate the effectiveness of the maintenance efforts. Testing the printer heads allows users to assess the print quality and identify any lingering issues that may require additional attention. By conducting comprehensive testing, users can verify the success of the manual cleaning procedure and make informed decisions regarding further maintenance steps.
Here are the steps for testing the printer heads and assessing the print quality:
- Initiate Nozzle Check or Test Print: Access the printer’s maintenance settings and initiate a nozzle check or test print. This function allows the printer to produce a sample printout that showcases the alignment and functionality of the printer heads.
- Assess Print Quality: Carefully examine the output of the nozzle check or test print to evaluate the clarity, color accuracy, and overall consistency of the printed material. Look for signs of streaking, misalignments, or any residual issues that may indicate persistent printer head clogging.
- Address Remaining Issues: If the test print reveals lingering print quality issues, consider performing an additional round of manual cleaning to target any remaining obstructions within the printer heads. Repeat the cleaning process and conduct subsequent testing to gauge the impact of the maintenance efforts.
- Consult Manufacturer Guidelines: If persistent print quality issues persist despite manual cleaning attempts, refer to the manufacturer’s guidelines provided by Epson. The guidelines may offer specific troubleshooting steps or recommend professional servicing to address complex printer head issues.
- Document Maintenance Activities: Keep a record of the maintenance activities performed, including the dates of manual cleaning, test print results, and any observations regarding print quality. This documentation can aid in tracking the printer’s maintenance history and identifying recurring issues.
- Monitor Print Performance: Following the manual cleaning and testing process, monitor the printer’s performance over subsequent print jobs. Pay attention to the consistency and quality of the prints to ensure that the maintenance efforts have effectively addressed any printer head clogging.
By diligently testing the printer heads and scrutinizing the print quality, users can gain valuable insights into the efficacy of the manual cleaning process and take proactive measures to maintain optimal print performance. The thorough evaluation of print quality serves as a pivotal step in ensuring that Epson printers continue to deliver exceptional results.
Conclusion
In conclusion, the manual cleaning of Epson printer heads is a crucial maintenance procedure that empowers users to address print quality issues and prolong the longevity of their printers. By gaining a comprehensive understanding of Epson printer heads, recognizing the signs of clogging, and diligently following the manual cleaning process, users can potentially restore optimal print quality and preserve the functionality of their printers.
Throughout this guide, we have explored the intricate technology behind Epson printer heads, emphasizing their role in delivering high-quality prints with precision and clarity. Understanding the underlying mechanisms of printer heads equips users with the knowledge necessary to identify and address potential clogging issues effectively.
Recognizing the signs of clogged printer heads, such as streaky prints, faded colors, and print misalignments, serves as a vital first step in acknowledging the need for manual cleaning. By being attentive to these indicators, users can promptly intervene and initiate the cleaning process to rectify print quality issues.
The preparatory steps for manual cleaning, including gathering cleaning supplies, ensuring adequate ventilation, and familiarizing oneself with the printer’s maintenance settings, lay the groundwork for a seamless and effective cleaning procedure. Diligent preparation contributes to a smooth and organized maintenance process, minimizing the risk of potential complications.
Embarking on the manual cleaning process involves meticulous steps, such as accessing the maintenance settings, gently wiping the printer heads with a moistened cloth, and conducting a thorough evaluation of the print quality through nozzle checks or test prints. By following these steps attentively, users can potentially dislodge and remove obstructions within the printer heads, restoring optimal functionality.
Thoroughly testing the printer heads and scrutinizing the print quality following the manual cleaning process enables users to validate the success of the maintenance efforts and take proactive measures to address any lingering issues. By documenting maintenance activities and monitoring the printer’s performance, users can maintain a comprehensive record of the maintenance history and make informed decisions regarding further troubleshooting or servicing.
By leveraging the insights and instructions provided in this guide, users can confidently undertake the manual cleaning of Epson printer heads, contributing to sustained print quality and the prolonged functionality of their printers. The proactive maintenance and attentive care demonstrated through manual cleaning efforts can enhance the overall printing experience and ensure the consistent delivery of high-quality prints.
With a deeper understanding of Epson printer heads and the manual cleaning process, users are empowered to overcome print quality issues and maintain the exceptional performance of their Epson printers, ultimately enhancing their printing experience and productivity.
Frequently Asked Questions about How To Manually Clean Epson Printer Heads
Was this page helpful?
At Storables.com, we guarantee accurate and reliable information. Our content, validated by Expert Board Contributors, is crafted following stringent Editorial Policies. We're committed to providing you with well-researched, expert-backed insights for all your informational needs.


0 thoughts on “How To Manually Clean Epson Printer Heads”