Home>Technology>Smart Home Devices>How To Put Photo Paper In A HP Printer
Smart Home Devices
How To Put Photo Paper In A HP Printer
Published: January 21, 2024
Learn how to properly load photo paper into your HP printer for high-quality prints. Get step-by-step instructions for smart home devices.
(Many of the links in this article redirect to a specific reviewed product. Your purchase of these products through affiliate links helps to generate commission for Storables.com, at no extra cost. Learn more)
Introduction
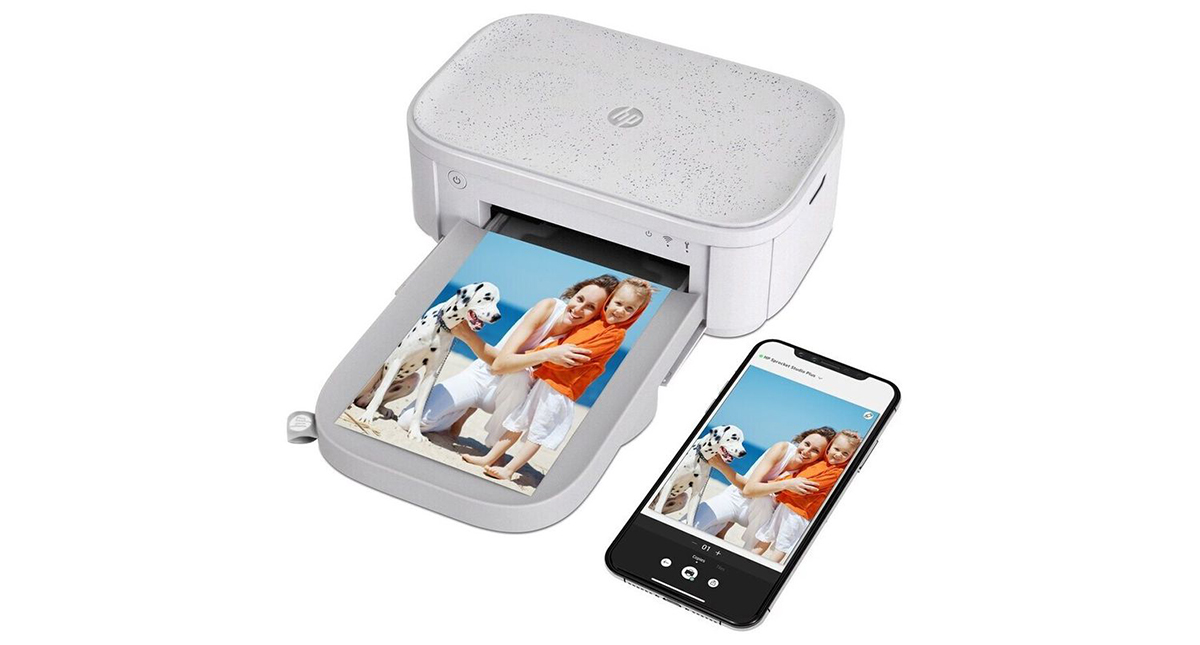
Welcome to the world of printing your own stunning photographs at home with your HP printer! With the right photo paper and a few simple steps, you can bring your digital memories to life in vibrant color and stunning detail. Whether you're a photography enthusiast, a parent capturing precious family moments, or a professional seeking to showcase your work, printing photos on your HP printer is a convenient and cost-effective way to preserve and share your cherished images.
In this comprehensive guide, we'll walk you through the process of loading photo paper into your HP printer, ensuring that you achieve the best results with every print. From selecting the right type of photo paper to adjusting the paper guides for a perfect fit, we'll cover each step in detail, empowering you to produce high-quality prints that truly capture the essence of your photographs.
By following these simple instructions, you'll be able to unleash the full potential of your HP printer, transforming it into a powerful tool for bringing your digital images to life. So, let's dive in and explore the step-by-step process of loading photo paper into your HP printer, allowing you to unleash your creativity and share your most treasured moments with the world.
Key Takeaways:
- Transform your digital memories into vibrant prints with your HP printer by choosing the right photo paper, loading it into the input tray, and adjusting the paper guides for flawless results.
- Unleash your creativity and share your cherished moments with the world by printing stunning, high-quality photos at home using your HP printer. Master the art of loading photo paper and adjusting paper guides for professional-quality prints.
Read more: Where To Put Paper In HP Printer 4100
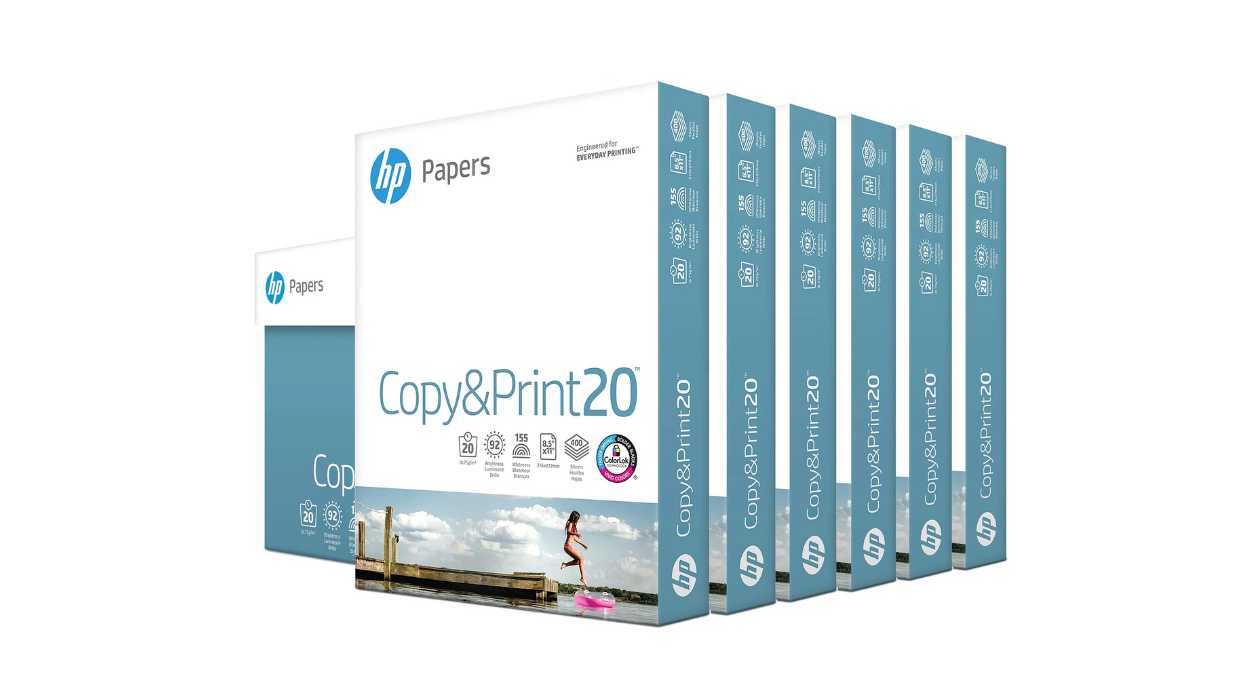
Step 1: Choose the right photo paper
Choosing the right photo paper is crucial for achieving exceptional print quality. HP offers a wide range of photo paper options, each designed to deliver stunning results for different types of images and printing needs.
When selecting photo paper for your HP printer, consider the following factors:
- Finish: Photo paper comes in various finishes, including glossy, matte, and satin. Glossy paper is ideal for vibrant, high-contrast images, while matte paper offers a more subdued, glare-free finish. Satin paper strikes a balance between the two, providing a soft sheen without excessive glare. Consider the look and feel you want for your prints when choosing the finish.
- Weight: Photo paper is available in different weights, typically measured in grams per square meter (gsm). Lighter-weight paper is suitable for everyday prints, while heavier paper provides a more substantial feel and is ideal for professional or display-quality prints.
- Size: Ensure that the photo paper size matches the specifications supported by your HP printer. Common sizes include 4×6 inches, 5×7 inches, and 8.5×11 inches.
- Compatibility: Check the compatibility of the photo paper with your specific HP printer model to ensure optimal performance and print quality.
Once you’ve chosen the right photo paper that aligns with your printing preferences and requirements, you’re ready to move on to the next step: loading the paper into your HP printer’s input tray.
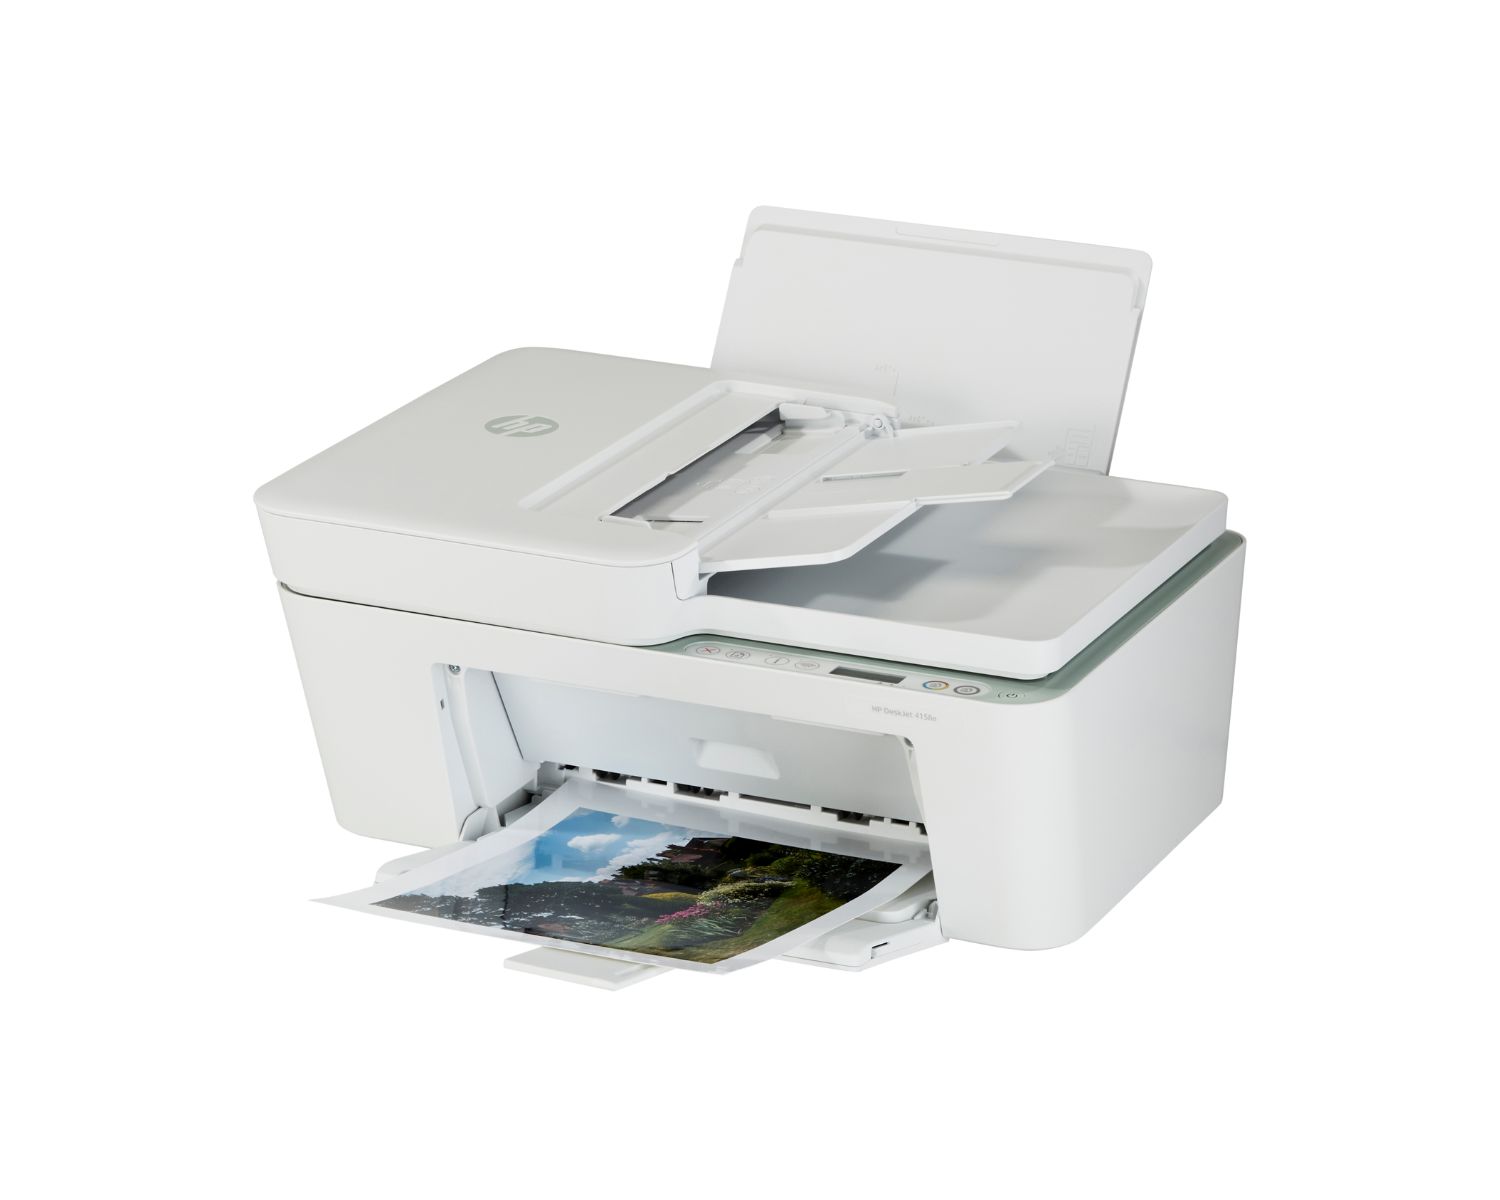
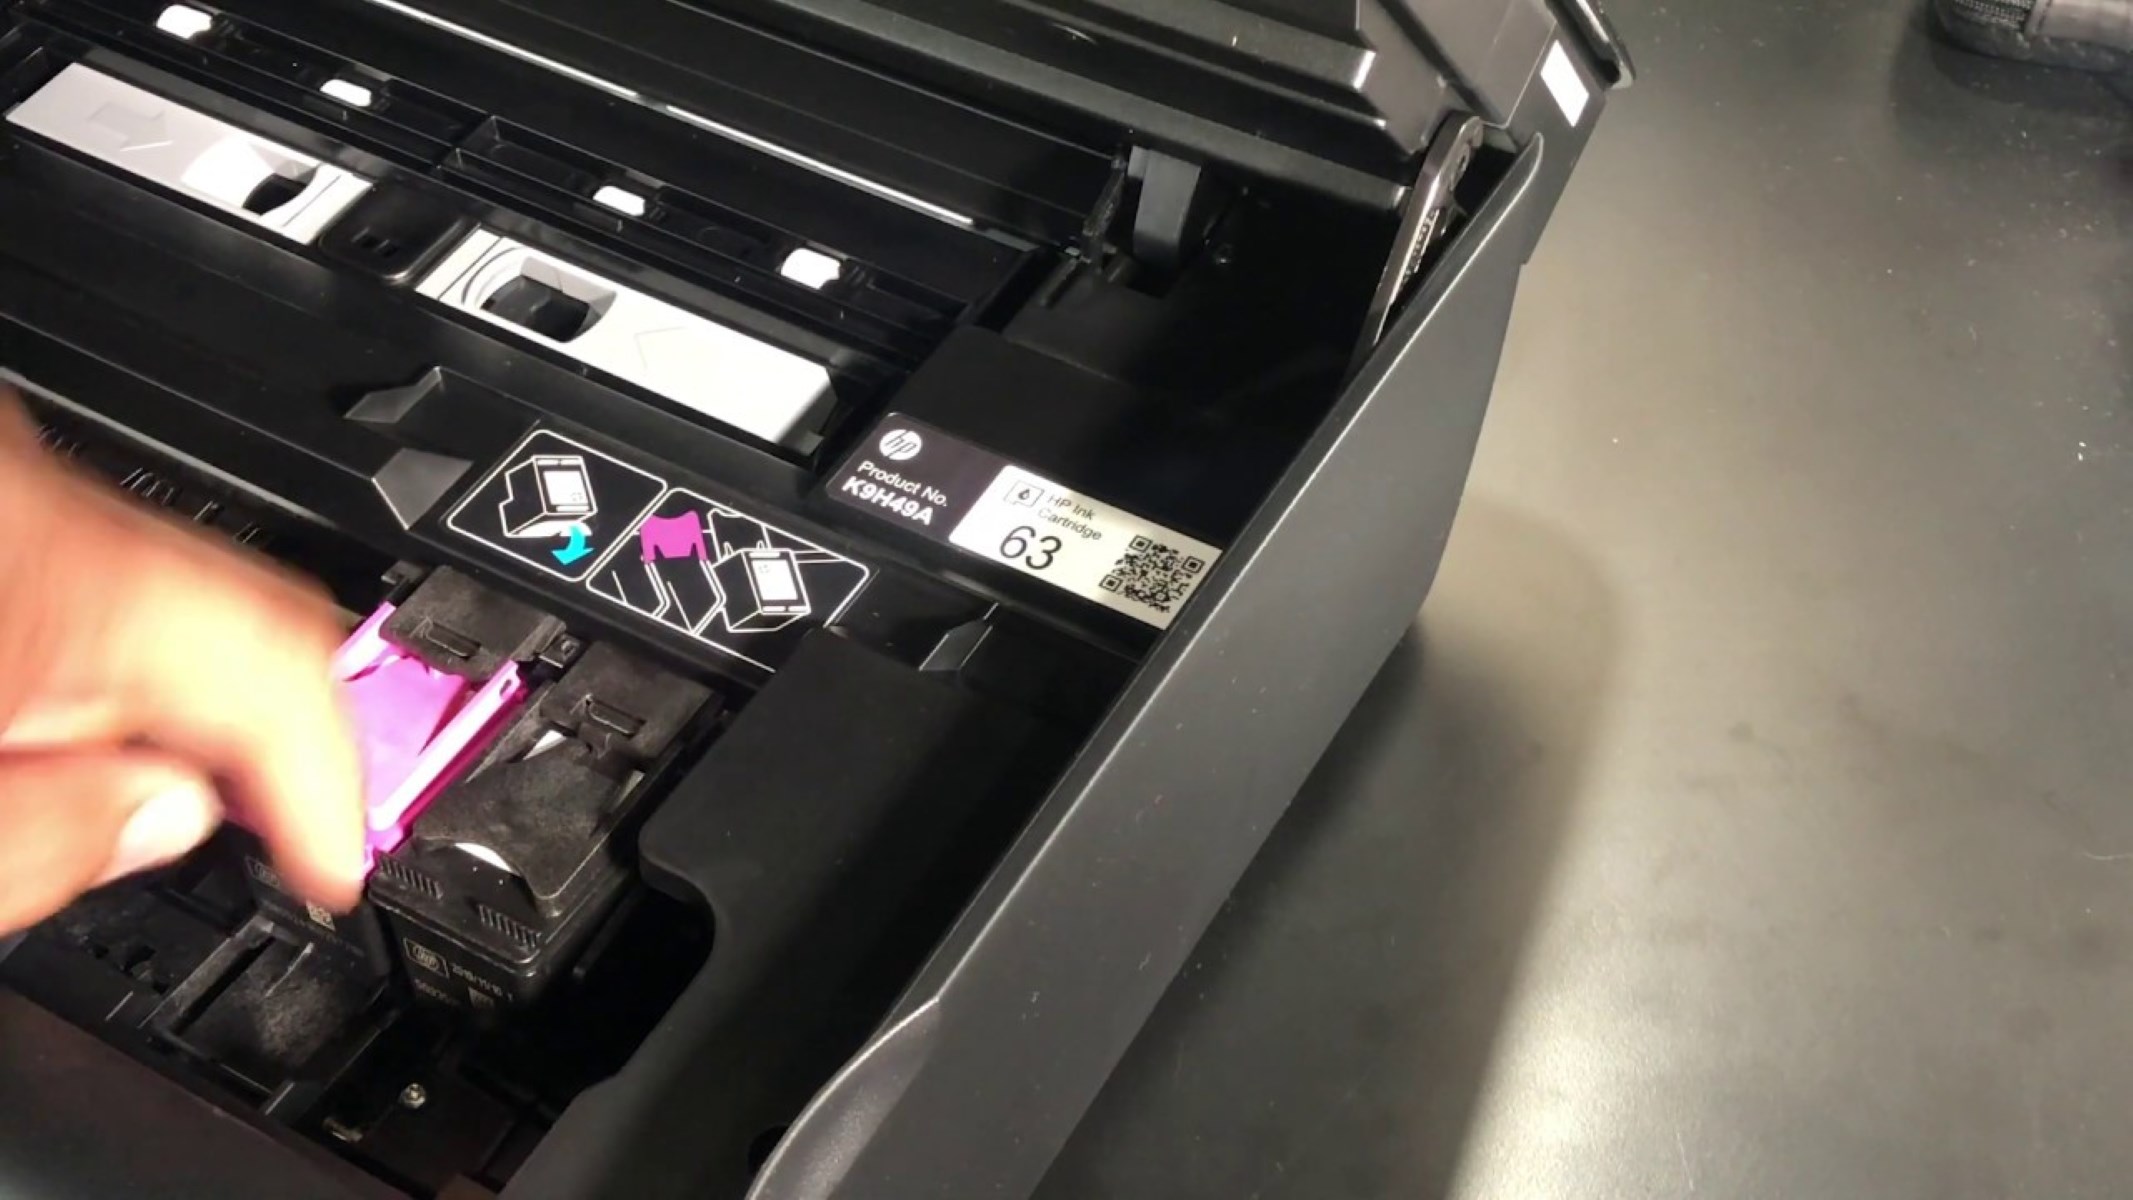
Step 2: Load the photo paper into the input tray
Now that you’ve selected the perfect photo paper for your printing needs, it’s time to load it into your HP printer’s input tray. Follow these simple steps to ensure a smooth and hassle-free loading process:
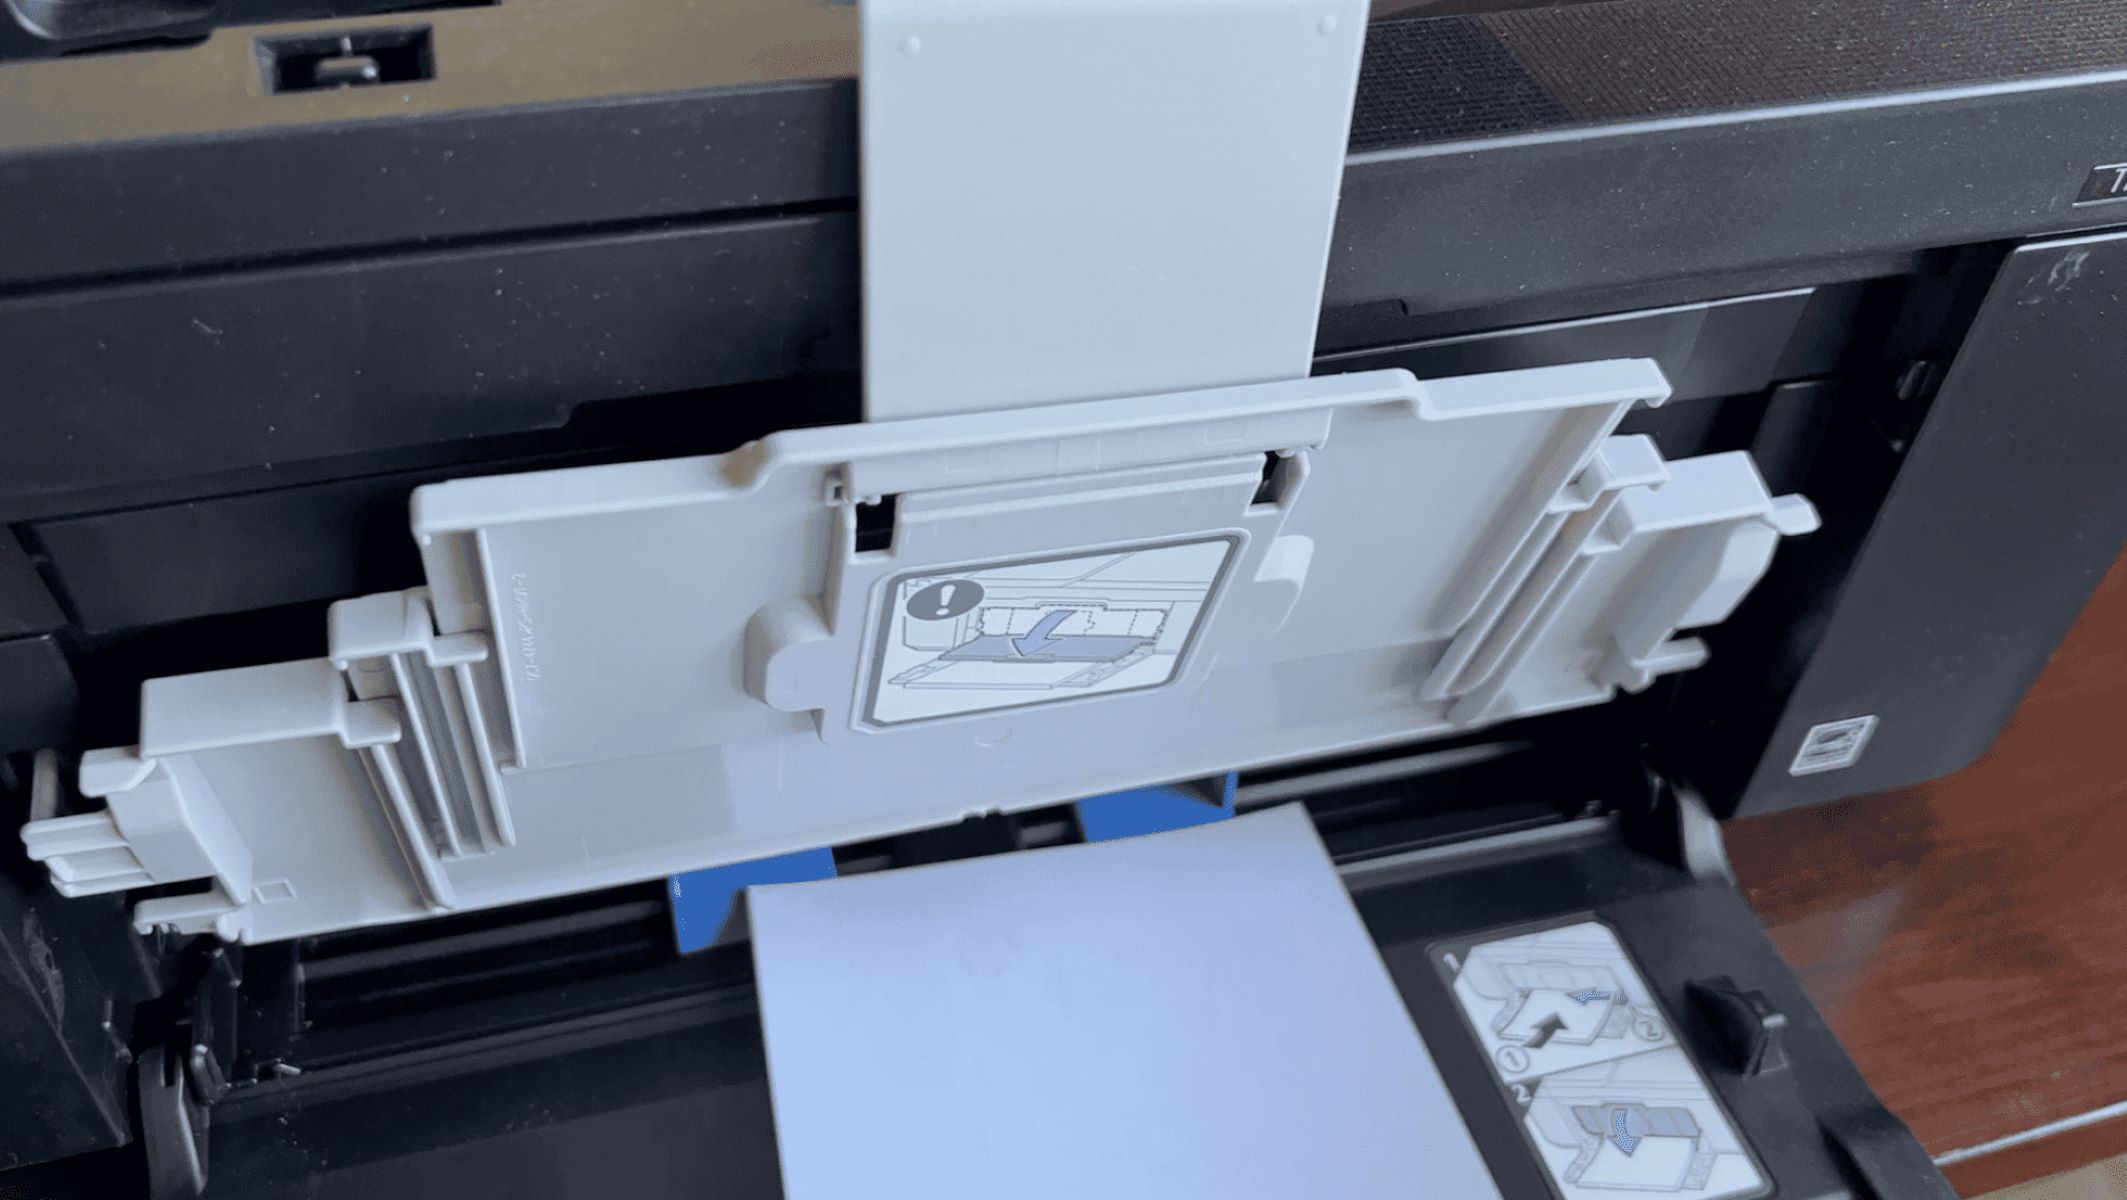
- Open the input tray: Begin by locating the input tray of your HP printer. Depending on the model, the input tray may be located at the front or top of the printer. Gently pull the tray out to open it, ensuring that it is fully extended and stable.
- Adjust the paper guides: Before placing the photo paper into the input tray, adjust the paper guides to match the width and length of the paper. Most HP printers feature adjustable paper guides that can be easily slid to accommodate different paper sizes. Align the guides snugly against the edges of the photo paper to prevent misalignment during printing.
- Load the photo paper: Take a stack of photo paper, making sure the printable side is facing down. Carefully place the stack into the input tray, aligning it with the paper guides. Be mindful not to overload the tray, as this can lead to paper jams and printing errors. For best results, use a moderate number of sheets that the input tray can comfortably accommodate.
- Adjust the paper width guide: If your printer includes a separate paper width guide within the input tray, ensure that it is adjusted to fit snugly against the edge of the photo paper stack. This additional guide helps maintain proper alignment and feeding of the paper during printing.
- Close the input tray: Once the photo paper is securely loaded and aligned within the input tray, gently push the tray back into the printer until it is fully closed. Ensure that the tray slides back into place without resistance, indicating that the paper is properly positioned for printing.
With the photo paper successfully loaded into the input tray, you’re now ready to proceed to the next step: adjusting the paper guides to ensure optimal print alignment and quality.
When loading photo paper into a HP printer, make sure to adjust the paper guides to fit the paper size, and load the paper with the glossy side facing down to ensure the best print quality.
Step 3: Adjust the paper guides
Properly adjusting the paper guides in your HP printer is essential for ensuring that the loaded photo paper is aligned correctly and feeds smoothly during the printing process. Follow these steps to adjust the paper guides with precision:
- Align the paper guides: With the photo paper loaded into the input tray, gently adjust the paper guides to snugly fit against the edges of the paper stack. The guides should make direct contact with the paper without bending or warping it, ensuring that the paper remains straight and centered as it feeds into the printer.
- Check for alignment: After adjusting the paper guides, visually inspect the paper stack to confirm that it is evenly aligned within the input tray. Ensure that the guides provide ample support to prevent any misalignment or skewing of the paper during printing.
- Verify the paper size: Double-check that the paper guides match the dimensions of the loaded photo paper. The guides should be adjusted to accommodate the width and length of the paper, preventing any potential misfeeds or printing errors due to improper alignment.
- Test the paper movement: Before initiating the printing process, gently slide the paper back and forth within the input tray to ensure that the guides maintain a firm yet smooth contact with the paper. This test helps confirm that the paper will feed correctly during printing, minimizing the risk of misfeeds or paper jams.
- Ensure proper contact: As a final check, ensure that the paper guides exert gentle pressure against the edges of the photo paper, promoting consistent feeding and preventing any slippage or misalignment as the paper advances through the printer’s paper path.
By meticulously adjusting the paper guides to match the dimensions of the loaded photo paper, you can ensure that your HP printer is primed for producing flawless prints with precise alignment and exceptional quality. With the paper guides properly set, you’re now prepared to move on to the final step: printing your cherished photos with confidence and ease.
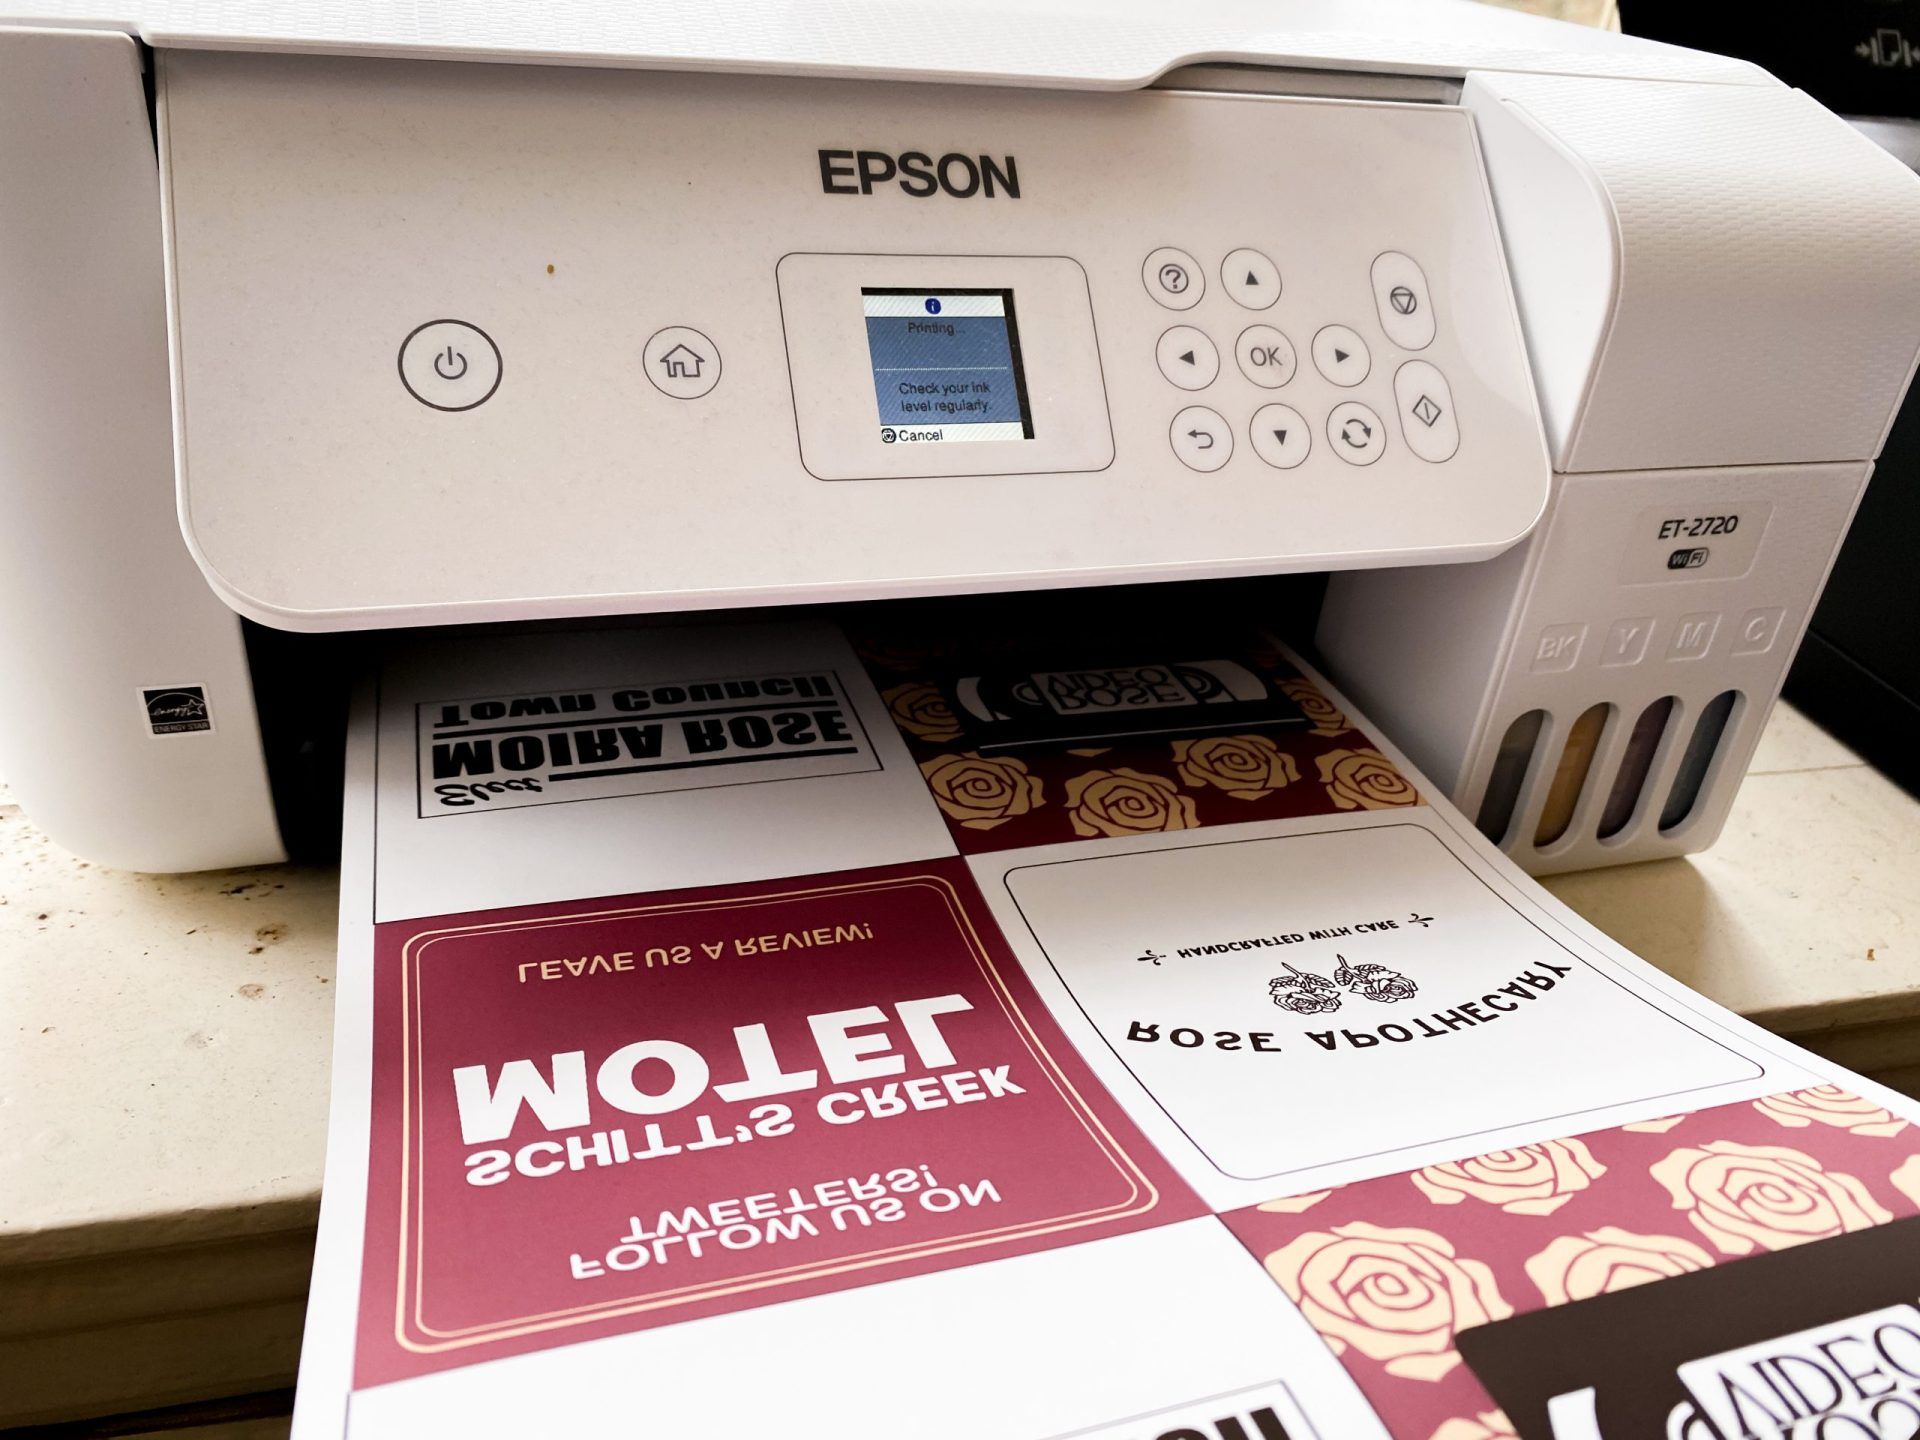
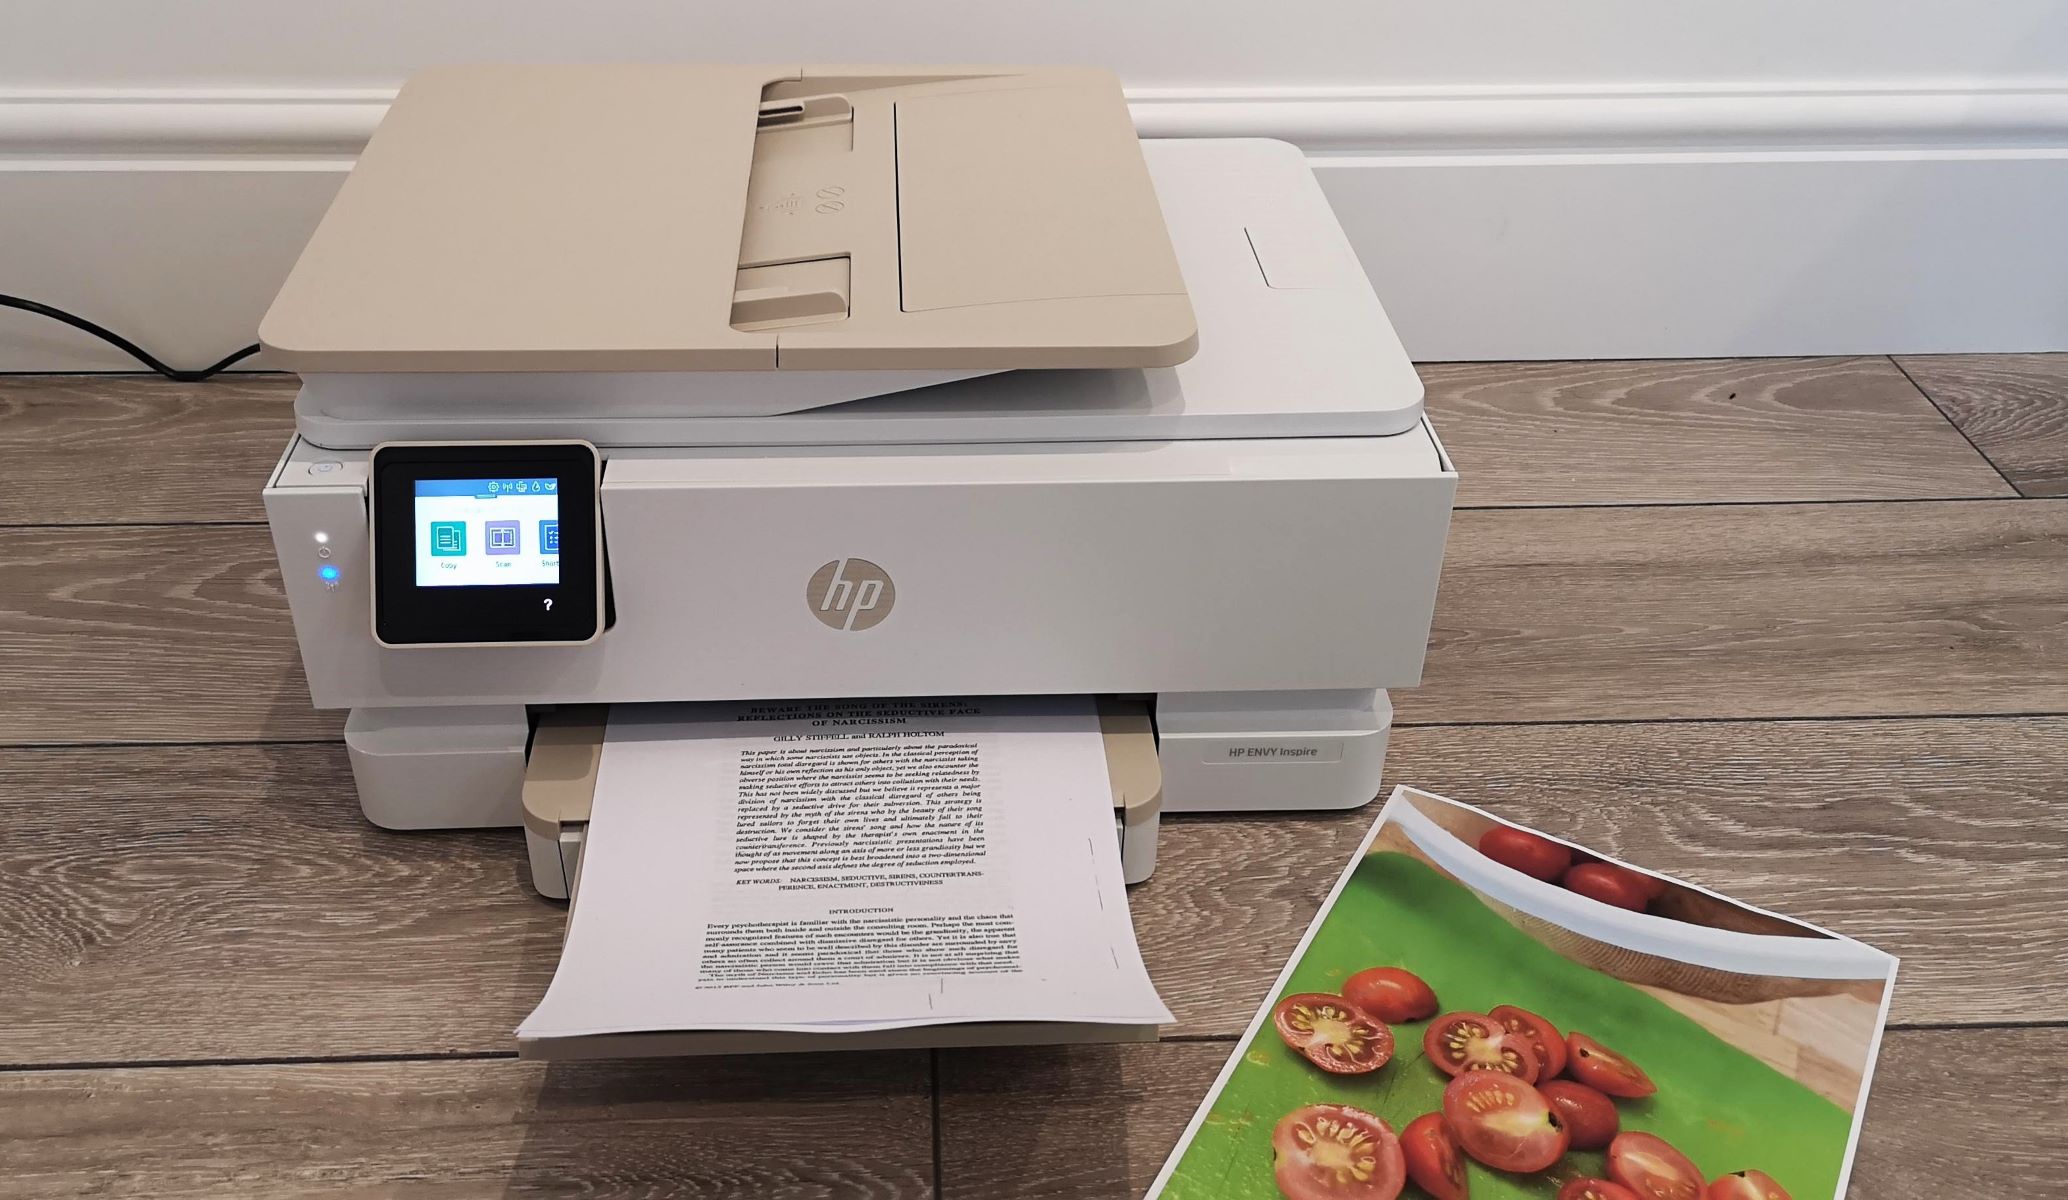
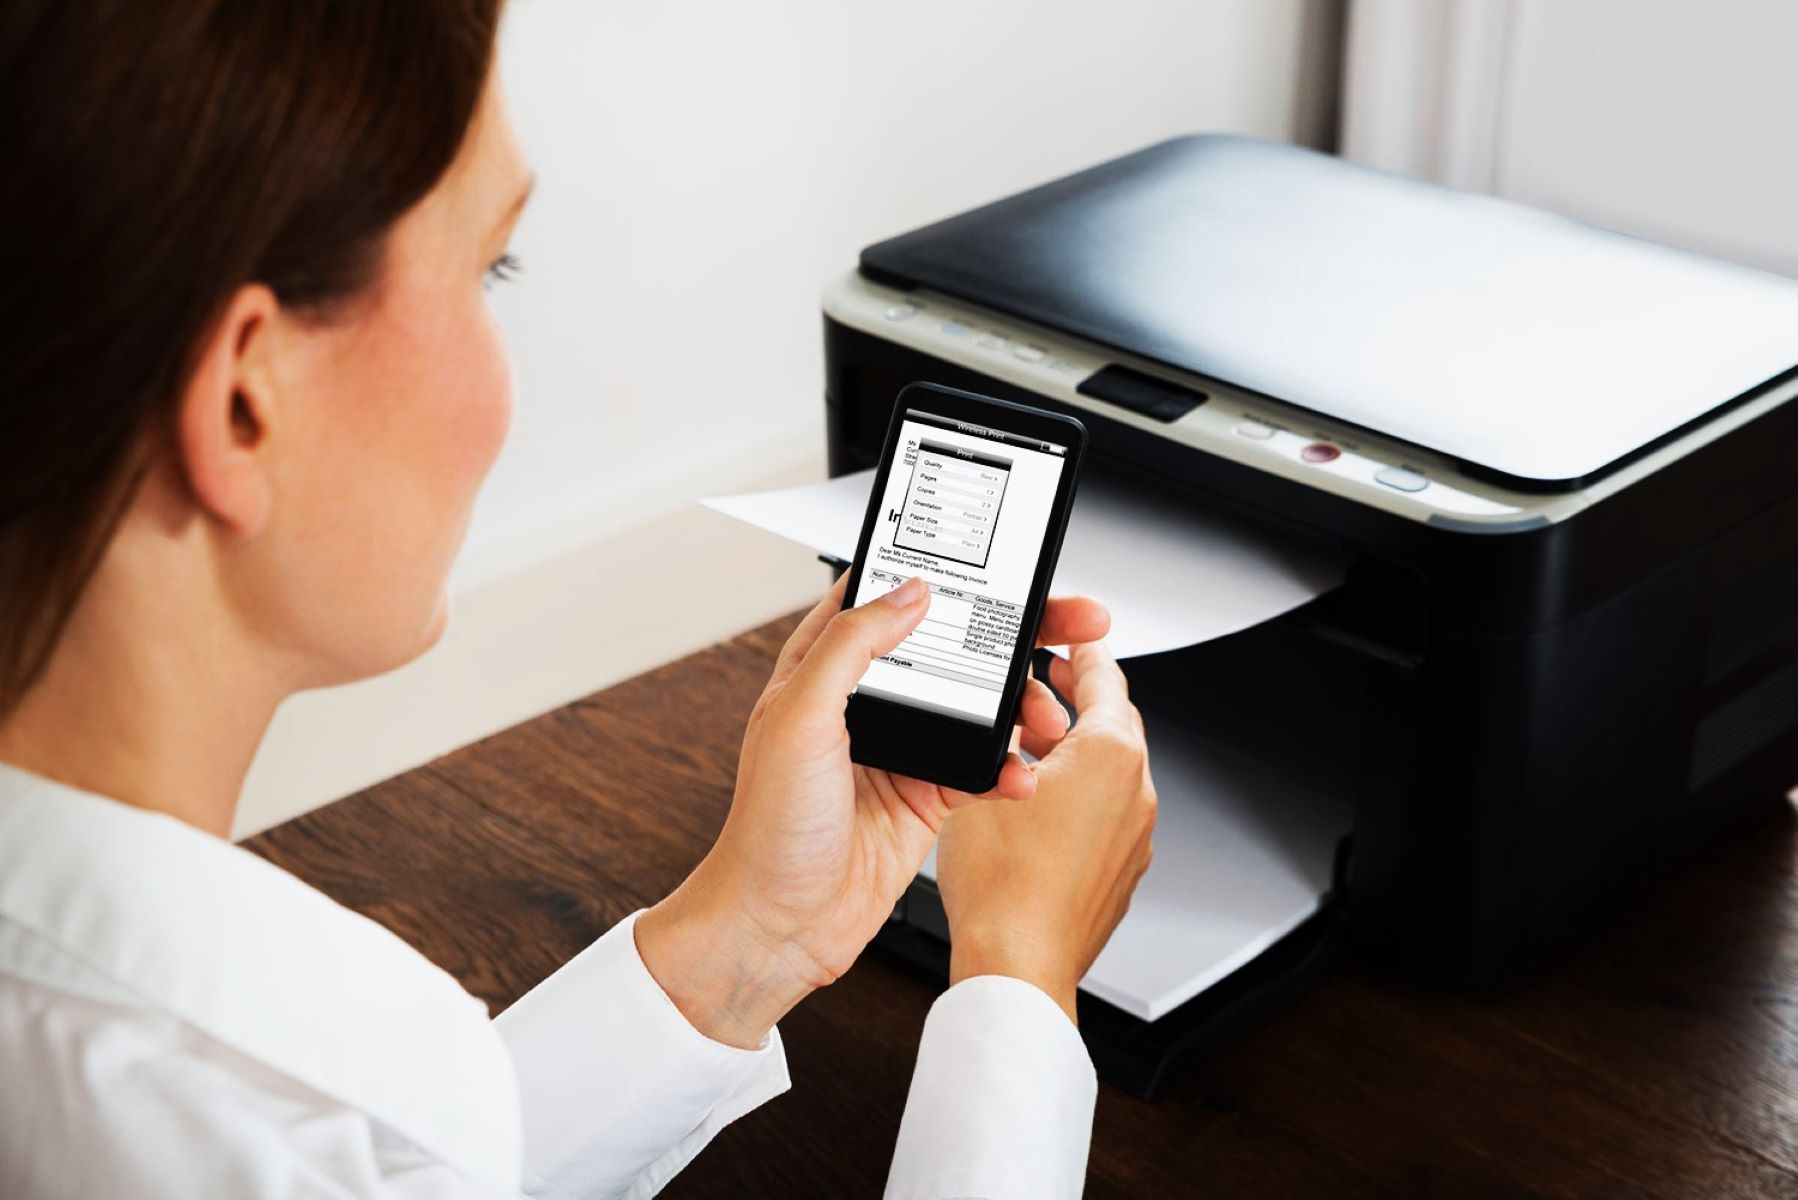
Step 4: Print your photos
With the photo paper loaded and the paper guides adjusted, you’re now ready to bring your digital memories to life by printing your cherished photos. Follow these straightforward steps to initiate the printing process and produce stunning, high-quality prints with your HP printer:
- Select your photos: Begin by choosing the digital images you wish to print from your computer, smartphone, or other digital storage devices. Organize and select the photos that best capture your memories and reflect the moments you want to preserve in print form.
- Open the printing menu: Access the printing menu on your computer or device and locate the print settings for your HP printer. Ensure that the printer is set to the correct paper size and type to match the photo paper you’ve loaded, optimizing the print output for the best results.
- Adjust print settings: Take advantage of the print settings to fine-tune the color, quality, and layout options for your photos. Depending on your preferences, you may adjust parameters such as color saturation, print resolution, and borderless printing to customize the appearance of your prints.
- Initiate the print job: Once you’ve configured the print settings to your satisfaction, click the “Print” button to begin the printing process. Your HP printer will commence printing your selected photos, utilizing its advanced printing technology to reproduce your images with impressive clarity and detail.
- Retrieve your prints: After the printing process is complete, carefully remove the printed photos from the output tray of your HP printer. Handle the prints with care to avoid smudging or damaging the freshly printed images, ensuring that they emerge in pristine condition.
By following these simple steps, you can unleash the full potential of your HP printer and transform your digital images into tangible, vibrant prints that capture the essence of your most cherished moments. Whether you’re creating a personal photo album, framing your prints for display, or sharing your images with loved ones, your HP printer empowers you to bring your digital memories to life with unparalleled convenience and exceptional quality.
With your photos successfully printed, take a moment to admire the stunning results and revel in the joy of preserving your memories in tangible form. Your HP printer serves as a versatile and reliable tool for expressing your creativity and sharing your most treasured moments with the world.
Read also: 8 Amazing HP Photo Printer For 2025
Conclusion
Congratulations! You’ve successfully navigated the process of loading photo paper into your HP printer and producing stunning prints that encapsulate your most cherished memories. By following the steps outlined in this guide, you’ve harnessed the full potential of your HP printer and unlocked the ability to transform digital images into tangible, vibrant prints with exceptional clarity and detail.
Printing photos at home offers unparalleled convenience, allowing you to preserve and share your memories without the need for a professional printing service. With the right photo paper, precise loading techniques, and careful attention to print settings, you can achieve professional-quality results that rival those produced by dedicated photo labs.
Whether you’re creating a personal gallery of printed memories, crafting heartfelt gifts for loved ones, or showcasing your photography skills, your HP printer serves as a versatile and reliable tool for bringing your digital images to life. The ability to print your own photos empowers you to curate your visual narratives, share your creativity, and preserve the moments that matter most to you.
As you continue to explore the capabilities of your HP printer, remember to experiment with different types of photo paper, adjust print settings to suit your preferences, and unleash your creativity with each print job. Embrace the joy of holding your digital memories in your hands, knowing that your HP printer is ready to faithfully reproduce the beauty and emotion captured within your photographs.
Thank you for embarking on this printing journey with us. We hope this guide has equipped you with the knowledge and confidence to make the most of your HP printer’s photo printing capabilities. Embrace the power of printing at home, and let your imagination soar as you transform pixels into stunning, tangible prints that tell your unique stories.
Frequently Asked Questions about How To Put Photo Paper In A HP Printer
Was this page helpful?
At Storables.com, we guarantee accurate and reliable information. Our content, validated by Expert Board Contributors, is crafted following stringent Editorial Policies. We're committed to providing you with well-researched, expert-backed insights for all your informational needs.


0 thoughts on “How To Put Photo Paper In A HP Printer”