Home>Articles>How Do I Replace The Electrical Cord In A Bayco FL-800 Retractable Cord Reel?
Articles
How Do I Replace The Electrical Cord In A Bayco FL-800 Retractable Cord Reel?
Modified: February 22, 2024
Find step-by-step instructions to replace the electrical cord in a Bayco # FL-800-91 retractable cord reel with our helpful articles.
(Many of the links in this article redirect to a specific reviewed product. Your purchase of these products through affiliate links helps to generate commission for Storables.com, at no extra cost. Learn more)
“
Introduction
Replacing the electrical cord in a Bayco #FL-800-91 retractable cord reel may seem like a daunting task, but with the right guidance and a little bit of know-how, you can easily tackle this project on your own. Whether your electrical cord is frayed, damaged, or no longer functional, replacing it will ensure safe and reliable operation of your cord reel.
In this article, we will walk you through the step-by-step process of replacing the electrical cord in a Bayco #FL-800-91 retractable cord reel. We will provide you with detailed instructions, safety precautions, and a list of tools and materials you will need. By following these guidelines, you will be able to complete the task efficiently and effectively.
Before we dive into the process, it is essential to highlight the importance of safety precautions. Dealing with electricity can be dangerous, so it is crucial to take necessary measures to protect yourself and prevent accidents. Always ensure that the power is disconnected before working on any electrical components. Additionally, wear proper protective gear such as gloves and safety glasses to protect yourself from any potential hazards.
Now let’s gather the tools and materials you will need for this project.
Key Takeaways:
- Prioritize safety by disconnecting power, wearing protective gear, and working in a well-ventilated area when replacing the electrical cord in a Bayco #FL-800-91 retractable cord reel. Following safety precautions is crucial to prevent accidents and ensure a smooth replacement process.
- Gather the necessary tools and materials, follow the step-by-step instructions, and consult the owner’s manual for specific guidance to successfully replace the electrical cord. By completing each step with care and attention to detail, you can enjoy the benefits of a functional and reliable cord reel.
Safety Precautions
When replacing the electrical cord in a Bayco #FL-800-91 retractable cord reel, it is important to prioritize safety. Working with electricity can be hazardous, so follow these safety precautions to ensure a safe and accident-free process:
1. Disconnect the power: Before starting any work, make sure to disconnect the power source. This means unplugging the cord reel from the electrical outlet or switching off the circuit breaker that supplies power to the outlet. This step is crucial to prevent electrical shocks or accidents.
2. Wear protective gear: Protect yourself by wearing appropriate safety gear. This includes safety glasses to shield your eyes from any sparks or debris and insulated gloves to prevent electric shocks. Ensure that your clothing is non-conductive and avoid wearing any loose accessories that could get caught in the machinery.
3. Work in a well-ventilated area: Adequate ventilation is necessary to prevent the build-up of any potentially harmful fumes or gases. If you are working in a small space, consider using a fan or opening windows to improve air circulation.
4. Keep a fire extinguisher nearby: Accidents can happen, so it’s crucial to have a fire extinguisher readily available in case of an electrical fire. Make sure you know how to use it before starting the project.
5. Avoid water or moisture: Electricity and water do not mix, so keep your work area dry. Moisture can increase the risk of electrical shocks or short circuits. Avoid working in damp or wet conditions and keep all components of the cord reel dry throughout the process.
6. Follow manufacturer’s instructions: Every cord reel may have specific instructions or guidelines provided by the manufacturer. Make sure to read and follow them carefully. These instructions may include specific safety precautions or steps that are specific to your cord reel model.
7. Consult a professional if unsure: If you are unsure about any step or encounter any difficulties during the process, it is best to consult a professional electrician. They can provide guidance or assistance to ensure the task is completed safely.
By following these safety precautions, you can greatly reduce the risk of accidents and protect yourself during the process of replacing the electrical cord in a Bayco #FL-800-91 retractable cord reel. With safety as the top priority, let’s move on to the tools and materials you will need for this project.
Tools and Materials Needed
Before you begin replacing the electrical cord in a Bayco #FL-800-91 retractable cord reel, gather the necessary tools and materials. Having everything prepared in advance will make the process smoother and more efficient. Here is a list of items you will need:
1. Replacement electrical cord: Purchase a suitable replacement electrical cord that matches the specifications of your Bayco #FL-800-91 retractable cord reel. Make sure it is rated for the appropriate voltage and amperage.
2. Screwdriver: You will need a screwdriver to remove screws holding the housing of the cord reel in place. The type and size of the screwdriver may vary depending on the specific model of the cord reel.
3. Wire cutters/strippers: These tools are essential for cutting and stripping the wires of the old electrical cord and attaching the new one. Ensure that the wire cutters/strippers are appropriate for the size and gauge of the wires.
4. Electrical tape: Use electrical tape to secure the connections and protect them from any exposure. It provides insulation and prevents any potential short circuits.
5. Utility knife: A utility knife will come in handy for cutting and trimming the insulation on the wires.
6. Multimeter: A multimeter is an electrical testing tool that can be used to check the continuity and voltage of wires. It will help ensure that the connections are properly made before reassembling the cord reel.
7. Safety goggles and gloves: Protect your eyes and hands with safety goggles and gloves to minimize the risk of injury.
8. Workbench or sturdy surface: Find a stable workbench or surface where you can securely work on the cord reel. This will provide stability and make it easier to disassemble and reassemble the components.
9. Fire extinguisher: Keep a fire extinguisher nearby as a precautionary measure in case of an electrical fire.
10. Owner’s manual or instructions: Refer to the owner’s manual or any instructions provided with the cord reel for specific guidance and precautions.
Make sure to gather all the necessary tools and materials before starting the replacement process. Having everything within reach will save you time and minimize any interruptions during the task. Now that you’re prepared, let’s move on to the step-by-step instructions for replacing the electrical cord in your Bayco #FL-800-91 retractable cord reel.
Step 1: Disconnecting the Power
Before you begin working on the Bayco #FL-800-91 retractable cord reel, it is crucial to disconnect the power supply to ensure your safety. Follow these steps to disconnect the power:
1. Locate the electrical outlet or circuit breaker connected to the cord reel. Identify the specific outlet or breaker that supplies power to the reel and make sure you can easily access it.
2. If you’re working with a dedicated circuit breaker, switch it off to cut off the power supply to the cord reel. If you’re using a regular electrical outlet, unplug the cord reel from the outlet.
3. To ensure that the power is indeed disconnected, test the outlet or circuit with a voltage tester. Follow the instructions provided with the tester to confirm that there is no electrical current flowing.
4. Once you have confirmed that the power is disconnected, use caution tape or a similar warning sign to alert others to keep away from the area while you work on the cord reel.
By following these steps and ensuring that the power is completely disconnected, you can work safely without the risk of electrical shocks or accidents. Proceed to the next step to prepare for disassembling the cord reel.
Step 2: Removing the Retractable Cord Reel from its Mounting
In order to replace the electrical cord in a Bayco #FL-800-91 retractable cord reel, you will need to remove the reel from its mounting. Follow these steps to detach the cord reel from its mounting:
1. Locate the mounting bracket or screws that secure the cord reel in place. These may be located on the wall, ceiling, or any other surface where the reel is attached.
2. Using a screwdriver, remove the screws that hold the mounting bracket in place. Depending on the model, there may be multiple screws that need to be removed. Keep track of the screws and place them in a safe spot to avoid losing them.
3. Once the screws are removed, gently detach the cord reel from the mounting bracket. Be cautious and ensure a firm grip on the reel to prevent any accidental damage or injury.
4. Depending on the installation, there may be additional hooks or brackets that secure the cord reel to the wall or ceiling. If so, carefully detach the reel from these attachments.
5. Place the cord reel on a stable surface, such as a workbench, where you can easily access and work on it.
By following these steps, you will successfully remove the retractable cord reel from its mounting. Now, you can proceed to the next step to open the housing and access the internal components of the cord reel.
Read more: How Do I Replace An EdenPURE Electrical Cord
Step 3: Opening the Housing
Opening the housing of the Bayco #FL-800-91 retractable cord reel will allow you to access the internal components, including the old electrical cord that needs to be replaced. Follow these steps to open the housing:
1. Inspect the housing of the cord reel to identify any screws or fasteners that secure it. These screws are typically located on the sides or back of the reel.
2. Using a screwdriver, carefully remove the screws to loosen the housing. Keep track of the screws and place them in a secure location for reassembly later.
3. Once the screws are removed, gently pry open the housing using a flathead screwdriver or your fingers. Be cautious not to force it open as there may be tabs or additional fasteners holding it in place.
4. Depending on the design, the housing may have clips or hooks that need to be disengaged before it can be fully opened. Take note of any such mechanisms and release them to fully open the housing.
5. Set the housing aside in a safe place while you work on the internal components of the cord reel.
By following these steps, you will successfully open the housing of the retractable cord reel and gain access to the internal components. Now you can proceed to the next step to remove the old electrical cord.
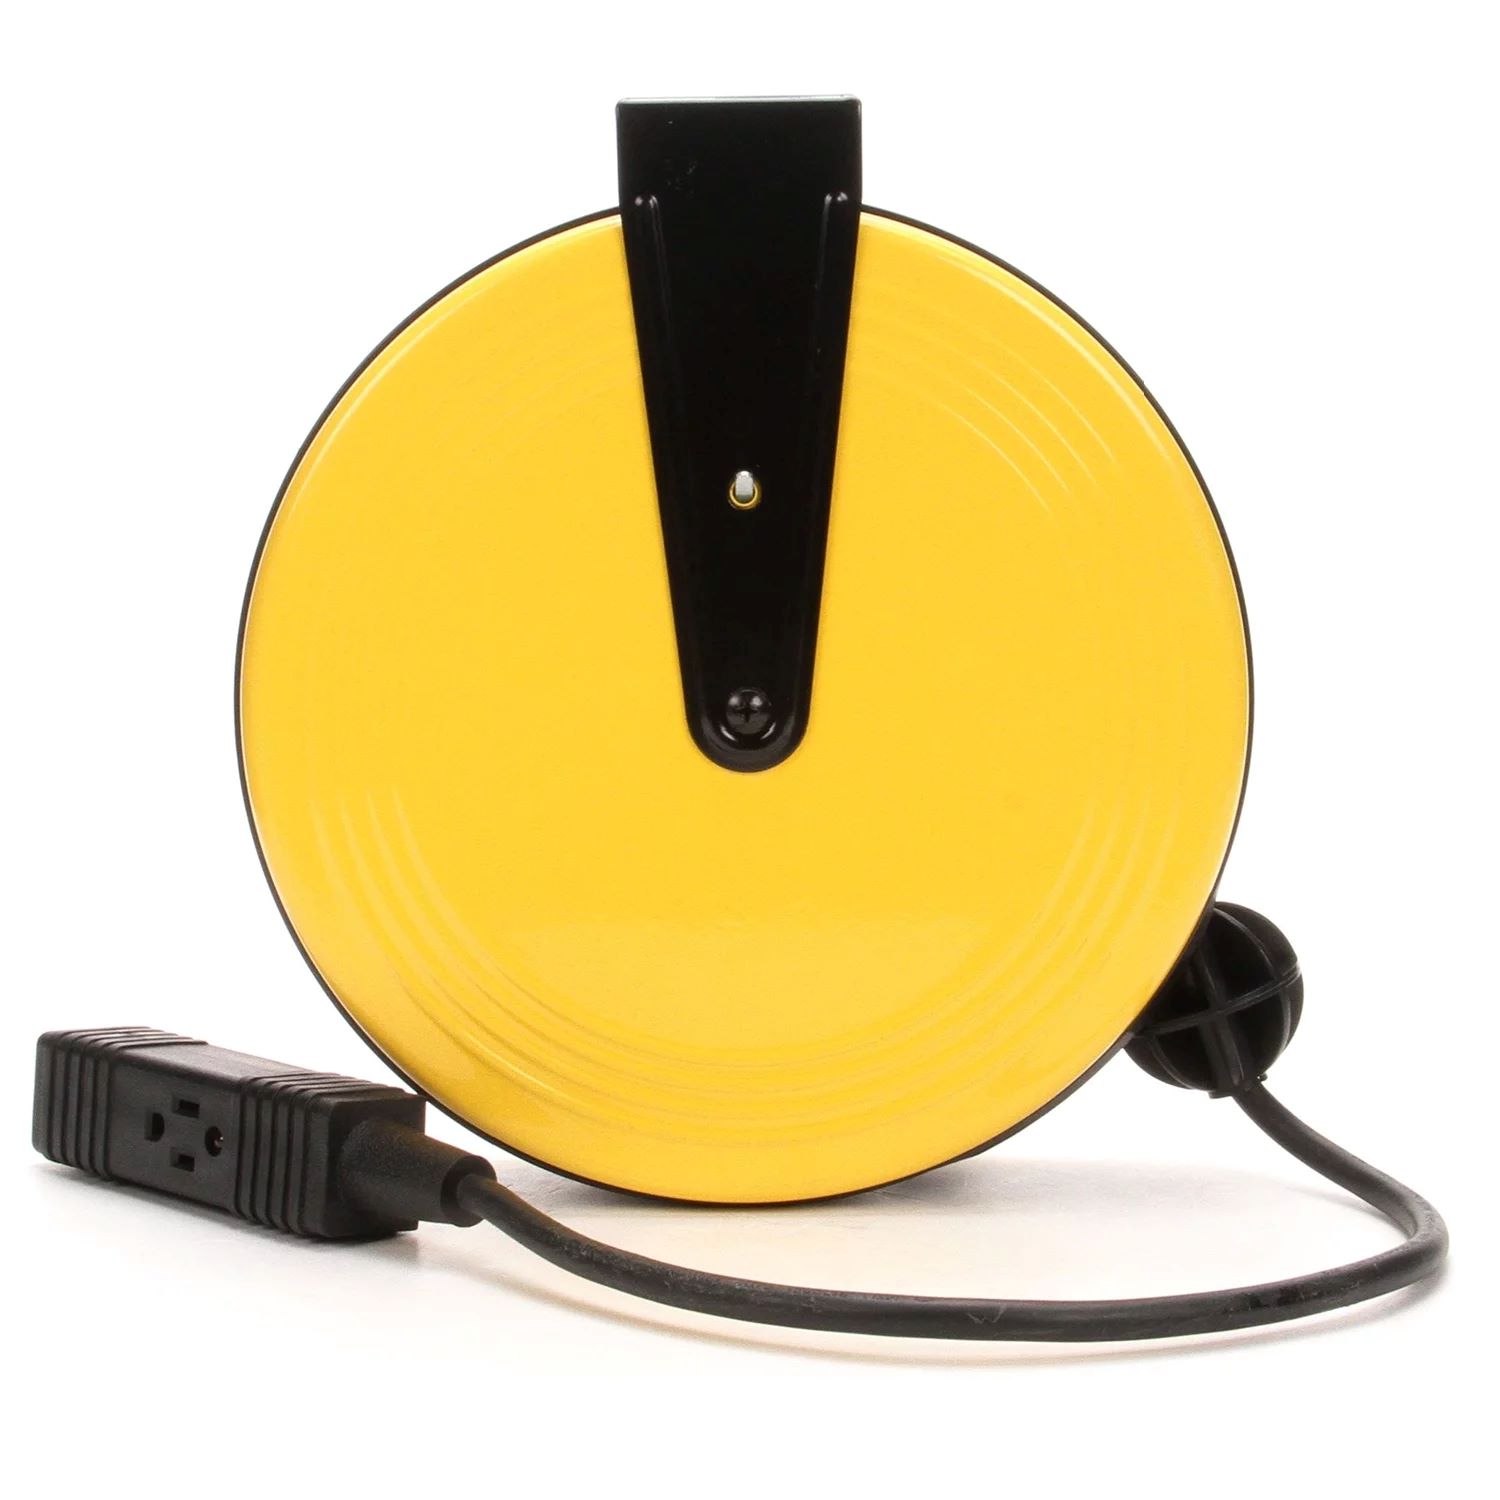
When replacing the electrical cord in a Bayco # FL-800-91 retractable cord reel, make sure to disconnect the power source and carefully follow the manufacturer’s instructions to ensure proper installation and safety.
Step 4: Removing the Old Electrical Cord
To replace the electrical cord in a Bayco #FL-800-91 retractable cord reel, you will need to remove the old cord first. Follow these steps to safely remove the old electrical cord:
1. Locate the end of the old electrical cord that is connected to the internal wiring of the cord reel. This will typically be at the center of the reel, where the cord is wound and stored.
2. Identify the terminal or connection point where the cord is attached. Depending on the design of the cord reel, there may be screws or clips holding the cord in place.
3. Use a screwdriver or pliers to loosen and remove any screws, clamps, or clips that secure the old cord in place. Take note of how the cord is connected and any specific wiring configurations.
4. Once the fasteners are removed, detach the old cord from the terminal or connection point. Gently pull the cord out of the cord reel, being careful not to damage any internal components.
5. Inspect the old cord for any signs of damage or wear, such as frayed wires or exposed insulation. Dispose of the old cord properly and ensure it is safely discarded.
6. With the old cord removed, take this opportunity to inspect the internal components of the cord reel for any signs of damage or debris. Clean the area if necessary before proceeding to the next step.
By following these steps, you will successfully remove the old electrical cord from the Bayco #FL-800-91 retractable cord reel. Now, you can move on to the next step to install the new electrical cord.
Step 5: Installing the New Electrical Cord
Now that you have removed the old electrical cord, it’s time to install the new one in your Bayco #FL-800-91 retractable cord reel. Follow these steps to properly install the new electrical cord:
1. Begin by unraveling the new electrical cord and straightening it out. Ensure that the cord is free from any knots or tangles.
2. Determine the appropriate length of cord needed for your specific application. Measure and cut the cord to the desired length, leaving some extra length for flexibility.
3. Strip the insulation from the ends of the new electrical cord. Use wire cutters and strippers to carefully remove about ½ inch of insulation from the ends of the cord, exposing the wires.
4. Inspect the wires for any damage or fraying. Trim off any damaged sections and ensure that the wires are clean and intact.
5. Insert the stripped ends of the new electrical cord into the terminal or connection point inside the cord reel. Follow any specific wiring configurations or instructions provided by the manufacturer.
6. Use a screwdriver or pliers to secure the new cord in place. Tighten any screws, clamps, or clips to ensure a secure and reliable connection.
7. Double-check the wiring connections to ensure they are properly aligned and tightened. Make sure there are no loose wires or exposed conductors that could cause electrical hazards.
8. Use electrical tape to wrap around the connections, providing additional insulation and protection. Wrap the tape tightly around the exposed wires, covering all the connections.
9. Trim off any excess tape and ensure a clean and tidy appearance.
10. Once the new electrical cord is securely installed, give it a gentle tug to ensure it is firmly in place and will not come loose.
By following these steps, you will successfully install the new electrical cord in your Bayco #FL-800-91 retractable cord reel. Now, you can move on to the next step to reassemble the cord reel and complete the replacement process.
Step 6: Reassembling the Retractable Cord Reel
After successfully installing the new electrical cord, it’s time to reassemble the Bayco #FL-800-91 retractable cord reel. Follow these steps to ensure the components are properly aligned and secured:
1. Retrieve the housing of the cord reel that was set aside earlier. Ensure that it is clean and free from any dust or debris.
2. Align the housing with the cord reel unit, making sure all the tabs, hooks, or fasteners are properly aligned.
3. Carefully slide the housing back into place, applying gentle pressure to ensure it fits snugly around the core reel unit.
4. Once the housing is aligned, reinsert the screws that were removed earlier to secure the housing. Use a screwdriver to tighten the screws, but avoid over-tightening to prevent damage to the housing.
5. Check that the housing is securely in place and there are no gaps or loose parts. This will help ensure the cord reel is properly enclosed and protected.
6. With the housing reassembled, visually inspect the cord reel for any other components that may need to be reattached or secured. This could include cable clamps, strain reliefs, or other accessories that were originally part of the assembly.
7. If any components were removed during the disassembly process, reattach them according to the manufacturer’s instructions. This could involve screws, clips, or other fastening mechanisms.
8. Confirm that all the components are securely in place and nothing is loose or unfastened.
By following these steps, you will successfully reassemble the Bayco #FL-800-91 retractable cord reel. Now, you’re almost done! The final step involves mounting the cord reel back to its original location.
Step 7: Mounting the Retractable Cord Reel
Now that you have reassembled the Bayco #FL-800-91 retractable cord reel, the final step is to mount it back to its original location. Follow these steps to securely mount the cord reel:
1. Determine the appropriate location for mounting the cord reel. Consider the accessibility of the power source, the reach of the electrical cord, and any specific requirements or guidelines provided by the manufacturer.
2. Use a stud finder or other suitable method to locate a stud or solid surface where you can mount the cord reel. It is important to secure the reel to a sturdy structure to ensure stability.
3. Once you have identified the mounting location, mark the positions where the screws or brackets will be installed. Measure and mark the locations accurately to ensure a proper fit.
4. Depending on your mounting surface, use appropriate screws, anchors, or brackets to securely attach the cord reel. Follow the manufacturer’s instructions for recommended mounting methods and hardware.
5. Carefully align the mounting holes on the cord reel with the marked positions on the mounting surface. Make sure the reel is level and centered.
6. Insert the screws or tighten the brackets to secure the cord reel to the mounting surface. Use a screwdriver or the recommended tool to tighten them firmly, but avoid over-tightening to prevent damage.
7. Double-check the stability of the cord reel by giving it a gentle tug. Ensure that it is securely fastened and can support the weight of the electrical cord.
8. Once the cord reel is mounted, inspect the surrounding area to ensure there are no obstructions or hazards that could interfere with the operation of the reel or pose a safety risk.
Congratulations! You have successfully mounted the Bayco #FL-800-91 retractable cord reel back to its original location. Now, you can reconnect the power and enjoy the reliable operation of your newly replaced electrical cord.
Please remember to exercise caution and safety during the entire process, and if you encounter any difficulties or uncertainties, it is recommended to consult a professional or an electrician for assistance.
Conclusion
Replacing the electrical cord in a Bayco #FL-800-91 retractable cord reel may seem like a challenging task, but with the right guidance and precautions, it can be done successfully. By following the step-by-step instructions outlined in this article, you can ensure safe and efficient replacement of the electrical cord.
Throughout the process, it is important to prioritize safety. Always disconnect the power and wear appropriate protective gear to prevent accidents or electrical shocks. Adhering to safety precautions will protect you and others around you while working on the cord reel.
Gathering the necessary tools and materials beforehand will make the process smoother. Having everything within reach saves time and minimizes interruptions.
Each step, from disconnecting the power to mounting the cord reel, was explained in detail to guide you through the process. Following these steps ensures the proper installation of the new electrical cord, guaranteeing safe and reliable operation of the cord reel.
Remember to consult the owner’s manual or any instructions specific to your cord reel model for additional guidance. If you encounter any difficulties or uncertainties, it is always recommended to seek assistance from a professional or an electrician.
By successfully replacing the electrical cord in your Bayco #FL-800-91 retractable cord reel, you can enjoy the benefits of a functional and reliable cord reel once again. Take pride in your accomplishment and enjoy the convenience and ease of use that your newly replaced cord reel brings.
Ensure that you properly dispose of the old electrical cord and any other waste materials in an environmentally responsible manner.
Thank you for following this guide, and we hope that the information provided has been helpful in your cord reel replacement project. Stay safe and enjoy the efficient operation of your Bayco #FL-800-91 retractable cord reel with its newly replaced electrical cord.
Frequently Asked Questions about How Do I Replace The Electrical Cord In A Bayco FL-800 Retractable Cord Reel?
Was this page helpful?
At Storables.com, we guarantee accurate and reliable information. Our content, validated by Expert Board Contributors, is crafted following stringent Editorial Policies. We're committed to providing you with well-researched, expert-backed insights for all your informational needs.


0 thoughts on “How Do I Replace The Electrical Cord In A Bayco FL-800 Retractable Cord Reel?”