Articles
How To Replace Electrical Cord Plug
Modified: January 19, 2024
Learn how to replace an electrical cord plug with this helpful article. Follow step-by-step instructions for a safe and successful replacement.
(Many of the links in this article redirect to a specific reviewed product. Your purchase of these products through affiliate links helps to generate commission for Storables.com, at no extra cost. Learn more)
Introduction
Replacing an electrical cord plug is a common DIY task that allows you to safely and easily restore power to your electrical devices. Whether the plug is damaged, worn out, or you need to convert it to fit a different outlet, learning how to replace an electrical cord plug is a valuable skill that can save you time and money.
In this article, we will guide you through the step-by-step process of replacing an electrical cord plug. We will provide detailed instructions, highlight the tools and materials you will need, and offer tips for a successful replacement. By following these steps, you can ensure a safe and efficient repair that will have your devices up and running in no time.
Before we dive into the replacement process, it is important to note that working with electricity can be dangerous if not handled correctly. Always exercise caution, follow safety guidelines, and if you are unsure about any step or encounter any difficulties, consult a professional electrician.
Now, without further ado, let’s gather our tools and materials and get started on replacing that old electrical cord plug!
Key Takeaways:
- Replacing an electrical cord plug is a valuable DIY skill that ensures safe and efficient restoration of power to your devices. Prioritize safety, gather the right tools, and follow the step-by-step process for successful plug replacement.
- Properly preparing, connecting, and securing the new plug are crucial steps in ensuring a reliable and hazard-free electrical connection. Testing the new plug for functionality is essential for a successful replacement.
Step 1: Gather the necessary tools and materials
Before you begin replacing the electrical cord plug, it’s essential to gather all the necessary tools and materials. Having everything at hand will ensure a smooth and uninterrupted repair process. Here are the items you’ll need:
- Screwdriver: Depending on the type of plug you’re replacing, you may need a flathead or a Phillips head screwdriver. Make sure you have the appropriate screwdriver size and type to remove any screws that hold the plug together.
- Wire cutters/strippers: These tools are used to cut and strip the insulation off the wires. Wire cutters with built-in strippers will make the task easier and more efficient.
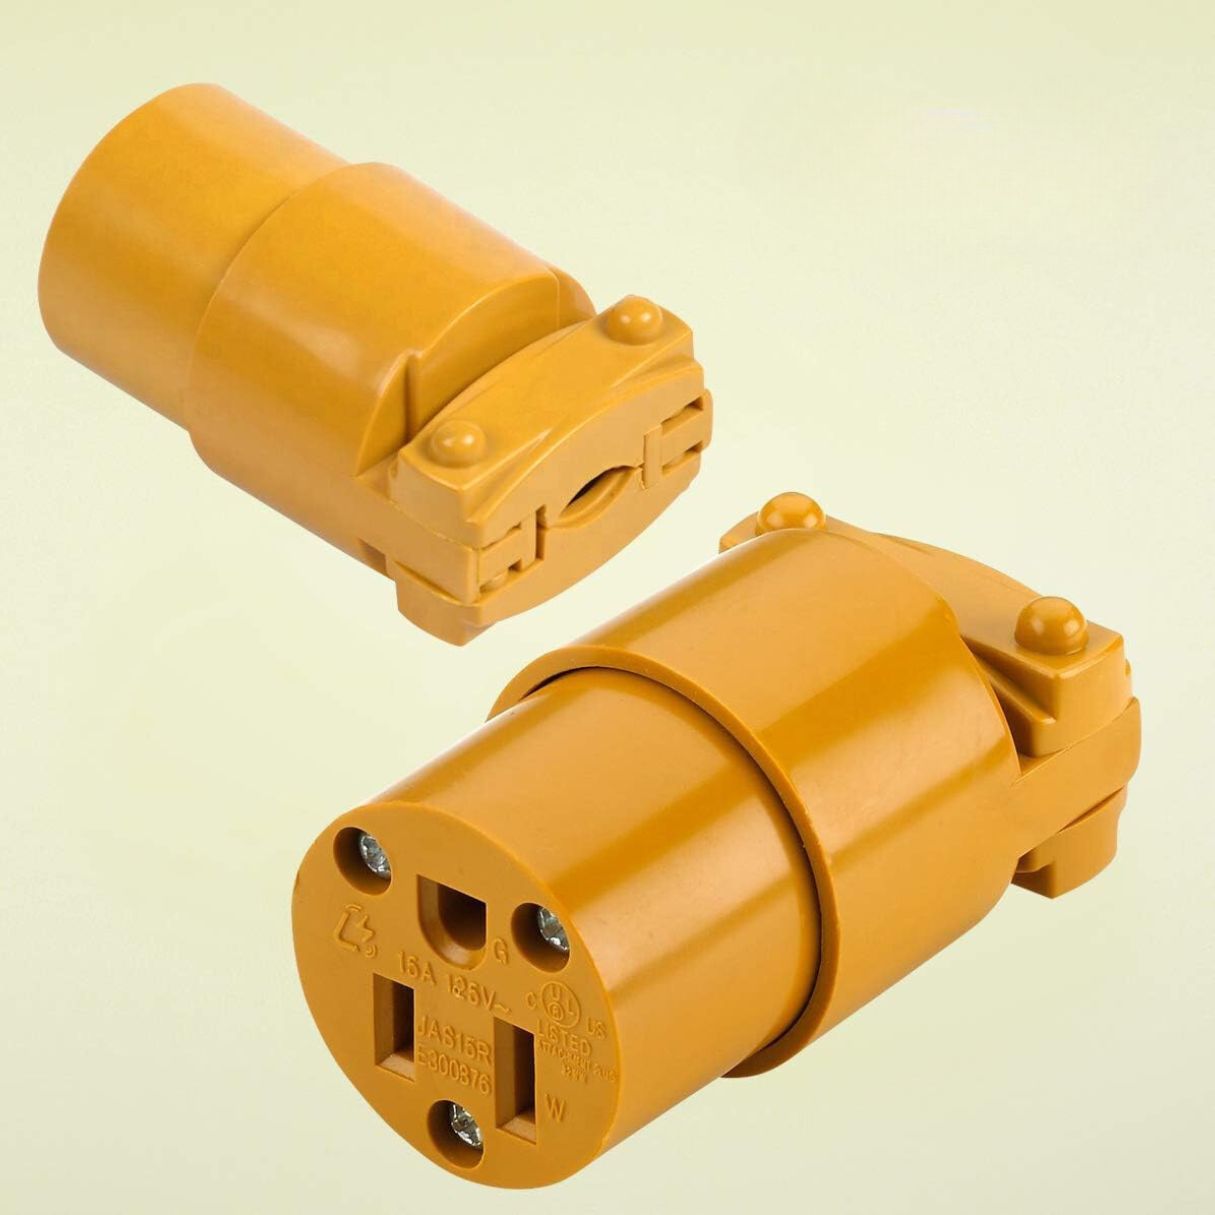
- New electrical cord plug: Purchase a replacement plug that matches the specifications of your device and meets safety standards. It’s important to choose a plug that is compatible with the voltage and amperage requirements of your device.
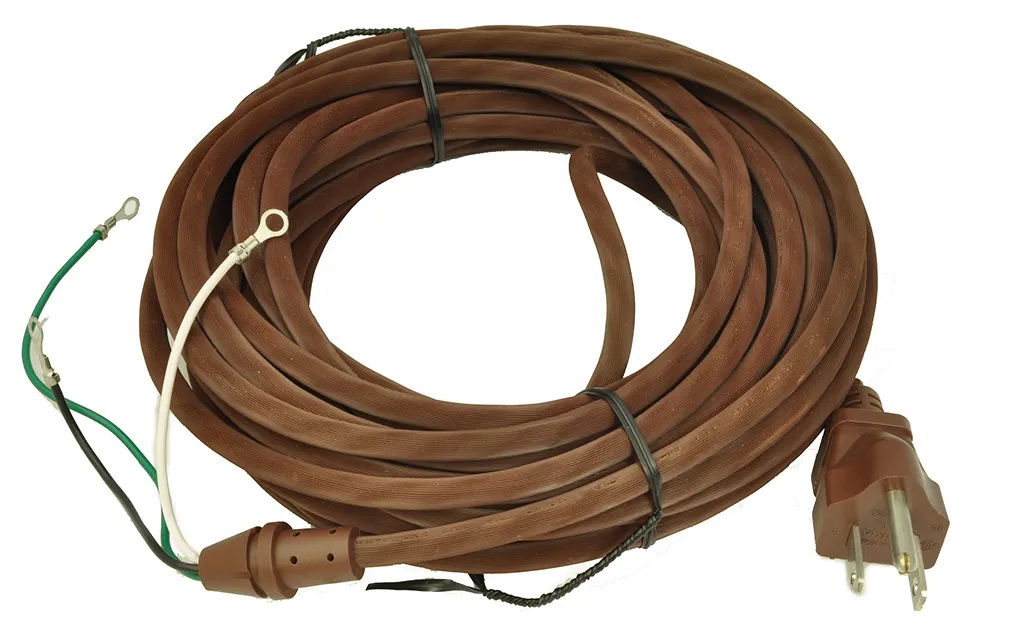
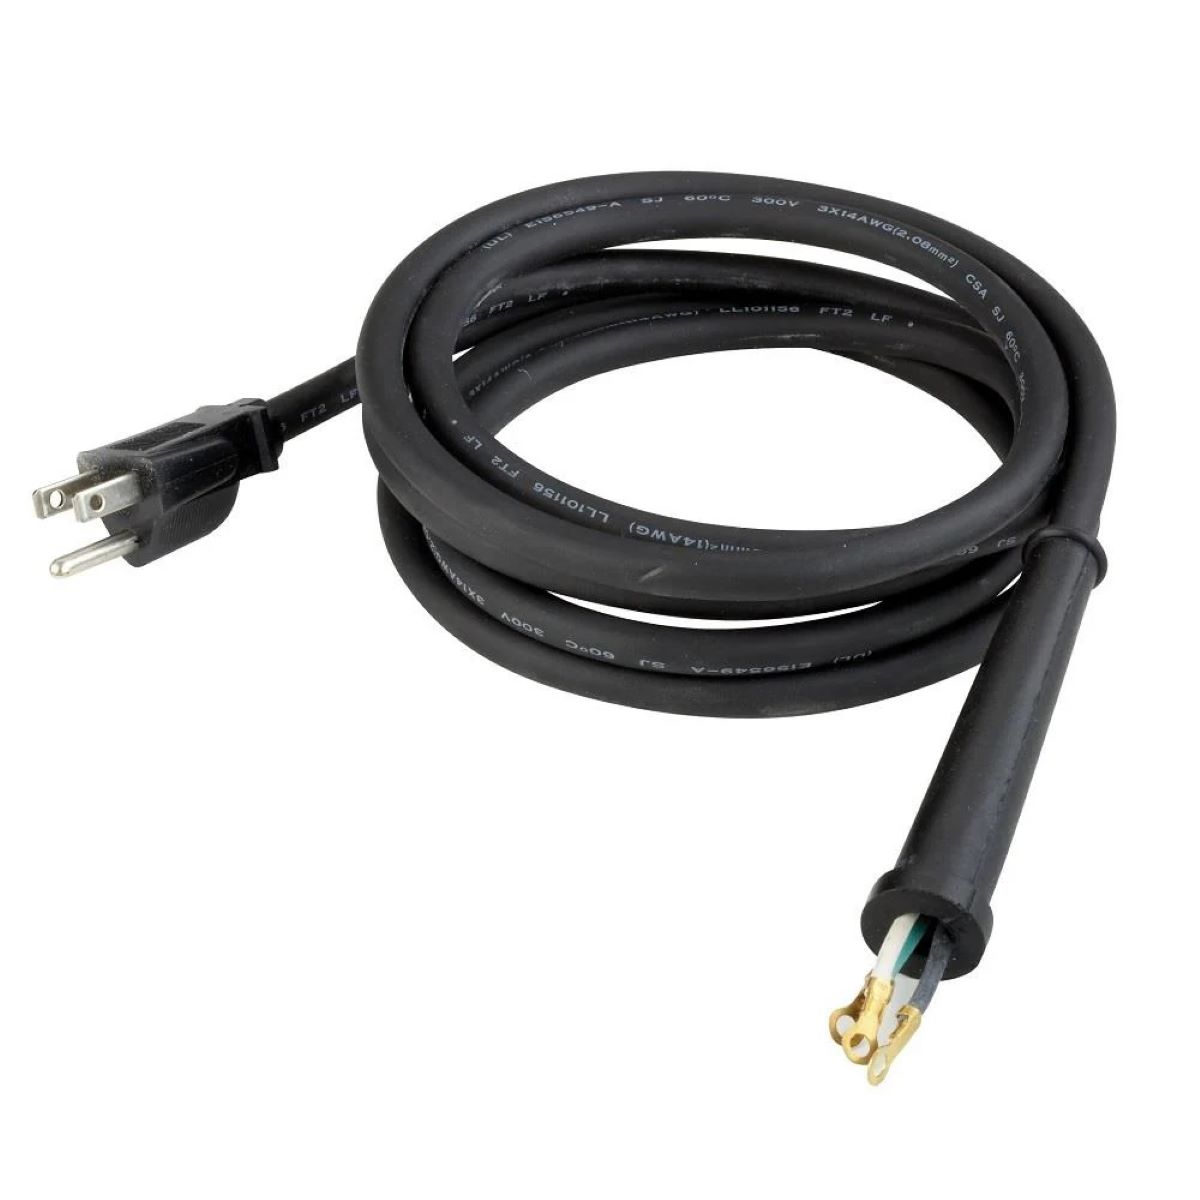
- Replacement wires: In some cases, you may need to replace the entire cord instead of just the plug. If this is the case, make sure to have the appropriate gauge and length of replacement wires on hand.
- Electrical tape: Electrical tape is used to insulate and secure the connections, providing an additional layer of safety.
- Marker or label: It’s a good idea to label or mark the wires before disconnecting them to ensure proper reconnection later.
Once you have gathered all the necessary tools and materials, find a well-lit and open workspace to perform the replacement. Ensure that the area is clear of any potential hazards and that you have enough room to work comfortably.
Now that you have everything you need let’s move on to the next step in the process: Unplug and prepare the old cord plug.
Step 2: Unplug and prepare the old cord plug
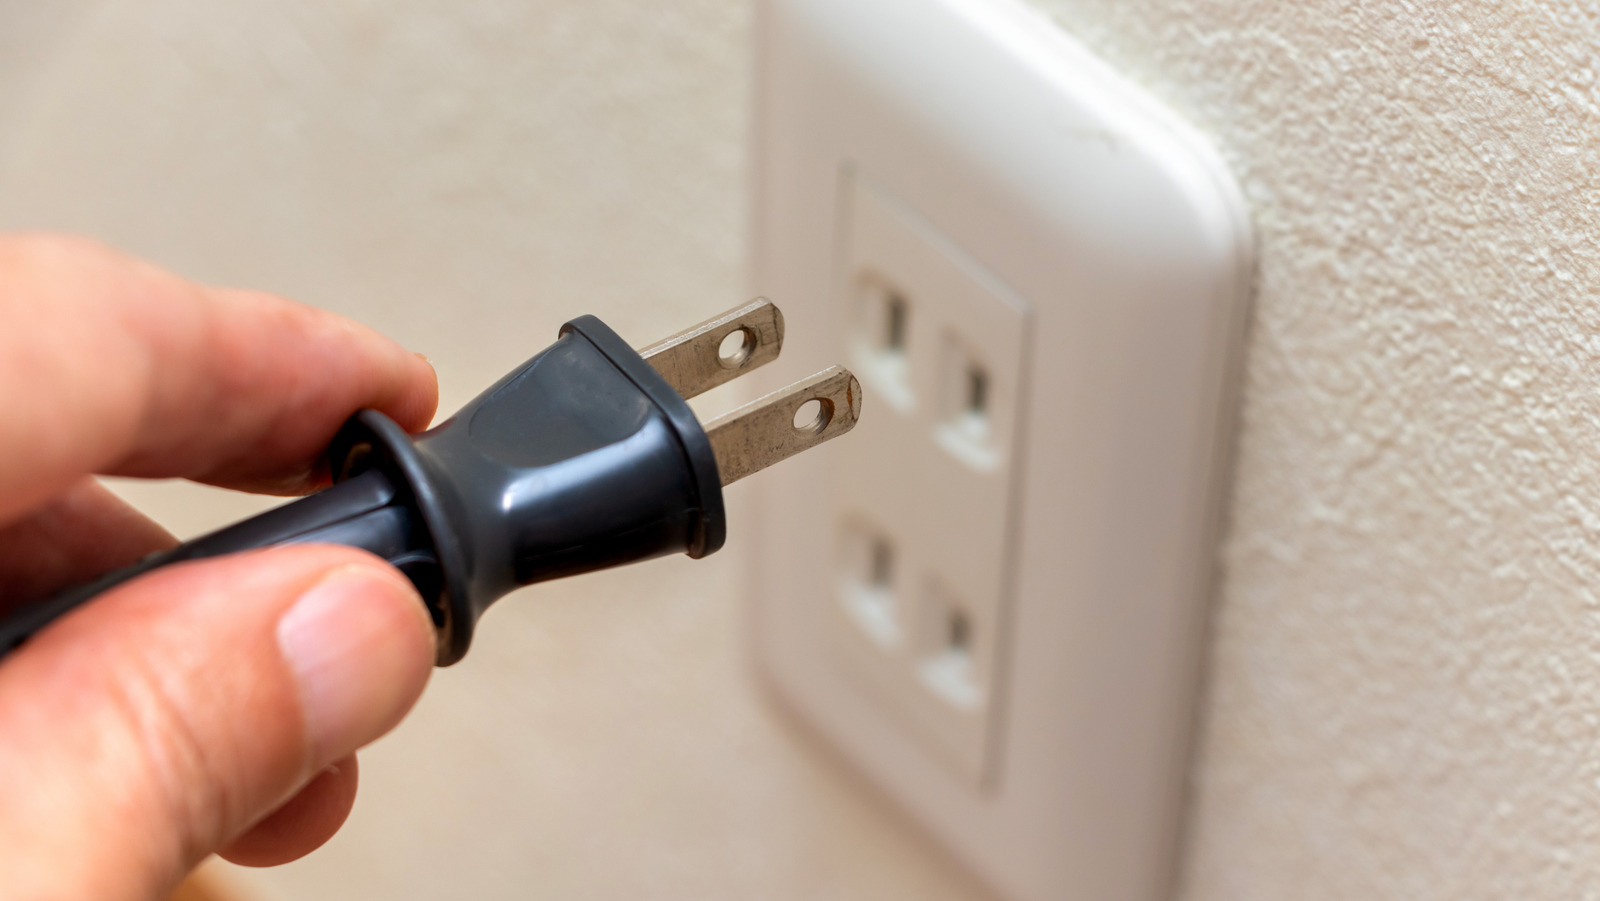
Before you can begin replacing the old cord plug, it’s crucial to unplug the device from the power source. This step ensures your safety and prevents any electrical shocks or accidents during the replacement process.
Once the device is safely unplugged, assess the condition of the old cord plug. Check for any visible signs of damage such as frayed wires, exposed conductors, or broken prongs. It’s important to address these issues before proceeding with the replacement.
If the cord plug is damaged but still intact, use wire cutters to carefully cut off the damaged portion, ensuring that you have enough length to work with when connecting the new plug. Alternatively, if the cord plug is severely damaged or if you need to replace the entire cord, cut the cord a few inches away from the old plug to remove it completely.
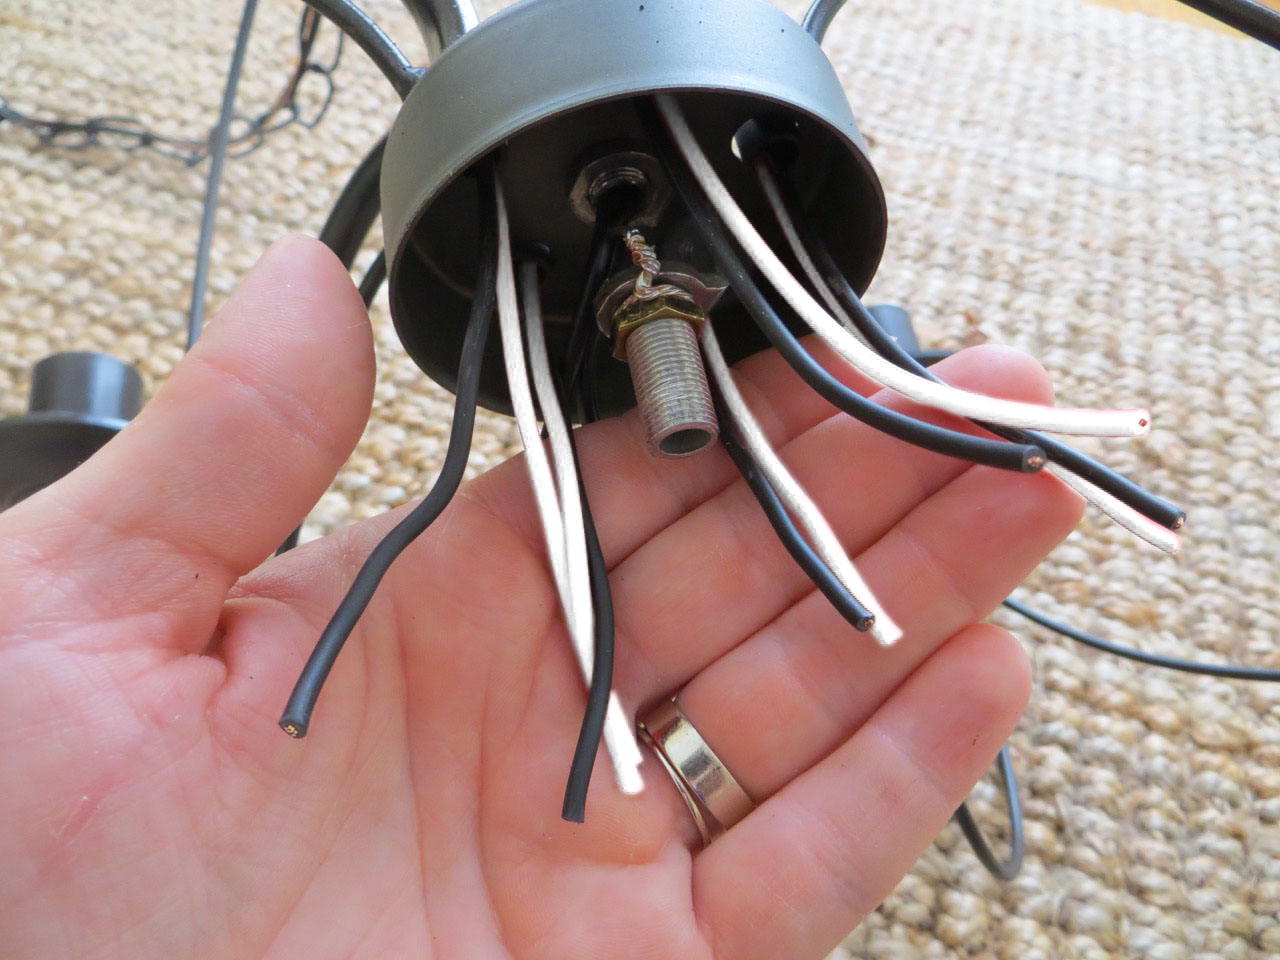
Before proceeding to the next step, it’s a good idea to mark or label the wires that are connected to the old plug. This will help you identify and reconnect them correctly with the new plug later. Use a marker or a label to distinguish between the hot (black or red), neutral (white or gray), and ground (green or bare copper) wires.
With the old cord plug prepared and the wires marked, you’re now ready to remove the old cord plug. In the next step, we will guide you through the process of safely removing the old plug from the wires. Stay tuned!
Step 3: Remove the old cord plug
Now that you have prepared the old cord plug and marked the wires, it’s time to remove the old plug from the wires. Follow these steps carefully to ensure a smooth removal process:
- Locate any screws or clips that hold the old cord plug together. Depending on the plug design, you may need to remove one or more screws or release clips to separate the plug halves.
- With the screws removed or the clips released, gently separate the plug halves. Be cautious not to damage or pull on the wires connected to the plug.
- Once the plug halves are separated, you should have clear access to the wires connected to the old plug. Inspect the wires for any signs of damage or loose connections.
- Identify the terminals on the old plug where the wires are connected. Commonly, there will be three terminals: one for the hot wire, one for the neutral wire, and one for the ground wire.
- Using a screwdriver, unscrew the terminals holding the wires in place. Slowly and gently pull the wires out of the terminals, taking note of which wire corresponds to each terminal. Ensure that the wires are completely free from the old plug.
- Once all the wires are disconnected, set aside the old cord plug for disposal or recycling.
Now that you have successfully removed the old cord plug, you can proceed to the next step: preparing the new electrical cord plug. Stick with us as we guide you through the process of ensuring the new plug is ready for installation.
Step 4: Prepare the new electrical cord plug
With the old cord plug removed, it’s time to prepare the new electrical cord plug for installation. Properly preparing the new plug ensures a secure and reliable connection when you attach it to the wires. Follow these steps to prepare the new plug:
- Gently inspect the new electrical cord plug for any visible damage or defects. Ensure that all the components, such as prongs and terminals, are intact and in good condition.
- If the new plug requires assembly, carefully follow the manufacturer’s instructions to put the plug together. This may involve attaching the prongs, securing the terminal screws, or connecting other components.
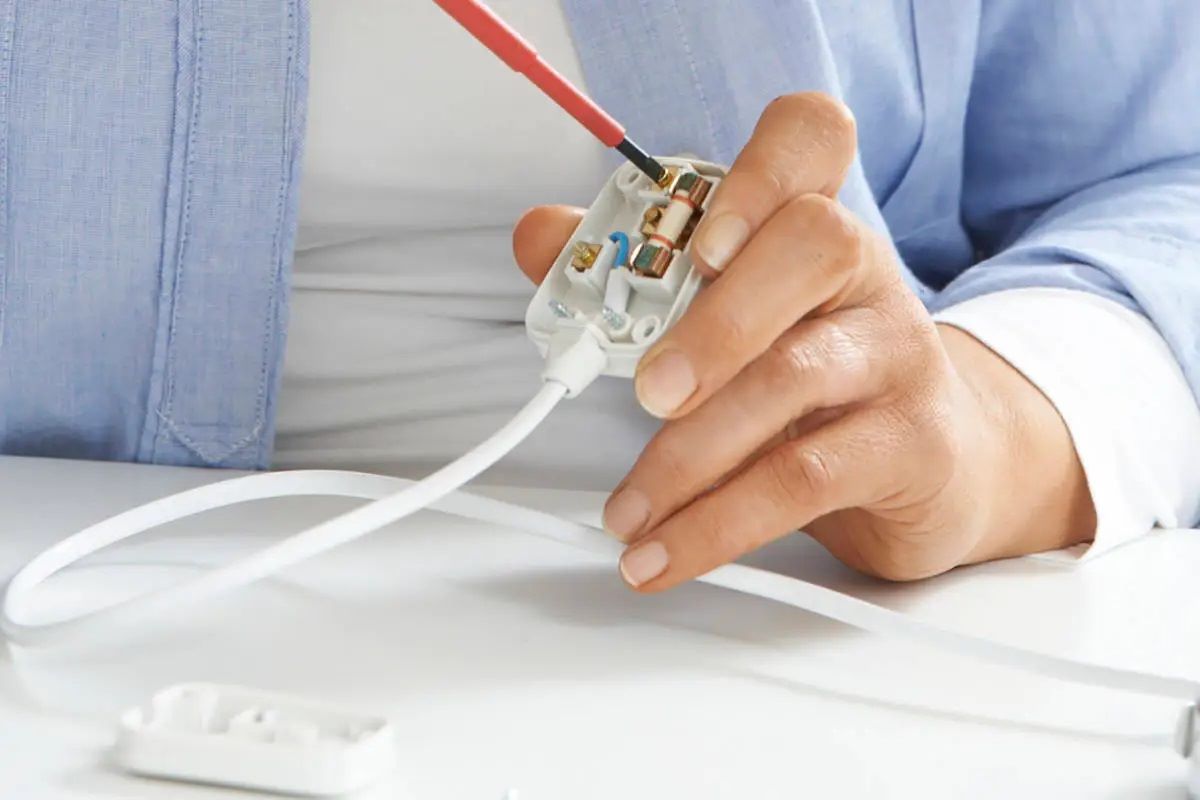
- Examine the terminals on the new plug and identify which terminal corresponds to the hot (black or red), neutral (white or gray), and ground (green or bare copper) wires.
- If necessary, strip the insulation from the ends of the wires using wire cutters/strippers. Make sure to strip off just enough insulation to expose the bare wire without cutting or damaging the actual conductors.
- If the new plug has screw terminals, verify that the screws are loosened and ready to receive the wires. If the plug uses a different type of connection, such as push-in terminals, refer to the manufacturer’s instructions for guidance on connecting the wires.
- If the new plug has adjustable strain relief, adjust it to fit the diameter of the cord. This helps to secure the cord and prevent strain or pulling on the wires.
By properly preparing the new electrical cord plug, you ensure that it is in optimal condition and ready to be connected to the wires. Now that the new plug is prepared, we can move on to the next step: connecting the wires to the new cord plug. Stay tuned for detailed instructions!
When replacing an electrical cord plug, make sure to match the plug’s amperage and voltage ratings with the appliance’s requirements to ensure safety and proper functionality. Always follow the manufacturer’s instructions and consult a professional if unsure.
Read more: How To Replace Plug On Extension Cord
Step 5: Connect the wires to the new cord plug
Now that you have prepared the new electrical cord plug, it’s time to connect the wires to the terminals of the plug. Follow these steps to ensure a secure and proper connection:
- Refer to the labeling or marking you made on the wires during the previous steps to identify which wire corresponds to each terminal on the new plug. Remember, the hot wire is typically black or red, the neutral wire is usually white or gray, and the ground wire is green or bare copper.
- Start with the hot wire. Insert the exposed end of the wire into the terminal designated for the hot wire. For screw terminals, wrap the wire clockwise around the terminal screw. For push-in terminals, simply insert the wire into the appropriate slot. Make sure the wire is securely held in place.
- If the plug has additional terminals for other wires, repeat the previous step for the neutral and ground wires, connecting them to their respective terminals.
- Once all the wires are connected, tighten the terminal screws using a screwdriver. Ensure that the screws are tightened enough to hold the wires firmly in place, but be careful not to overtighten and damage the wires or the terminal.
After connecting all the wires and tightening the terminal screws, give the wires a gentle tug to make sure they are securely attached to the new cord plug. Ensure that there are no loose connections or exposed wires.
Now that the wires are properly connected to the new cord plug, we can move on to the next step: securing the connections. Stay with us as we guide you through this important step to ensure the safety and stability of the plug installation.
Step 6: Secure the connections
Securing the connections of the new cord plug is a crucial step to ensure the safety and reliability of the installation. Follow these steps to properly secure the connections:
- Inspect the terminal screws to ensure they are fully tightened. Double-check that the wires are securely held in place and there is no movement or looseness.
- Using electrical tape, wrap each individual wire connection to provide insulation and additional support. Start a few inches away from the terminal and wrap the tape tightly around the wire, covering the exposed section up to the terminal. Repeat this step for each wire connection.
- After wrapping the individual wire connections, wrap another layer of electrical tape around all the wires, forming a cohesive bundle. This helps to prevent them from accidentally coming apart or getting snagged during use.
- Inspect the entire length of the cord for any kinks, frayed sections, or other signs of damage. If you notice any issues, trim the damaged portion, making sure to leave enough length for proper installation.
- If your new cord plug has an adjustable strain relief, use it to secure the cord near the plug. This helps to relieve strain on the wires and prevent pulling or tugging.
By securely wrapping the connections with electrical tape and ensuring the cord is free from damage, you provide an extra layer of safety and stability to the new cord plug. This step is essential for preventing short circuits, exposed wires, and potential hazards.
With the connections properly secured, we can move on to the final step: testing the new cord plug to ensure it is functioning correctly. Stay tuned for the last step of this process!
Step 7: Test the new cord plug
Testing the new cord plug is the final step in the process of replacing an electrical cord plug. It is essential to ensure that the plug is functioning correctly and that there are no issues with the connection. Follow these steps to test the new cord plug:
- Make sure the device connected to the new cord plug is unplugged or turned off.
- Plug the new cord plug into a compatible electrical outlet.
- Turn on the device or plug it back in.
- Check to see if the device is receiving power and functioning as expected. Verify that there are no sparks, unusual sounds, or odd smells coming from the plug or the device.
- If the device is not working or you encounter any electrical issues, immediately unplug the new cord plug and recheck all the connections. Ensure that the wires are securely connected and that there is no visible damage or loose connections.
- If everything appears to be in order and the device is functioning correctly, disconnect it from the power source and proceed with using it as usual.
By testing the new cord plug, you ensure that the replacement was successful and that the device is receiving power without any issues. If you encounter any problems or have any doubts about the functionality of the new plug, it may be best to consult a professional electrician for assistance.
Congratulations! You have successfully replaced the electrical cord plug and tested the new plug for proper functionality. Enjoy the restored power and peace of mind knowing that your device is safely connected. Remember to always exercise caution when working with electricity and follow safety guidelines.
Thank you for following this step-by-step guide on how to replace an electrical cord plug. We hope this article has been informative and helpful. Happy DIYing!
Conclusion
Replacing an electrical cord plug is a practical skill that empowers you to safely and effectively restore power to your devices. By following the step-by-step guide provided in this article, you have learned how to gather the necessary tools and materials, unplug and prepare the old cord plug, remove the old plug, prepare the new cord plug, connect the wires, secure the connections, and test the new plug for functionality.
Throughout the process, it is crucial to prioritize safety and exercise caution when working with electricity. If you ever feel unsure or encounter any difficulties, it is always wise to consult a professional electrician for assistance.
Remember, the key steps to replacing an electrical cord plug include preparing both the old and new plugs, connecting the wires correctly, securing the connections with electrical tape, and testing the new plug to ensure it is functioning properly.
By mastering the skill of replacing an electrical cord plug, you can save time and money by avoiding the need to replace an entire cord or hiring a professional for repairs. Additionally, you can rest assured knowing that your devices are safely and firmly connected, reducing the risk of electrical accidents.
We hope this comprehensive guide has provided you with the knowledge and confidence to tackle this DIY task. As always, prioritize your safety and follow the necessary precautions when working with electricity. Enjoy the satisfaction of successfully replacing an electrical cord plug and restoring power to your devices.
Thank you for following along with this article. Happy repairing!
Frequently Asked Questions about How To Replace Electrical Cord Plug
Was this page helpful?
At Storables.com, we guarantee accurate and reliable information. Our content, validated by Expert Board Contributors, is crafted following stringent Editorial Policies. We're committed to providing you with well-researched, expert-backed insights for all your informational needs.


0 thoughts on “How To Replace Electrical Cord Plug”