
Articles
How To Replace An Electrical Cord On A Lamp
Modified: September 1, 2024
Learn how to replace the electrical cord in a lamp with our informative articles. Find step-by-step instructions and expert tips to help you complete this DIY project.
(Many of the links in this article redirect to a specific reviewed product. Your purchase of these products through affiliate links helps to generate commission for Storables.com, at no extra cost. Learn more)
Introduction
Welcome to our comprehensive guide on how to replace the electrical cord in a lamp. Over time, electrical cords can become frayed, damaged, or worn out, which can pose a safety hazard and affect the functionality of your lamp. Replacing the electrical cord is a relatively simple and cost-effective solution that can help you restore your lamp’s functionality and ensure its safety.
In this article, we will take you through a step-by-step process of replacing the electrical cord in a lamp. We will discuss the tools and materials you will need, provide safety precautions to follow, and guide you through the entire process, from disconnecting the lamp to testing the connection. Whether you are a DIY enthusiast or a beginner, this guide will help you successfully replace the electrical cord in your lamp.
Before we begin, it’s important to note that working with electricity can be dangerous. If you are not comfortable or confident in your abilities, it’s always best to consult a professional electrician. However, if you feel comfortable following safety guidelines and handling basic electrical tasks, continue reading to learn how to replace the electrical cord in your lamp.
Key Takeaways:
- Safely and confidently replace a lamp’s electrical cord by following step-by-step instructions, prioritizing safety, and using basic tools and materials.
- Restoring a lamp’s functionality and safety is achievable through a simple and rewarding process of replacing the electrical cord, emphasizing safety and thorough preparation.
Read more: How To Replace A Lamp Cord
Tools and Materials Needed
Before you start the process of replacing the electrical cord in your lamp, it’s important to gather all the necessary tools and materials. Here’s a list of what you’ll need:
- Screwdriver Set: A set of screwdrivers with various sizes and types, including flathead and Phillips head, will be useful for disassembling the lamp.
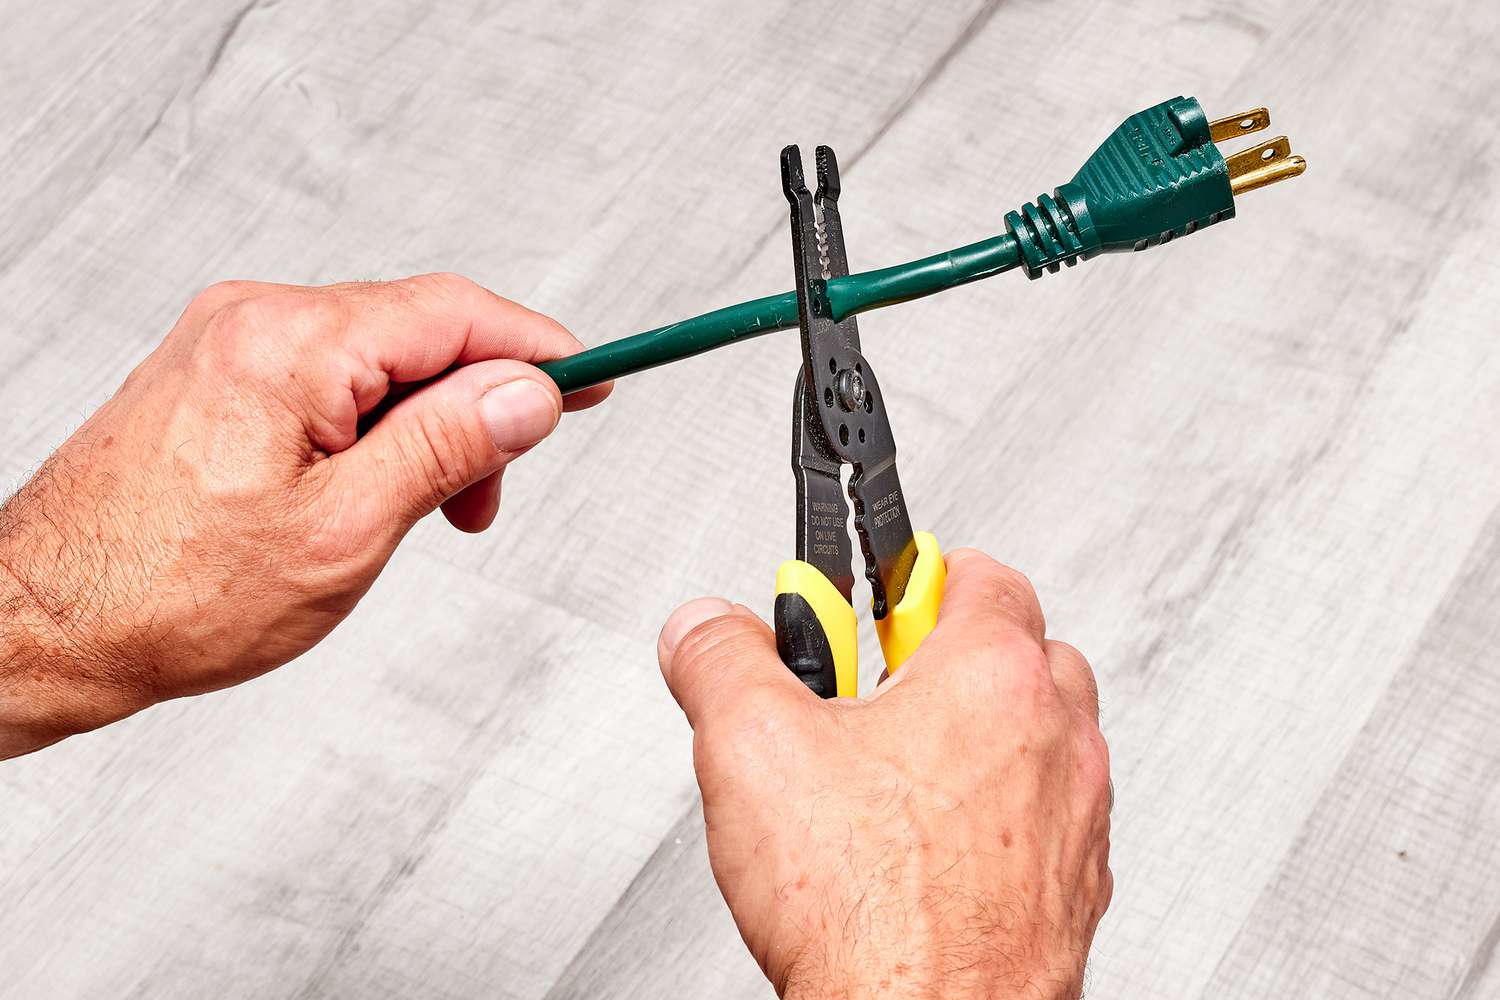
- Wire Cutters: These will be needed to cut the old cord and strip the insulation from the new cord.
- Wire Strippers: Wire strippers will make it easier to remove the insulation from the old cord and prepare the new one.
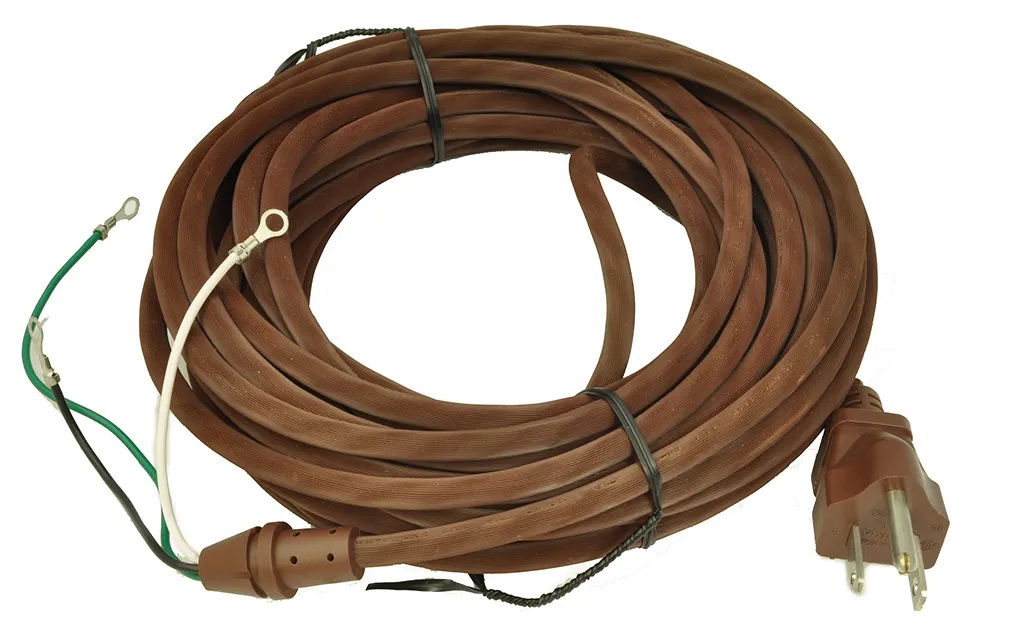
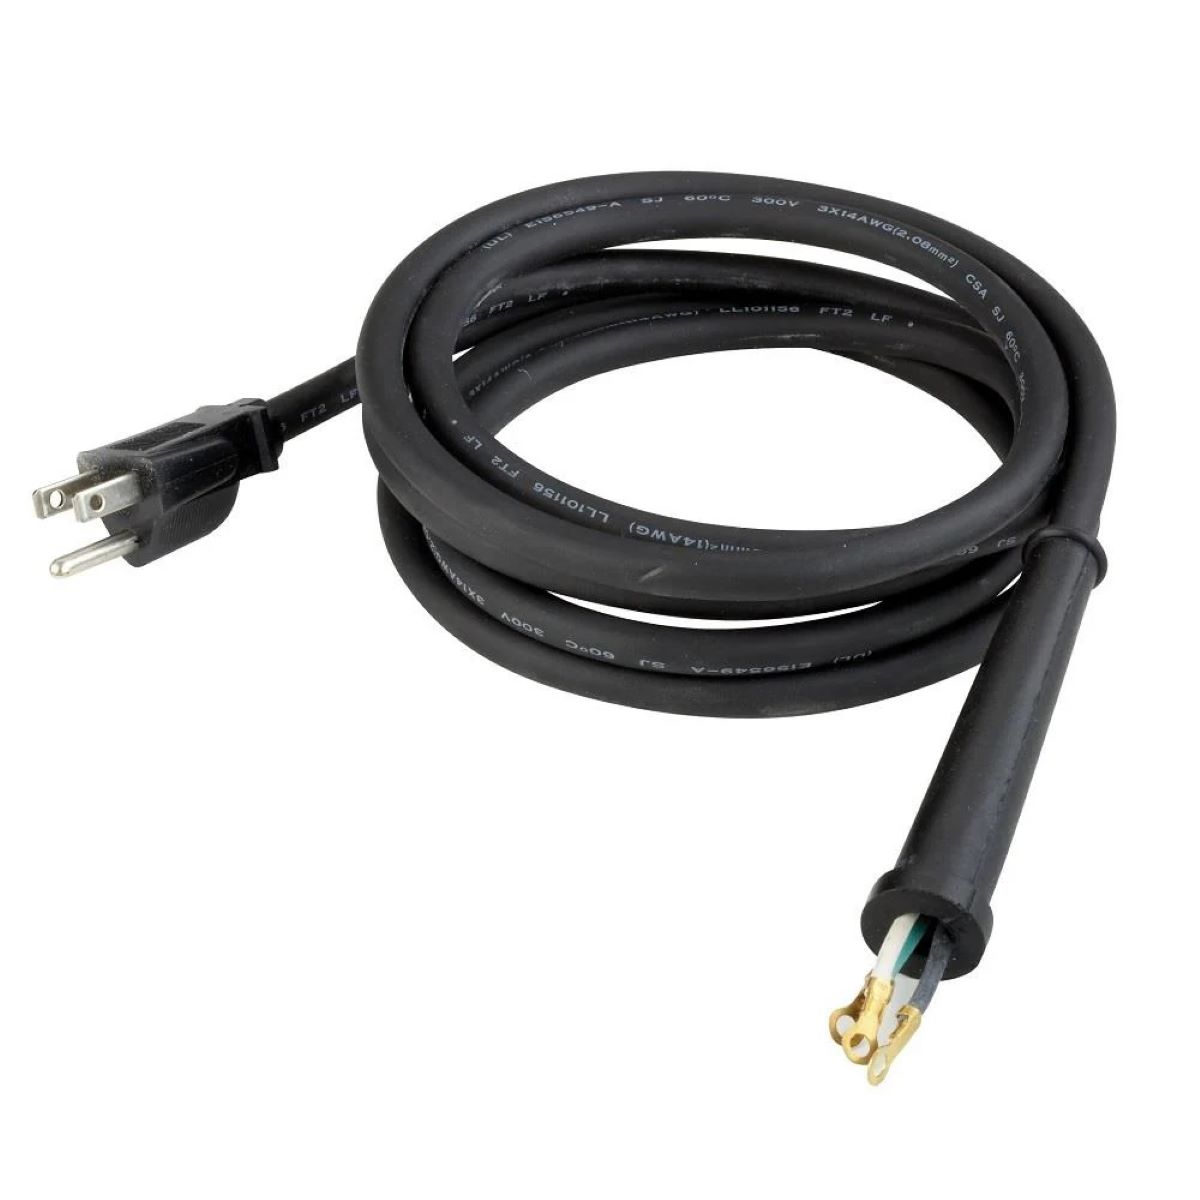
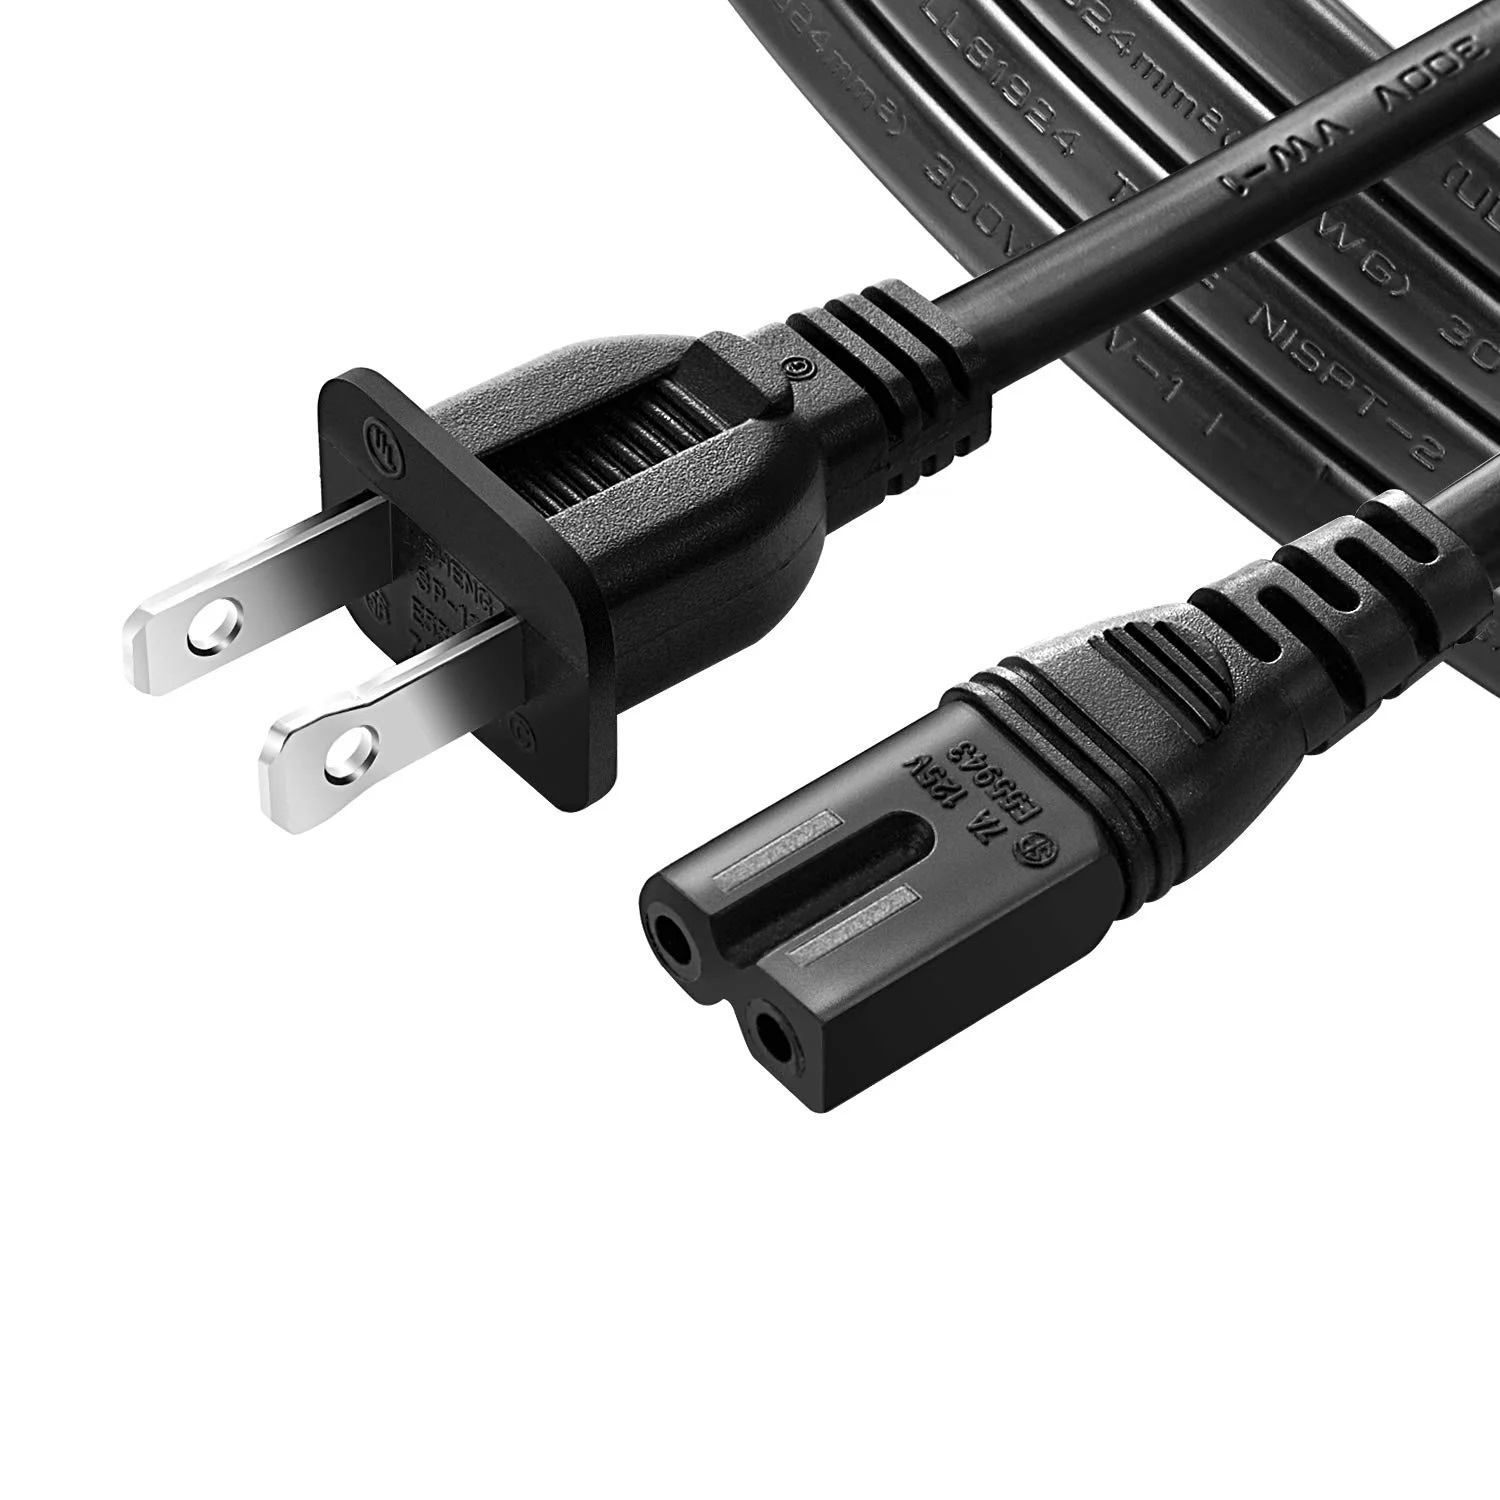
- Replacement Cord: Make sure to purchase a suitable replacement cord that matches the specifications of your lamp. The cord should be of the appropriate length and gauge.
- Electrical Tape: Electrical tape will be used to secure the wire connections and provide insulation.
- Wire Nuts or Connectors: These will be used to securely connect the wires together.
- Optional: Soldering Iron and Solder: If you are comfortable with soldering, you can use a soldering iron and solder to make the wire connections more secure.
Having these tools and materials on hand will ensure a smooth and efficient process when replacing the electrical cord in your lamp.
Step 1: Safety Precautions
Before starting any electrical work, it’s crucial to prioritize safety. Here are some safety precautions to follow when replacing the electrical cord in a lamp:
- Turn off the Power: Before working on the lamp, make sure to unplug it from the power source. This will prevent the risk of electric shock.
- Work in a Well-Lit Area: Ensure that you have adequate lighting in your workspace. This will help you see what you’re doing and reduce the risk of accidents.
- Wear Protective Gear: Consider wearing safety goggles, work gloves, and closed-toe shoes to protect yourself from any potential hazards.
- Check for Damage: Inspect the lamp and cord for any visible damage, such as frayed wires or exposed conductors. If you notice any damage, do not proceed with the replacement and consider consulting a professional electrician.
- Work on a Stable Surface: Place the lamp on a stable and flat surface to prevent it from falling or tipping over during the repair process.
- Avoid Water and Moisture: Keep your work area dry to minimize the risk of electrical shock.
- Properly Dispose of the Old Cord: When removing the old cord, handle it with care and dispose of it responsibly. Avoid leaving it within reach of pets or children.
- Follow Manufacturer’s Instructions: If your lamp came with specific instructions, be sure to read and follow them accordingly. This will ensure you perform the replacement correctly.
Remember, electrical work can be dangerous, and if you are unsure or uncomfortable handling it, it’s best to seek the assistance of a qualified electrician.
Step 2: Disconnecting the Lamp
Now that you have taken the necessary safety precautions, it’s time to disconnect the lamp before replacing the electrical cord. Follow these steps:
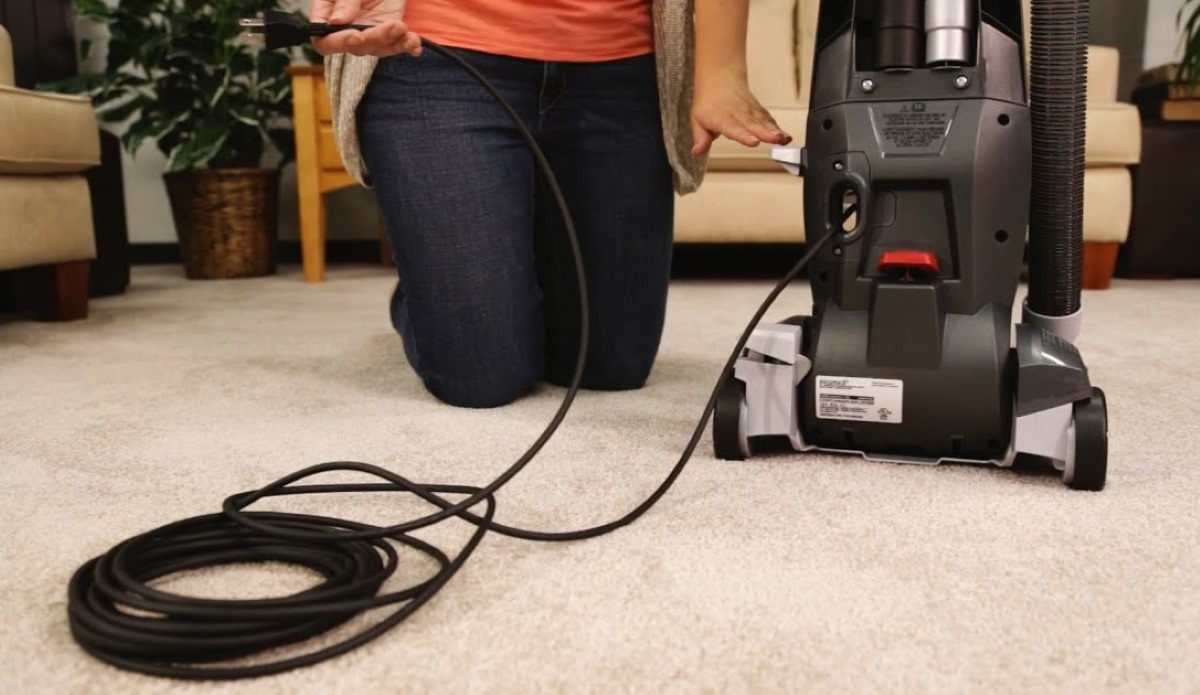
- Unplug the Lamp: Ensure the lamp is unplugged from the power source to eliminate any risk of electric shock.
- Remove the Lampshade: Gently remove the lampshade from the lamp to expose the socket and cord.
- Locate the Cord Connection: Inspect the base or bottom of the lamp to find the point where the cord connects to the lamp. This is typically a small opening or hole.
- Disconnect the Cord: Using your screwdriver, carefully loosen any screws or fasteners securing the electrical cord to the lamp. Once loosened, gently pull the cord out from the lamp base.
It’s important to handle the lamp with care and avoid pulling or yanking on the cord forcefully, as this can cause damage to the lamp or the cord itself. Take your time and be gentle when disconnecting the cord.
Once the cord is disconnected, you’re now ready to move on to the next step of replacing the electrical cord in your lamp.
Step 3: Removing the Old Cord
With the lamp safely disconnected, it’s time to remove the old electrical cord. Follow these steps:
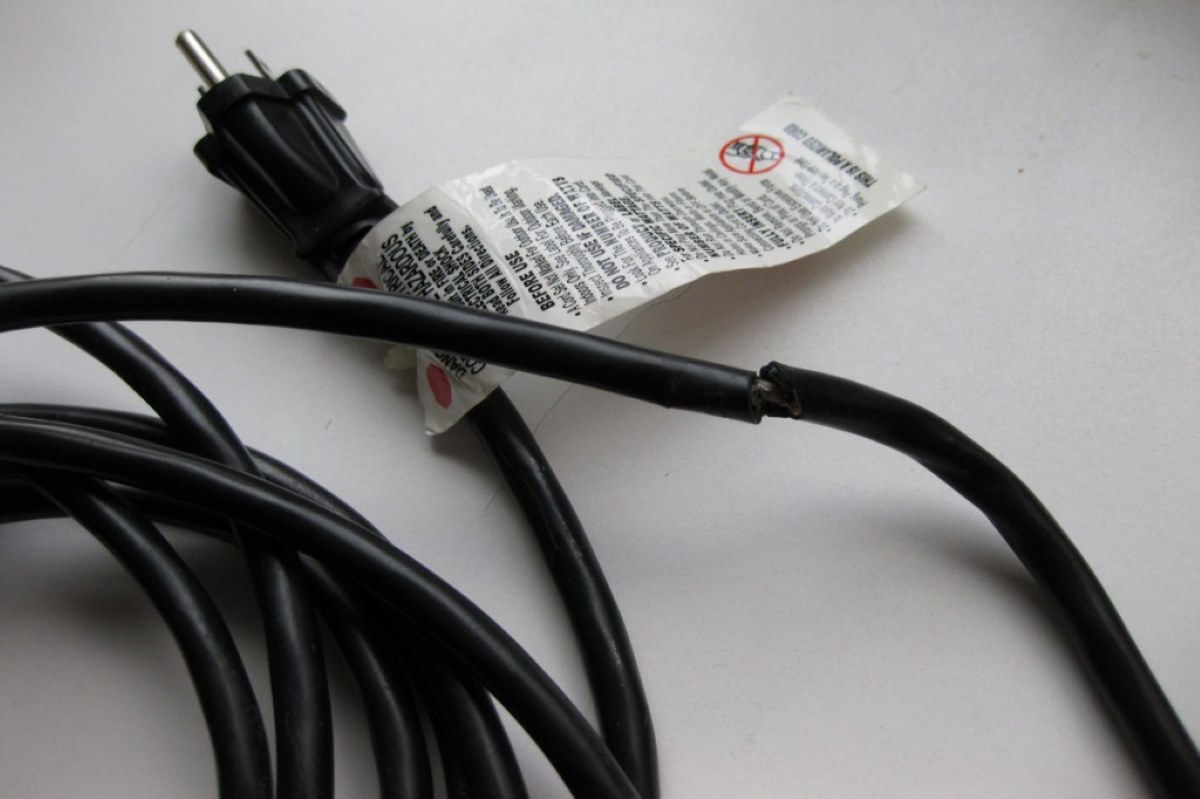
- Inspect the Old Cord: Check the condition of the old cord for any signs of damage, such as fraying or exposed wires. This will help you determine if replacing the cord is necessary.
- Cut and Remove the Old Cord: Using wire cutters, carefully cut the old cord close to the base of the lamp. Be cautious not to cut any other wires or components. Once cut, remove the old cord from the lamp, ensuring any attached connectors and wire nuts are also removed.
- Strip the Ends of the Old Cord: Using wire strippers, remove approximately ½ inch of the outer insulation from the ends of the old cord. This will expose the inner wires for future connections.
Dispose of the old cord responsibly, as it contains potentially harmful materials and should not be left within reach of children or pets.
By removing the old cord, you have cleared the way for installing the new electrical cord in your lamp. Move on to the next step for preparing the new cord.
When replacing the electrical cord in a lamp, always make sure to disconnect the lamp from the power source before starting the process. This will ensure your safety while working on the electrical components.
Read more: How To Replace Electrical Cord
Step 4: Preparing the New Cord
Now that you have removed the old cord from the lamp, it’s time to prepare the new electrical cord for installation. Follow these steps:
- Measure and Cut the New Cord: Measure the length of the old cord and cut the new cord to match that length, ensuring it will comfortably reach the socket without any tension.
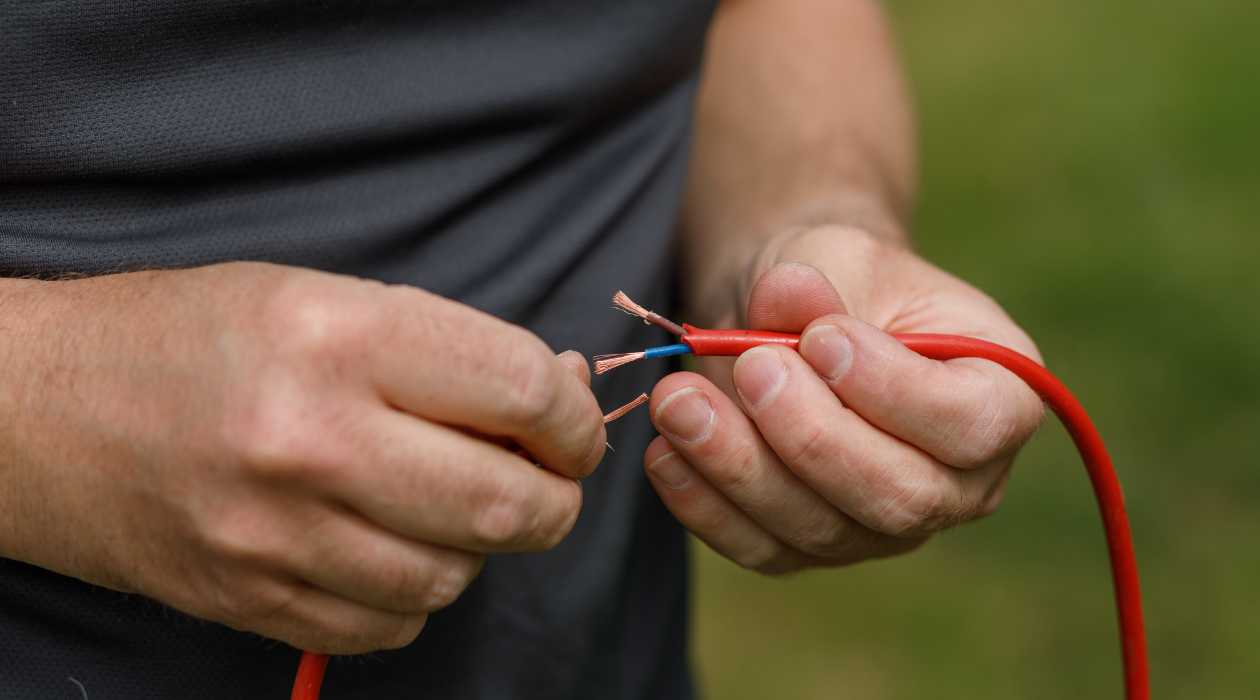
- Strip the Ends of the New Cord: Using wire strippers, carefully strip approximately ½ inch of the outer insulation from both ends of the new cord. This will expose the inner wires for the proper connections.
- Inspect the Inner Wires: Check the inner wires of the new cord to ensure they are not damaged or frayed. Trim any damaged sections if necessary.
At this point, you may choose to use a soldering iron and solder to secure the wire connections. If you are comfortable with soldering, follow the manufacturer’s instructions and apply the solder to create a secure bond between the wires. However, if you prefer not to solder, you can use wire nuts or connectors for the wire connections.
Preparing the new cord is an important step to ensure a proper and secure connection when installing it into your lamp. Once the new cord is prepared, you’re ready to move on to the next step of installing the new cord in your lamp.
Step 5: Installing the New Cord
With the new cord prepared, it’s time to install it into your lamp. Follow these steps:
- Feed the New Cord Through: Starting from the bottom of the lamp base, carefully feed the stripped end of the new cord through the small opening or hole where the old cord was previously connected.
- Secure the New Cord: Once the new cord is fed through, use a screwdriver to tighten any screws or fasteners to secure the cord in place. Make sure the cord is snugly held in the base to ensure a stable connection.
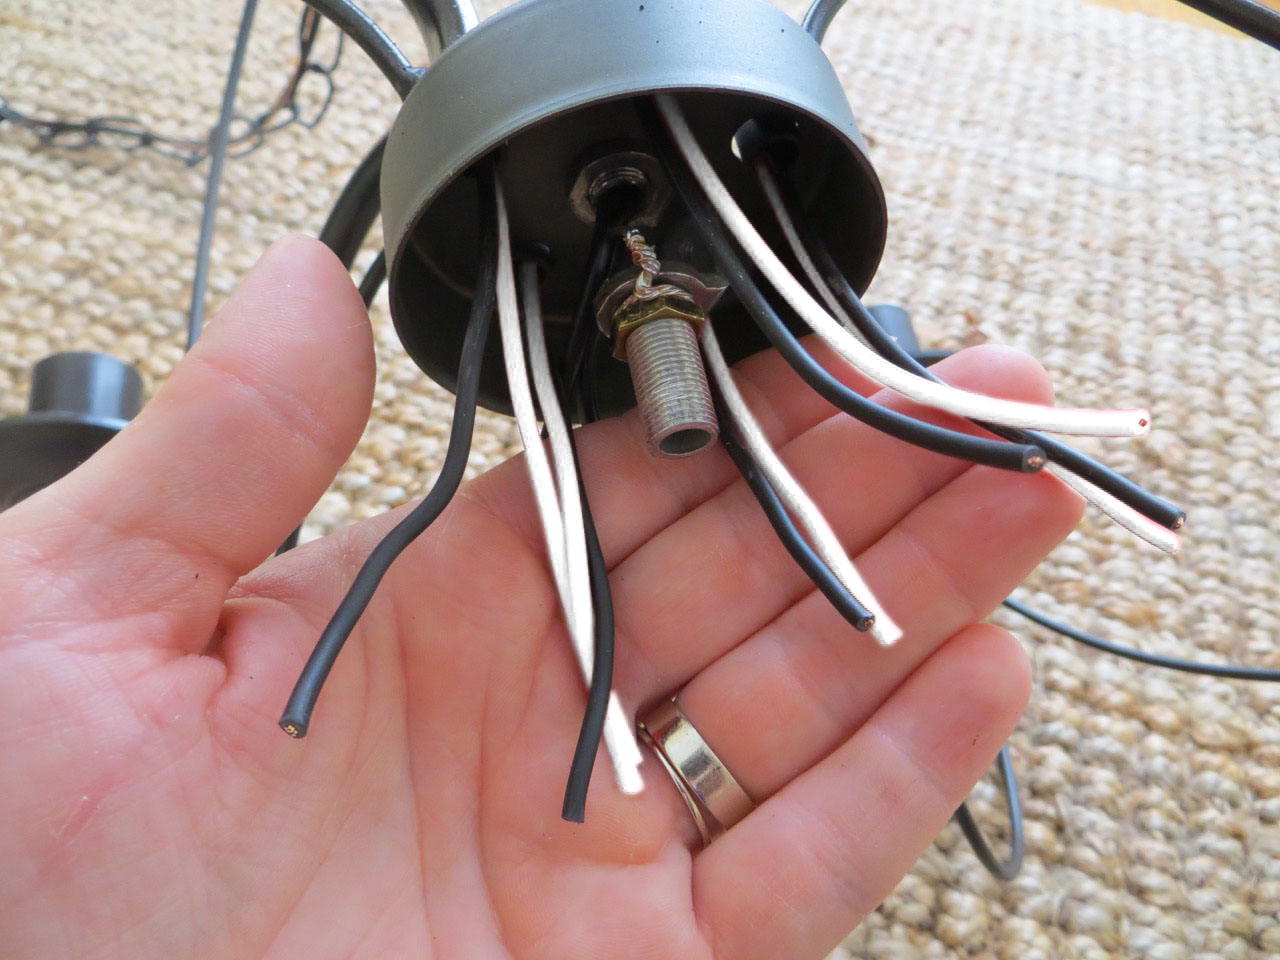
- Connect the Wires: Take the stripped end of the new cord and pair the corresponding wires (usually one smooth and one ribbed) with the wires inside the lamp socket. Twist the matching wires together in a clockwise direction.
- Using Wire Nuts or Connectors: If you choose not to solder the wire connections, use wire nuts or connectors to secure the twisted wire connections. Simply twist the wire nut or connector onto the twisted wires until they are tightly connected.
- Insulate the Connections: Wrap each wire connection with electrical tape, ensuring that the exposed wires and wire connectors or nuts are fully covered. This will provide insulation and protect against any potential electrical hazards.
Ensure all wire connections are secure and properly insulated to prevent any risk of electrical shock or fire hazards.
With the new cord installed and the wire connections properly secured, you’re almost done! The final step is to test the connection to ensure everything is functioning correctly.
Step 6: Testing the Connection
After installing the new cord in your lamp, it’s important to test the connection to ensure everything is working properly. Follow these steps:
- Reassemble the Lamp: Put the lampshade back on and reassemble any other components that were removed during the disconnection process.
- Plug in the Lamp: Plug the lamp into a functioning outlet.
- Turn on the Lamp: Switch on the lamp and check if it lights up. If it does, this indicates that the new cord is properly connected.
- Check for Stability: Gently tug on the cord to ensure it is securely connected and does not come loose. Additionally, check for any signs of overheating or abnormal behavior, such as flickering or buzzing, which may indicate an issue with the connection.
If the lamp does not light up or shows any signs of instability, it is essential to turn off the lamp and unplug it from the outlet immediately. Double-check the wire connections, ensuring they are properly twisted, connected, and insulated.
If you are still unable to resolve the issue or have concerns about the connection, it is recommended to consult a professional electrician for assistance.
Once you have confirmed that the lamp is functioning correctly and the connection is secure, congratulations! You have successfully replaced the electrical cord in your lamp.
Conclusion
Replacing the electrical cord in a lamp is a relatively simple and rewarding task that can enhance the safety and functionality of your lighting fixture. By following the step-by-step process outlined in this guide, you can confidently replace the cord and enjoy the benefits of a well-functioning lamp.
Throughout the process, we emphasized the importance of safety precautions, such as turning off the power, working in a well-lit area, and wearing protective gear. These precautions help ensure your well-being and prevent any accidents or electrical hazards.
Remember to gather all the necessary tools and materials before starting the project, including a screwdriver set, wire cutters, wire strippers, a replacement cord, electrical tape, and wire nuts or connectors. Having these items readily available will make the process smoother and more efficient.
Each step, from disconnecting the lamp to testing the connection, plays a crucial role in the successful replacement of the electrical cord. Take your time and follow the instructions carefully to ensure a secure and functional connection.
While this guide provides a general overview, it’s essential to refer to the manufacturer’s instructions for your specific lamp model, as there may be slight variations in the process.
If at any point you feel uncomfortable or unsure about the task, it’s best to consult a qualified electrician who can assist you. Your safety should always be the top priority.
By replacing the electrical cord in your lamp, you are not only prolonging the lifespan of your lighting fixture but also promoting safety within your home. Enjoy the illumination and functionality of your newly restored lamp!
Frequently Asked Questions about How To Replace An Electrical Cord On A Lamp
Was this page helpful?
At Storables.com, we guarantee accurate and reliable information. Our content, validated by Expert Board Contributors, is crafted following stringent Editorial Policies. We're committed to providing you with well-researched, expert-backed insights for all your informational needs.


0 thoughts on “How To Replace An Electrical Cord On A Lamp”