
Articles
How To Make A Retractable Electrical Cord
Modified: August 27, 2024
Learn the best way to create a retractable electrical cord with this informative article. Get step-by-step instructions and expert tips for a hassle-free cord management solution.
(Many of the links in this article redirect to a specific reviewed product. Your purchase of these products through affiliate links helps to generate commission for Storables.com, at no extra cost. Learn more)
Introduction
Welcome to our step-by-step guide on how to make a retractable electrical cord. Tired of dealing with tangled cords and tripping hazards? With this DIY project, you can create a convenient and space-saving solution for managing your electrical cords. Whether you need it for your workshop, garage, or even your kitchen, a retractable electrical cord can make your life a whole lot easier.
In this article, we will walk you through the process of creating your own retractable electrical cord. We will provide a list of materials needed and guide you through each step of the project. With a little bit of time and effort, you’ll have a retractable electrical cord that will keep your space organized and eliminate the frustration of dealing with tangled cords.
Before we begin, it’s important to note that working with electrical cords requires caution and attention to safety. Make sure to unplug any devices and turn off the power before handling electrical cords. If you’re uncertain or uncomfortable working with electricity, it’s always best to consult a professional. With that being said, let’s jump into the materials needed for this project.
Key Takeaways:
- Say goodbye to tangled cords and tripping hazards with a DIY retractable electrical cord. Enjoy a convenient and space-saving solution for managing electrical cords in your workshop, garage, or kitchen.
- Prioritize safety and regular maintenance for your retractable electrical cord setup. Reduce clutter, prevent tangles, and enhance your workspace with this functional and reliable DIY project.
Materials Needed
Before diving into the project, you will need to gather a few essential materials. Here’s a list of what you’ll need:
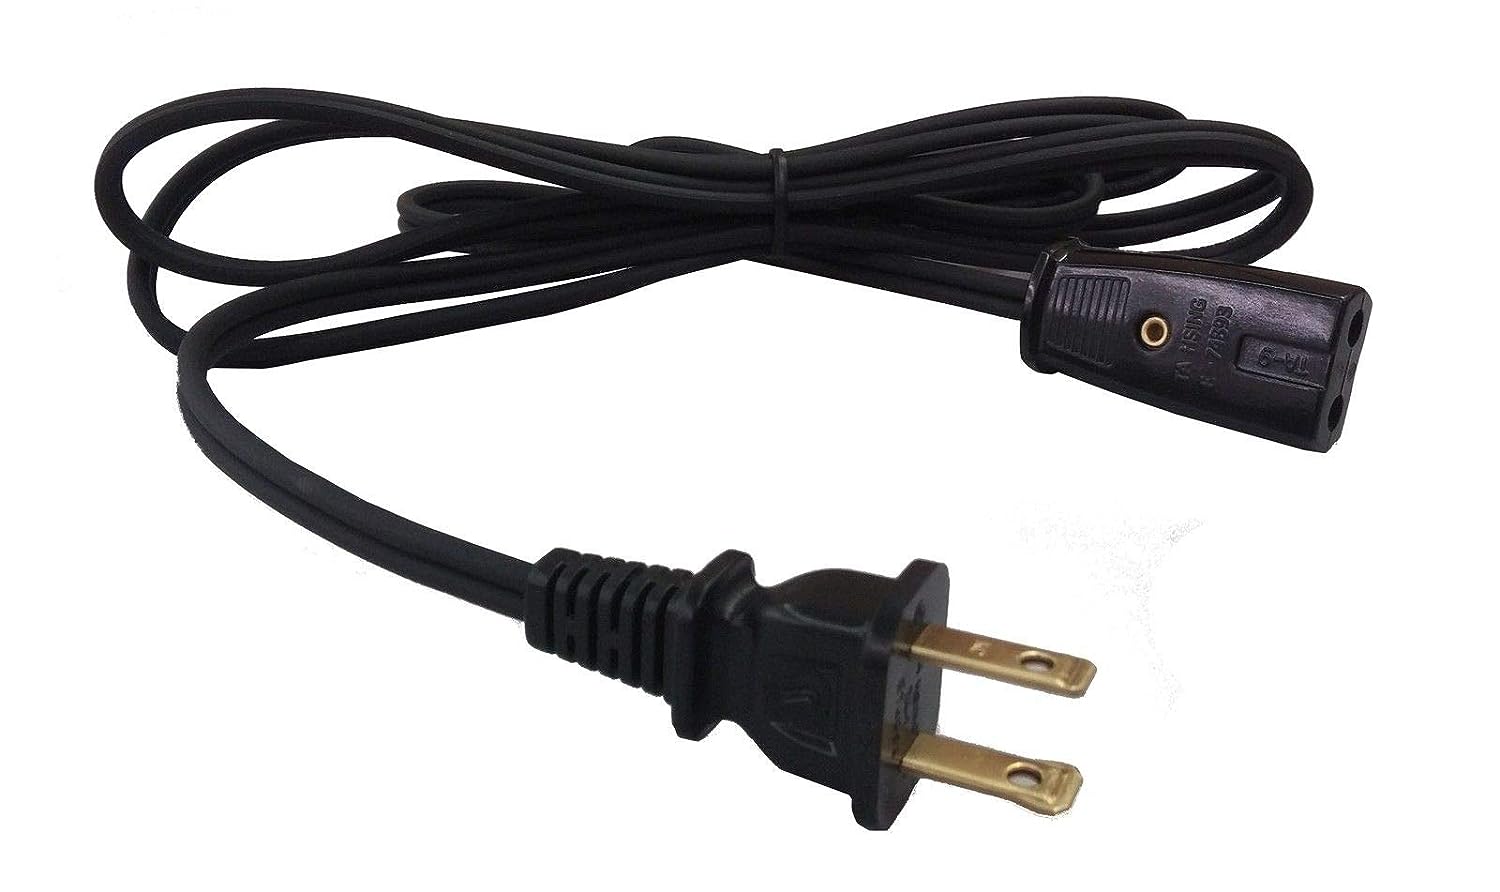
- Electrical Cord: Choose a heavy-duty electrical cord that matches the voltage needs of your devices. Make sure it is long enough for your intended use.
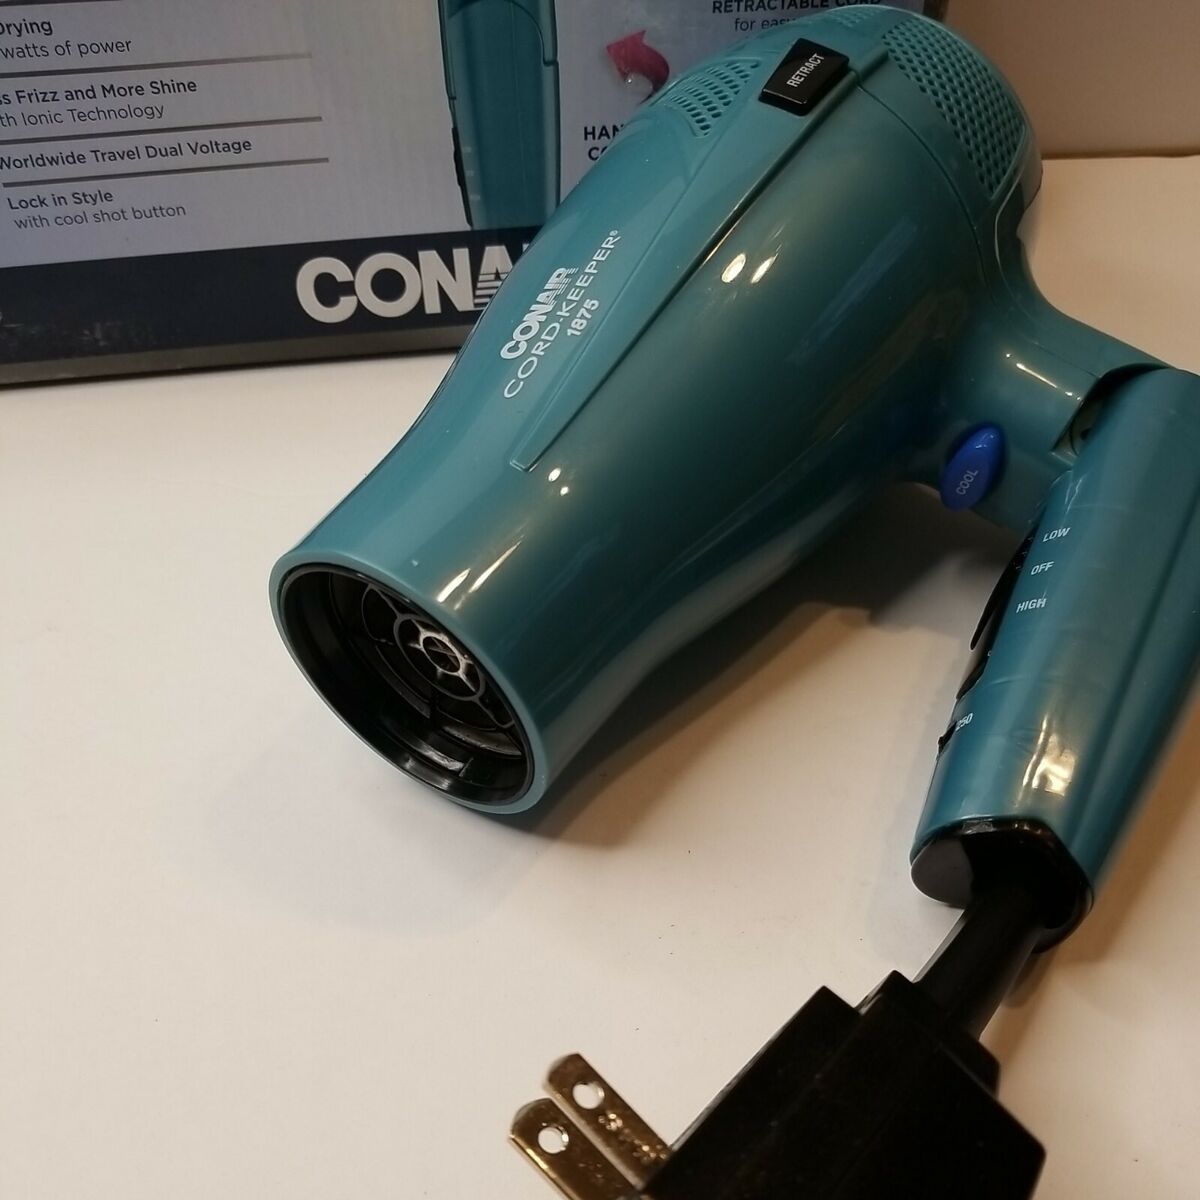
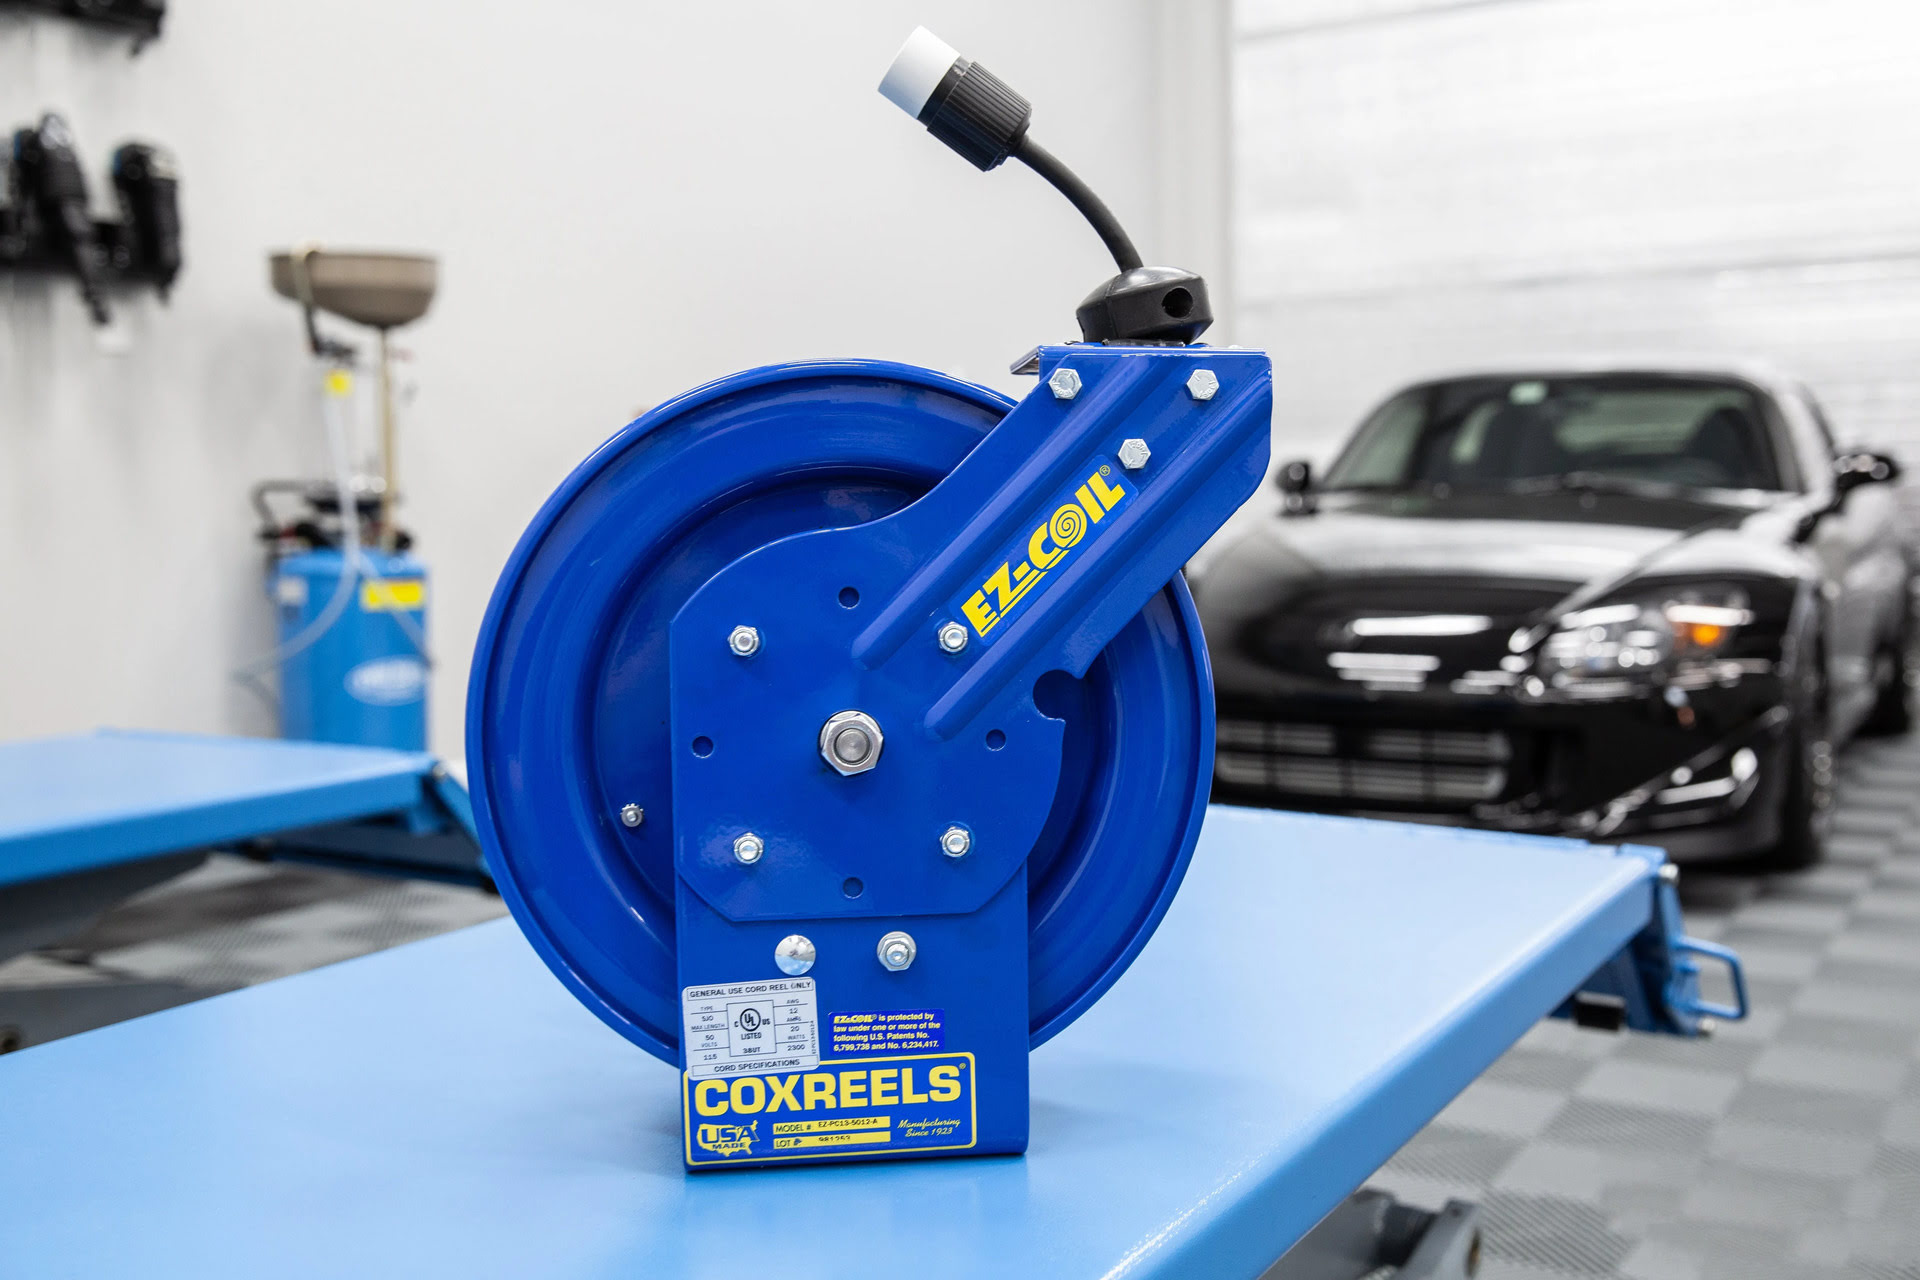
- Retractable Reel: Look for a retractable reel specifically designed for electrical cords. These can be found at hardware stores or online.
- Screwdriver: A screwdriver will be needed to attach the retractable reel to the desired surface.
- Mounting hardware: Depending on the surface you plan to mount the retractable reel, you may need screws, anchors, or other mounting hardware.
- Power Drill: If you need to drill holes for mounting the reel, a power drill will come in handy.
- Measuring Tape: Accurate measurements are crucial for this project. Make sure you have a measuring tape on hand.
- Wire Strippers: If necessary, wire strippers will be needed to remove the insulation from the electrical cord.
- Electrical Tape: Electrical tape can be used to secure any loose connections.
These materials are easily accessible and should be readily available at your local hardware store. Once you have gathered all the necessary materials, you can proceed to the next step of the project – measuring and cutting the electrical cord.
Step 1: Gather Supplies
The first step in making a retractable electrical cord is to gather all the necessary supplies. Having everything prepared ahead of time will make the process smoother and more efficient. Here’s a breakdown of what you’ll need:
- Electrical Cord: Choose a heavy-duty electrical cord that matches the voltage needs of your devices. Make sure it is long enough for your intended use.
- Retractable Reel: Look for a retractable reel specifically designed for electrical cords. These can be found at hardware stores or online. Make sure it has enough capacity to hold the length of your electrical cord.
- Screwdriver: A screwdriver will be needed to attach the retractable reel to the desired surface. Make sure you have the appropriate screwdriver size for the screws that come with the reel.
- Mounting Hardware: Depending on the surface you plan to mount the retractable reel, you may need screws, anchors, or other mounting hardware. Check the instructions provided with the reel to determine the correct type and size of mounting hardware needed.
- Power Drill: If you need to drill holes for mounting the reel, a power drill will come in handy. Make sure your drill is charged and has the appropriate drill bit for the mounting hardware.
- Measuring Tape: Accurate measurements are crucial for this project. Make sure you have a measuring tape on hand to measure the distance between the electrical outlet and the desired location for the retractable reel.
- Wire Strippers: Depending on the type of electrical cord you have, you may need wire strippers to remove the insulation from the cord for connection purposes.
- Electrical Tape: Electrical tape can be used to secure any loose connections and insulate the exposed wires.
Once you have gathered all these supplies, you’re ready to move on to the next step – measuring and cutting the electrical cord.
Step 2: Measure and Cut Electrical Cord
Now that you have all the necessary supplies, it’s time to measure and cut the electrical cord to the desired length. Follow these steps:
- Unroll the electrical cord: Start by unrolling the entire length of the electrical cord on a flat surface. This will make it easier to work with.
- Measure the desired length: Use a measuring tape to determine the exact length you need for your retractable electrical cord. Consider the distance between the electrical outlet and the desired location for the reel when deciding on the length.
- Mark the measurement: Once you have determined the desired length, mark it on the electrical cord using a pen or marker. Make sure the mark is visible and easily identifiable.
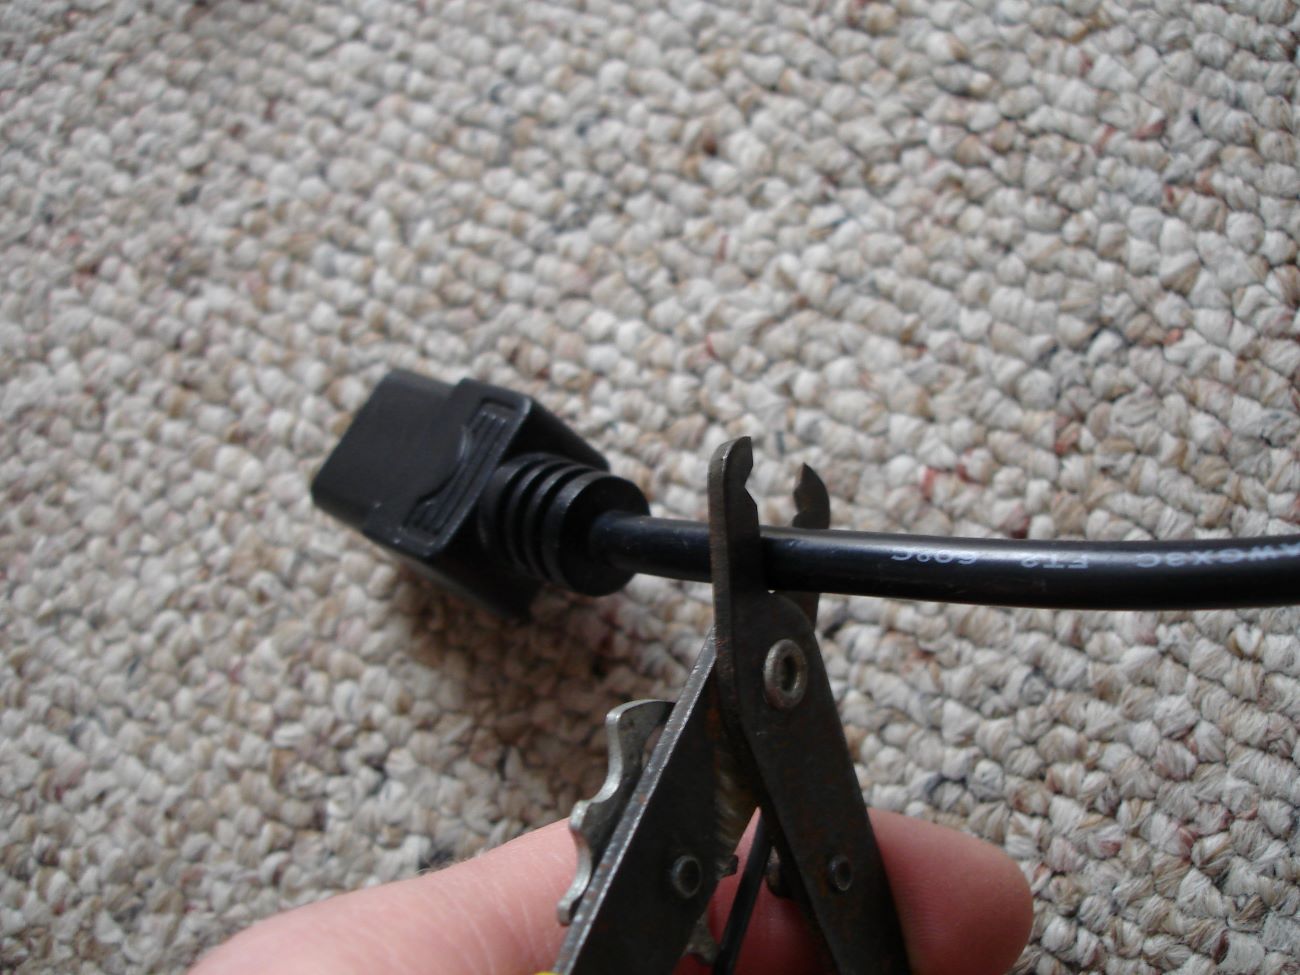
- Cut the electrical cord: Using a sharp pair of scissors or wire cutters, carefully cut the electrical cord at the marked point. Make sure to cut the cord straight across to ensure a clean and even cut.
- Inspect the cut end: After cutting the cord, inspect the cut end to make sure it is clean and free from frayed wires or sharp edges. If you notice any loose wires or fraying, trim them carefully with wire cutters.
Now that you have the electrical cord cut to the desired length, you’re ready to move on to the next step – attaching the retractable reel.
Step 3: Attach Retractable Reel
With the electrical cord cut to the desired length, it’s time to attach the retractable reel. Follow these steps:
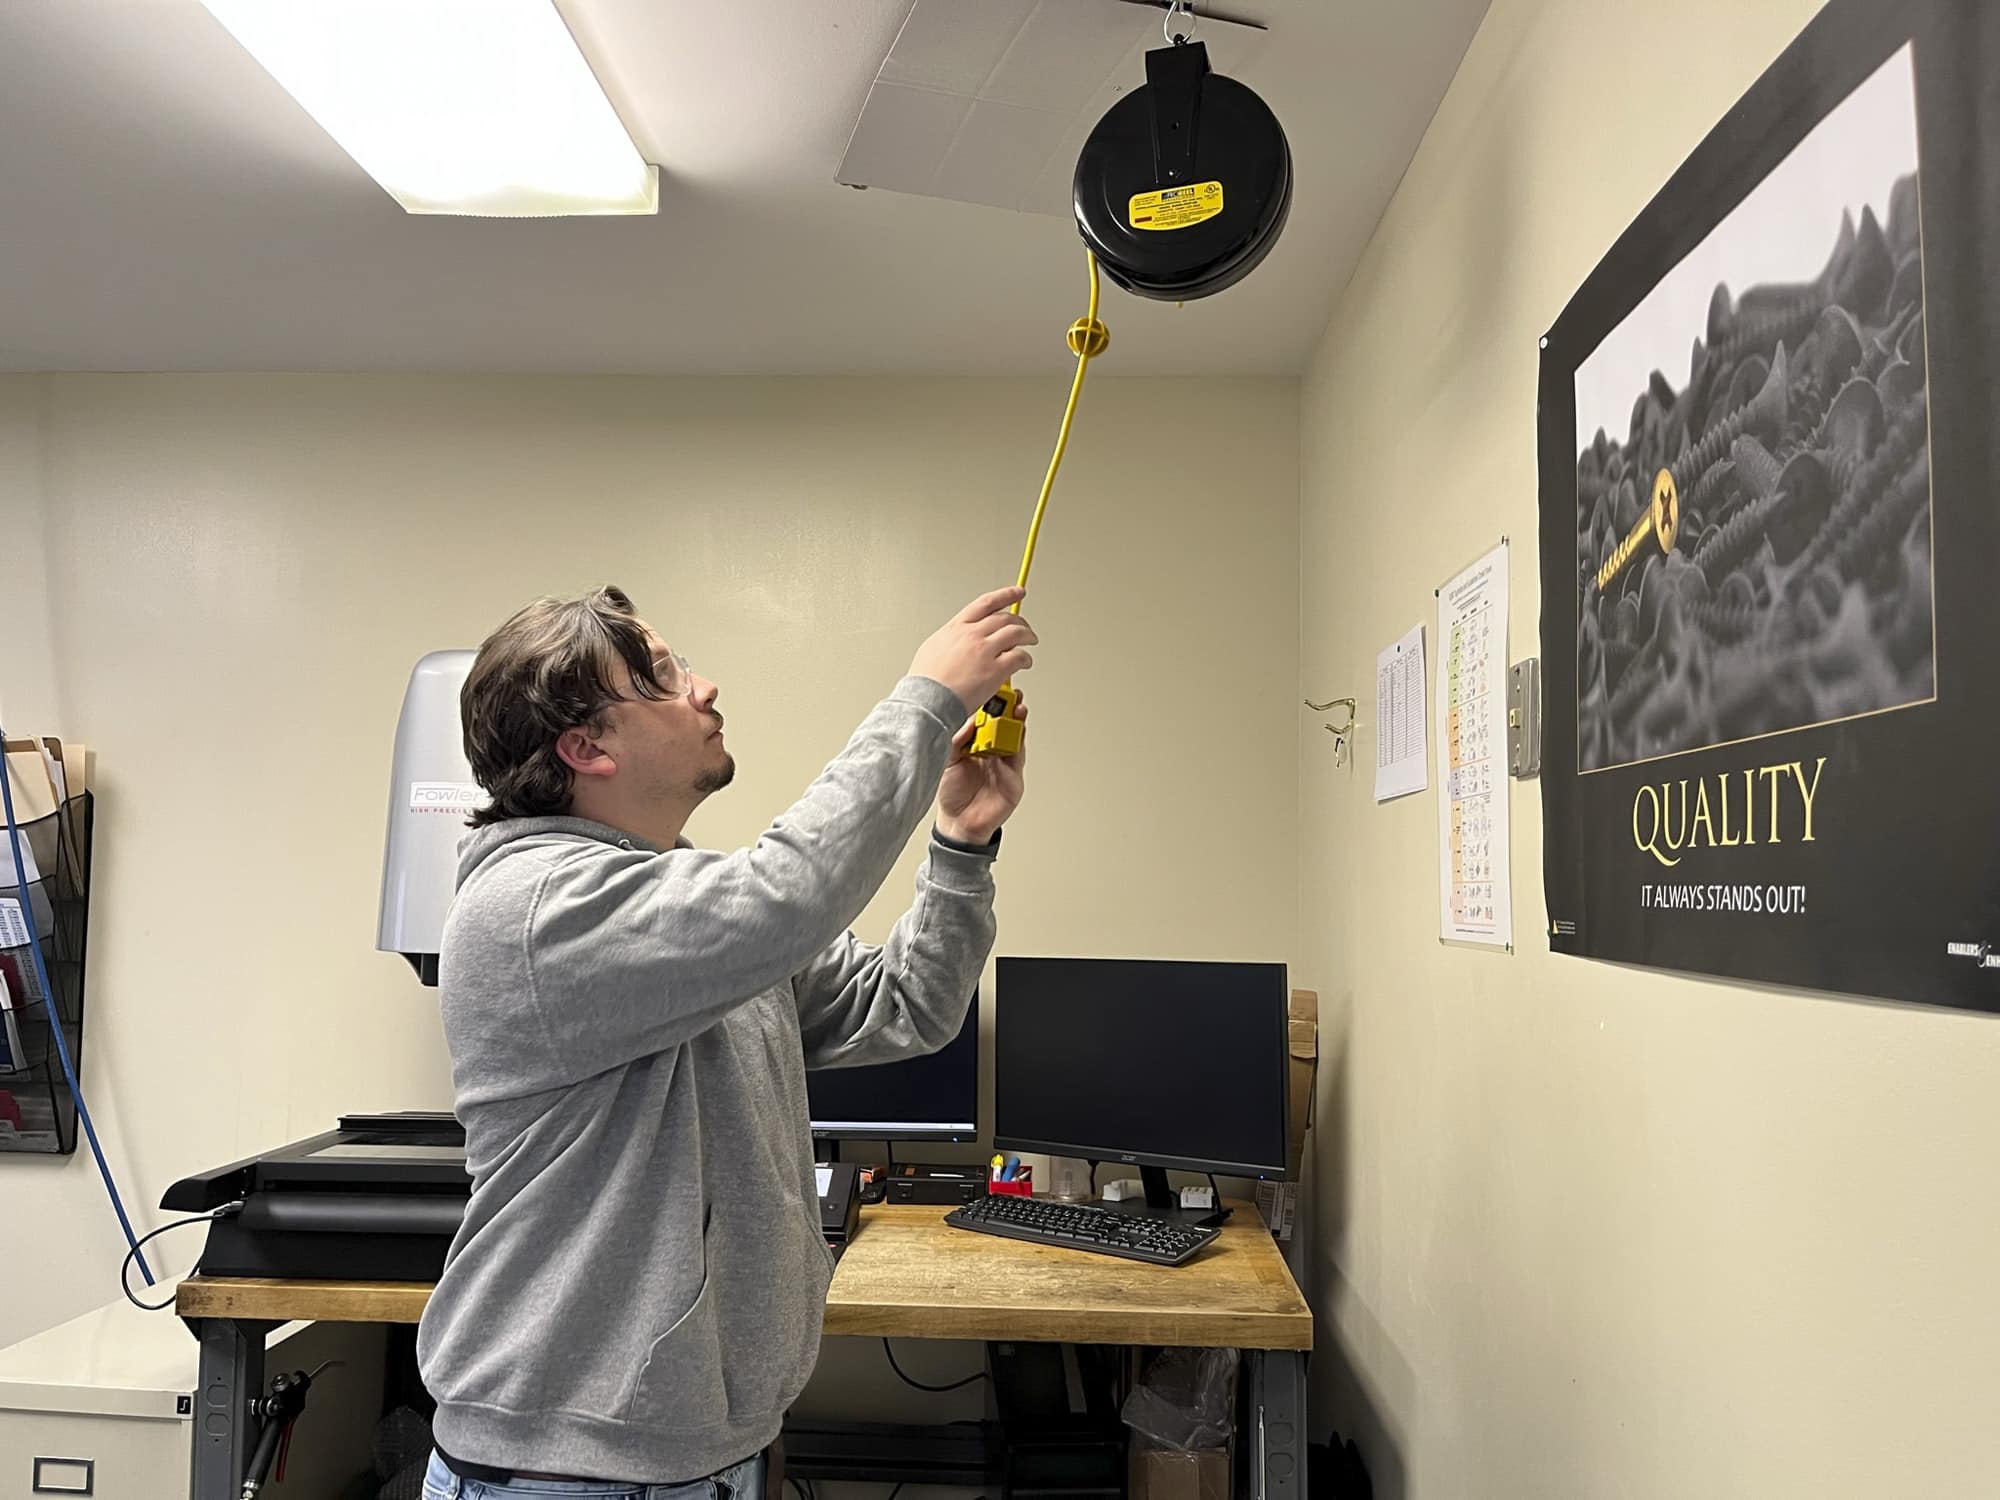
- Select the mounting location: Choose a suitable location to mount the retractable reel. It should be easily accessible and close to the electrical outlet. Keep in mind that the reel should be mounted at a height that allows for easy extension and retraction of the cord.
- Prepare the mounting surface: Before attaching the reel, make sure the mounting surface is clean and free of any dust or debris. If necessary, use a damp cloth to wipe the surface clean.
- Align the reel: Hold the retractable reel against the mounting surface, aligning it according to your preferred position. Use a pencil or marker to mark the positions of the screw holes on the mounting surface.
- Pre-drill pilot holes: Use a power drill with the appropriate drill bit size to pre-drill pilot holes at the marked positions on the mounting surface. This will make it easier to screw in the screws later.
- Attach the reel: Position the retractable reel back against the mounting surface, aligning the screw holes with the pilot holes. Use a screwdriver to secure the reel in place by tightening the screws.
- Double-check the attachment: Once the reel is attached, give it a gentle tug to ensure it is securely fastened to the mounting surface. You want to ensure it can withstand the tension when extending and retracting the cord.
With the retractable reel securely attached, you’re ready to move on to the next step – connecting the electrical cord to the reel.
When making a retractable electrical cord, ensure that the cord is properly coiled inside the housing to prevent tangling and ensure smooth retraction. Use a high-quality retractable mechanism to ensure durability and safety.
Step 4: Connect Cord to Reel
Now that you have the retractable reel attached to the mounting surface, it’s time to connect the electrical cord to the reel. Follow these steps:
- Identify the cord end: Locate the end of the electrical cord that you cut in Step 2. This will be the end that gets connected to the reel.
- Prepare the cord end: If the cord end has any frayed wires or loose strands, trim them carefully with wire cutters to ensure a clean connection. Make sure the wires are neatly arranged and not twisted or overlapping.
- Locate the cord entry point: On the retractable reel, locate the cord entry point or the area where the cord will be inserted. This is usually labeled or indicated by an arrow or a guide.
- Insert the cord: Insert the prepared cord end into the cord entry point of the reel. Push it in securely until it is fully seated and cannot be easily pulled out.
- Secure with fasteners: Some retractable reels come with built-in fasteners or clamps to secure the cord in place. Follow the manufacturer’s instructions to properly fasten the cord to the reel.
- Inspect the connection: Once the cord is attached to the reel, visually inspect the connection to ensure it is secure and properly seated. Give it a gentle tug to make sure it doesn’t come loose.
With the cord securely connected to the retractable reel, you’re almost finished with the project. The next step is to test the retractable feature to ensure it functions properly.
Step 5: Test Retractable Feature
After connecting the electrical cord to the retractable reel, it’s important to test the retractable feature to ensure it functions properly. Follow these steps to test the retractable feature:
- Extend the cord: Gently pull the electrical cord away from the reel, allowing it to extend fully. The cord should easily and smoothly unwind from the reel.
- Check for smooth retraction: Once the cord is fully extended, release it and observe how smoothly it retracts back into the reel. The retractable mechanism should pull the cord back in without any tangles or resistance.
- Repeat the process: Extend and retract the cord multiple times to test the retractable feature’s consistency. Ensure that the cord consistently extends and retracts smoothly each time.
If you encounter any issues during the testing process, such as the cord getting stuck or not retracting properly, try troubleshooting the problem. Make sure the cord is properly aligned and free from any obstructions. Additionally, check the reel’s user manual or contact the manufacturer for specific troubleshooting steps.
Once you are satisfied with the retractable feature’s performance, you can proceed to the final step – securing the set-up.
Step 6: Secure Set-Up
Now that you have tested the retractable feature and ensured that it functions properly, it’s time to secure the set-up for long-term use. Follow these steps to secure the retractable electrical cord:
- Inspect the mounting: Take a close look at the retractable reel and its attachment to the mounting surface. Ensure that all screws are tightened securely and that the reel is firmly in place.
- Check the cord connections: Verify that the electrical cord is securely connected to the reel and that there are no loose or exposed wires. Use electrical tape to secure any loose connections and insulate any exposed wires if necessary.
- Organize the cord: If the electrical cord is longer than needed, consider using cord clips or cable ties to keep it organized and prevent it from becoming tangled or causing trip hazards. Neatly arranging the cord will also help with smooth extension and retraction.
- Protect the cord: Depending on the location and environment, you may need to protect the cord and reel from dust, moisture, or other potential hazards. Consider using cord covers or enclosures to provide additional protection as needed.
- Double-check safety precautions: Before using any electrical device connected to the retractable cord, ensure that all safety precautions are in place. Check the device’s power requirements, ensure it is in good working condition, and always follow proper electrical safety guidelines.
By following these steps to secure the set-up, you can ensure the longevity and safety of your retractable electrical cord system. Regularly inspect the set-up for any signs of wear or damage and make necessary repairs or adjustments as needed.
Congratulations! You have successfully created your own retractable electrical cord. Now you can enjoy the convenience of a tangle-free and organized workspace or living area.
Remember to always exercise caution when handling electrical cords and equipment. If you’re unsure about any aspect of the project or have concerns about your electrical setup, it’s best to consult a professional electrician.
Thank you for following our guide, and we hope this DIY project has been helpful for you!
Conclusion
Congratulations on completing the process of making your own retractable electrical cord! We hope this step-by-step guide has been informative and helpful in guiding you through the process. By following the instructions outlined in each step, you have successfully created a convenient and space-saving solution for managing your electrical cords.
A retractable electrical cord offers numerous benefits, including reducing clutter, preventing tangles, and minimizing the risk of tripping hazards. It is a valuable addition to any workshop, garage, kitchen, or any area where electrical cords are used frequently.
Throughout this DIY project, we have emphasized the importance of safety. It’s crucial to take precautionary measures when working with electricity. Always make sure to unplug devices and turn off the power before handling electrical cords. If you have any concerns or doubts, it’s best to consult a professional electrician.
We also encourage regular maintenance and inspection of your retractable cord setup. Check the mounting and connections periodically to ensure everything remains secure and in good working condition. If any issues or damages are detected, address them promptly to prevent further complications.
Remember to always prioritize safety and adhere to electrical guidelines and regulations. With the right tools, materials, and knowledge, you can create a functional and reliable retractable electrical cord that will enhance your workspace and simplify your daily routines.
Thank you for following our guide, and we hope you enjoy the convenience and organization that a retractable electrical cord provides! Happy DIY-ing!
Frequently Asked Questions about How To Make A Retractable Electrical Cord
Was this page helpful?
At Storables.com, we guarantee accurate and reliable information. Our content, validated by Expert Board Contributors, is crafted following stringent Editorial Policies. We're committed to providing you with well-researched, expert-backed insights for all your informational needs.


0 thoughts on “How To Make A Retractable Electrical Cord”