
Articles
How To Replace Electrical Cord
Modified: September 1, 2024
Looking for articles on how to replace the electrical cord on your Shark steam mop? Discover expert tips and guides in our informative articles.
(Many of the links in this article redirect to a specific reviewed product. Your purchase of these products through affiliate links helps to generate commission for Storables.com, at no extra cost. Learn more)
Introduction
Welcome to this step-by-step guide on how to replace the electrical cord on your Shark Steam Mop. Over time, the electrical cord of your steam mop may become damaged or frayed, leading to potential safety hazards or a loss of power. Instead of replacing the entire steam mop, you can easily replace the electrical cord yourself with just a few basic tools and materials.
In this article, we will walk you through the process of replacing the electrical cord, ensuring that you can continue to enjoy the benefits of your Shark Steam Mop without any disruptions. So, let’s get started!
Key Takeaways:
- Easily replace the electrical cord on your Shark Steam Mop with basic tools and materials, saving time and money while ensuring continued optimal performance.
- Prioritize safety and follow the step-by-step guide to confidently replace the electrical cord, restoring your Shark Steam Mop for efficient home cleaning.
Read more: How To Replace Electrical Cord Insulation
Step 1: Gather the Necessary Tools and Materials
Before you begin replacing the electrical cord on your Shark Steam Mop, it is important to gather all the necessary tools and materials to ensure a smooth and efficient process. Here is a list of items you will need:
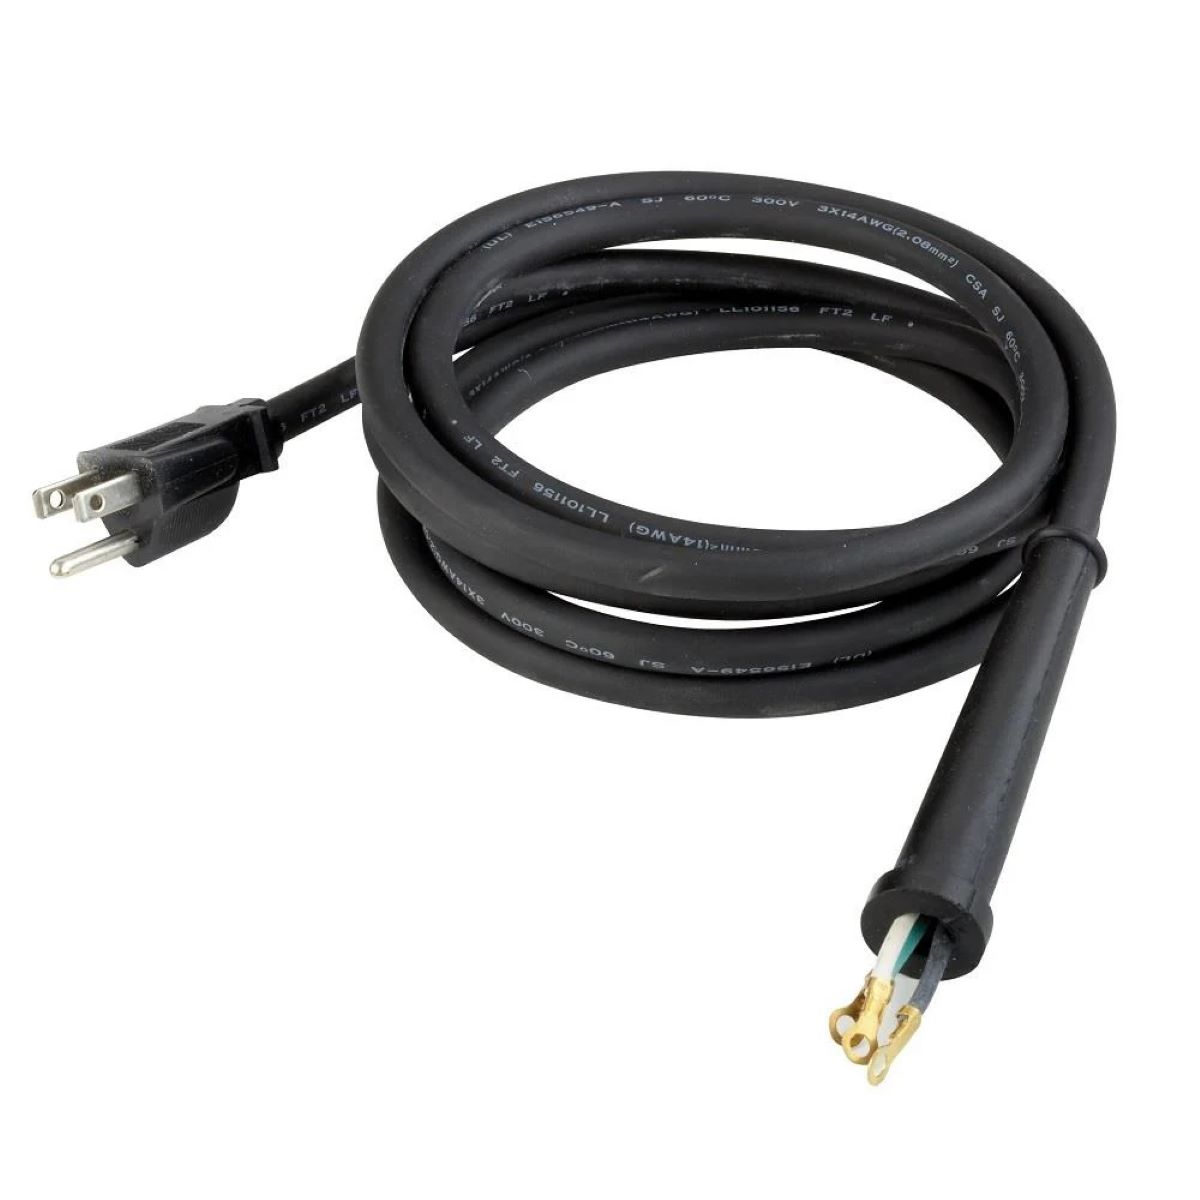
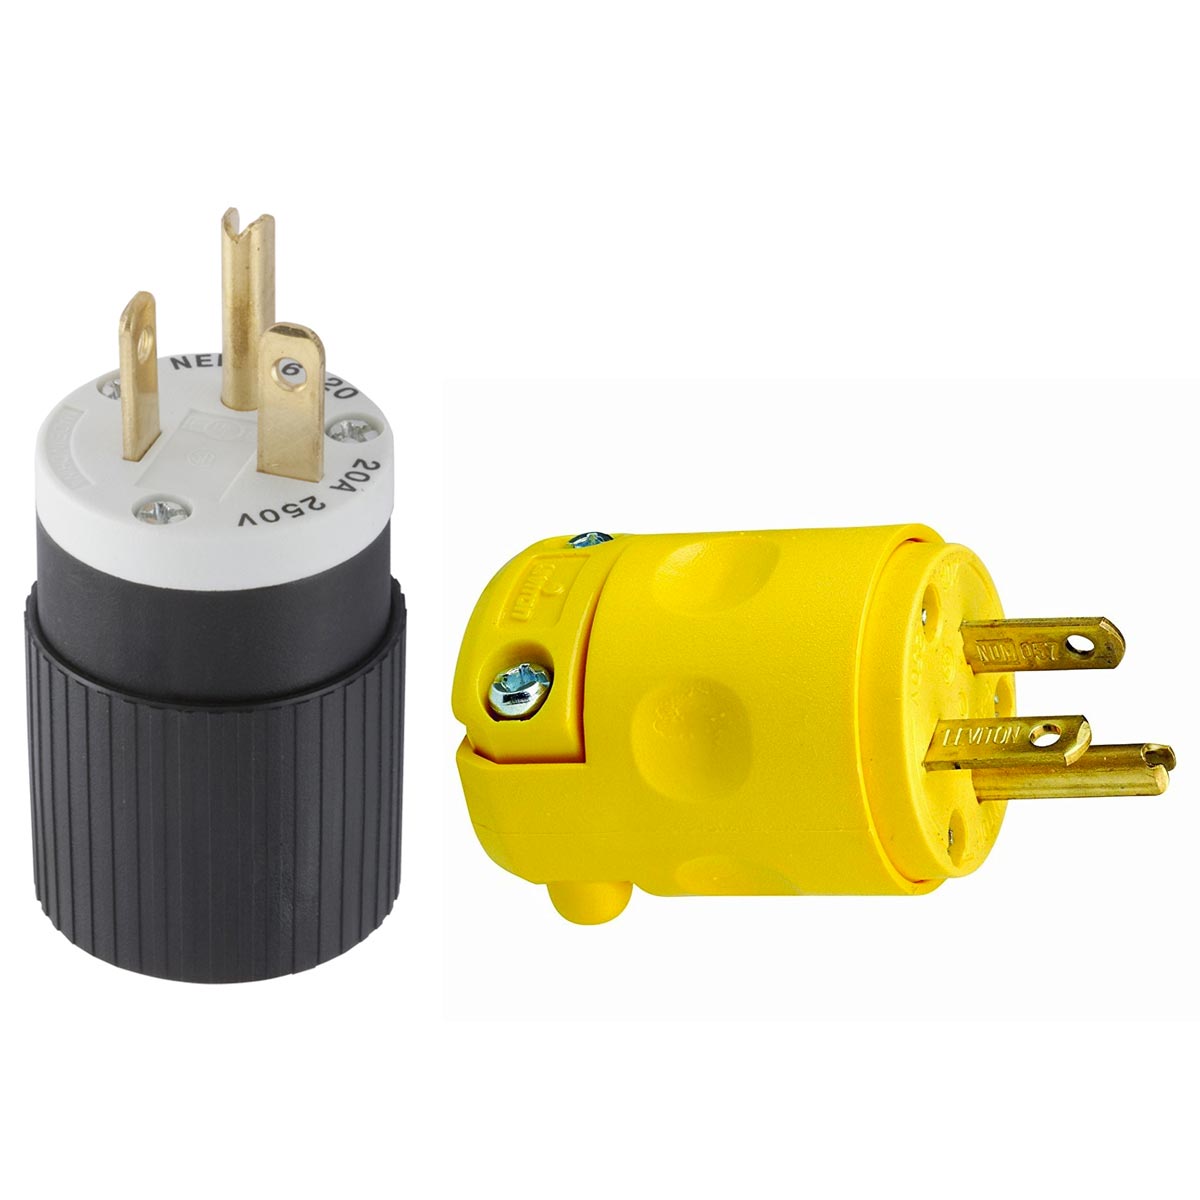
- Replacement electrical cord: Make sure to purchase a cord that is compatible with your specific Shark Steam Mop model. You can find these cords at most home improvement or appliance repair stores.
- Small screwdriver: This will be used to remove screws and other fasteners that secure the electrical cord to the steam mop.
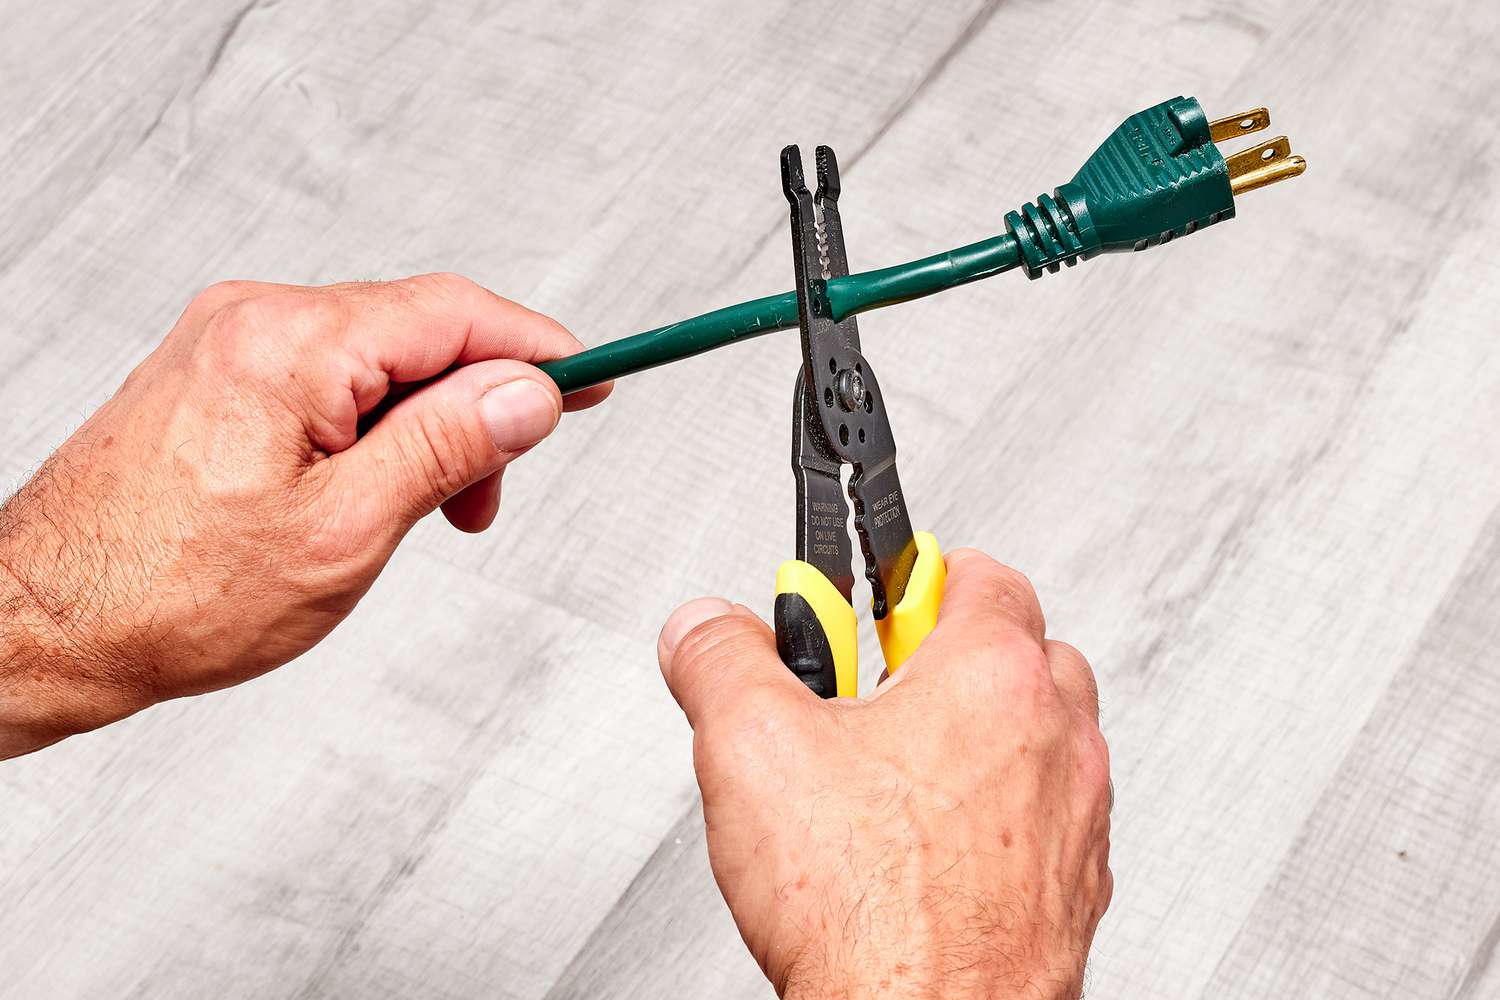
- Pliers: Pliers will come in handy for cutting and stripping the wires on both the old and new electrical cords.
- Wire crimping tool: This tool will be used to securely connect the wires of the new electrical cord.
- Electrical tape: Electrical tape is necessary for insulating and securing the wire connections.
- Scissors: You will need scissors for cutting the electrical tape and any excess wire.
- Utility knife: This tool can be used for carefully removing any packaging or insulation from the new electrical cord.
Once you have gathered all the required tools and materials, place them in a well-lit and organized workspace. This will make the replacement process much easier and more efficient.
Now that you have everything ready, we can move on to the next step: unplugging the Shark Steam Mop.
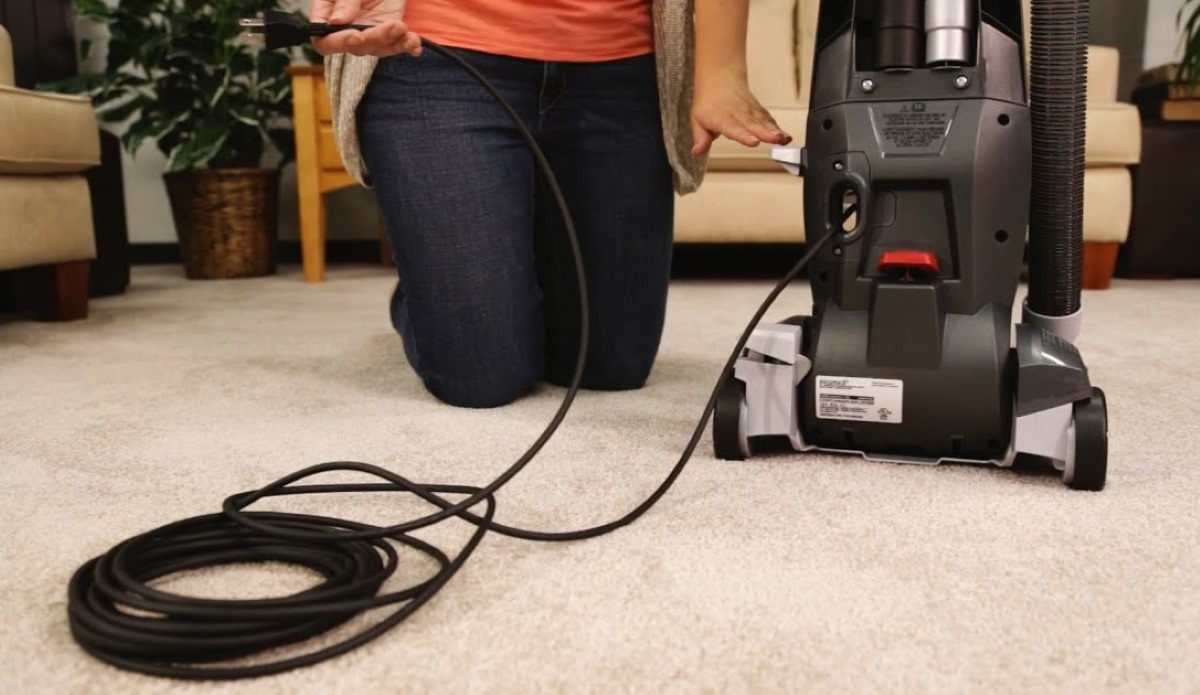
Step 2: Unplug the Shark Steam Mop
Before you start working on replacing the electrical cord, it is crucial to ensure the safety of yourself and the equipment. To do this, follow these steps to unplug the Shark Steam Mop:
- Ensure that the steam mop is turned off and unplugged from the power outlet.
- If the steam mop has been in use recently, allow it to cool down completely to avoid any accidental burns.
- Locate the power cord on the steam mop. It is usually located near the handle or at the rear of the mop.
- Gently pull the power cord out of the power outlet, making sure to avoid any tugs or strains.
Always double-check that the power cord is completely disconnected from the power source before proceeding with the replacement process. This will minimize the risk of electrical shocks or accidents.
By following these steps, you have successfully unplugged the Shark Steam Mop, making it safe to proceed with replacing the electrical cord. Now, let’s move on to the next step: removing the old electrical cord.
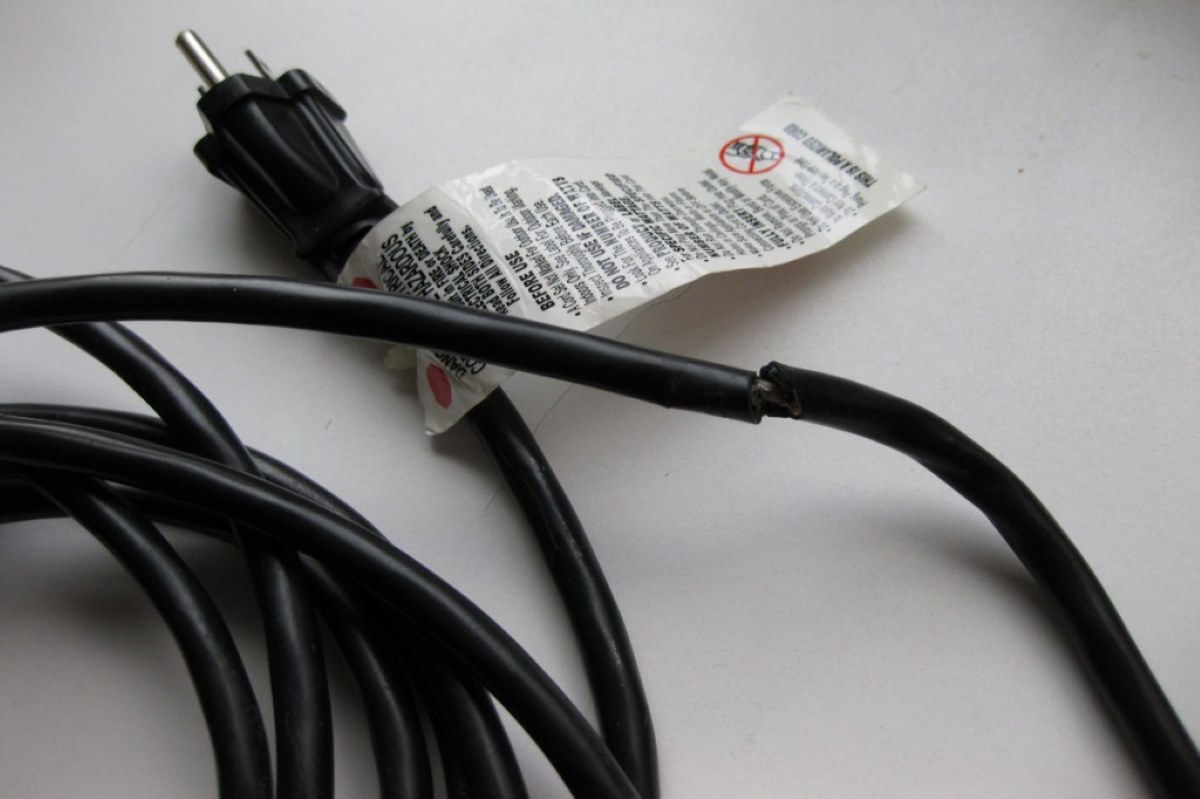
Step 3: Remove the Old Electrical Cord
Now that the Shark Steam Mop is safely unplugged, it’s time to remove the old electrical cord. Follow these steps to complete this process:
- Inspect the old electrical cord for any signs of damage or wear. This will help you determine if the cord needs replacement.
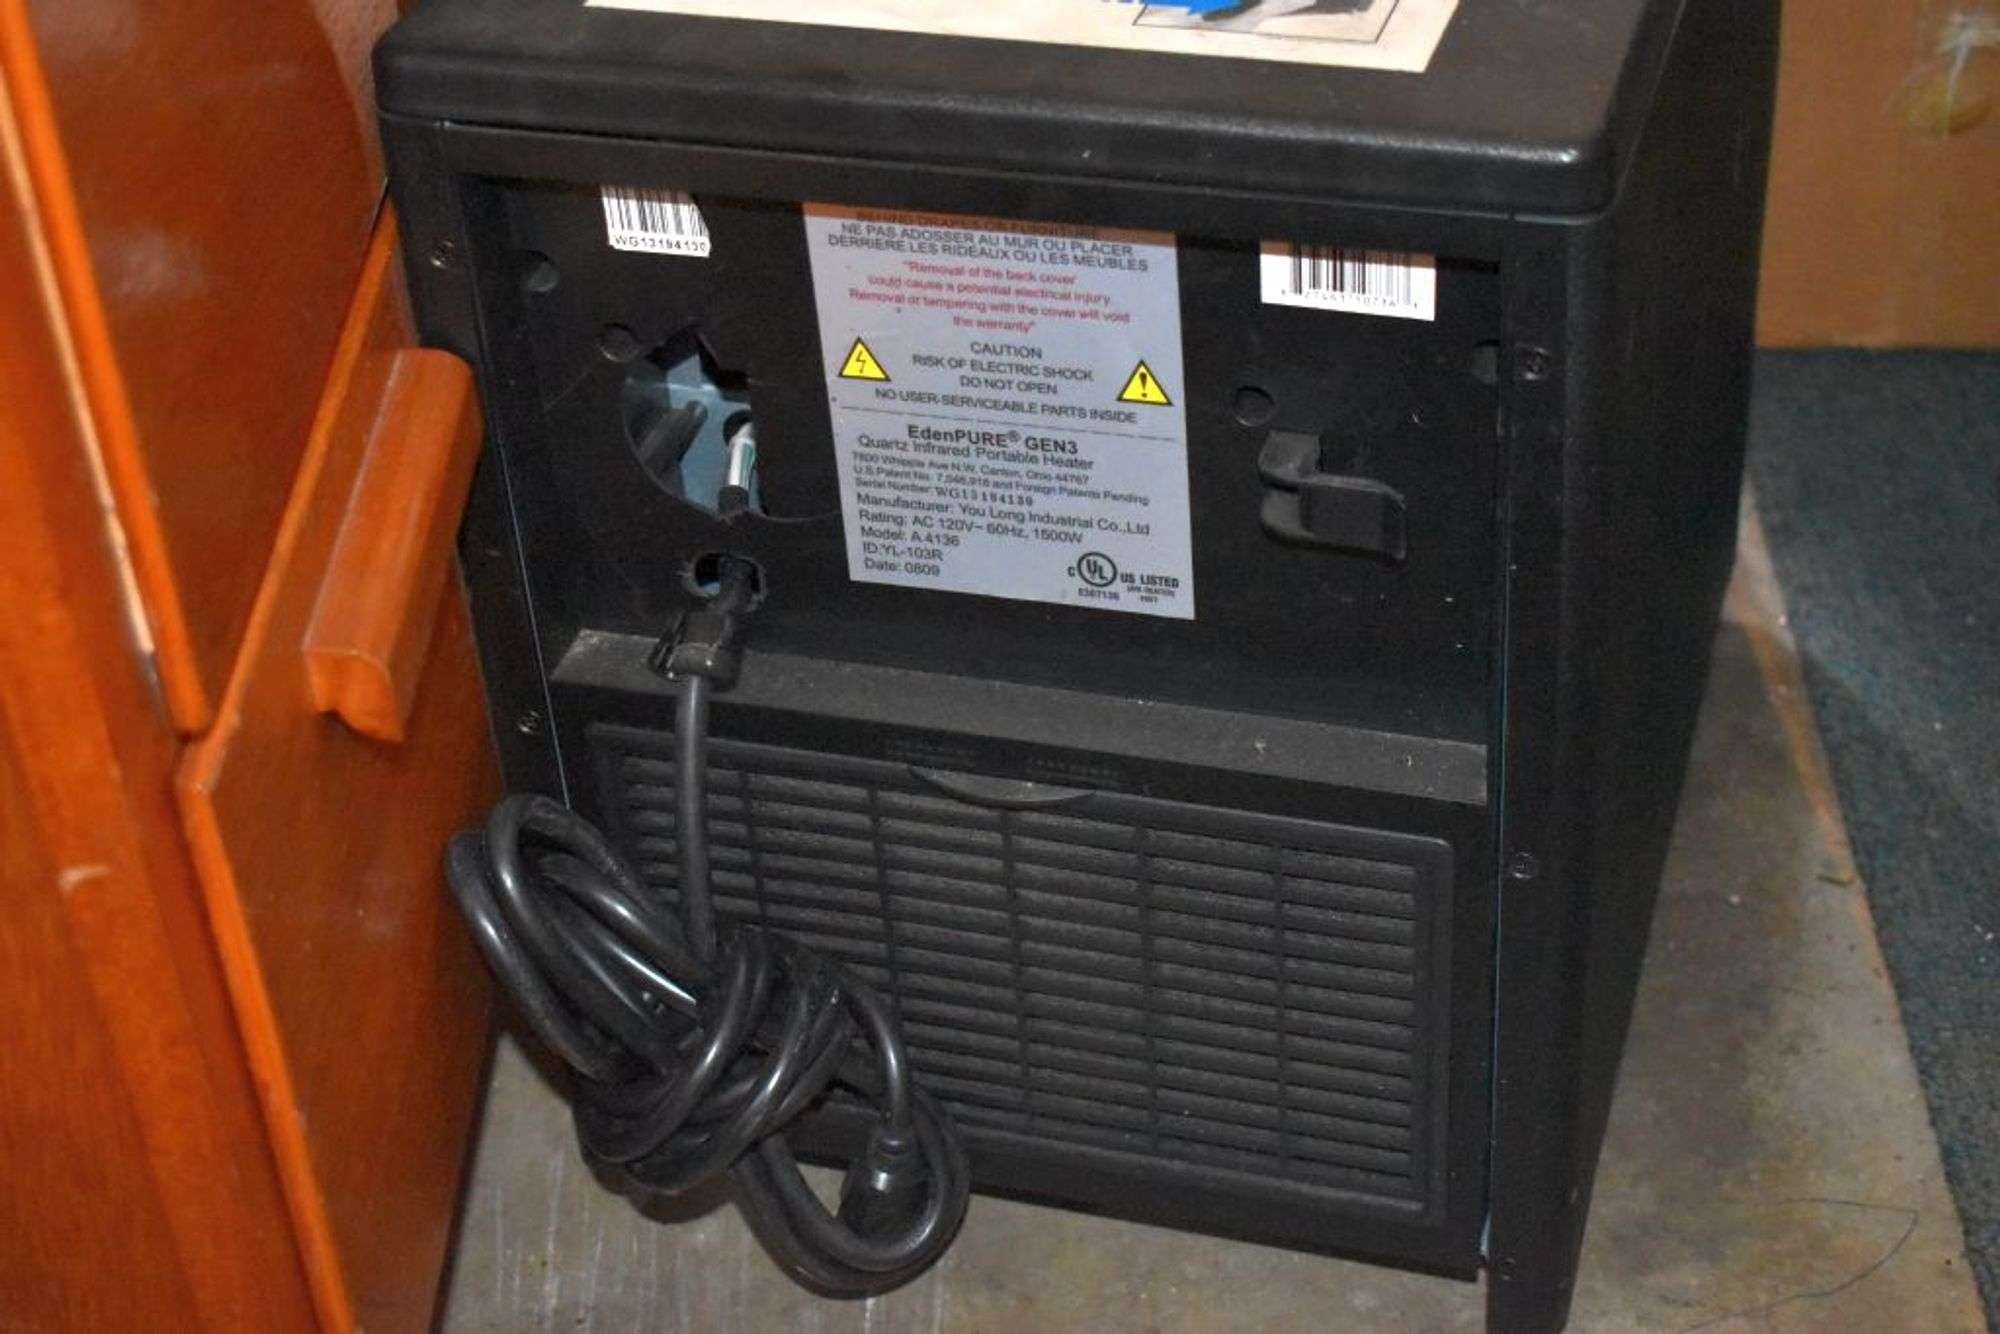
- Locate the screws or fasteners that secure the electrical cord to the steam mop. These are usually found near the handle or base of the mop.
- Using a small screwdriver, carefully remove the screws or fasteners to release the old electrical cord from the steam mop.
- Once the screws or fasteners are removed, gently pull the old cord out of the steam mop. Pay attention to any connectors or plugs that may be attached to the cord. Detach them if necessary.
- Inspect the cord connections on both the steam mop and the old cord. Look for any signs of damage, such as frayed wires or loose connections. If there is any damage, take note of it for later reference.
- Set aside the old electrical cord, as it will no longer be used.
By following these steps, you have successfully removed the old electrical cord from your Shark Steam Mop. It’s now time to prepare the replacement cord for installation. Let’s move on to the next step!
When replacing the electrical cord on a Shark steam mop, always make sure to unplug the mop from the power source before beginning any repairs. Use the appropriate tools and follow the manufacturer’s instructions carefully to ensure a safe and successful replacement.
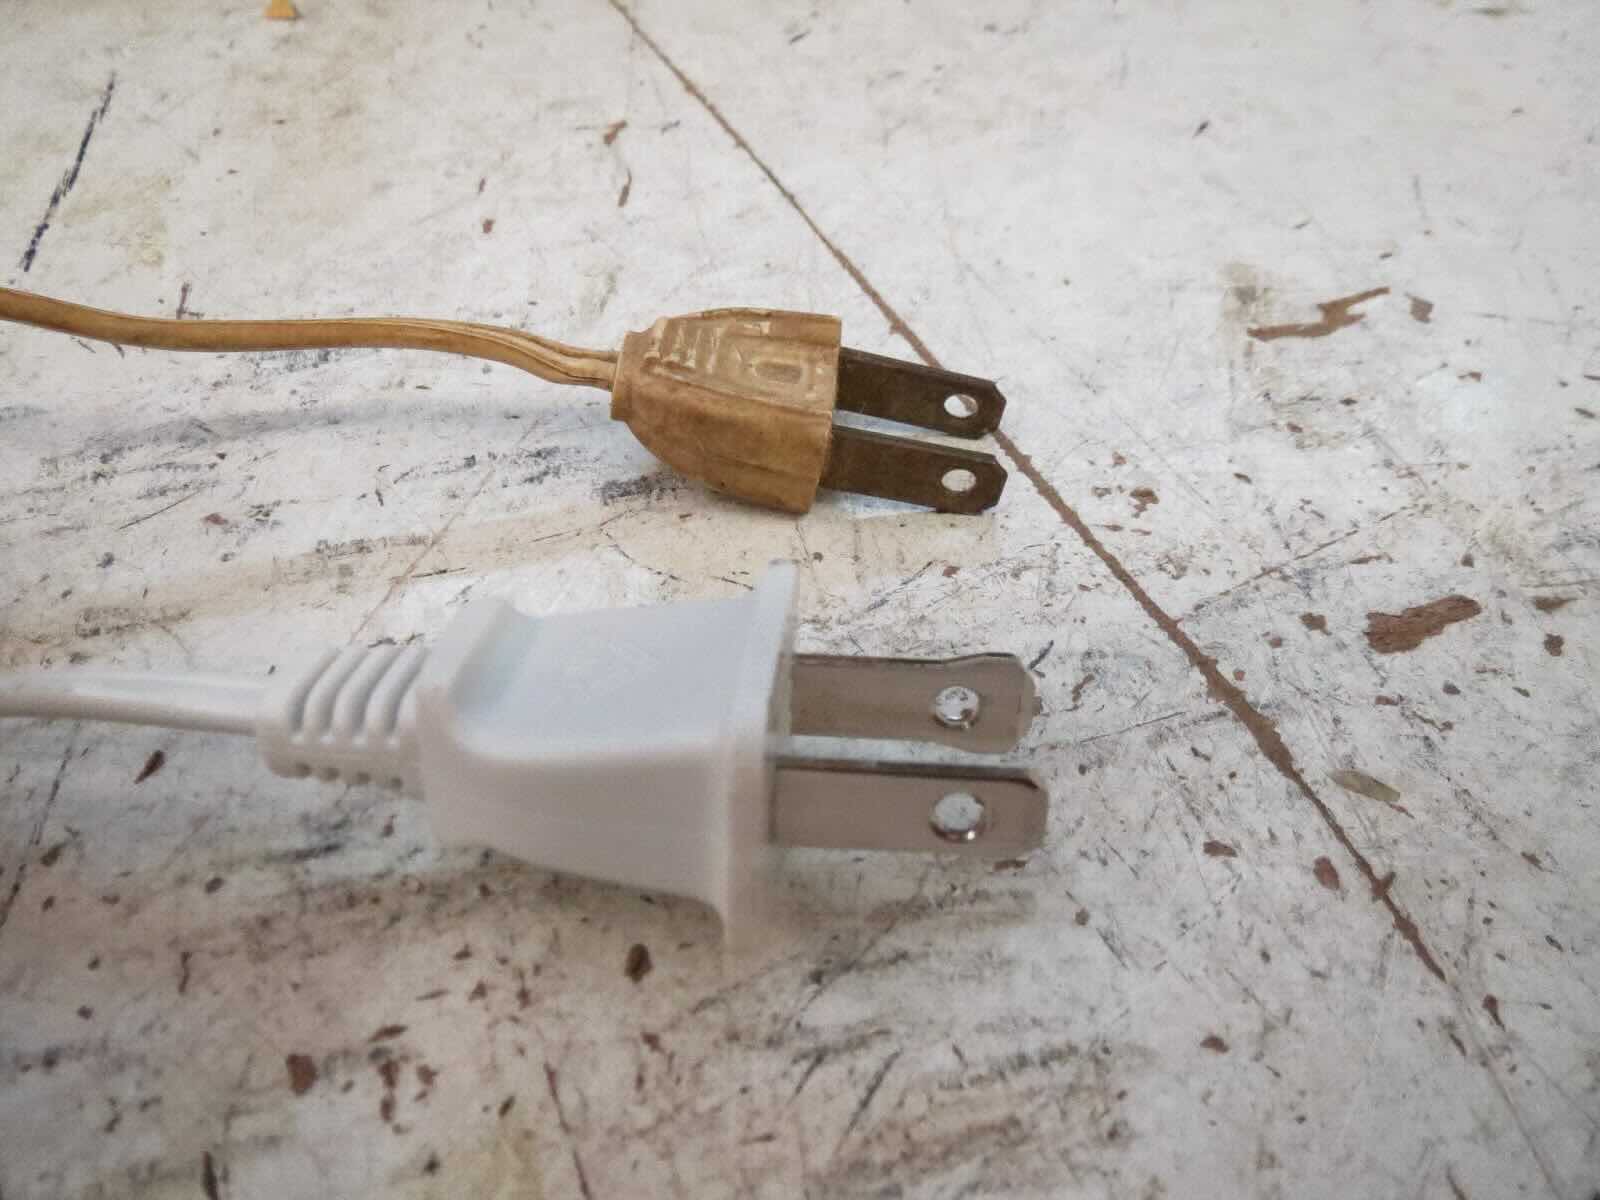
Step 4: Prepare the Replacement Cord
Now that the old electrical cord has been removed, it’s time to prepare the replacement cord for installation. Follow these steps to ensure a smooth and secure connection:
- Take your new replacement electrical cord and carefully examine it for any protective packaging, labels, or insulation. Use a utility knife or scissors to remove any excess packaging, taking care not to damage the wires.
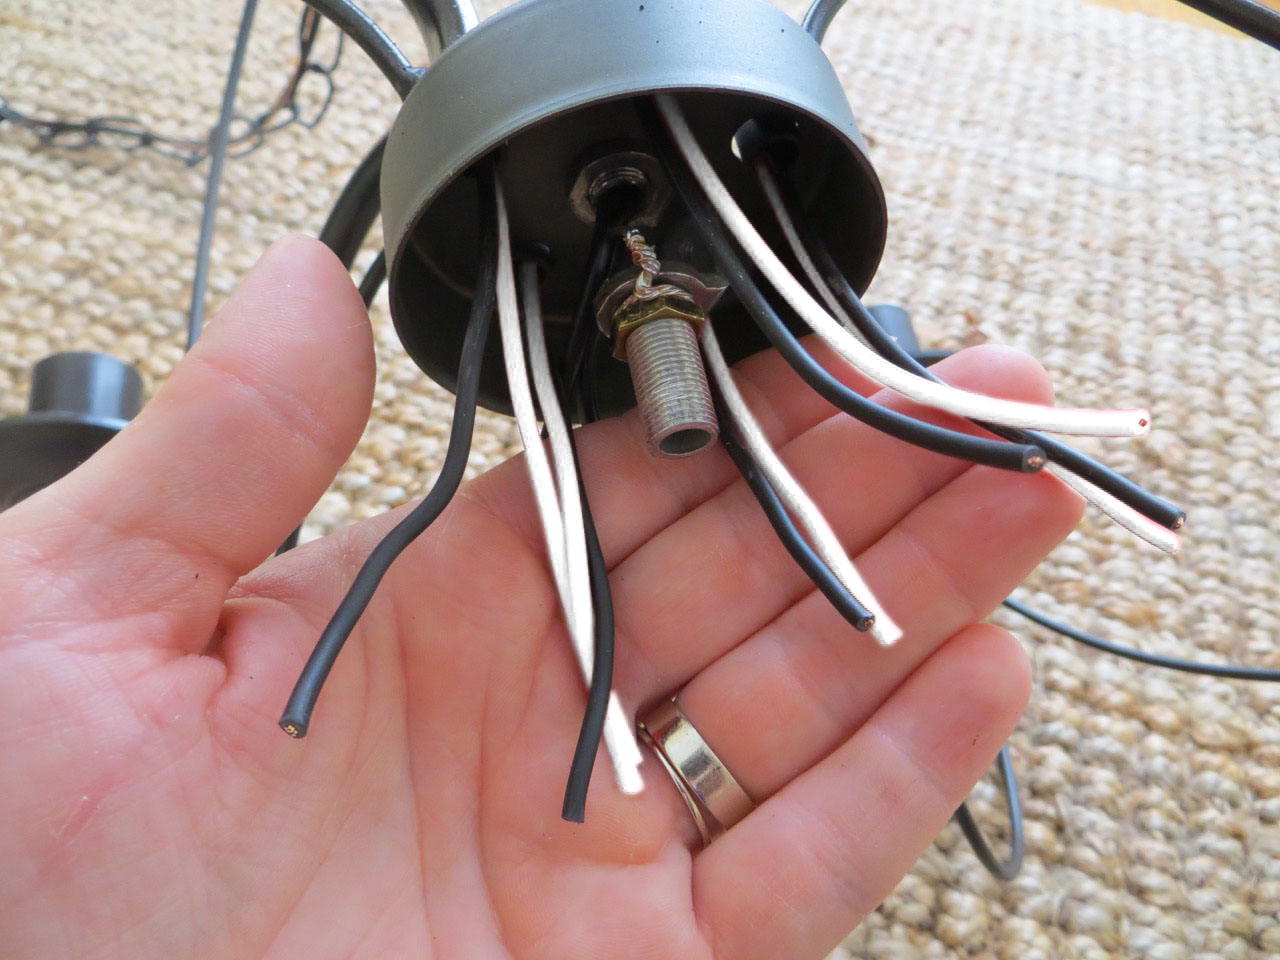
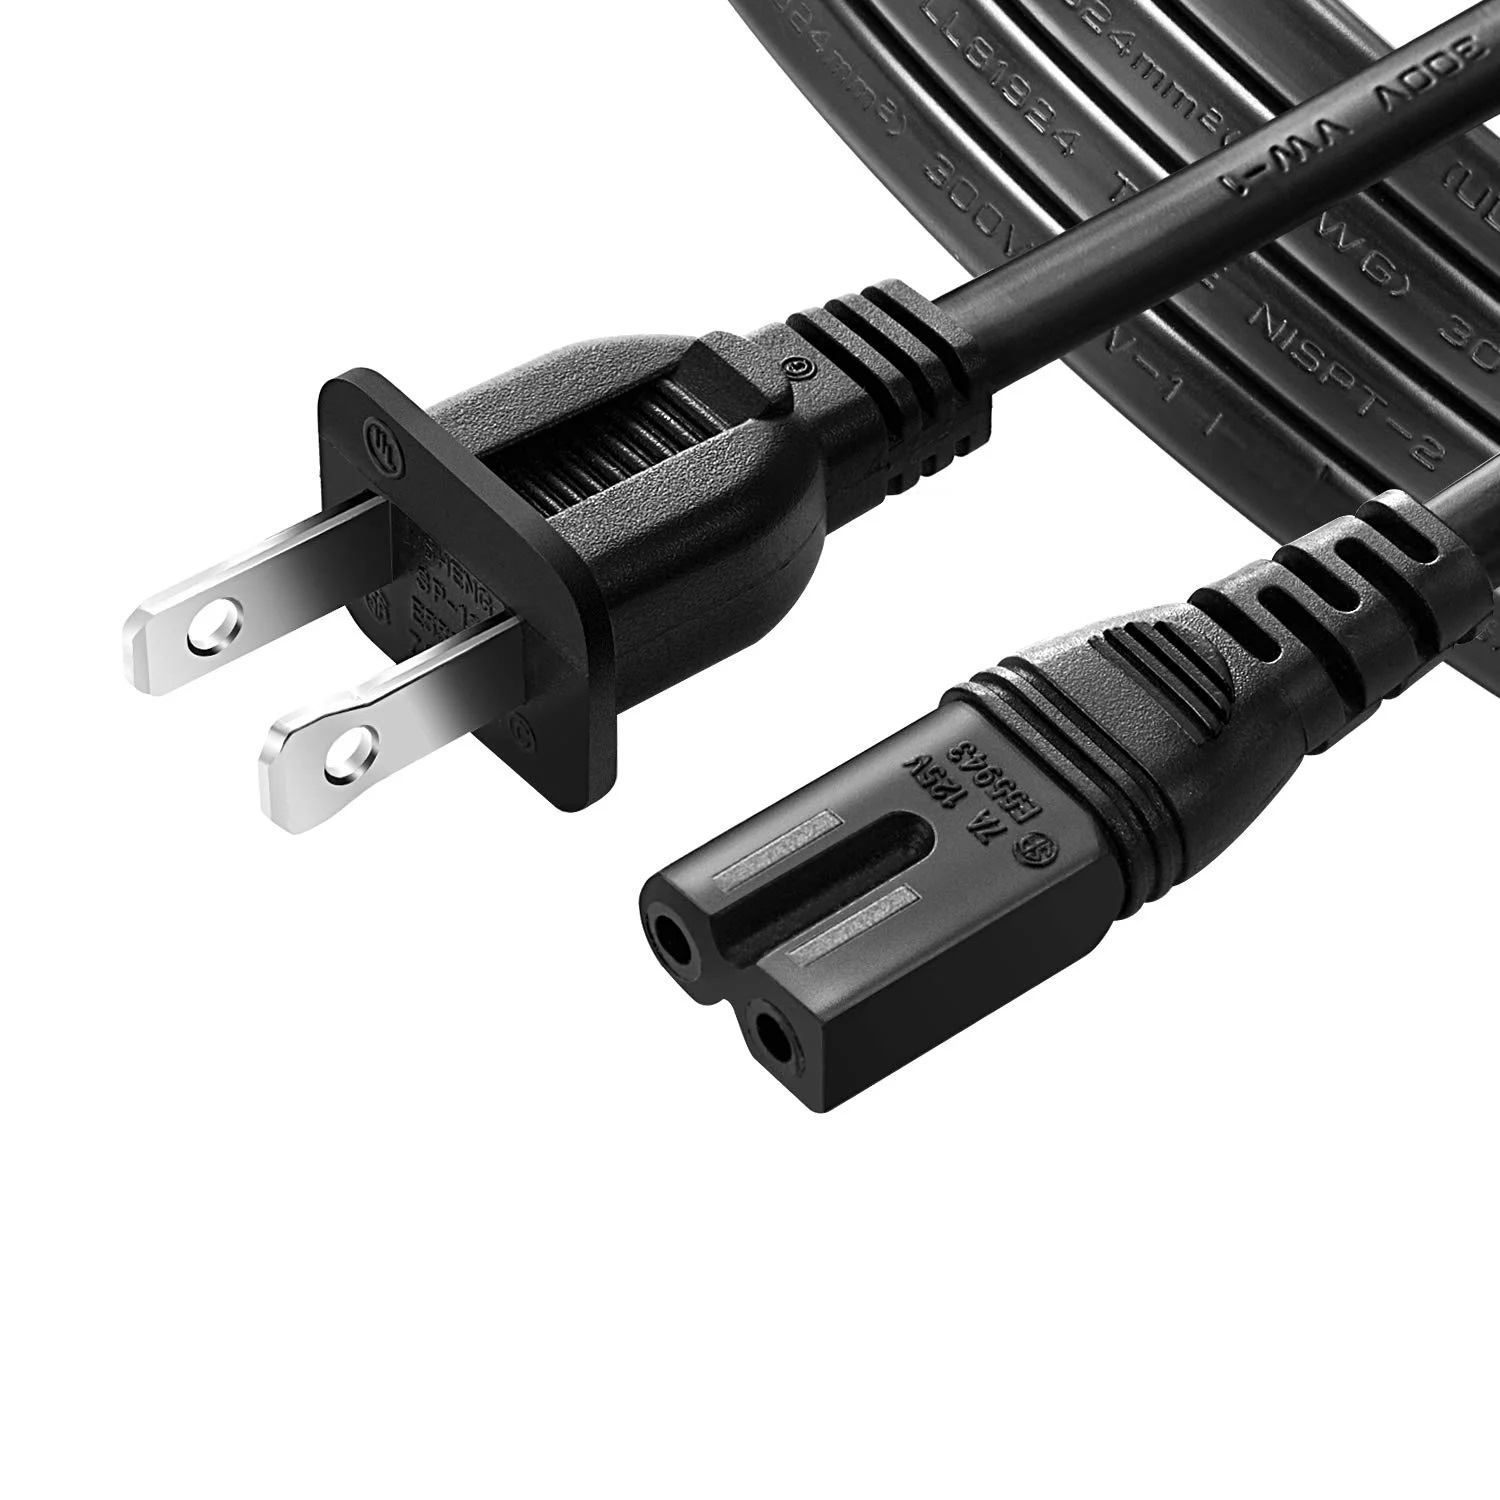
- Identify the wires on both ends of the replacement cord. Most replacement cords will have two wires: a black (hot) wire and a white (neutral) wire. Some cords may also have a green or copper wire for grounding purposes.
- Use a pair of pliers to strip off approximately 1/2 inch of insulation from the ends of both the black and white wires. This will expose the bare copper wire underneath.
- If necessary, twist the exposed copper wires gently to prevent any fraying or loose ends.
- If your replacement cord has a green or copper wire for grounding, repeat the stripping process and ensure the bare wire is exposed.
- Inspect the cord connections on your Shark Steam Mop and identify where the old cord was attached. Look for any damage or loose connectors in this area. If there are any issues, now is the time to address them.
By following these steps, you have prepared the replacement cord for installation. It’s important to ensure the wires are properly stripped and that any potential issues with the steam mop’s connection points are addressed beforehand. Now, let’s move on to the next step: installing the new electrical cord.
Read more: How To Replace A Vacuum Electrical Cord
Step 5: Install the New Electrical Cord
With the replacement cord prepared, it’s time to install it onto your Shark Steam Mop. Follow these steps to ensure a secure and proper installation:
- Locate the cord connection point on your Shark Steam Mop where the old cord was attached.
- Take the new replacement cord and align the stripped ends of the wires with the corresponding connectors on the steam mop.
- If your replacement cord has a grounding wire, ensure that it is connected to the appropriate ground connector on the steam mop. This is usually indicated by a green screw or terminal.
- Insert the wires into their respective connectors, ensuring a snug and secure fit. Double-check that the hot wire (usually black) is connected to the appropriate terminal and the neutral wire (usually white) to the corresponding terminal.
- If your replacement cord has a grounding wire, connect it to the ground terminal using a wire crimping tool or a suitable connection method recommended by the manufacturer.
- Once all the wires are securely connected, use electrical tape to insulate and secure the wire connections. Wrap the tape around the exposed wires, covering them completely.
- Trim any excess wire or tape if necessary, using scissors or wire cutters.
By following these steps, you have successfully installed the new electrical cord on your Shark Steam Mop. Now, let’s move on to the final step: testing the steam mop to ensure everything is working properly.
Step 6: Test the Steam Mop
After installing the new electrical cord, it’s essential to test your Shark Steam Mop to ensure that everything is functioning properly. Follow these steps to perform a quick test:
- Ensure that the steam mop is properly turned off and unplugged from the power source.
- Plug the power cord into a suitable power outlet.
- Turn on the steam mop and check if the power indicator light or any other relevant indicators are functioning. This will indicate that the new electrical cord is receiving power.
- Allow the steam mop to heat up and produce steam. Check if the steam is being emitted properly from the mop’s cleaning head.
- Move the steam mop around and test different functions or settings to ensure they are working as intended.
- If you notice any issues or malfunctions during the test, immediately turn off the steam mop and unplug it from the power source. Double-check the connections and ensure they are secure. If necessary, you may need to revisit the installation process or seek the assistance of a professional.
Once you have successfully tested the steam mop and confirmed that it is working correctly, congratulations! You have completed the process of replacing the electrical cord on your Shark Steam Mop.
Remember to always prioritize safety when working with electrical appliances. If you are unsure or uncomfortable with any step of the replacement process, it is recommended to seek professional assistance to ensure a safe and proper installation.
Thank you for following this step-by-step guide. We hope this article has been helpful in assisting you with replacing the electrical cord on your Shark Steam Mop. Enjoy your newly restored steam mop and its efficient cleaning capabilities!
Conclusion
Replacing the electrical cord on your Shark Steam Mop is a relatively simple process that can save you time and money. By following the steps outlined in this guide, you can quickly and safely replace the cord yourself, ensuring that your steam mop continues to function optimally.
Throughout this article, we discussed the importance of gathering the necessary tools and materials, unplugging the steam mop, removing the old electrical cord, preparing the replacement cord, and installing it securely. We also covered the crucial step of testing the steam mop to ensure everything is in working order.
Remember, safety is always the top priority when working with electrical appliances. If you ever feel unsure or uncomfortable with any step of the process, it is recommended to seek professional assistance. They have the knowledge and expertise to handle electrical issues safely and effectively.
By taking the time to replace the electrical cord on your Shark Steam Mop, you can continue to enjoy the benefits of a clean and sanitized home. Regular maintenance and proper care will help extend the life of your steam mop, ensuring it serves you well for years to come.
We hope this guide has been informative and helpful to you. Thank you for choosing to read our article, and we wish you success in replacing the electrical cord on your Shark Steam Mop!
Frequently Asked Questions about How To Replace Electrical Cord
Was this page helpful?
At Storables.com, we guarantee accurate and reliable information. Our content, validated by Expert Board Contributors, is crafted following stringent Editorial Policies. We're committed to providing you with well-researched, expert-backed insights for all your informational needs.


0 thoughts on “How To Replace Electrical Cord”