
Articles
How To Replace Electrical Cord Insulation
Modified: October 20, 2024
Learn how to replace the insulation on electrical cords with our informative articles. Ensure safety and prevent electrical hazards with expert advice.
(Many of the links in this article redirect to a specific reviewed product. Your purchase of these products through affiliate links helps to generate commission for Storables.com, at no extra cost. Learn more)
Introduction
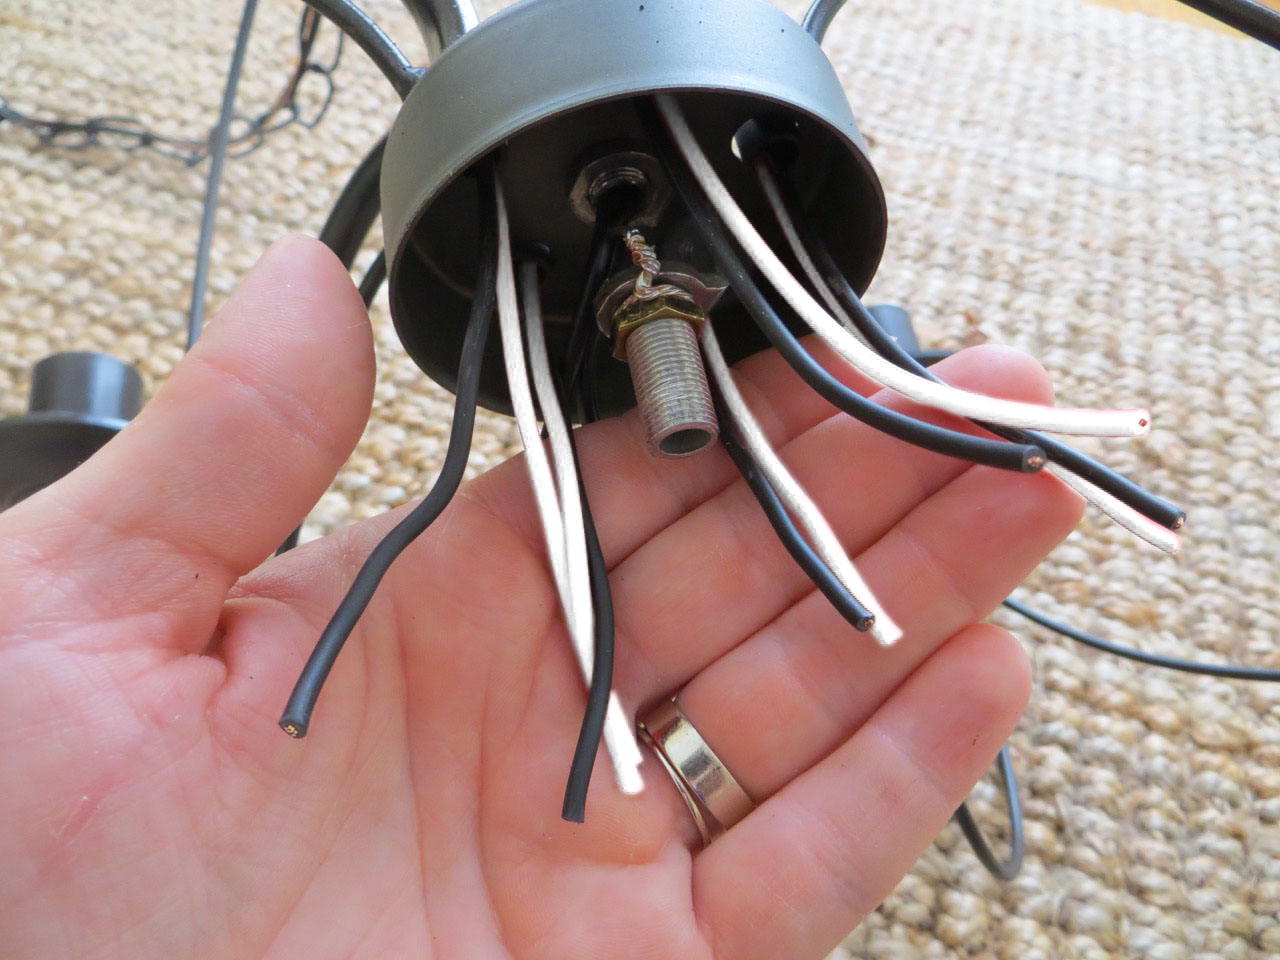
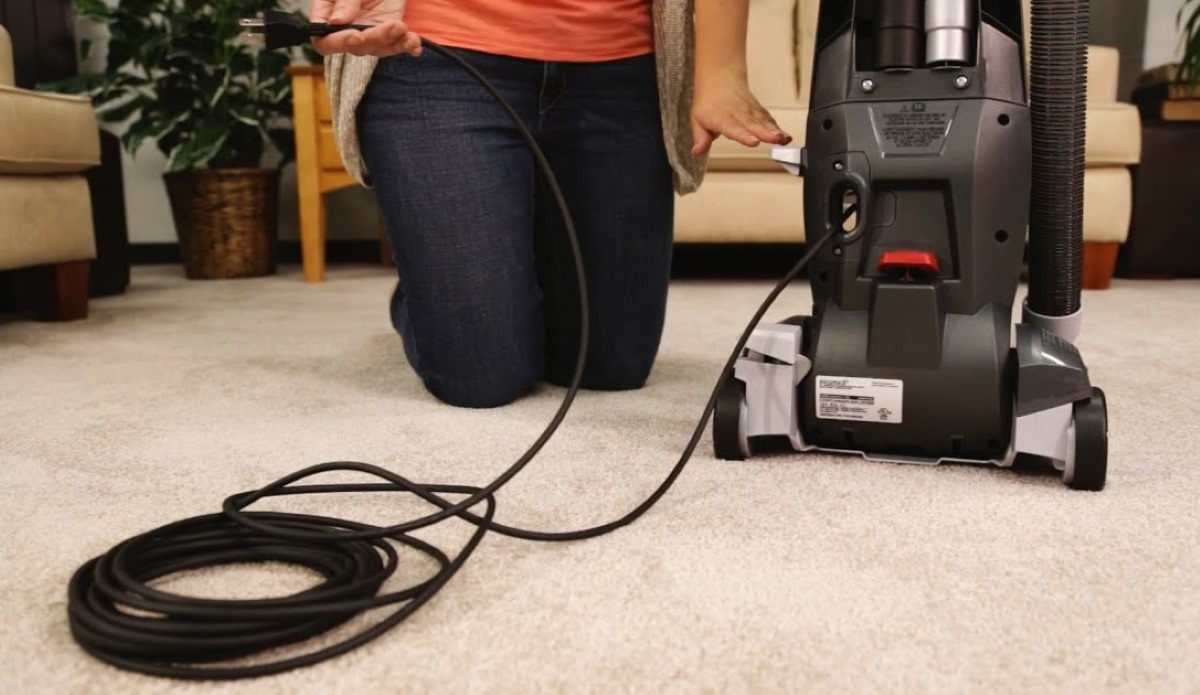
Electrical cords are commonly used in homes and workplaces to provide power to various devices and appliances. Over time, the insulation on these cords can become damaged or worn out, posing a potential safety hazard. It is crucial to replace the damaged insulation promptly to ensure the safe and efficient operation of the cord.
In this article, we will walk you through the step-by-step process of replacing the electrical cord insulation. We will provide you with a list of necessary tools and materials, along with safety precautions to follow. By following these instructions, you can effectively replace the insulation on your electrical cord and maintain a safe electrical environment.
Key Takeaways:
- Safety is paramount when replacing electrical cord insulation. Always follow proper safety precautions, disconnect the cord, and test the repaired cord before regular use to ensure a safe electrical environment.
- Regularly inspect and promptly replace damaged insulation on electrical cords to prevent potential safety hazards. If unsure, seek professional assistance for safe and efficient repair.
Read more: How To Replace Electrical Cord
Tools and Materials Needed
Before you begin the process of replacing the insulation on your electrical cord, gather the following tools and materials:
- Wire cutters
- Wire strippers
- Heat shrink tubing
- Electrical tape
- Scissors
- Knife or razor blade
- Heat gun or hairdryer
- Safety gloves
- Safety goggles
- Wire connectors
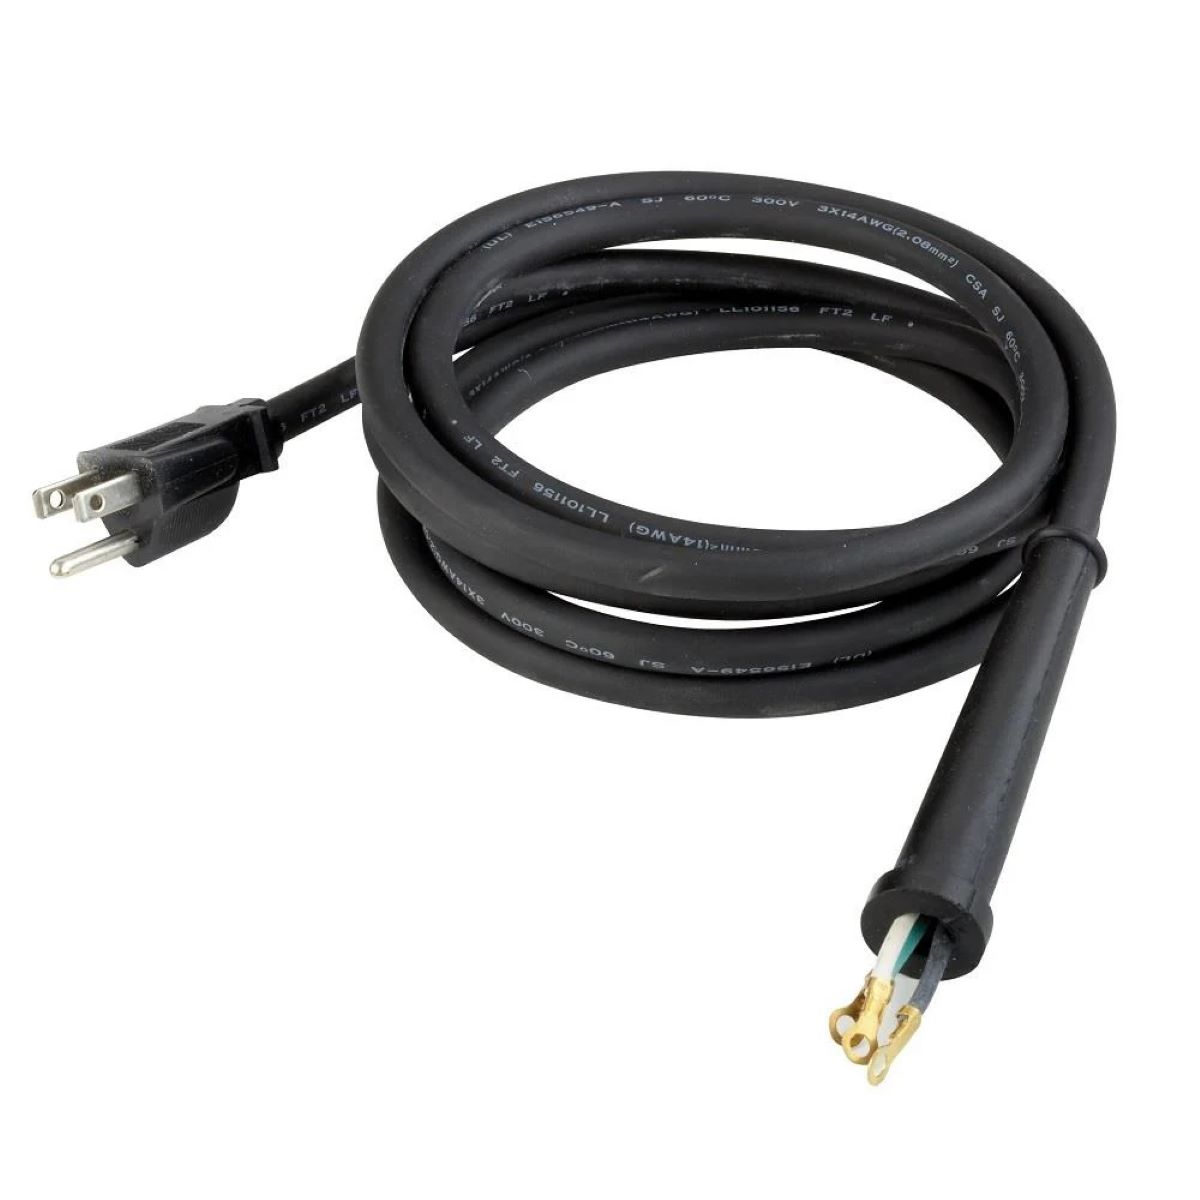
- Replacement electrical cord or insulation
Ensure that you have these tools and materials readily available before proceeding with the insulation replacement.
Step 1: Safety Precautions
Before you begin replacing the insulation on your electrical cord, it is essential to take proper safety precautions to minimize the risk of injury. These safety precautions include:
- Ensure that the device or appliance connected to the cord is turned off and unplugged from the power source. This will prevent any accidental electrical shocks.
- Wear safety gloves to protect your hands from any sharp edges or exposed wires.
- Put on safety goggles to protect your eyes from any flying debris or chemical irritants.
- Work in a well-ventilated area to avoid inhaling any fumes or harmful substances.
- If you are working on a cord that is connected to an electrical device or appliance, make sure to secure the device to prevent it from accidentally falling or causing any injuries.
- Keep a fire extinguisher nearby, as a precautionary measure in case of any accidents or electrical fires.
By following these safety precautions, you can ensure your well-being and minimize any potential risks while replacing the insulation on the electrical cord.
Step 2: Disconnecting the Electrical Cord
Before you can start replacing the insulation on the electrical cord, you need to disconnect it from the power source. Follow these steps to safely disconnect the cord:
- Make sure the device or appliance connected to the cord is turned off.
- Unplug the cord from the power outlet.
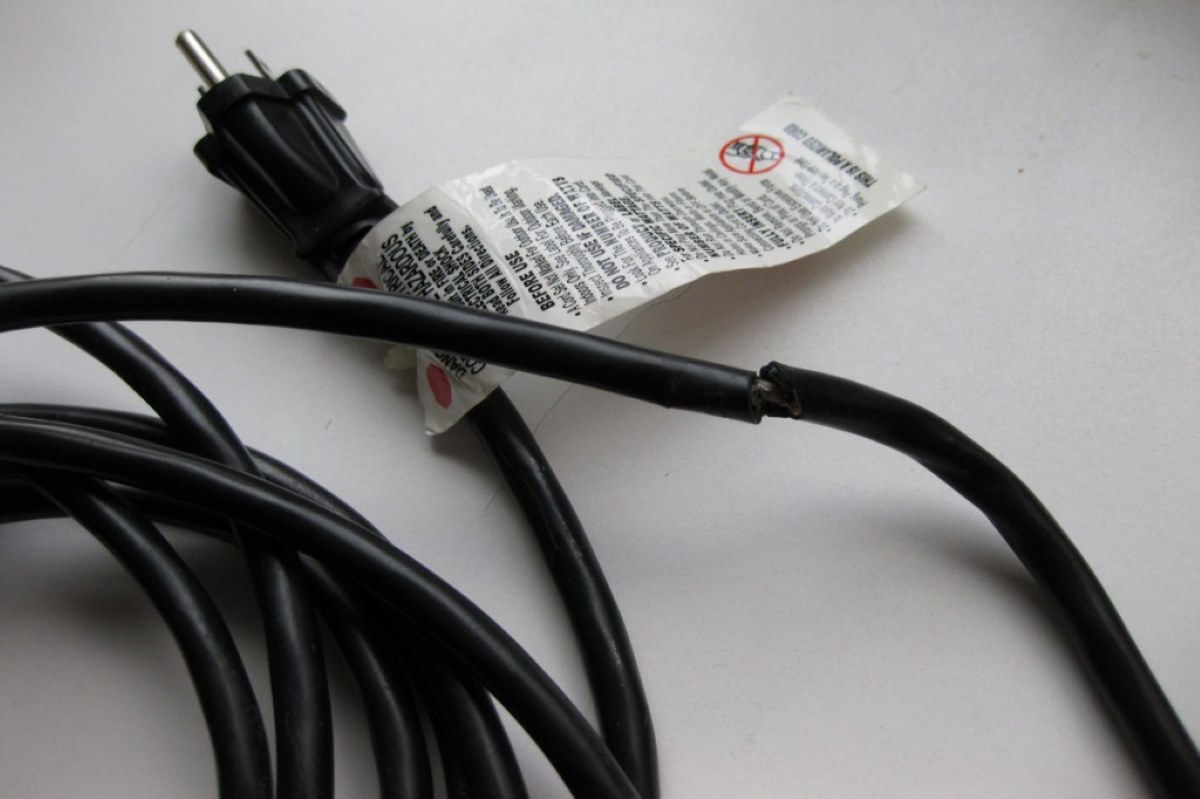
- Inspect the cord for any signs of damage or wear. If you notice any frayed wires or exposed insulation, do not proceed with the repair and consider replacing the entire cord.
- If the cord is in good condition, use wire cutters to cut off the damaged or worn-out section of the insulation. Make sure to cut a few inches away from the damaged area to ensure that you remove all the compromised insulation.
- If necessary, use wire strippers to strip away the outer layer of insulation to expose the wires underneath.
- Inspect the exposed wires for any signs of damage or corrosion. If the wires are damaged, consider replacing the entire cord.
Once you have disconnected the electrical cord and assessed its condition, you can move on to the next step of removing the damaged insulation.
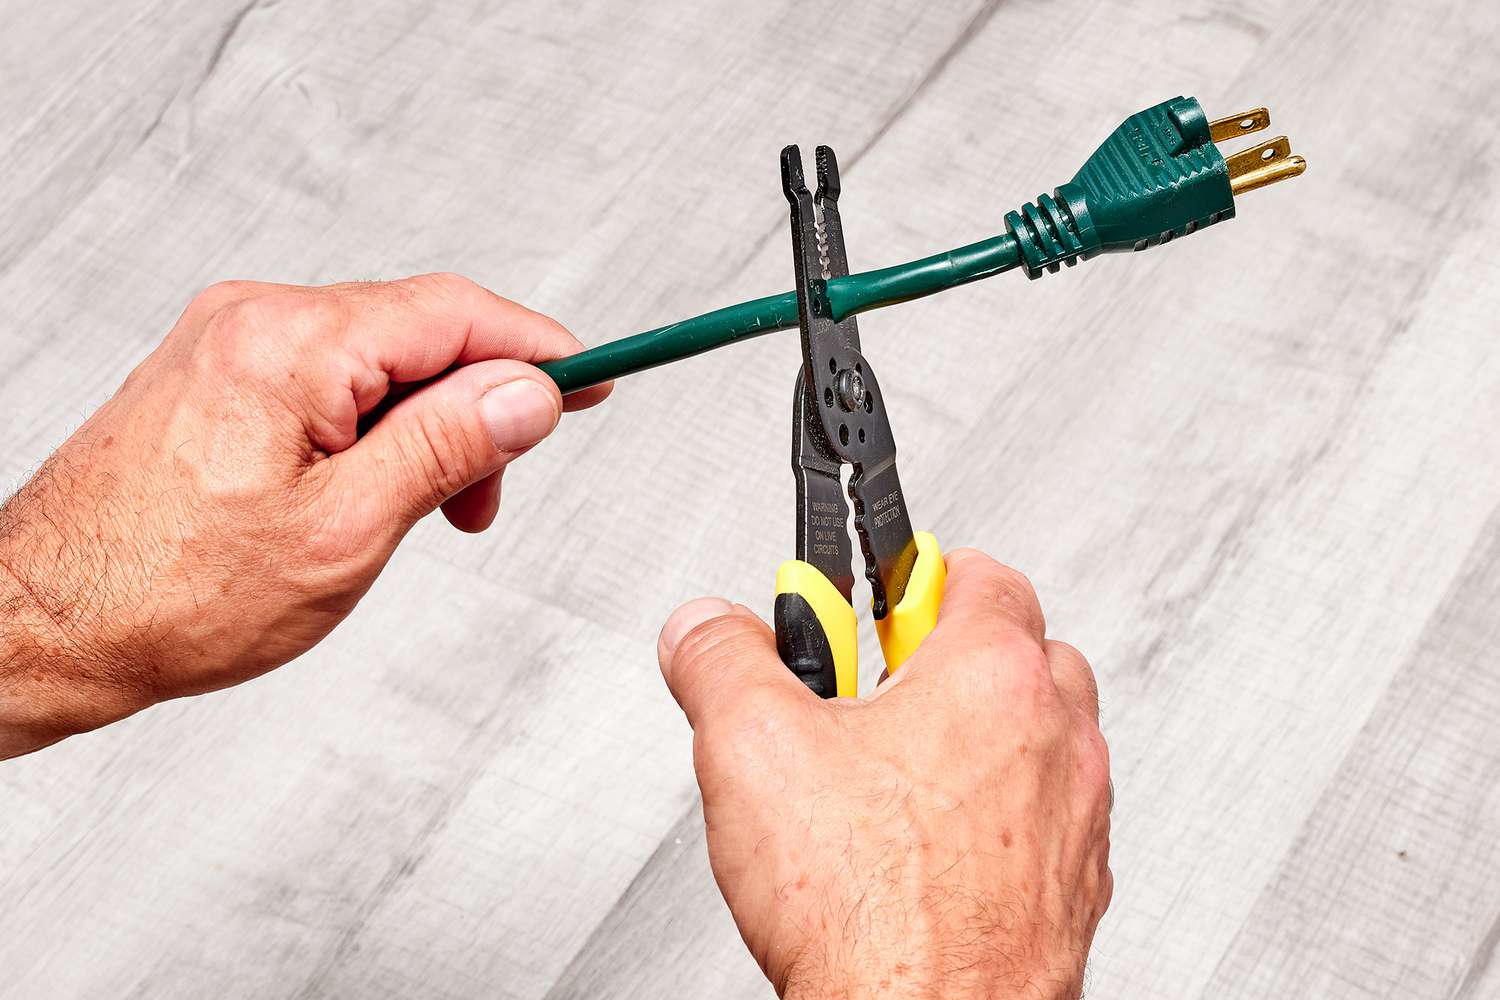
Step 3: Removing the Damaged Insulation
Now that you have disconnected the electrical cord and inspected its condition, it’s time to remove the damaged insulation. Follow these steps to do it safely:
- Put on safety gloves to protect your hands from any sharp edges or exposed wires.
- Using a knife or razor blade, carefully cut along the length of the damaged insulation. Be cautious not to cut into the wires or damage them.
- Gently peel away the cut insulation to expose the wires underneath. Take your time and be careful not to apply too much pressure, as you could damage the wires.
- If the insulation is stubborn and doesn’t peel away easily, you may need to use the knife or razor blade to carefully scrape away the remaining bits. Again, exercise caution to avoid damaging the wires.
- Once you have removed all the damaged insulation, thoroughly inspect the wires to ensure they are in good condition and free from any damage or corrosion.
After removing the damaged insulation, you can proceed to the next step of cutting and preparing the replacement insulation.
When replacing electrical cord insulation, make sure to use heat-resistant and durable materials to ensure safety and longevity of the cord. Always follow proper insulation techniques to prevent electrical hazards.
Read more: How To Replace A Vacuum Electrical Cord
Step 4: Cutting and Preparing Replacement Insulation
Now that you have removed the damaged insulation from the electrical cord, it’s time to cut and prepare the replacement insulation. Follow these steps to complete this process:
- Measure the length of the section where you removed the damaged insulation. Ensure that you have enough replacement insulation to cover this section.
- Using scissors or a sharp knife, carefully cut the replacement insulation to the appropriate length. Make a clean and straight cut to ensure a proper fit.
- If the replacement insulation is in the form of heat shrink tubing, slide it onto the wire before making any connections. Ensure that the tubing is long enough to cover the exposed wire and any additional length that was cut.
- If you are using replacement insulation that requires adhesive, carefully apply a thin layer of adhesive along the inside of the insulation.
- If necessary, trim any excess length or uneven edges to ensure a neat and professional-looking finish.
Once you have cut and prepared the replacement insulation, you are ready to move on to the next step of applying the replacement insulation to the electrical cord.
Step 5: Applying the Replacement Insulation
With the replacement insulation cut and prepared, it’s time to apply it to the electrical cord. Follow these steps to ensure a proper and secure application:
- If you are using heat shrink tubing, make sure it is slid onto the wire before making any connections.
- Position the replacement insulation over the exposed wires, ensuring that it covers the entire length of the area where the damaged insulation was removed.
- If using heat shrink tubing, use a heat gun or hairdryer to apply heat evenly and shrink the tubing around the wires. Move the heat source back and forth along the length of the tubing until it tightly adheres to the wires. Take care not to overheat and damage the insulation or wires.
- If using adhesive-lined insulation, press the replacement insulation firmly against the exposed wires to ensure a secure bond. Make sure the adhesive is evenly distributed inside the insulation.
- If necessary, use electrical tape to secure both ends of the replacement insulation, ensuring that it does not come loose.
By following these steps to apply the replacement insulation, you can ensure a secure and effective repair of your electrical cord.
Step 6: Reconnecting the Electrical Cord
After successfully applying the replacement insulation to the electrical cord, it’s time to reconnect the cord and ensure proper conductivity. Follow these steps to reconnect the electrical cord:
- Inspect the exposed wires to ensure they are clean and free from any debris or residue. Use a wire brush or cloth to gently clean the wires if necessary.
- If the removed insulation had connectors attached to the wires, make sure to reattach them according to the manufacturer’s instructions.
- If the wires do not have connectors, use wire strippers to remove a small portion of the insulation from the ends of the wires.
- Twist the exposed wire ends together to create a secure connection. Ensure that the wires are tightly twisted and that no loose strands remain.
- If necessary, use wire connectors to join the wires, following the manufacturer’s instructions for proper installation.
- After connecting the wires, use electrical tape to wrap the exposed wire ends and connectors, providing an additional layer of insulation and protection.
Once you have reconnected the electrical cord, you are ready to move on to the final step of testing the repaired cord.
Step 7: Testing the Repaired Cord
Before putting the repaired electrical cord back into regular use, it’s essential to test its functionality and safety. Follow these steps to test the repaired cord:
- Ensure that the device or appliance connected to the cord is turned off and unplugged from the power source.
- Plug the cord back into the power outlet.
- Turn on the device or appliance and observe if it functions properly.
- If the device or appliance does not turn on or exhibits any irregularities, immediately unplug the cord and check for any loose connections or damaged wires.
- If everything appears to be functioning correctly, keep an eye on the repaired cord while it is in use to ensure there are no issues such as overheating, sparking, or tripping of circuit breakers.
If you notice any problems with the repaired cord or have concerns about its safety, it is advisable to seek the assistance of a professional electrician.
By following these steps and conducting a thorough test, you can ensure that your repaired electrical cord is safe and fully functional for use.
Read more: How To Replace An Electrical Cord On A Lamp
Conclusion
Replacing the insulation on an electrical cord is a task that requires caution and attention to detail. By following the steps outlined in this article and taking the necessary safety precautions, you can successfully replace the damaged insulation and maintain a safe electrical environment in your home or workplace.
Remember, safety should always be your top priority when working with electrical cords. Always disconnect the cord from the power source and wear appropriate safety gear to protect yourself from potential hazards.
Additionally, it is important to regularly inspect your electrical cords for any signs of damage or wear. Promptly replacing damaged insulation will not only ensure the safe operation of your electrical appliances but also prevent any potential electrical shocks or fires.
If you are unsure about your ability to replace the insulation on an electrical cord, or if the damage seems extensive, it is recommended to seek the assistance of a professional electrician. They have the expertise and knowledge to handle the repair safely and efficiently.
By following the step-by-step instructions provided in this article, you can confidently replace the damaged insulation on your electrical cord and maintain a safe and functional electrical system.
Frequently Asked Questions about How To Replace Electrical Cord Insulation
Was this page helpful?
At Storables.com, we guarantee accurate and reliable information. Our content, validated by Expert Board Contributors, is crafted following stringent Editorial Policies. We're committed to providing you with well-researched, expert-backed insights for all your informational needs.


0 thoughts on “How To Replace Electrical Cord Insulation”