Articles
How Do You Clean A Copper Sink
Modified: December 7, 2023
Looking for articles on how to clean a copper sink? Discover expert tips and techniques for maintaining the beauty and shine of your copper sink.
(Many of the links in this article redirect to a specific reviewed product. Your purchase of these products through affiliate links helps to generate commission for Storables.com, at no extra cost. Learn more)
Introduction
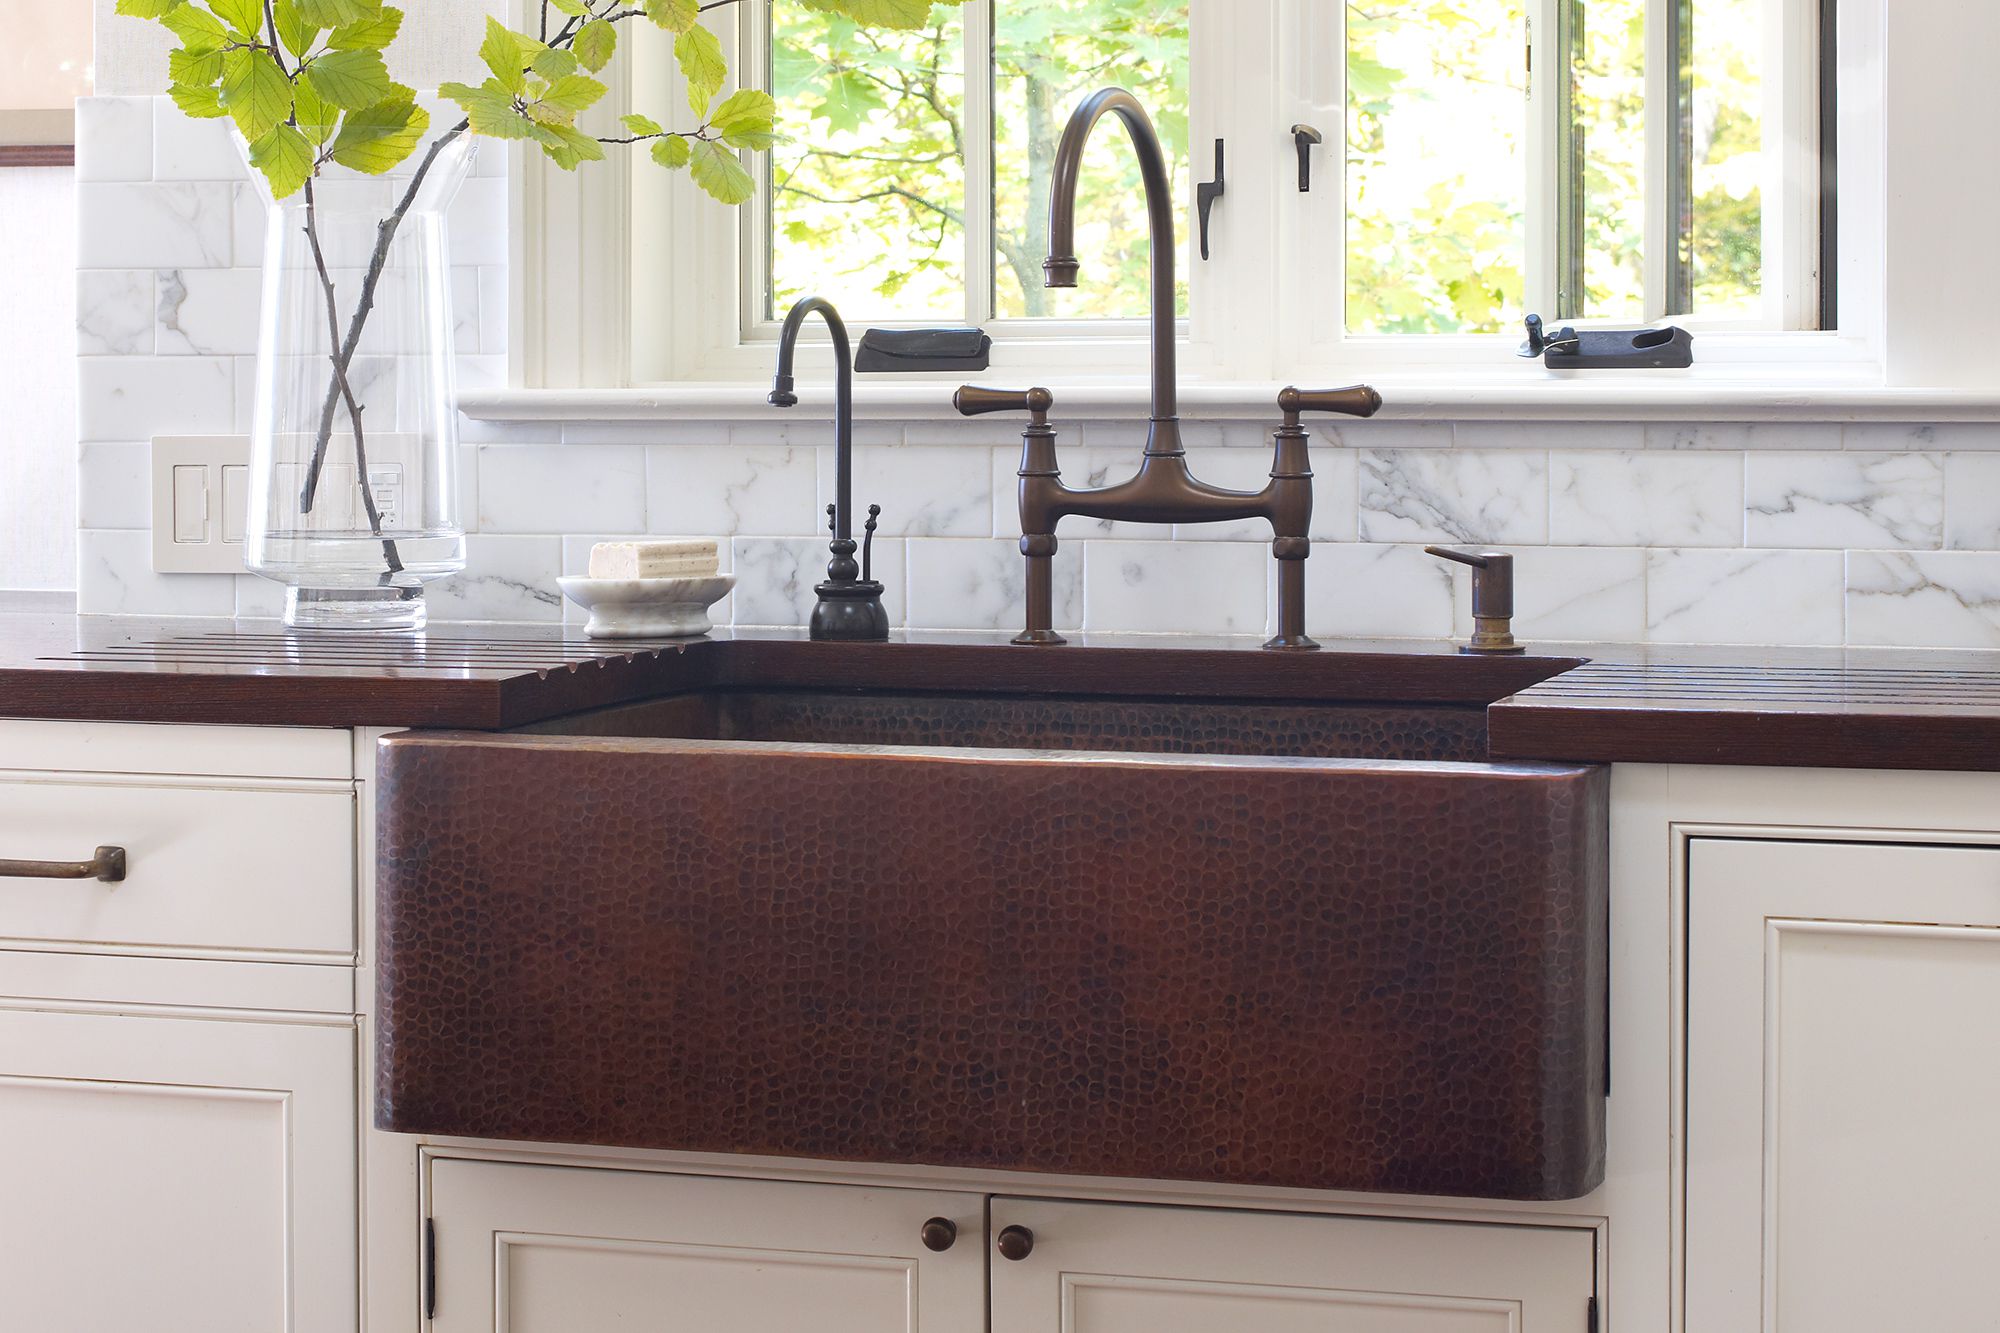
Copper sinks are a beautiful addition to any kitchen or bathroom, adding a touch of elegance and charm to the space. However, like any other sink, they require regular cleaning and maintenance to keep them looking their best. Cleaning a copper sink may seem intimidating at first, but with the right materials and techniques, it can be a simple and rewarding task. In this article, we will guide you through the process of cleaning a copper sink, from preparing the sink to polishing it for a brilliant shine.
Before we dive into the cleaning process, let’s talk about why copper sinks require special care. Copper is a soft metal that can easily tarnish and develop a patina over time. This natural oxidation process gives copper its unique and rustic appearance. While some people may prefer the patina, others may want to maintain the original shine of the copper. Regardless of your preference, regular cleaning will help prevent stains, mineral buildup, and the development of an uneven patina.
To clean a copper sink, you will need a few basic materials. These include:
- Mild dish soap
- White vinegar
- Lemon
- Baking soda
- Soft cloth or sponge
- Non-abrasive scrub brush
- Soft-bristled toothbrush
- Microfiber cloth
Now that we have our materials ready, let’s move on to the step-by-step process of cleaning a copper sink.
Key Takeaways:
- Regularly cleaning and maintaining a copper sink with mild dish soap, white vinegar, lemon, and baking soda can effectively remove stains and tarnish, restoring its natural shine and preventing the development of a patina.
- By following a step-by-step process, including preparing the sink, creating a gentle cleaning solution, scrubbing, rinsing, and polishing, you can maintain the beauty and elegance of your copper sink, making it a stunning centerpiece in your kitchen or bathroom.
Read more: How Do You Clean A Copper Tea Kettle
Materials Needed
Before you begin cleaning your copper sink, gather the following materials:
- Mild dish soap: Choose a gentle dish soap that does not contain harsh chemicals or abrasives. This will ensure that it effectively removes dirt and grime without damaging the copper surface.
- White vinegar: Vinegar is a natural cleaning agent that helps remove mineral deposits and stains from copper surfaces. It is safe to use on copper and will not cause any damage when used in moderation.
- Lemon: Lemon is a natural acid that can help dissolve stubborn stains and brighten the surface of the copper sink. It also leaves a fresh scent behind.
- Baking soda: Baking soda is a gentle abrasive that can be used to remove tougher stains and tarnish from copper. It also helps eliminate odors and leaves the sink sparkling clean.
- Soft cloth or sponge: Use a soft cloth or sponge with gentle fibers to clean the copper sink. Avoid using rough materials or abrasive scouring pads, as they can scratch the surface of the copper.
- Non-abrasive scrub brush: For stubborn stains or hard-to-reach areas, a non-abrasive scrub brush can be used. Look for a brush with soft bristles that won’t scratch the copper.
- Soft-bristled toothbrush: A soft-bristled toothbrush is useful for cleaning around the edges and corners of the sink, where dirt and grime can accumulate.
- Microfiber cloth: To dry and polish the copper sink, use a microfiber cloth. Microfiber is gentle on the surface and helps to prevent water spots and streaks.
Having these materials on hand will make the cleaning process easier and more effective. Now that we have everything ready, let’s move on to the step-by-step instructions for cleaning your copper sink.
Step 1: Preparing the Sink
Before you start cleaning your copper sink, it’s important to prepare the surface to ensure that the cleaning solution can effectively do its job. Follow these steps to prepare the sink:
- Clear the sink: Remove any dishes, utensils, or other items from the sink. This will allow you to have unrestricted access to the sink surface.
- Rinse with warm water: Run warm water over the sink to remove any loose debris or food particles. This will make the cleaning process easier and more effective.
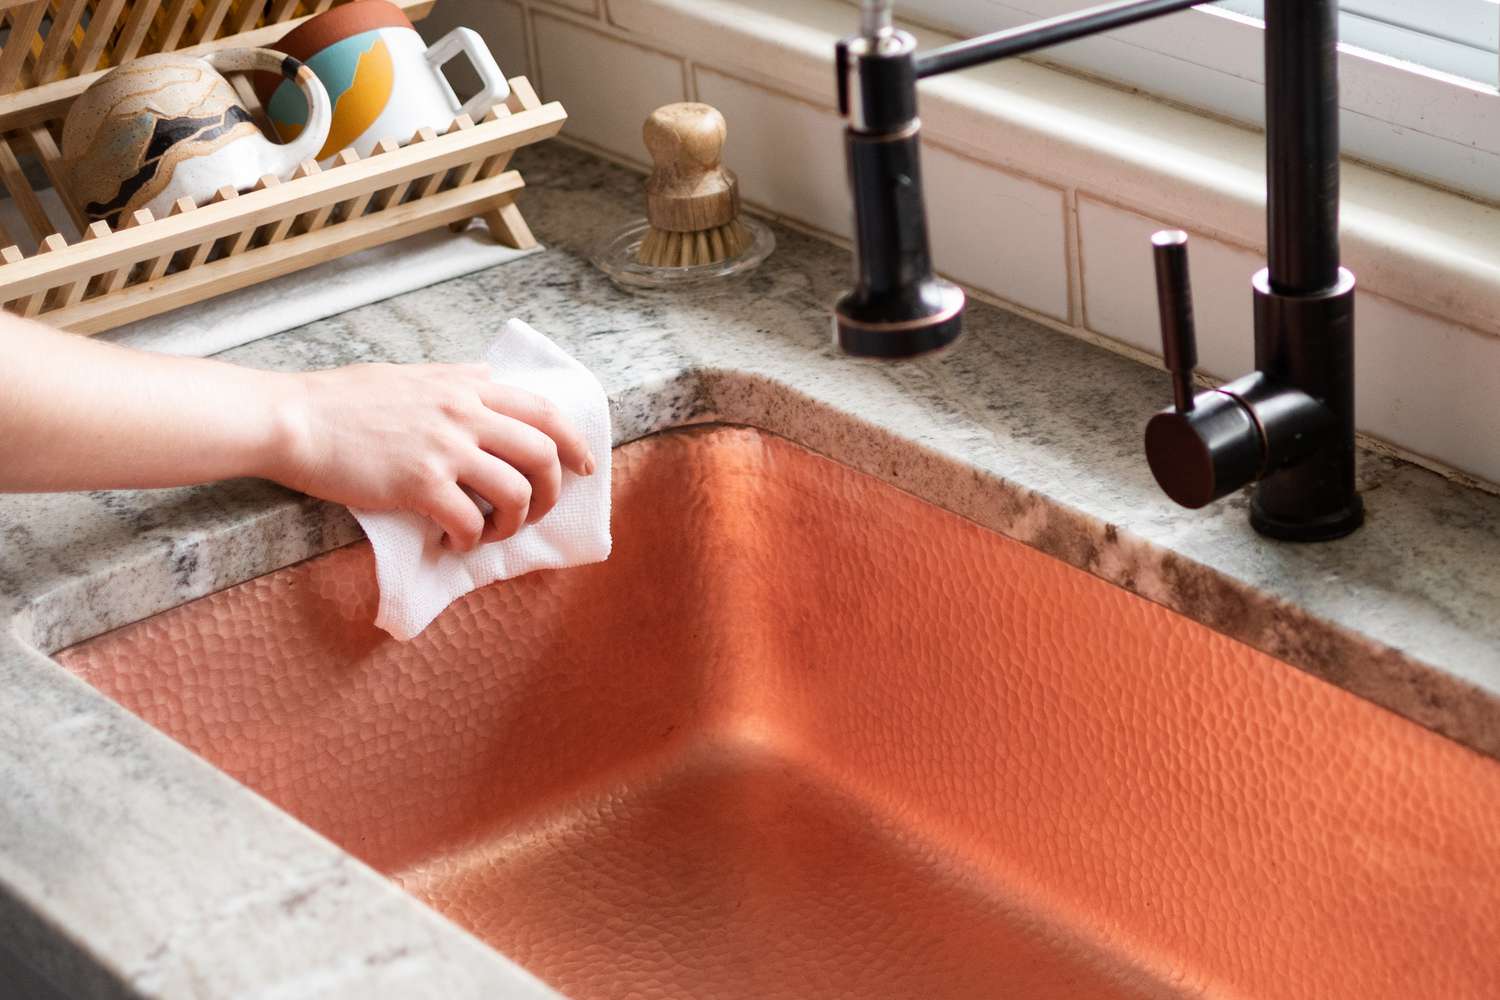
- Dry the sink: Use a clean, soft cloth or paper towels to dry the sink thoroughly. Make sure there is no standing water or excess moisture on the surface.
By clearing, rinsing, and drying the sink, you are ensuring that the cleaning solution can work directly on the copper surface without any obstructions. Once the sink is properly prepared, we can move on to creating the cleaning solution.
Step 2: Creating a Cleaning Solution
Creating a suitable cleaning solution is essential for effectively cleaning your copper sink. Follow these steps to create a gentle and effective cleaning solution:
- Fill a basin or bucket with warm water: Start by filling a basin or bucket with warm water. The water should be warm to the touch, but not scalding hot.
- Add mild dish soap: Pour a small amount of mild dish soap into the warm water. Use about a teaspoon or as directed on the product label. Stir the water gently to create a soapy solution.
- Squeeze lemon juice: Cut a lemon in half and squeeze the juice into the soapy water. The lemon juice will add a natural disinfecting and brightening element to the cleaning solution.
- Optional: Add white vinegar or baking soda: Depending on the level of tarnish or stains on your copper sink, you can choose to add a small amount of white vinegar or baking soda to the cleaning solution. Vinegar helps remove mineral deposits and stains, while baking soda acts as a gentle abrasive.
Mix the cleaning solution well to ensure that all the ingredients are combined. This homemade cleaning solution is gentle enough to use on copper sinks without causing any damage. Now that you have your cleaning solution ready, it’s time to apply it to the sink.
Step 3: Applying the Cleaning Solution
Once you have prepared the cleaning solution, it’s time to apply it to your copper sink. Follow these steps to effectively apply the cleaning solution:
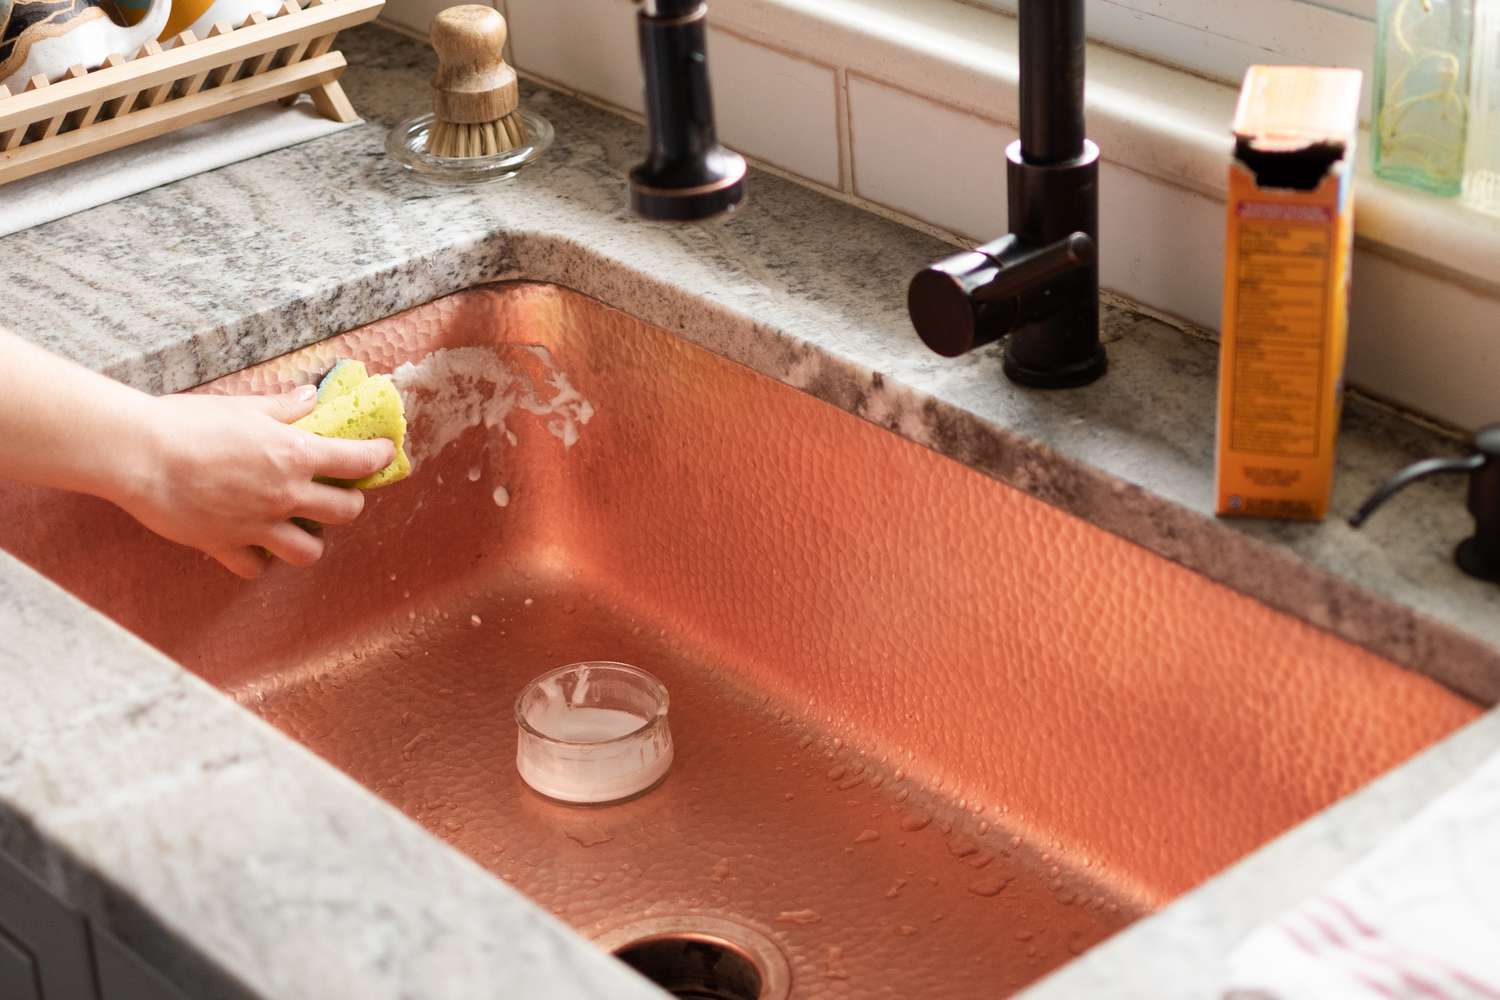
- Dip a soft cloth or sponge into the cleaning solution: Take a soft cloth or sponge and dip it into the cleaning solution. Make sure the cloth or sponge is well saturated but not dripping with the solution.
- Gently scrub the sink: Begin scrubbing the entire surface of the copper sink using the cloth or sponge. Pay special attention to areas that are stained or tarnished. Apply gentle pressure and use circular or back-and-forth motions to remove dirt and grime.
- Use a soft-bristled toothbrush for corners and edges: For hard-to-reach areas such as corners and edges, switch to a soft-bristled toothbrush. Dip the toothbrush into the cleaning solution and scrub these areas carefully to ensure all dirt and grime are removed.
- Let the cleaning solution sit: After scrubbing the sink, allow the cleaning solution to sit on the surface for a few minutes. This will allow the ingredients to work on tough stains and tarnish.
- Do not let the solution dry: Avoid letting the cleaning solution dry on the sink surface. If necessary, dampen the cloth or sponge with more solution to keep it moist.
By following these steps, you are effectively applying the cleaning solution to your copper sink, ensuring that all areas are covered and allowing the ingredients to work their magic. Now it’s time to move on to step 4: scrubbing the sink to remove stubborn stains and tarnish.
To clean a copper sink, mix equal parts of lemon juice and salt to create a paste. Gently scrub the sink with the paste using a soft cloth, then rinse and dry thoroughly to prevent water spots.
Read more: How Do You Clean A Porcelain Sink
Step 4: Scrubbing the Sink
Now that the cleaning solution has had some time to sit on the surface of your copper sink, it’s time to scrub away any stubborn stains and tarnish. Follow these steps to effectively scrub the sink:
- Grab a non-abrasive scrub brush: Take a non-abrasive scrub brush and wet it with the cleaning solution. Ensure that the brush has soft bristles to avoid scratching the copper surface.
- Scrub the entire sink: Start scrubbing the entire surface of the copper sink using the brush. Apply gentle pressure and use circular or back-and-forth motions to remove any remaining dirt, stains, or tarnish.
- Pay attention to tough spots: Focus on areas that may require extra scrubbing, such as corners or spots with heavy staining. Use the brush to agitate those areas and continue scrubbing until the stains fade away.
- Switch to a soft-bristled toothbrush for detailed cleaning: For intricate areas or spots that are difficult to reach with a larger brush, switch to a soft-bristled toothbrush. Dip the toothbrush into the cleaning solution and gently scrub these areas to ensure all dirt and grime are removed.
- Rinse the sink: Once you have thoroughly scrubbed the sink, rinse it with clean water to remove any remaining cleaning solution and loosened dirt particles. Ensure that all traces of the cleaning solution are washed off.
By following these steps, you are effectively scrubbing away any stubborn stains and tarnish from your copper sink. Now, it’s time to move on to step 5: rinsing and drying the sink for a beautiful finish.
Step 5: Rinsing and Drying
After scrubbing your copper sink to remove stains and tarnish, it’s important to thoroughly rinse and dry the sink to ensure a clean and polished finish. Follow these steps to effectively rinse and dry your copper sink:
- Rinse with clean water: Start by running clean water over the entire surface of the sink. Use your hands or a gentle stream of water to ensure that all the cleaning solution and loosened dirt are washed away. Pay special attention to corners and edges to remove any residue.
- Check for any missed spots: Once you have rinsed the sink, carefully inspect it for any missed spots or remaining stains. If you notice any, repeat the scrubbing process in those areas using the cleaning solution.
- Dry with a soft cloth or microfiber cloth: After rinsing, use a soft cloth or microfiber cloth to thoroughly dry the sink. Start at one end and work your way across the surface, ensuring that all moisture is removed. Drying the sink helps prevent water spots and streaks from forming.
- Pay attention to corners and edges: Be sure to dry the corners and edges of the sink thoroughly, as these areas tend to retain more moisture. Use a cloth or paper towel to reach these areas and ensure they are completely dry.
By properly rinsing and drying your copper sink, you are ensuring that it is sparkling clean and free from any residue or moisture. Now, let’s move on to step 6: polishing the sink to restore its natural shine.
Step 6: Polishing the Sink
Polishing your copper sink is the final step in the cleaning process, and it helps restore its natural shine and luster. Follow these steps to effectively polish your copper sink:
- Apply a small amount of baking soda: Sprinkle a small amount of baking soda onto a soft cloth or sponge. Baking soda is a gentle abrasive that can help remove any remaining tarnish or stains.
- Gently rub the sink with the cloth or sponge: Use the cloth or sponge to gently rub the baking soda onto the surface of the copper sink. Apply light pressure and use circular motions to buff away any dullness or tarnish.
- Focus on heavily tarnished areas: Pay extra attention to areas that are heavily tarnished or discolored. Spend more time rubbing those areas with the baking soda to help restore their original shine.
- Rinse the sink with warm water: Once you have finished polishing the sink with the baking soda, rinse it thoroughly with warm water. This will remove any residue and baking soda particles, leaving a clean surface.
- Dry and buff the sink with a microfiber cloth: Use a microfiber cloth to dry the sink and buff it to a brilliant shine. The soft fibers of the cloth will help prevent water spots and streaks, leaving your copper sink looking fabulous.
By following these steps, you can effectively polish your copper sink and bring back its natural shine. Regular polishing will help maintain the appearance of your copper sink and prevent the development of a patina. Now that you have completed the cleaning and polishing process, it’s time to admire and enjoy the beauty of your sparkling clean copper sink.
Remember to repeat this cleaning and polishing process regularly to keep your copper sink looking its best. With proper care and maintenance, your copper sink will continue to be a stunning and eye-catching centerpiece in your kitchen or bathroom.
Congratulations on successfully cleaning and polishing your copper sink!
Note: Before using any cleaning solutions or techniques on your copper sink, always check the manufacturer’s guidelines or recommendations to ensure that you are using suitable methods for your specific sink.
Conclusion
Cleaning a copper sink may seem like a daunting task, but with the right materials and techniques, it can be a straightforward and rewarding process. By following the steps outlined in this article, you can effectively clean and maintain the beauty of your copper sink.
Throughout the cleaning process, it’s important to remember a few key points. Firstly, prepare your sink by removing any items and rinsing it with warm water. This will ensure that the cleaning solution can work effectively. Secondly, create a gentle cleaning solution using mild dish soap, white vinegar, lemon, and baking soda. This solution will help remove dirt, stains, and tarnish without causing damage to the copper surface.
Next, apply the cleaning solution using a soft cloth or sponge, scrubbing the entire sink and paying attention to stubborn stains. Rinse the sink thoroughly with clean water, ensuring that all traces of the cleaning solution are removed. Then, dry the sink with a soft cloth or microfiber cloth to prevent water spots and streaks.
To bring back the natural shine of your copper sink, polish it with baking soda using a gentle rubbing motion. Rinse the sink once again with warm water and dry it with a microfiber cloth, buffing it to a brilliant shine.
By regularly following these steps, you can maintain the beauty and elegance of your copper sink. Remember to always refer to the manufacturer’s guidelines or recommendations for cleaning your specific sink to ensure you are using suitable methods.
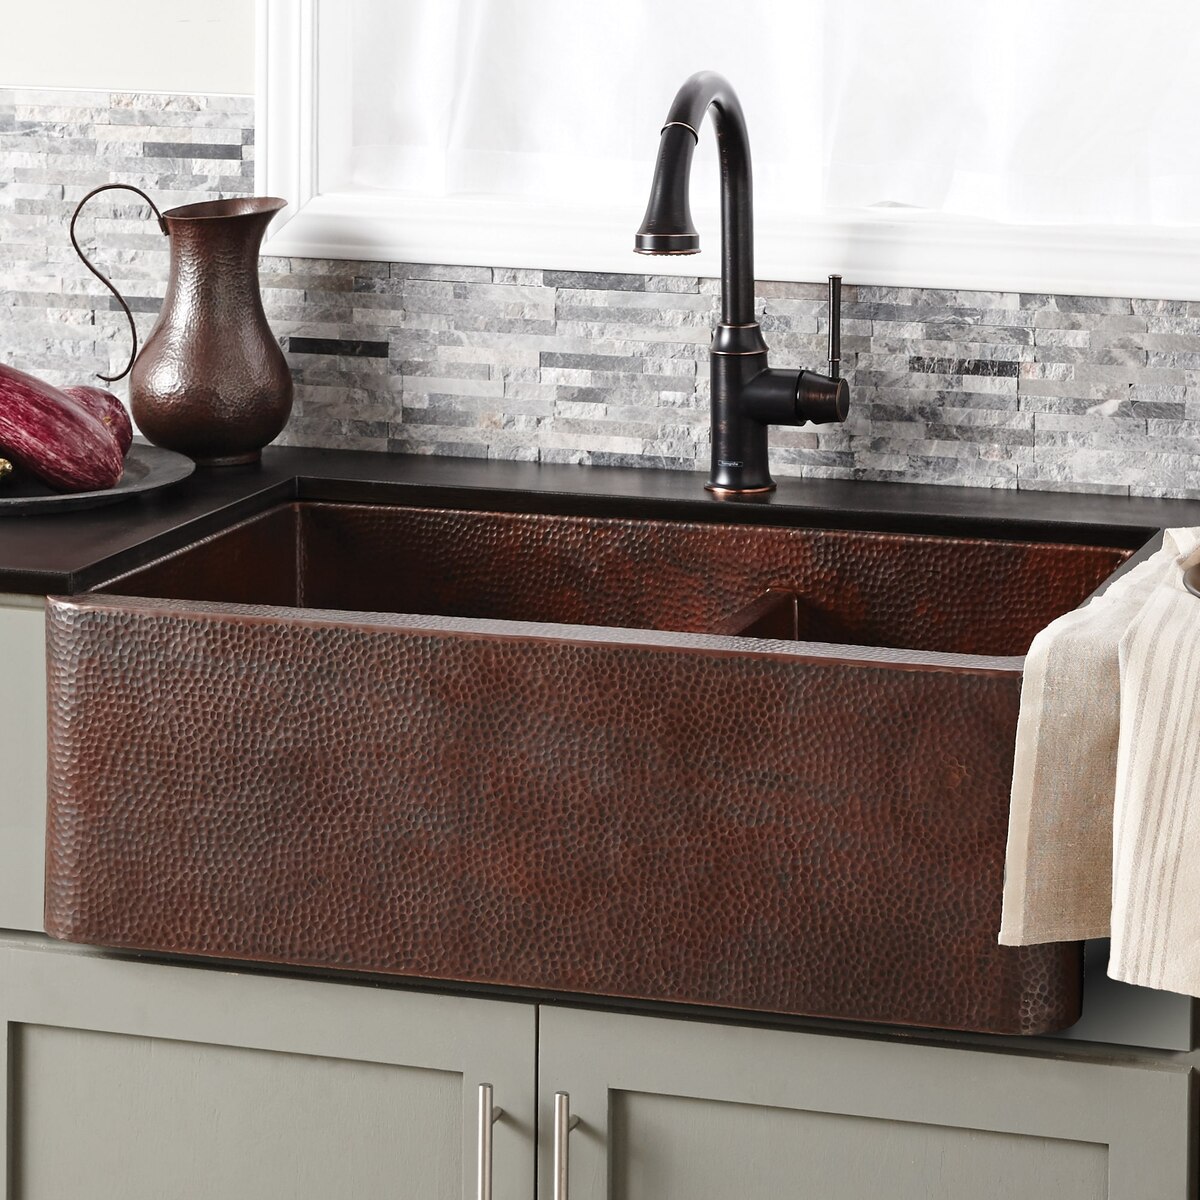
Now that you have successfully completed the cleaning process and restored the shine of your copper sink, take a moment to admire its beauty. Your clean and sparkling sink will be a focal point in your kitchen or bathroom, adding a touch of elegance and charm to the space.
So go ahead and enjoy your freshly cleaned copper sink, knowing that it is not just a functional fixture, but a stunning piece of art that enhances the overall aesthetic of your home.
Frequently Asked Questions about How Do You Clean A Copper Sink
Was this page helpful?
At Storables.com, we guarantee accurate and reliable information. Our content, validated by Expert Board Contributors, is crafted following stringent Editorial Policies. We're committed to providing you with well-researched, expert-backed insights for all your informational needs.


0 thoughts on “How Do You Clean A Copper Sink”