Articles
What Do You Use To Glue Sink To Vanity
Modified: October 20, 2024
Looking for articles on how to glue a sink to a vanity? Find expert tips and advice for a secure and long-lasting installation.
(Many of the links in this article redirect to a specific reviewed product. Your purchase of these products through affiliate links helps to generate commission for Storables.com, at no extra cost. Learn more)
Introduction
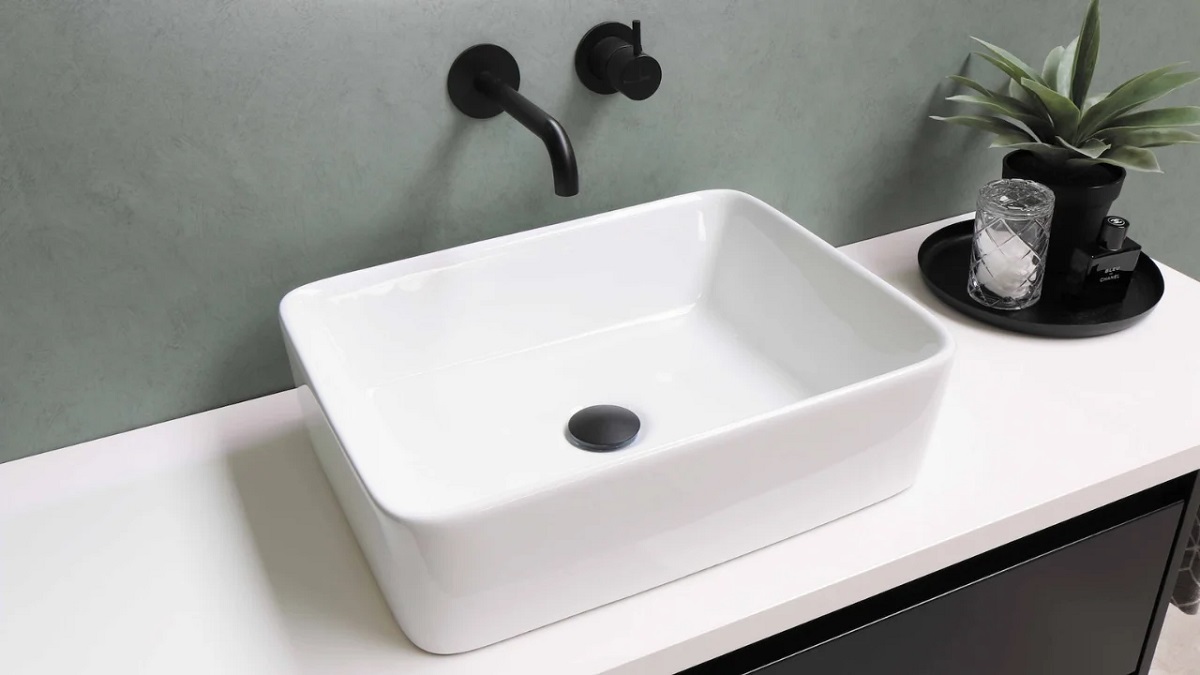
When it comes to installing a sink in your bathroom or kitchen, properly attaching it to the vanity is crucial for long-lasting stability and functionality. The sink and vanity need to be securely conjoined to ensure that they withstand everyday use, water exposure, and other elements that may cause damage or loosen them over time.
Gluing the sink to the vanity is a common method used by professionals and DIY enthusiasts alike to ensure a strong and reliable bond. The glue you use plays a critical role in this process, as it needs to be able to adhere to both the sink material and the vanity surface.
In this article, we will discuss the importance of properly gluing the sink to the vanity and explore different types of glue commonly used for this task. We will also provide a step-by-step guide on how to glue a sink to a vanity, along with common mistakes to avoid. By the end, you will have a comprehensive understanding of the process and be able to tackle this project with confidence.
Key Takeaways:
- Properly gluing the sink to the vanity is crucial for stability, water protection, and aesthetics, ensuring a secure and reliable installation that withstands everyday use and prevents water damage.
- Choosing the right adhesive, thorough surface preparation, and following manufacturer’s instructions are essential for a successful sink-to-vanity installation, providing a functional and aesthetically pleasing result that stands the test of time.
Read more: What Glue Do You Use For Mirrors
Importance of Properly Gluing Sink to Vanity
Properly gluing the sink to the vanity is crucial for several reasons. First and foremost, it ensures stability and prevents the sink from shifting or detaching from the vanity, especially during regular use. This is particularly important for heavy or double sinks that may put extra strain on the adhesive bond.
Moreover, a strong adhesive bond prevents water from seeping into the gap between the sink and the vanity. Water damage can cause the vanity to deteriorate, leading to warping, swelling, or even mold and mildew growth. By sealing the gap with a reliable adhesive, you create a barrier that protects the integrity of the vanity and prevents moisture-related issues.
In addition to stability and water protection, properly gluing the sink to the vanity ensures a neat and seamless appearance. A well-attached sink creates a clean and professional look, enhancing the overall aesthetics of your bathroom or kitchen. It eliminates any unsightly gaps or wobbling that may occur when the sink is not securely glued.
Lastly, properly gluing the sink to the vanity increases the lifespan of both components. By eliminating movement and minimizing the risk of damage, you can enjoy your sink and vanity for many years without the need for repairs or replacement. It provides peace of mind and saves you time and money in the long run.
Overall, the proper adhesive bond between the sink and the vanity is essential for stability, water protection, aesthetics, and longevity. It is a vital step in the installation process that should not be overlooked or underestimated.
Types of Glue for Attaching Sink to Vanity
When it comes to gluing a sink to a vanity, there are several types of glue that you can use, each with its own unique properties and suitability for different materials. Let’s explore some of the most common types:
- Silicone Adhesive: Silicone adhesive is a popular choice for attaching sinks to vanities. It is flexible, waterproof, and provides a strong bond. Silicone adhesive works well with various sink materials such as porcelain, ceramic, and acrylic. It is also heat-resistant, making it suitable for areas near hot water sources. Additionally, silicone adhesive allows for some movement, which is beneficial if there is any slight shifting or settling of the sink over time.
- Epoxy Resin: Epoxy resin is a durable and high-strength adhesive that is commonly used for bonding sinks to vanities. It is known for its excellent bonding capabilities and resistance to moisture and chemicals. Epoxy resin creates a strong and rigid bond, making it suitable for heavy sinks or materials like stone or granite.
- Construction Adhesive: Construction adhesive, such as Liquid Nails or PL Premium, is a versatile option for attaching sinks to vanities. It is a strong adhesive that works with a wide range of materials, including wood, laminate, and metal. Construction adhesive is easy to use, dries quickly, and provides a reliable bond.
- Polyurethane Adhesive: Polyurethane adhesive is another popular choice for attaching sinks to vanities. It is a versatile adhesive that works well with various sink and vanity materials. Polyurethane adhesive forms a flexible and durable bond, providing excellent resistance to water and heat. It is also effective in reducing vibrations and sound transmission.
- Two-Part Epoxy: Two-part epoxy adhesive consists of a resin and a hardener that need to be mixed together before use. This type of adhesive provides a strong and permanent bond that is resistant to moisture, chemicals, and temperature changes. Two-part epoxy is commonly used for heavy-duty applications and is suitable for sinks made from different materials.
It is important to choose the right type of glue based on the material of your sink and vanity, as well as the specific requirements of your project. Be sure to read the product labels and instructions carefully to ensure proper application and compatibility.
Silicone Adhesive
Silicone adhesive is a popular choice for attaching sinks to vanities due to its flexibility, water resistance, and strong bonding capabilities. It is a versatile adhesive that works well with various sink materials such as porcelain, ceramic, and acrylic, making it a suitable option for most bathroom and kitchen sinks.
One of the key advantages of using silicone adhesive is its waterproof nature. It forms a tight seal that prevents water from seeping into the gap between the sink and the vanity, protecting the integrity of the vanity and reducing the risk of water damage. This is particularly important in areas where water exposure is frequent, such as bathroom sinks.
Furthermore, silicone adhesive provides a strong bond that ensures the sink remains securely attached to the vanity. It can withstand the weight of the sink and any regular use, reducing the risk of the sink becoming loose or detached over time. Silicone adhesive also allows for some movement, which can be beneficial if there is any slight shifting or settling of the sink due to temperature changes or other factors.
Using silicone adhesive is relatively straightforward. It is typically available in a tube and can be applied using a caulking gun or by hand. Before applying the adhesive, ensure that both the surface of the sink and the vanity are clean and free from any debris or moisture. Apply a thin, even layer of silicone adhesive along the edge of the sink and press it firmly onto the vanity. Wipe away any excess adhesive using a damp cloth.
Keep in mind that silicone adhesive requires curing time to fully set and achieve its maximum strength. Refer to the product instructions for the recommended drying time before using the sink or applying any additional stress on the bond. It is also important to choose a high-quality silicone adhesive that is specifically designed for sink and vanity applications to ensure optimal performance and longevity.
In summary, silicone adhesive is a reliable choice for attaching sinks to vanities. Its flexibility, waterproof properties, and strong bonding capabilities make it suitable for a wide range of sink materials. By using silicone adhesive correctly, you can create a secure and durable bond that withstands everyday use and protects your sink and vanity from water damage.
Epoxy Resin
Epoxy resin is a durable and high-strength adhesive that is commonly used for attaching sinks to vanities. It is known for its excellent bonding capabilities and resistance to moisture and chemicals. Epoxy resin is a popular choice for heavy sinks or materials like stone or granite, where a strong and reliable bond is essential.
One of the key advantages of epoxy resin is its ability to create a rigid and permanent bond. When mixed together, the epoxy resin and hardener form a chemical reaction that results in a strong adhesive that can withstand heavy loads and regular use. This makes it ideal for sinks that may have a substantial weight or may be subjected to frequent use.
Epoxy resin is also highly resistant to moisture, which is important in areas where sinks are constantly exposed to water. This resistance helps prevent water from seeping into the gap between the sink and the vanity, reducing the risk of water damage and mold or mildew growth. It provides added protection and durability to the sink installation.
In addition to its strength and water resistance, epoxy resin is also known for its chemical resistance. This makes it suitable for use in areas where cleaning products or chemicals may come into contact with the sink surface. Epoxy resin can withstand exposure to various solutions without deteriorating or losing its adhesive properties.
Using epoxy resin requires proper mixing and application. It typically comes in two parts – the resin and the hardener. These components need to be mixed together according to the manufacturer’s instructions. Once mixed, apply the epoxy resin adhesive to the edge of the sink and press it firmly onto the vanity surface. Excess adhesive should be wiped away before it cures.
It is important to note that epoxy resin requires sufficient curing time to achieve its maximum strength. Follow the recommendations provided by the manufacturer regarding the drying time before using the sink or applying any additional stress to the bond. It is also essential to choose an epoxy resin adhesive that is specifically designed for sink installations for optimal performance and longevity.
In summary, epoxy resin is a durable and high-strength adhesive commonly used for attaching sinks to vanities. Its ability to create a rigid and permanent bond, along with its resistance to moisture and chemicals, makes it an excellent choice for heavy sinks and materials like stone and granite. By using epoxy resin appropriately, you can ensure a strong and long-lasting bond between the sink and the vanity.
Read more: What Glue To Use For Glass
Construction Adhesive
Construction adhesive is a versatile option for attaching sinks to vanities. It is a strong adhesive that works well with a wide range of sink and vanity materials such as wood, laminate, and metal. Construction adhesive is popular among both professionals and DIY enthusiasts due to its ease of use, quick drying time, and reliable bonding capabilities.
One of the key advantages of construction adhesive is its strength. It is designed to provide a strong and durable bond, ensuring that the sink remains securely attached to the vanity. Whether you are installing a bathroom sink or a kitchen sink, construction adhesive can handle the weight and regular use without compromising the bond.
Construction adhesive is also known for its quick drying time, allowing you to proceed with your project promptly. Once applied, it typically dries within a few hours, depending on the specific adhesive and conditions. This fast drying allows you to continue with the installation process without unnecessary delays, making it ideal for those who prefer a quick and efficient project completion.
Another advantage of construction adhesive is its versatility. It can be used with various sink and vanity materials, making it a convenient choice for different installations. Whether you’re attaching a ceramic sink to a wooden vanity or a stainless steel sink to a laminate surface, construction adhesive provides a reliable bond that holds up well over time.
Applying construction adhesive is relatively straightforward. It usually comes in a tube, and you can use a caulking gun or apply it directly from the tube. Before applying the adhesive, ensure that the sink and the vanity surfaces are clean and free from any debris or moisture. Apply the adhesive in a zigzag pattern along the edge of the sink and press it firmly onto the vanity surface. Wipe away any excess adhesive using a damp cloth.
It is important to note that construction adhesive requires some curing time to achieve its full strength. Follow the instructions provided by the manufacturer to determine the recommended drying time before using the sink or applying any pressure to the bond. Choosing a high-quality construction adhesive specifically designed for sink installations is essential to ensure optimal performance and longevity.
In summary, construction adhesive is a versatile and reliable option for attaching sinks to vanities. Its strength, quick drying time, and compatibility with various sink and vanity materials make it a popular choice. By using construction adhesive properly, you can achieve a secure and durable bond between the sink and the vanity.
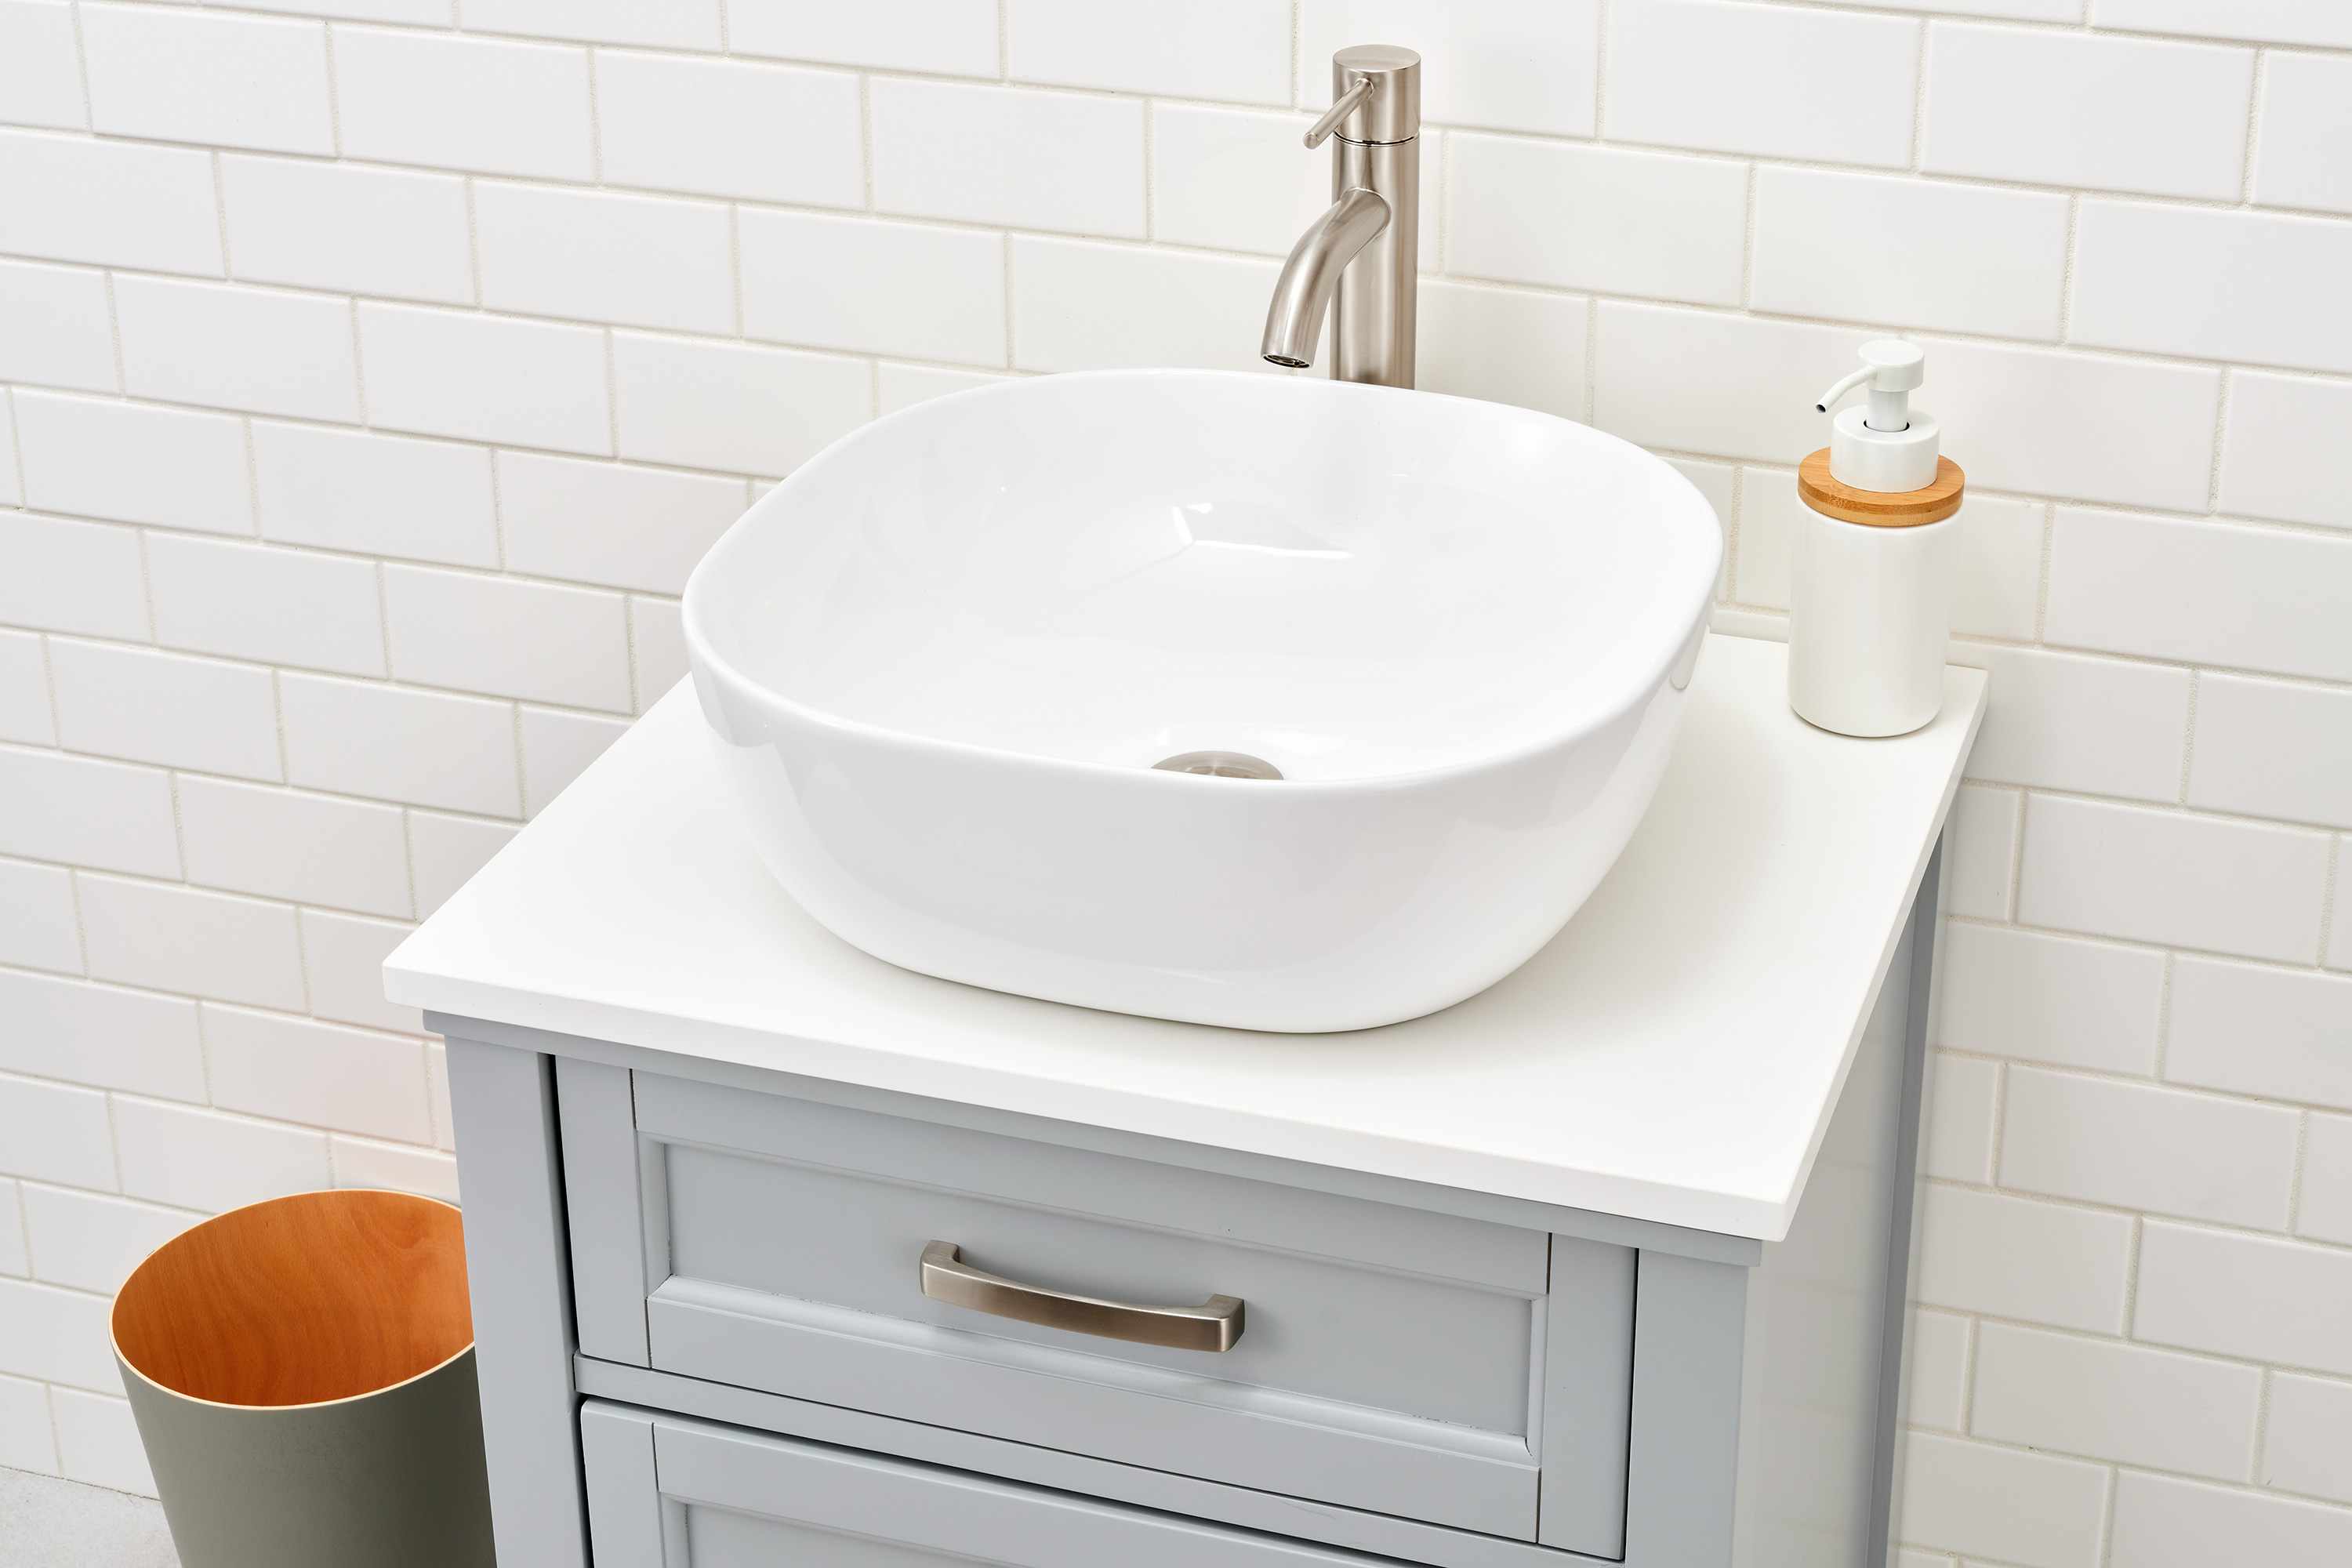
Use a clear silicone adhesive to glue the sink to the vanity. Apply a thin, even layer around the edge of the sink before carefully placing it onto the vanity. Wipe away any excess adhesive and allow it to dry completely before using the sink.
Choosing the Right Glue for Your Sink and Vanity
When it comes to choosing the right glue for attaching your sink to the vanity, it’s essential to consider several factors to ensure a secure and long-lasting bond. Here are some key considerations to keep in mind:
- Sink and Vanity Materials: The first step is to determine the materials of your sink and vanity. Different materials may require different types of glue. For example, if you have a porcelain sink and a wooden vanity, a silicone adhesive or construction adhesive may be suitable. If you have a stone or granite sink, epoxy resin is often the preferred choice.
- Weight and Size of the Sink: Consider the weight and size of the sink you are attaching to the vanity. If you have a large or heavy sink, you’ll need a strong adhesive that can handle the load. Epoxy resin or construction adhesive are often recommended for heavy sinks, while silicone adhesive may be suitable for lighter sinks.
- Water Exposure: Assess the level of water exposure the sink will have. For bathroom sinks or sinks in kitchens with high moisture levels, it’s crucial to choose a waterproof adhesive. Silicone adhesive and epoxy resin are both excellent choices for water resistance.
- Installation Skill Level: Consider your skill level and comfort with using different types of glue. Some adhesives require careful mixing and precise application, while others are more forgiving and easier to use. Choose a glue that aligns with your abilities and confidence in handling it.
- Drying and Curing Time: Take note of the drying and curing time of the adhesive. Some glues require longer drying periods before they achieve their maximum strength. Consider your project timeline and ensure you allow enough time for the adhesive to set properly before using the sink.
- Manufacturer Recommendations: Lastly, always refer to the manufacturer’s recommendations and instructions for the specific sink and vanity materials you have. The manufacturer will often provide guidance on the type of adhesive best suited for their products, ensuring compatibility and optimal performance.
It’s important to note that investing in a high-quality glue specifically designed for sink and vanity applications is essential. These adhesives are formulated to withstand the specific demands and challenges of sink installations, ensuring a reliable and long-lasting bond.
By considering these factors and following the manufacturer’s recommendations, you can choose the right glue for your sink and vanity project. This will ensure a strong and secure attachment between the sink and the vanity, providing stability, water resistance, and durability for years to come.
Preparation for Gluing the Sink to the Vanity
Before you begin gluing the sink to the vanity, it’s important to properly prepare both the sink and the vanity surfaces. This preparation ensures that the adhesive can form a strong bond and that the installation will be successful. Here are the key steps to follow for effective preparation:
- Clean the Surfaces: Start by thoroughly cleaning both the sink and the vanity surfaces. Remove any dirt, dust, grease, or debris that may prevent the glue from adhering properly. Use a mild detergent or cleaner and a non-abrasive cloth or sponge to clean the surfaces. Rinse them well with water and allow them to dry completely.
- Remove Old Adhesive: If there is any previous adhesive or caulking present on either the sink or the vanity, it is important to remove it completely. Use a putty knife or a scraper to gently scrape away the old adhesive. Take care not to scratch or damage the surfaces while doing this.
- Smooth or Level the Surface: Check the sink and vanity for any irregularities or uneven spots. If necessary, use sandpaper or a leveling compound to smooth out any rough areas and ensure a flat, even surface. This step will help the adhesive create a consistent bond.
- Dry Fit the Sink: Before applying any adhesive, perform a dry fit of the sink onto the vanity. Position the sink in its intended place and ensure that it fits properly and aligns correctly with the drain and faucet connections. This step allows you to make any necessary adjustments before applying the glue.
- Read and Follow the Instructions: It is crucial to familiarize yourself with the instructions provided by the adhesive manufacturer. Each glue may have specific guidelines or requirements for proper application. Following these instructions ensures that you apply the glue correctly for the best results.
- Gather the Required Tools and Materials: Before proceeding with the gluing process, make sure you have all the necessary tools and materials on hand. This may include the chosen adhesive, a caulking gun or applicator, a putty knife, a clean cloth, and any other items recommended by the adhesive manufacturer.
By thoroughly cleaning and preparing the sink and vanity surfaces, you create an ideal environment for the adhesive to form a strong bond. This step-by-step preparation process is essential for a successful sink and vanity installation, ensuring stability, longevity, and overall satisfaction with the final result.
Step-by-Step Guide on How to Glue Sink to Vanity
Gluing the sink to the vanity is a crucial step in ensuring a secure and long-lasting installation. By following this step-by-step guide, you can confidently complete the process:
- Prepare the Surfaces: Ensure that both the sink and the vanity surfaces are thoroughly cleaned and free from any dirt, dust, or debris. Remove any old adhesive or caulking, and level any uneven spots if necessary.
- Dry Fit the Sink: Perform a dry fit of the sink onto the vanity to ensure proper alignment and fit. Make any necessary adjustments before proceeding to the gluing process.
- Apply the Glue: Select the appropriate glue for your sink and vanity materials, taking into account the recommendations of the manufacturer. Apply the glue to the edge of the sink in a continuous zigzag pattern, leaving a small gap from the outer edge to prevent excess adhesive from oozing out.
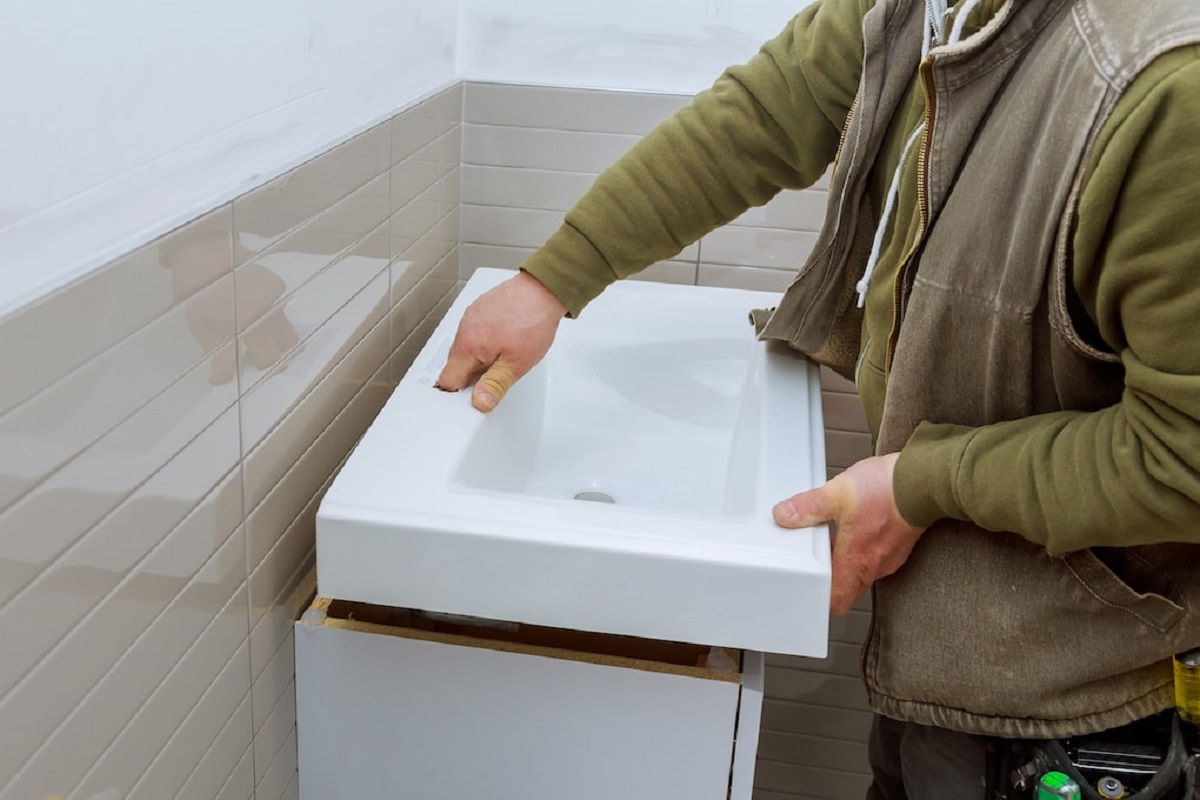
- Press the Sink onto the Vanity: Carefully position the sink onto the vanity, lining it up with the drain and faucet connections. Once aligned, press the sink firmly down onto the adhesive, applying even pressure to ensure proper contact between the sink and the vanity.
- Secure the Sink: Use clamps or weights to help secure the sink in place while the glue sets. Follow the adhesive manufacturer’s instructions regarding the drying and curing time required for maximum strength.
- Wipe away Excess Glue: After the glue has dried, use a damp cloth or sponge to carefully wipe away any excess glue that may have squeezed out from the edges. Take care not to disturb the bond between the sink and the vanity.
- Allow Adequate Curing Time: Depending on the type of glue used, allow sufficient time for the adhesive to fully cure and set. Avoid using the sink or placing any weight on it until the recommended curing time has passed.
- Connect the Plumbing: Once the glue has completely cured, reconnect the plumbing for the sink. Ensure that all connections are tight and leak-free before turning on the water.
- Final Inspection: Conduct a final inspection to ensure that the sink is securely attached to the vanity. Check for any signs of movement or gaps between the sink and the vanity. Make any necessary adjustments or touch-ups to ensure a seamless and secure installation.
By following these steps, you can successfully glue the sink to the vanity, creating a stable and durable bond. Remember to read and follow the specific instructions provided by the adhesive manufacturer for optimal results. With proper installation, you can enjoy a functional and aesthetically pleasing sink for years to come.
Read more: What Kind Of Glue To Use On Glass
Common Mistakes to Avoid
When gluing a sink to a vanity, it’s important to be aware of and avoid common mistakes that can compromise the integrity and longevity of the installation. By avoiding these pitfalls, you can ensure a successful and secure bond between the sink and the vanity. Here are some common mistakes to avoid:
- Inadequate Surface Preparation: Failing to properly clean and prepare the sink and vanity surfaces can significantly affect the adhesive’s ability to form a strong bond. Make sure to clean the surfaces thoroughly and remove any old adhesive or debris before applying the glue.
- Using Incorrect Adhesive: Choosing the wrong type of adhesive for your sink and vanity materials can lead to a weak bond and potential failure. Take the time to research and select the appropriate adhesive that is compatible with your specific sink and vanity materials.
- Insufficient Adhesive Application: Applying too little adhesive can result in a weak bond that may not withstand the weight or regular use of the sink. Follow the manufacturer’s instructions and apply enough adhesive evenly along the edge of the sink to ensure proper adhesion.
- Excessive Adhesive Application: Conversely, applying too much adhesive can cause excess to squeeze out and create a messy appearance. It’s important to find the right balance and avoid excess adhesive that can be difficult to clean up and may interfere with the appearance of the sink and vanity.
- Not Allowing Sufficient Curing Time: Rushing the drying and curing time of the adhesive can compromise the bond between the sink and the vanity. It’s crucial to follow the manufacturer’s guidelines and allow the recommended amount of time for the adhesive to fully cure before using the sink or putting any stress on the bond.
- Ignoring Safety Precautions: Some adhesives may emit strong odors or require ventilation during application. It’s important to read and follow the safety guidelines provided by the adhesive manufacturer, such as using the adhesive in a well-ventilated area and using appropriate personal protective equipment if necessary.
- Overlooking Plumbing Connections: Forgetting to properly reconnect the plumbing or ensuring tight connections can lead to leaks and potential damage. Take the time to double-check that all the plumbing connections are secure and leak-free before turning on the water.
- Not Conducting a Final Inspection: Skipping a final inspection can result in overlooking any gaps, movement, or imperfections between the sink and the vanity. Take the time to thoroughly inspect the installation and make any necessary adjustments or touch-ups to achieve a seamless and secure bond.
By being mindful of these common mistakes and taking the necessary precautions, you can avoid potential issues and achieve a successful sink-to-vanity installation. It’s important to follow the instructions provided by the adhesive manufacturer and exercise patience and attention to detail throughout the entire process. With proper execution, you can enjoy a strong, stable, and long-lasting attachment between your sink and vanity.
Conclusion
Attaching a sink to a vanity requires careful consideration and the use of the right adhesive to ensure a strong and long-lasting bond. By following the steps outlined in this article and avoiding common mistakes, you can achieve a secure and reliable installation.
Properly gluing the sink to the vanity is essential for stability, water protection, and aesthetics. It ensures that the sink remains securely attached without any movement or potential damage. It also provides a barrier against water seepage, preventing issues such as warping, swelling, and mold growth.
When selecting the adhesive, take into account the sink and vanity materials, weight distribution, water exposure, and your skill level. Whether you choose silicone adhesive, epoxy resin, construction adhesive, or another type, ensure it is specifically designed for sink and vanity applications and follow the manufacturer’s instructions for optimal results.
Before applying the adhesive, prepare the surfaces by thoroughly cleaning and leveling them. Perform a dry fit of the sink to ensure proper alignment before proceeding with the gluing process. Apply the adhesive in an even and appropriate amount, then firmly press the sink onto the vanity, securing it with clamps or weights if necessary. Allow the adhesive to fully cure and set before reconnecting the plumbing and conducting a final inspection.
By being diligent in the preparation, application, and curing process, you can be confident in the strength and reliability of the bond between your sink and vanity. Taking the time to properly glue the sink to the vanity will result in a functional and aesthetically pleasing installation that will stand the test of time.
Remember, if you are unsure or uncomfortable with the installation process, it is always advisable to seek professional assistance. They have the experience and expertise to ensure a proper and secure installation of your sink to the vanity.
With the proper adhesive and careful execution, you can enjoy a sink and vanity that not only enhances the functionality of your space but also adds beauty and durability to your kitchen or bathroom for years to come.
Now that you've got the hang of gluing your sink to the vanity, why not tackle more home improvement projects? If you're curious about the duration and steps involved in upgrading your bathroom, our guide on bathroom renovation will clear up any uncertainties. Or, if you're ready to enhance your plumbing skills, check out our practical instructions on sink installation. These articles provide clear, step-by-step advice to help you succeed in your next home project.
Frequently Asked Questions about What Do You Use To Glue Sink To Vanity
Was this page helpful?
At Storables.com, we guarantee accurate and reliable information. Our content, validated by Expert Board Contributors, is crafted following stringent Editorial Policies. We're committed to providing you with well-researched, expert-backed insights for all your informational needs.


0 thoughts on “What Do You Use To Glue Sink To Vanity”