Articles
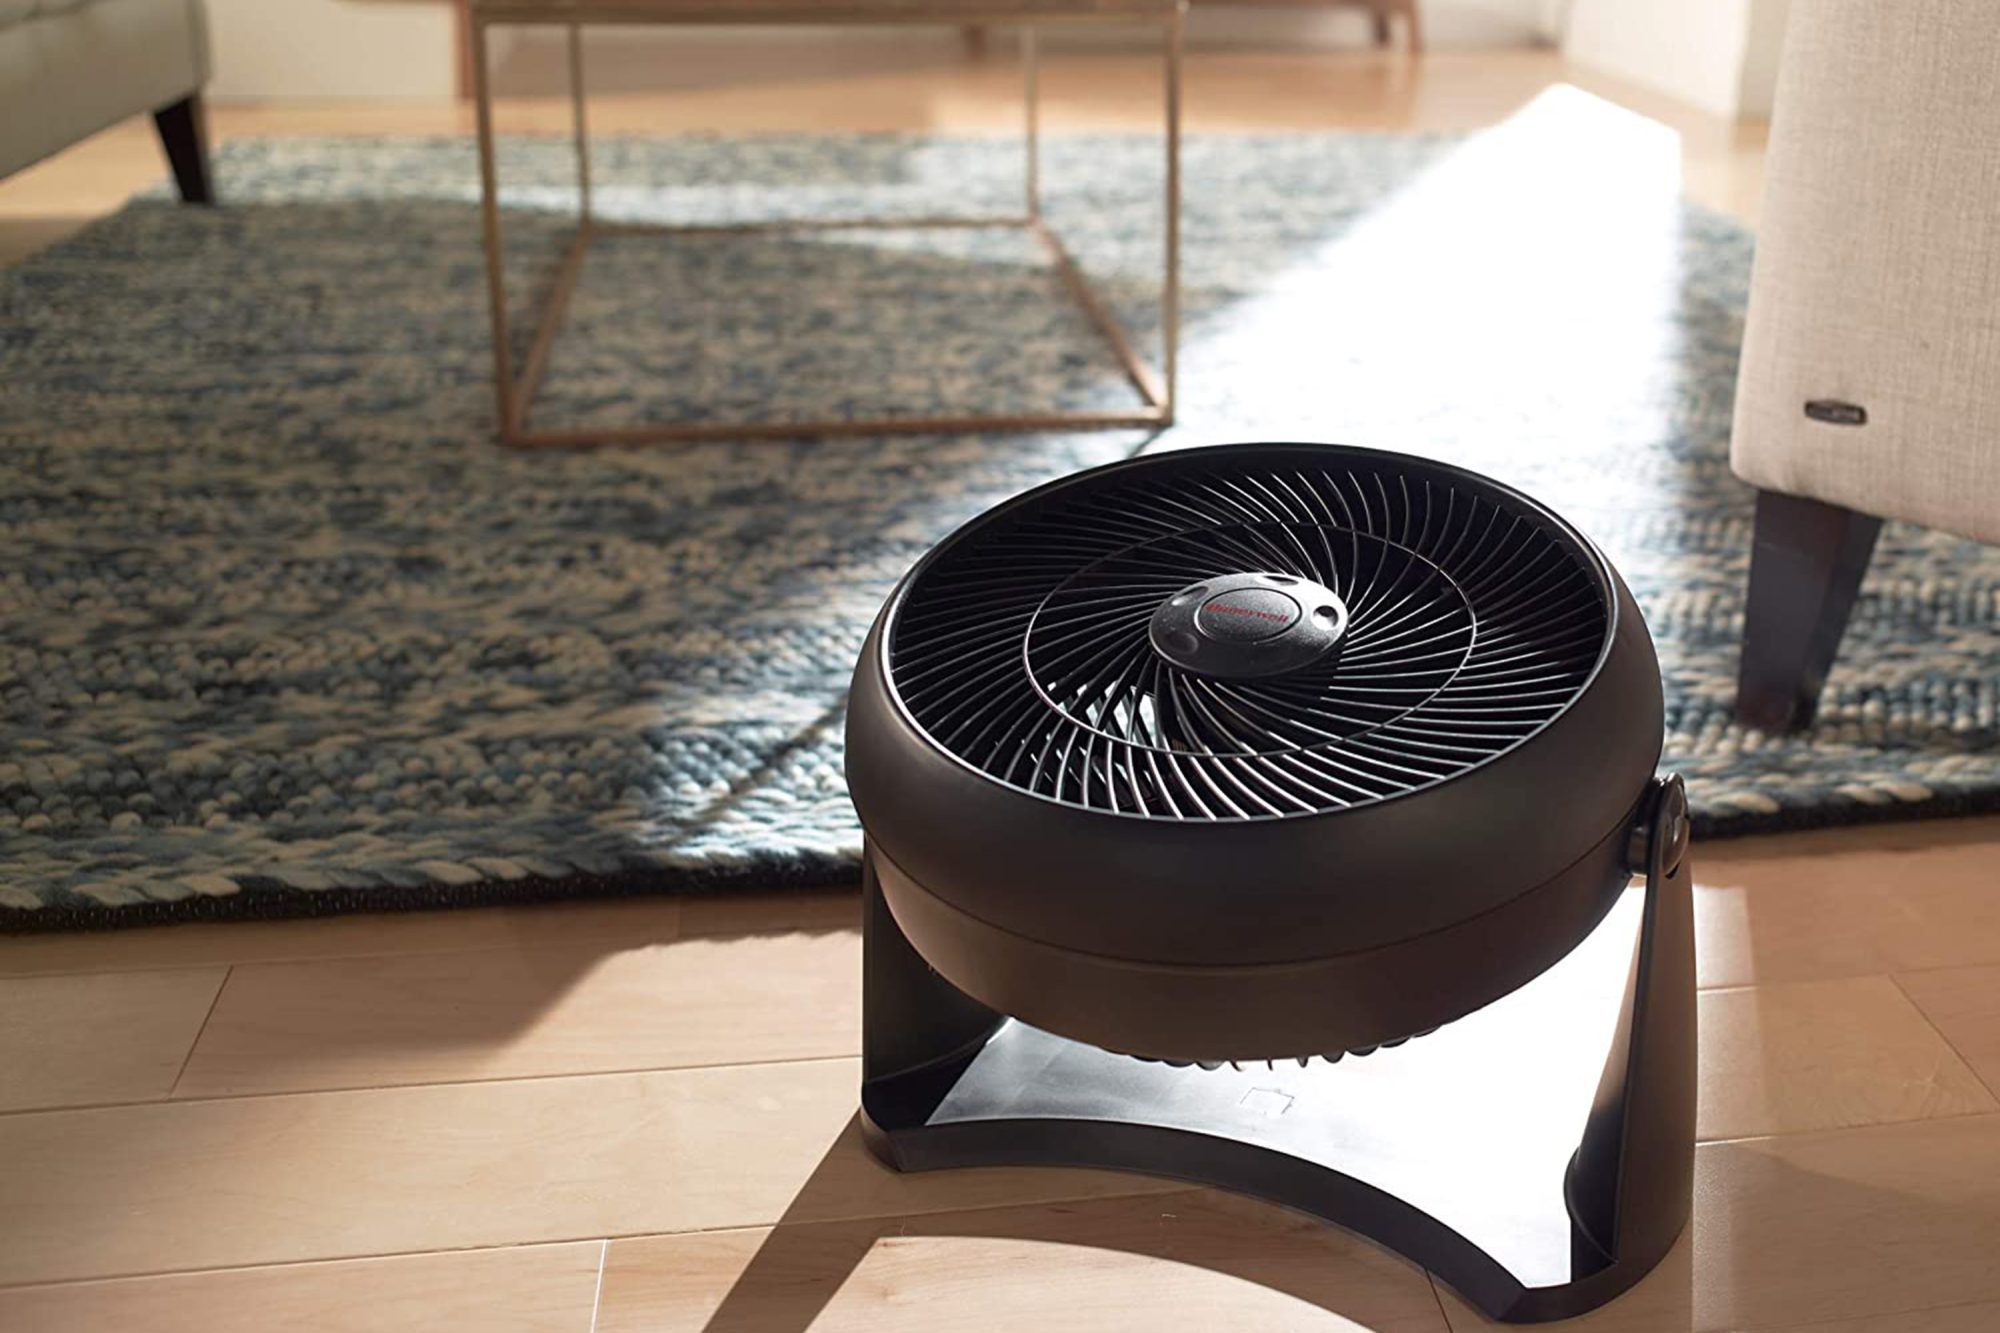
How To Clean Honeywell Tower Fan
Modified: October 19, 2024
Looking for articles on how to clean your Honeywell tower fan? Check out our comprehensive guide for step-by-step instructions and expert tips.
(Many of the links in this article redirect to a specific reviewed product. Your purchase of these products through affiliate links helps to generate commission for Storables.com, at no extra cost. Learn more)
Introduction
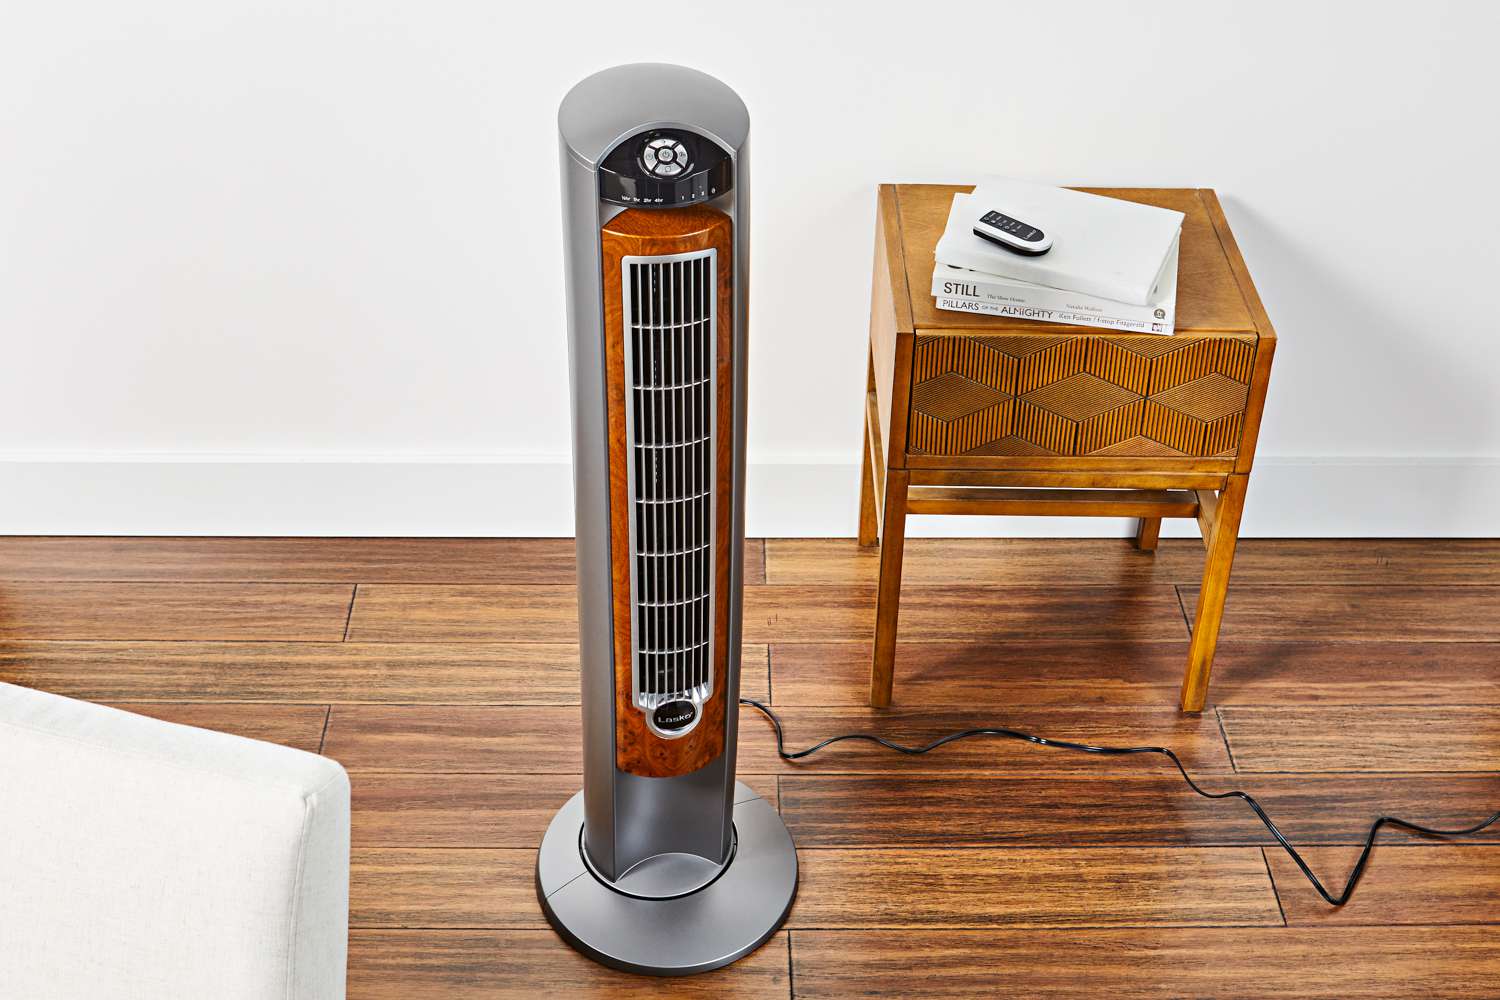
Welcome to our guide on how to clean and maintain your Honeywell Tower Fan! Tower fans are a popular choice for keeping our homes cool and comfortable. Over time, dust and debris can accumulate on the fan’s blades and housing, reducing its efficiency and airflow. Regular cleaning not only ensures better performance but also helps prolong the lifespan of your fan.
In this article, we will walk you through the step-by-step process of cleaning your Honeywell Tower Fan. We will also provide some valuable tips to ensure the safety of the fan and yourself during the cleaning process. So, let’s get started!
Key Takeaways:
- Regularly cleaning your Honeywell Tower Fan, ideally every 1 to 3 months, will help maintain its efficiency and prevent any buildup that could hinder its performance. It’s always a good idea to consult your fan’s instruction manual for specific cleaning recommendations based on the model you own.
- By following the step-by-step guide outlined in this article, you can easily clean and maintain your fan to keep it running smoothly and efficiently. Prioritizing safety, using the correct supplies, and ensuring thorough cleaning will enhance the fan’s airflow and maintain its performance.
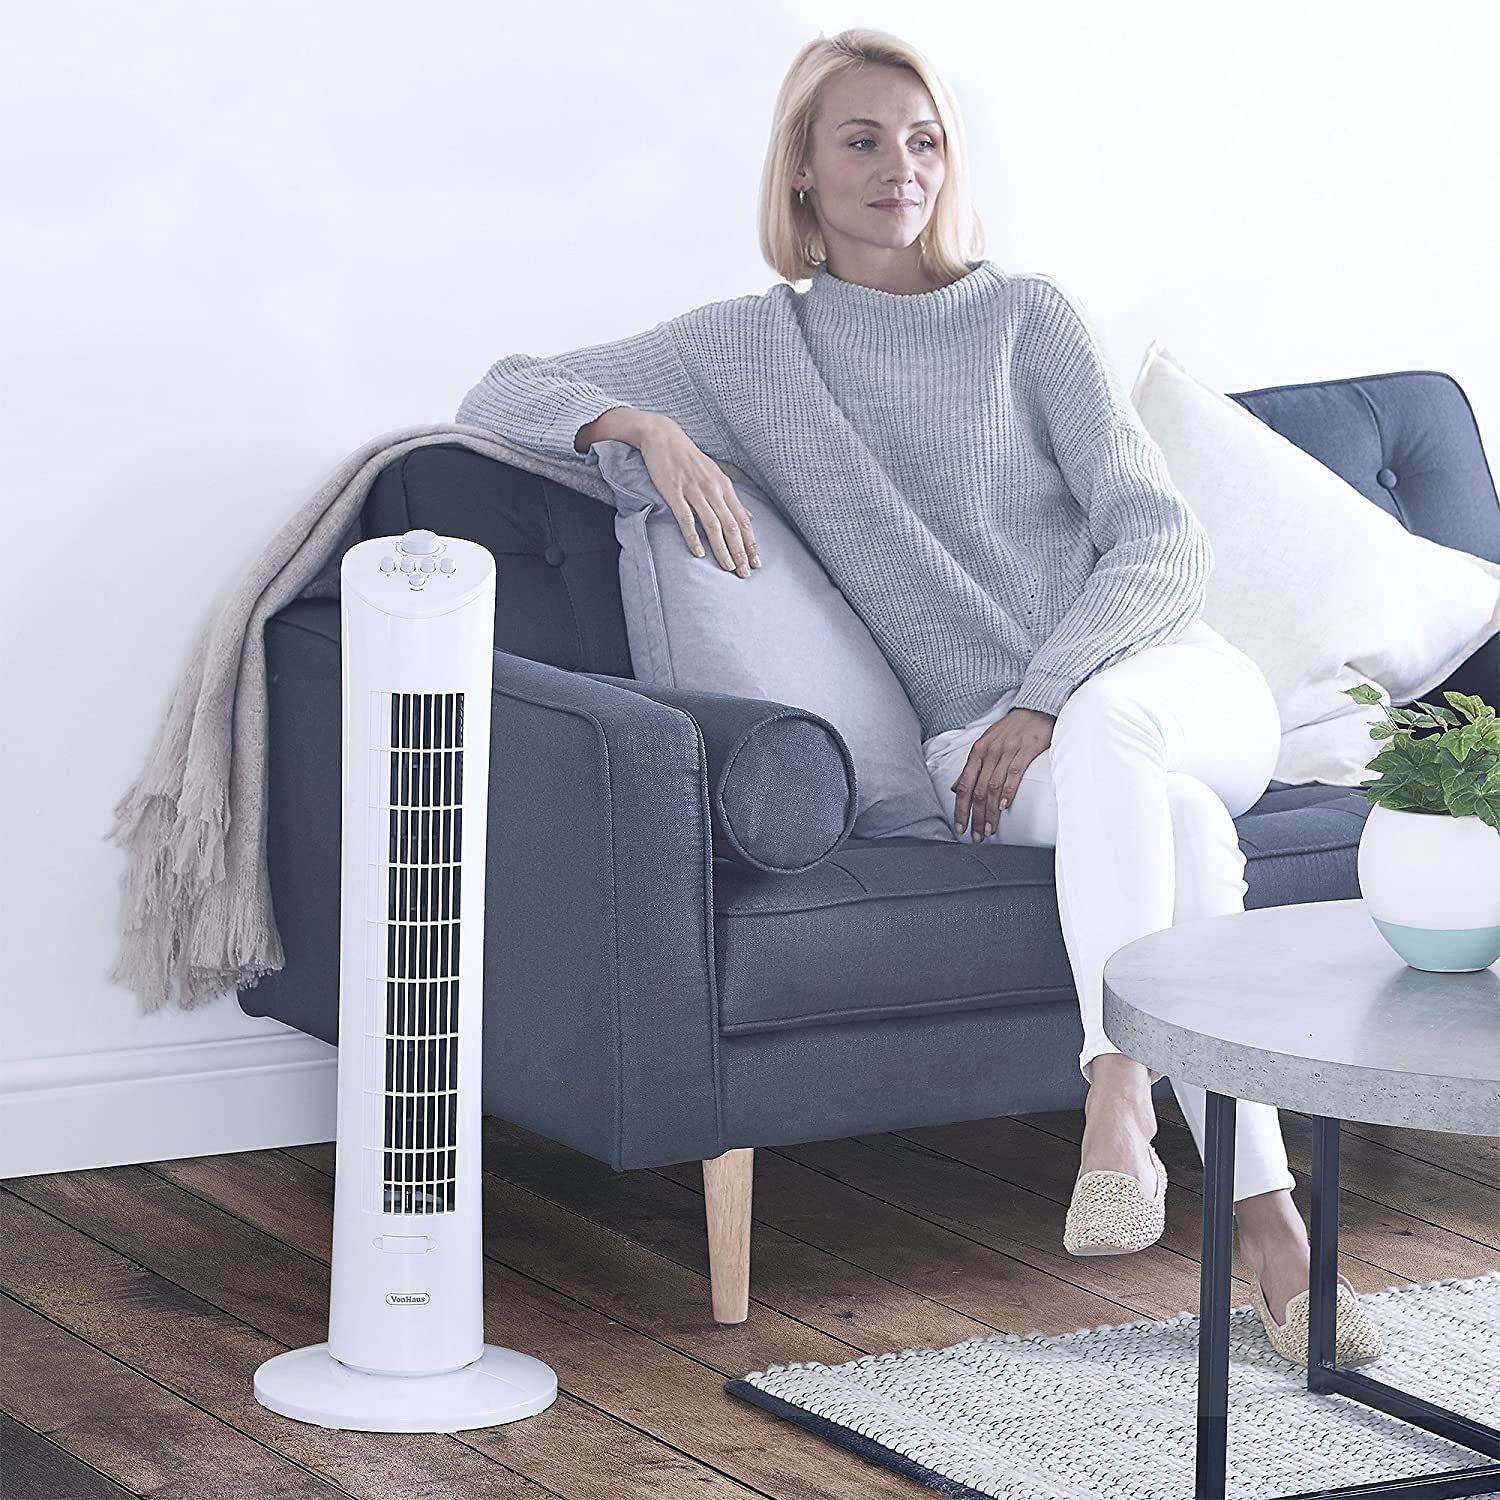
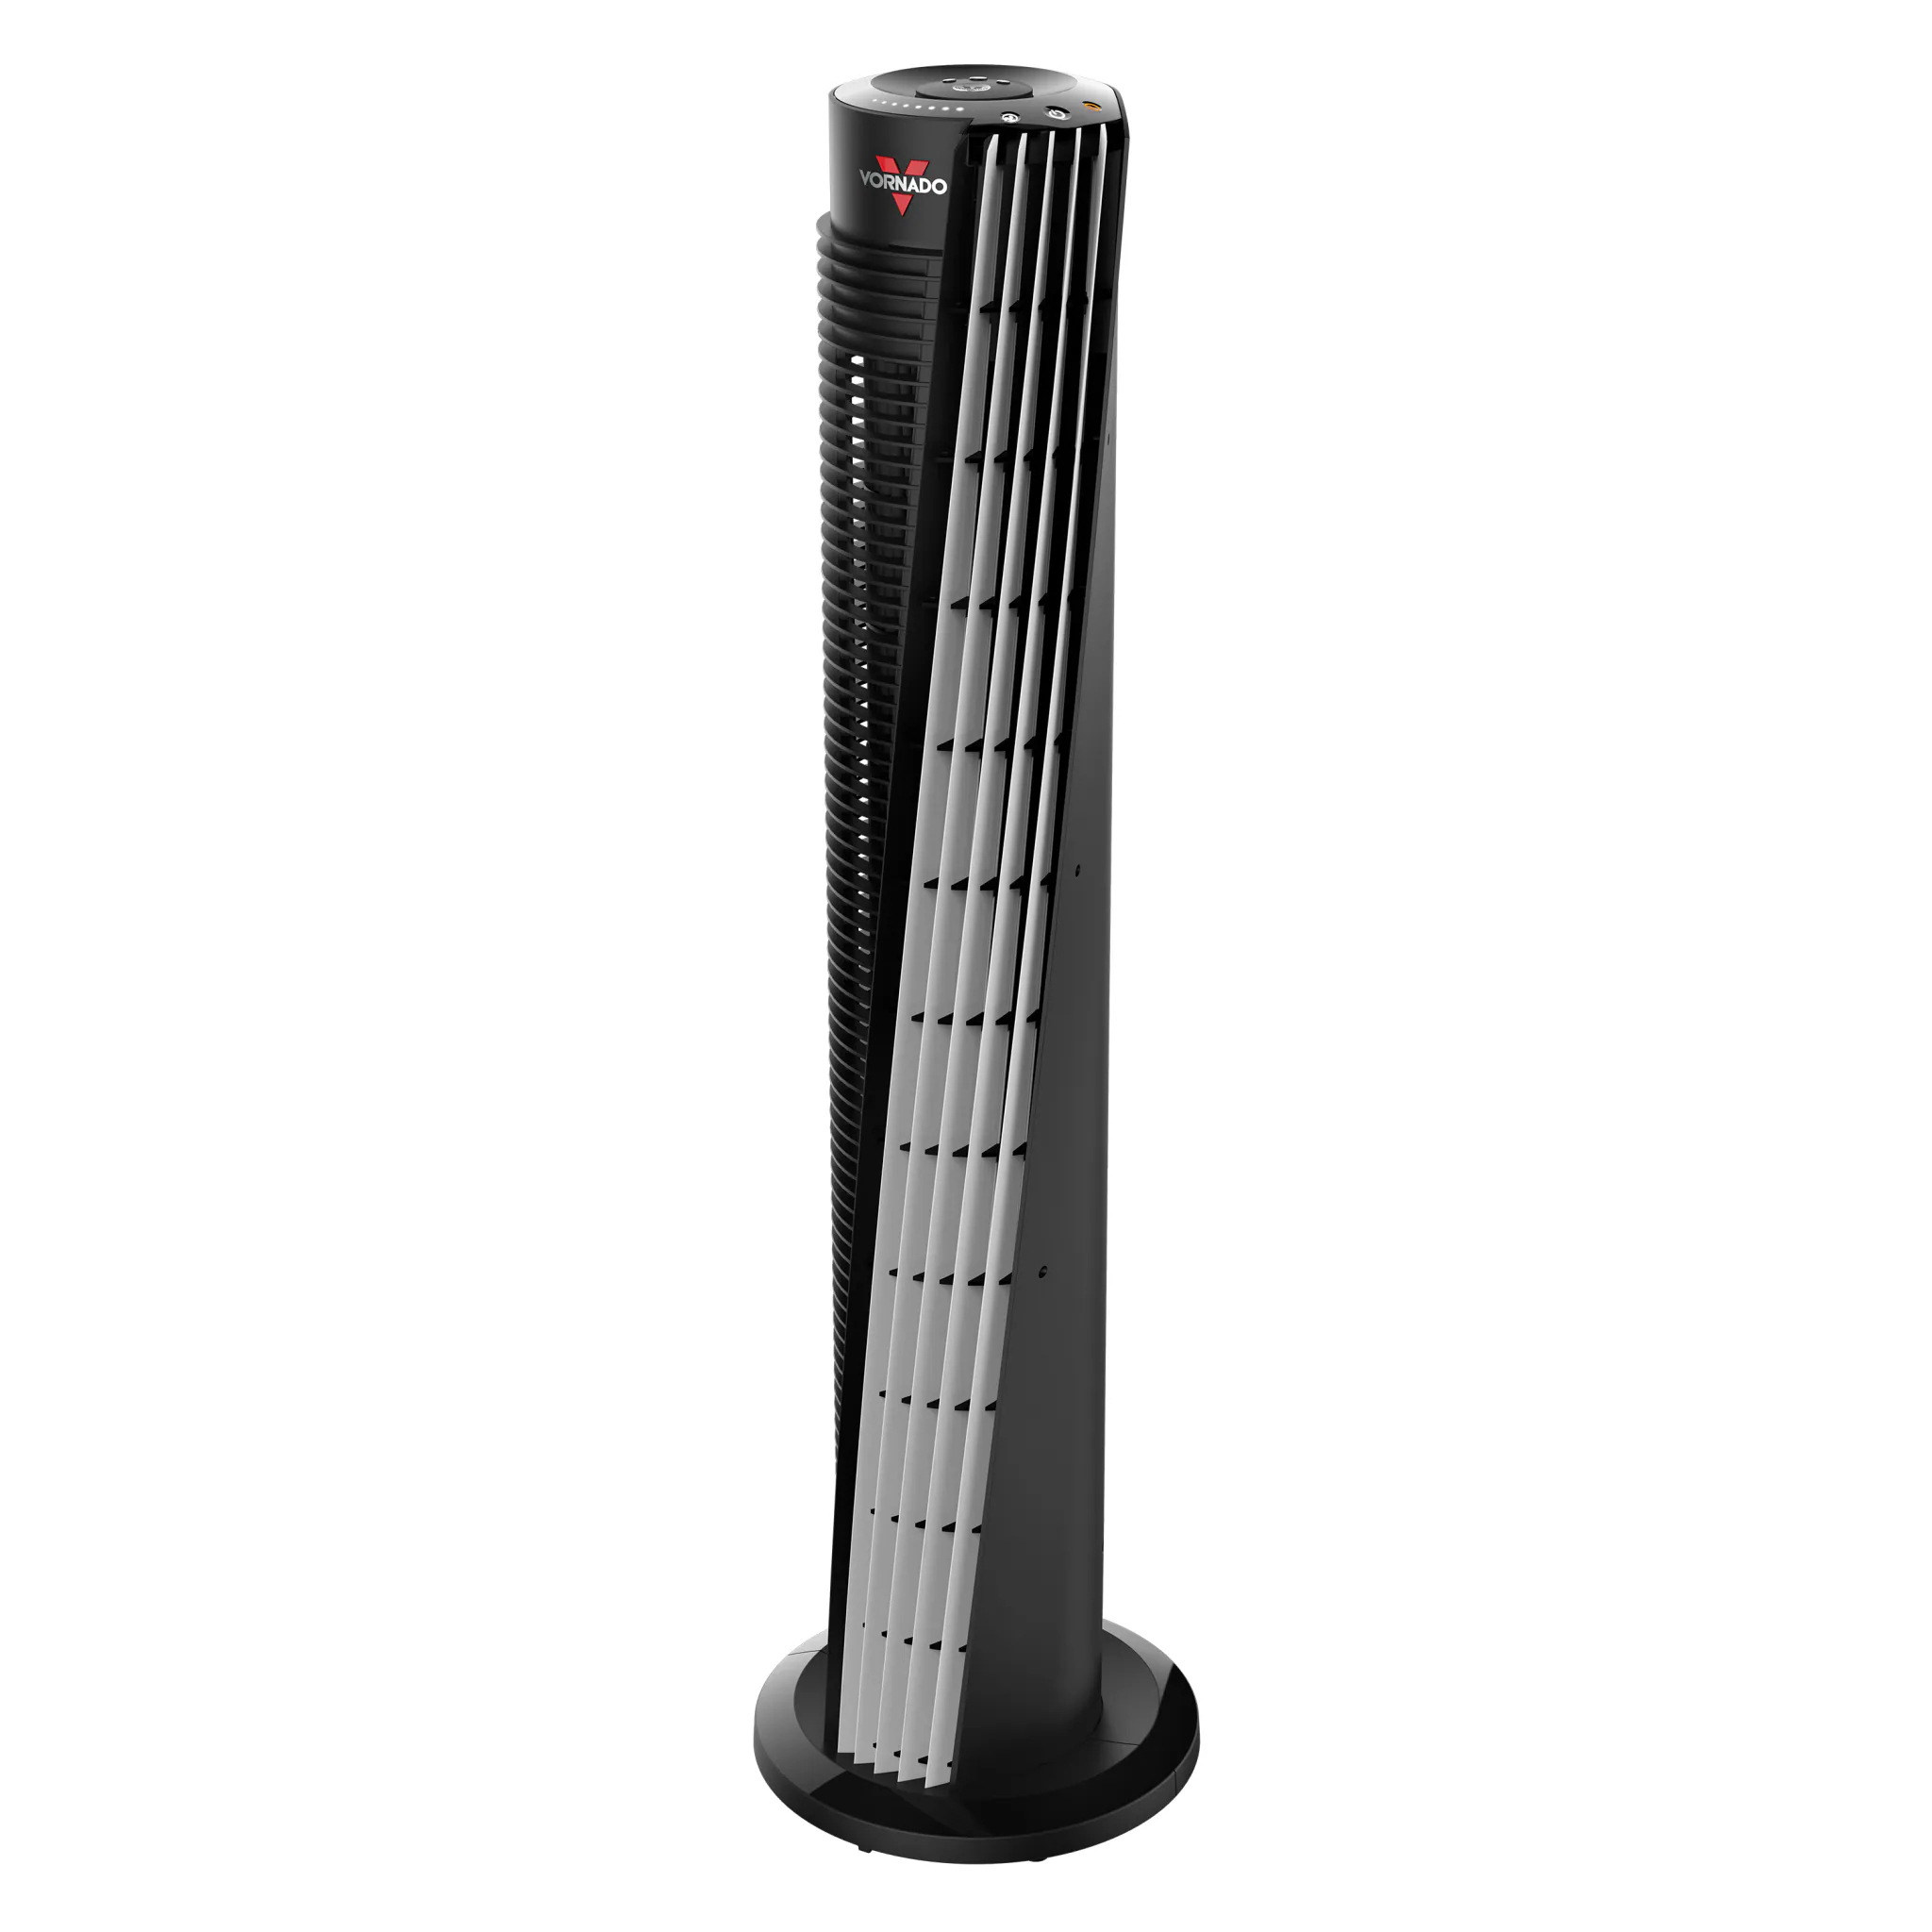
Read more: How To Clean A Vornado Tower Fan
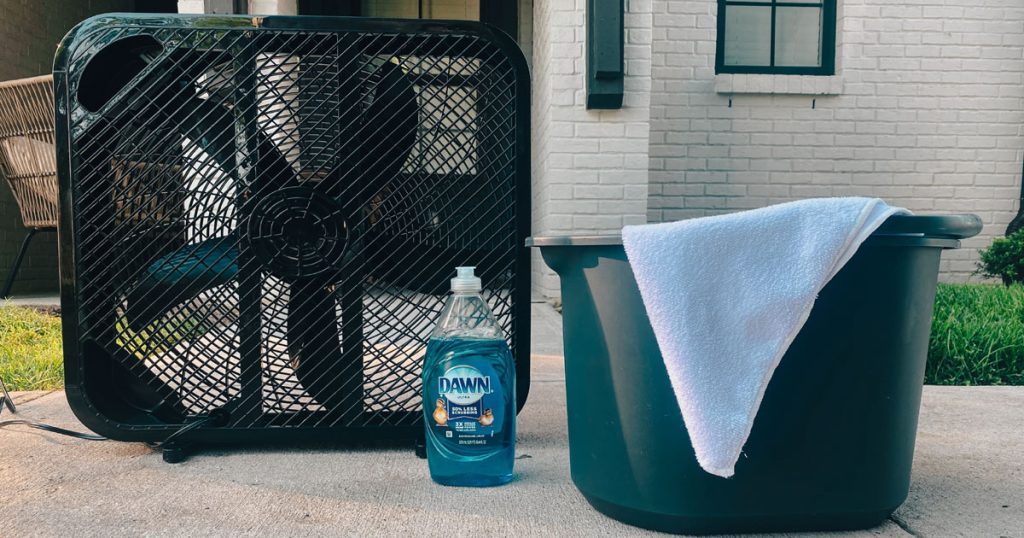
Necessary Supplies
Before you begin cleaning your Honeywell Tower Fan, gather the following supplies:
- A soft cloth or microfiber cloth
- A vacuum cleaner with a brush attachment
- Cotton swabs
- Mild dish soap or a cleaning solution recommended for electronics
- Water in a spray bottle
- A screwdriver (if required for removing the front grille)
Having these supplies ready will ensure a smooth and efficient cleaning process.
Additionally, it’s essential to read your fan’s instruction manual beforehand to check if there are specific cleaning instructions or any disassembly/reassembly steps that should be followed for your specific model.
Safety Precautions
Prior to cleaning your Honeywell Tower Fan, it’s crucial to keep the following safety precautions in mind:
- Ensure the fan is unplugged from the power source before starting the cleaning process. This will prevent any electric shocks or accidents.
- Allow the fan to completely cool down before handling it. The blades and housing can become hot during operation and may cause burns if touched immediately after use.
- Place a towel or drop cloth beneath the fan to catch any debris or water that may fall during the cleaning process. This will help protect your flooring or furniture from potential damage.
- Avoid using excessive amounts of water or liquid cleaners directly on the fan motor or electronic components. Moisture can damage these parts and affect the fan’s performance.
- Handle the fan blades with care to avoid any injuries. They may be sharp or have delicate fins that can break easily.
By following these safety precautions, you can ensure a safe and successful cleaning process for your Honeywell Tower Fan.
STEP 1: Unplugging the Fan
The first step in cleaning your Honeywell Tower Fan is to ensure it is completely unplugged from the power source. This is crucial for your safety and to prevent any potential damage to the fan during the cleaning process.
Make sure the fan is switched off and that the power cord is disconnected from the electrical outlet. Double-check that there is no power running to the fan by pressing the power button or observing any indicator lights. Safety should be your top priority when handling electrical appliances.
Once you are certain that the fan is unplugged, you can proceed to the next steps of the cleaning process.
It is worth noting that some tower fans may have a removable power cord, while others may have a fixed power cord. If your fan has a detachable power cord, you can unplug it from the fan itself. However, if your fan has a fixed power cord that cannot be removed, simply ensure that the power cord is unplugged from the electrical outlet.
Unplugging the fan will minimize any potential risks and allow you to clean it safely and effectively. With the fan disconnected from the power source, you can now move on to the next step of removing the front grille.
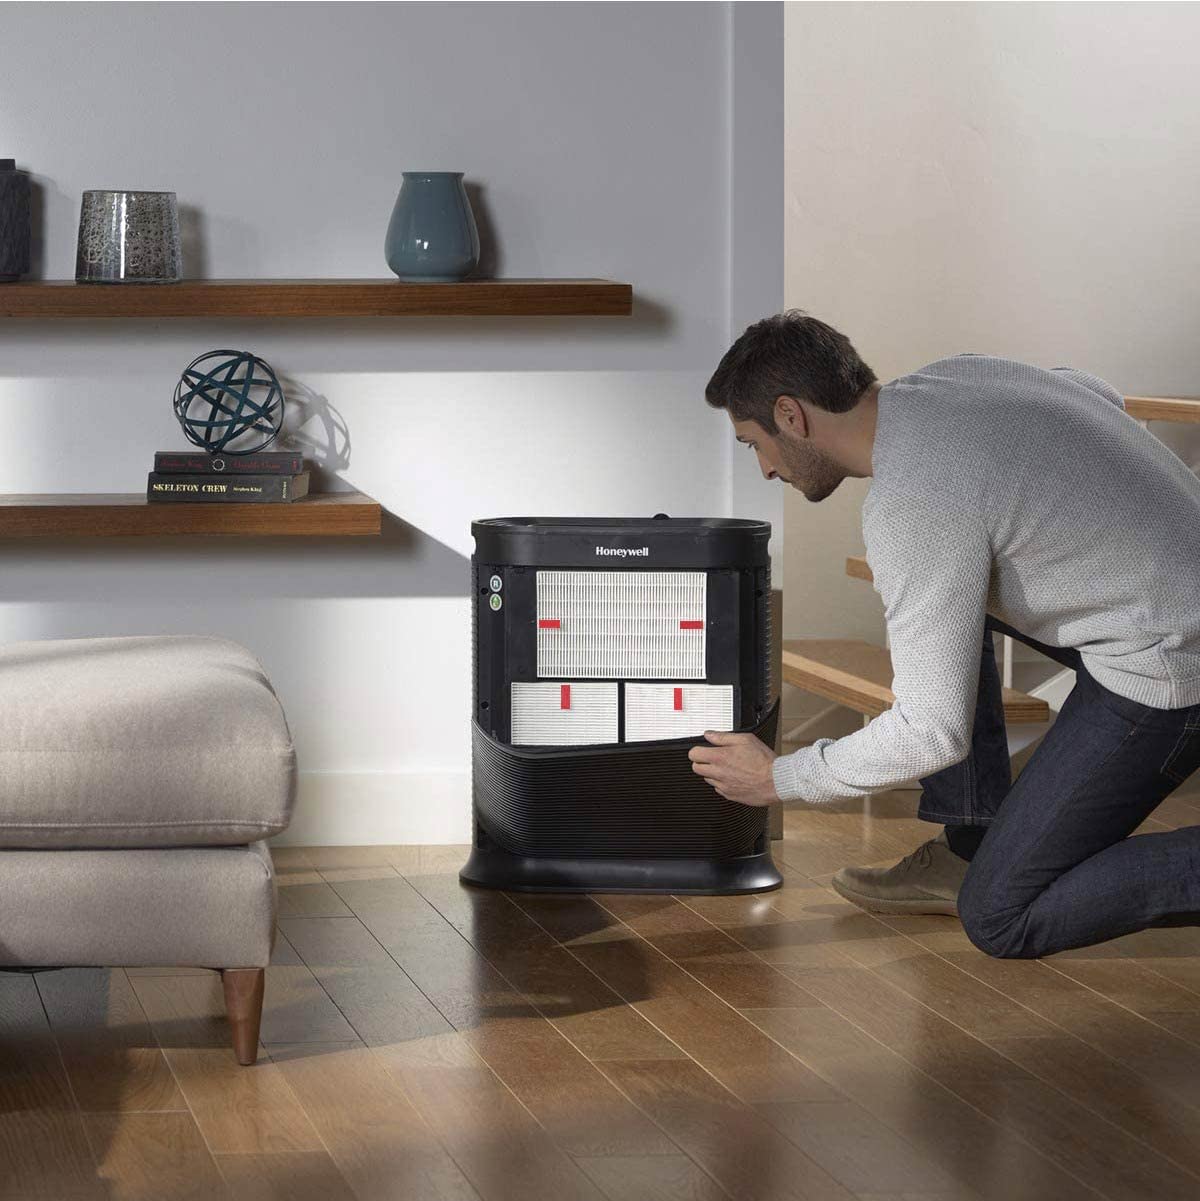
STEP 2: Removing the Front Grille
With the Honeywell Tower Fan unplugged, it’s time to remove the front grille. The front grille is the protective cover that encloses the fan blades. Removing it will allow you to access the blades and other interior components for thorough cleaning.
The process of removing the front grille may vary depending on the model of your Honeywell Tower Fan. Here are some general steps to follow:
- Inspect the front grille to identify any screws, clips, or latches that hold it in place. These securing mechanisms may be located along the edges or at the back of the fan.
- If there are screws, use a screwdriver to remove them. Keep the screws in a safe place so that they are not misplaced during the cleaning process.
- If the grille has clips or latches, gently press or release them to unlock the grille from the fan housing. Take care not to force the grille as it may break or cause damage.
- Once the securing mechanisms are undone, carefully lift and remove the front grille from the fan.
It’s important to note that some Honeywell Tower Fans might have a front grille that snaps in place without the need for screws or clips. In such cases, you can simply use your hands to apply gentle pressure and release the grille from its position.
Removing the front grille will expose the fan blades and provide easier access for cleaning. Set the front grille aside in a safe location as you will need it later for reassembly.
Now that you have successfully removed the front grille, you can proceed to the next step of cleaning the grille itself.
Read more: How To Clean A Lasko Tower Fan
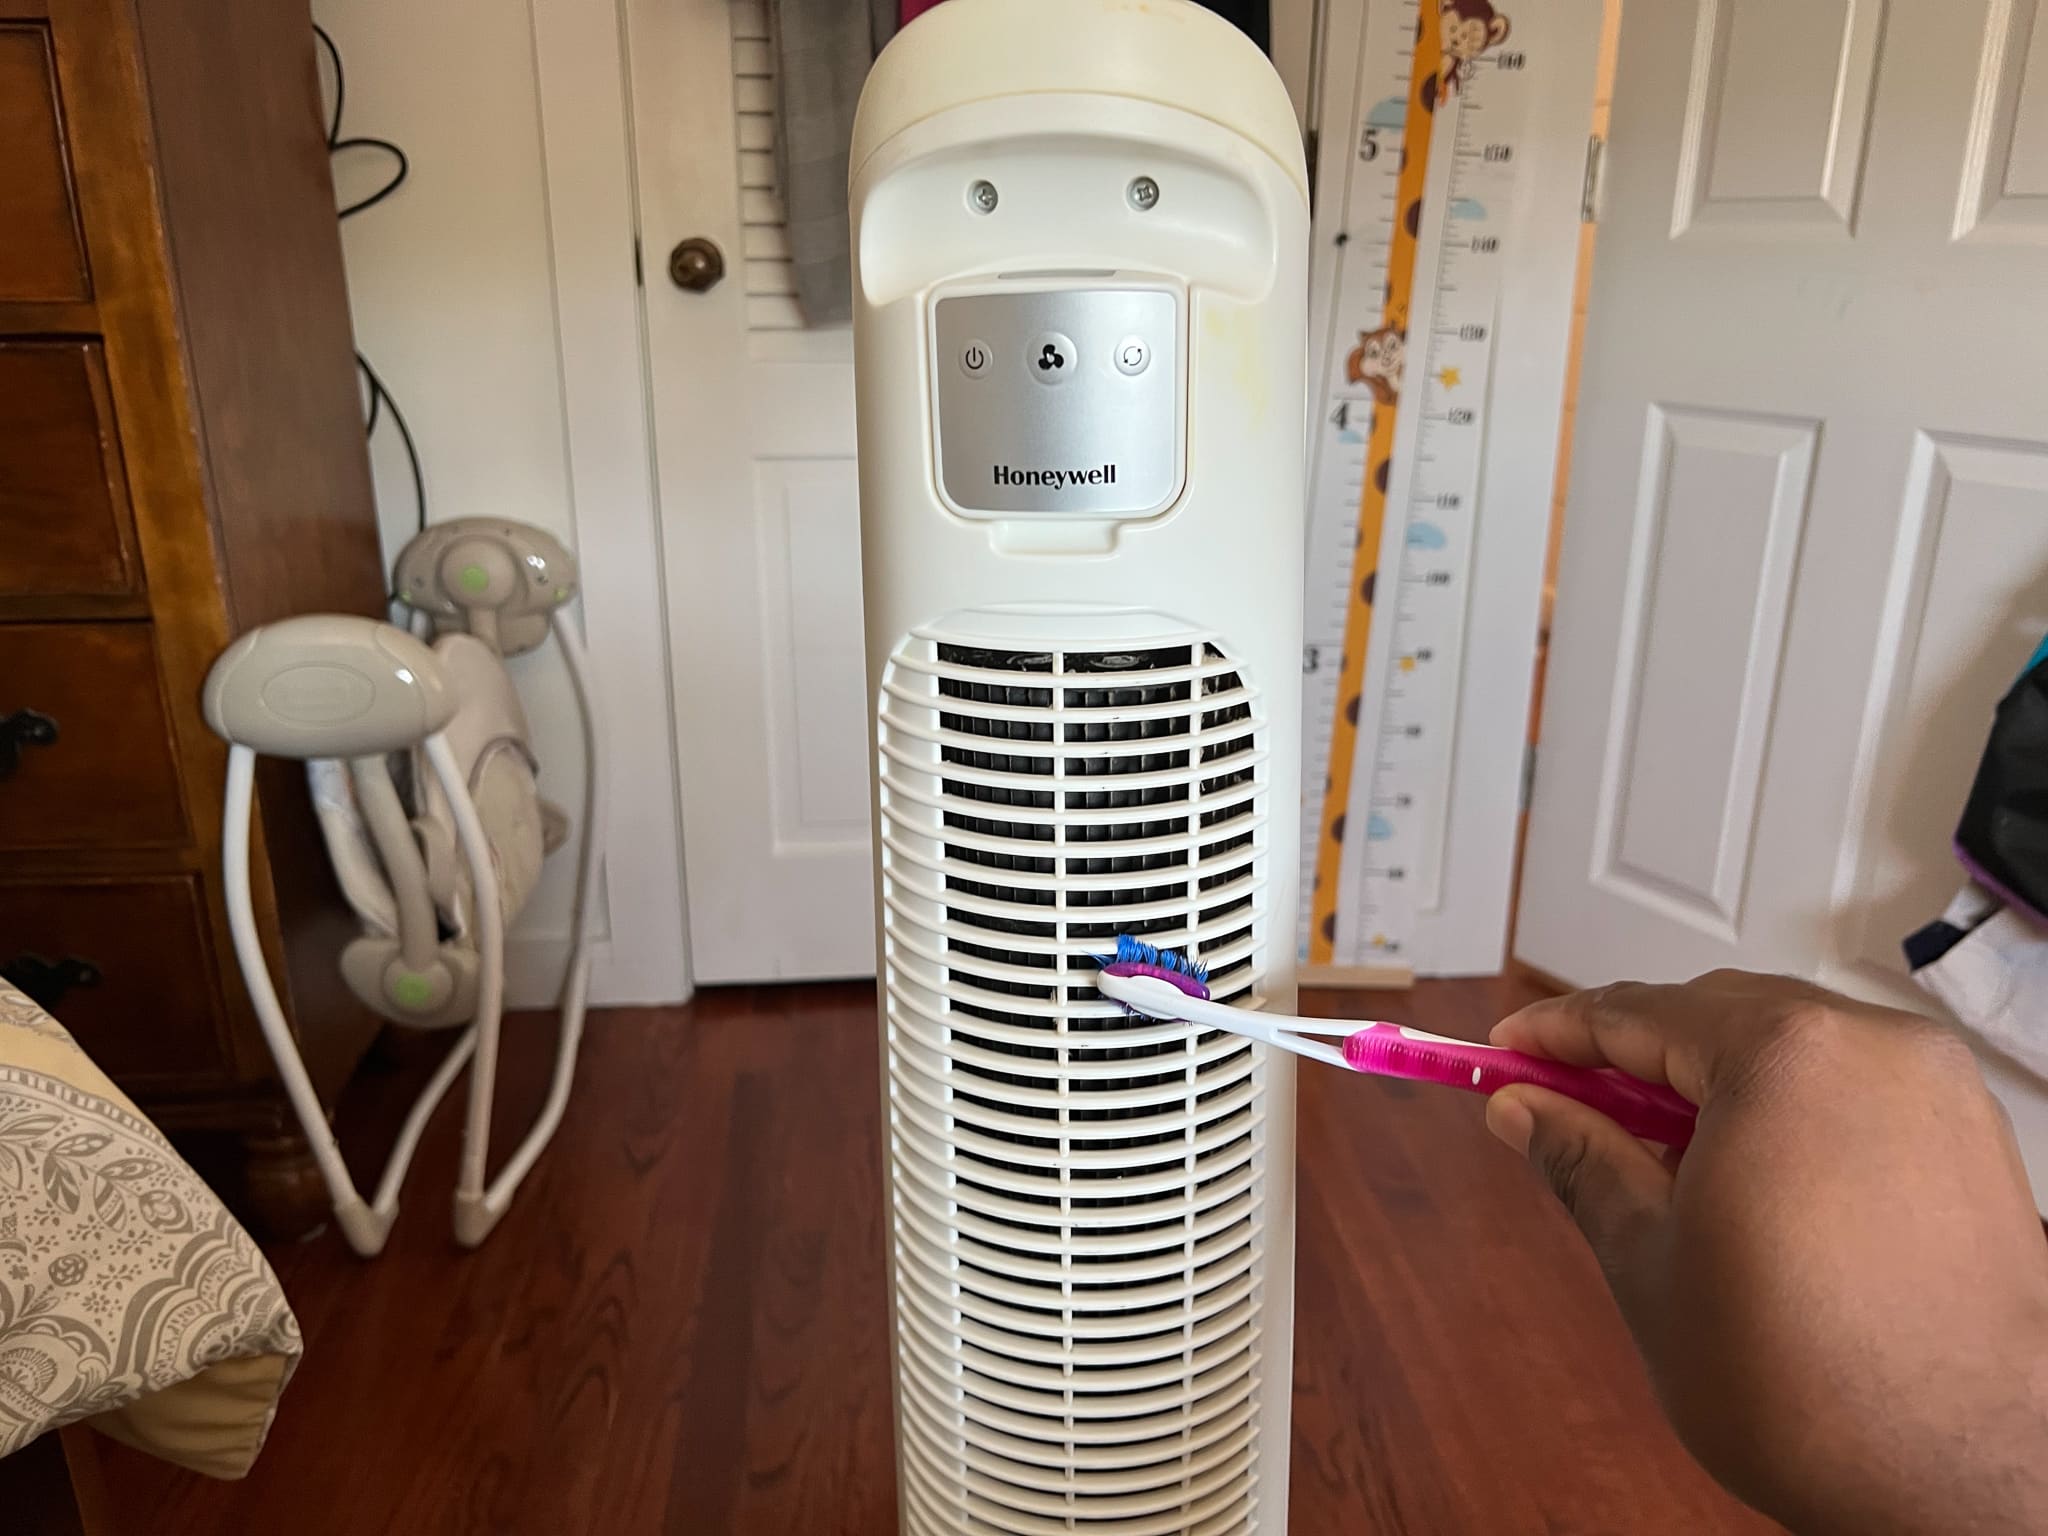
STEP 3: Cleaning the Front Grille
Once you have removed the front grille from your Honeywell Tower Fan, it’s time to clean it thoroughly. The front grille is prone to accumulating dust, pet hair, and other debris that can restrict airflow and reduce the fan’s performance.
Here’s how you can clean the front grille:
- Start by using a soft cloth or microfiber cloth to wipe away any loose debris from the grille. Gently swipe across the surface, ensuring that you cover all areas.
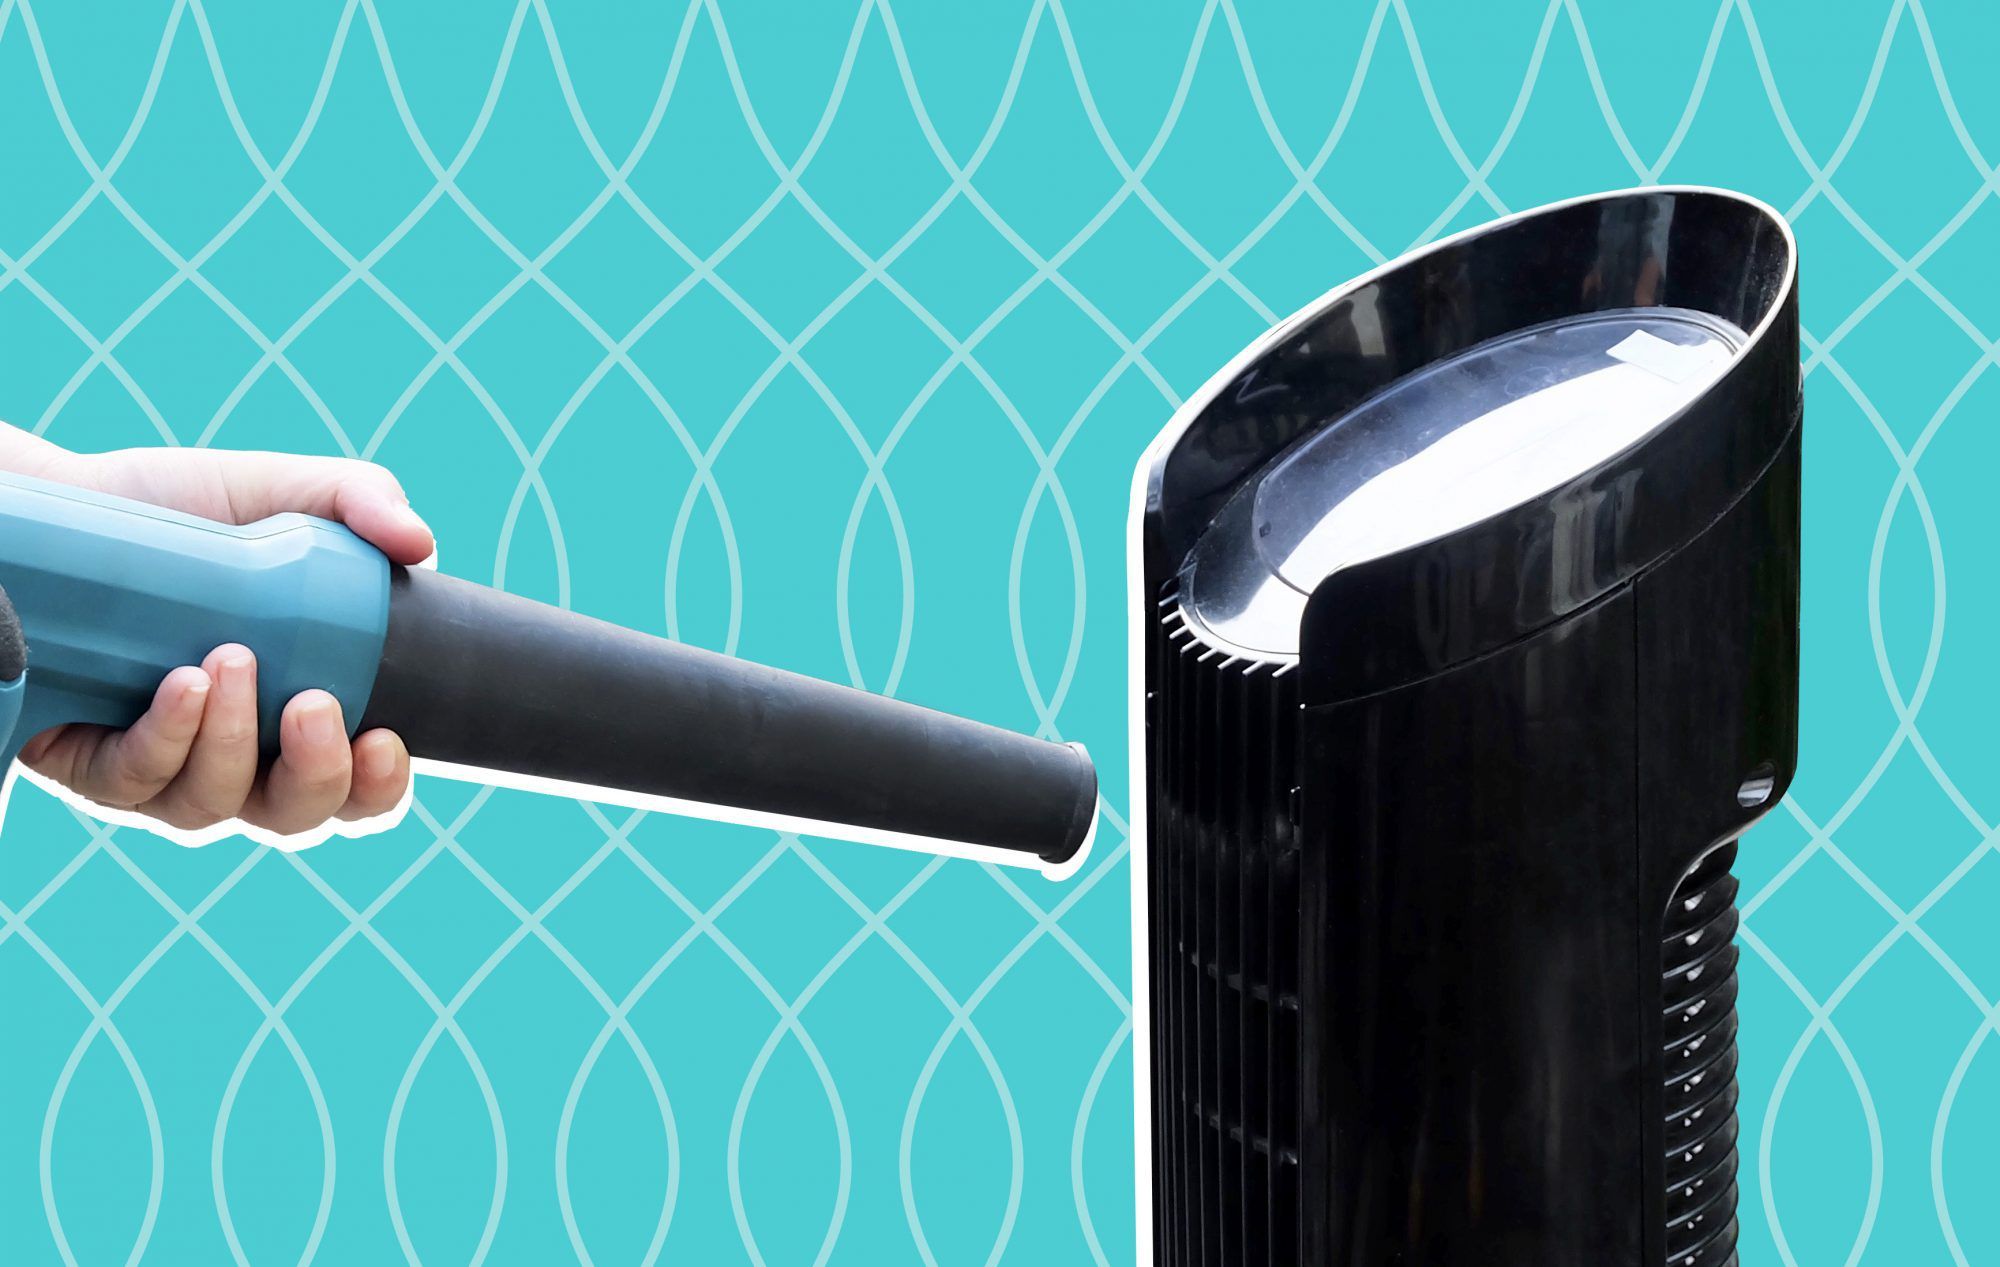
- If there are stubborn dirt or dust particles, you can use a vacuum cleaner with a brush attachment to remove them. Hold the vacuum cleaner nozzle close to the grille and move it back and forth to suck up the dirt.
- To further clean the front grille, you can dampen a cloth with water or a mild dish soap solution. Gently wipe the grille, paying attention to any spots or stains. Avoid using excessive water as it can damage the grille or the internal components.
- For hard-to-reach areas or intricate patterns on the grille, you can use cotton swabs dipped in a cleaning solution to spot clean. Be gentle to avoid bending or damaging the grille.
- After cleaning, rinse the cloth and wring out any excess water. Wipe the grille again to remove any soap residue.
- Allow the front grille to air dry completely before reassembling it onto the fan.
By following these steps, you can effectively clean the front grille of your Honeywell Tower Fan. A clean grille will help maintain optimal airflow and improve the overall performance of your fan.
Once the front grille is thoroughly cleaned and dried, you are ready to move on to the next step of cleaning the fan blades.
To clean a Honeywell tower fan, start by unplugging it and removing the front grill. Use a vacuum with a brush attachment to remove dust and debris from the grill and fan blades. Wipe down the grill and exterior with a damp cloth and mild detergent. Allow all parts to dry completely before reassembling.
STEP 4: Cleaning the Fan Blades
Now that you have cleaned the front grille of your Honeywell Tower Fan, it’s time to focus on cleaning the fan blades. The blades can accumulate dust, dirt, and even grease over time, which can hinder the fan’s airflow and efficiency.
Here’s how you can clean the fan blades:
- Using a soft cloth or microfiber cloth, gently wipe the surface of each fan blade. Start from the base of the blade and move towards the tip, making sure to cover both sides of the blade.
- If there are stubborn dirt or debris that cannot be removed with a cloth, you can use a vacuum cleaner with a brush attachment to suck them away. Hold the vacuum cleaner nozzle close to the blade, being careful not to touch the rotating blades.
- If the blades are excessively dirty or greasy, you can dampen a cloth with a mild dish soap solution. Gently wipe down each blade, ensuring that you remove any grime or residue. Avoid allowing any moisture to seep into the motor or other components.
- For hard-to-reach areas or intricate details on the blades, you can use a cotton swab dipped in a cleaning solution to carefully clean them. Take your time and be mindful not to bend or damage the blades.
- After cleaning, rinse the cloth and wring out any excess water. Use the damp cloth to wipe down the blades again to remove any soap residue.
- Once cleaned, let the fan blades air dry completely before moving on to the next step.
By following these steps, you can effectively clean the fan blades of your Honeywell Tower Fan. Removing the build-up of dirt and grease will help optimize the fan’s performance and airflow.
Once the blades are dry, you can proceed to clean the fan housing in the next step.
STEP 5: Cleaning the Fan Housing
After cleaning the front grille and fan blades of your Honeywell Tower Fan, it’s time to clean the fan housing. The fan housing can accumulate dust, dirt, and other debris over time, which can affect the fan’s overall performance.
Here’s how you can clean the fan housing:
- Using a soft cloth or microfiber cloth, wipe down the exterior surfaces of the fan housing. Pay attention to all sides, corners, and crevices to ensure a thorough cleaning.
- If there are stubborn stains or dirt that cannot be removed with a cloth, you can dampen the cloth with a mild dish soap solution. Gently scrub the affected areas, being careful not to apply excessive force or moisture.
- To clean hard-to-reach areas or tight spots, you can use a cotton swab dipped in a cleaning solution. This will allow you to target specific areas and ensure a more comprehensive cleaning.
- After cleaning, rinse the cloth and wring out any excess water. Wipe down the fan housing once again to remove any soap residue.
- If there are vents or openings on the fan housing, you can use a vacuum cleaner with a brush attachment to remove any dust or debris. Run the nozzle of the vacuum cleaner along the vents to suck up any trapped particles.
- Once the fan housing is cleaned and dried, you can move on to the final step of reassembling the fan.
By following these steps, you can effectively clean the fan housing of your Honeywell Tower Fan. Removing the accumulated dust and dirt will help maintain the fan’s performance and keep it running smoothly.
Now that you have completed the cleaning process, it’s time to put the fan back together in the next step.
STEP 6: Reassembling the Fan
After thoroughly cleaning the front grille, fan blades, and fan housing of your Honeywell Tower Fan, it’s time to reassemble the fan. Reassembling the fan is a straightforward process that will allow you to put all the components back together for optimal performance.
Follow these steps to reassemble your Honeywell Tower Fan:
- Take the cleaned front grille and align it with the fan housing.
- Carefully attach the front grille back onto the fan housing, ensuring that it fits securely and snaps or locks into place. Make sure all clips, latches, or screws are properly aligned.
- If there were screws, use a screwdriver to fasten them back into their original positions. Ensure they are tightened but be cautious not to overtighten and potentially damage any parts.
- Give the front grille a gentle tug to confirm it is firmly in place and won’t come off during operation.
By following these steps, you can easily reassemble your Honeywell Tower Fan. Take your time to ensure each component is properly aligned and securely attached to avoid any issues during use.
Once you have successfully reassembled the fan, you are almost ready to enjoy the cool and refreshing airflow it provides. The final step is to plug in and test the fan, as described in the next step.
Read more: How Do You Clean A Tower Fan
STEP 7: Plugging in and Testing the Fan
After reassembling your Honeywell Tower Fan, it’s time to plug it back in and test its functionality. Plugging in and testing the fan will ensure that all the components are working correctly and that the cleaning process was successful.
Follow these steps to plug in and test your Honeywell Tower Fan:
- Locate the power cord and plug it into a suitable electrical outlet.
- Ensure that the power button or control panel is in the “Off” position before turning on the fan.
- Depending on your fan model, you may have different speed settings or oscillation options. Familiarize yourself with the controls and select the desired settings for your preference.
- Press the power button or switch to turn on the fan and observe its operation.
- Listen for any unusual sounds coming from the fan, such as rattling or grinding noises. If you notice any abnormal sounds or vibrations, immediately switch off and unplug the fan and inspect for any loose or improperly assembled parts.
- Observe the airflow and ensure that it is consistent and strong. If you notice a decrease in airflow, double-check that the front grille, fan blades, and fan housing are properly cleaned and reassembled.
If the fan operates smoothly, produces a strong airflow, and doesn’t exhibit any abnormal behavior, it means your cleaning process was successful. You can now enjoy the cool breeze provided by your freshly cleaned Honeywell Tower Fan.
However, if you encounter any issues during testing or notice a significant decrease in performance, it may be necessary to repeat the cleaning process or consider contacting the manufacturer for further assistance.
Remember to unplug the fan when not in use or during prolonged periods of absence to conserve energy and ensure safety.
Congratulations! You have successfully cleaned and tested your Honeywell Tower Fan, ensuring its optimum performance and longevity.
Conclusion
Cleaning your Honeywell Tower Fan is an essential maintenance task that ensures optimal performance and prolongs the lifespan of your appliance. By following the step-by-step guide outlined in this article, you can easily clean and maintain your fan to keep it running smoothly and efficiently.
Throughout the cleaning process, it’s important to prioritize safety by unplugging the fan and following necessary precautions. Taking care not to damage any components and using the correct supplies will help you achieve the best results.
Remember to clean the front grille, fan blades, and fan housing thoroughly, removing any dust, dirt, or debris that may have accumulated over time. By doing so, you will enhance the fan’s airflow and maintain its performance.
After cleaning, reassembling the fan ensures that all components are securely attached and aligned, allowing for proper functionality. Finally, plug in and test the fan to ensure it’s operating smoothly and producing a strong airflow.
Regularly cleaning your Honeywell Tower Fan, ideally every 1 to 3 months, will help maintain its efficiency and prevent any buildup that could hinder its performance. It’s always a good idea to consult your fan’s instruction manual for specific cleaning recommendations based on the model you own.
With a clean and well-maintained Honeywell Tower Fan, you can enjoy a refreshing and uninterrupted cool breeze in your home. So, take the time to clean your fan and enjoy its optimal performance for years to come!
Frequently Asked Questions about How To Clean Honeywell Tower Fan
Was this page helpful?
At Storables.com, we guarantee accurate and reliable information. Our content, validated by Expert Board Contributors, is crafted following stringent Editorial Policies. We're committed to providing you with well-researched, expert-backed insights for all your informational needs.

0 thoughts on “How To Clean Honeywell Tower Fan”