Home>Storage Ideas>Living Room Storage>How To Clean A Tower Fan To Remove Dust And Debris

Living Room Storage
How To Clean A Tower Fan To Remove Dust And Debris
Modified: December 7, 2023
Learn how to clean a tower fan in your living room and get rid of dust and debris with these easy steps. Enhance your living room storage by maintaining a clean and efficient tower fan.
(Many of the links in this article redirect to a specific reviewed product. Your purchase of these products through affiliate links helps to generate commission for Storables.com, at no extra cost. Learn more)
Introduction:
Welcome to this comprehensive guide on how to clean a tower fan to remove dust and debris. Tower fans are a popular choice for many households due to their sleek design and powerful airflow. However, over time, dirt and dust can accumulate on the fan blades and inside the fan housing, which can impede its performance and lead to unhealthy air circulation. Regularly cleaning your tower fan is essential for maintaining its efficiency and keeping the air in your living room fresh and clean.
In this article, we will take you through a step-by-step process of cleaning your tower fan effectively. Whether you’re a seasoned tower fan owner or a newcomer, this guide will provide you with all the information you need to keep your fan in top shape. So, let’s get started!
Key Takeaways:
- Regularly cleaning your tower fan is crucial for maintaining its efficiency and ensuring fresh, clean air circulation in your living room. Follow the step-by-step guide to effectively remove dust and debris, prolonging your fan’s lifespan and saving you money in the long run.
- Proper reassembly after cleaning is essential for maintaining your tower fan’s performance and longevity. By following the outlined process and referring to your fan’s specific manufacturer guidelines, you can enjoy a clean, cool, and refreshing living room environment while prolonging the lifespan of your tower fan.
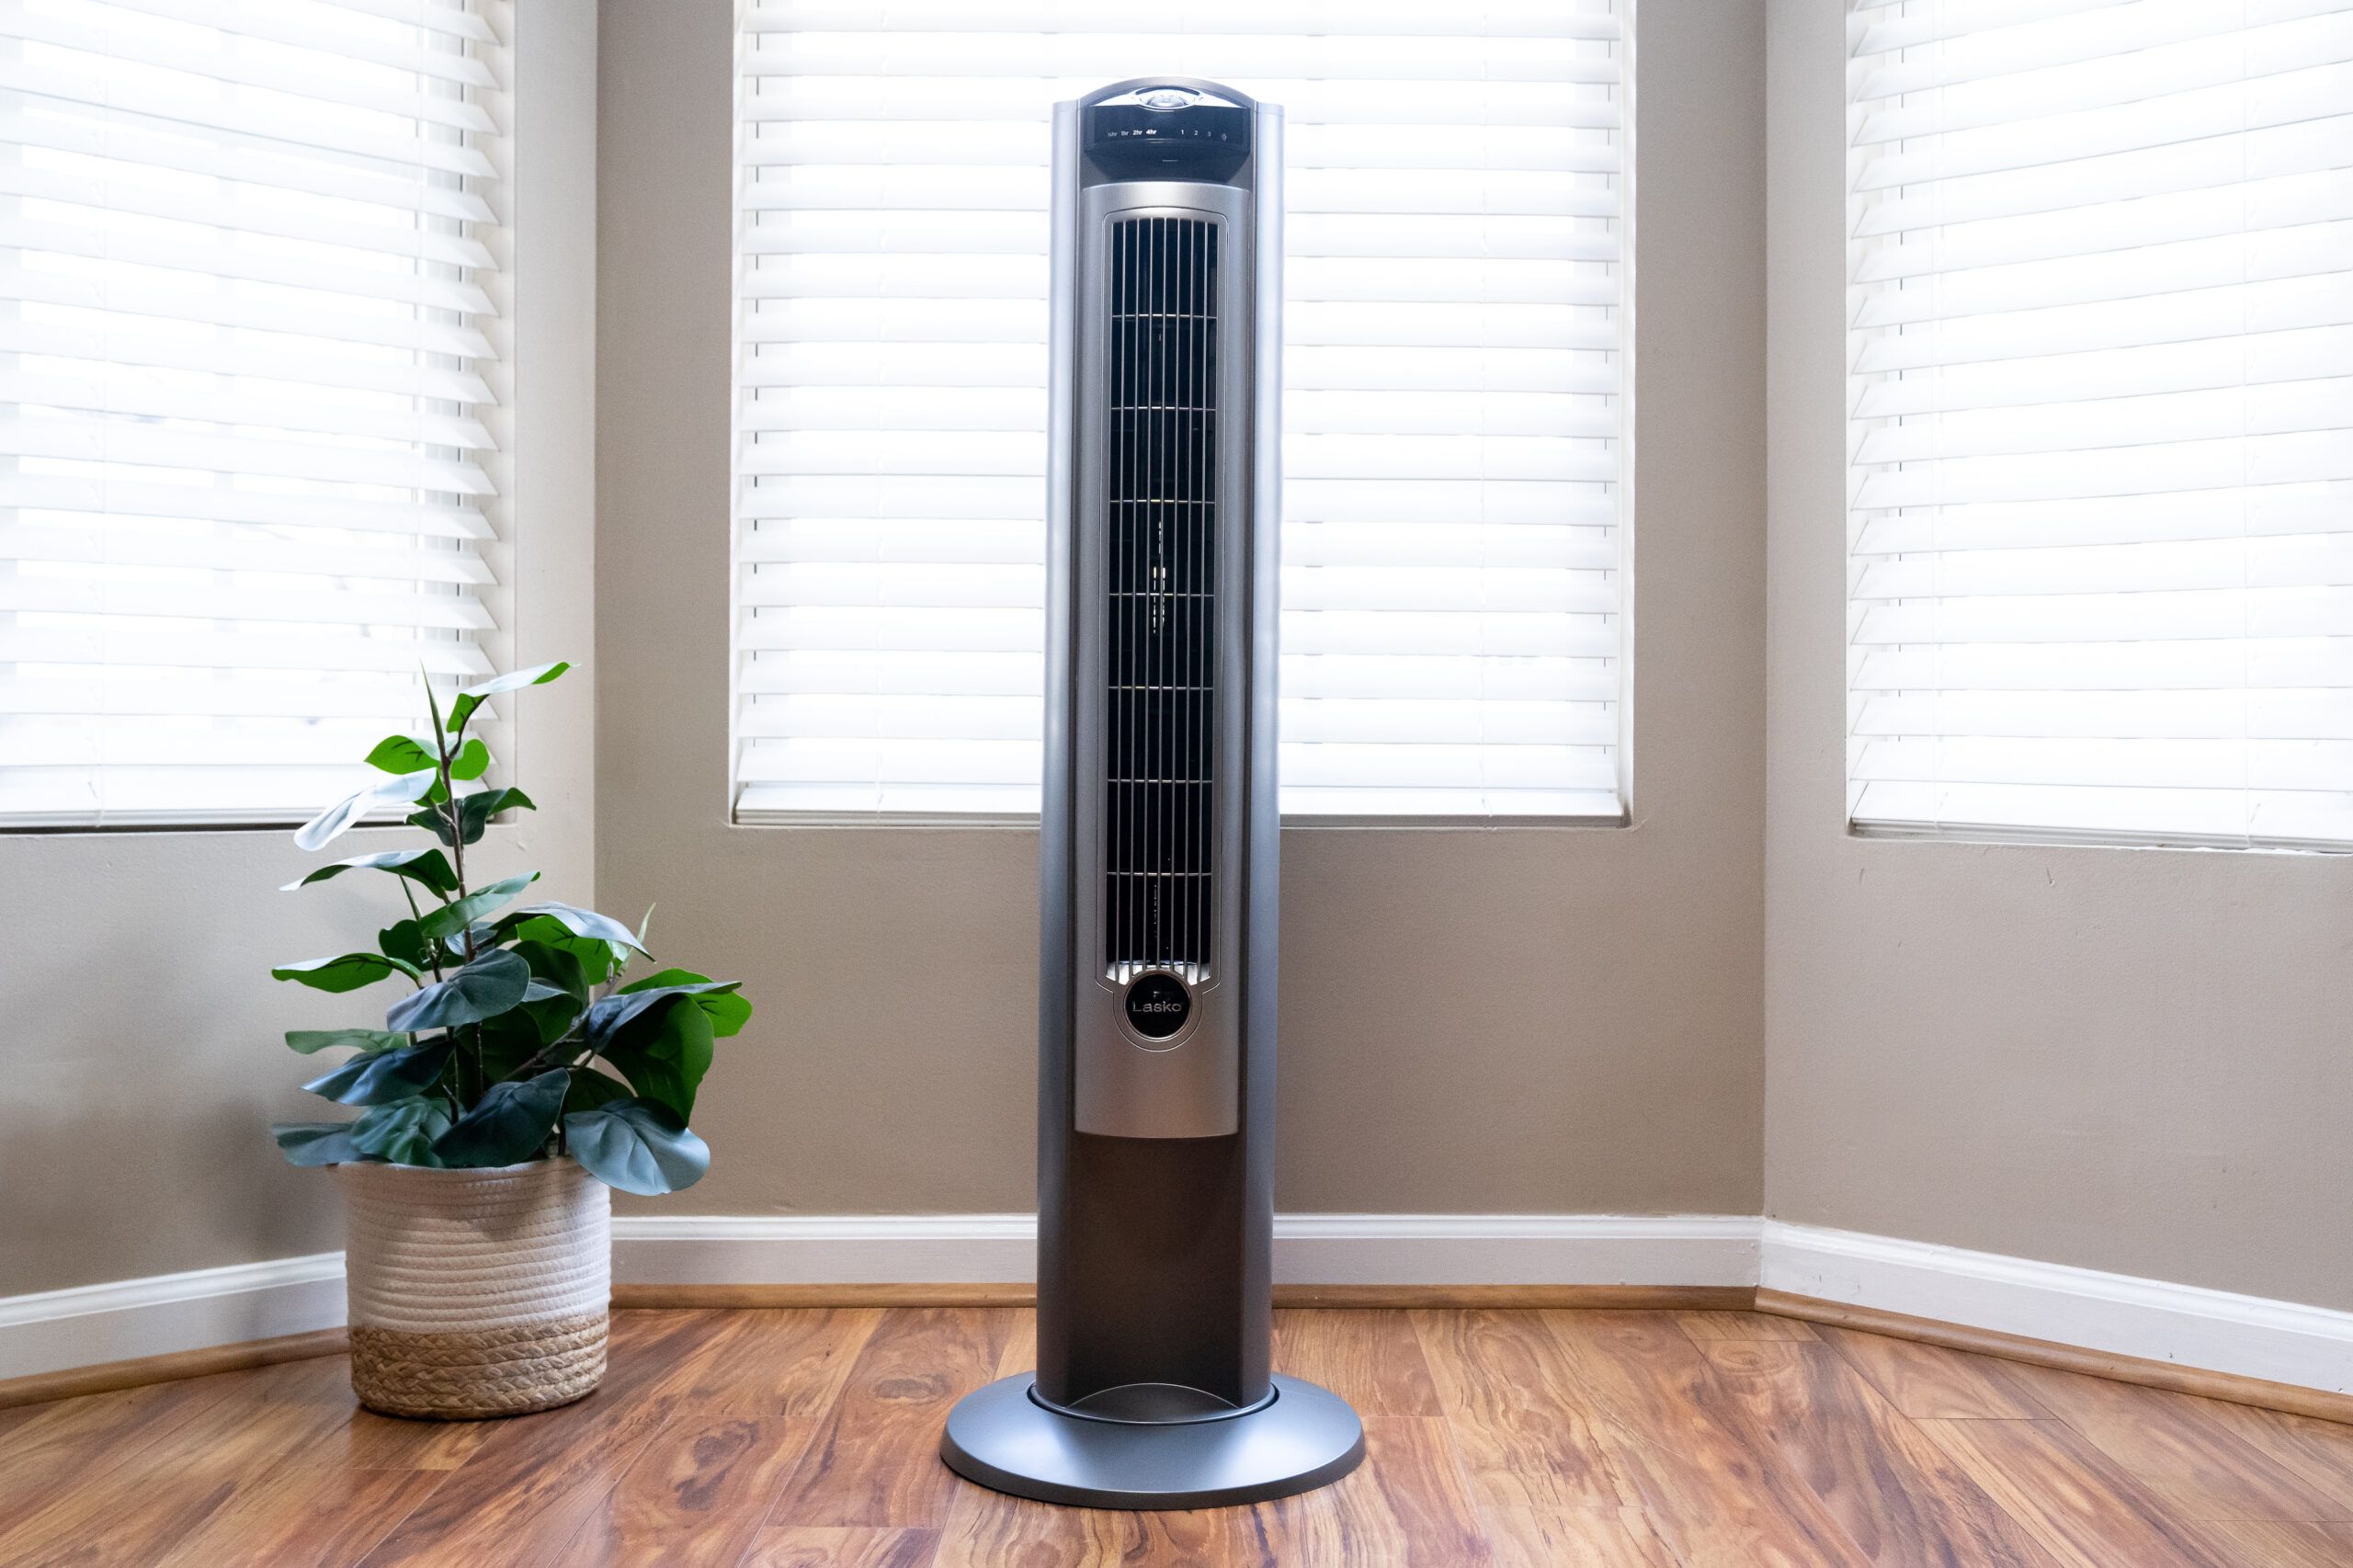
Read more: How To Clean A Lasko Tower Fan
Step 1: Turn off and unplug the tower fan
Before you begin cleaning your tower fan, it is crucial to ensure that it is turned off and unplugged from the power source. This step is essential for your safety and to prevent any damage to the fan or risk of electric shock.
Start by locating the power button on your tower fan and switching it off. Once the fan is turned off, unplug it from the electrical outlet. Double-check that there are no lights or indicators on the fan, indicating that it is still receiving power.
By turning off and unplugging the tower fan, you eliminate the risk of accidentally turning it on or damaging the internal components during the cleaning process.
Additionally, it is essential to let the fan cool down for a few minutes before cleaning, especially if it has been running for an extended period. Hot surfaces can cause burns, so it’s best to wait until the fan has cooled down to a safe temperature before proceeding.
Once you have confirmed that the tower fan is turned off, unplugged, and cooled down, you are ready to move on to the next step: removing the front grill.
Step 2: Remove the front grill
Removing the front grill of your tower fan is the next step in the cleaning process. The front grill is typically located at the front of the fan and covers the fan blades. Its primary function is to protect the fan blades while allowing air to pass through.
To remove the front grill, start by examining the fan closely. Look for any clips, latches, or screws that are holding the front grill in place. These securing mechanisms may vary depending on the make and model of your tower fan.
If your tower fan has clips or latches, carefully push or release them to unlock the front grill. Make sure to take note of any specific instructions provided by the manufacturer regarding the removal of the grill.
In some cases, you may need to use a screwdriver to remove screws that hold the front grill in place. If this is the case, ensure that you have the appropriate screwdriver that fits the screws.
Once you have released the clips, latches, or screws, gently pull the front grill towards you. Be cautious not to apply excessive force or twist it, as this can damage the grill or the fan assembly.
After removing the front grill, set it aside and inspect it for any signs of accumulated dust and debris. If necessary, you can also clean the front grill separately using a damp cloth or a soft brush to remove any stubborn dirt.
With the front grill removed, you now have better access to the fan blades, making it easier to clean them thoroughly. In the next step, we will discuss how to clean the fan blades effectively.
Step 3: Clean the front grill
After removing the front grill from your tower fan, it’s time to clean it to remove any dust and debris that may have accumulated over time. Cleaning the front grill not only helps to improve the airflow but also ensures efficient operation of your tower fan.
Start by giving the front grill a thorough inspection. Look for any visible dust or dirt that has accumulated on its surface. If you notice any stubborn dirt or stains, you may need to use a gentle cleaning solution or a mild detergent to help loosen and remove the grime.
Before applying any cleaning solution, it’s always a good idea to test it on a small, inconspicuous area of the grill to ensure that it does not cause any damage or discoloration.
Once you have chosen your cleaning solution, dampen a soft cloth or sponge and gently wipe the front grill. Be careful not to saturate the grill with excessive moisture, as this can cause damage to the internal components.
If there are intricate patterns or crevices on the front grill, you can use a soft-bristle brush or a toothbrush to gently scrub those areas. This will help to loosen any stubborn dirt and ensure a thorough cleaning.
After wiping and scrubbing the front grill, rinse it with clean water to remove any residue from the cleaning solution. Alternatively, you can use a damp cloth to wipe away any remaining cleaning solution.
Before reattaching the front grill to your tower fan, ensure that it is completely dry. Dampness can promote the growth of mold and mildew, which can negatively impact the air quality and the performance of the fan.
Once the front grill is fully dry, you can proceed to the next step in the cleaning process: removing the fan blades.
Step 4: Remove the fan blades
Removing the fan blades from your tower fan is an essential step in cleaning your fan thoroughly. Over time, dust and debris can accumulate on the blades, leading to reduced airflow and decreased performance. By removing the fan blades, you can clean them more effectively and ensure that your tower fan operates at its best.
Start by examining the fan assembly and locating the mechanism that holds the fan blades in place. Depending on the make and model of your tower fan, you may find screws, clips, or latches that secure the fan blades.
If your tower fan has screws, use the appropriate screwdriver to carefully unscrew them. Make sure to keep the screws in a safe place to avoid misplacing them. If your tower fan has clips or latches, release them by gently pushing or pulling them, depending on the configuration.
Once the securing mechanism is released, you can slide or lift off the fan blades from the fan assembly. Be sure to handle the blades with care to avoid any damage.
With the fan blades removed, take a moment to inspect them for any visible dust, dirt, or debris. You may notice a buildup of dust particles or pet hair that has accumulated over time.
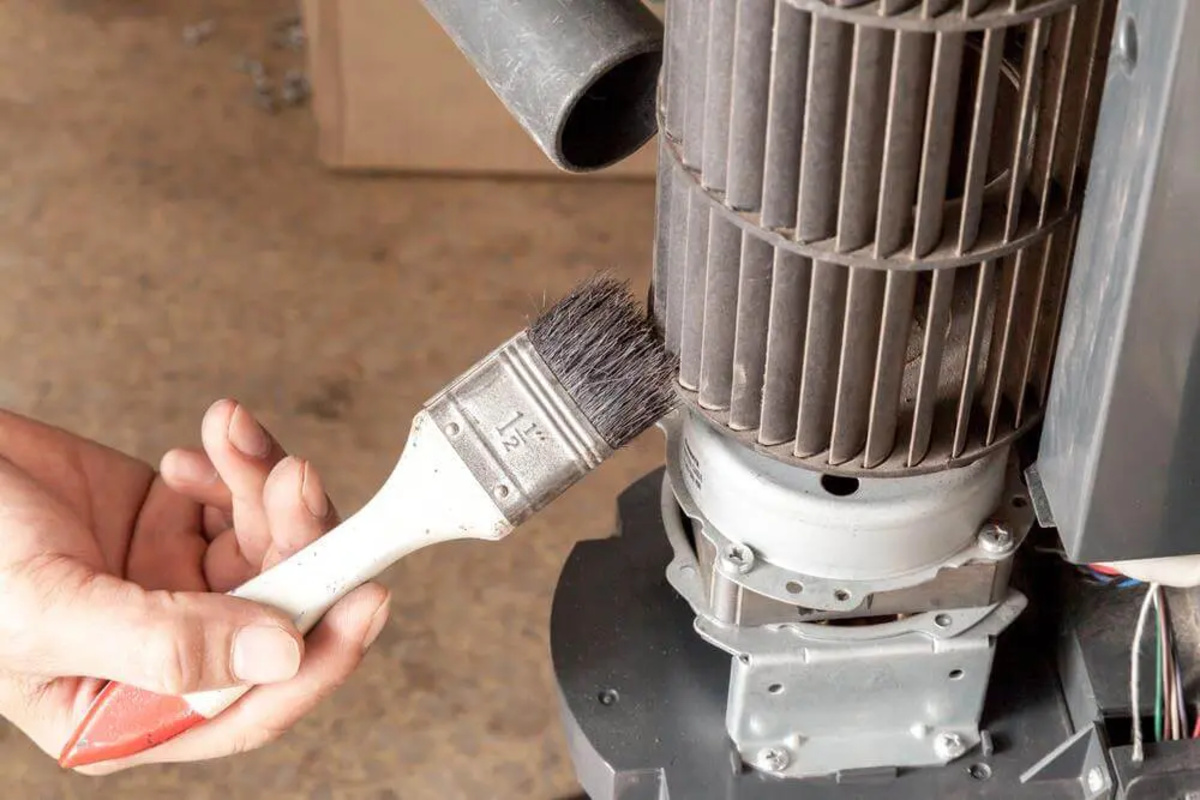
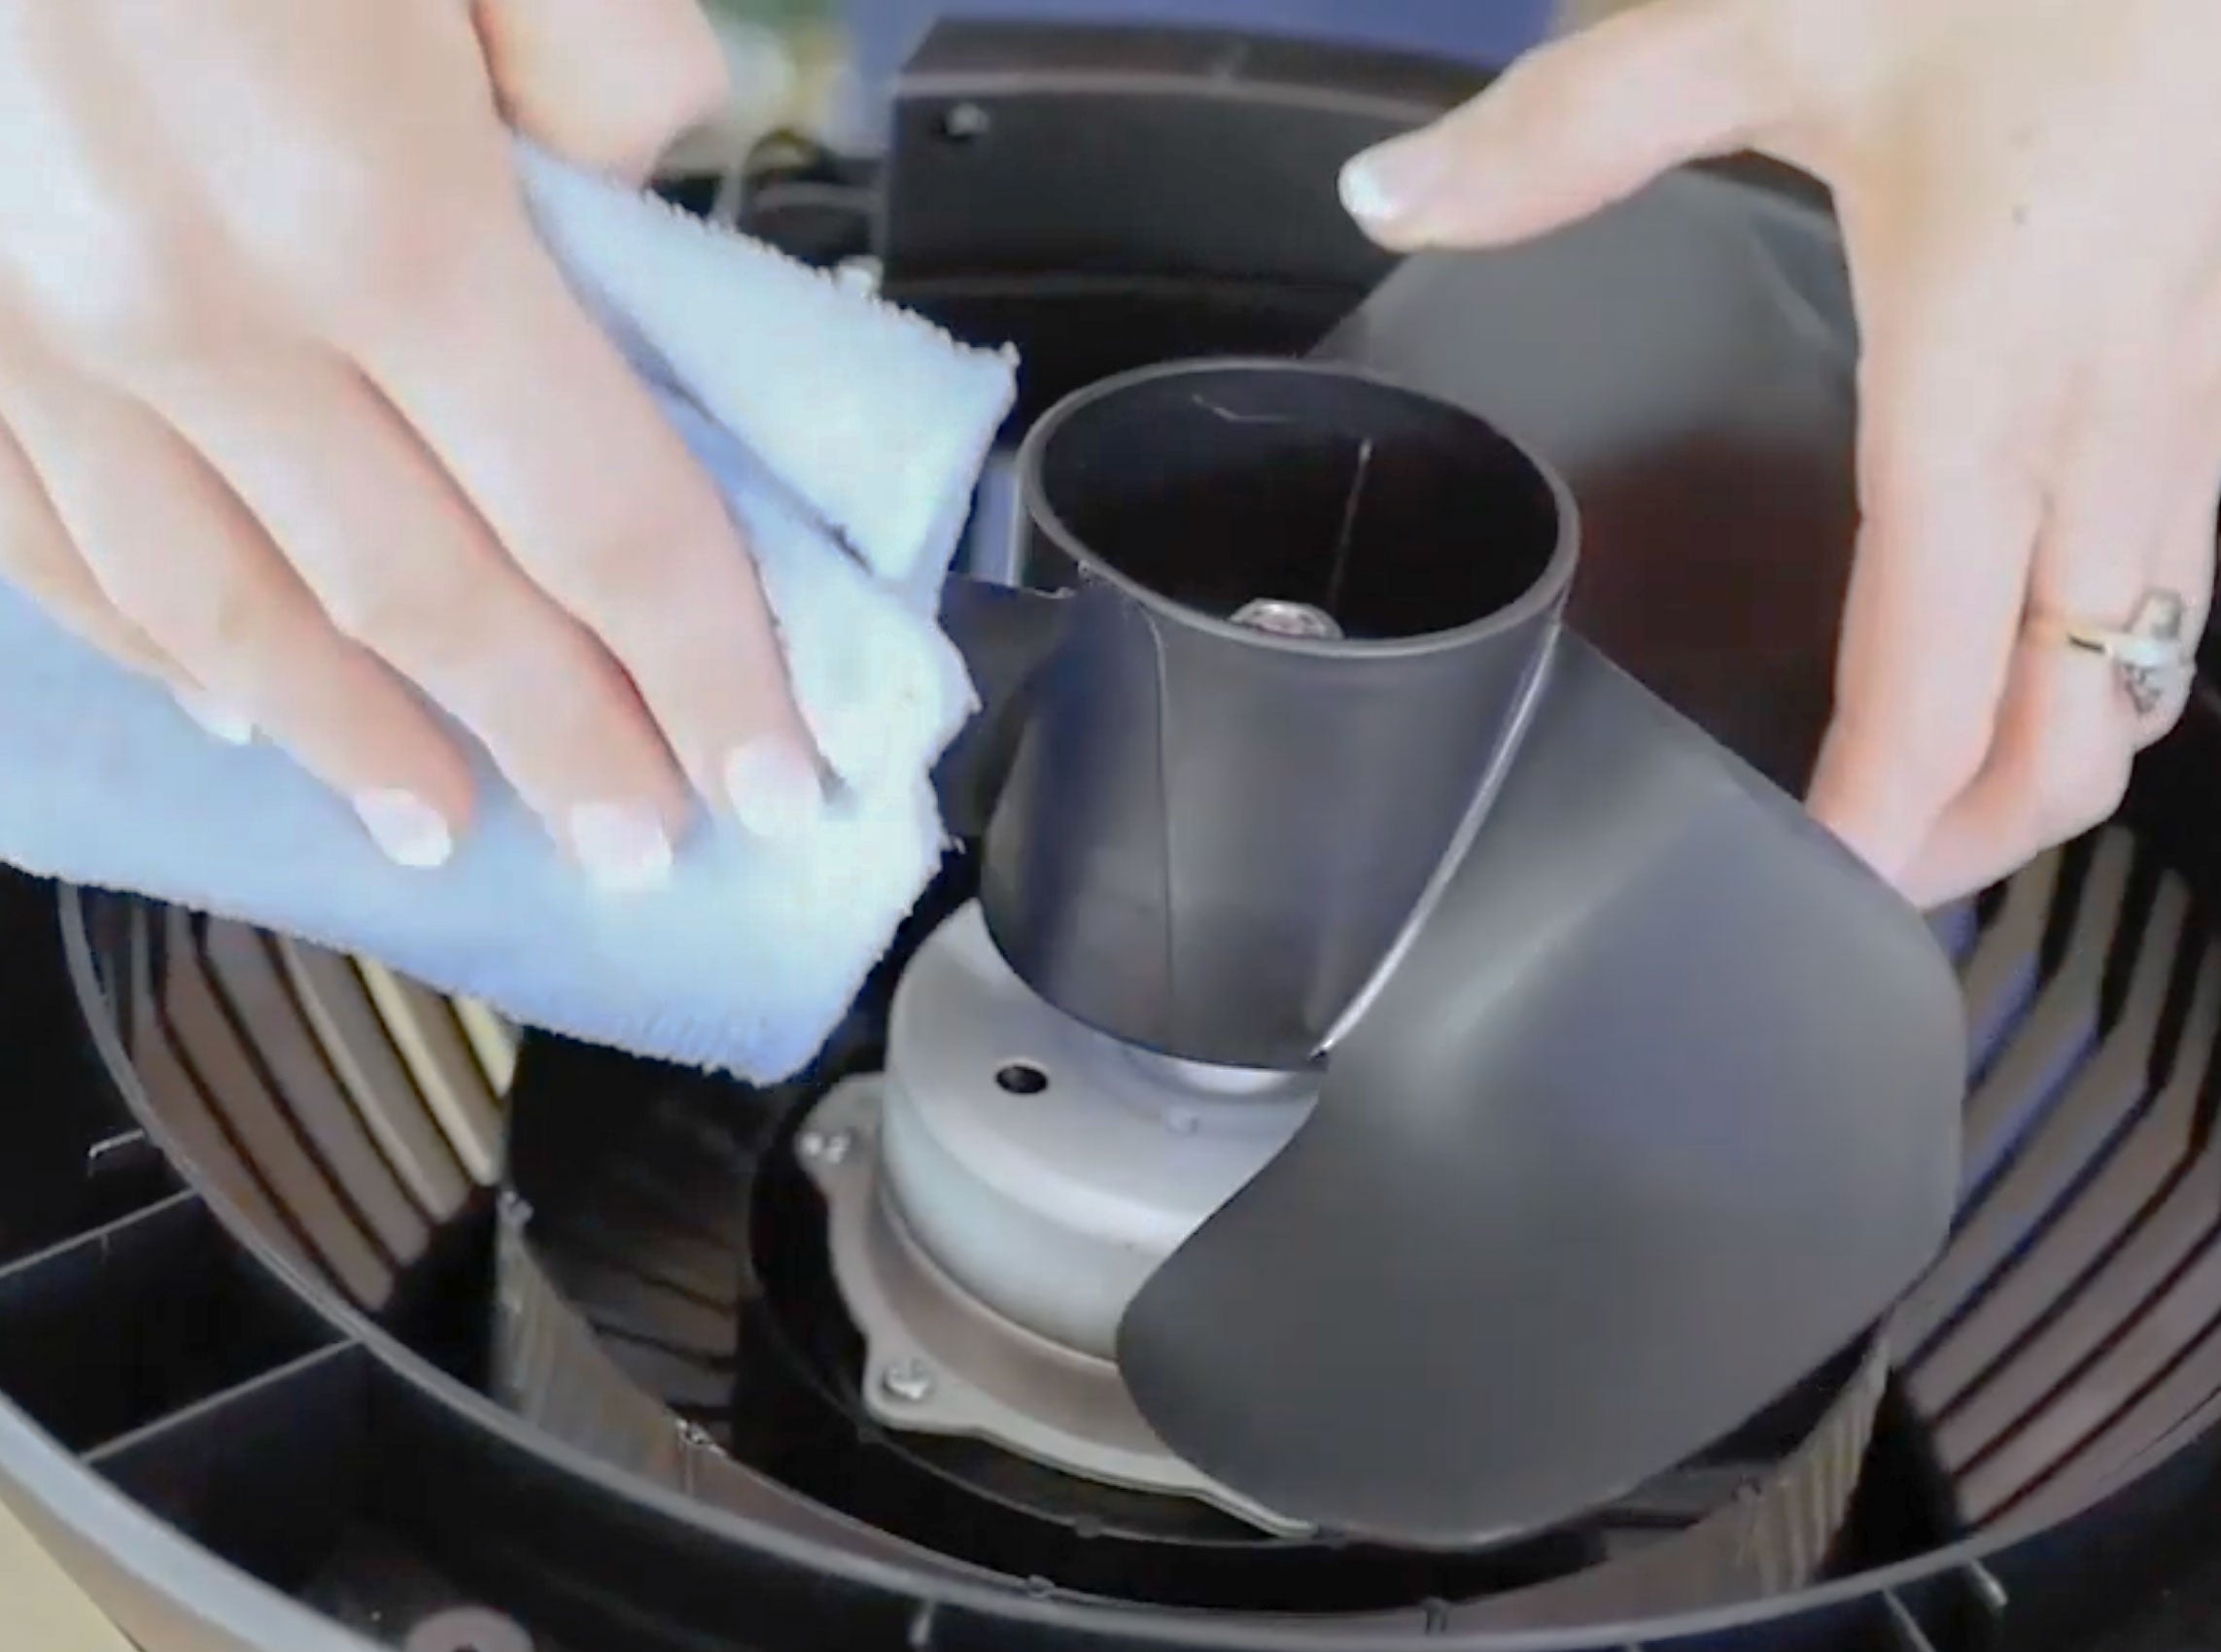
To clean the fan blades, you can use a soft brush or a microfiber cloth to gently wipe away the dirt. Start at the base of the blades and move towards the outer edges, ensuring that you cover all surfaces of the blades.
If the blades are particularly dirty or have stubborn stains, you can dampen the cloth or brush slightly with water or a mild cleaning solution. However, be cautious not to oversaturate the blades with moisture, as this can damage the electronic components.
As you clean the fan blades, pay attention to any hard-to-reach areas or crevices. You can use a toothbrush or a cotton swab to access these areas and remove any lodged dust or debris.
Once you have finished cleaning the fan blades, allow them to dry completely before reassembling your tower fan. It’s important to ensure that there is no moisture remaining on the blades, as this can lead to mold growth or damage to the fan.
With the fan blades cleaned and dry, you’re ready to move on to the next step: cleaning the fan housing.
Use a vacuum with a brush attachment to remove dust and debris from the grill and blades of the tower fan. Wipe the exterior with a damp cloth.
Read more: How To Clean Honeywell Tower Fan
Step 5: Clean the fan blades
Cleaning the fan blades of your tower fan is an important part of maintaining its performance and airflow. Over time, dust, pet hair, and other debris can accumulate on the blades, hindering their efficiency and potentially reducing the quality of the air in your living room. Therefore, regular cleaning of the fan blades is essential to ensure optimal functioning of your tower fan.
To clean the fan blades, start by preparing a clean, dry cloth or a soft-bristle brush. If the fan blades are heavily soiled, you can also use a mild cleaning solution or a mixture of water and mild detergent.
Gently wipe the fan blades with the cloth, making sure to remove any visible dust or dirt. If necessary, you can lightly dampen the cloth with the cleaning solution before wiping the blades. Be careful not to apply excessive moisture, as it may damage the fan or the electrical components.
If the fan blades have intricate designs or hard-to-reach areas, use a soft-bristle brush to gently scrub these areas. This will help loosen any stubborn dirt or debris that is trapped between the blades.
As you clean the fan blades, pay attention to both the front and back surfaces. Make sure to cover the entire surface area of each blade to ensure a thorough cleaning.
If the fan blades are particularly dirty or caked with grime, you can also consider removing them from the tower fan for a more intensive cleaning. Check the manufacturer’s instructions or user manual for guidance on how to safely remove and reattach the fan blades.
Whether you clean the fan blades while they are attached or detached, be sure to clean both sides of the blades to remove any accumulated dirt or dust.
Once you have finished cleaning the fan blades, use a dry cloth to wipe away any moisture or residue. Ensure that the blades are completely dry before reattaching them to the tower fan.
Remember, regular cleaning of the fan blades will help maintain optimal airflow and ensure that your tower fan circulates clean and fresh air throughout your living room.
Now that you have thoroughly cleaned the fan blades, we’re ready to move on to the next step: cleaning the fan housing.
Step 6: Clean the fan housing
Cleaning the fan housing is an essential step in maintaining the overall performance and functionality of your tower fan. Over time, dust, pet hair, and other particles can accumulate in the fan housing, obstructing the airflow and affecting the air quality in your living room. Therefore, it is crucial to regularly clean the fan housing to ensure smooth and efficient operation of your tower fan.
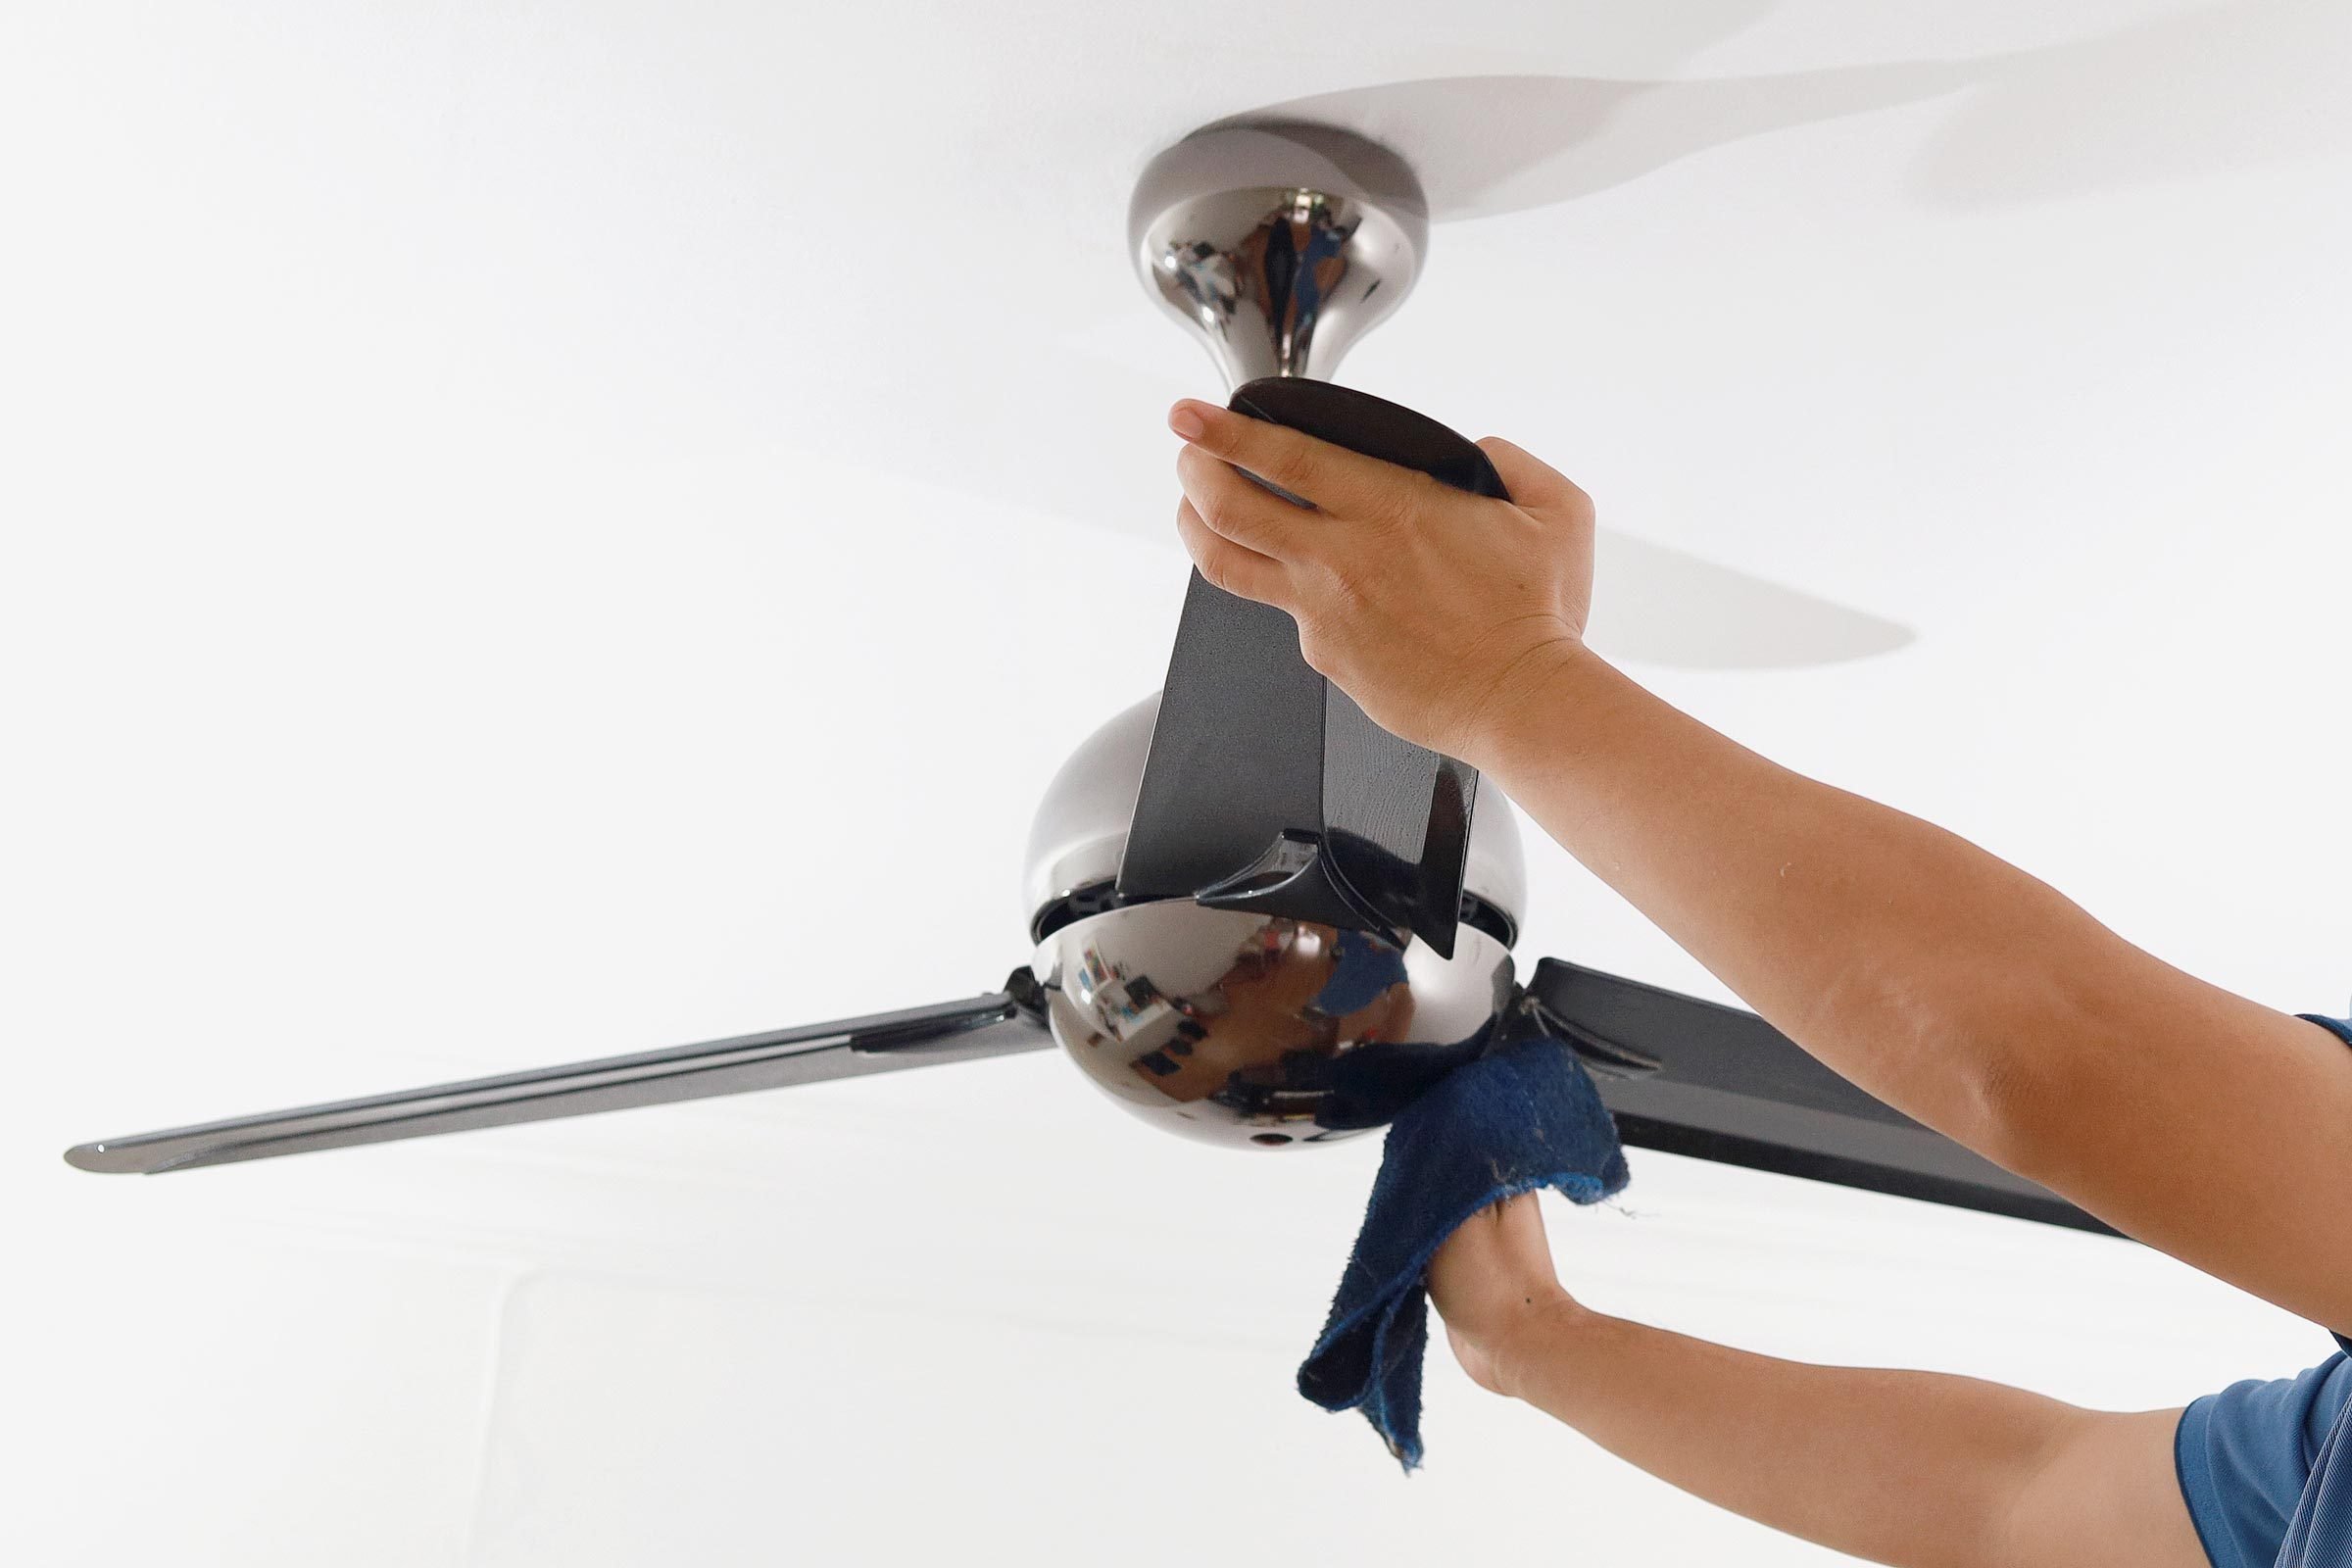
To clean the fan housing, start by using a clean, dry cloth or a soft-bristle brush to remove any loose dust and debris. Gently wipe the exterior surfaces of the housing, including the sides and top. Pay attention to areas where dust tends to accumulate, such as grooves or vents.
If the fan housing has stubborn stains or dirt, you can dampen the cloth slightly with water or a mild cleaning solution. However, make sure not to oversaturate the cloth, as excessive moisture can damage the fan’s electronic components.
As you clean the fan housing, be cautious around any buttons, displays, or control panels. Use gentle motions to ensure that you don’t accidentally press any buttons or damage any sensitive areas of the fan.
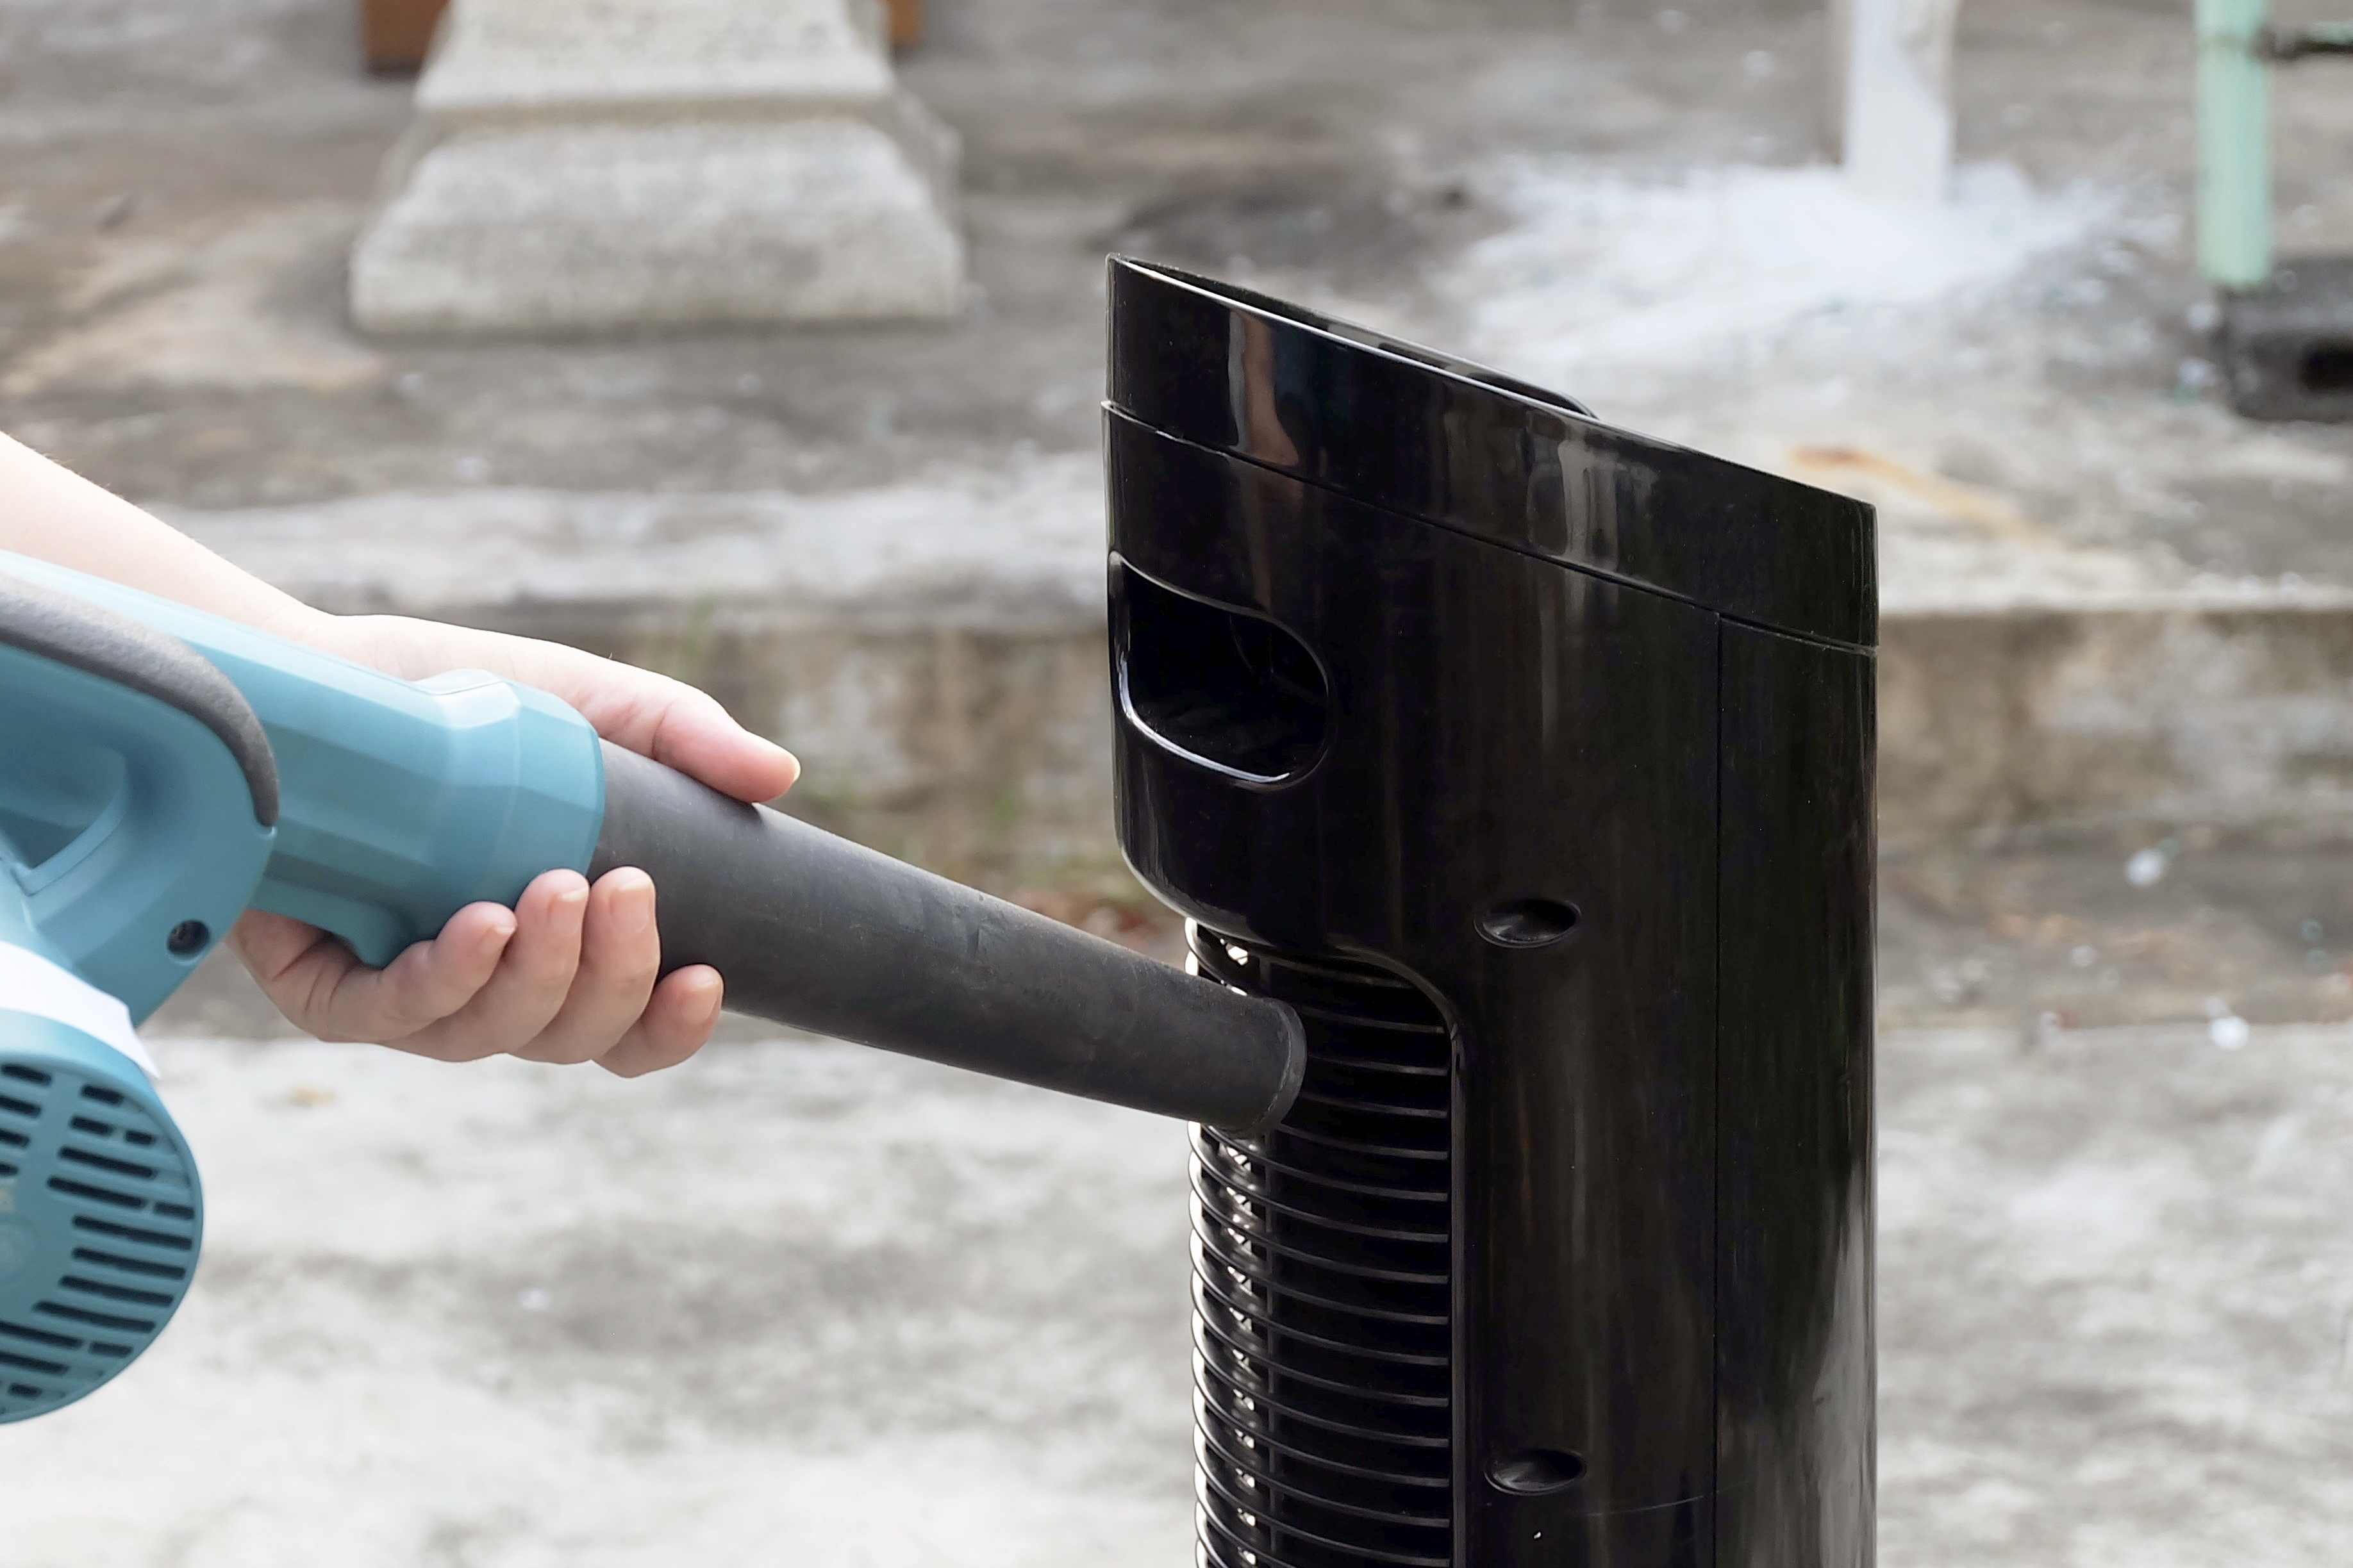
If the fan housing has grilles or vents, use a soft-bristle brush or a vacuum cleaner with a brush attachment to remove any dust or debris that may have accumulated. Be thorough in cleaning these areas, as they play a crucial role in the proper airflow of your tower fan.
For cleaning the interior of the fan housing, it is recommended to use a can of compressed air or a vacuum cleaner with a narrow nozzle attachment. Gently blow or vacuum out any dust or debris that may have collected inside the housing. Pay close attention to the fan motor and other internal components, as they are critical for the fan’s operation.
Make sure to clean any air intake or exhaust vents located at the bottom or back of the fan housing. These vents are responsible for drawing in and expelling air, so keeping them clean is essential for optimal performance.
Once you have finished cleaning the fan housing, take a final look to ensure that all surfaces are dust-free and debris-free. If necessary, go over the housing again with a dry cloth to remove any remaining moisture.
Now that you have thoroughly cleaned the fan housing, it’s time to reassemble the tower fan in the next step.
Step 7: Reassemble the tower fan
After cleaning the various components of your tower fan, it’s time to reassemble them to ensure that the fan can operate smoothly and effectively. Proper reassembly is crucial for maintaining the fan’s performance and ensuring optimal airflow in your living room.
Start by carefully reattaching the fan blades to the fan assembly. Align the blades with the designated slots or connectors and gently slide or press them back into place. If there were any screws, clips, or latches holding the fan blades, make sure to secure them tightly according to the manufacturer’s instructions.
Next, place the cleaned front grill back onto the fan assembly. Align the grill with the fan housing and carefully push it into position. If there were any screws, clips, or latches securing the front grill, reattach them to secure the grill in place.
Double-check that all the components are properly aligned and securely fastened. Ensure that the fan blades spin freely and that the front grill is firmly in place without any wobbling or movement.
Once you have reassembled the tower fan, give it a final inspection to make sure that everything is in order. Check for any loose components or connections that need to be tightened or adjusted.
Before plugging in and turning on the tower fan, give it one last wipe-down with a clean, dry cloth to remove any fingerprints or residue left from the cleaning process.
After ensuring that the tower fan is clean and properly assembled, you can now plug it back into the power source. Turn on the fan and observe its operation to confirm that it is working correctly and producing a smooth airflow.
Remember to periodically clean and maintain your tower fan to prevent dust and debris buildup and to help extend the fan’s lifespan. Regular cleaning will ensure that you continue to enjoy fresh, clean air in your living room.
Congratulations! You have successfully cleaned and reassembled your tower fan, and it is now ready to keep you cool and comfortable once again.
While cleaning your tower fan, always refer to the manufacturer’s instructions and guidelines specific to your fan model, as they may provide additional tips and precautions.
We hope this step-by-step guide has been helpful in keeping your tower fan in excellent working condition. Happy cleaning!
Conclusion:
Cleaning your tower fan regularly is essential for maintaining its performance, increasing its lifespan, and ensuring clean and fresh air circulation in your living room. By following the step-by-step process outlined in this guide, you can effectively remove dust and debris from your tower fan, allowing it to operate at optimal efficiency once again.
Starting with turning off and unplugging the tower fan, you can safely remove the front grill to access the fan blades. Cleaning the front grill and fan blades thoroughly helps to improve the airflow and prevent the circulation of dust and allergens.
After cleaning the fan blades, attention should be given to cleaning the fan housing. Removing any accumulated dust and debris from the housing keeps the fan running smoothly and prevents the obstruction of airflow.
Once all the components are clean, reassembling the tower fan correctly is crucial. Ensuring a secure and proper reassembly guarantees the fan’s performance and longevity.
Remember to periodically clean your tower fan to maintain its efficiency. Depending on the usage and the environment, it’s recommended to clean the fan every few months or as needed.
By taking the time to clean and care for your tower fan, you can enjoy the benefits of a clean, cool, and refreshing living room environment. Not only will you experience improved air quality, but you’ll also prolong the lifespan of your tower fan, saving you money in the long run.
Keep in mind that while this guide provides general instructions, it’s important to refer to your fan’s specific manufacturer guidelines for any cleaning recommendations or precautions.
Now that you have the knowledge and steps to clean your tower fan effectively, take the initiative to maintain its optimal performance and keep your living room environment fresh and comfortable.
Thank you for reading, and happy cleaning!
Frequently Asked Questions about How To Clean A Tower Fan To Remove Dust And Debris
Was this page helpful?
At Storables.com, we guarantee accurate and reliable information. Our content, validated by Expert Board Contributors, is crafted following stringent Editorial Policies. We're committed to providing you with well-researched, expert-backed insights for all your informational needs.




0 thoughts on “How To Clean A Tower Fan To Remove Dust And Debris”