
Articles
How Do You Hang A Toilet Paper Holder
Modified: August 27, 2024
Learn how to easily hang a toilet paper holder with these informative articles. Find step-by-step instructions and helpful tips for a successful installation.
(Many of the links in this article redirect to a specific reviewed product. Your purchase of these products through affiliate links helps to generate commission for Storables.com, at no extra cost. Learn more)
Introduction
One of the essential fixtures in any bathroom is a toilet paper holder. It is a small but crucial item that brings convenience and functionality to our daily lives. Mounting a toilet paper holder may seem like a simple task, but it requires careful planning and execution to ensure it is securely fixed to the wall.
In this article, we will guide you through the step-by-step process of how to hang a toilet paper holder. From determining the mounting location to securing the holder in place, we will cover all the necessary details to make your installation process smooth and successful.
Before we begin, let’s gather the tools and materials you will need for this project:
- Measuring tape
- Pencil or marker
- Power drill
- Drill bits
- Wall anchors
- Screwdriver
- Level
- Toilet paper holder
- Mounting screws or hardware
With these tools on hand, you are ready to install your toilet paper holder. Follow along as we break down the process into easy-to-follow steps.
Key Takeaways:
- Securely install a toilet paper holder by choosing the right location, marking drilling points accurately, and using proper tools. Test stability and make final adjustments for a functional and visually appealing bathroom fixture.
- Follow step-by-step instructions to hang a toilet paper holder, ensuring convenience and organization in your bathroom. Attention to detail and proper execution are crucial for a successful installation.
Read more: How Do You Tighten A Toilet Paper Holder
Tools and Materials Needed
Before you begin the installation process, it’s essential to have all the necessary tools and materials at your disposal. Here’s a list of what you’ll need:
- Measuring tape: This will help you determine the appropriate mounting location for your toilet paper holder.
- Pencil or marker: Used for marking the drilling points on the wall.
- Power drill: Essential for drilling the holes into the wall.
- Drill bits: Choose the appropriate size drill bit based on the type of wall material and the provided instructions from the manufacturer.
- Wall anchors: These provide stability and support by securing the screws in the wall. Select wall anchors that are suitable for your wall type (drywall, tile, etc.).
- Screwdriver: Used to tighten the screws securely.
- Level: A handy tool for ensuring that your toilet paper holder is mounted straight and level.
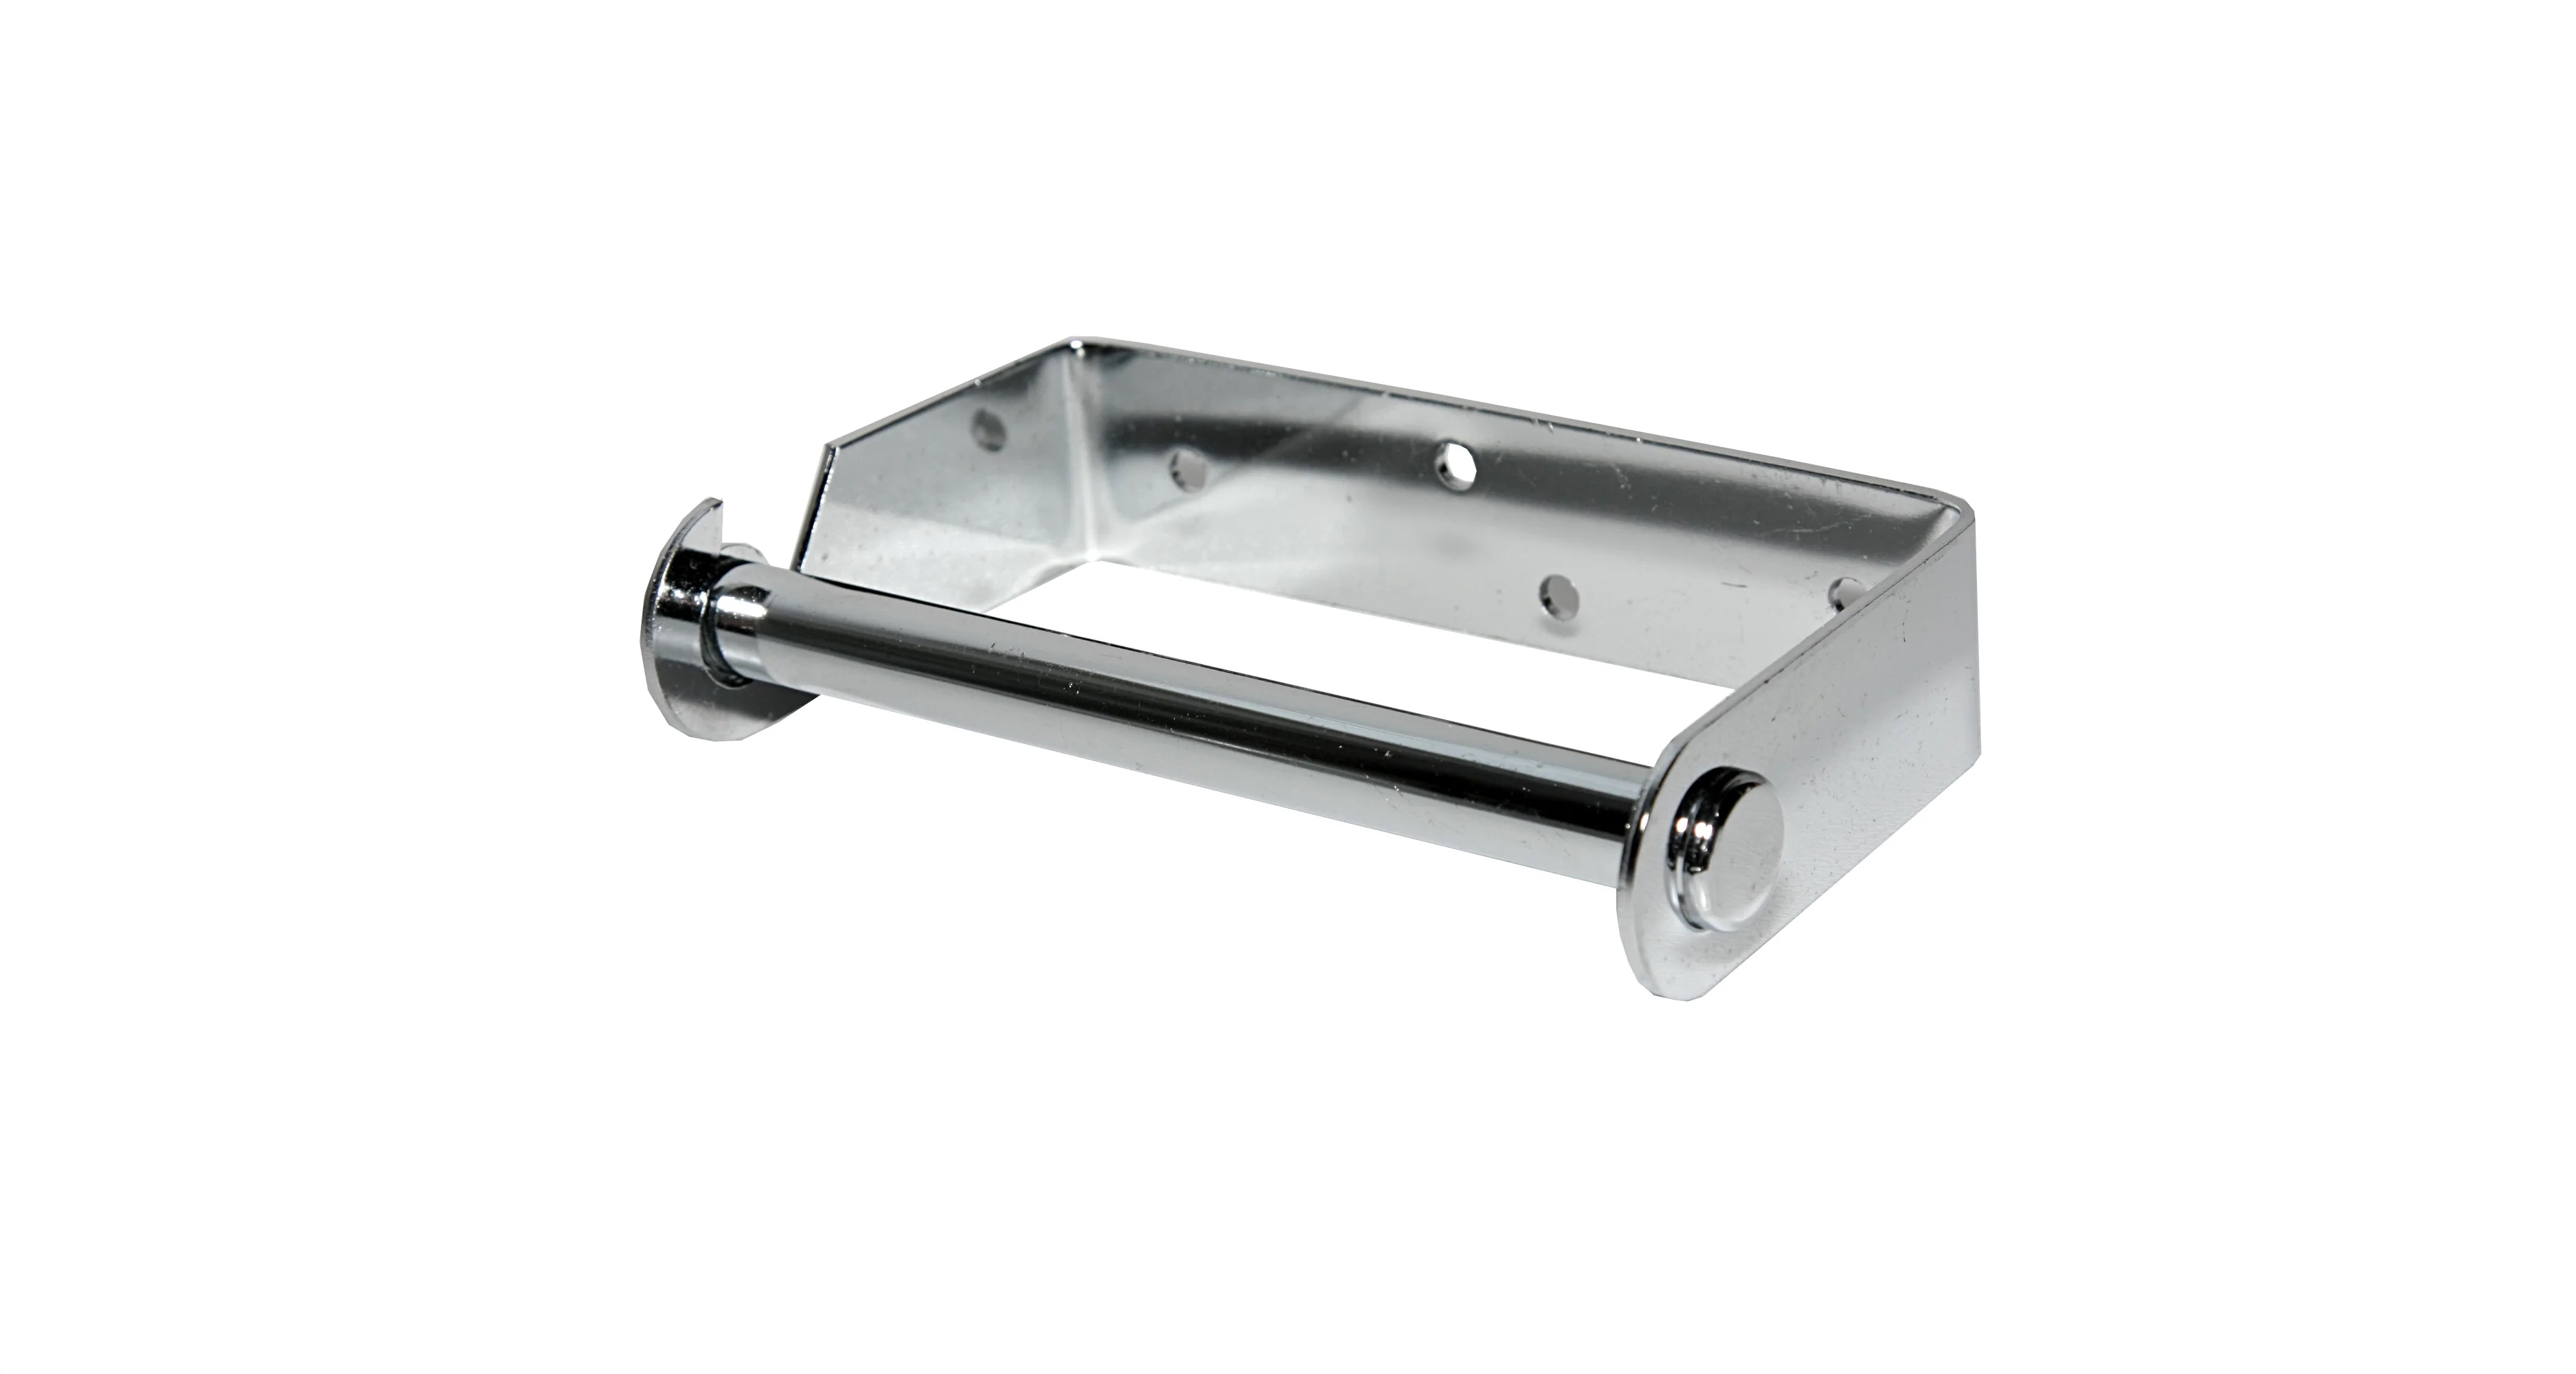
- Toilet paper holder: Choose a holder that suits your style and preferences. Ensure it comes with the necessary mounting hardware.
- Mounting screws or hardware: These are typically provided with the toilet paper holder. If not, make sure to select screws or hardware that are appropriate for the holder and wall type.
Gather these tools and materials before you begin the installation process. Having everything ready at hand will save you time and ensure a smooth installation.
Step 1: Determine the Mounting Location
The first step in hanging a toilet paper holder is determining the ideal mounting location. It’s essential to choose a spot that is easily accessible and convenient for users. Here’s how to determine the mounting location:
- Consider the height: The standard height for a toilet paper holder is about 26 inches from the floor. However, you can adjust this according to your preference and the needs of the users. Keep in mind the accessibility for all members of the household.
- Measure the distance from the toilet: Position the holder within easy reach of the toilet to ensure convenience while seated. Ideally, it should be within arm’s reach without straining.
- Avoid obstacles: Make sure there are no obstructions such as towel racks, cabinets, or other fixtures that may interfere with the installation or accessibility of the toilet paper holder.
- Consider toilet paper roll size: Take into account the dimensions of the toilet paper roll you typically use. Ensure there is enough space between the holder and any nearby walls or fixtures to accommodate the size of the roll.
Once you have considered these factors, use a measuring tape to mark the desired height and location on the wall. Use a pencil or marker to make precise marks.
Remember, the location of the toilet paper holder should be well-thought-out to ensure convenience and functionality. Take your time to find the perfect spot that meets your needs.
Step 2: Mark the Drilling Points
After determining the mounting location for your toilet paper holder, the next step is to mark the drilling points on the wall accurately. This will ensure that the holder is installed securely and level. Here’s how to mark the drilling points:
- Place the mounting plate against the wall: Take the mounting plate that came with your toilet paper holder and position it on the wall at the desired location. Make sure it aligns with the marks you made in the previous step.
- Check for level: Use a level to ensure that the mounting plate is straight and level. Make any necessary adjustments to ensure proper alignment.
- Mark the screw holes: Once the mounting plate is leveled, use a pencil or marker to indicate the center of each screw hole on the wall. This will serve as your drilling points.
Make sure to double-check your markings to ensure accuracy before proceeding to the drilling step. It’s crucial to have precise markings to avoid any errors during installation.
By marking the drilling points, you’ll have a clear guide for where to drill the holes for your toilet paper holder. This step sets the foundation for the secure installation of the holder.
Step 3: Drill the Holes
With the drilling points marked on the wall, you’re ready to move on to the next step: drilling the holes. This step requires the use of a power drill and the appropriate drill bit. Follow these steps to drill the holes for your toilet paper holder:
- Choose the right drill bit: Select a drill bit that is suitable for the type of wall you are working with. Refer to the instructions provided with the wall anchors to determine the correct size.
- Attach the drill bit: Insert the chosen drill bit into the chuck of your power drill and tighten it securely.
- Drill the holes: Position your drill over one of the marked drilling points and apply gentle pressure. Start drilling at a slow speed and gradually increase the speed until the drill bit goes through the wall. Repeat this process for each marked drilling point.
- Use caution: While drilling, be mindful of the depth to avoid damaging any plumbing or electrical lines behind the wall. If you’re unsure, it’s wise to consult a professional.
- Clean up debris: After drilling all the holes, use a brush or a cloth to remove any debris or dust from the holes. This will ensure a clean and secure fit for the wall anchors.
Drilling the holes is a critical step in the installation process as it provides the foundation for securely mounting your toilet paper holder. Take your time and exercise caution to achieve accurate and clean holes.
Step 4: Install the Wall Anchors
Once you have drilled the holes, the next step is to install the wall anchors. Wall anchors provide stability and support for the screws that will hold your toilet paper holder in place. Here’s how to install the wall anchors:
- Select the appropriate wall anchors: Choose wall anchors that are suitable for your wall type and provide enough support for the weight of your toilet paper holder. Refer to the instructions provided with the wall anchors to ensure proper selection.
- Insert the wall anchors: Take one wall anchor and insert it into the first drilled hole. Gently tap it into place using a hammer until it is flush with the wall. Repeat this process for each drilled hole.
- Ensure a secure fit: Once all the wall anchors are inserted, give them a slight tug to ensure they are firmly in place. They should not move or come out of the holes easily.
Installing wall anchors is crucial to provide the necessary stability and support for your toilet paper holder. They prevent the screws from loosening over time and ensure that your holder stays securely mounted.
Take care to choose high-quality wall anchors and install them properly to ensure a successful installation of your toilet paper holder.
When hanging a toilet paper holder, make sure to use a level to ensure it is straight. Use wall anchors if necessary for added support.
Step 5: Attach the Mounting Plate
Now that the wall anchors are in place, it’s time to attach the mounting plate for your toilet paper holder. The mounting plate acts as the base for securing the holder to the wall. Follow these steps to attach the mounting plate:
- Position the mounting plate: Hold the mounting plate against the wall, aligning it with the wall anchors and the drilled holes. Ensure that it is level and centered according to your markings.
- Insert the screws: Take the screws provided with your toilet paper holder and insert them through the holes on the mounting plate. Guide them into the corresponding wall anchors.
- Tighten the screws: Use a screwdriver or a drill with a screwdriver bit to tighten the screws. Start with a gentle tightening motion and gradually increase the pressure until the mounting plate is securely attached to the wall.
- Check for stability: Give the mounting plate a slight tug to ensure it is firmly attached to the wall. It should not move or feel loose.
Attaching the mounting plate is an important step as it provides a solid base for your toilet paper holder. Be careful not to overtighten the screws, as this could damage the wall or strip the screws. Use just enough pressure to secure the mounting plate firmly.
Once the mounting plate is attached, you are now ready to proceed to the next step of securing the toilet paper holder itself.
Step 6: Secure the Toilet Paper Holder
With the mounting plate in place, it’s time to secure the toilet paper holder itself. This step involves attaching the holder to the mounting plate using the provided hardware. Follow these steps to securely install your toilet paper holder:
- Prepare the holder: Take your toilet paper holder and remove any protective covers or packaging. Familiarize yourself with the different components and hardware that are included.
- Align the holder: Position the holder over the mounting plate, aligning the screw holes on the back of the holder with the corresponding holes on the mounting plate. Ensure that the holder is level and straight.
- Insert the screws: Take the screws provided with the holder and insert them through the holes on the holder, guiding them into the corresponding holes on the mounting plate.
- Tighten the screws: Use a screwdriver or a drill with a screwdriver bit to tighten the screws. Start with a gentle tightening motion and gradually increase the pressure until the holder is securely fastened to the mounting plate.
- Check for stability: Give the toilet paper holder a gentle tug to ensure it is securely attached to the mounting plate. It should not move or feel loose.
Be careful not to overtighten the screws, as this could damage the holder or strip the screws. Use just enough pressure to secure the holder firmly in place.
By following these steps, you will ensure that your toilet paper holder is securely installed and ready for use.
Step 7: Test Stability
Once you have secured the toilet paper holder in place, it’s important to test its stability to ensure that it will withstand everyday use. Follow these steps to test the stability of your installed toilet paper holder:
- Hold on to the holder: Gently pull, push, or wiggle the holder in different directions to simulate the motions that will occur during normal use.
- Check for movement: Pay close attention to any movement or looseness in the holder. If there is excessive movement or it feels unstable, you may need to tighten the screws further or reevaluate the installation.
- Make adjustments if necessary: If you notice any instability, recheck the mounting plate and screws to ensure they are securely fastened. If needed, disassemble the holder and remount it, making sure to follow the previous steps to ensure proper installation.
- Re-test stability: Once you make any adjustments or corrections, repeat the stability test to ensure that the holder is now secure and stable.
It’s essential to take the time to test the stability of your toilet paper holder before considering the installation complete. By doing so, you can avoid any unexpected issues or accidents in the future.
If you encounter persistent stability issues, consider consulting a professional or reaching out to the manufacturer for guidance.
Read more: How High Do You Mount Toilet Paper Holder
Step 8: Final Touches and Adjustments
With the toilet paper holder securely installed, there are a few final touches and adjustments you can make to ensure it is visually appealing and functional. Follow these steps to add the finishing touches:
- Clean up any debris: Use a cloth or brush to clean up any residual dust or debris that may have accumulated during the installation process. This will give your bathroom a clean and polished look.
- Check for proper alignment: Step back and visually inspect the toilet paper holder to ensure it is level and aligned with the surrounding fixtures and accessories. Make any necessary adjustments to achieve a visually balanced appearance.
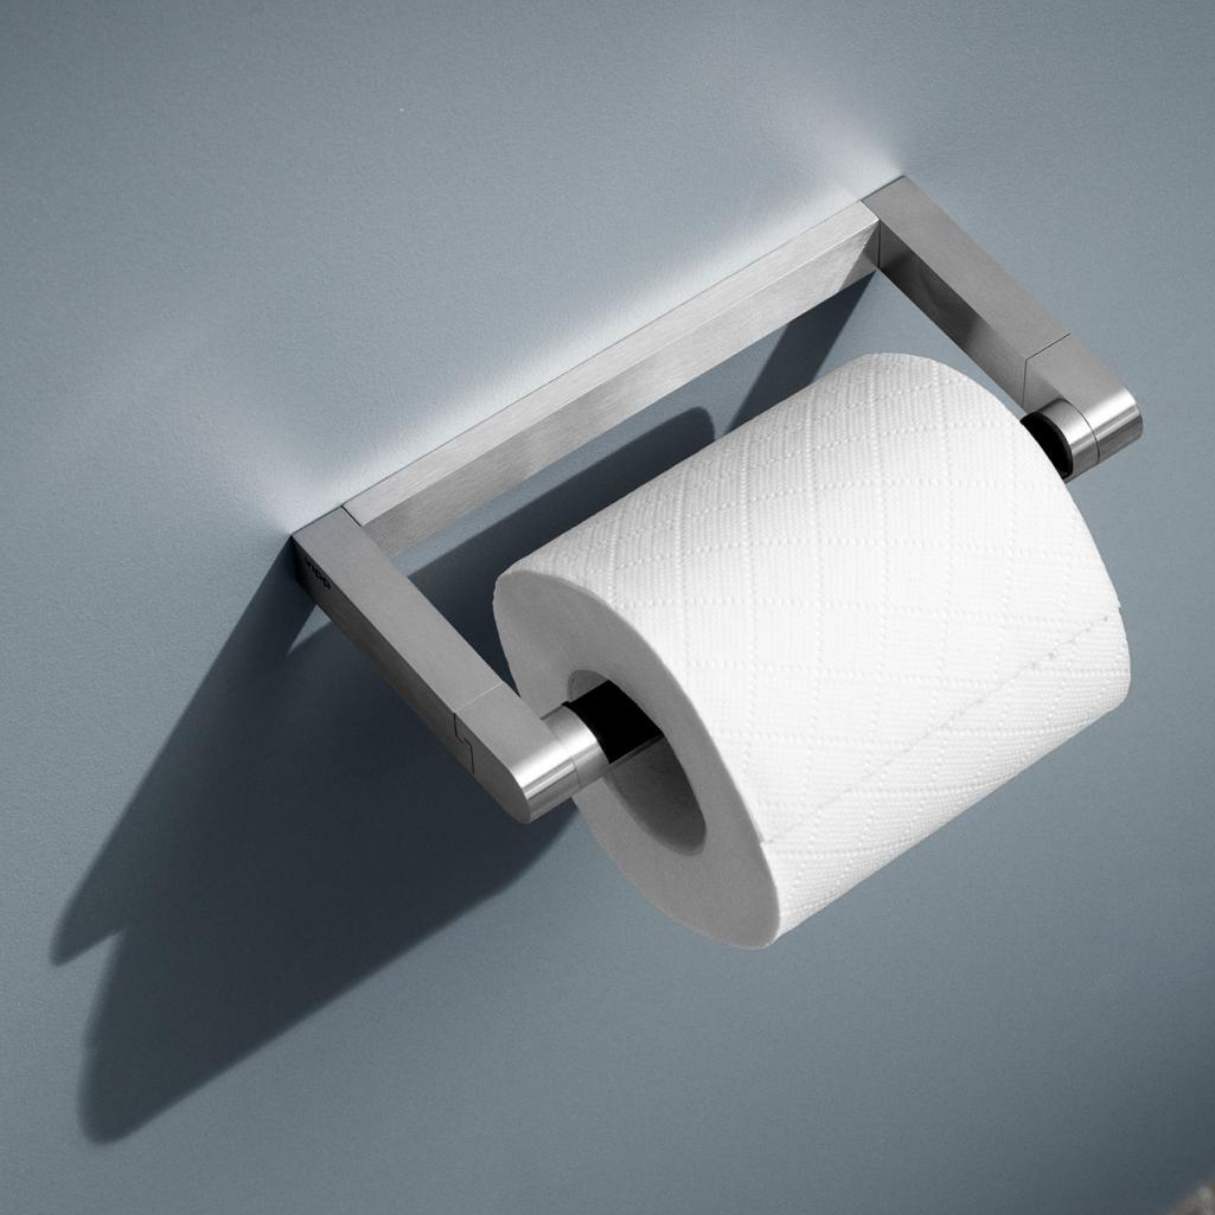
- Add the toilet paper: Place a roll of toilet paper onto the holder, ensuring that it rolls smoothly and without any obstructions. Adjust the holder if necessary to achieve optimal functionality.
- Test functionality: Pull on the toilet paper to ensure it dispenses smoothly and without any issues. Confirm that the holder is sturdy and doesn’t move or wobble during use.
- Make any final adjustments: If you notice any issues or shortcomings, address them promptly. This could include tightening screws, adjusting the alignment, or considering alternative placement if necessary.
By paying attention to these final touches and adjustments, you can ensure that your toilet paper holder not only functions properly but also enhances the overall aesthetics of your bathroom.
Remember, proper maintenance and occasional checks for stability are important to keep your toilet paper holder in excellent condition for years to come.
Conclusion
Congratulations! You have successfully learned how to hang a toilet paper holder. By following these step-by-step instructions, you can ensure a secure and functional installation that will bring convenience and organization to your bathroom.
Remember to always consider the mounting location, mark the drilling points accurately, drill the holes carefully, and install the wall anchors securely. Attach the mounting plate and toilet paper holder, making sure they are level and stable. Additionally, perform stability tests and make any necessary adjustments to ensure a sturdy installation.
When installing a toilet paper holder, attention to detail and proper execution are crucial. It’s important to choose the right tools, follow the manufacturer’s instructions, and exercise caution throughout the process.
While the installation process may vary based on the specific toilet paper holder and your bathroom’s conditions, the fundamental steps outlined in this guide will serve as a solid foundation for your installation endeavors.
With your newly installed toilet paper holder, you can now enjoy a neat and organized bathroom experience. No more searching for misplaced toilet paper or fumbling with loose rolls. It’s all within easy reach!
Remember to periodically check the stability and make any necessary adjustments to keep your toilet paper holder in pristine condition. Enjoy the convenience and functionality it brings to your daily routine.
Thank you for following this guide, and we hope it has been helpful in your toilet paper holder installation journey. Happy organizing!
Frequently Asked Questions about How Do You Hang A Toilet Paper Holder
Was this page helpful?
At Storables.com, we guarantee accurate and reliable information. Our content, validated by Expert Board Contributors, is crafted following stringent Editorial Policies. We're committed to providing you with well-researched, expert-backed insights for all your informational needs.

0 thoughts on “How Do You Hang A Toilet Paper Holder”