
Articles
How To Remove Recessed Toilet Paper Holder
Modified: October 19, 2024
Learn how to remove a recessed toilet paper holder in just a few simple steps. Our articles provide a comprehensive guide for easy installation and maintenance.
(Many of the links in this article redirect to a specific reviewed product. Your purchase of these products through affiliate links helps to generate commission for Storables.com, at no extra cost. Learn more)
Introduction
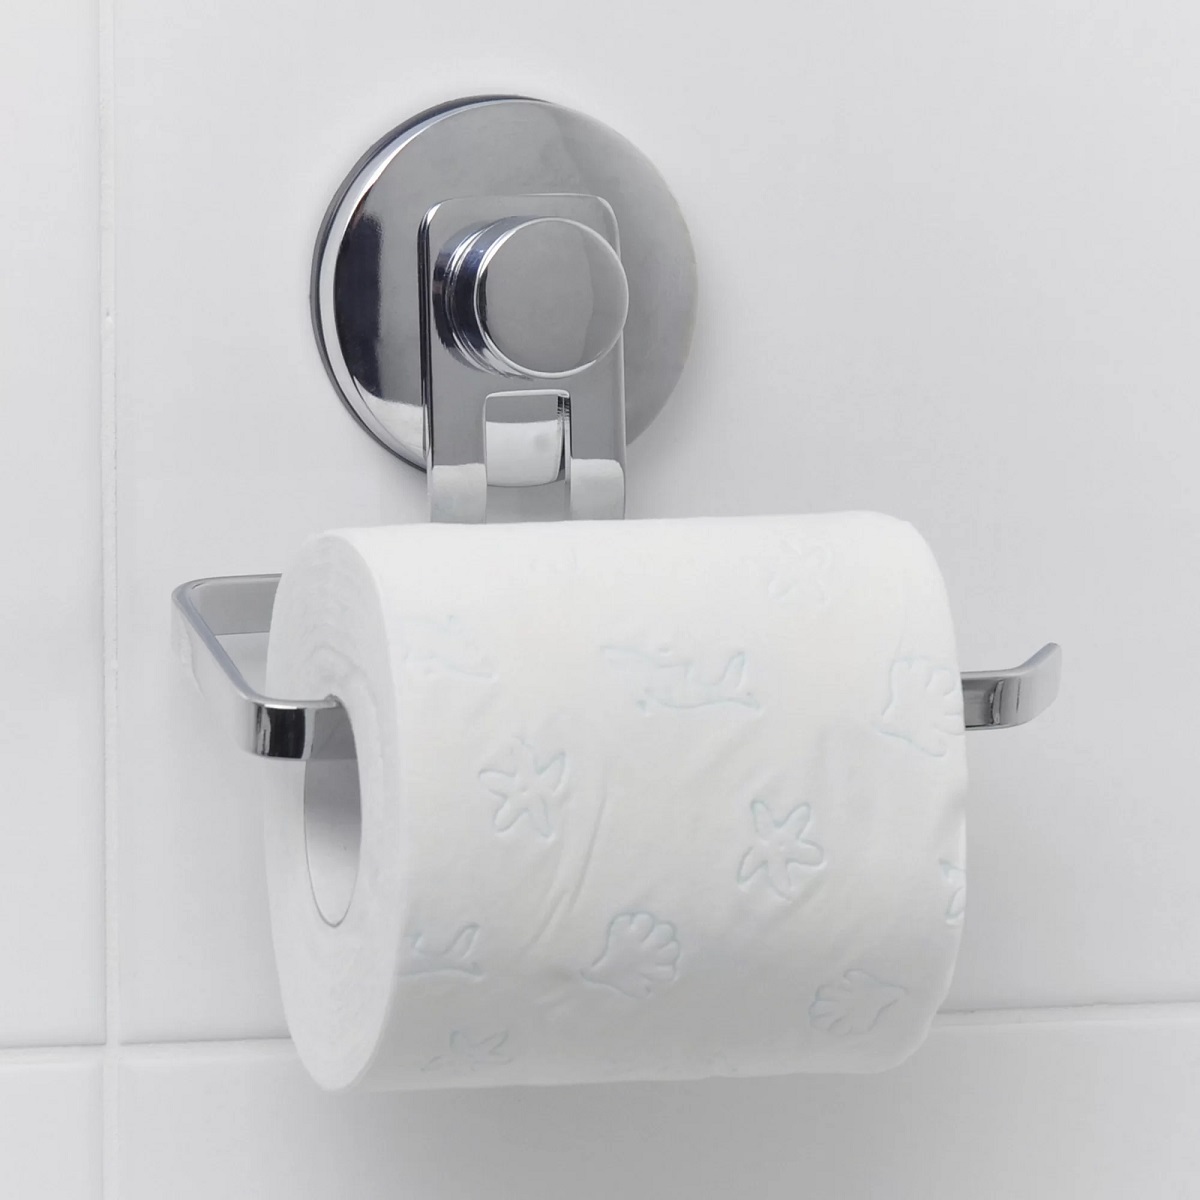
Welcome to this guide on how to remove a recessed toilet paper holder. Whether you’re remodeling your bathroom or simply replacing an old fixture, removing a recessed toilet paper holder can be a straightforward process with the right tools and techniques. This article will walk you through the steps involved in removing a recessed toilet paper holder, as well as provide some helpful tips along the way.
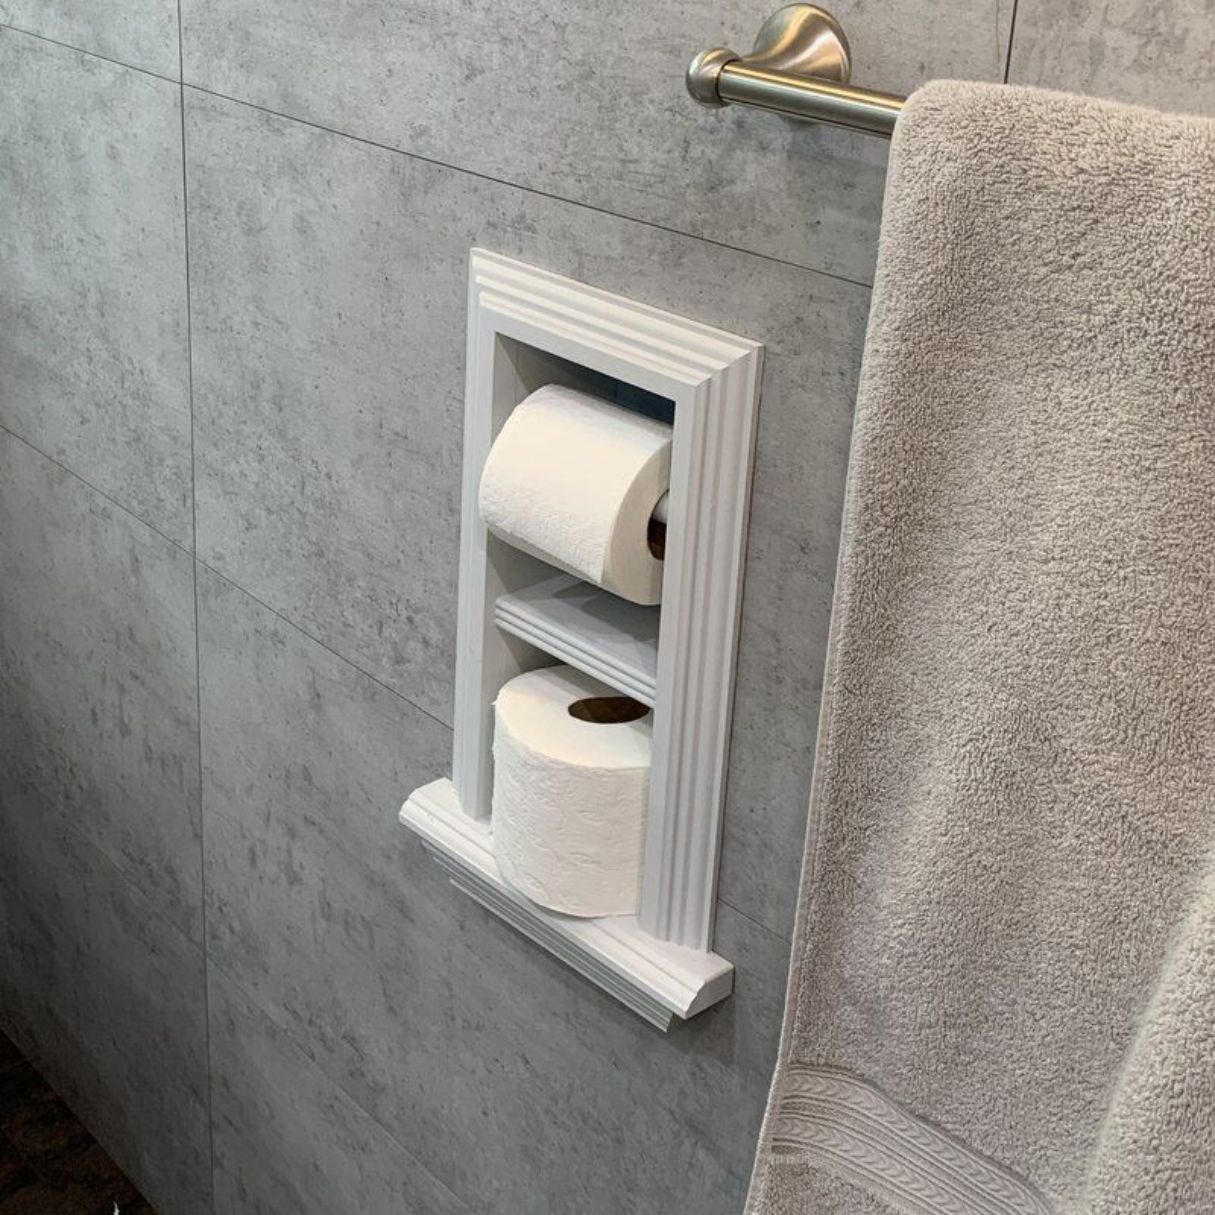
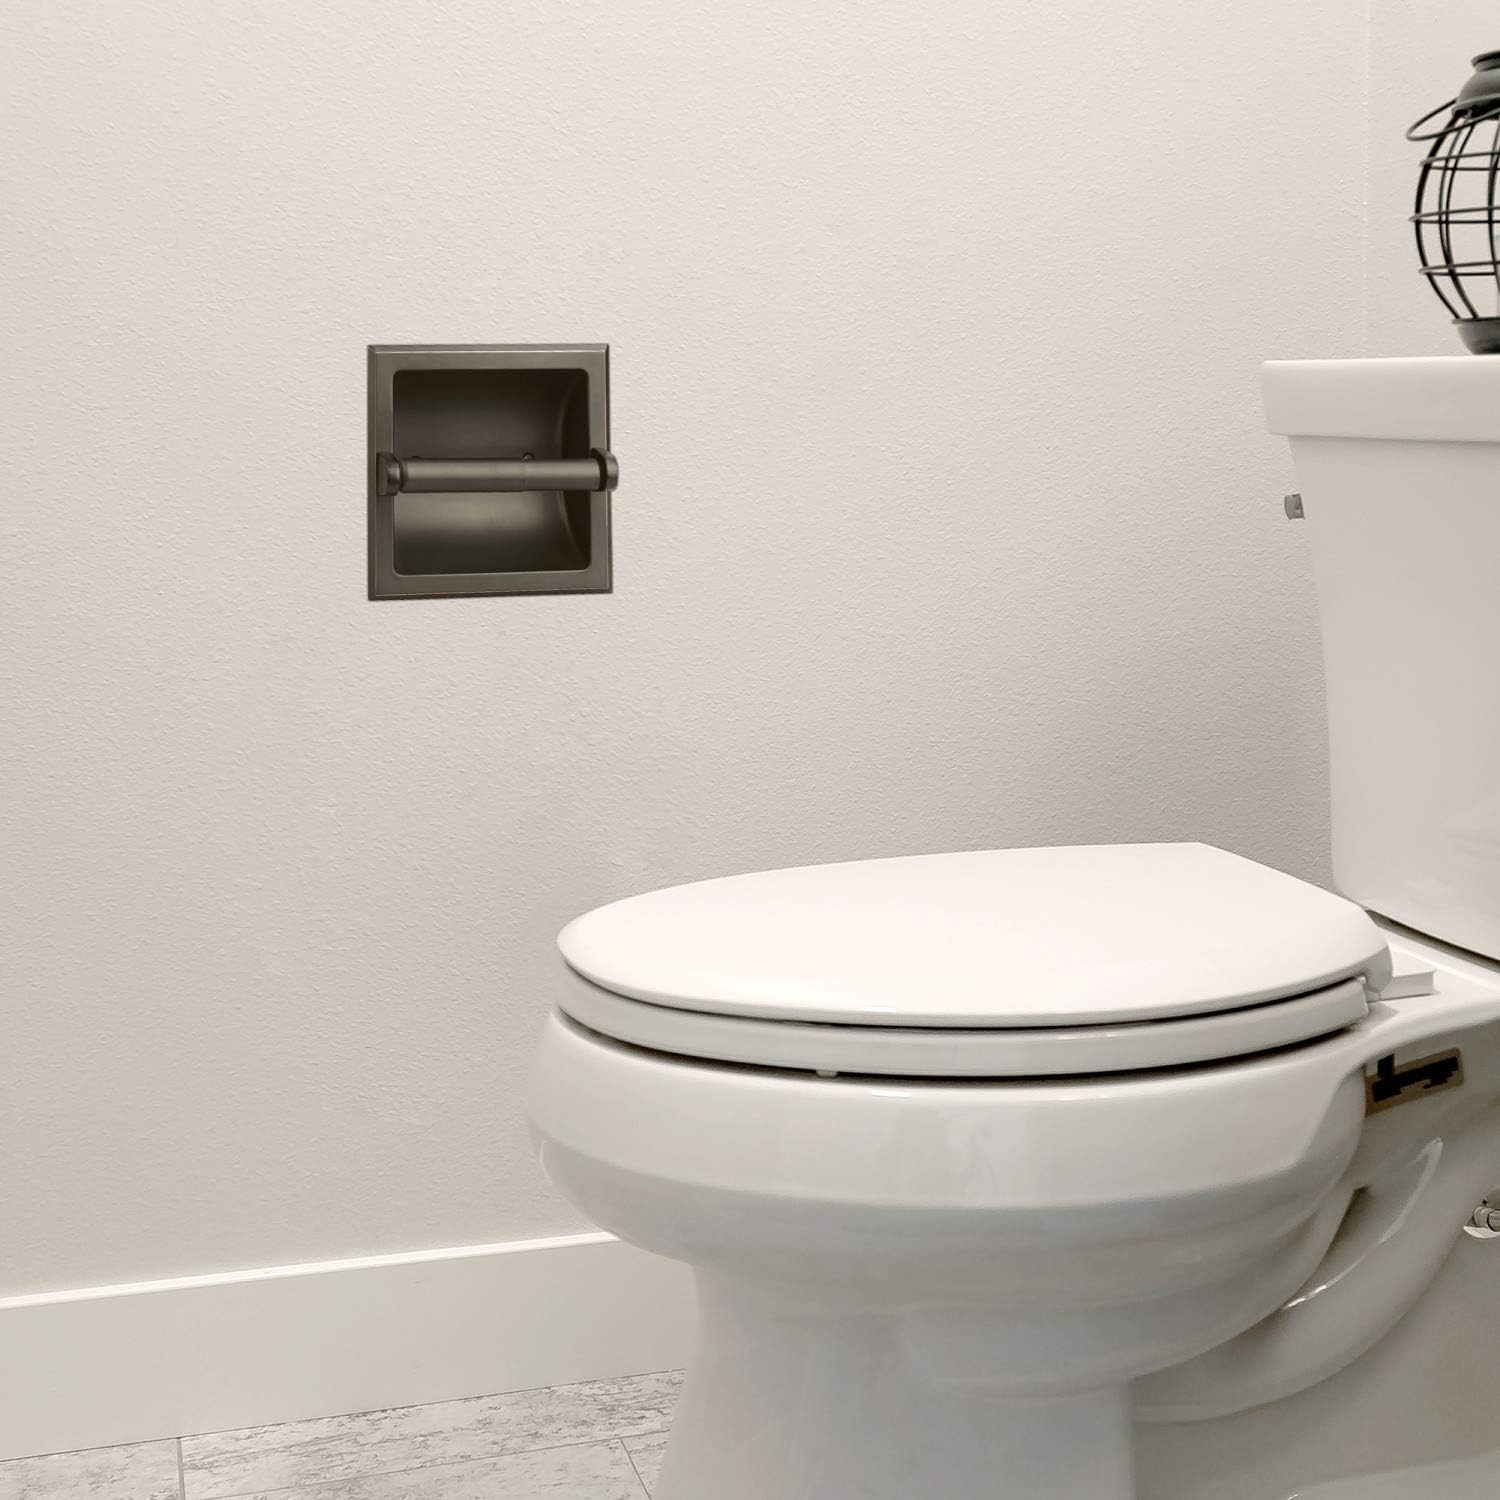
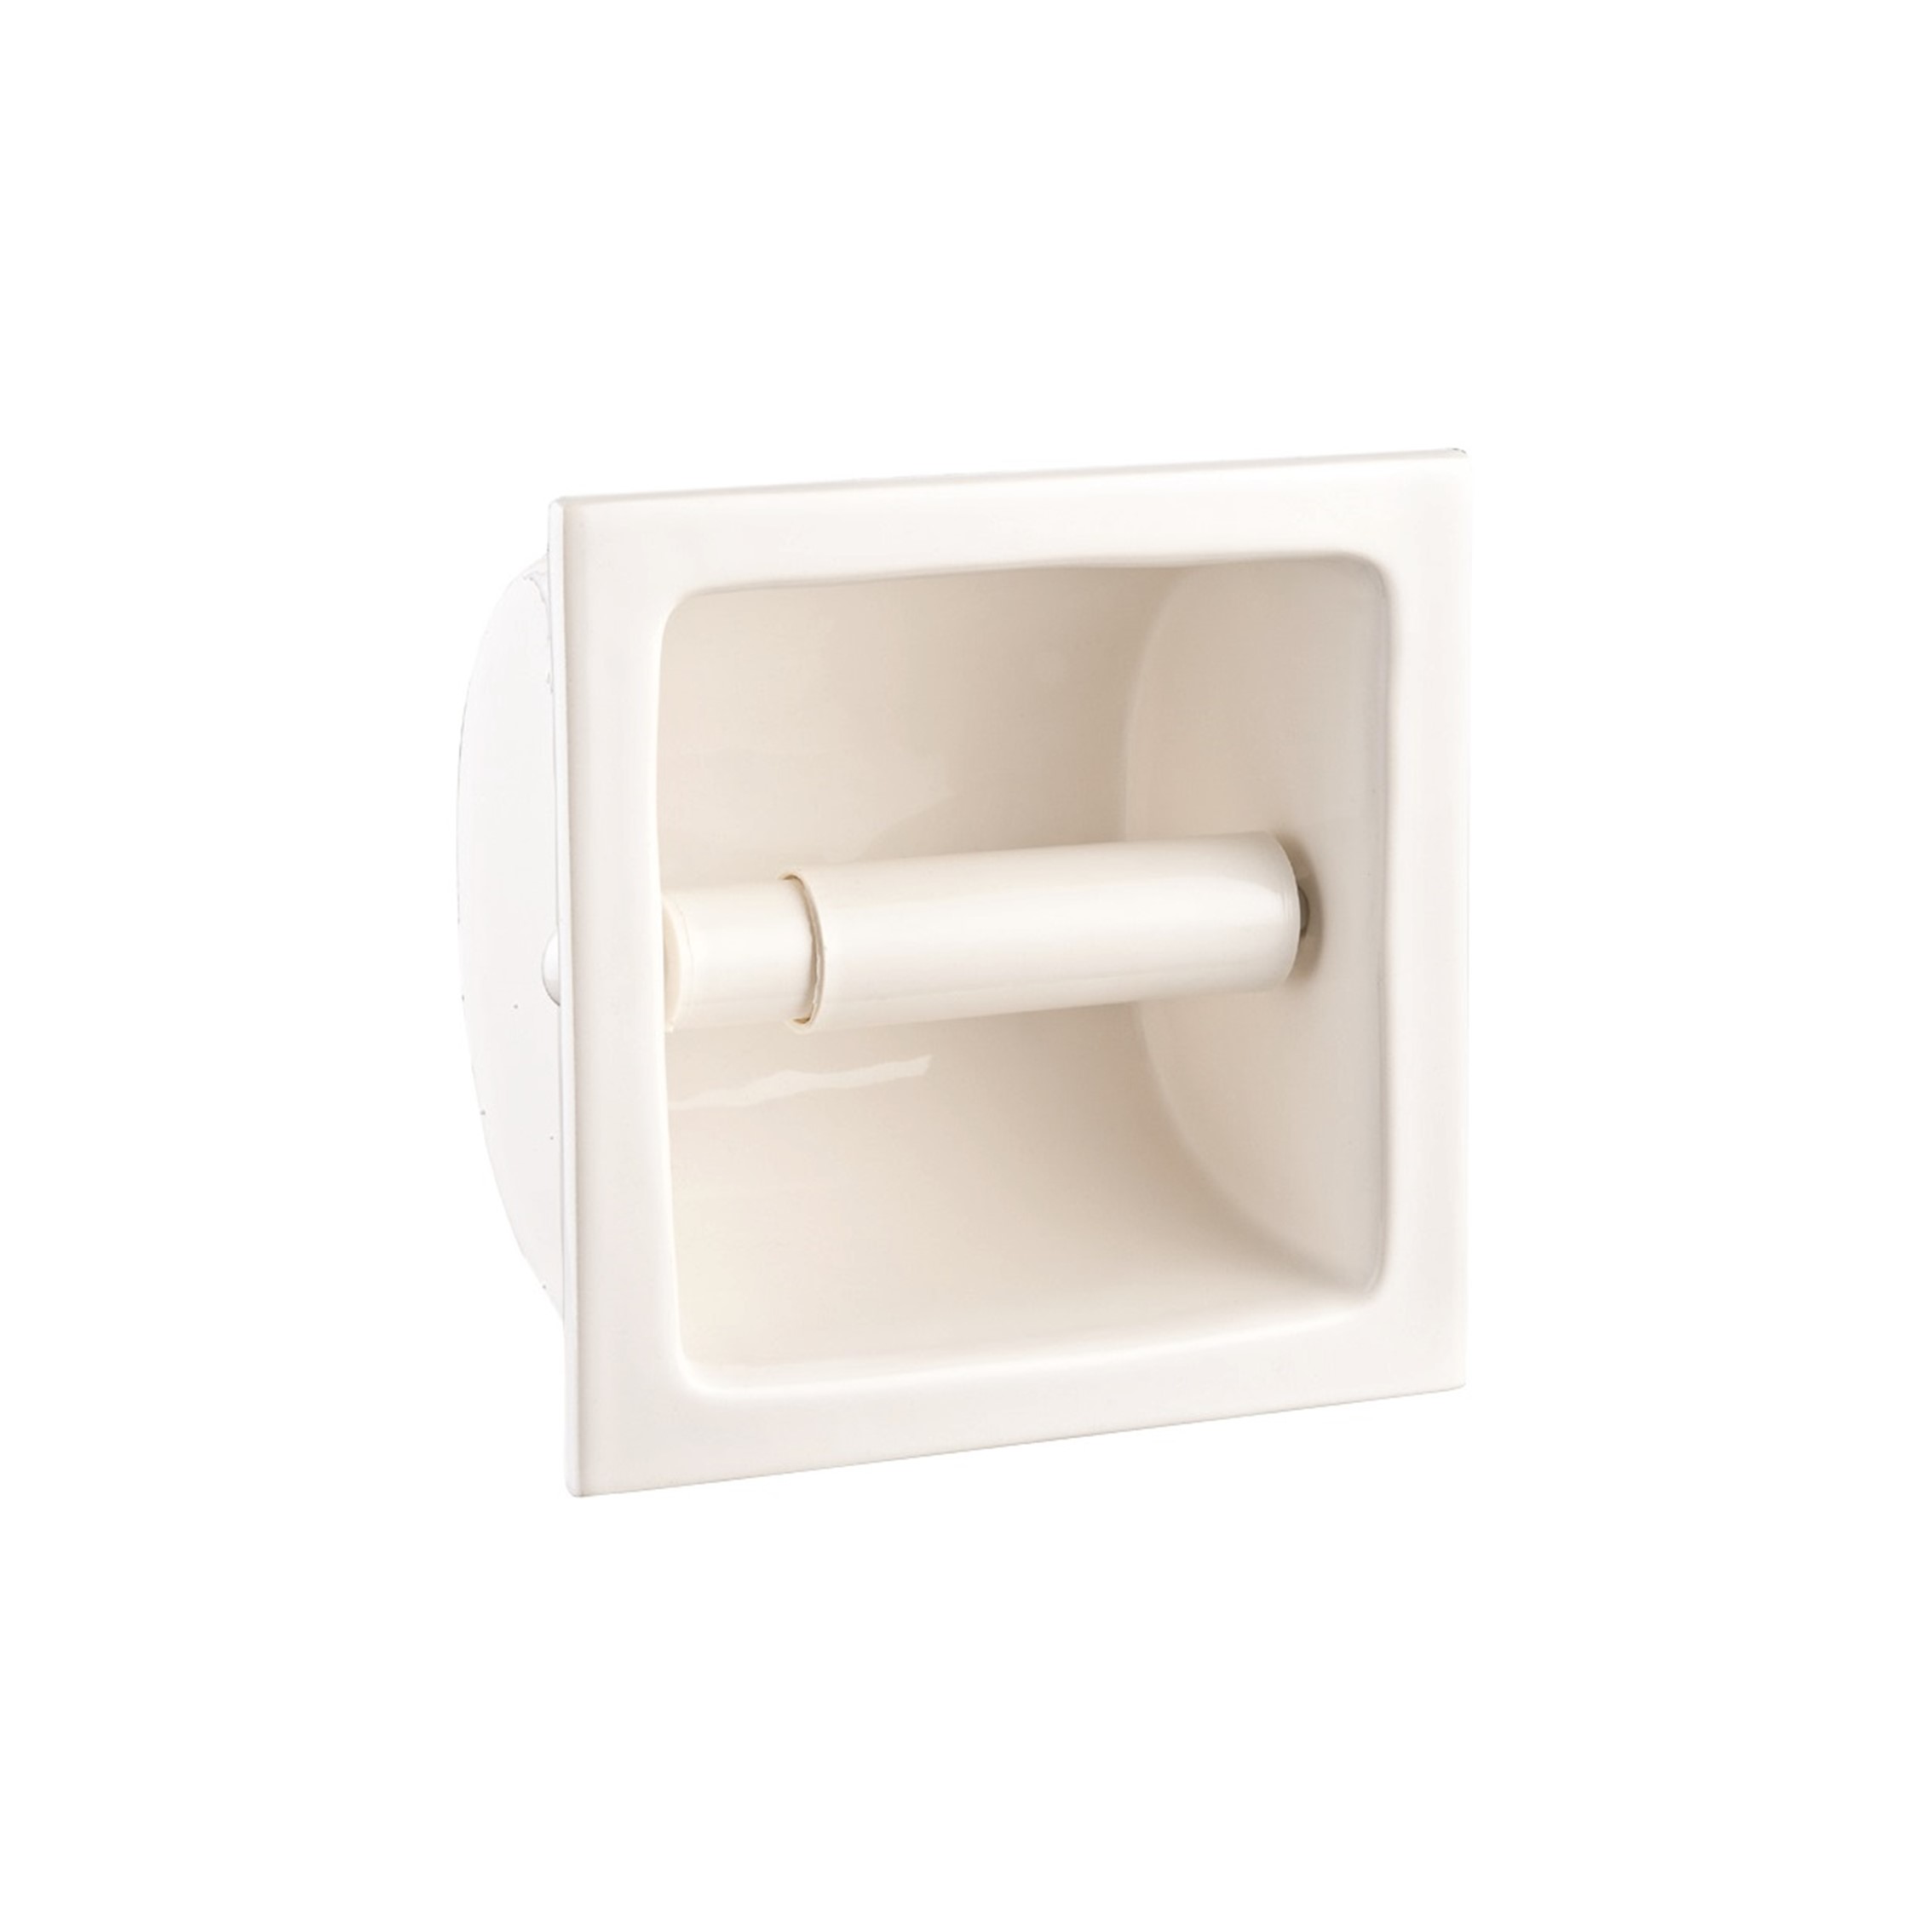
Before we dive in, it’s important to note that recessed toilet paper holders are typically mounted to the wall with screws. These holders are designed to blend seamlessly into the wall, creating a clean and minimalist look in your bathroom. However, over time, you may find that you need to remove the holder either due to wear and tear, preference for a different style, or as part of a bathroom renovation project.
To successfully remove a recessed toilet paper holder, you’ll need to gather a few tools and materials. The process itself involves locating the mounting screws, loosening and removing them, and then carefully removing the holder from the wall. You may also need to patch and repaint the wall afterward, depending on your plans for the space.
Now that we have a general understanding of what’s ahead, let’s take a closer look at the tools and materials you’ll need to complete this task.
Key Takeaways:
- Easily remove a recessed toilet paper holder by locating and removing mounting screws, gently detaching the holder, and patching and repainting the wall for a seamless finish.
- Consider installing a new toilet paper holder to enhance your bathroom’s functionality and aesthetics, following manufacturer’s instructions for proper alignment and stability.
Tools and Materials Needed
Before you begin removing the recessed toilet paper holder, it’s important to ensure you have the necessary tools and materials at hand. Here’s a list of what you’ll need:
1. Screwdriver: You’ll likely need a Phillips screwdriver or a flathead screwdriver, depending on the type of screws used to mount the toilet paper holder. Make sure you have the appropriate screwdriver on hand.
2. Putty knife: A putty knife will come in handy when removing any caulk or adhesive used to secure the holder to the wall. It will help in gently prying the holder away from the wall.
3. Paint scraper: If the wall has been painted around the recessed holder, a paint scraper can be useful for removing any excess paint or debris from the surface.
4. Patching compound: Once the holder has been removed, you may need to fill in any holes or gaps in the wall. Patching compound, also known as spackling or joint compound, will help you achieve a smooth surface.
5. Sandpaper: To achieve a seamless finish, you’ll need sandpaper to smooth out any rough areas after applying the patching compound.
6. Paint and paintbrush: If you plan on repainting the wall after removing the toilet paper holder, be sure to have the necessary paint and paintbrush ready. Choose a color that matches the rest of your bathroom for a cohesive look.
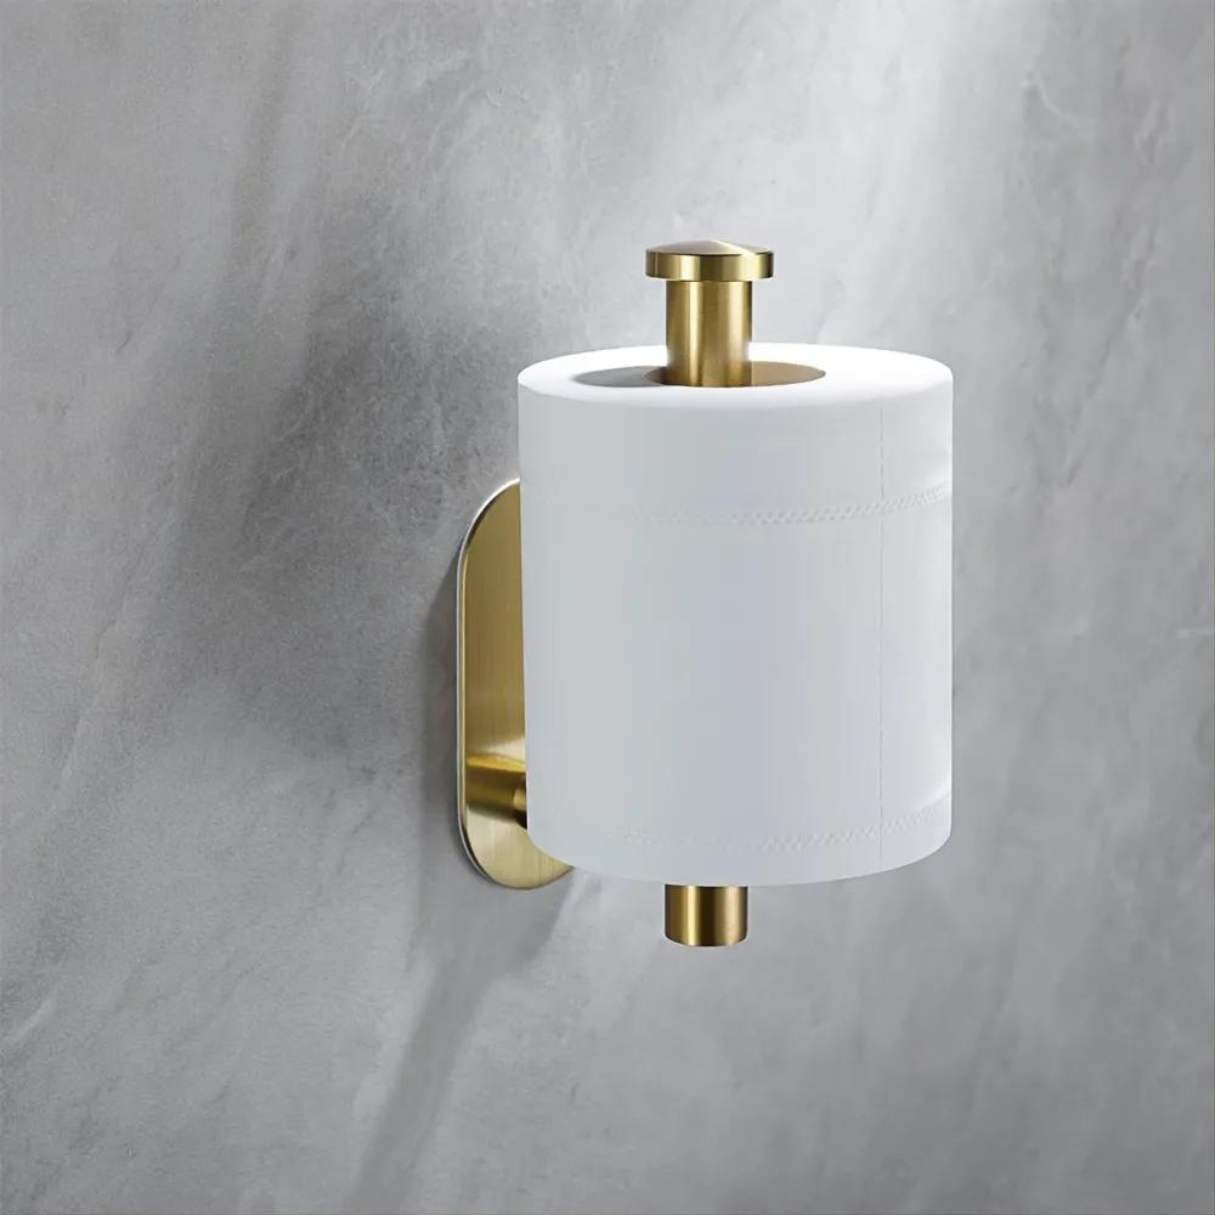
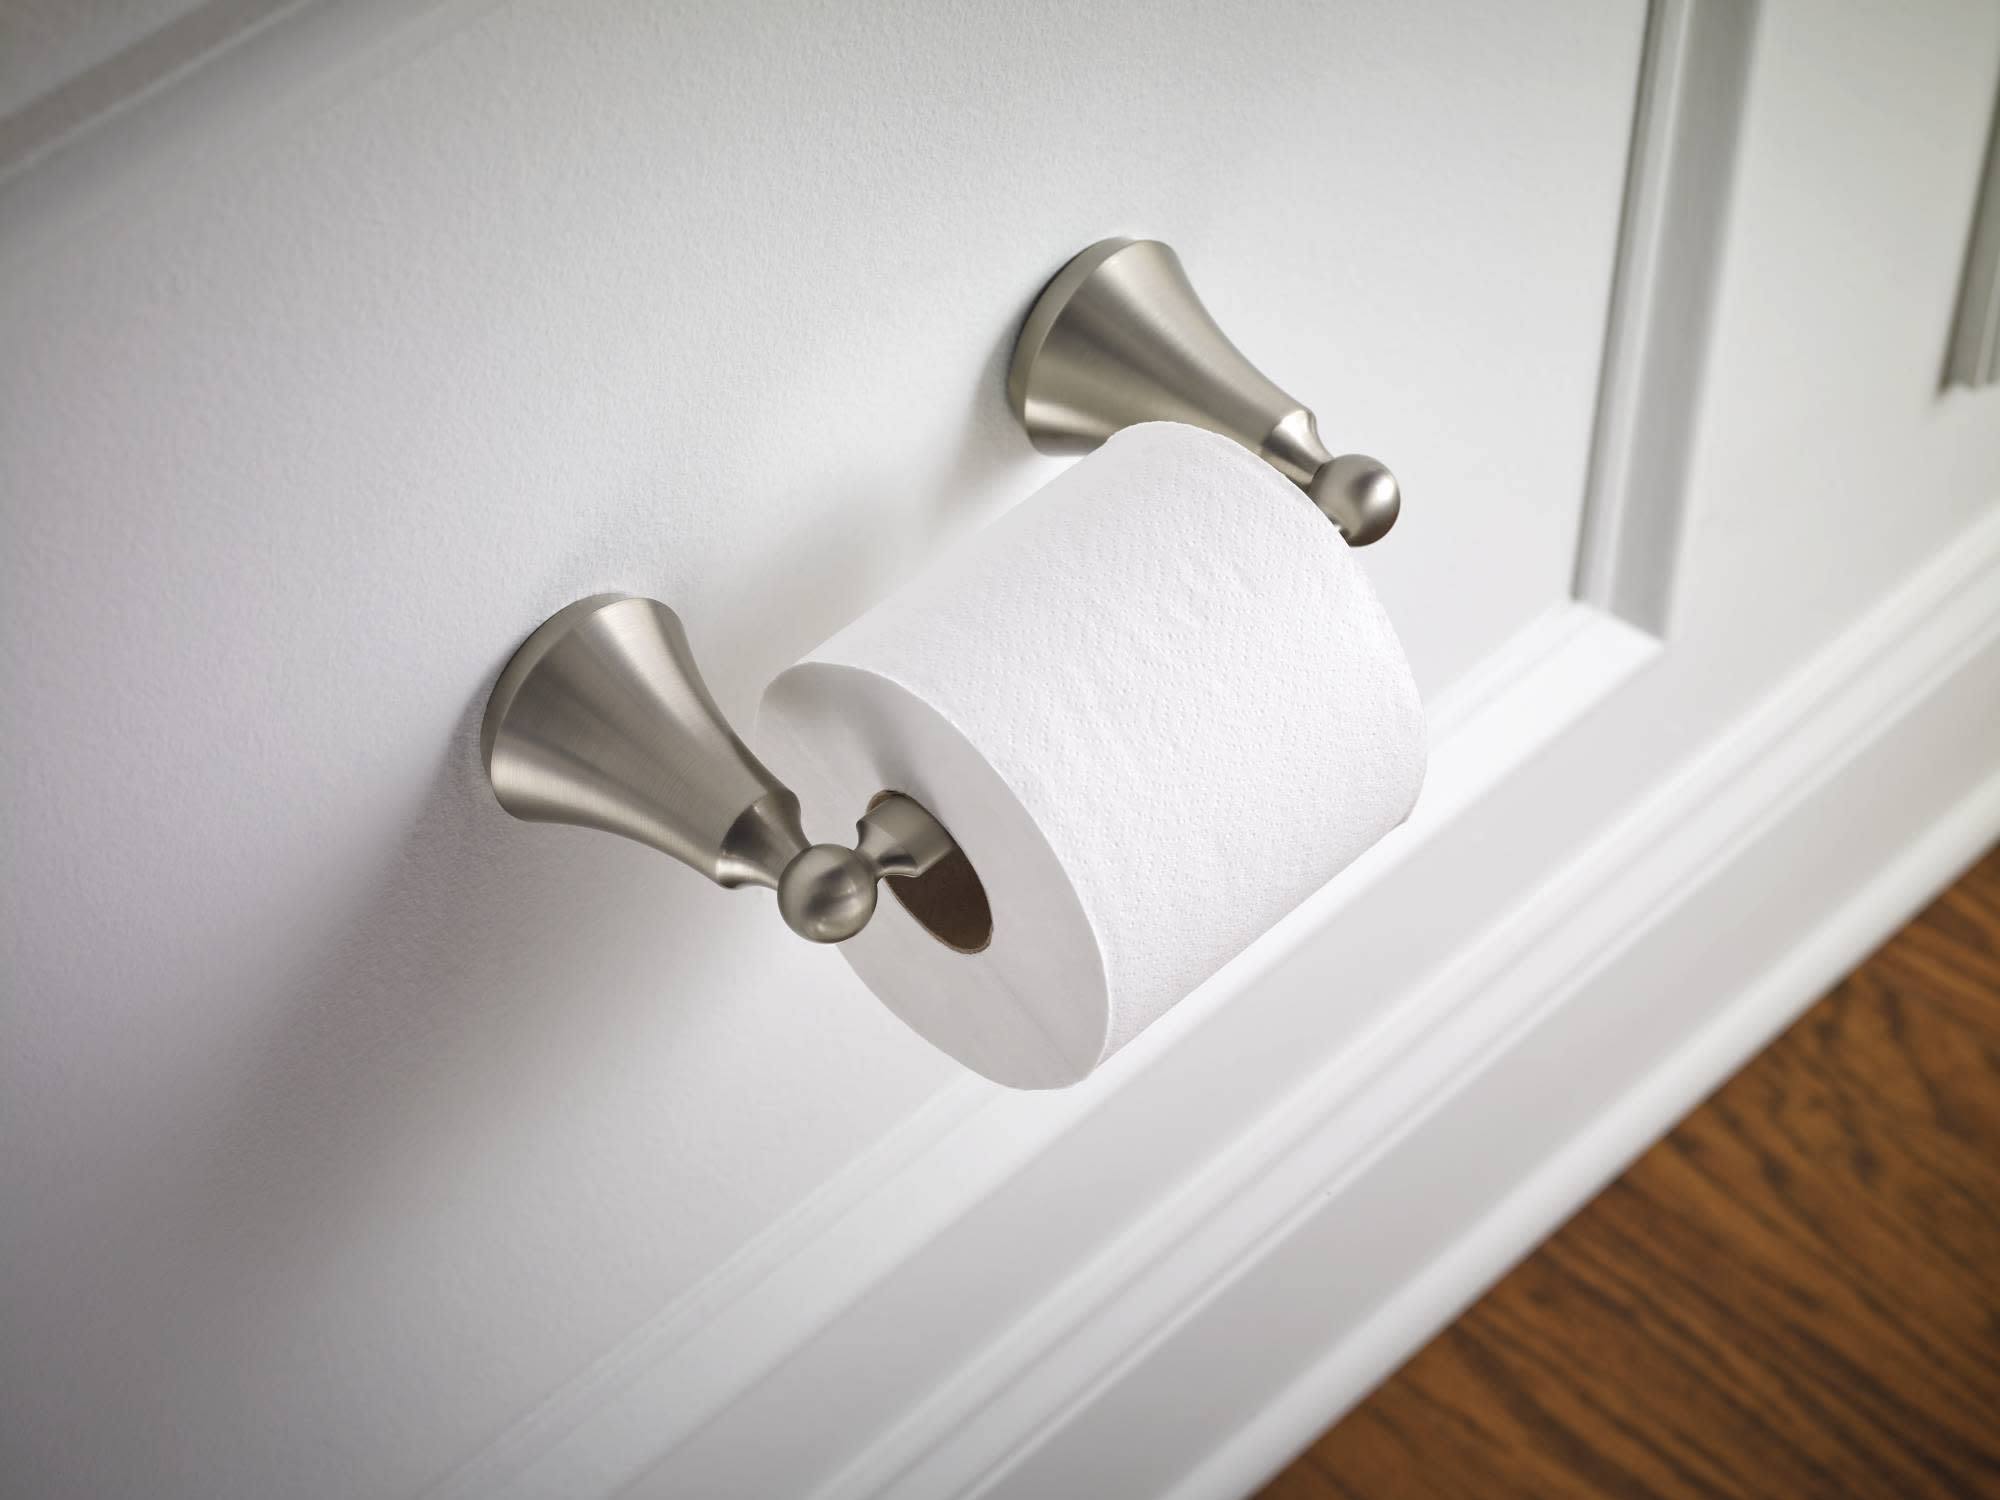
7. Optional: New toilet paper holder or wall-mounted storage: If you’re replacing the existing recessed holder, make sure you have a new toilet paper holder or an alternative storage solution ready for installation. This step is optional and depends on your preferences.
Now that you have the tools and materials ready, we can proceed to the step-by-step process of removing the recessed toilet paper holder.
Step 1: Gather Necessary Supplies
Before you begin removing the recessed toilet paper holder, it’s essential to gather all the necessary supplies. Having everything prepared in advance will streamline the process and prevent interruptions. Here are the supplies you’ll need:
- Screwdriver: Depending on the type of screws used to secure the holder, choose a suitable screwdriver. A Phillips or flathead screwdriver is typically required.
- Putty knife: This tool will come in handy for prying the holder away from the wall. It will help loosen any caulk or adhesive used during installation.
- Paint scraper: If the wall was painted around the holder, a paint scraper can assist in removing excess paint or debris from the surface.
- Patching compound: After removing the holder, you may need to fill in any holes or gaps in the wall. Use patching compound or spackling to achieve a smooth finish.
- Sandpaper: To create a seamless surface, have sandpaper available to smoothen out any rough areas after applying the patching compound.
- Paint and paintbrush: If you plan on repainting the wall, make sure you have the appropriate paint and a paintbrush ready. Choose a color that matches your bathroom decor.
- Optional: New toilet paper holder or alternative storage solution: If you’re replacing the existing recessed holder, consider having a new toilet paper holder or another wall-mounted storage solution ready for installation.
Take a moment to gather all of these supplies before moving on to the next step. Having everything readily available will make the process more efficient and ensure you have everything you need to successfully remove the recessed toilet paper holder.
Step 2: Locate Mounting Screws
Now that you have gathered the necessary supplies, it’s time to locate the mounting screws of the recessed toilet paper holder. These screws secure the holder to the wall, and you’ll need to identify their location before proceeding further. Follow these steps to find the mounting screws:
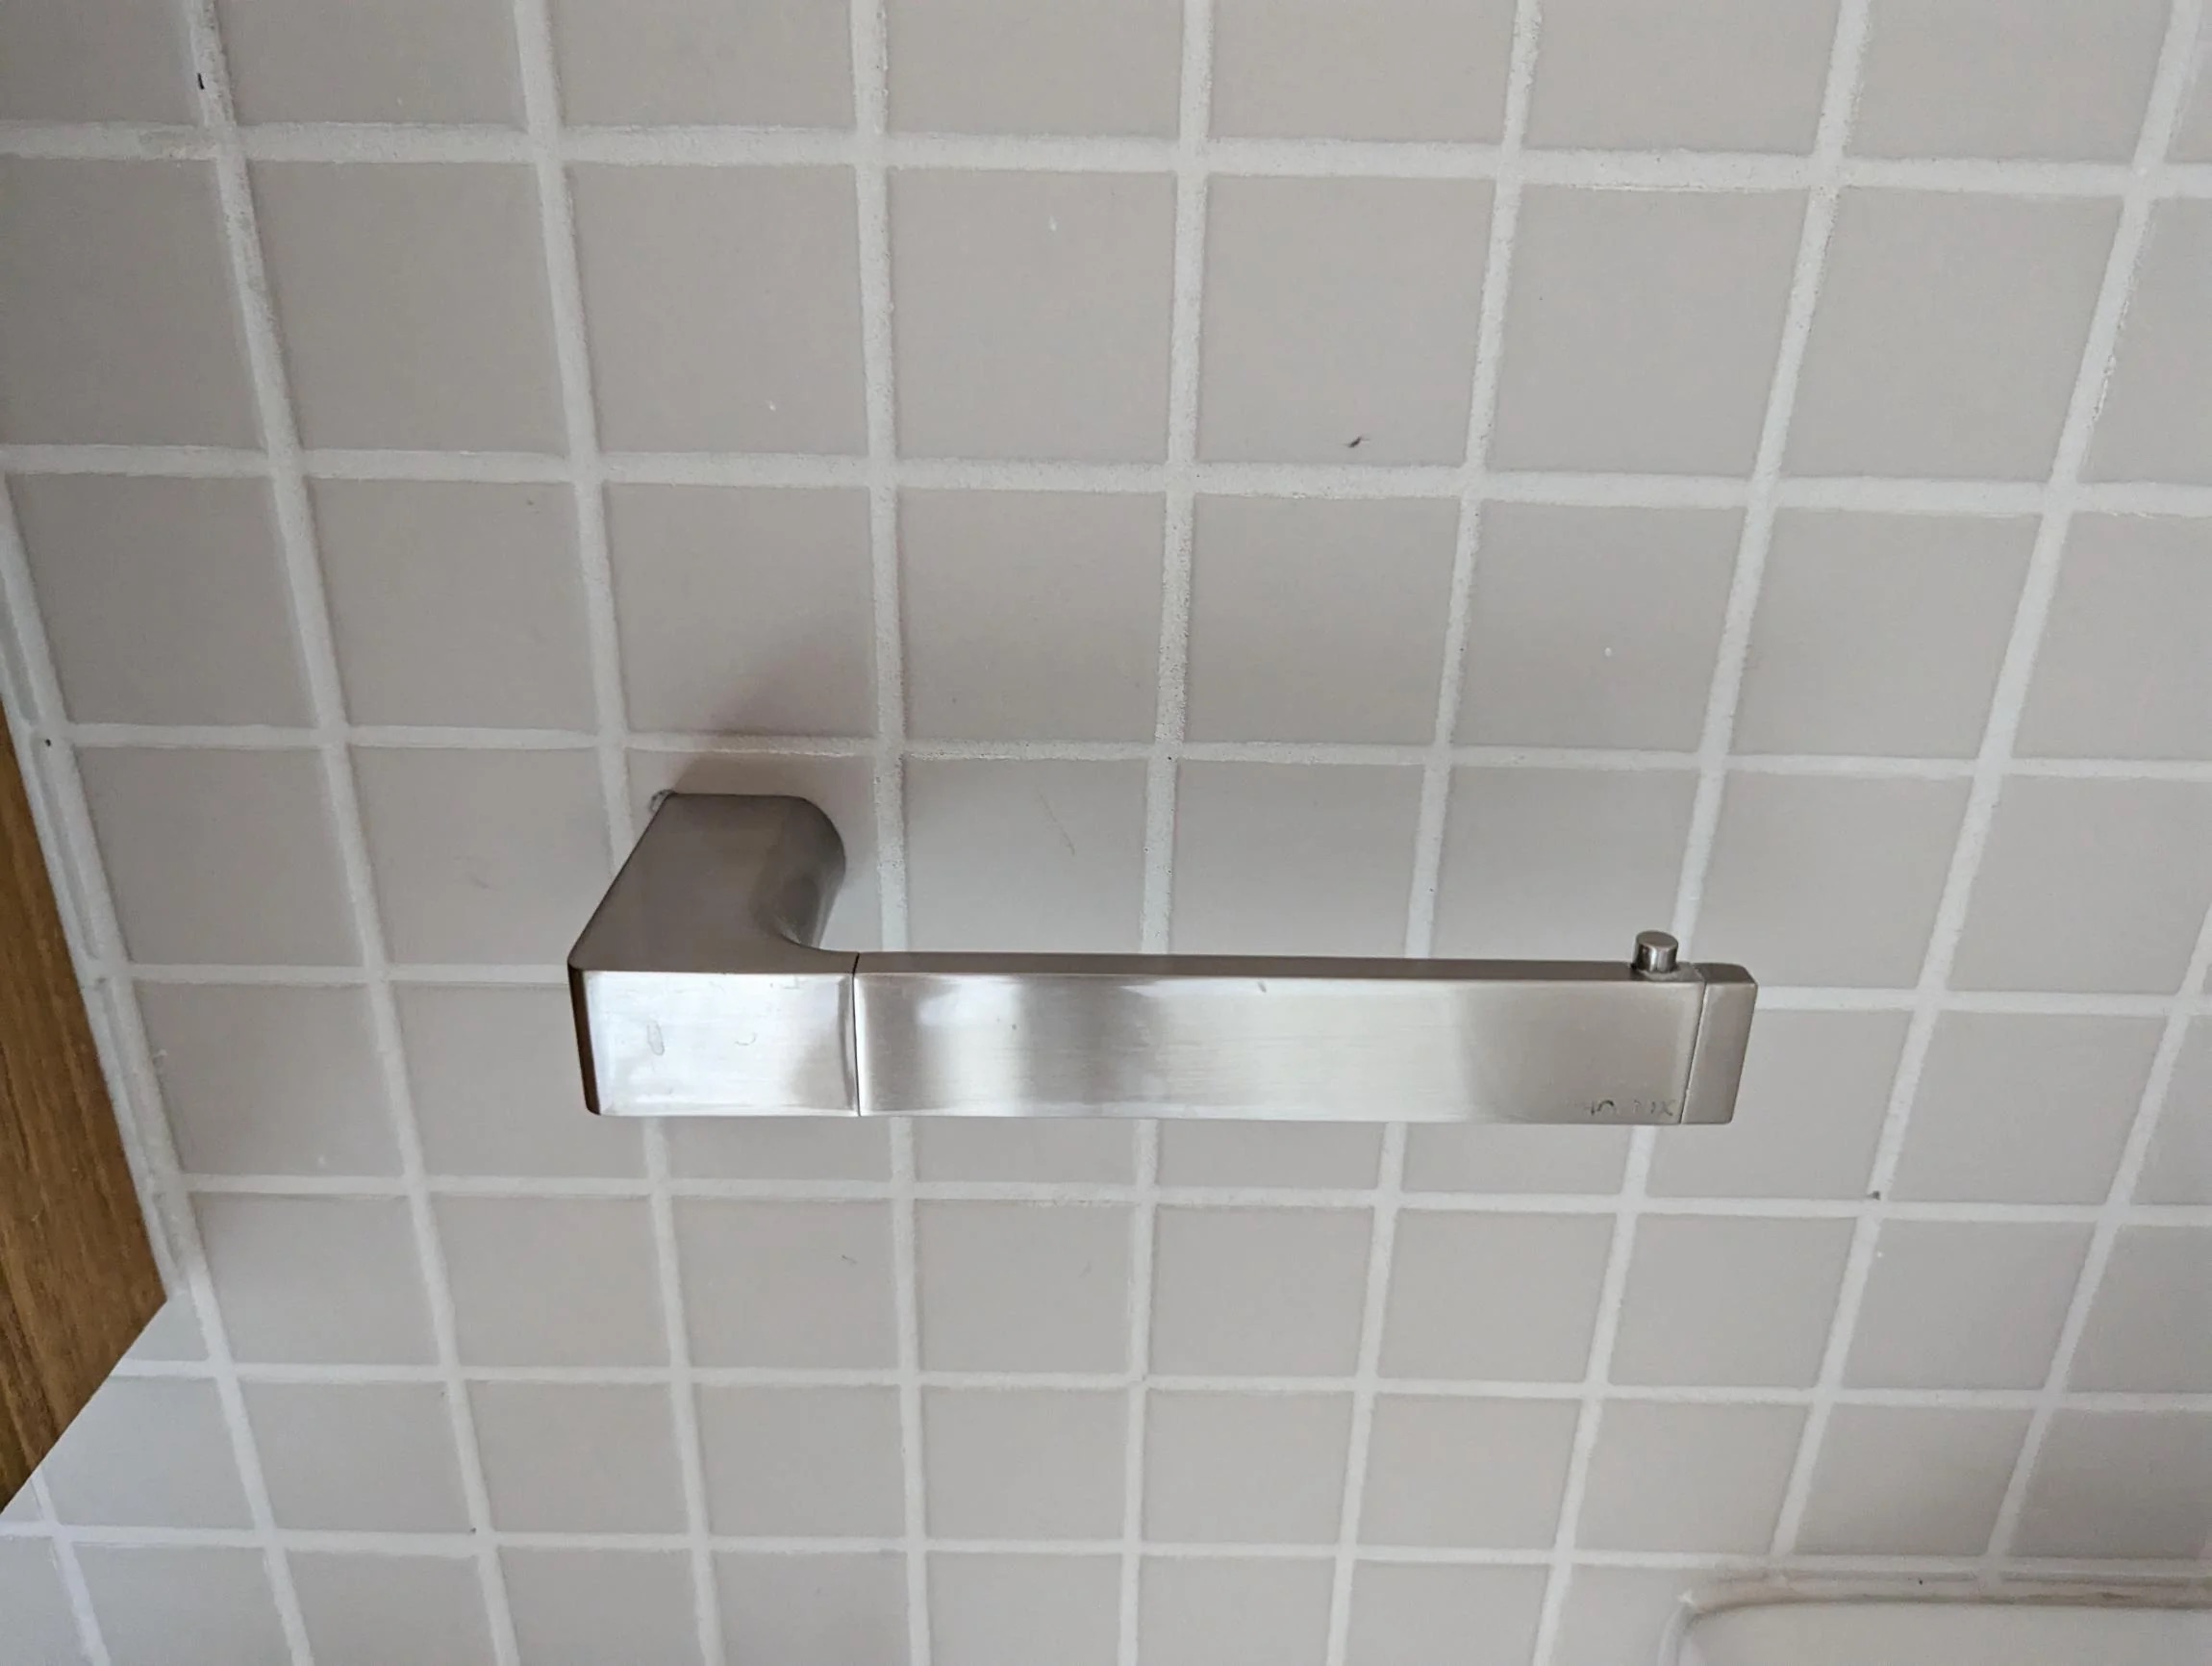
- Inspect the toilet paper holder: Take a close look at the holder and examine its surface. Look for any visible screws, which are usually located on one side or underneath the holder. They may be covered by a decorative plate or trim.
- Feel for screws: If you can’t locate any visible screws, run your fingers along the edges of the holder to feel for any hidden screws or fasteners. Pay close attention to the corners and edges, as they are common hiding spots for mounting screws.
- Check for access holes: In some cases, recessed toilet paper holders have access holes on the side or bottom of the holder. These holes allow you to reach the mounting screws with a screwdriver or Allen wrench. Look for any small openings that could indicate the presence of access holes.
- Refer to the manufacturer’s instructions: If you have the installation manual or any documentation that came with the holder, consult it to find information about the location of the mounting screws. The instructions may provide specific guidance on how to access and remove them.
It’s important to locate the mounting screws before attempting to remove the recessed toilet paper holder. By identifying their position, you’ll have a clearer understanding of how the holder is attached to the wall and can proceed with the removal process more effectively.
Step 3: Loosen and Remove Mounting Screws
Now that you have located the mounting screws of the recessed toilet paper holder, it’s time to loosen and remove them. Follow these steps to safely take out the screws:
- Prepare your tools: Ensure you have the appropriate screwdriver or Allen wrench ready, depending on the type of screws used to mount the holder. This will allow you to easily loosen and remove the screws.
- Position the screwdriver: Place the screwdriver securely onto the screw head, applying gentle downward pressure. Make sure the screwdriver is properly seated in the screw head to prevent slipping.
- Turn counterclockwise: Using firm but controlled pressure, turn the screw counterclockwise to loosen it. It may take a few rotations before the screw becomes loose enough to remove.
- Remove the screws: Once the screws are loosened, continue turning counterclockwise until you can safely remove them from the wall. Set the screws aside in a safe place to avoid misplacing them during the removal process.
- Gently detach the holder: With the screws removed, you can now carefully detach the recessed toilet paper holder from the wall. Use a putty knife to gently pry the holder away, being cautious not to damage the wall or any surrounding areas.
It’s important to be patient and take your time while loosening and removing the mounting screws. Applying too much force or rushing the process can lead to stripped screws or damage to the holder or the wall. By following these steps carefully, you can successfully remove the recessed toilet paper holder without any issues.
Use a putty knife to carefully pry the flange of the toilet paper holder away from the wall. Once the flange is removed, unscrew the mounting bracket and gently pull the holder out of the wall. Patch any holes with spackling compound before painting.
Step 4: Remove Recessed Toilet Paper Holder
With the mounting screws removed, it’s now time to remove the recessed toilet paper holder from the wall. Follow these steps to safely detach the holder:
- Inspect the holder: Take a moment to examine the holder and identify any additional attachment points or fasteners. Some holders may have adhesive or caulk securing them to the wall. If this is the case, you will need to gently pry the holder away from the wall using a putty knife.
- Use a putty knife: Insert the putty knife between the holder and the wall. Gently apply pressure and wiggle the putty knife to loosen the holder from any adhesive or caulk. Repeat this process around the entire perimeter of the holder until it becomes loose.
- Slowly pull away the holder: Once the holder is sufficiently loosened, carefully pull it away from the wall. Be cautious not to exert excessive force or apply sudden movements, as this can cause damage to the wall or other surrounding fixtures.
- Check for any remaining adhesive: After removing the holder, inspect the wall for any remnants of adhesive or caulk. If there are any remaining residues, use the putty knife or a suitable adhesive remover to clean the area. Wipe away any excess residues to ensure a clean surface.
By following these steps, you should be able to successfully remove the recessed toilet paper holder from the wall. Remember to handle the holder with care and be mindful of any potential adhesives or caulk that may have been used during installation.
Step 5: Patch and Repaint the Wall
After removing the recessed toilet paper holder, you may need to patch and repaint the wall to restore its appearance. Follow these steps to ensure a smooth and finished surface:
- Inspect the wall: Take a close look at the wall and identify any holes, gaps, or damage caused by the removal of the toilet paper holder. These areas will need to be patched and repaired before repainting.
- Apply patching compound: Using a putty knife, apply a thin layer of patching compound or spackling to fill in the holes and gaps in the wall. Smooth the compound evenly to create a seamless surface. Allow the compound to dry according to the manufacturer’s instructions.
- Sand the patched areas: Once the patching compound is fully dry, use sandpaper to gently smooth out any rough patches. Sand the patched areas until they blend in with the rest of the wall, creating a uniform texture.
- Remove dust and debris: After sanding, use a clean cloth or a vacuum cleaner to remove any dust or debris from the wall. Ensure the surface is clean and free from any loose particles before proceeding.
- Repaint the wall: If needed, repaint the wall to match the surrounding area. Use a paintbrush or a roller to apply a coat of paint over the patched areas, blending it with the existing paint. Allow the paint to dry completely before moving on to the final step.
By patching and repainting the wall, you can ensure a seamless and professional finish after removing the recessed toilet paper holder. This step is essential for maintaining the aesthetics of your bathroom and creating a clean look.
Step 6: Install New Toilet Paper Holder (optional)
If you have chosen to replace the recessed toilet paper holder with a new one or an alternative storage solution, you can follow these steps to install it:
- Choose a suitable location: Select a spot on the wall where you want to install the new toilet paper holder. Make sure it is within reach and convenient for use.
- Measure and mark: Use a measuring tape to determine the exact placement of the holder. Mark the desired location on the wall using a pencil or masking tape.
- Prepare the mounting hardware: Depending on the type of holder you have, follow the manufacturer’s instructions to prepare the mounting hardware. This may involve attaching brackets or anchors to the wall.
- Position the holder: Align the holder with the marked location on the wall. Ensure it is level and centered according to your preferences. Use a level to double-check the alignment.
- Secure the holder: Once the holder is correctly positioned, use the appropriate screws or mounting hardware provided to secure it to the wall. Follow the manufacturer’s instructions to ensure proper attachment.
- Check the stability: After installing the new toilet paper holder, give it a gentle shake or tug to ensure it is securely attached to the wall. Make any necessary adjustments or tightening if needed.
It’s important to note that the installation process may vary depending on the type and design of the new toilet paper holder you have chosen. Always refer to the manufacturer’s instructions for specific guidance and recommendations.
Installing a new toilet paper holder can enhance the functionality and appearance of your bathroom. Whether you opt for a similar recessed style or a different type of holder, this optional step allows you to personalize your bathroom to suit your needs and preferences.
Conclusion
Removing a recessed toilet paper holder can be a straightforward process with the right tools and techniques. By following the steps outlined in this guide, you can successfully remove the holder and make any necessary repairs to the wall. Additionally, you have the option to install a new toilet paper holder or alternative storage solution to enhance the functionality and aesthetics of your bathroom.
Remember to gather all the necessary supplies before starting the removal process. Having the right tools, such as a screwdriver, putty knife, and patching compound, will make the task much easier. Take your time to locate the mounting screws and remove them carefully, ensuring not to damage the holder or the wall.
If you choose to install a new toilet paper holder, carefully follow the manufacturer’s instructions and ensure proper alignment and stability. Take measurements, mark the location on the wall, and securely attach the new holder to create a functional and visually appealing addition to your bathroom.
Finally, don’t forget about the importance of patching and repainting the wall after removing the holder. This step will give your bathroom a clean and finished look, seamlessly blending the patched areas with the rest of the wall.
By following these steps and taking your time throughout the process, you can successfully remove a recessed toilet paper holder and either leave the space as is or install a new holder that meets your needs and style preferences. Enjoy your newly refreshed bathroom!
Now that you've mastered removing a recessed toilet paper holder, why stop there? Perfect placement can transform a bathroom, so make sure yours is spot on by reading our guide on optimal toilet paper holder locations. On the other hand, if you're considering a larger project, understanding the timeline for a bathroom overhaul can help manage expectations and planning. Dive into our detailed breakdown to ensure your renovation goes smoothly from start to finish.
Frequently Asked Questions about How To Remove Recessed Toilet Paper Holder
Was this page helpful?
At Storables.com, we guarantee accurate and reliable information. Our content, validated by Expert Board Contributors, is crafted following stringent Editorial Policies. We're committed to providing you with well-researched, expert-backed insights for all your informational needs.


0 thoughts on “How To Remove Recessed Toilet Paper Holder”