Articles
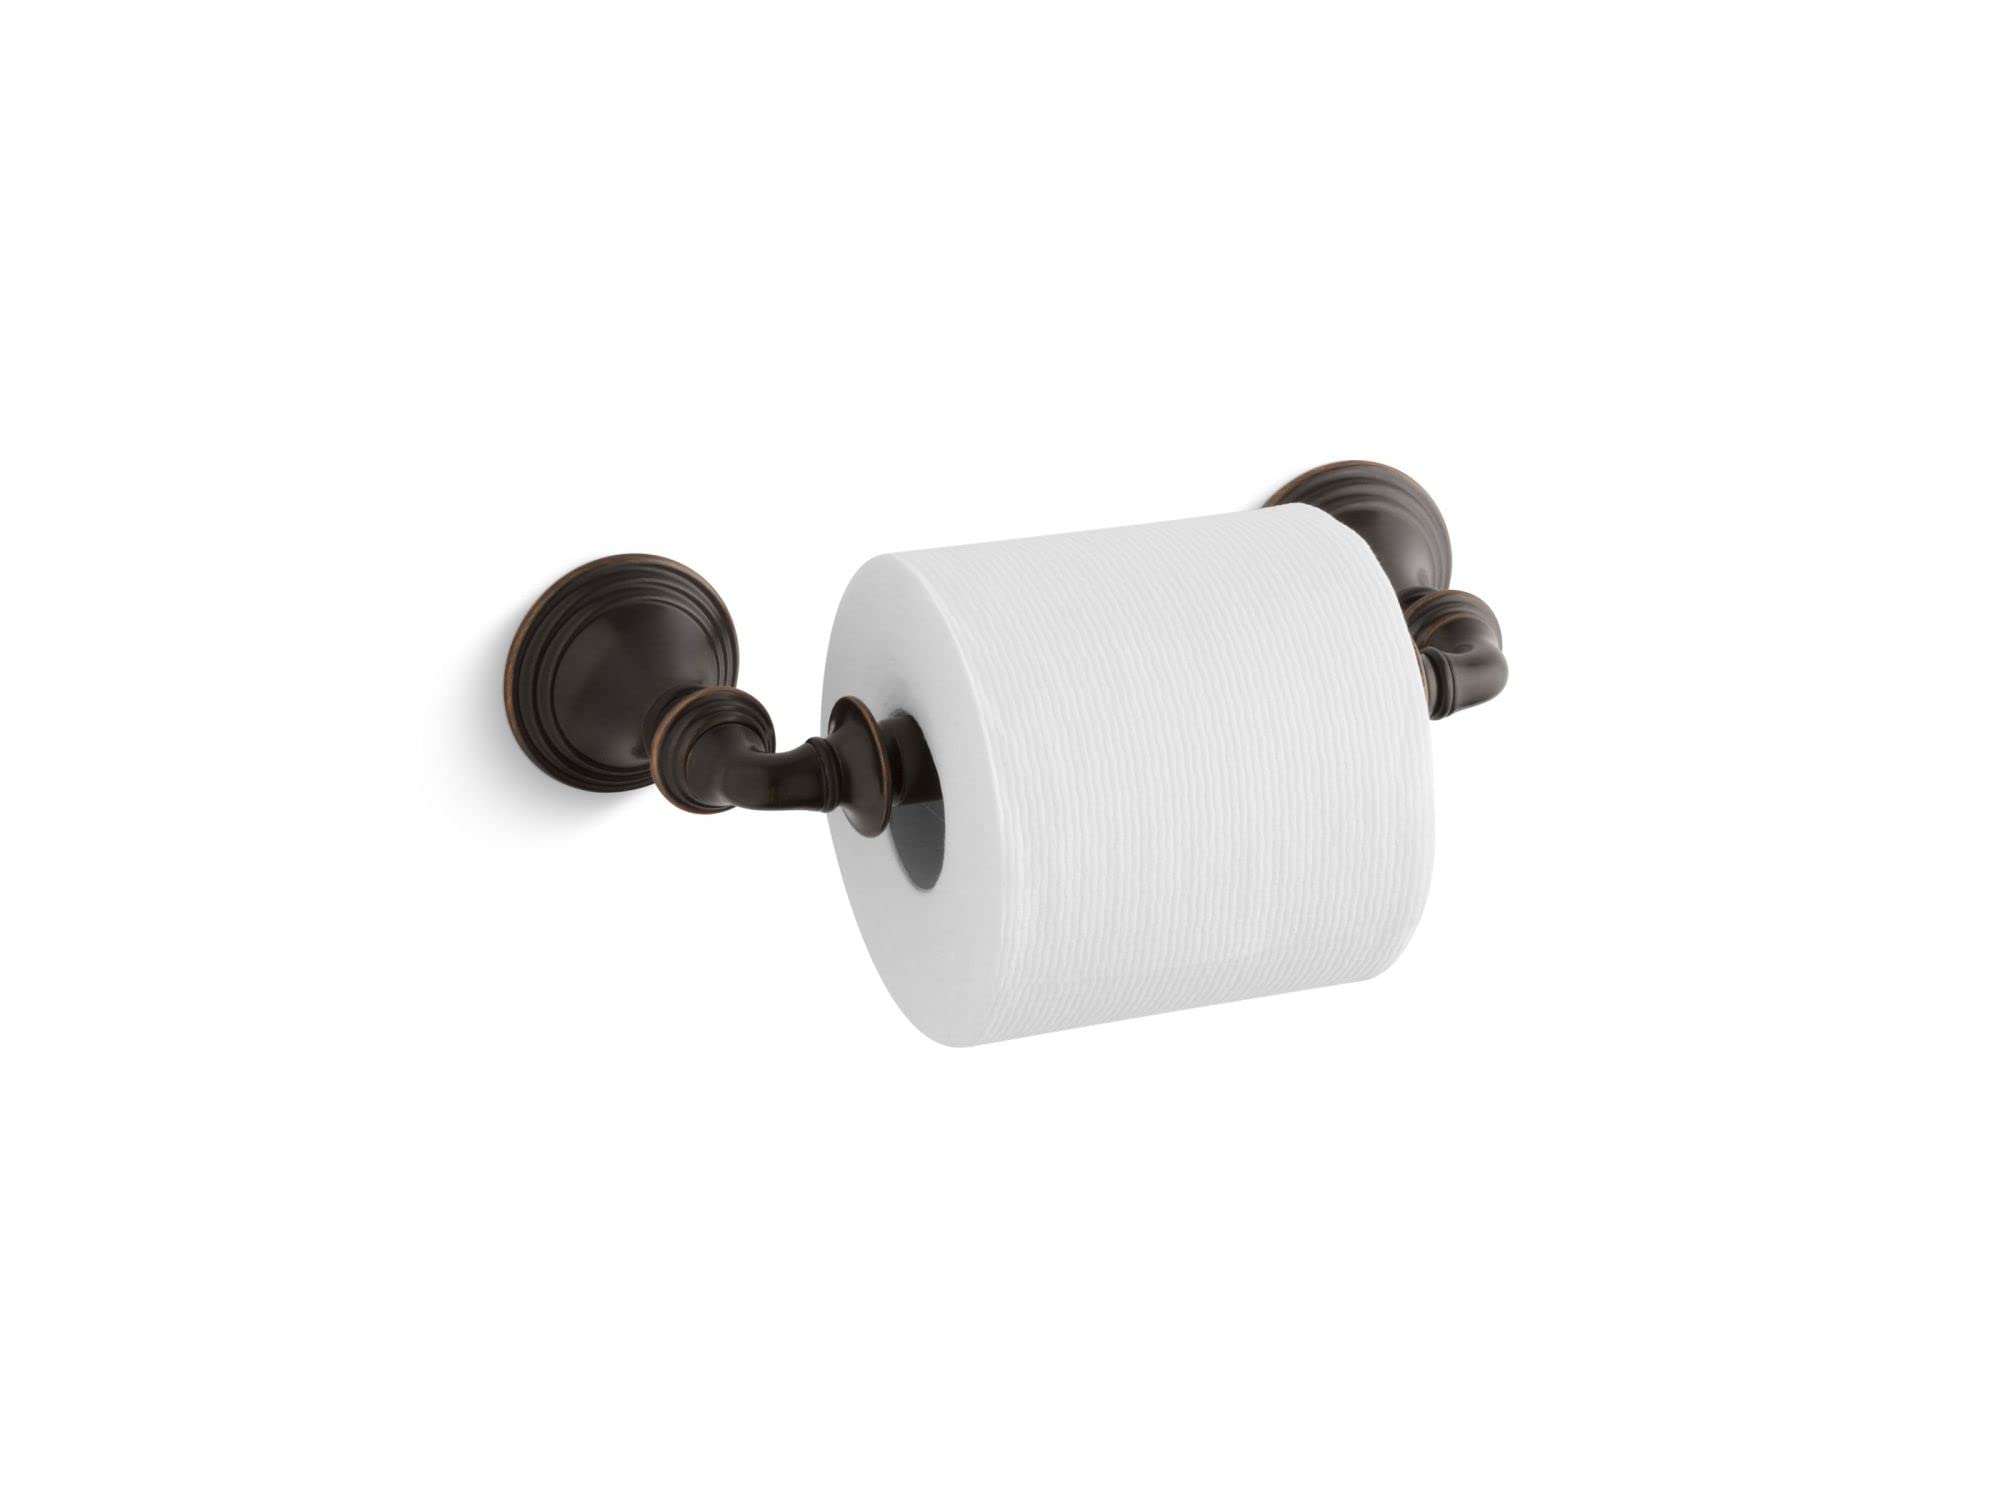
How Do You Tighten A Toilet Paper Holder
Modified: August 21, 2024
Learn how to properly tighten a toilet paper holder with this helpful article. Follow step-by-step instructions and avoid any future frustrations.
(Many of the links in this article redirect to a specific reviewed product. Your purchase of these products through affiliate links helps to generate commission for Storables.com, at no extra cost. Learn more)
Introduction
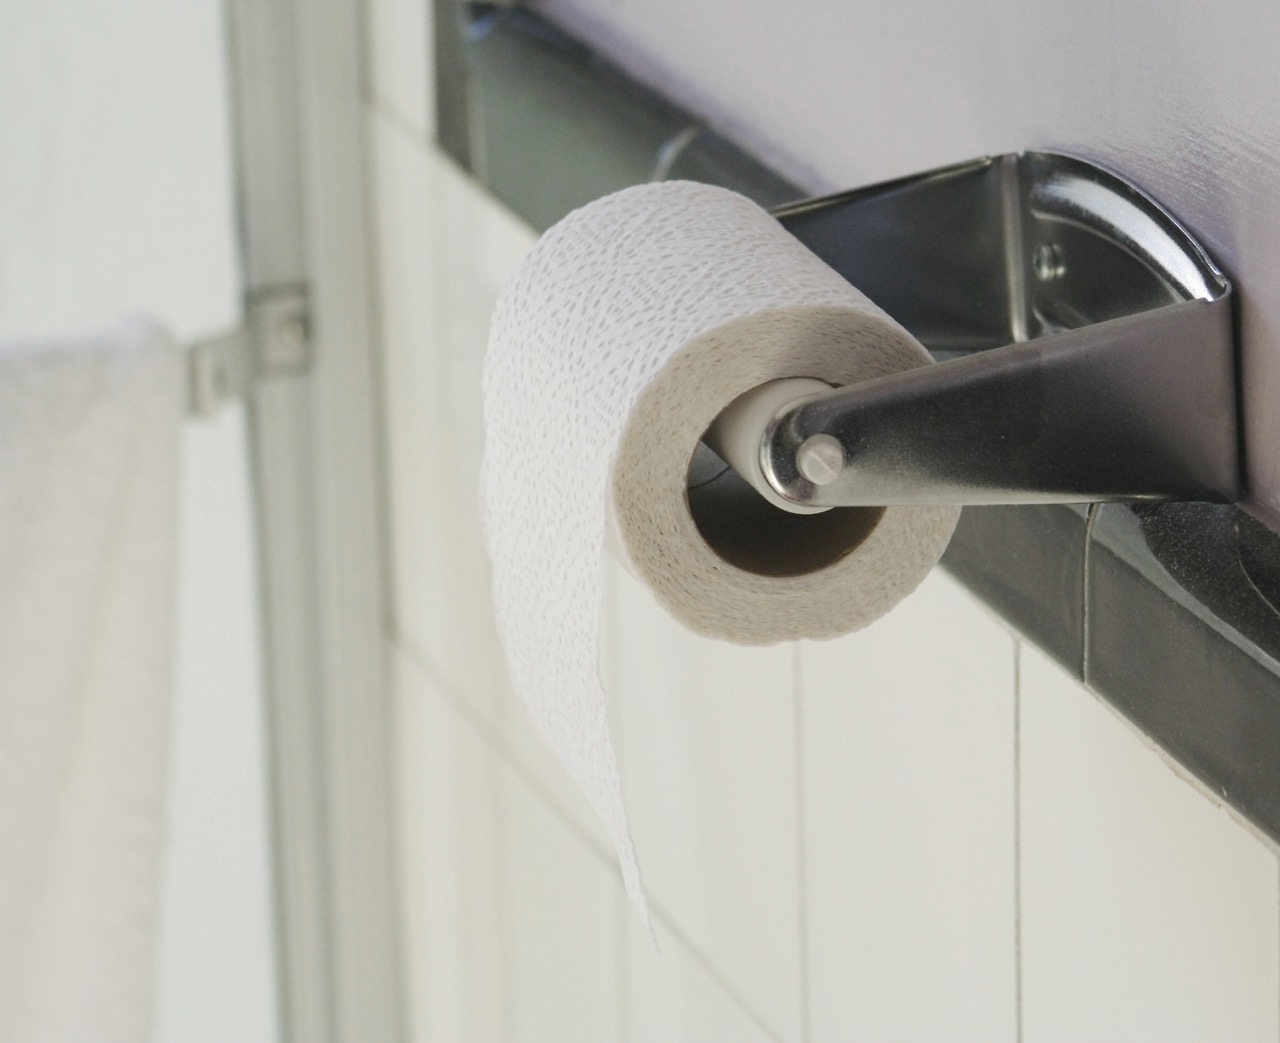
Welcome to our guide on how to tighten a toilet paper holder. Having a loose or wobbly toilet paper holder can be quite frustrating. Not only can it make it difficult to unroll toilet paper smoothly, but it can also make your bathroom appear unkempt and poorly maintained. Fortunately, tightening a toilet paper holder is a simple DIY task that you can do yourself without the need for professional assistance.
In this article, we will walk you through the step-by-step process of tightening a toilet paper holder. We will cover the tools and materials you’ll need, as well as provide detailed instructions to ensure a secure and stable installation.
Before we begin, let’s understand why a toilet paper holder may become loose over time. The most common cause is frequent use, which can loosen the mounting screws or brackets holding the holder in place. Additionally, poor initial installation, low-quality materials, or wear and tear can also contribute to a loose toilet paper holder.
If you’re ready to fix that wobbly toilet paper holder and restore order to your bathroom, let’s dive into the step-by-step process and get started!
Key Takeaways:
- Say goodbye to wobbly toilet paper holders with this simple DIY guide. Tighten your holder securely and restore order to your bathroom with just a few tools and easy steps.
- Prioritize stability and safety when tightening your toilet paper holder. Follow expert tips and precautions to ensure a long-lasting and secure installation, enhancing both functionality and aesthetics.
Read more: How To Tighten A Kohler Toilet Paper Holder
Tools and Materials Needed
Before you begin tightening your toilet paper holder, gather the necessary tools and materials. Having everything prepared beforehand will make the process smoother and more efficient. Here is a list of what you’ll need:
- Phillips head screwdriver
- Adjustable wrench or pliers
- Level (optional)
- New screws (optional, if the existing ones are damaged)
The Phillips head screwdriver is essential for loosening and tightening the mounting screws. An adjustable wrench or pliers will be helpful in securing the holder in place. Additionally, a level can ensure that the holder is straight and properly aligned, though this is optional.
If you notice that the existing screws are damaged or worn out, it’s advisable to have replacement screws on hand. This will ensure a secure and stable installation, preventing any future loosening of the holder.
Now that you have all the necessary tools and materials, you’re ready to start the process of tightening your toilet paper holder. Follow the step-by-step instructions below to ensure a successful and long-lasting fix.
Step-by-Step Instructions
Follow these step-by-step instructions to tighten your toilet paper holder:
- Removing the old toilet paper holder:
- Assessing the mounting hardware:
- Tightening the mounting screws:
- Testing the stability of the holder:
Begin by removing the existing toilet paper holder from the wall. Most holders are held in place by mounting screws or brackets. Use your Phillips head screwdriver to unscrew and remove these screws. Gently lift the holder off the wall and set it aside.
Once the old holder is removed, inspect the mounting hardware still attached to the wall. Look for any signs of damage or wear. If the screws or brackets are damaged, consider replacing them with new ones for a secure installation.
Using your Phillips head screwdriver, tighten the mounting screws or brackets firmly. Start by gently tightening them and then make final adjustments to ensure a secure hold. Avoid overtightening, as this can damage the wall or the holder.
Once the mounting screws are tightened, test the stability of the toilet paper holder. Give it a gentle tug to make sure it feels secure and does not wobble. If you notice any movement, tighten the screws a bit more until the holder is stable.
Remember, it’s important to focus on achieving a secure and stable installation when tightening the toilet paper holder. Take your time throughout the process and make sure the holder feels solid before considering the task complete.
If you encounter any difficulties or have any concerns, consult the manufacturer’s instructions or seek professional assistance.
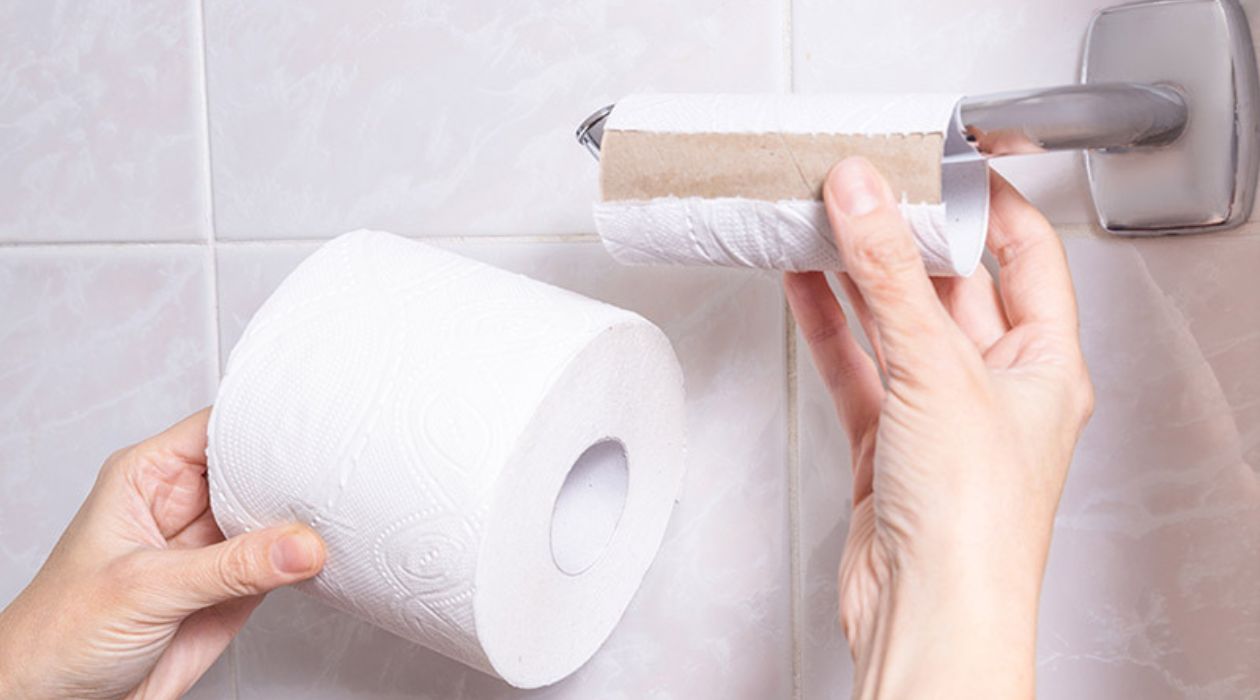
Removing the Old Toilet Paper Holder
Before you can tighten a toilet paper holder, you’ll need to remove the old one. Follow these steps to safely remove the existing holder:
- Locate the mounting screws: Look for the screws or brackets that are holding the toilet paper holder in place. These are usually located on the underside or the sides of the holder.
- Use a Phillips head screwdriver: Take your Phillips head screwdriver and begin loosening the mounting screws. Turn them counterclockwise until they are loose enough to be removed.
- Remove the mounting screws: Once the screws are loose, carefully take them out. Place them in a safe location so they don’t get lost.
- Lift the holder off the wall: With the mounting screws removed, you can now lift the old toilet paper holder off the wall. Gently pull it away from the wall, taking care not to damage the surrounding tiles or paint.
- Set aside the old holder: Find a safe spot to set the old holder aside. You may want to keep it in case you need to refer to it for measurements or if you plan on reusing certain parts.
Removing the old toilet paper holder is an important first step before you can proceed to tighten a new one. By following these steps carefully, you can safely remove the old holder without causing any damage to your bathroom walls.
Now that you’ve successfully removed the old holder, you can move on to the next step of assessing the mounting hardware and preparing for the tightening process.
Assessing the Mounting Hardware
Once you have removed the old toilet paper holder, it’s important to assess the condition of the mounting hardware. This step will help determine if any parts need to be replaced or if the existing hardware is still suitable for use. Follow these steps to assess the mounting hardware:
- Inspect the mounting screws: Examine the screws that were used to secure the old toilet paper holder to the wall. Check for any signs of damage or wear, such as stripped threads or rust. If the screws are in poor condition, it’s advisable to replace them with new ones to ensure a secure installation.
- Check the brackets or mounting plates: Look at the brackets or mounting plates that were attached to the wall. Ensure that they are sturdy and not bent or damaged. If you notice any issues with the brackets, consider replacing them as well.
- Check the wall surface: Inspect the area on the wall where the toilet paper holder was mounted. Look for any damages, such as cracks, holes, or loose tiles. It’s important to address any wall issues before proceeding with the installation of the new holder.
- Measure the hole spacing: If you plan on using the existing mounting holes to install the new toilet paper holder, measure the distance between the holes. Ensure that the new holder you’ve chosen has matching hole spacing to ensure a proper fit.
By carefully assessing the mounting hardware, you can identify any potential issues that may affect the installation of the new toilet paper holder. If you notice any damages or concerns, take the necessary steps to address them before proceeding.
Now that you have assessed the mounting hardware, you can move on to the next step of tightening the mounting screws to secure the new toilet paper holder in place.
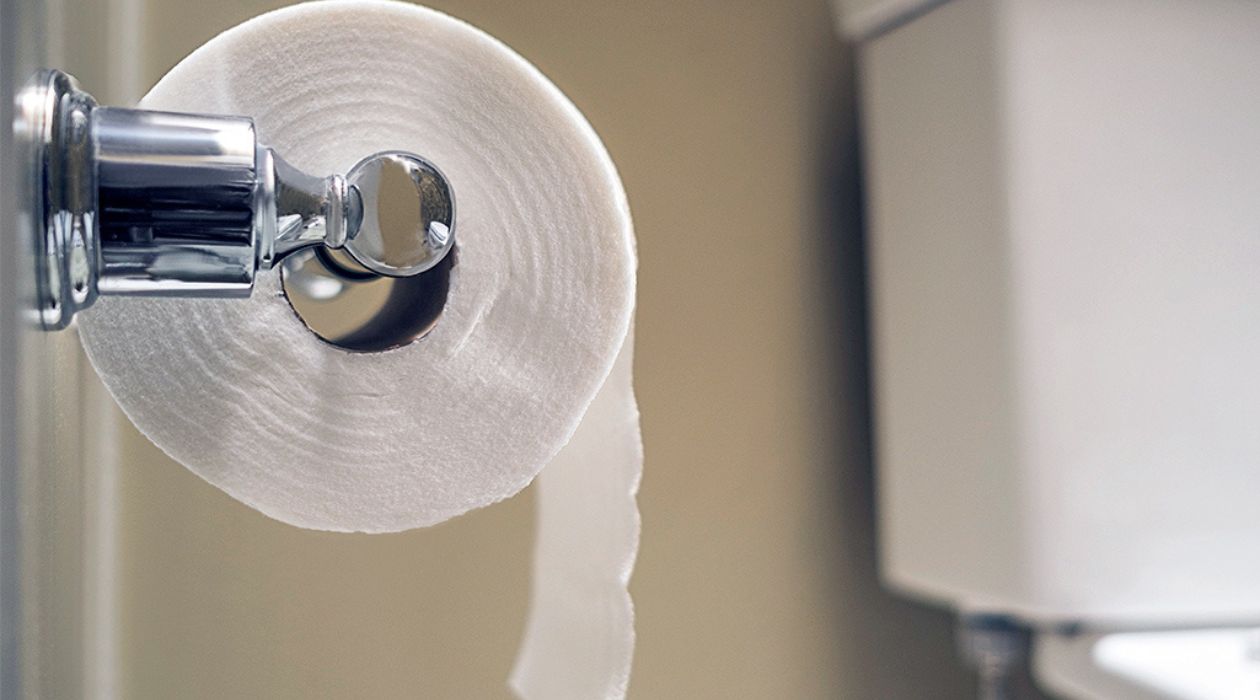
Use a screwdriver to tighten the screws on the mounting brackets of the toilet paper holder. Make sure the brackets are securely attached to the wall to prevent the holder from becoming loose.
Read more: How Do You Hang A Toilet Paper Holder
Tightening the Mounting Screws
Now that you have assessed the mounting hardware and made any necessary replacements or repairs, it’s time to tighten the new toilet paper holder securely to the wall. Follow these steps to ensure a stable and long-lasting installation:
- Position the new toilet paper holder: Hold the new holder against the wall in the desired location. Make sure it is level and aligns with your preferred height and placement. Using a level can help ensure that the holder is straight.
- Insert the mounting screws: Take the mounting screws that came with the new toilet paper holder (or use the existing ones if they are still in good condition) and insert them into the mounting holes. Use your fingers to start threading them into the wall anchors or brackets.
- Tighten the screws: Using a Phillips head screwdriver, tighten the screws clockwise until they are snugly secured. Avoid overtightening, as this can strip the threads or damage the wall. Ensure that the holder is firmly attached to the wall but still allows for movement if necessary.
- Double-check the alignment: Verify that the holder is still level and properly aligned. Make any adjustments if needed by slightly loosening the screws and repositioning the holder. Once you are satisfied with the alignment, retighten the screws.
It’s essential to achieve a secure and stable installation when tightening the mounting screws. Take your time to ensure that the holder is firmly attached to the wall, as this will prevent any future loosening or wobbling. If necessary, use an adjustable wrench or pliers to provide additional torque when tightening the screws.
Once you have tightened the mounting screws, test the stability of the toilet paper holder by giving it a gentle tug. If it feels secure and does not move or wobble, you have successfully tightened the mounting screws.
Now that the new toilet paper holder is securely in place, you can move on to the final step of testing the stability and making any necessary adjustments for a perfect finish.
Testing the Stability of the Holder
After tightening the mounting screws, it’s important to test the stability of the toilet paper holder to ensure it can securely hold the toilet paper roll without wobbling or coming loose. Follow these steps to test the stability:
- Gently tug the holder: Give the newly installed toilet paper holder a gentle tug to check its stability. Tug it from different angles to ensure it can withstand the force without moving or becoming loose.
- Check for any movement: Observe the holder closely during the tugging process. If you notice any movement or wobbling, stop and assess the issue to determine the cause.
- Retighten the screws if necessary: If the holder moves or feels loose during the stability test, it may indicate that the mounting screws need further tightening. Gently loosen the screws and retighten them to provide a more secure hold.
- Realign the holder if needed: If the stability issue persists even after tightening the screws, it may be necessary to readjust the alignment of the holder. Loosen the screws, realign the holder, and retighten the screws once again.
It’s important to ensure that the toilet paper holder is stable and secure to prevent any accidents or mishaps in the future. A loose holder can cause the toilet paper roll to fall off or make it challenging to tear off sheets smoothly.
If you encounter persistent stability issues or are unsure about the installation, it may be helpful to consult the manufacturer’s instructions or seek professional assistance. They can provide expert guidance and ensure a secure and long-lasting installation.
Once you have tested the stability of the holder and made any necessary adjustments, your newly tightened toilet paper holder will provide a stable and convenient solution for your bathroom needs.
Now that you have successfully tightened your toilet paper holder, let’s go over some additional tips and precautions to keep in mind.
Additional Tips and Precautions
While tightening a toilet paper holder is a relatively simple task, it’s important to keep these additional tips and precautions in mind to ensure a successful and safe installation:
- Use caution when using tools: When using a Phillips head screwdriver or adjustable wrench, be careful not to slip and damage the surrounding area or injure yourself. Take your time and use steady, controlled movements.
- Choose high-quality mounting hardware: If you are replacing the mounting screws or brackets, opt for high-quality materials. This will ensure a secure and durable installation that can withstand regular use over time.
- Consider using wall anchors: If your bathroom wall is made of drywall or another non-supportive material, it’s advisable to use wall anchors when installing the toilet paper holder. Wall anchors provide extra support and prevent the screws from loosening over time.
- Follow the manufacturer’s instructions: If you are installing a specific brand or model of toilet paper holder, be sure to refer to the manufacturer’s instructions. They may provide specific guidelines or recommendations for installation that should be followed.
- Regularly check for tightness: After installing the toilet paper holder, periodically check the tightness of the mounting screws. Over time, they may loosen due to regular use or vibrations. Retighten them if necessary to maintain a secure installation.
- Consider using thread-locking adhesive: If you want to provide extra security to the mounting screws, you can use a thread-locking adhesive. This adhesive can help prevent the screws from loosening due to vibrations or movement.
By following these tips and taking necessary precautions, you can ensure a successful and long-lasting tightening of your toilet paper holder. Remember to prioritize safety and stability to enhance the functionality and appearance of your bathroom.
Now that you are equipped with the knowledge to tighten your toilet paper holder, you can confidently tackle this DIY task and enjoy the benefits of a securely installed holder.
Happy tightening, and may your toilet paper never roll off the holder again!
Conclusion
Tightening a loose toilet paper holder is a simple and rewarding DIY task that can improve the functionality and aesthetics of your bathroom. By following the step-by-step instructions in this guide and using the appropriate tools and materials, you can successfully tighten your toilet paper holder and eliminate any wobbling or inconvenience.
Throughout the process, it’s important to prioritize stability and ensure a secure installation. By assessing the mounting hardware, tightening the mounting screws, and testing the stability of the holder, you can achieve a reliable and long-lasting result.
Remember to follow additional tips and precautions, such as using caution with tools, choosing high-quality hardware, and periodically checking for tightness. These measures will help maintain the integrity of your tightened toilet paper holder over time.
Don’t hesitate to consult the manufacturer’s instructions or seek professional assistance if you encounter any difficulties or have concerns about the installation. They can provide expert guidance and ensure that the holder is securely mounted.
Now that you have the knowledge and confidence to tighten your toilet paper holder, you can embark on this DIY project and enjoy the benefits of a sturdy and functional bathroom accessory. So grab your tools, gather your materials, and say goodbye to that irritating wobble!
Frequently Asked Questions about How Do You Tighten A Toilet Paper Holder
Was this page helpful?
At Storables.com, we guarantee accurate and reliable information. Our content, validated by Expert Board Contributors, is crafted following stringent Editorial Policies. We're committed to providing you with well-researched, expert-backed insights for all your informational needs.


0 thoughts on “How Do You Tighten A Toilet Paper Holder”