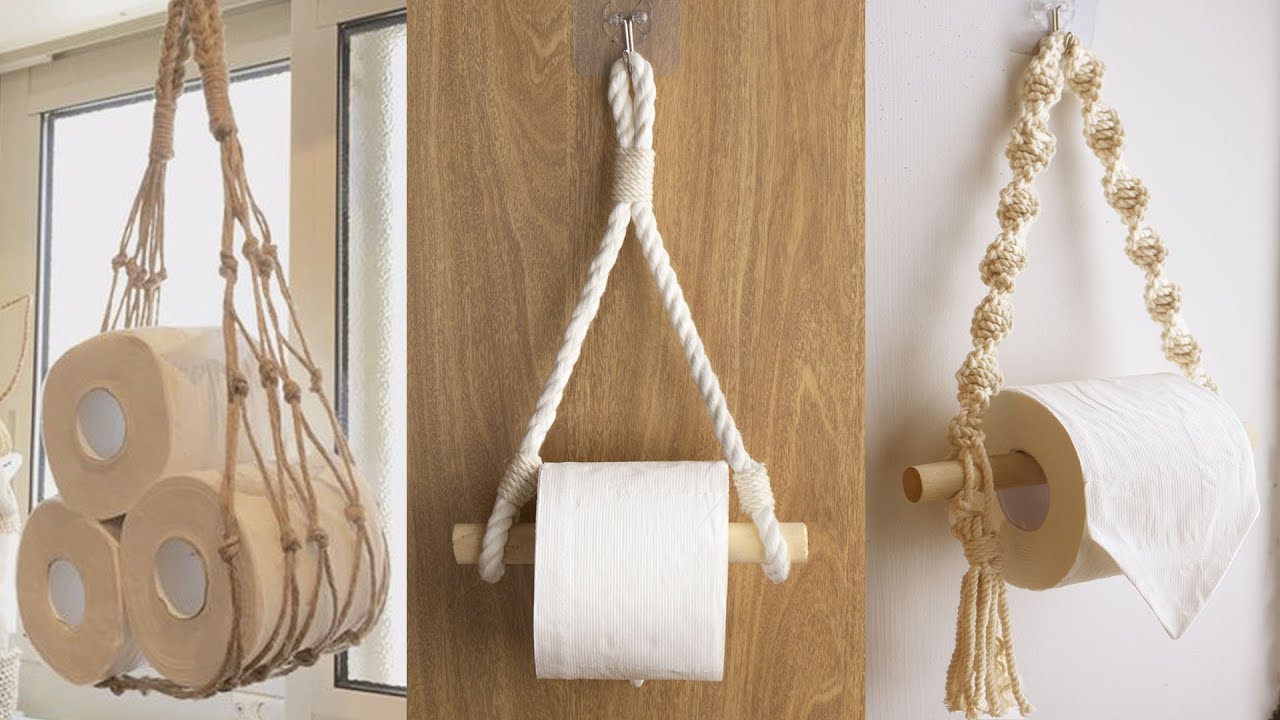

Articles
How To Make A Toilet Paper Holder
Modified: May 6, 2024
Discover creative articles on how to make a functional and stylish toilet paper holder. Transform your bathroom with these DIY projects.
(Many of the links in this article redirect to a specific reviewed product. Your purchase of these products through affiliate links helps to generate commission for Storables.com, at no extra cost. Learn more)
Introduction
Having a stylish and functional toilet paper holder in your bathroom can make a significant difference in both aesthetics and convenience. Instead of settling for a generic store-bought holder, why not add a personal touch by making your own custom toilet paper holder? Not only will this allow you to showcase your creativity, but it will also give you the satisfaction of creating something practical for your home.
In this article, we will guide you through the step-by-step process of making a toilet paper holder from scratch. Whether you’re a seasoned DIY enthusiast or a newbie looking to embark on your first project, we’ve got you covered. With just a few materials and some basic tools, you’ll be able to create a unique and functional toilet paper holder that will spruce up your bathroom decor. Let’s get started!
Key Takeaways:
- Create a personalized and functional toilet paper holder by following simple DIY steps. Showcase your creativity and craftsmanship while enhancing your bathroom decor with a custom-made holder.
- Enjoy the satisfaction of crafting a unique and practical toilet paper holder. From gathering materials to mounting the holder, this DIY project adds a personal touch to your home.
Read more: How To Make Pipe Toilet Paper Holder
Step 1: Gather Materials
Before diving into the construction of your toilet paper holder, it’s important to gather all the necessary materials. Here’s a list of items you’ll need:
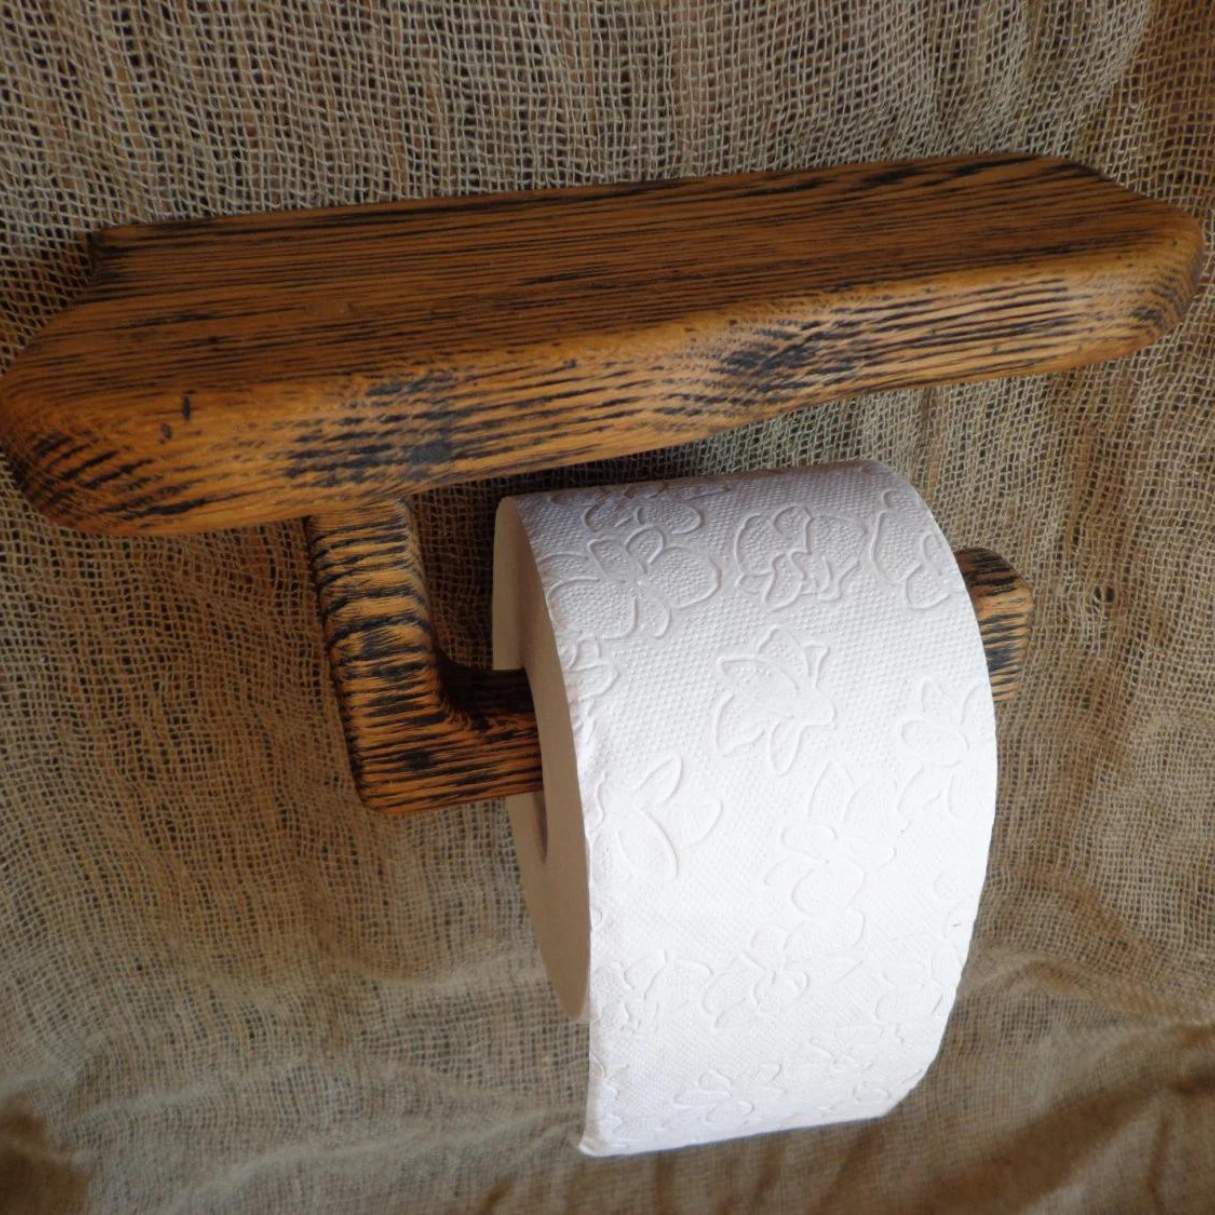
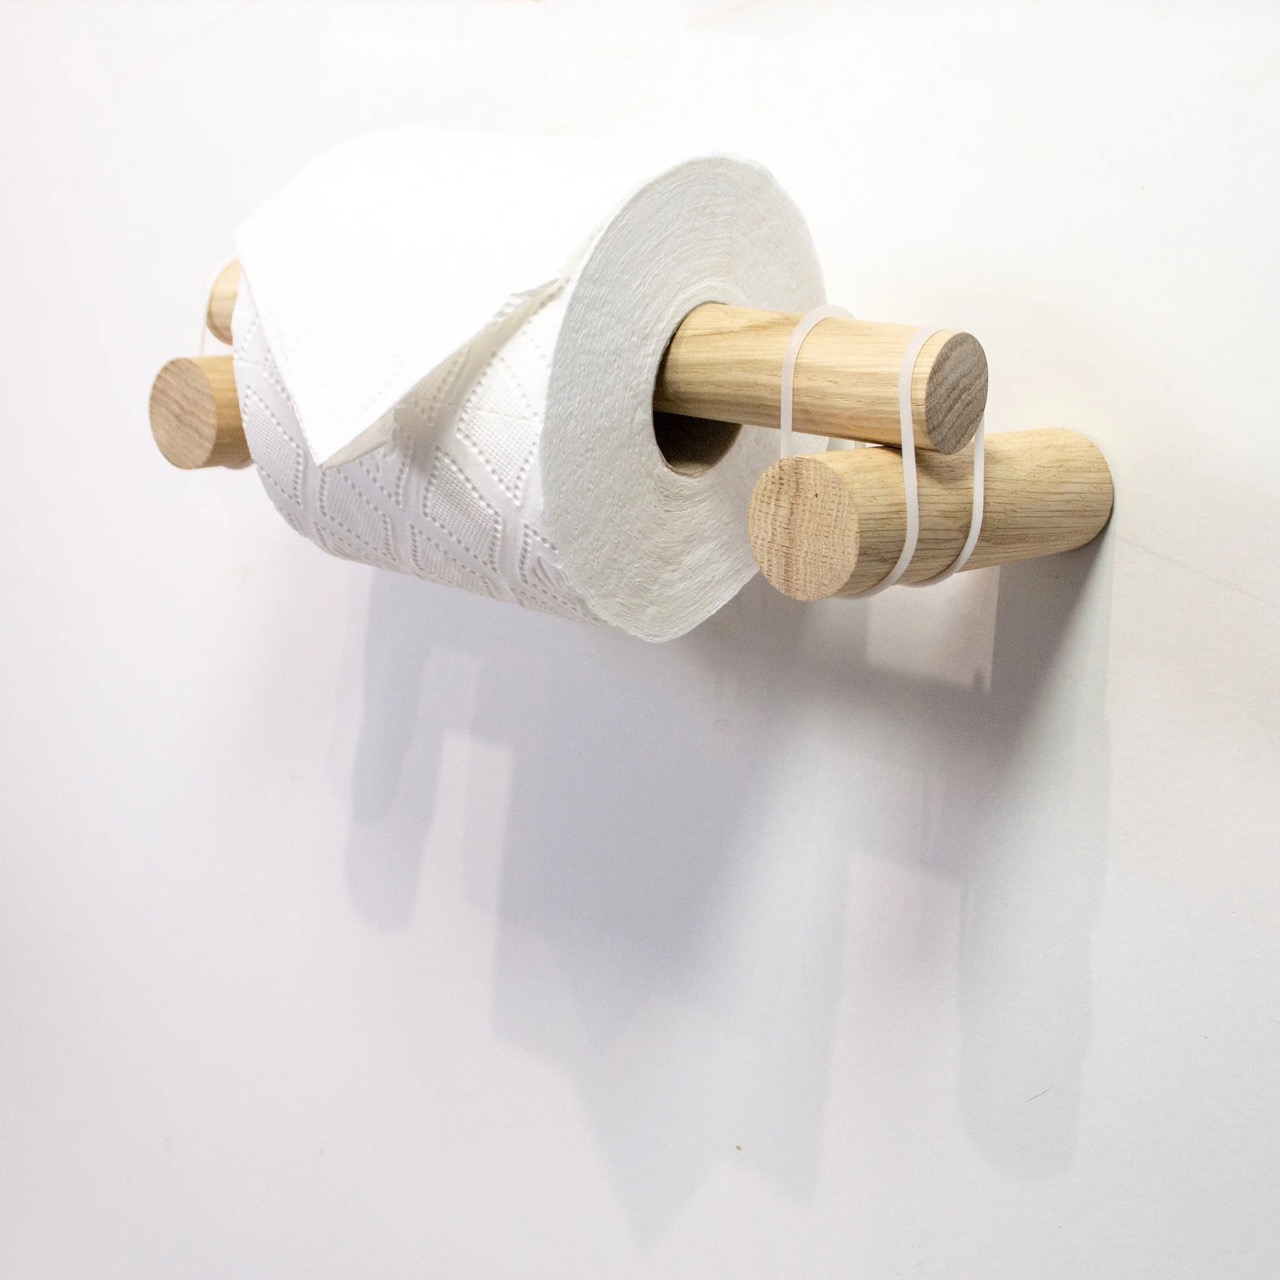
- Wooden dowel or pipe
- Wooden base
- Screws
- Drill
- Saw
- Sandpaper
- Measuring tape
- Paint or stain (optional)
- Paintbrush or sponge
- Mounting hardware
The wooden dowel will serve as the rod to hold the toilet paper, while the wooden base will provide stability and support. The screws will be used to secure the different components together. A drill will be necessary to create holes for the screws and the mounting hardware. A saw will be required to cut the wooden dowel and base to the desired lengths. Sandpaper will come in handy for smoothing the edges and surfaces of the wood.
If you wish to add a touch of color or enhance the natural beauty of the wood, you can use paint or stain. Choose a paintbrush or sponge that is appropriate for the size of the project. Lastly, you’ll need mounting hardware to securely attach the toilet paper holder to the wall.
Once you have gathered all the materials, make sure you have a well-ventilated workspace and sufficient lighting to comfortably carry out the project. It’s also a good idea to have some safety equipment, such as safety glasses and gloves, to protect yourself during the construction process.
Now that you have everything you need, let’s move on to the next step: measuring and cutting the wood.
Step 2: Measure and Cut the Wood
With the materials gathered, the next step in creating your own toilet paper holder is to measure and cut the wood to the desired lengths. Follow these steps:
- First, decide on the desired length of the wooden dowel or pipe that will serve as the rod for holding the toilet paper. Measure and mark the length on the dowel using a measuring tape.
- Using a saw, carefully cut the dowel to the marked length. Make sure to keep your fingers clear and use caution while cutting.
- Next, measure and mark the desired width and length of the wooden base. The width should be slightly wider than the diameter of the dowel, allowing it to sit snugly in place. The length can vary depending on your preferences.
- Using a saw, cut the wooden base to the marked dimensions. Ensure the cuts are straight and even, as this will contribute to the stability of the holder.
Remember to take accurate measurements and double-check them before making any cuts to ensure the toilet paper holder will function properly. It’s always better to be cautious and measure twice than to end up with pieces that don’t fit together correctly.
Once you have successfully measured and cut the wood for the dowel and base, you are ready to move on to the next step: sanding the wood.
Step 3: Sand the Wood
After measuring and cutting the wood for your toilet paper holder, the next step is to sand the surfaces to ensure a smooth and polished finish. Sanding not only enhances the appearance of the wood but also removes any rough edges or splinters that could potentially cause harm.
Follow these steps to properly sand the wood:
- Start by selecting a medium-grit sandpaper. This will allow you to remove any larger imperfections and rough spots on the surface of the wood.
- Hold the sandpaper firmly, and using smooth and even strokes, move it back and forth across the surface of the wooden dowel and base. Be sure to cover all sides and edges for a consistent finish.
- Apply moderate pressure while sanding, but avoid exerting excessive force, as this could damage the wood or create uneven surfaces.
- Continue sanding with the medium-grit sandpaper until the wood feels smooth to the touch and the roughness has been eliminated.
- Once you’ve achieved a smooth surface with the medium-grit sandpaper, switch to a finer-grit sandpaper. This will help refine the surfaces further and give the wood a polished appearance.
- Repeat the sanding process with the finer-grit sandpaper, ensuring that you cover all sides and edges of the wooden dowel and base.
- Periodically check the wood by running your hands over the surfaces to ensure a consistent and smooth texture.
- After the sanding process is complete, wipe away any dust or debris using a clean cloth.
Sanding the wood not only enhances its visual appeal but also prepares it for the next steps in the construction process. With the wooden dowel and base now sanded to perfection, it’s time to move on to step four: assembling the base.
Step 4: Assemble the Base
With the wood sanded and prepared, it’s time to assemble the base of your homemade toilet paper holder. The base provides stability and support for the holder, ensuring it can securely hold the toilet paper roll. Follow these steps to assemble the base:
- Take the wooden base and place it on a flat surface.
- Position the wooden dowel or pipe vertically in the center of the base.
- Using a pencil or marker, mark the location where the dowel and base intersect.
- Using a drill and an appropriate-sized drill bit, create a hole at the marked location on the base. The hole should be slightly smaller in diameter than the dowel to ensure a snug fit.
- Insert the dowel into the hole in the base and make sure it fits securely.
- For added stability, you can use screws to secure the dowel to the base. Place the base on its side and drill pilot holes through the side of the base and into the dowel. Then, insert screws and tighten them to secure the pieces together.
- Check to ensure that the dowel is level and straight. If needed, make any adjustments before proceeding.
By following these steps, you will successfully assemble the base of your toilet paper holder. This step is crucial in ensuring the stability of the holder, preventing any wobbling or tipping when the toilet paper roll is placed on the dowel. With the base securely assembled, it’s time to move on to step five: attaching the holder.
When making a toilet paper holder, consider using durable and water-resistant materials such as metal or plastic to ensure longevity and easy maintenance.
Read more: How To Make A Doll Toilet Paper Holder
Step 5: Attach the Holder
Now that you have assembled the base of the toilet paper holder, it’s time to attach the holder mechanism that will securely hold the toilet paper roll in place. Follow these steps to attach the holder:
- Measure the desired distance between the two sides of the wooden dowel or pipe. This measurement will determine the width of the holder.
- Using a saw, cut two small pieces of dowel or pipe that match the measured width. These pieces will act as the holders for the toilet paper roll.
- Position one of the holder pieces on the dowel, making sure it aligns with the edge of the wooden base.
- Securely attach the holder piece to the dowel using screws. It’s recommended to drill pilot holes before inserting the screws to prevent splitting the wood.
- Repeat the previous steps to attach the second holder piece on the other end of the dowel, ensuring it is aligned with the opposite edge of the base.
- Test the stability and functionality of the holders by placing a toilet paper roll on the dowel. Ensure that the roll fits snugly between the holders without slipping or sliding.
By following these steps, you will successfully attach the holders to the wooden dowel, creating a secure mechanism for holding the toilet paper roll. It’s important to ensure the holders are positioned evenly and securely attached to prevent any issues when using the toilet paper holder. With the holder attached, it’s now time to move on to optional step six: painting or staining the holder.
Step 6: Paint or Stain (Optional)
While optional, painting or staining your homemade toilet paper holder can add a touch of color or enhance the natural beauty of the wood. Follow these steps to paint or stain the holder:
- If you choose to paint the holder, start by preparing the surface. Use sandpaper to lightly sand the wooden surfaces, removing any roughness or imperfections. Wipe away any dust or debris with a clean cloth.
- Choose a paint color that matches your bathroom’s decor or expresses your personal style. Apply a thin and even layer of paint to the wooden surfaces using a paintbrush or sponge. Allow the first coat to dry completely before applying additional coats if needed.
- If you prefer to stain the holder, begin by selecting a wood stain that complements the natural grain of the wood. Test the stain on a small inconspicuous area to ensure it achieves the desired color.
- Apply the wood stain evenly to the wooden surfaces using a brush or cloth. Allow the stain to penetrate the wood for the recommended time indicated on the stain’s packaging.
- After the recommended duration, wipe away any excess stain with a clean cloth, following the wood grain to achieve a smooth and even finish.
- Allow the paint or stain to fully dry according to the manufacturer’s instructions before moving on to the next step.
Painting or staining the toilet paper holder can provide a finishing touch and tie it into the overall aesthetic of your bathroom. Take your time during this step to ensure the paint or stain is applied evenly and that it complements your desired design. With the paint or stain applied and dried, it’s now time to move on to the final step: mounting the holder.
Step 7: Mount the Holder
The final step in creating your own toilet paper holder is to mount it securely on the wall. Follow these steps to mount the holder:
- Decide on the ideal location for your toilet paper holder. Consider the height and accessibility, ensuring it is within easy reach.
- Using a pencil, mark the positions on the wall where you will mount the holder. It’s recommended to use a level to ensure the marks are straight and aligned.
- Once the marks are made, drill pilot holes at the marked positions using a drill bit that matches the size of the mounting hardware.
- Insert wall anchors into the drilled holes. These anchors will provide extra support and stability for the holder.
- Align the holes in the wooden base of the holder with the wall anchors.
- Insert screws into the anchors and tighten them until the holder is securely mounted on the wall.
- Double-check the stability of the mounted holder by gently pulling on it to ensure it is securely in place.
With the holder successfully mounted on the wall, take a step back and admire your work. Your custom-made toilet paper holder is now ready to serve its purpose in your bathroom. Make sure to replace the toilet paper roll and test the functionality by pulling and tearing off a few sheets.
Remember, the key to mounting the holder is ensuring it is securely attached to the wall to prevent it from coming loose during regular use. If you have any doubts about the stability, consider using additional screws or seeking professional advice.
Congratulations! You have completed the step-by-step process of making your own toilet paper holder. This DIY project allows you to showcase your creativity while adding a personal and functional touch to your bathroom. Enjoy the convenience and aesthetic appeal of your homemade toilet paper holder for years to come.
Thank you for following this guide, and happy crafting!
Conclusion
Creating your own toilet paper holder is a rewarding DIY project that allows you to showcase your creativity and craftsmanship. By following the step-by-step guide outlined in this article, you can construct a unique and functional holder that adds a personal touch to your bathroom decor.
Starting with gathering the necessary materials, measuring and cutting the wood, and sanding the surfaces, you have learned the fundamental steps to prepare the components for assembly. By assembling the base, attaching the holder mechanism, and optionally painting or staining the holder, you have crafted a customized toilet paper holder that perfectly suits your style.
The final step of mounting the holder securely on the wall ensures stability and ease of use. By following these instructions, you can enjoy a well-crafted and functional toilet paper holder in your bathroom.
Remember, safety should always be a priority during any DIY project. Use caution when handling tools, and wear appropriate safety equipment to protect yourself. If you have any doubts about your own abilities or the stability of the holder, consult a professional.
Whether you are a seasoned DIY enthusiast or a beginner, making your own toilet paper holder is a fun and fulfilling project that adds a personal touch to your home. Enjoy the satisfaction of creating something practical and visually appealing while enhancing the functionality of your bathroom.
Thank you for following this guide, and we hope you enjoy your new custom-made toilet paper holder!
Now that you've mastered making your toilet paper holder, why not extend your DIY skills with other creative projects? If you're eager to add a personal touch throughout your home, our guide on handmade home decor might be just what you need. Perfect for anyone looking to craft unique elements that make a house feel like a home. And if working with wood has sparked your interest, don't miss our roundup of woodworking projects that are trending. These will surely give you ideas to keep busy and enhance your skills in the coming year.
Frequently Asked Questions about How To Make A Toilet Paper Holder
Was this page helpful?
At Storables.com, we guarantee accurate and reliable information. Our content, validated by Expert Board Contributors, is crafted following stringent Editorial Policies. We're committed to providing you with well-researched, expert-backed insights for all your informational needs.

0 thoughts on “How To Make A Toilet Paper Holder”